

Party Favor Bags
Closed with a Special Touch
We all want to honor our guests with special party favor bags!
With minimal effort and expense, but not look that way, right?
Here’s the answer: our party favor bags with flowers and brads or buttons to close them with fun flair.
Don’t believe me? Follow along.
Here’s How-To Style Party Favor Bags with Flower Embellishments Using Brads or Buttons:
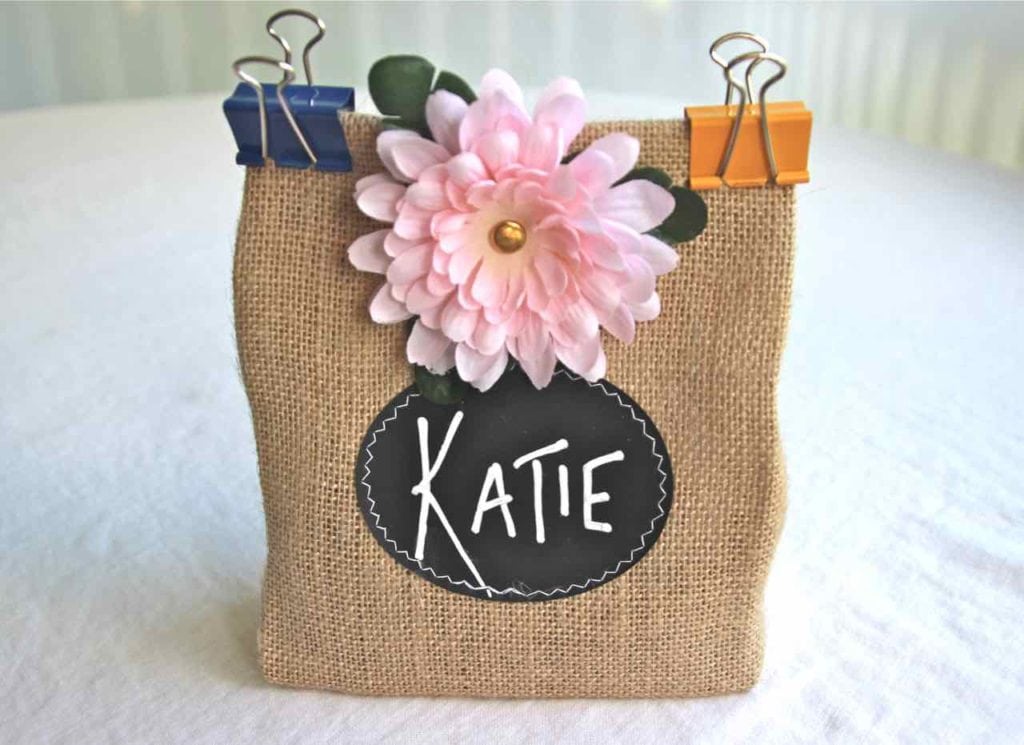
And here’s another super cute version using clothespins!
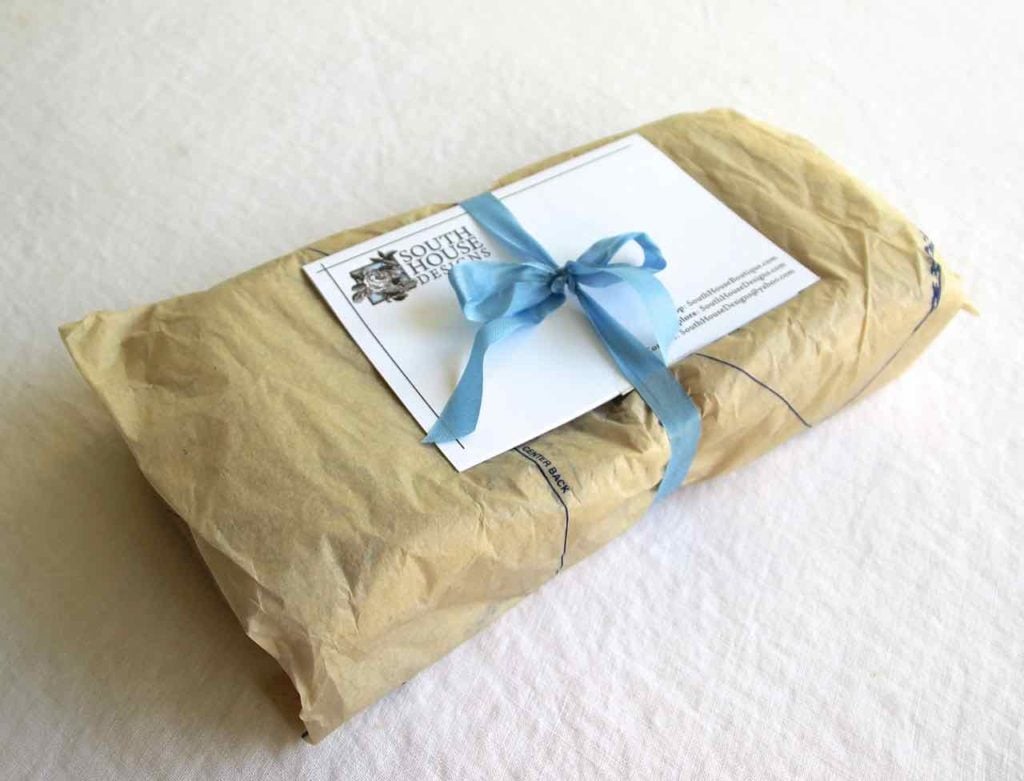
Your Party Bags will arrive packaged like this in a padded envelope or box.
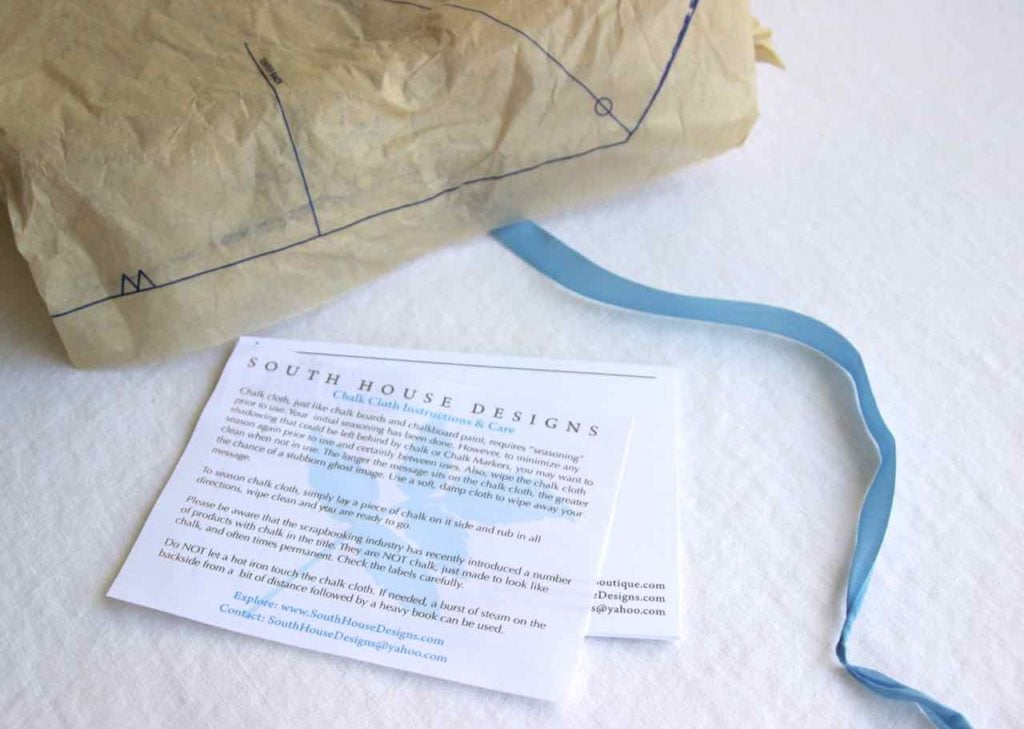
Complete with Care Instructions and Hints & Tips.
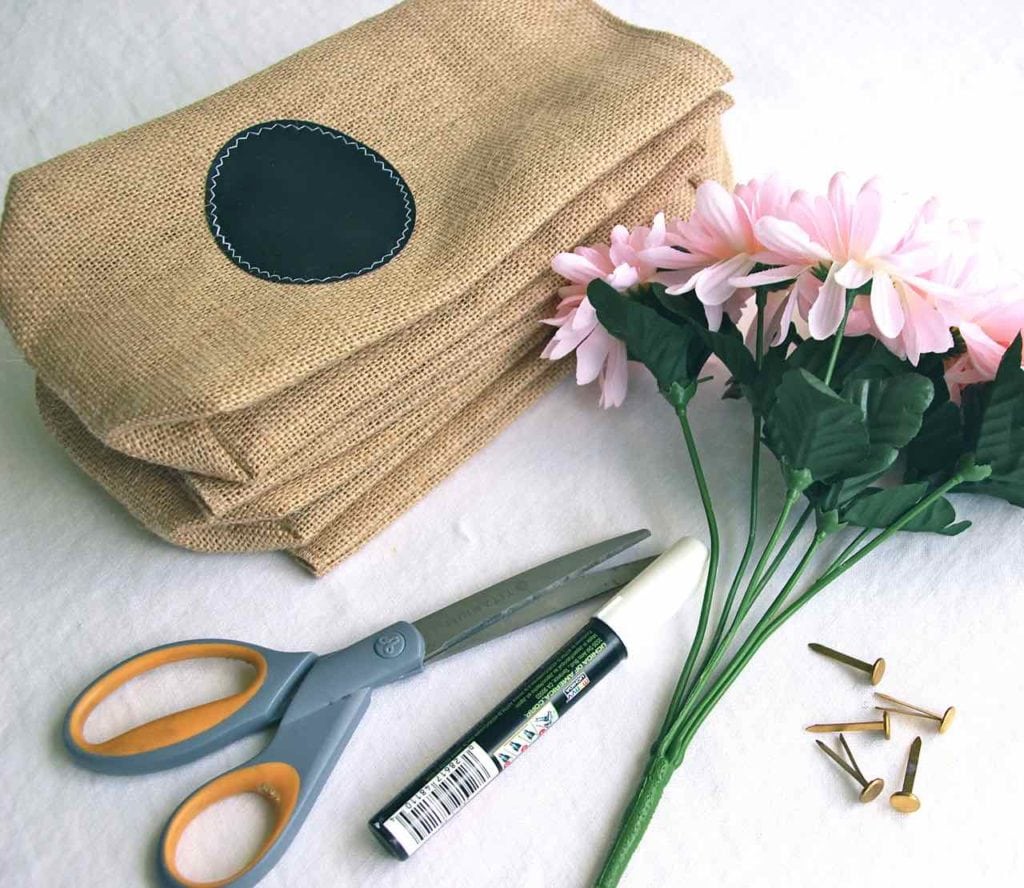
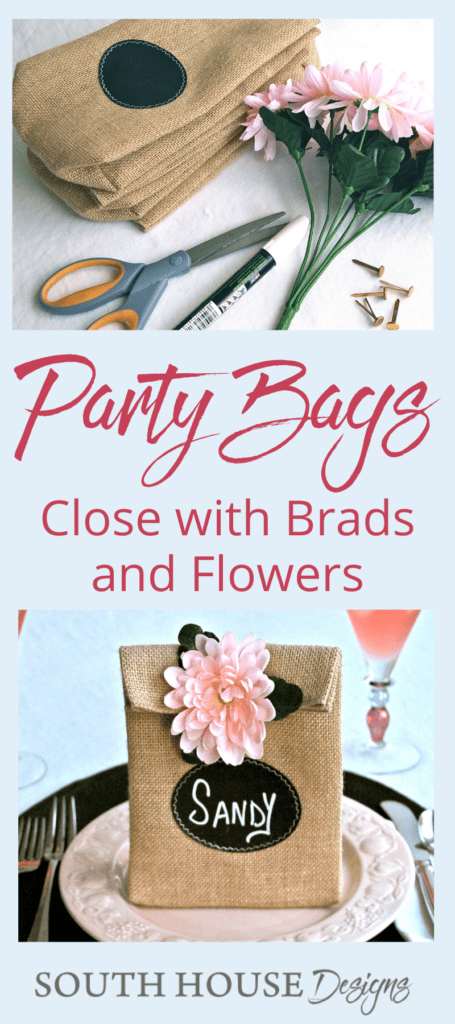
Gather your supplies:
- Party Bags
- Bundle of Flowers
- Scissors
- Chalk Marker or chalk
- 2 Binder Clips (not shown above)
- For BURLAP Bags: Brads
- For LINEN Bags: small shank button, wire, bulldog clips
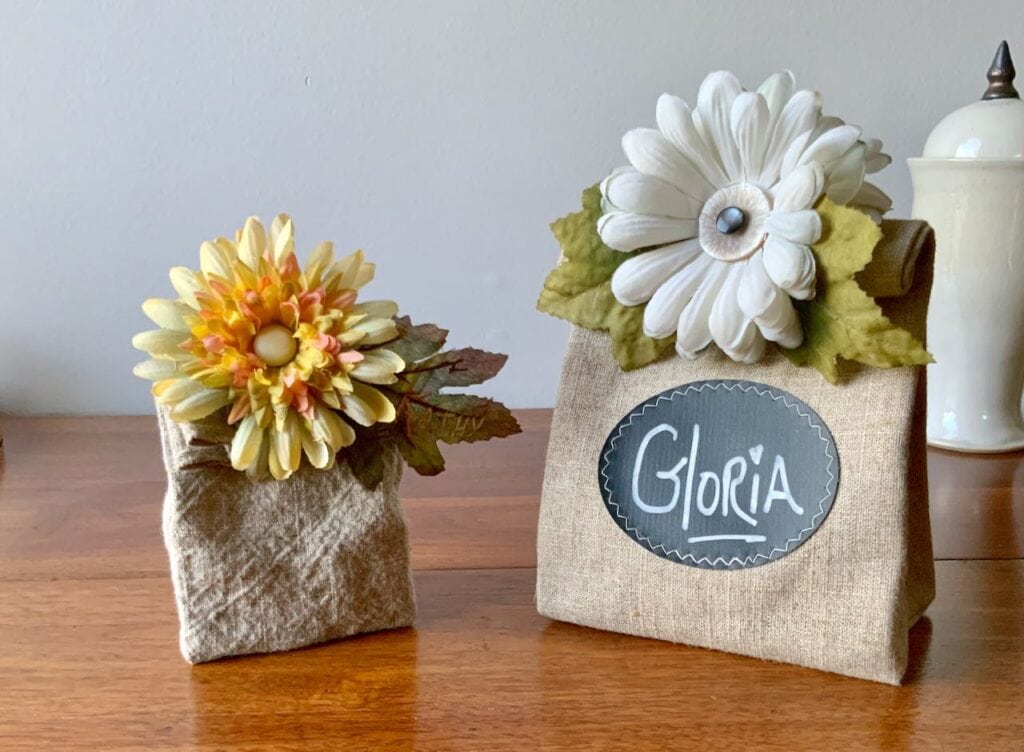
Step 1) Personalize Your Bags
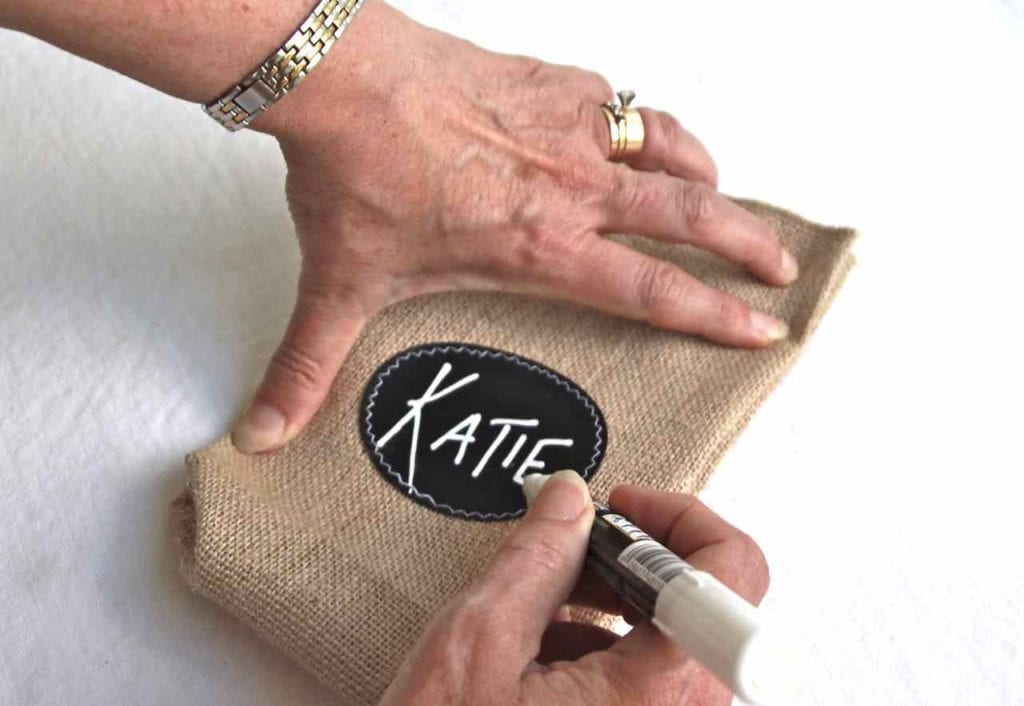
While your bag is flat, personalize it! Write, draw, or doodle. Use my favorite Chalk Marker or any chalk will do.
Step 2) Prepare Your Bags
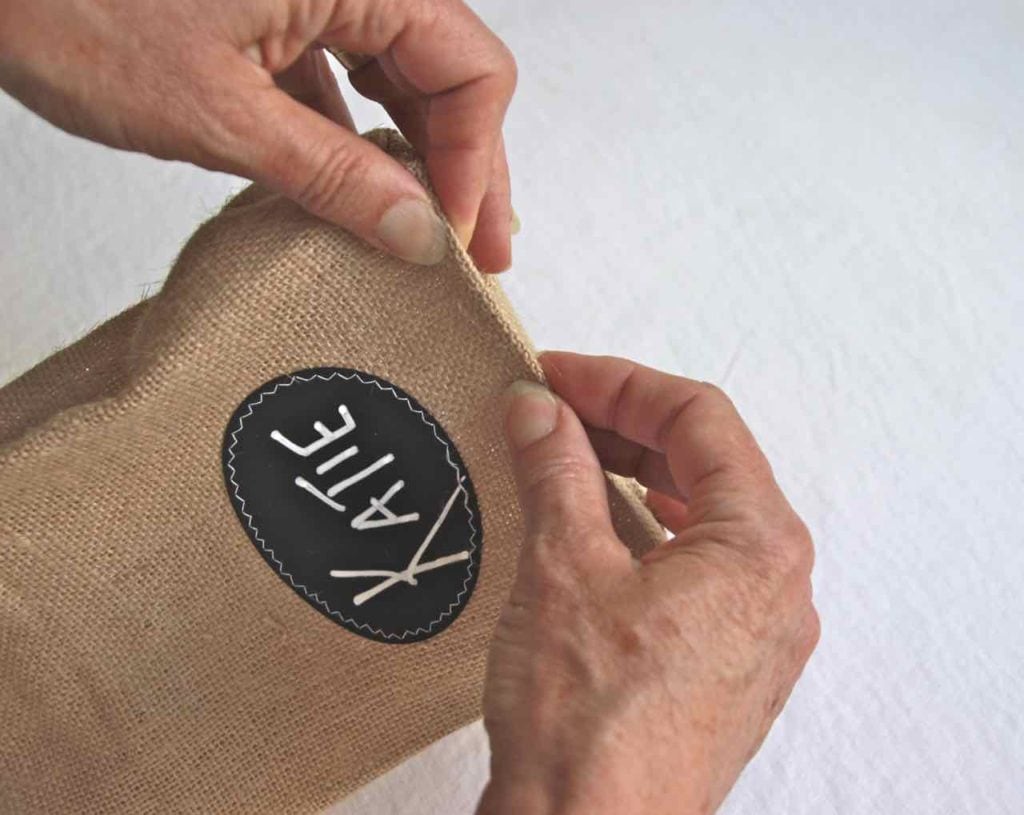
Finger press across the front base.
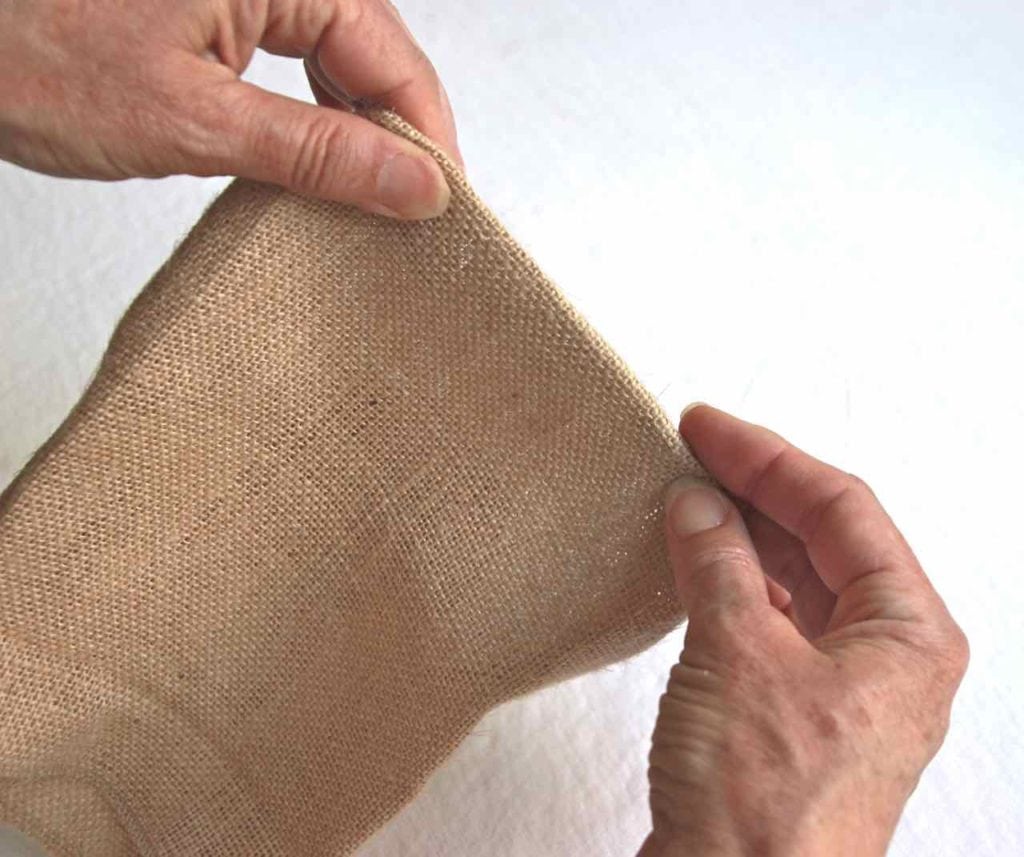
And then finger press across the back base.
Step 3) Bring on the goodies!
Now fill with the goodies.
Once filled, fold down the top and secure with two binder clips. Take your pick, fold to either the front or to the back. I’ve got examples of both for you at the end.
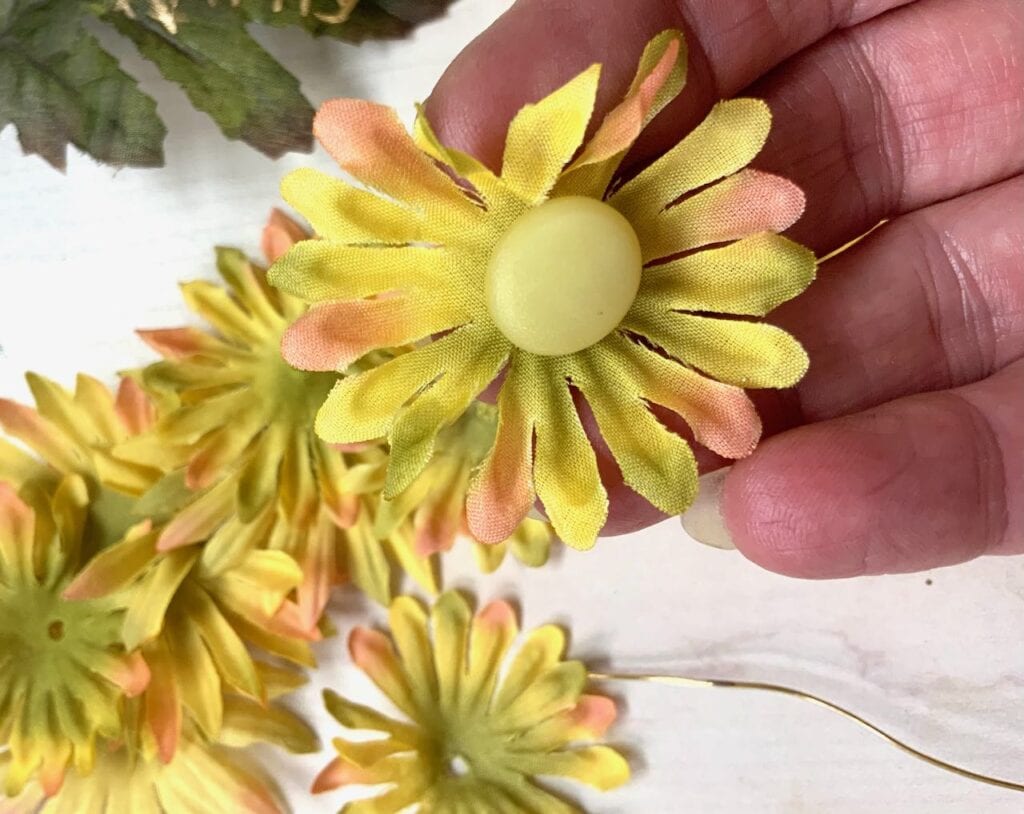
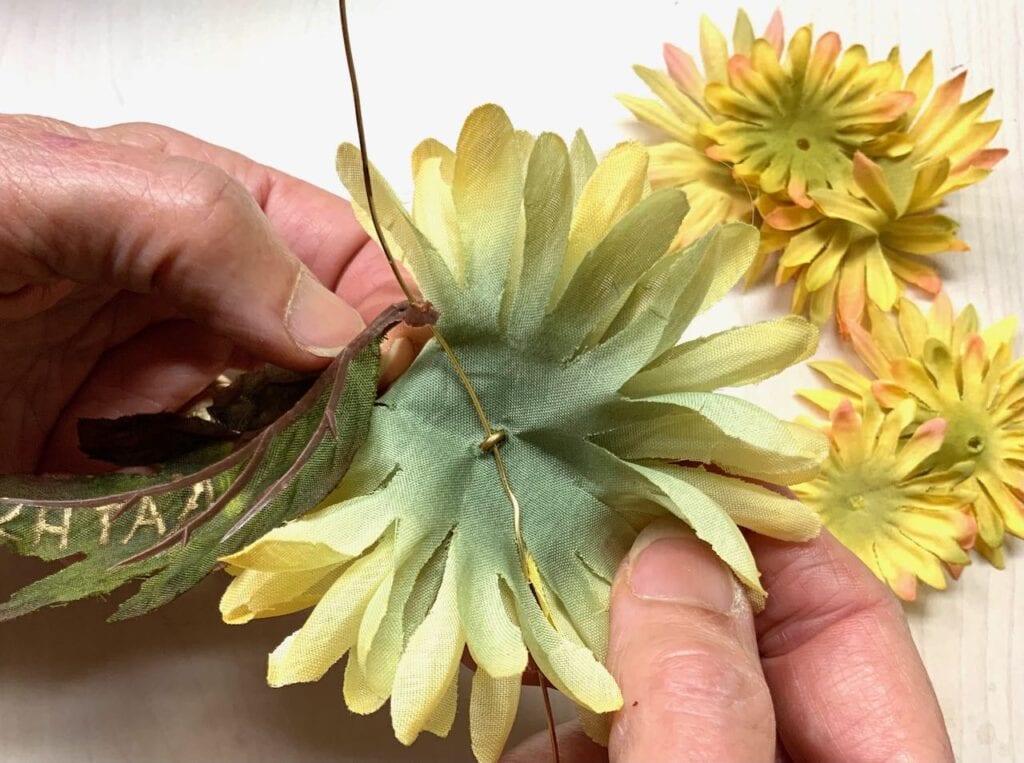
Step 4) Disassemble the Flower
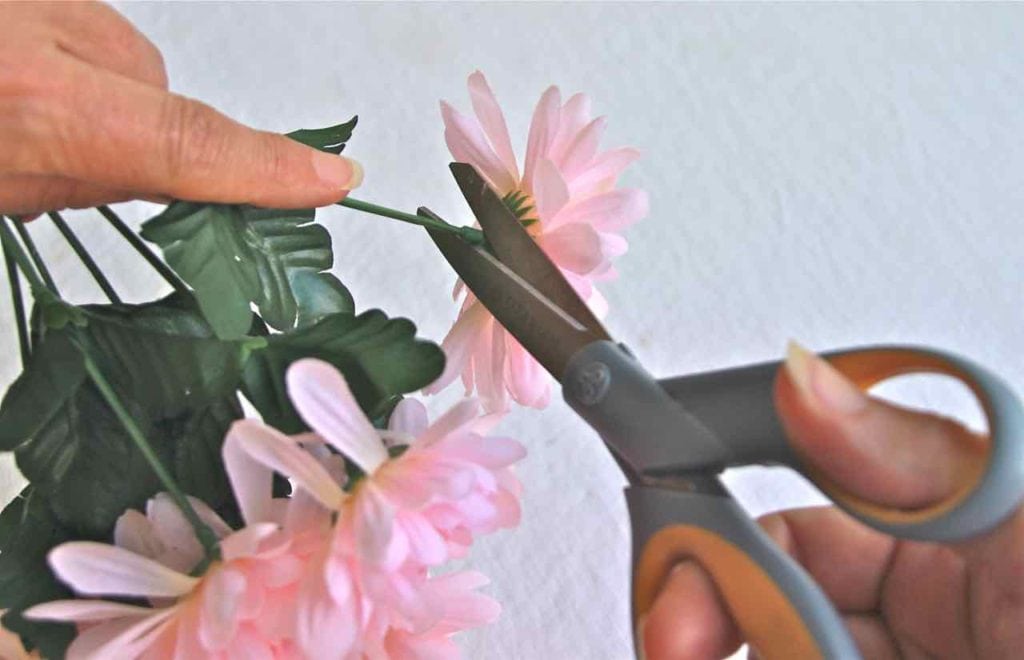
With craft scissors cut the flowers off the stems — cut as close to the flower as possible.

Now it’s easy to pop off the plastic backer and then, from the front, remove the plastic center.
Step 5) BURLAP BAGS: Reassemble the Flower
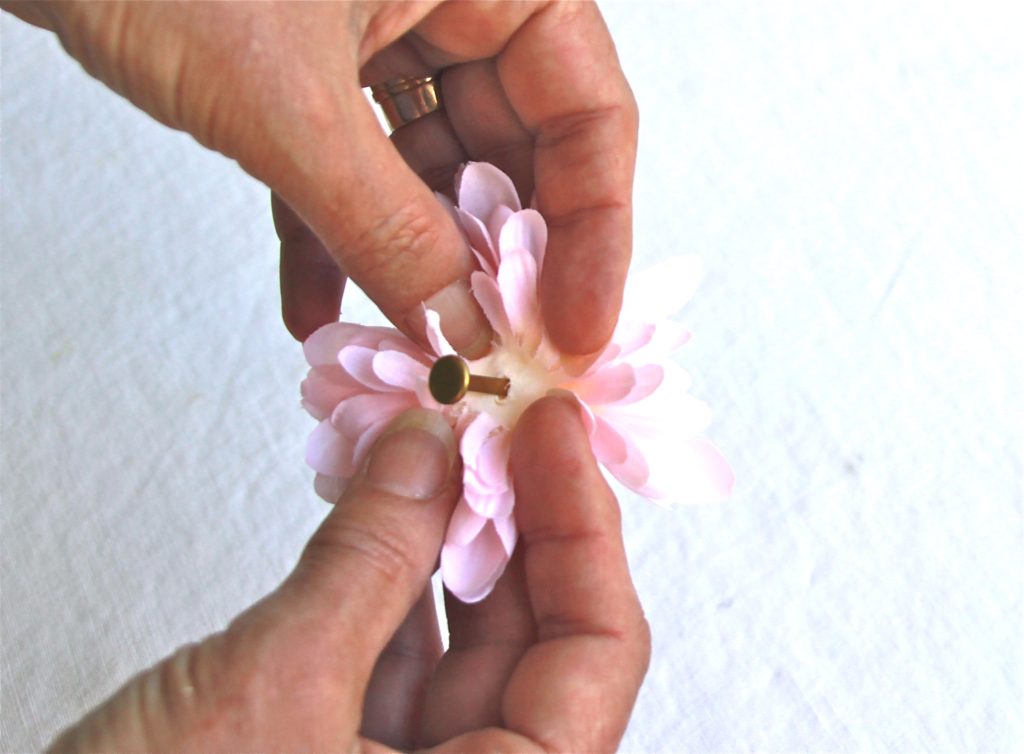
Next, substitute a brad for the plastic center.
Now is a great time to get creative. Here, I’m showing a basic brass brad, but a brightly painted center would be fun too! Also, you can also customize your flower by layering petals of different shades or perhaps even different colors making rainbow flowers.
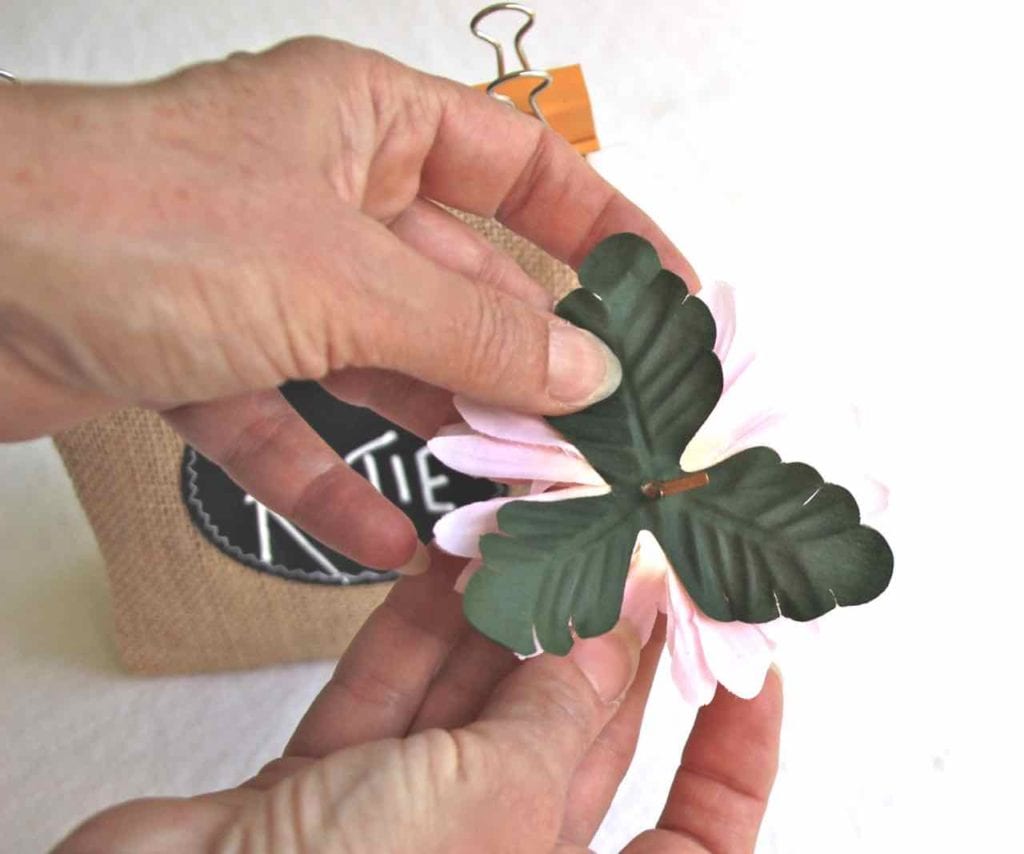
Optionally, at this point, you can add leaves salvaged from the stems.
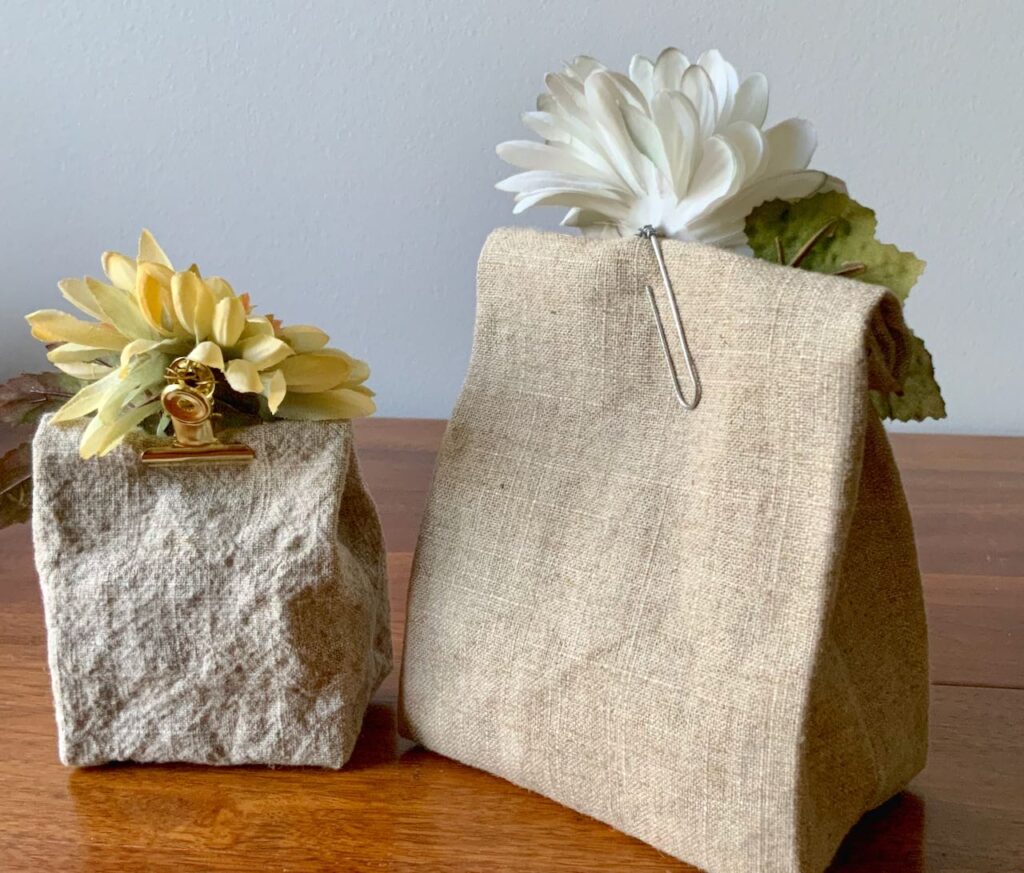
Step 5) LINEN BAGS: Reassemble the Flower
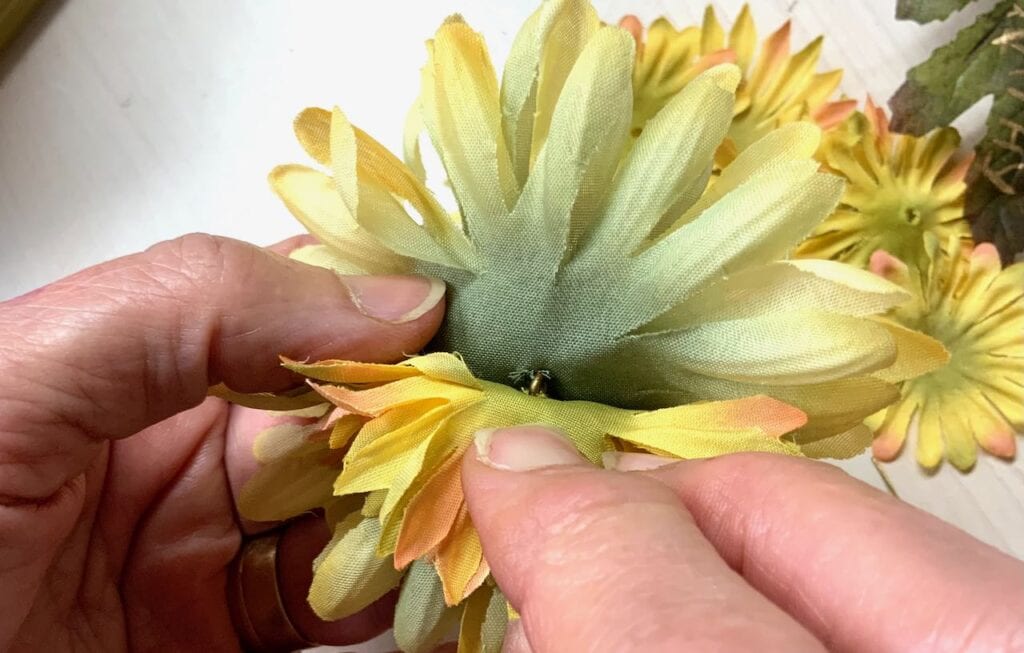
Instead of the brad, use your shank button, squeezing the shank through the hole in the layers of petals. NOTE: Here I got a little extra creative and combined petals from two different flowers. Don’t be afraid to experiment.
Then slip a length of wire, 4-5 inches in length, through the shank.

Optionally, this is another place to get creative. Try layering buttons for your flower’s center, thread the shank button on your wire and then bend it in half and thread the two ends together through the layers of petals.
If you want to add a leaf or two, this is when you do it. Slip the leaf over the wire.
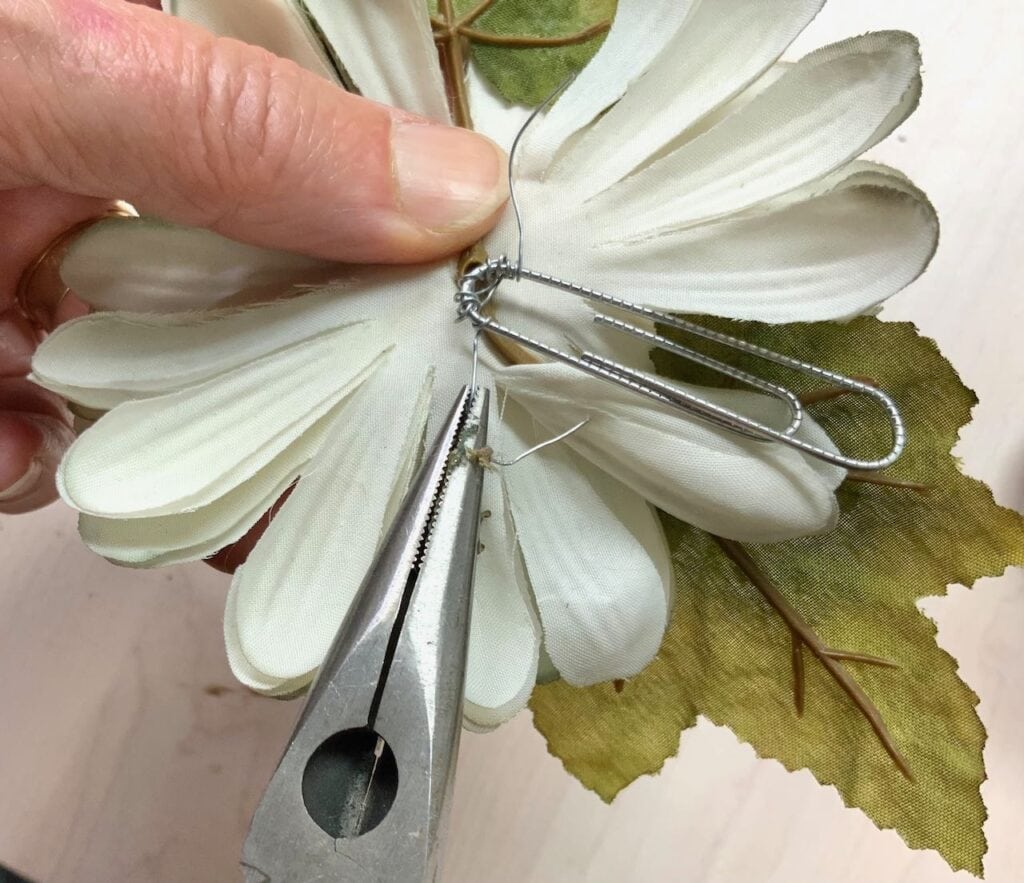
Now thread both ends of the wire through the top of a large paper clip or through ONE hole of the bulldog clip. Separate the two wires and wrap them around separate sides of the clip. Use needlenose pliers to pull them tight, clip off extra wire and safely tuck fold those ends away.
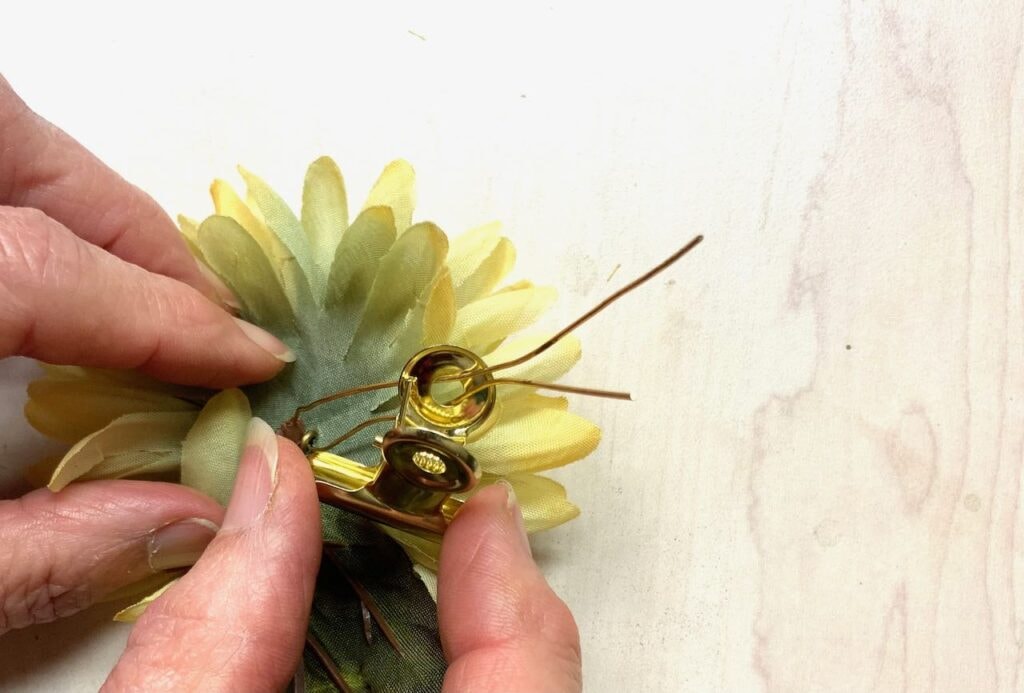
Step 6) BURLAP BAGS: Close the Bag With the Flower Embellishment
Now, push the brad between the jute fibers of all 4 layers of burlap. (And yes, those are the two binder clips I forgot to photograph earlier that are holding the foldover for you.)
Note: Don’t worry, the fibers will give way making room for the brad without harm. Once you remove the brad, you can scratch the “hole” with a fingernail and the fiber will close up ready for the next festivities.
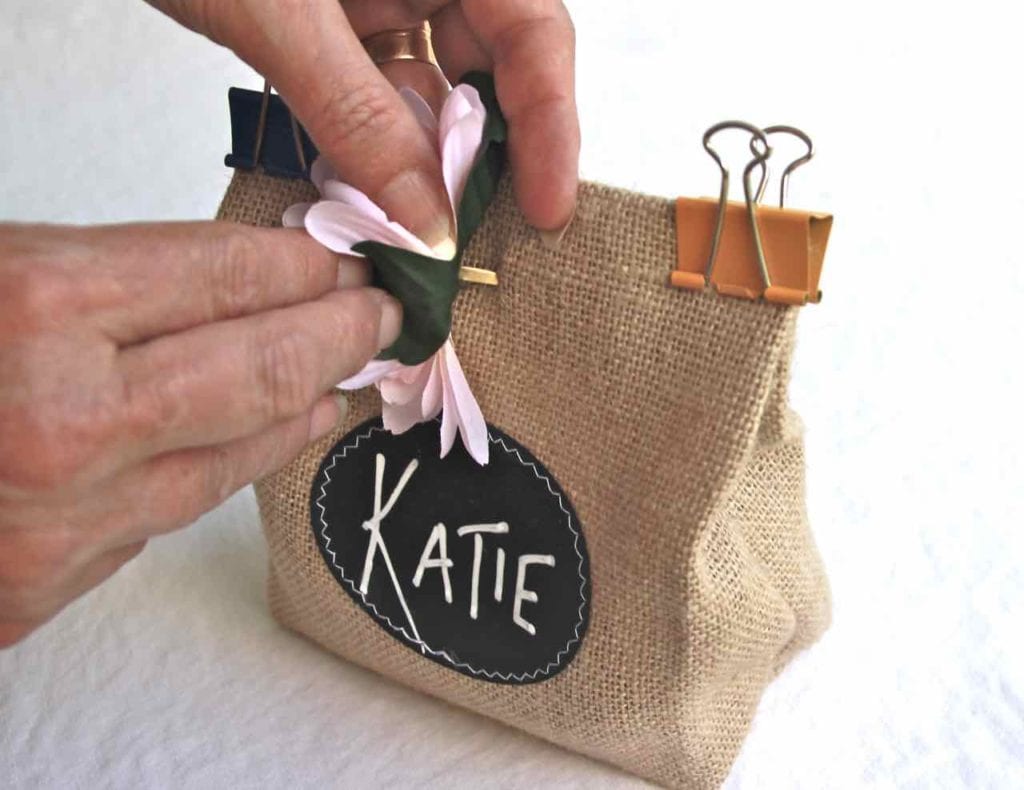
Step 6) LINEN BAGS: Close the Bag With the Flower Embellishment
Pretty straight forward. Fold the top of your bag down once or twice, to the front or to the back and clip on your flower. Bonus: an extra treat for your guests!
And from the back.
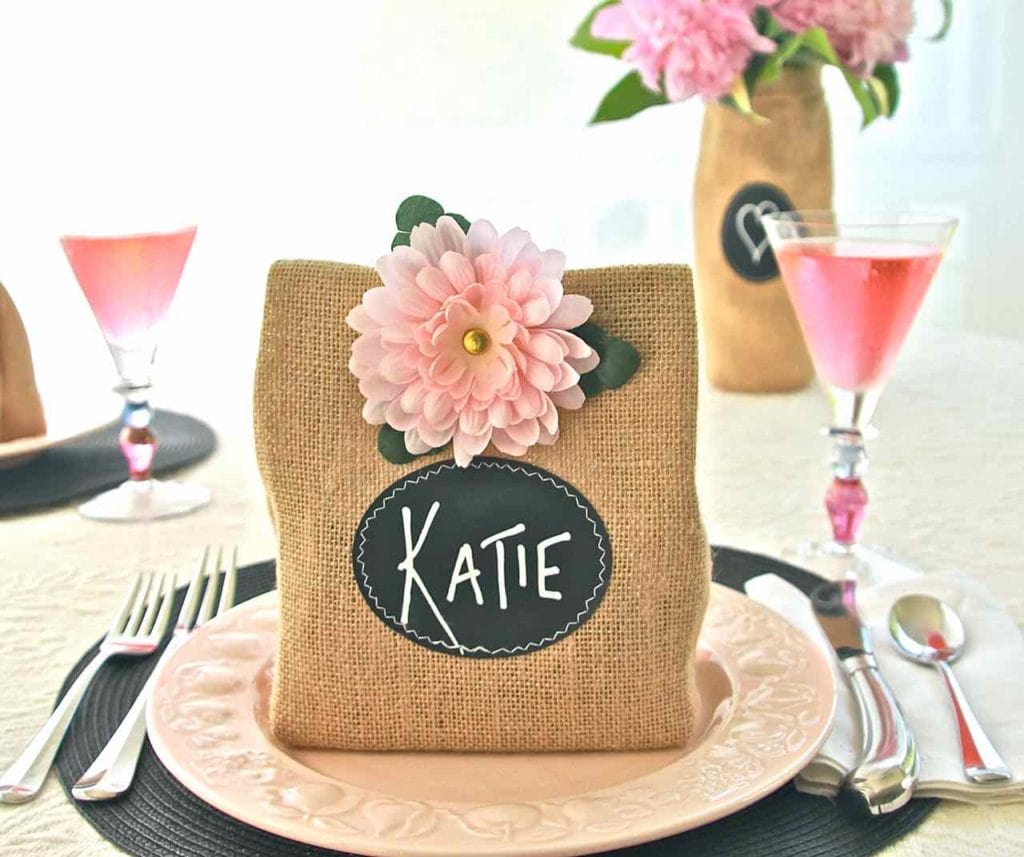
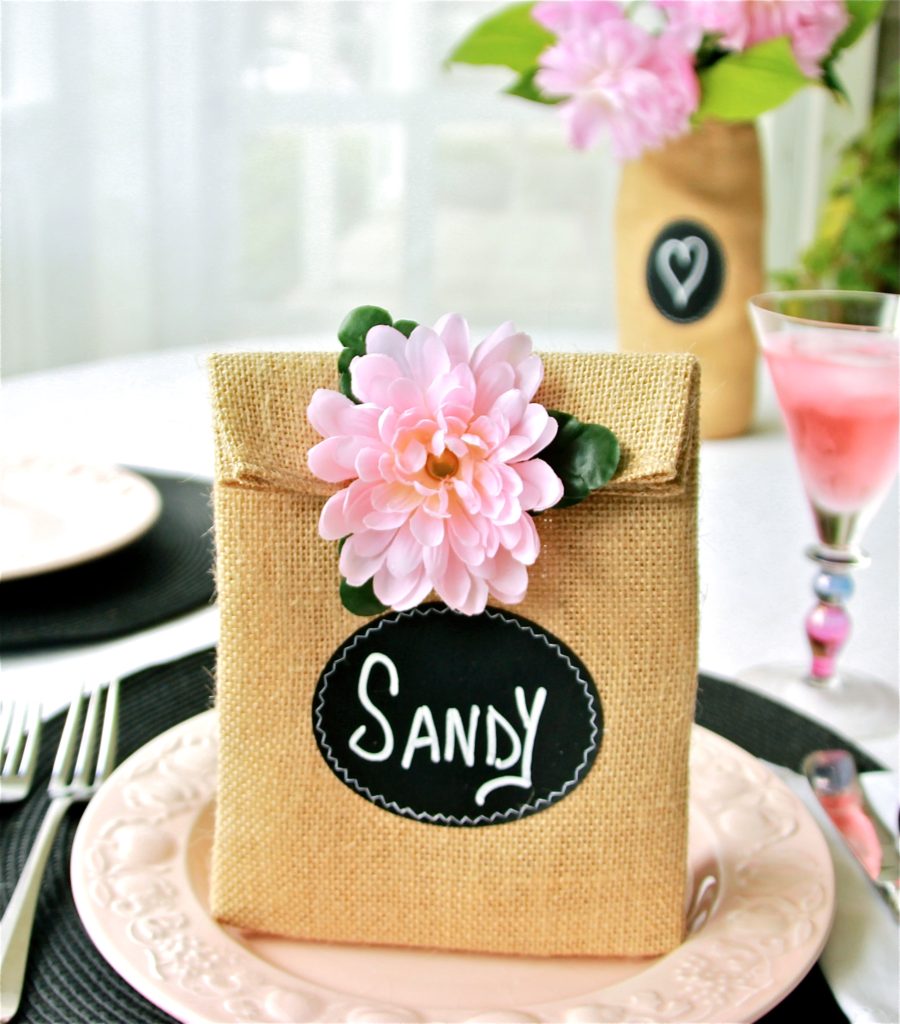
Ta! Da! Ready to Party!

And now from the back….
See, I promised you it was easy!
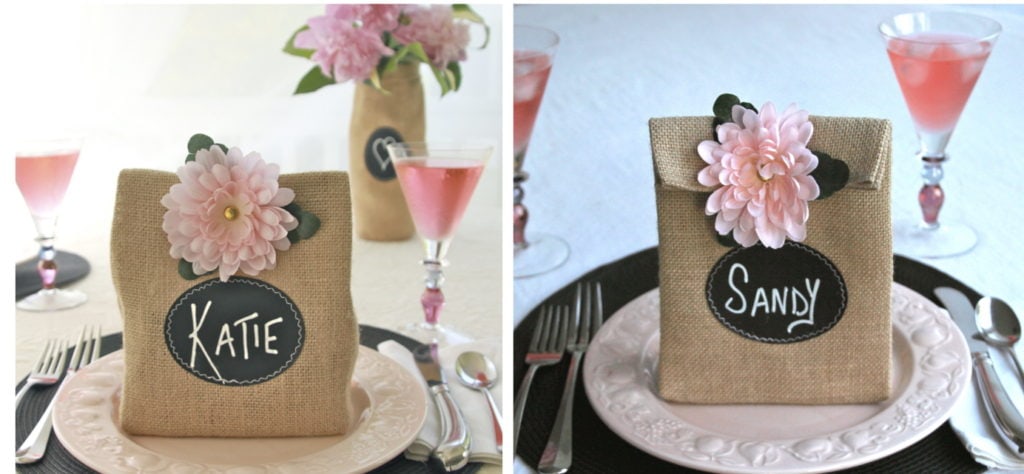
Are you Team Katie (fold to back) or Team Sandy (fold to front)?
(I think I’m leaning towards Sandy)
And if that’s not enough, these same little bags can perform double duty with seasonal decorating. Check it our here.
Thanks for joining me today, please consider subscribing so you don’t miss out on more tricks, tips and DIY-crafting tutorials.
Thanks for hanging out with me today!
Please consider subscribing to not miss a single tip, trick or diy-crafting tutorial,


")


0 Comments
Trackbacks/Pingbacks