Grandbaby Approved: A Simple DIY Stool Makeover Full of Heart
Got an old step stool? Freshen it with paint, paper & a personal touch. See how my diy stool makeover became the sweetest 1st birthday keepsake.
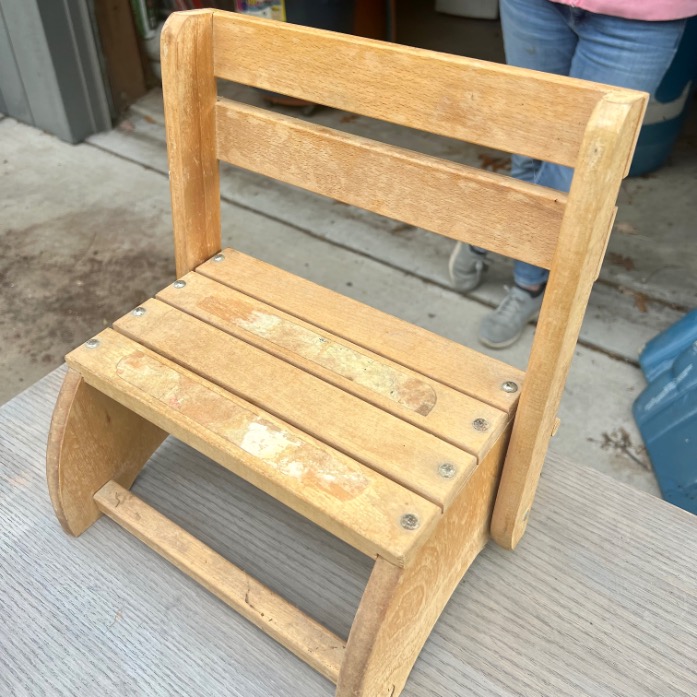
You’ve probably seen these little toddler step stools before — maybe you even had one growing up. They’re handy, sturdy, and everywhere… but let’s be honest, most of them have seen better days.
I spotted one at a garage sale for just $5, and right away it brought back memories of my siblings and me dragging ours to the sink to wash up before dinner. And with our very first grand turning ONE (🥳 cue all the heart emojis), I knew this little find had potential to be her perfect birthday gift.
Now, you could absolutely just give one of these a quick sanding, a fresh coat of paint, and call it done.
Instant update!
But I wanted to add a little extra sparkle. And believe it or not, all it took was a single sheet of scrapbook paper to turn this dated stool into something fresh, modern, and personal.
Here’s exactly how I did it — plus a few fun ways you could make one your own.
TABLE OF CONTENTS:
The links in this post may include affiliate links, which means if you purchase anything using these links, you pay no extra, but I may receive a small commission that helps keep this blog running. I truly appreciate you using affiliate links whenever possible. Please know that I will never recommend a product I do not believe in!
For a quick overview
(or if you’re ready to jump right to it):
👉 For all the details, pro tips, and my favorite
extra-sparkle touches, keep scrolling!

Easy, But Adorable Old Toddler Stool Makeover
Thrift Flip: How-To Turn an Old Toddler Step Stool into a Darling Keepsake
Materials
- Old stool
- Scrapbook paper
- ModPodge
- Paint
- Accent paint, optional
- Adhesive stencil paper, optional
- Water-based acrylic finish
- Plastic wrap or baggie
Tools
- Screwdriver
- Paint scraper or putty knife
- Sandpaper and sanding block
- Paint brushes
- Stir stick
- Stencil brush
- Cricut machine or letter stencils, optional
Instructions
- Clean & prep - remove stickers, grime, and give it a good wipe-down.
- Disassemble – remove screws and set the slats/supports aside.
- Sand smooth – especially edges where little fingers and toes will touch.
- Paint – two thin coats of chalk paint (I used Sea Haze by Folk Art).
- Cut scrapbook paper – measure and trim strips for seat + step slats.
- Punch holes – align with screw holes so everything lines up later.
- Apply paper – add paper with Mod Podge
- Optional Personalizing -- stencil a name or message (I used my Cricut) + sign/date
- Protect - then seal with several coats of clear, water-based sealer.
- Reassemble – and you’ve got a fresh, modern stool ready for years of use.
Notes
This is a quick blush, now let's flesh out the details of these steps to assure your success.
All the How-To Details, Tips and More
Materials and Supplies –
- Old stool
- Scrapbook paper
- ModPodge
- Paint
- Accent paint, optional
- Adhesive stencil paper, optional
- Water-based acrylic finish, I used polycrylic
- Plastic wrap or baggie
- Screwdriver
- Paint scraper or putty knife
- Sandpaper and sanding block. This is my can’t-do-without set!
- Paint brushes
- Stir stick
- Stencil brush, like this one
- Cricut machine or letter stencils, optional
Step 1) Clean & Prep –

First things first: get that stool squeaky clean. Mine came with mystery grime and what looked like sticker residue from another era. A quick scrape and a soapy wipe-down made it ready for its glow-up.
(Pro tip: don’t skip this step — paint clings much better to a clean surface.)
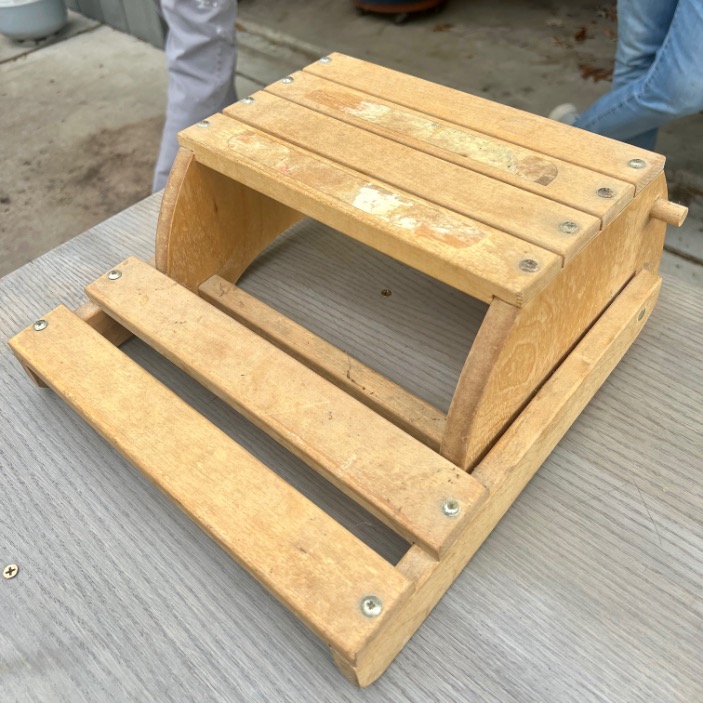
Step 2) Disassemble –
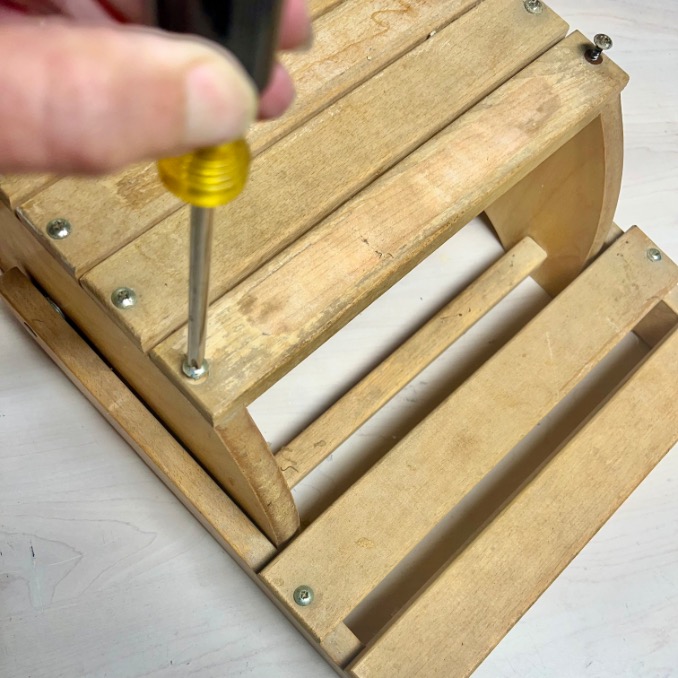

The screws were surprisingly in good shape (garage sale win!). I pulled them all out to separate the slats and supports. And yes, I kept them in a little zipper bag, because you know they otherwise have a way of running away and rolling under the fridge.
Step 3) Sand Smooth –
Time to sand. It didn’t take much, but I paid extra attention to the edges of those support slats. Think “baby cheeks” smooth — because that’s exactly what will be bumping up against them, along with sweet little fingers, legs, and toes.
Step 4) Pick the Personality –
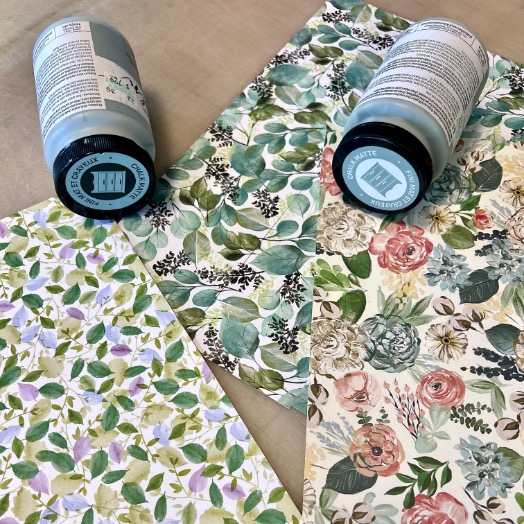

Once the stool was smooth and ready, it was time for the fun part: choosing its “look.” I headed to Hobby Lobby and grabbed a few sheets of scrapbook paper along with two colors of chalk paint to test.
The eucalyptus leaf paper practically leapt off the table at me — fresh and playful, but not too babyish. Paired with Sea Haze Folk Art Chalk Paint (a soft, velvety green), it was just the right combo. If you’re doing this project, this is where you can totally let your style shine — bold patterns, soft florals, even maps or comics would work.
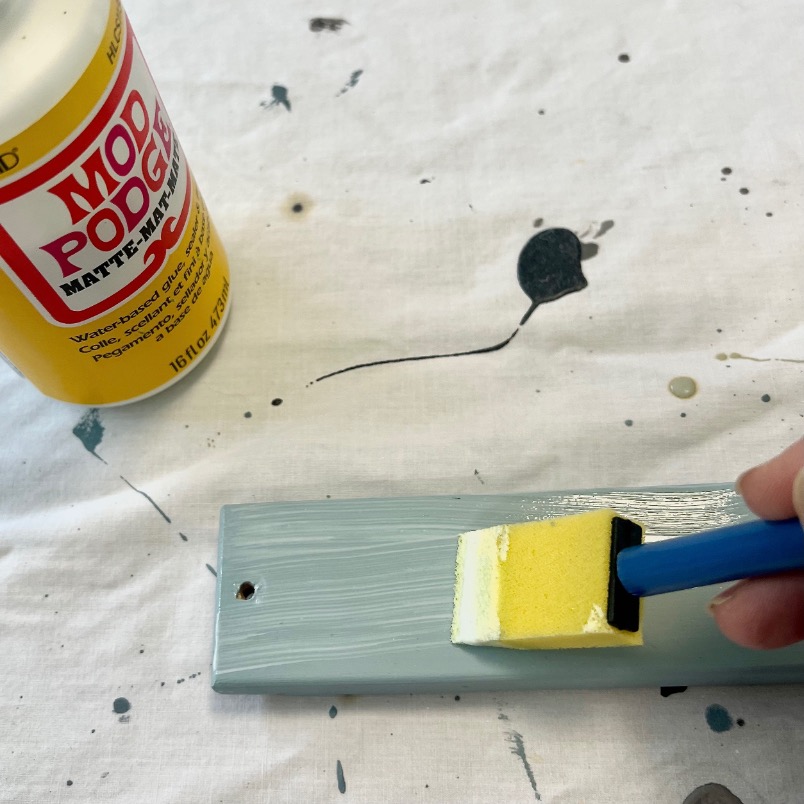
Step 5) Painting –
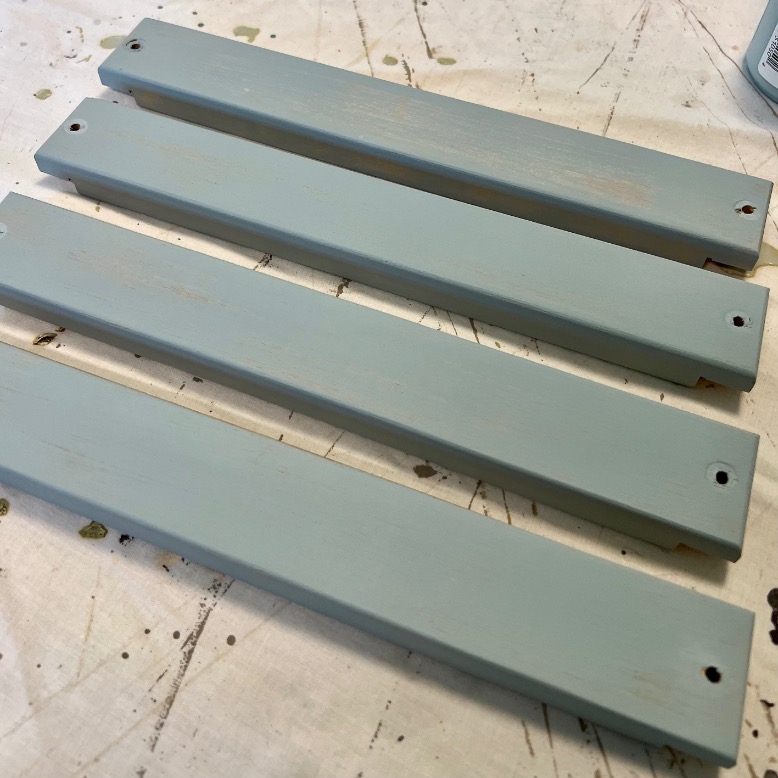
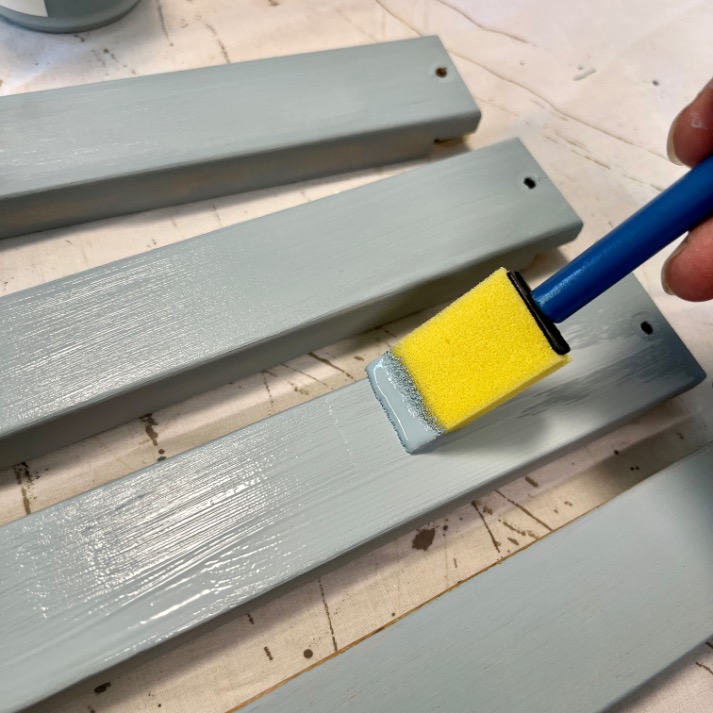
This is the main reason I disassembled those support slats — it makes painting so much easier. With everything laid out separately, I could get nice, even coverage on all sides.
And here’s my golden rule: two thin coats are always better than one gloopy one. Patience pays off, and that chalk paint dries to the dreamiest matte finish.
PRO TIP: Wrap your paint brushes in plastic wrap or a baggie between coats.
Nobody likes cleaning paint brushes! Save time and effort. You’ll be able to use one brush for all the painting without washing in between, and one brush for all the top coating.
Step 6) Cut the Paper –
Time to dress up the slats.
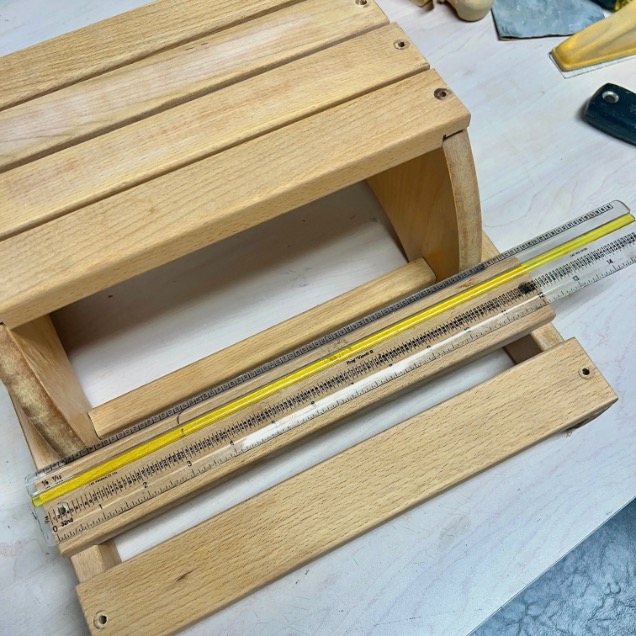

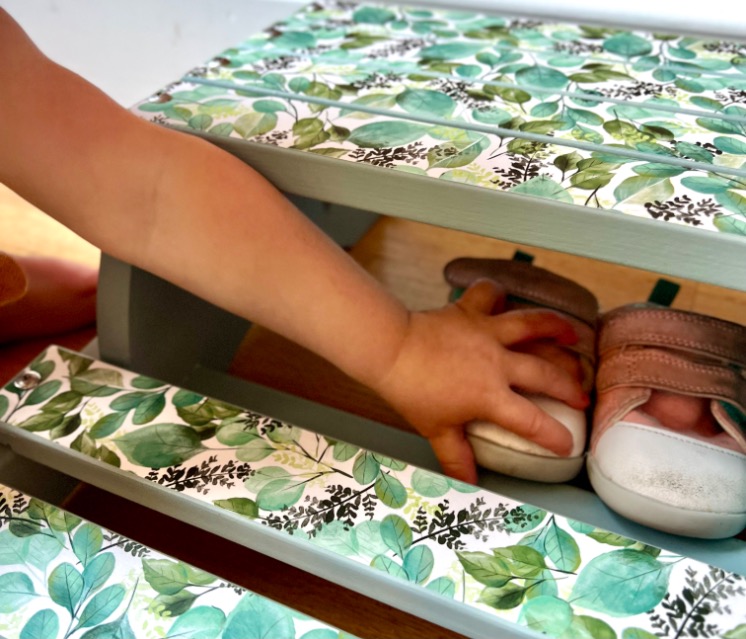
I measured carefully, since the seat slats are a bit narrower than the step slats. I cut the scrapbook paper strips so they’d cover just the flat top surfaces, not the rounded edges — that way they’ll hold up better to all the little feet climbing on and off.
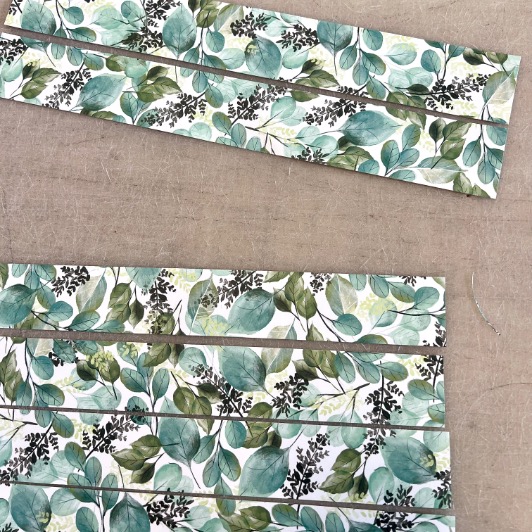
To keep the eucalyptus leaves flowing like one continuous branch, I laid each strip in order as I cut. Think puzzle pieces — it’s the only way to avoid a botanical tornado.
Step 7) Mark the Holes –
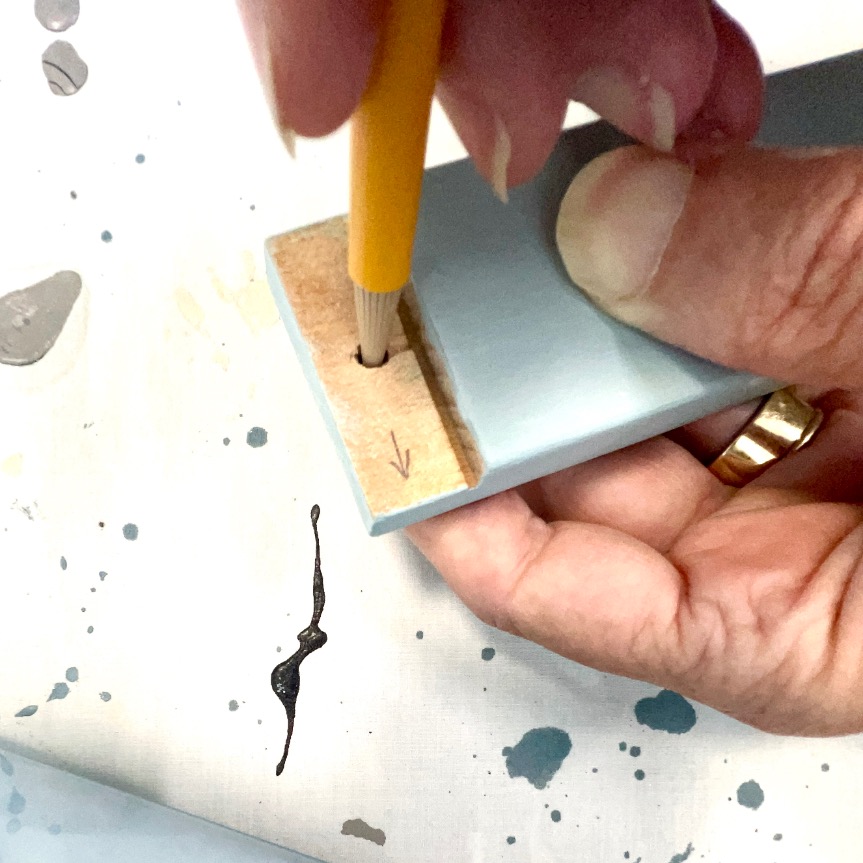
Here’s where prep saves headaches later. Because the screw holes aren’t identical from slat to slat, I held each paper strip in place, poked a pencil through the wood hole, and marked where I needed to punch.
PRO TIP: add a little arrow by each mark so you know which way the strip should face when you go to reassemble.
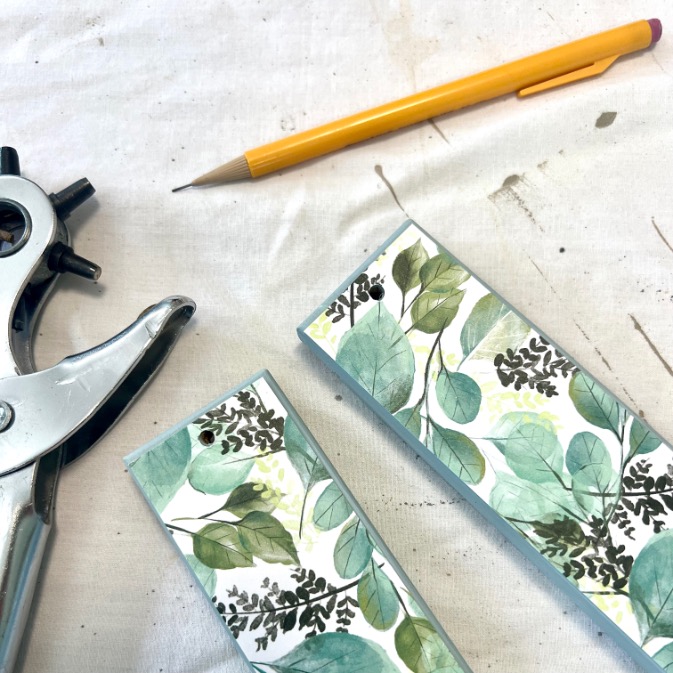
It’s a tiny step, but trust me — it saves you from holding your head sideways later, wondering why the eucalyptus leaves suddenly look upside down.
Step 8) Apply the Paper and Personal Touches –
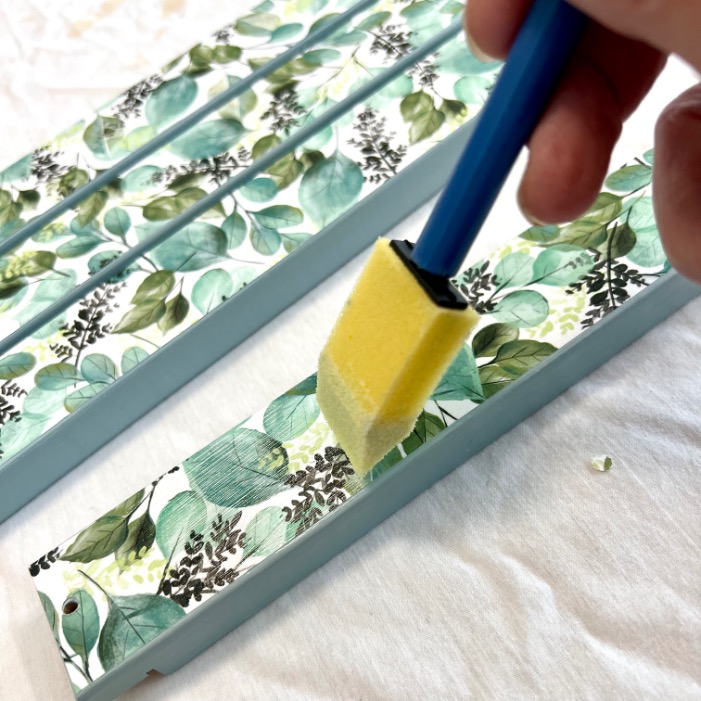
With the strips cut and ready, I attached them using Mod Podge. Easy enough, right?
Once the paper was in place, I added just one coat of Mod Podge.
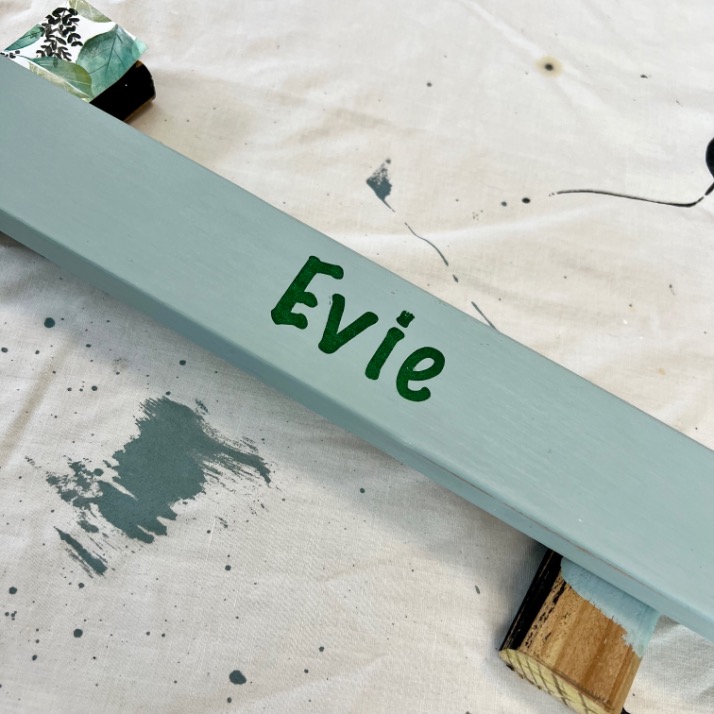
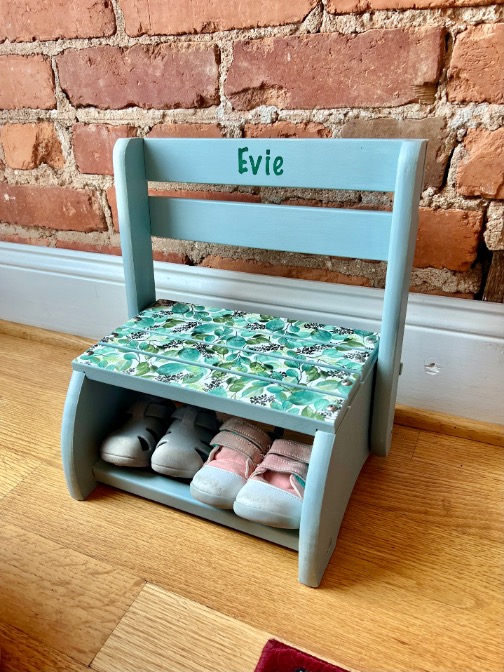
Paint and paper made it pretty, but I wanted it to be hers. So I pulled out my Cricut, cut a stencil of her name, and painted it on the underside of the step — the part that becomes a backrest when the stool flips into a chair.
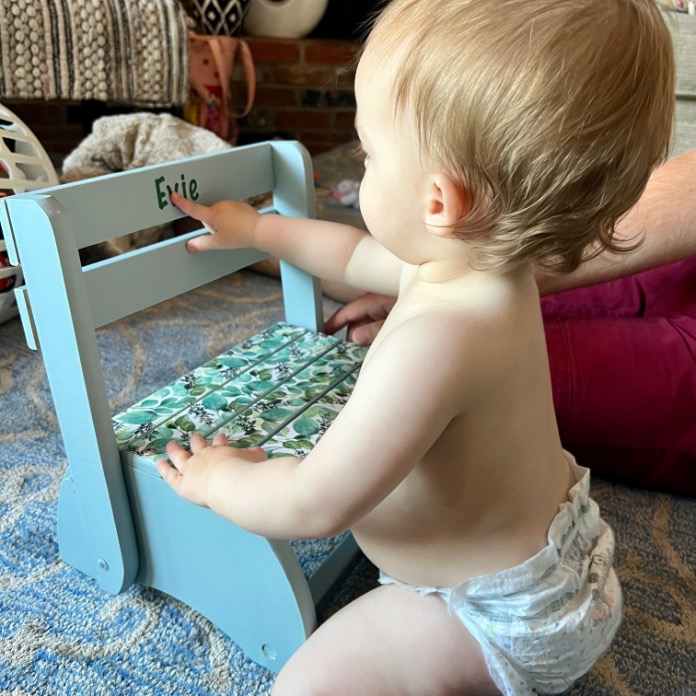
Of course, she does’t yet recognize that as her name. But I do admit my heart did several flips when she was intrigued by it. Someday, she’ll understand that’ her name tucked there just for her.
And because gifts from grandparents should always carry a bit of heart, the Hubs and I signed “Pops and DeeDee” with the date on the underside too. Someday, when she’s taller than the stool and maybe even a mom herself, I hope that little detail will make her smile.
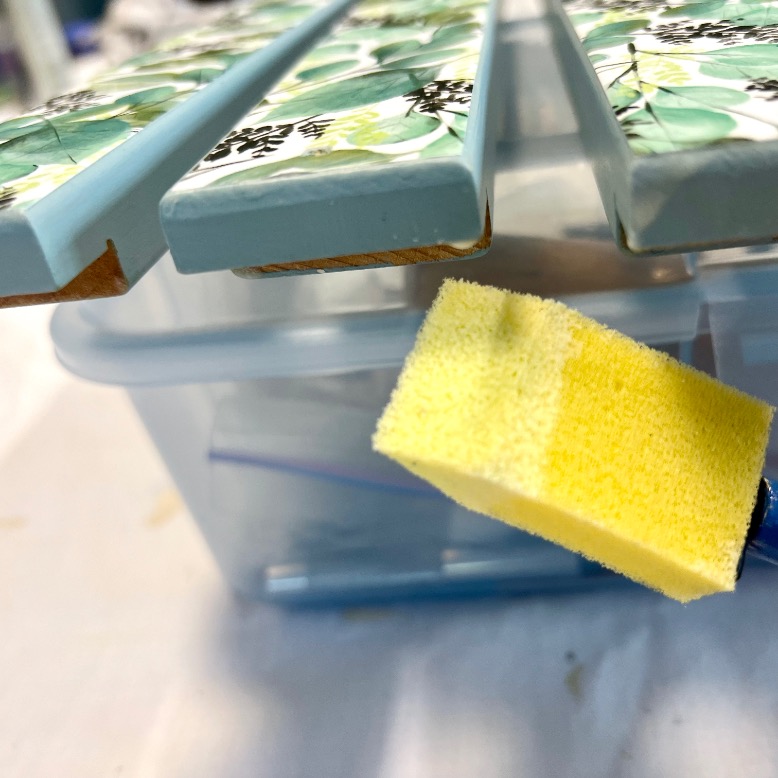
Step 9) Add Plenty of Protection –
But here’s the thing: this little stool is about to live through years of climbing, scooting, and general toddler mayhem. So a single coat of Mod Podge wasn’t going to cut it.
Once all the personalization and pretties were in place, I followed up with several coats of clear, water-based sealer.
That way, sticky fingers, juice spills, and coloring attempts can all be wiped away without worry.
PRO TIP: Be sure to wipe all corners and overhangs with the tip of your brush to remove any possible drips and lumps.
Again, several light coatings are much better than a thick glumpy, clumpy coating.
Step 10) Reassemble & Celebrate –

Finally, I reassembled the stool with the original screws (thank you, little zipper bag for keeping them safe!). And just like that, a $5 garage sale find became a keepsake ready for her big first birthday celebration.
PRO TIP: Soak old screws in warm soapy water, dry thoroughly and then burnish them with a dremel tool and pad to polish, and assure a smooth finish.
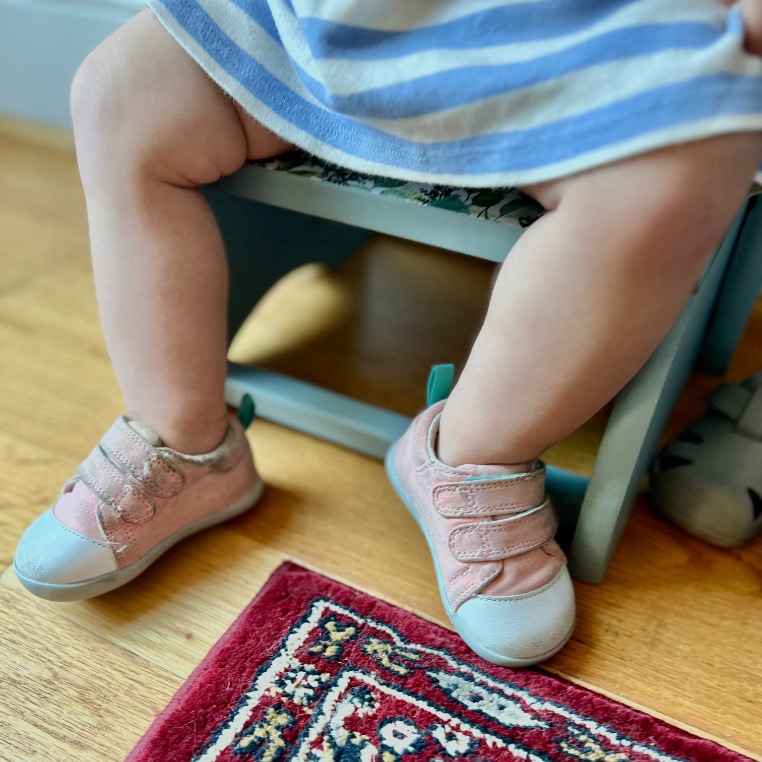
Sure, it’s still a humble step stool. But now it’s also a memory holder, a helper for washing up at the sink or for sitting still while mom and dad corral those wiggly toes into big girl shoes.
But it’s also a little piece of family love disguised in eucalyptus leaves and chalk paint.
Wrap-Up
And there you have it — a tired old toddler stool, transformed with just a little paint, a single sheet of scrapbook paper, and a sprinkle of love. Honestly, these little stools are everywhere (garage sales, thrift shops, maybe even hiding in your attic), and they’re the perfect blank canvas for a quick DIY.
You can absolutely keep it simple with a fresh coat of paint and call it done. But if you’ve got a few extra minutes and want to add some sparkle, a little paper, a stencil, or even a set of rainbow rungs can turn “dated” into “darling.”
The best part? Every time our granddaughter climbs up on hers, she’s not just using a stool — she’s climbing on a memory we made for her first birthday. And that’s the kind of project that makes my DIY-loving heart so full. 💕
This same chalk paint and scrapbook paper technique can be used:
- Paper on kiddie chairs with solid seats and backs with painted legs
- Paper on legs and apron of a kids table with the top painted and sealed
- Paper the slats on a pint-sized picnic table for the screened porch or playroom
- Combine paper and paint on toy bins — with several coats of sealer
- Combine paper and paint for embellishing a dress-up clothes trunk
Other Customization Ideas
Want to put your own spin on a thrifted stool? Here are some fun ways to make it yours:
- Ombre Rungs – paint each slat in a gradient, light to dark in one color family.
- Rainbow Rungs – go full rainbow or choose a muted boho palette for a modern vibe.
- Pattern Play – tape off stripes, polka dots, or chevrons for a bold look.
- Name or Monogram – stencil initials, a nickname, or even a favorite phrase.
- Decoupage Fun – scrapbook paper, old maps, comic book pages, or vintage sheet music.
- Nature Inspired – pressed flowers sealed under several clear coats.
PRO TIP: Most libraries save their book covers. They are often happy gift their patrons, especially if they are being used to encourage young readers.
Would Rather Buy than DIY?
You may not have the time — or desire — to find an old stool to makeover. I get that! So I found you some great alternatives:
Save this pin for when the right thrifting opportunity comes along:

I hope this fun project inspires you to look at the possibilities in some rather worn, dated treasures.
As always, do’t hesitate with ay questions you have and I love to hear your thoughts!