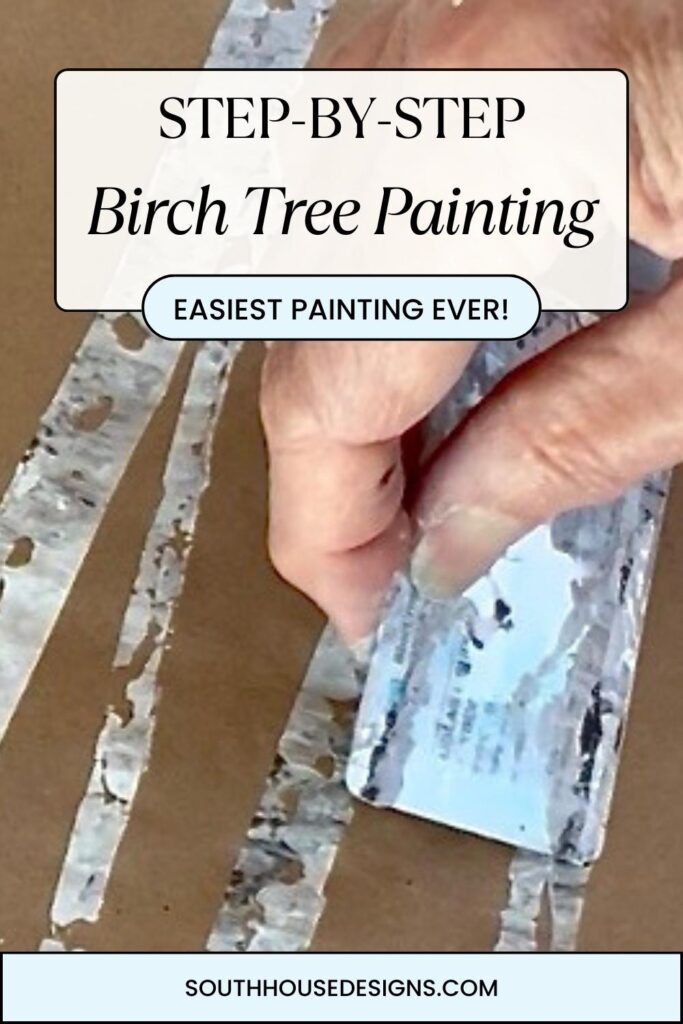
Beginners Crazy Easy Way to Paint Amazing Birch Trees
Paint beautiful birch trees with this surprisingly simple technique using everyday items. Perfect for table runners, wall art, and more!
Okay friends, I’ve got to tell you about my latest crafting adventure – and this one’s a total game-changer!
If you saw my Winter Party Themes post, you might remember I mentioned wanting to create some table runners with birch tree trunks.
It turned out fabulous, but, buckle up because this story has a plot twist, and I’m basically a professional artist now (kidding, kidding… sort of! 😉).
First, let me be real with you. I started this project thinking I’d use this super cool-looking technique I’d seen in videos where you drag paint-soaked string across paper to create birch trees.
It looked SO easy online.
Spoiler alert: it wasn’t. Like, at all. I tried. And tried. And tried some more.
It was… not pretty.
But here’s where it gets good!
While I was sitting there surrounded by paint and craft paper, feeling pretty defeated, I remembered something.
in those string-pulling videos, some used a credit card edge to make a thin line for the tiny branches and distant trees? I thought, “Well, I’ve already made a mess, might as well try this too.”
But to make the trunk, not just the thin branches.
Maybe I could pull the paint with the card instead of pulling it with the string.
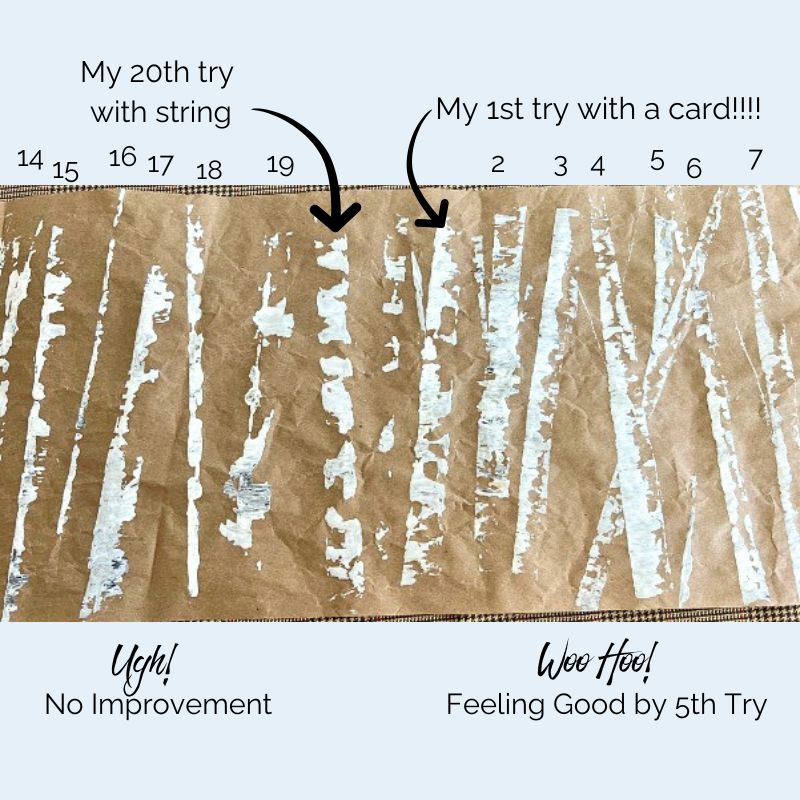
Y’all. YOU GUYS. It worked like magic!
This is hands down the easiest way to paint birch trees!
TABLE OF CONTENTS:
Let’s Get Started Painting Birch Trees
What You’ll Need-
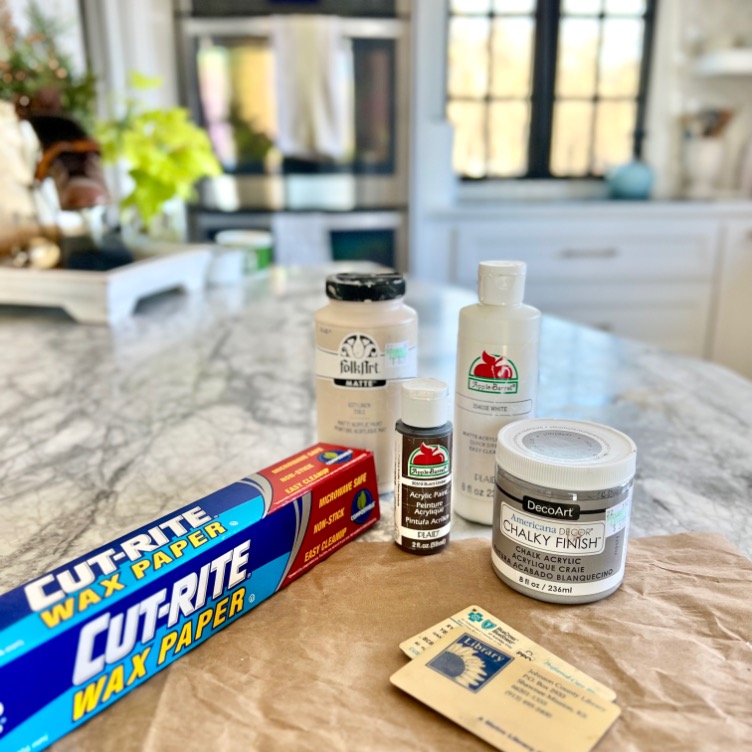
- Acrylic paints (don’t get fancy here!)
- Mostly white (I used basic craft paint)
- A little bit of black paint (or dark grey/brown) – I literally had like three squirts left in my bottle and it was plenty
- Some beige or taupe (I mixed fancy and craft paint because that’s what I had). It doesn’t take much
- A plastic card (old gift card, hotel key you “accidentally” kept, whatever!)
- Paper or canvas to paint on
- Something to protect your work surface (as always, when paints involved)
- Wax paper, parchment paper, or a disposable paper plate for your paint palette
- Roll of craft paper for a birch tree table runner
Did you notice? No paint brush! Not a flat brush, not a small round brush, No brush at all!!!
HINT: These easy birch trees could also be done in a variety blue colors or with white and all shades of earthy greens.
Before we get carried away and forget, please pin to be able to find it again.
The Fun Part – How to Actually Do It:
Dip, Dab and Drag!
TIP: Grab some scrap paper for practice (because confidence is great, but practice paper is better). Yes, practice this a bit first — but it really doesn’t take much!
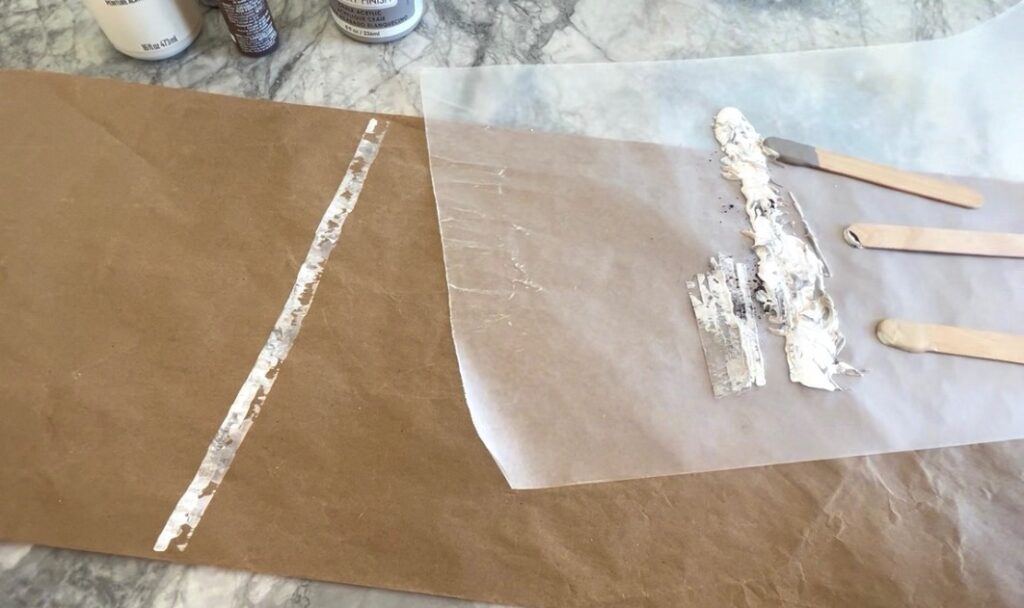
1) Prepping Your Palette-
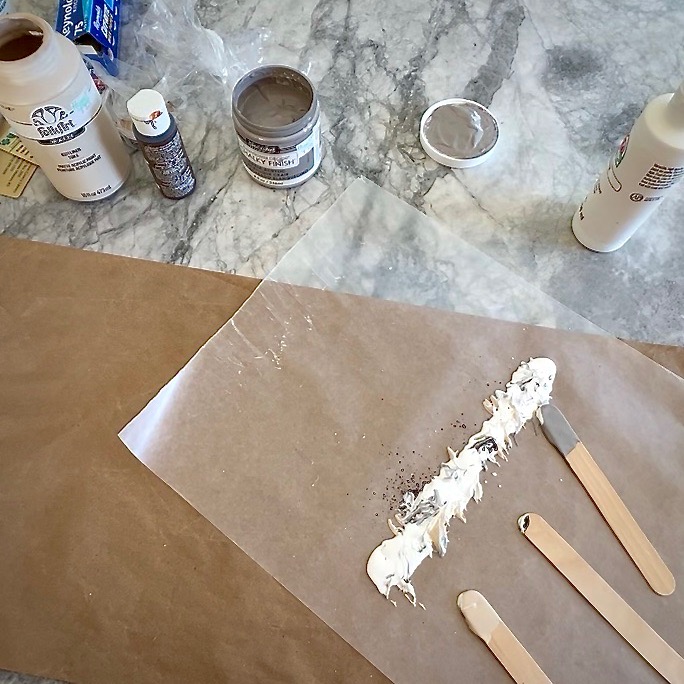
Start by pouring a generous streak of white paint on your palette. This is not the time to be stingy!
Then drop little dabs of your other colors randomly on top of the white. Think of it like you’re making a tiny paint sundae (but don’t eat it, obviously 😅).
And don’t mix them together much. Your card will do that as you dip, dab and drag.
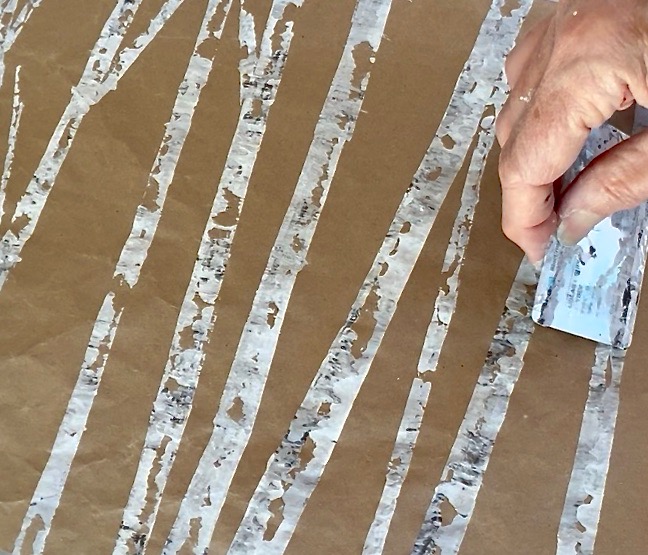
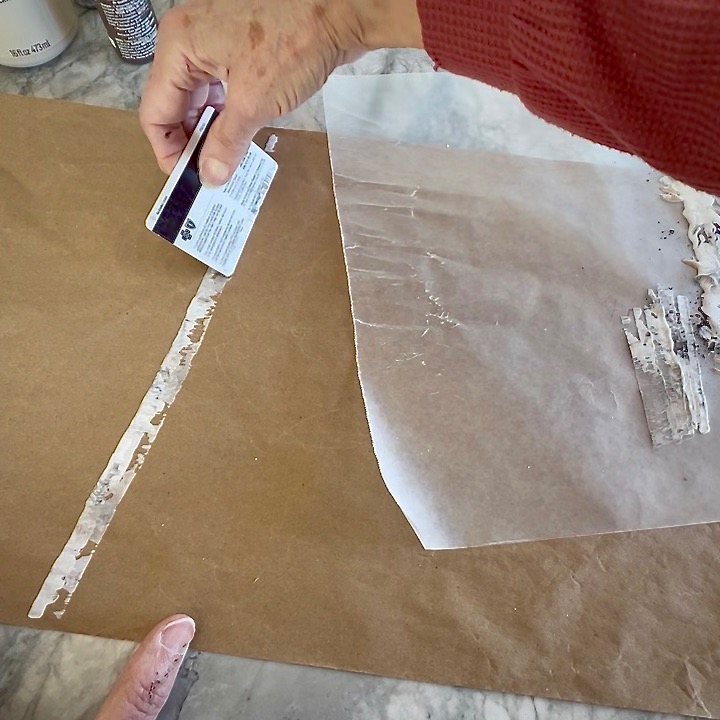
2) Dip Your Card-
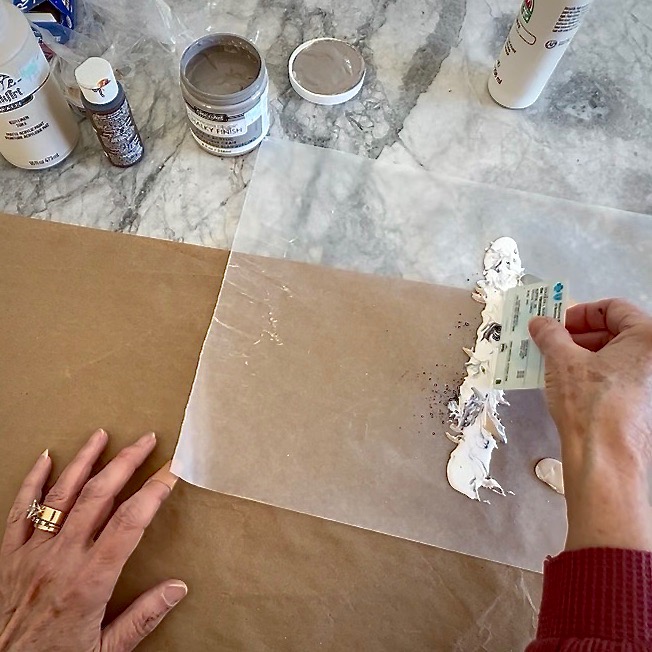
Take your plastic card and dip the edge into the paint.
3) Dab Your Card-
Dab off some of the excess paint, just like you would with a brush. You want it wet but not too much.
4) Drag the Paint-Covered Edge of Your Card-

Carefully place the wet edge of the card on your paper (or canvas) and drag it slightly to one side as you pull up. Keep doing this, moving upward to create one side of your tree trunk. Each time you drag, go about the same distance to the side for that one trunk.
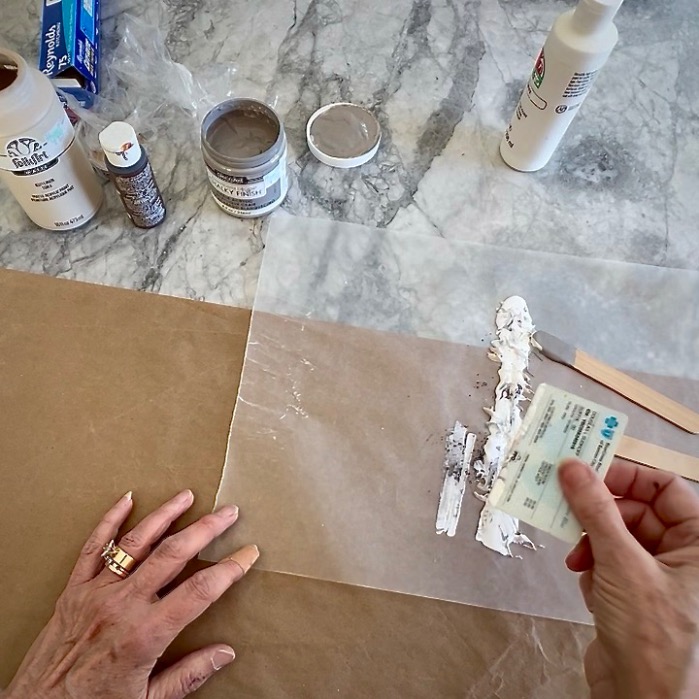
The stroke length determines the width of that tree. Short strokes make thin narrow trees.
For the other side of the trunk, place your card edge parallel to what you just did and drag inward toward your first marks.
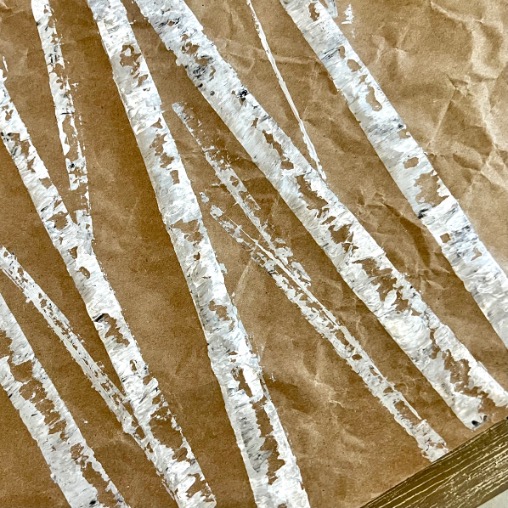
Here’s the cool part – sometimes let those white areas overlap, and sometimes leave gaps. The inconsistency and smudges of dark grey, and beiges is what makes it look realistic!
PRO TIP: You don’t actually want a solid trunk!
Those spots where the colors blend and overlap? That’s what gives your trees depth and makes them look like actual birch trees instead of weird white stripes. Those little black marks are iconic birch bark markings!
And you want some overlapping trees and some with larger gaps between, some growing close together. Vary the angles and the straightness of the trunks. Vary the thickness of the trunks.
Basically, variety wins!
Tips for Adding Branches
(AKA: Making Your Trees Extra Fancy)
Want to add some branches? Here’s a little trick that took me way too long to figure out: When you’re ready to add a planned branch, create both sets of lines that go off to one side first (like you’re making a mini-trunk pointing diagonally upwards). Then go back and add the opposing side of both the main trunk and the branch at the same time. Trust me, it’s way easier this way!
And here’s my favorite “happy little accidents” tip (Bob Ross would be proud): If you slip up and get a weird edge, or the paint decides to be uncooperative (it happens to all of us!).
Don’t panic! Those spots make perfect places to add an impromptu branch.
Nobody will ever know it wasn’t part of your master plan. In fact, some of my favorite branches started as “oops” moments. Sometimes mistakes really do turn into the best parts of your artwork!
I’m working on a short video tutorial to be added soon. So be sure to subscribe to be notified when it’s available:
Thanks bunches! Now back to our birch trees:
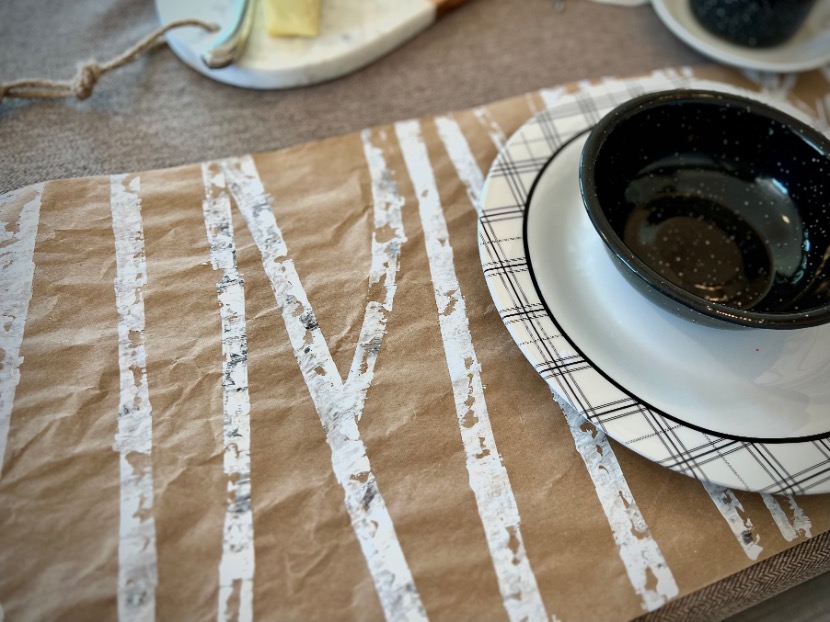
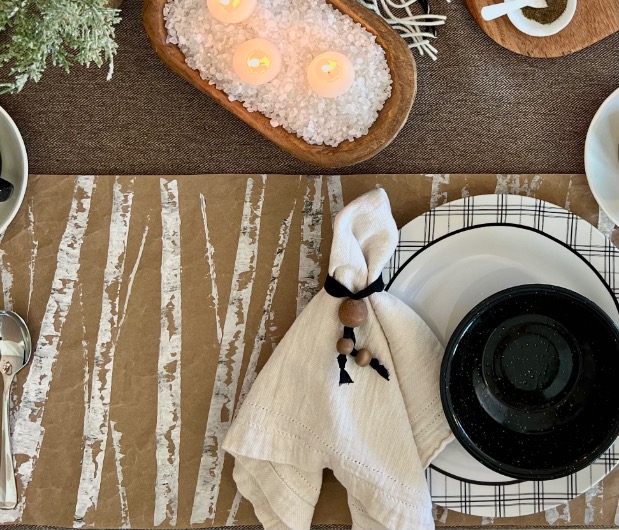
I’m not even kidding when I say my table runners turned out looking like something you’d actually want to display. Or something you’d spend pretty big money on at a fancy boutique.
Speaking of displaying… I couldn’t resist trying this on a piece of black scrap book paper I had on hand.
I got so excited about it, I even popped it in a frame for our winter display on our picture ledge wall.
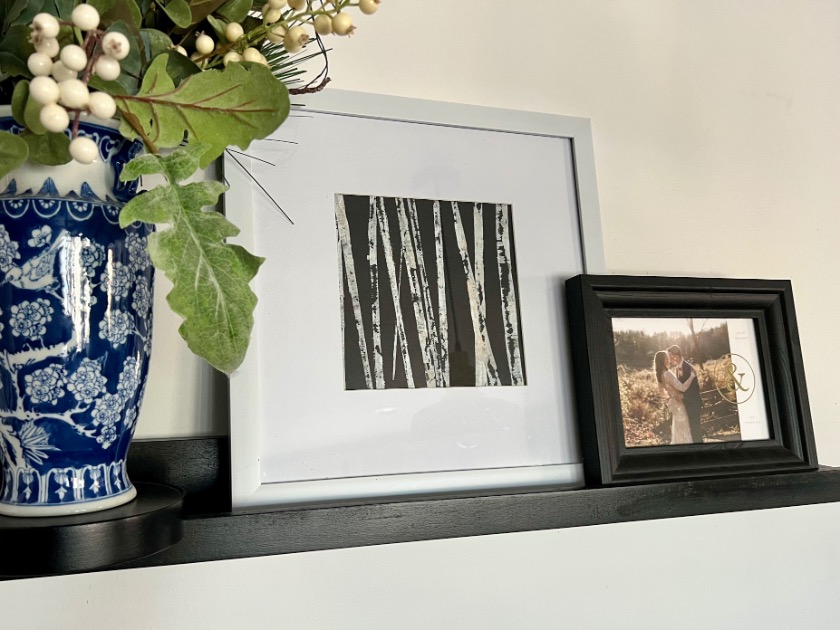
And you know what? It looks LEGIT. Like, “I should probably add these to my Etsy shop” legit (I’m not, but let me have this moment 😂).
I’ve got so many ideas brewing for other ways to use this technique for home decor and beyond.
Stay tuned because if any of them work out the way I’m picturing them in my head, you’ll definitely be hearing about it!
Grand Takeaway!
The moral of this story? Sometimes the “easy” way isn’t actually easy, but when you keep playing around, you might stumble onto something even better. And you might just end up feeling like a real artist in the process!
Have you ever had a craft fail turn into something awesome? Drop a comment below – I’d love to hear your stories!

Gorgeous Diane! I love how easy this looks!
Thanks bunches Cindy! I’m just loving them.
This DIY looks like so much fun! Your trees look amazing! So glad the card worked!
Wow, those trees turned out beautifully! I really want to try this now. I’ll be featuring it today at Thursday Favorite Things. 🙂
Thanks so very much Pam! I have to say this project makes me happy dance. And the one I framed gives me a boost every time I walk by it.
Hi Diane. I’ve got several Birch Tree things to try but after seeing this…I’m SO gonna make it my first one. Looks fantastic. Thank you so much for sharing.
My pleasure Norma! Please share how yours turn out with me.
Can not wait to try this technique.
Great job. I will try and send you a picture of what I do. Great teacher.
Yippee! I’m waiting for those pictures!
I live in the North Woods of Northern Michigan and I love Birch Trees ~~ hard not to want to recreate their beauty.
Thanks for sharing an intriguing and easy option!!
I look forward to trying it on cards and possible place mats!!
~Bonnie
Id been wondering how to do these trees, but was trying to figure it out using a brush, and I was sure this was a no go. But you found the path to the trees! Thank you for sharing your great find in the woods.!
I just returned from Estes Park in Colorado. I have always loved Birch trees but seeing them up close, I wanted to bring one home. I don’t think it would survive in Mississippi!! I bought a picture instead!😂. I am definitely going to try your idea. Now, do you have a trick for painting those beautiful dancing leaves?
Yes, those darling little twinkling leaves. You’re right they also appear to be dancing and twirling.
I don’t have a trick for that — but you’ve planted a seed!!! Hopefully I’ll be back with that soon enough.