How to Best Organize a Walk In Pantry
Is your pantry overflowing? Here’s how to best organize your walk in pantry so you, and everyone else, can quickly find AND return items!
Simply put, walk-in pantries are the best partners in a kitchen!
Are you with me on this one?
The problem is, they’re really good at storing all the kitchen essentials, dry goods, small kitchen appliances and more.
Yes, that’s a problem!
Because they are so good at what they do, we take it for granted. We become complacent about our part of this partnership:
- We toss all the residue in, and close the door right as the guests arrive.
- We buy a second 4 lb. box of baking soda because it was a “great deal”.
- We put a bunch of cute bins on the shelves and expect the rest of the family to know what goes in them.
- We don’t take the time to plan and organize the space to maximize its functionality.
We abuse this storage super power of walk ins. They are so good at hiding our excesses behind a closed door, that before long they are no longer walk ins, but rather a dark vortex of “stuff”.
Our’s got to the point where the door could swing open partially and you had to really stretch to reach anything on the shelves. Soooo sad!
I feel your pain! But I also know that with a bit of effort and some creative thinking and planning, and a few well-placed hacks, your pantry space can become the functional kitchen pantry you dream of.
TABLE OF CONTENTS
The links in this post may include affiliate links, which means if you purchase anything using these links, you pay no extra, but I may receive a small commission that helps keep this blog running. I truly appreciate you using affiliate links whenever possible. Please know that I will never recommend a product I do not believe in!
Basic Walk In Pantry Organization:
Pull everything out. Eliminate duplicates, expired items, and anything broken or missing parts. Dump everything you don’t need.
If it’s a non-food item that still has some life to it, drop it off at a local thrift store. You know, that coffee maker you replaced with the latest must-have.
If it’s a food item, you just have too much of (thank you, Costco) or you don’t think you’ll use, donate it to an area food bank.
Just like the toy room, like your desk, like the garage (only cleaner and tastier), start by grouping similar items together.
For your pantry items, start with broad categories like food vs. non-food items.
Then break those down into smaller categories. Food could be baking ingredients, canned goods, cereals, snacks, beverages, fresh perishables, seasonings, etc.
The non-food items could be small appliances. extra dishware, cookware, medicine and first aid, baskets, plastic to-go boxes, cooking tools, baking tools, etc.
Your piles will probably be similar to mine, but certainly not the exact same.
The more you can break them down, the better your organization will be.
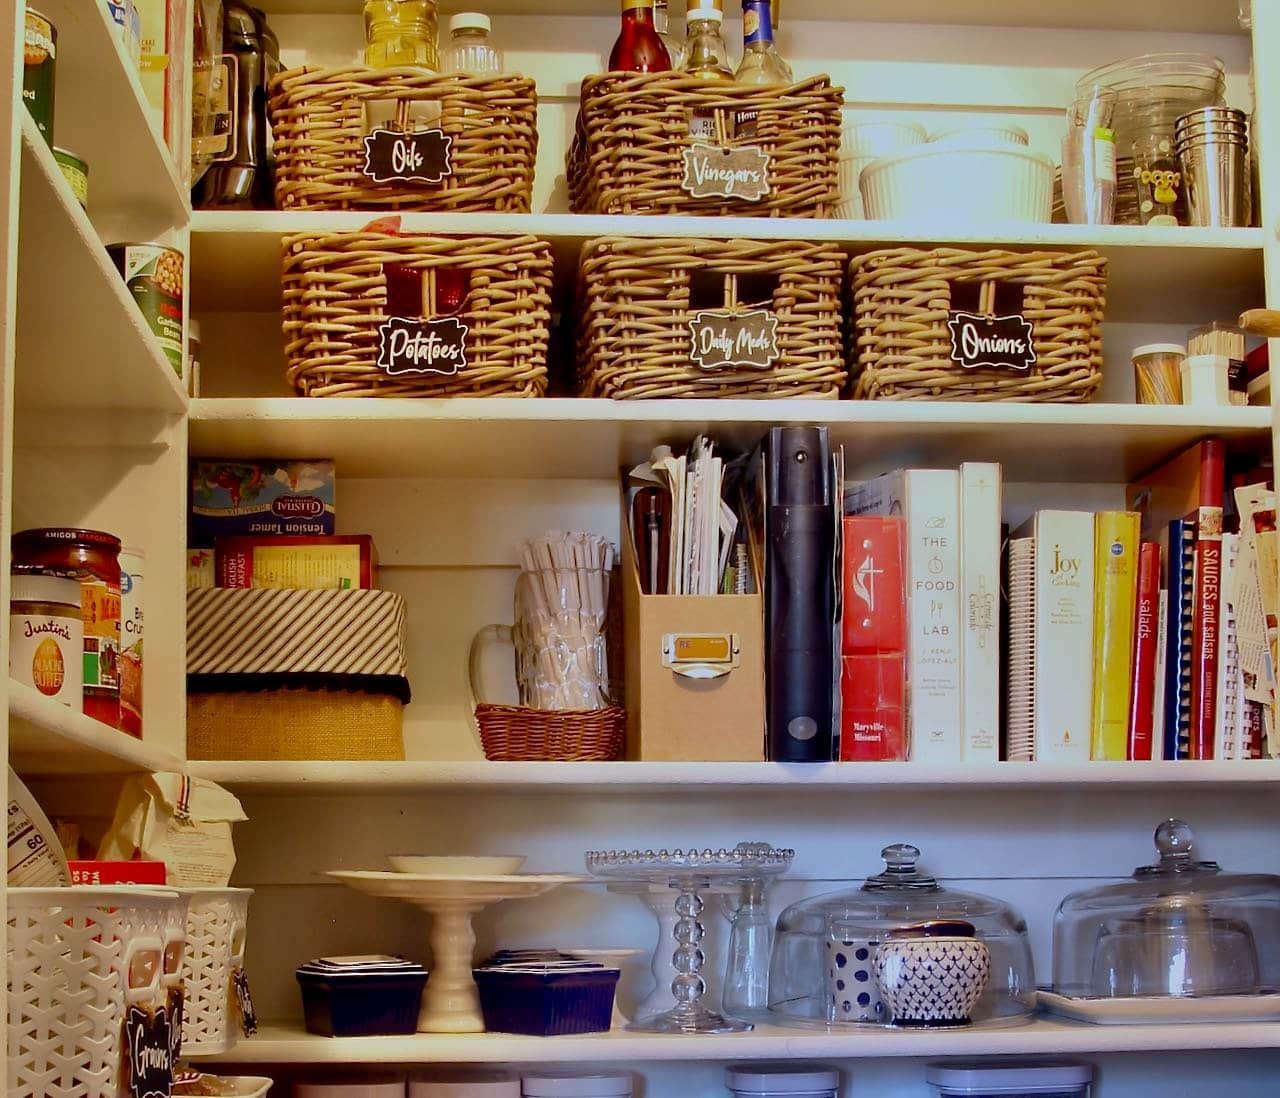
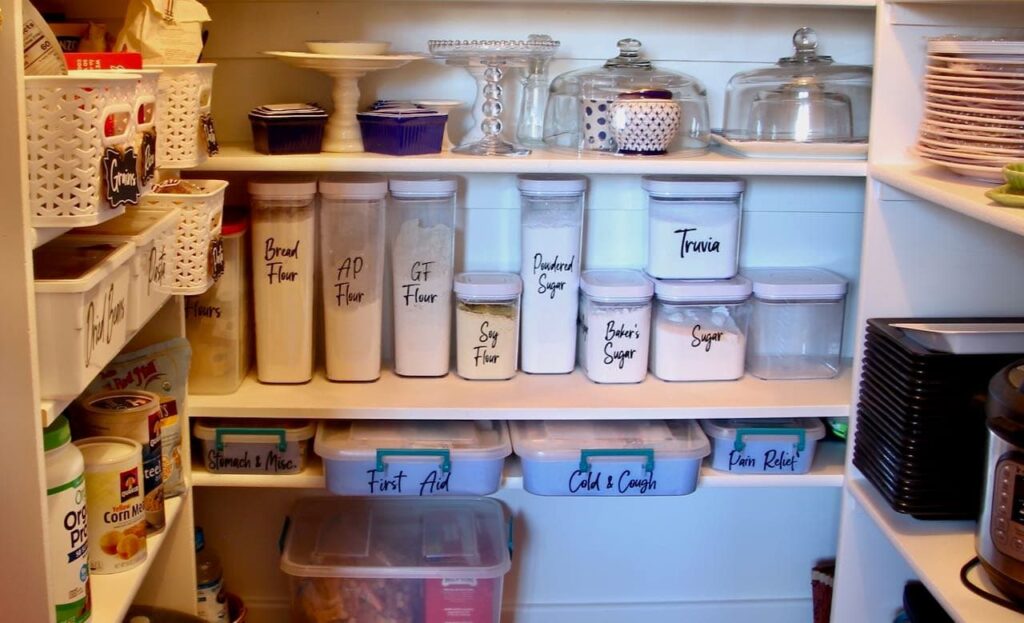
I started out with a solid plan for our pantry when we had the house remodeled and we moved in.
Notice the North wall (on the right) and just a bit of the West wall (straight ahead) is all dishes, cookware, small appliances and kitchen tools. No food there! It just needed a little cleaning and straightening. I did eliminate one coffee maker and the large dehydrator that I have not used since the move.
If your available space is a small space, think about each category of items you are planning to put back in. Can the extra rolls of paper towels relocate to the laundry room? Or to shelving in the garage? How about the dog food? How about the extra cleaning supplies? Holiday dishes that you use once a year?
Here are some of the items I used. I hope it helps, and I so appreciate you using an affiliate link if possible.
Pantry Organization Bins:
Now that you have eliminated the extras, the broken and the expired, and your items are grouped, you can easily see how much storage space and what kind of storage space each of these needs.
A stack of dishes, just needs the shelf space, but the cookie cutters need to be contained in something. It doesn’t have to be fancy. My cookie cutters are in a ziplock bag sitting on the stack of pie pans.
For food storage, I suggest solid bases and easy clean for most items. If the bag of basmati is in a woven basket type bin, any spilt rice will fall through the woven bottom all over the shelf and then onto the floor or into the bins below. I like to keep potential messes confined.
So those really cute wire mesh steel bins? They’re cute. You love them. So use them for napkins, for K-cups, for non-granular items.
You may notice I have one set of woven basket bins. Those were the first I purchased, and they will be the last. I love the look of them. I keep bottled items in three of them and onions and potatoes in the others. But the bottles don’t stay standing straight and the woven whicker is rough sliding in and out on the painted shelves. I may replace them if I find an option that:
- has a smooth solid base
- open weave sides for air circulation around the onions and potatoes
- the right size
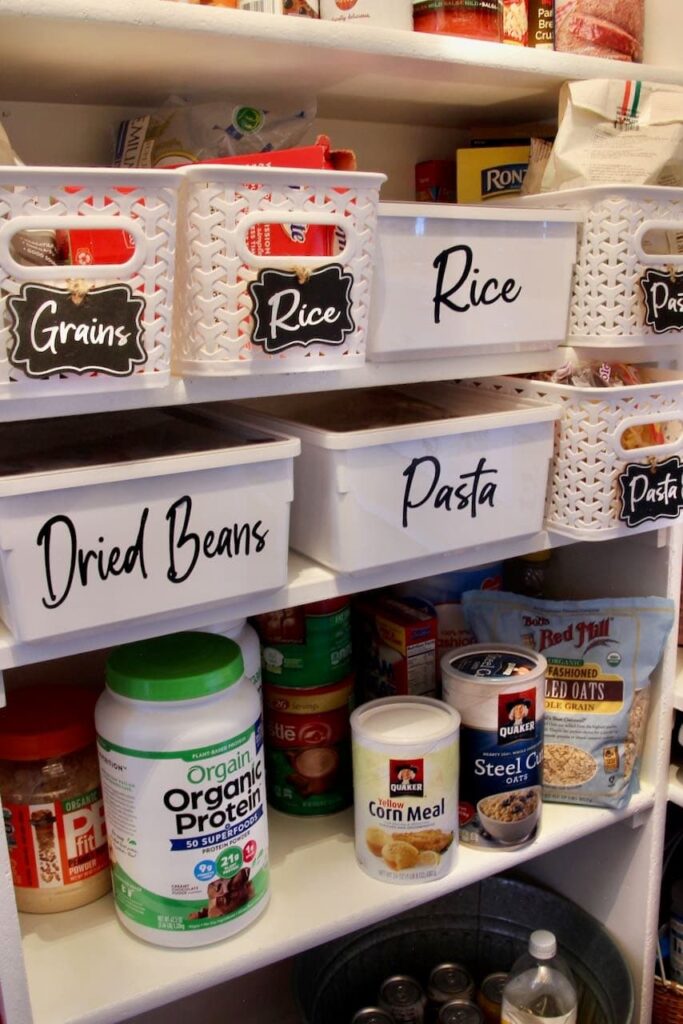
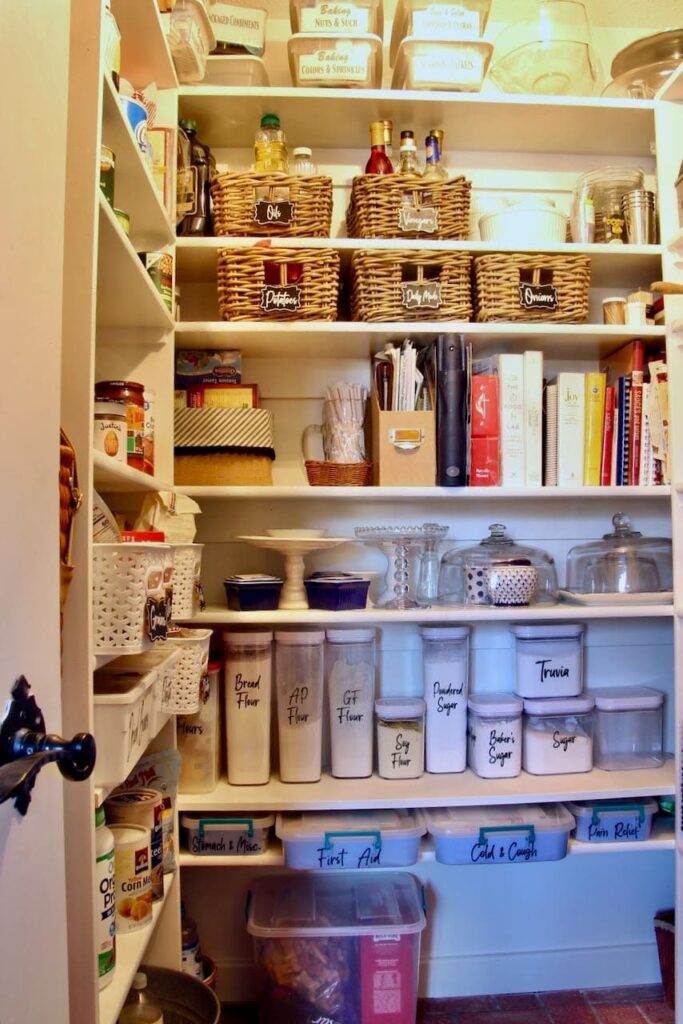
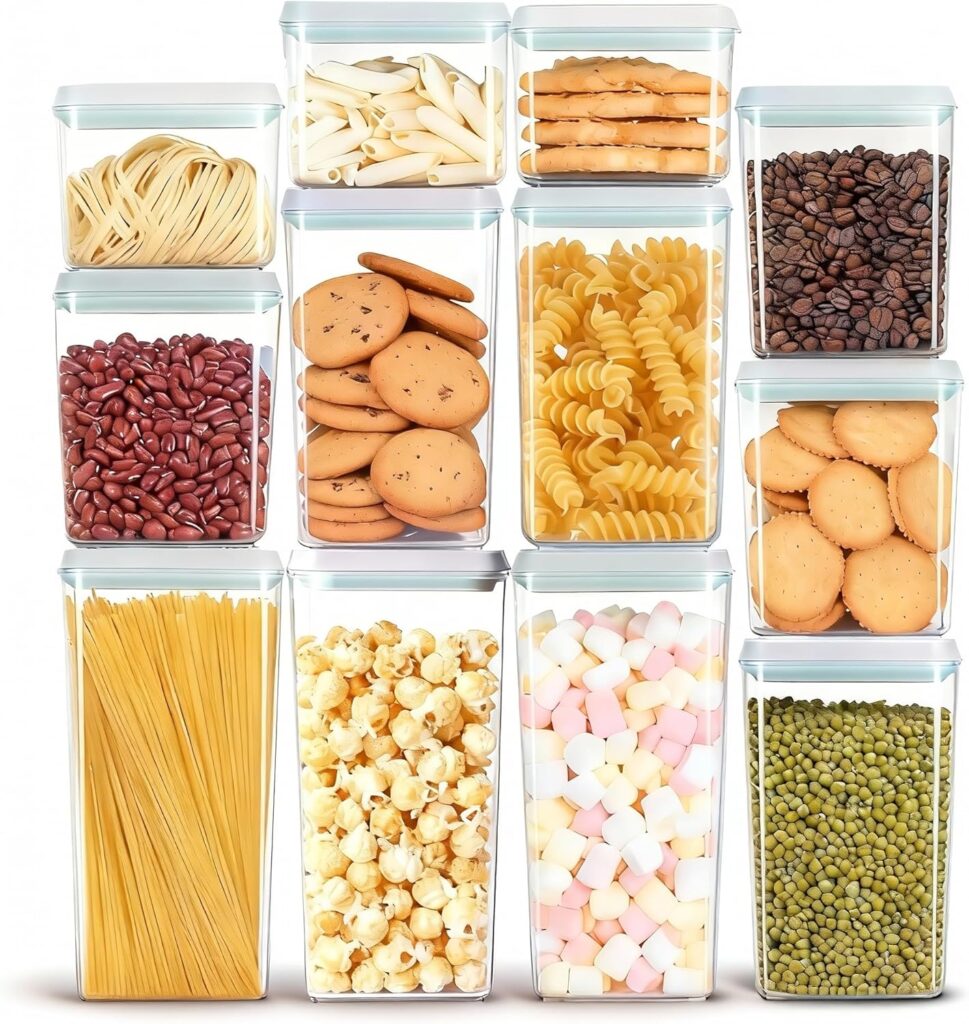
For cooking and baking staples, clear containers are a great idea so at a glance you can tell what you are running low on when making your grocery list. And make sure they are airtight containers like these. They are not a bargain, but I am loving them and well worth the price tag if you can fit them in your budget.
Plan Your Pantry Layout
Start With What Goes Where-
Depth of Shelves–
Not all pantry shelves should be the same depth.
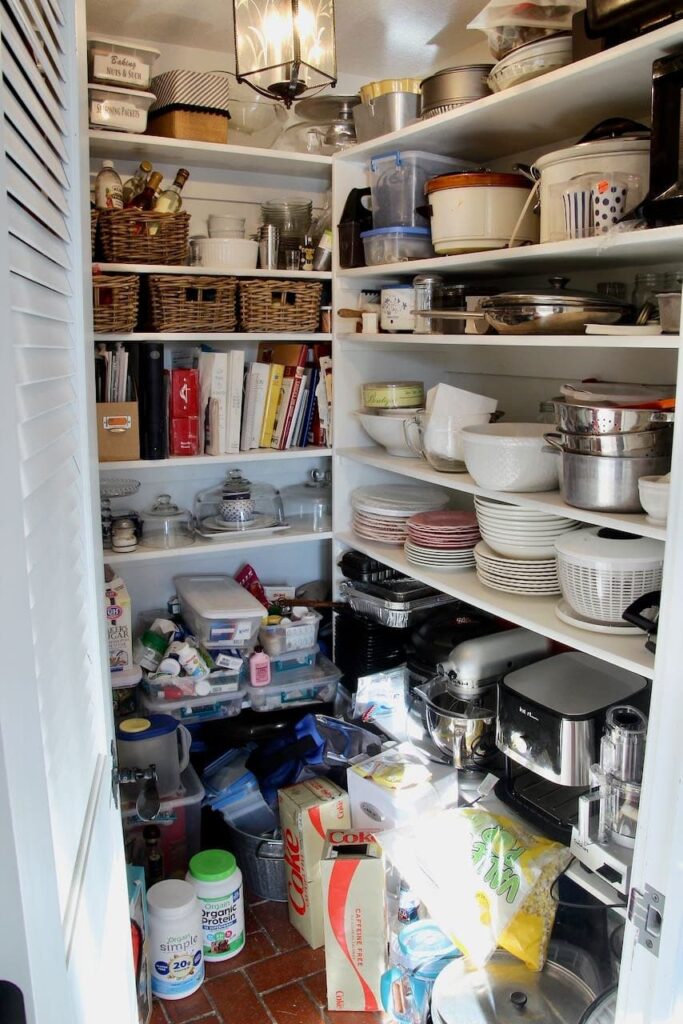
If your pantry space is large enough to walk in and have three walls of shelving, think about using deeper shelves on one side for small appliances, serving dishes, baking dishes and such. Then shelves on the other side not so deep to store food, like canned goods, cereal boxes, dry foods and such.
In my pantry, the shelves on the left and straight ahead are 11-inches deep. The longer wall of shelves on the right are 16-inches deep. This is combination functions best for our kitchen and cooking. My mantra: function first, always. This works so much better than two 14-inch deep shelves.
All the small appliances, baking and cooking accoutrements take more space than the food items. So it makes sense to put their deeper shelves on the longer wall.
Deciding which wall to designate for food storage, was dictated by the visuals from the door. The door is often left open because it is not seen from anywhere else but within the kitchen. No matter what, the food storage always looks busy and a bit chaotic — all those can boxes and bags! So I wanted that tucked behind the side wall of the shelves.
What Goes Up, What Goes Down—
Start with those items you use the most, but are also the most difficult to move. For us, my standing mixer! This beast is heavy, but indispensable. So it goes in the most easy reach spot, next to it is the food processor and the blender, etc.
On the very top are items that are either really easy to access or are seldom used.
The lower shelves are easy access, so again, they are great place for frequently used items.
The floor beneath the lowest shelf is currently filled with some plastic totes and milk cartons that hold awkward items. My next goal is to make rolling wood crates to roll in and out of those spaces. I’l update this post when I get to those.
Power—
Good Lighting and Electrical Outlets are essential!
I prefer to minimize the small appliances on our kitchen counters. So we use our microwave and our toaster oven in the pantry. So we planned for this when planning the layout, with shelves deep enough and added outlets right here.
Pantry Shelving Ideas
No. 1 Prioirty: Easy Access!
What’s the point of having shelves if they are not accessible, right? And open shelving in the pantry is the only way to go, assuming we are not talking about a butler’s pantry, or a pantry that is open to the kitchen.
If your pantry has a door, there is no reason to also have doors on your shelves or cabinets inside.
If you are planning a pantry layout or new shelving, do NOT let your contractor build shelves like mine. Look closely and you’ll see the corners are lost behind solid vertical panels, rather than open corner shelves. But I am stuck with them . . . for now anyway.
We were supervising the contractor part of a renovation long distance, and the shelves were installed at the end as we were running out of time. We needed to choose our battles and this is one we knew we could fix ourselves if it truly made me nuts.
The more shelves the better! Avoid stacking items if possible.
If your budget allows, do not use wire shelves. Smaller items don’t sit squarely on them and if something spills, it is not confined to just that one shelf, it trickles all the way down. Your clean-up has now multiplied!
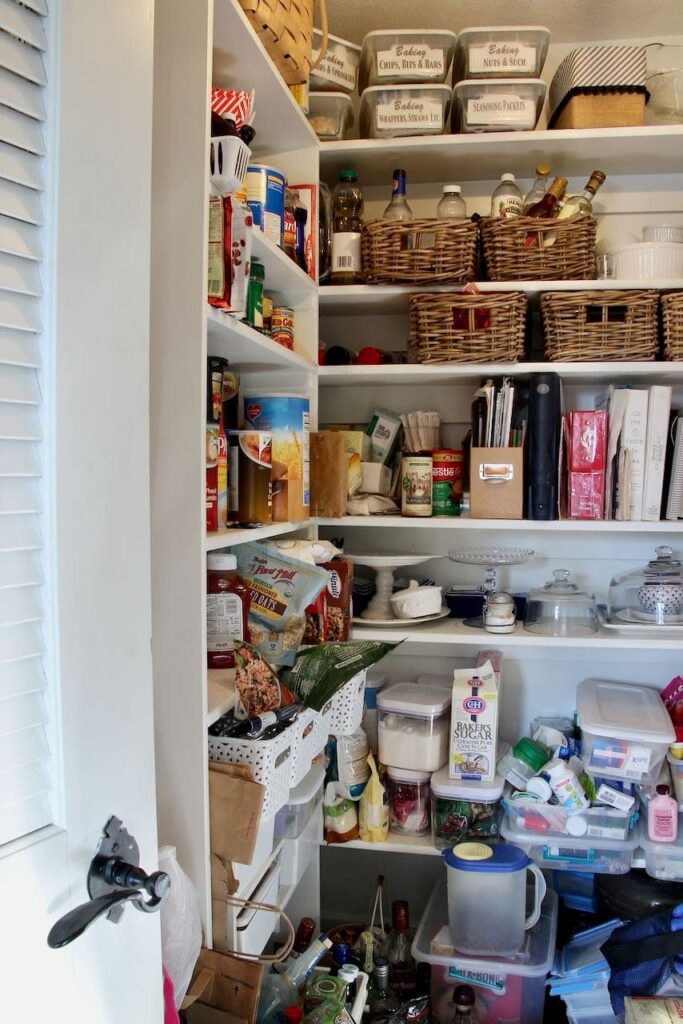
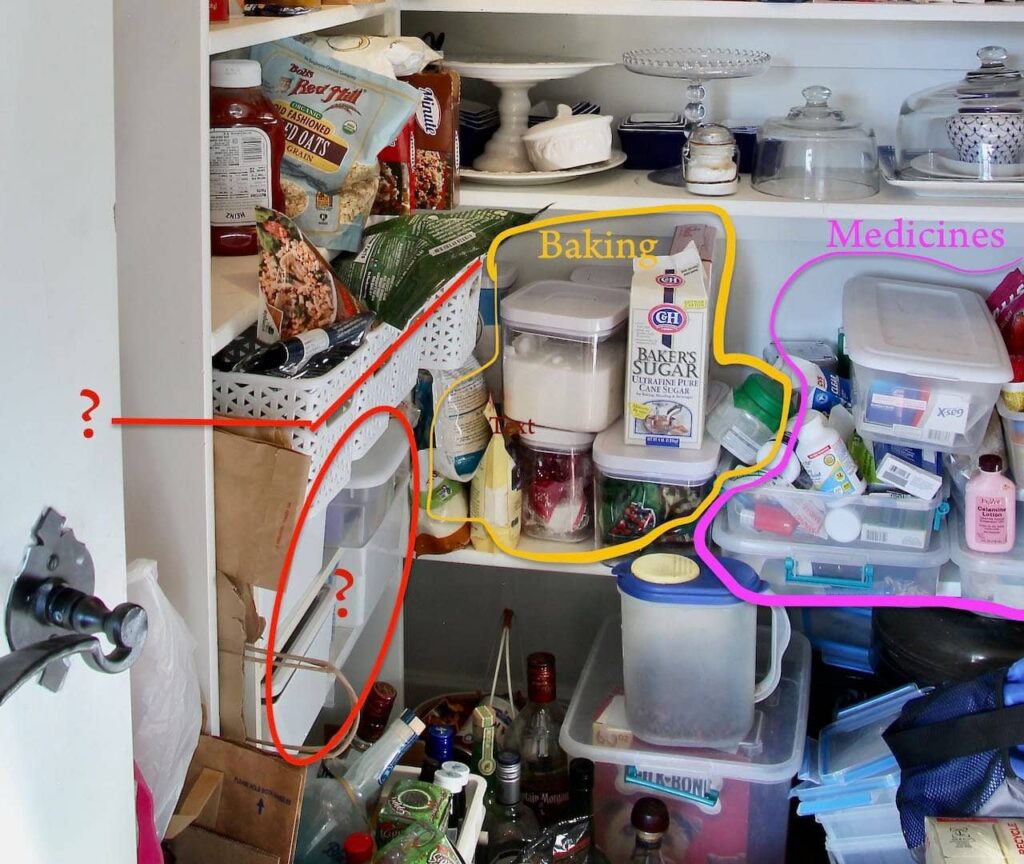
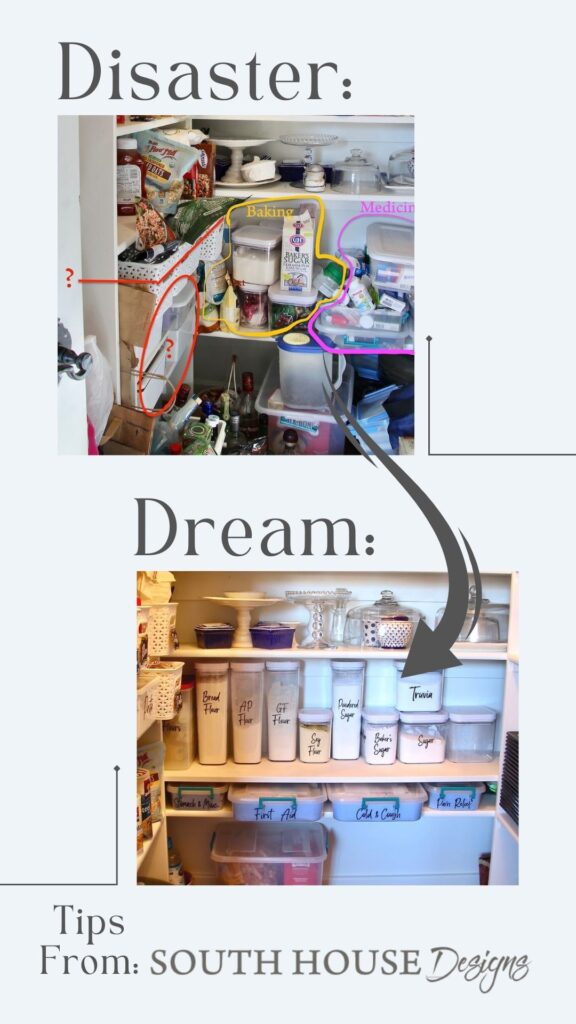
I am embarrassed to show this picture. But in the spirit of being real and authentic, I’m here sharing honestly how I analyzed what was working and what wasn’t.
I don’t even need to tell you what’s wrong here. You can see it.
I knew that with the addition of a shelf in both of these locations I would be able to separate the categories better making organization much easier to maintain.
Wood pantry shelves can be easy to make and install depending on how your pantry is constructed. Our two newly added shelves were easy, mainly because we had the right tools for the job.
And while we are talking shelves for storage, check out these conveyor-belt-esque shelves I designed for our garage (my studio). And how I hacked some cabinets to gain extra depth.
Make and Install Additional Pantry Shelves
Measure and Cut-
Yes, the old adage applies. Measure twice, cut once! Or measure 3 or 4 times.
The easiest installation is using furring strips around the three walls of each shelf. We used simple 1 x 2’s. And I found an eight foot pre-painted shelf at our local Menards and it was 11-3/8 inches wide. Exactly what we needed.
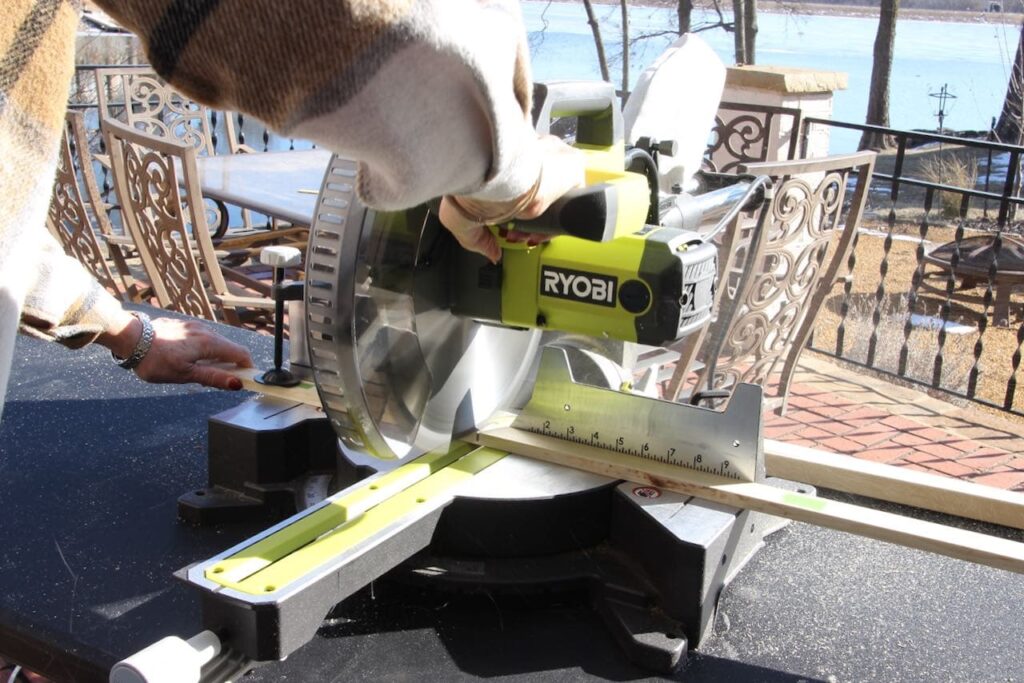
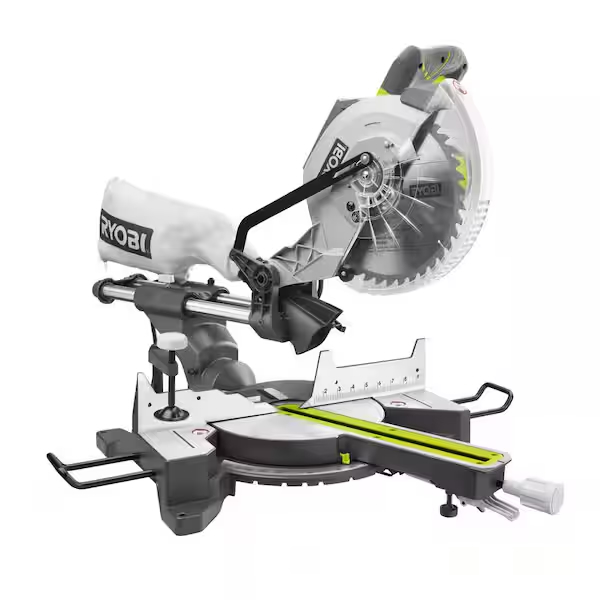
This compound miter saw from Ryobi is a dream to work with! It’s bigger than we needed for the furring strips but exactly what we needed to cut the wide shelf. Because our original board was so long, it took two to handle it so no pictures of that one in action. But it is so empowering!!!
Paint, Stain or Seal Your Walk In Pantry Shelves-
Stating the obvious here, I painted our furring strips white to match the rest of the pantry.
I just sprayed them rather than breaking out the enamel from the shelves. The furring strips have an important job, but do not get a lot of wear and tear.
Paint, Stain or Seal Your Walk In Pantry Shelves-
Stating the obvious here, I painted our furring strips white to match the rest of the pantry.
I just sprayed them rather than breaking out the enamel from the shelves. The furring strips have an important job, but do not get a lot of wear and tear.
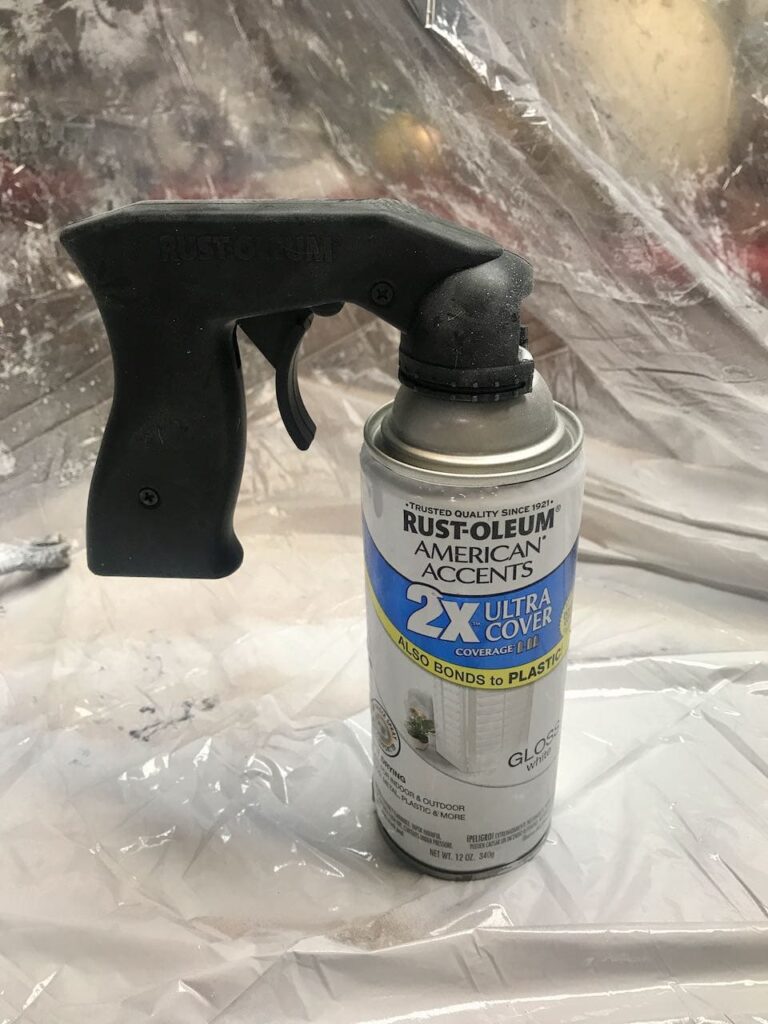
HINT: For the first time, I used a pistol grip on the spray paint. Oh My!!!! Total game changer. Why did it take me so long to try one out?
Now I’m spoiled and won’t go back. This is the one I used. Best price is when you buy a set of six. Which will last me years, since you can use them over and over again.
Install-
First we installed the furring strips.
Since we have everything grouped and binned at this point, we double checked the placement of the shelves.
Our two bottom shelves are becoming four shelves. Let me put that another way. We are adding a shelf between the two bottom shelves on the left section and the straight ahead section.
So we placed the tallest item that will be on the two bottom shelves as our guides. Then with a sample board on top of those we held the tallest item for each of the new shelves in place. This verified the placement of the shelves. We marked on the wall where we want the bottom of the new shelves to be.
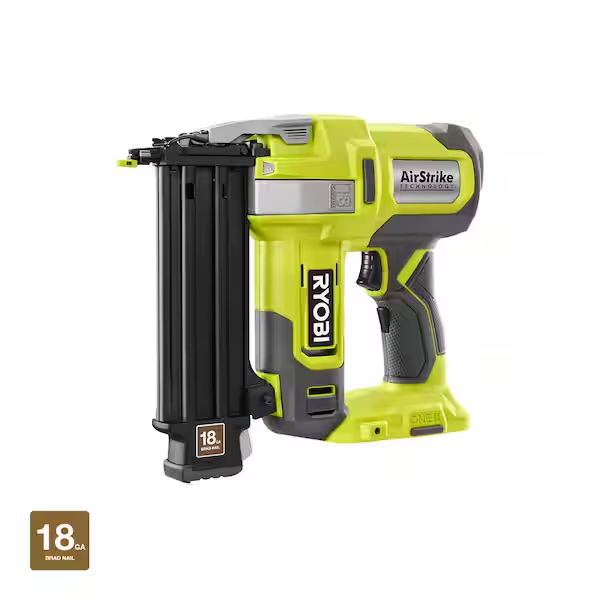
That mark now tells us the top of the furring strips. With a level in hand we attached them with our Ryobi nail gun.
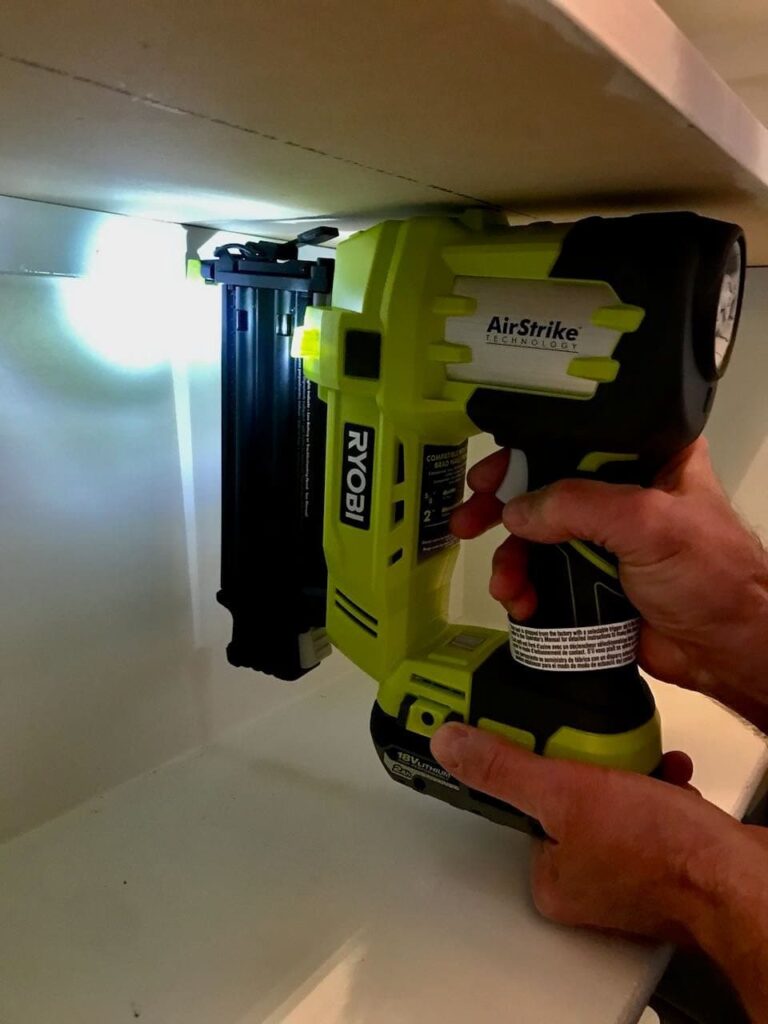
This project would NOT have happened without that nail gun! I’ve been talking about doing this for a couple of years, but we both knew with the terrible dead corners we had to work with, it would not be possible with just a drill or screwdriver or hammer. Once we had the nail gun, game on!
Oh, and that light! So much better than one of us leaning over the other holding their phone flashlight at just the right angle.
The long shelf for the west wall had to be cut in two, but we were able to cut it at the 12-inch mark so the larger piece is still supported at all 4 corner (those North wall shelves are 16-inches deep)
This is not a solid wood shelf so if when it starts to sag in the center, I am prepared to add support between the two bins on the bottom shelf.
Pantry Labels, a MUST for your Pantry Makeover
For the final step of our general walk in pantry organization, is of course labels!
I can’t stress this enough. Every bin, every basket, even the rows on the shelf for canned goods should be labeled. See how I labeled all the spice jars in our under counter pullout cabinet right next to the cooktop.
PRO TIP: Label two sides on four-sided containers, like the canisters. That way you can change their orientation and still have a label facing out.
Look back at my before pictures, I had all the bins, and all the baskets, and all the tubs I needed. They weren’t effective because they were not labeled.
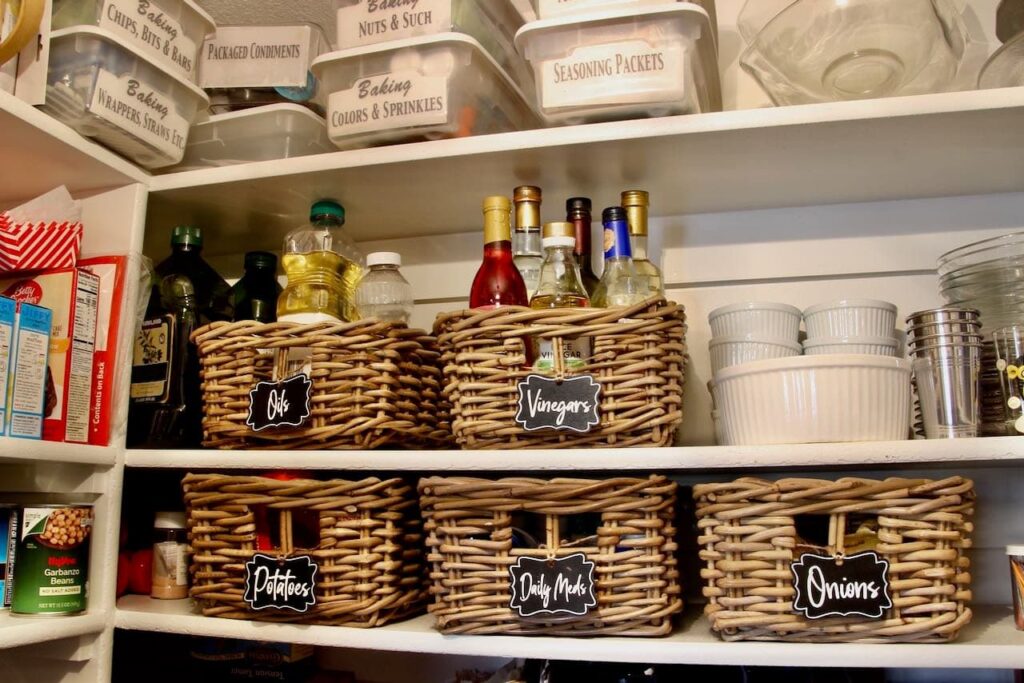
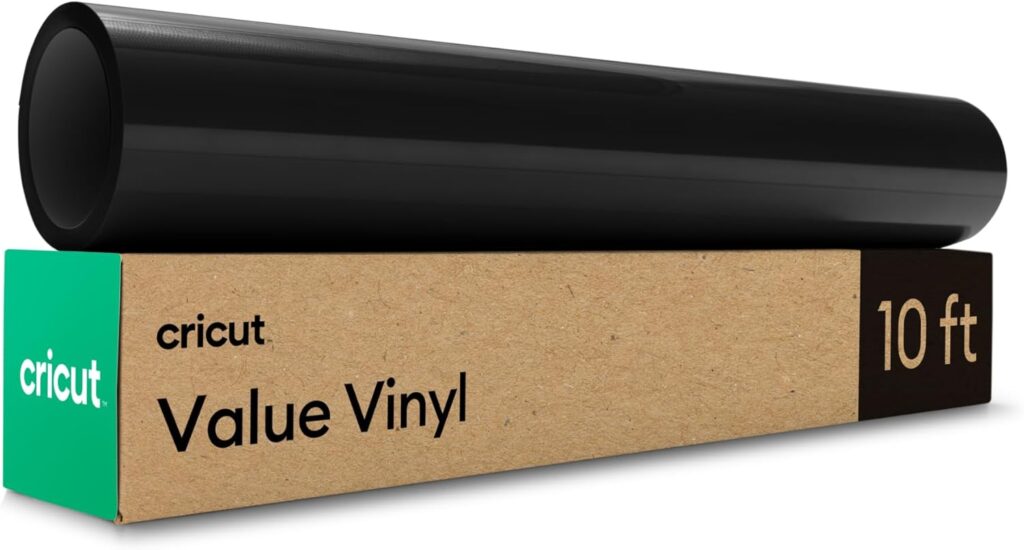
I used my Cricut for all the lettering on my labels and bins. I’m crazy about that font. It’s called South Australia..
More Walk In Pantry Ideas
Organize Up — Use the Walls in Your Pantry
It’s a fundamental tenant of storage and organizing. Think vertically!
Be sure to use ALL that wall space!
1) Behind the Pantry Door-
If your walk in pantry door swings in, you can use behind the door for flat items. I hang my baskets and trays there and the aprons are on the back of the door.
You might need more canned goods storage. You can probably create a wall of canned goods, one can deep! Talk about easy see to them it all at a glance!
Or instead of baskets, that space could be for cutting boards on picture ledges.
It’s not the most convenient, but the back of the door and the wall behind it can be fitted with a multitude of door organizers. Think about the boxes of plastic wrap, wax, freezer and parchment papers. Or it can be a great wall-mounted spice rack.
The most convenient location for spices is next to the cooktop and your prep area. But if that just isn’t available in your kitchen layout, this can be a great alternative.
2) On the Side of Your Shelving-
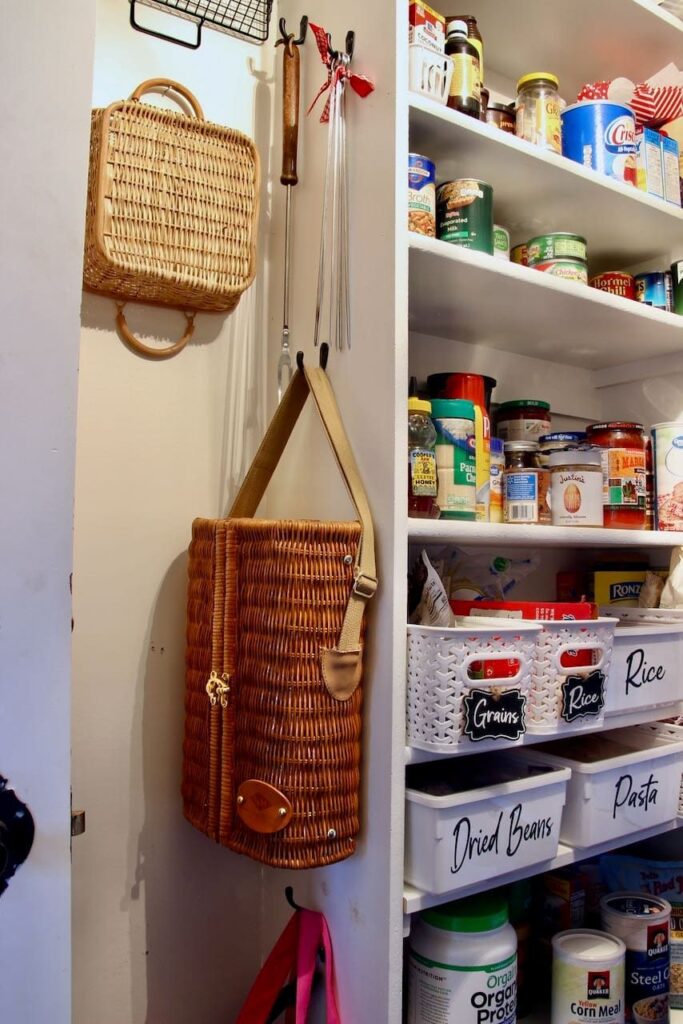
On the side of my pantry shelving, I added a few hooks for those hard to stack items. Our long bbq fork, our skewers that we use surprisingly often when it’s fire pit season, our wine picnic bag and our re-useable grocery bags.
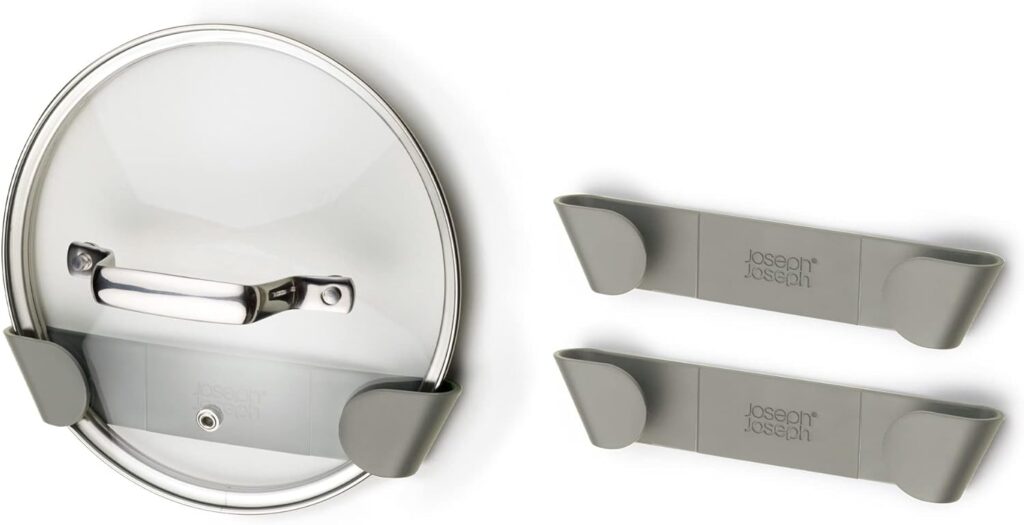
3) Think Outside the Box In Tight Spaces — Pan Lid Holders
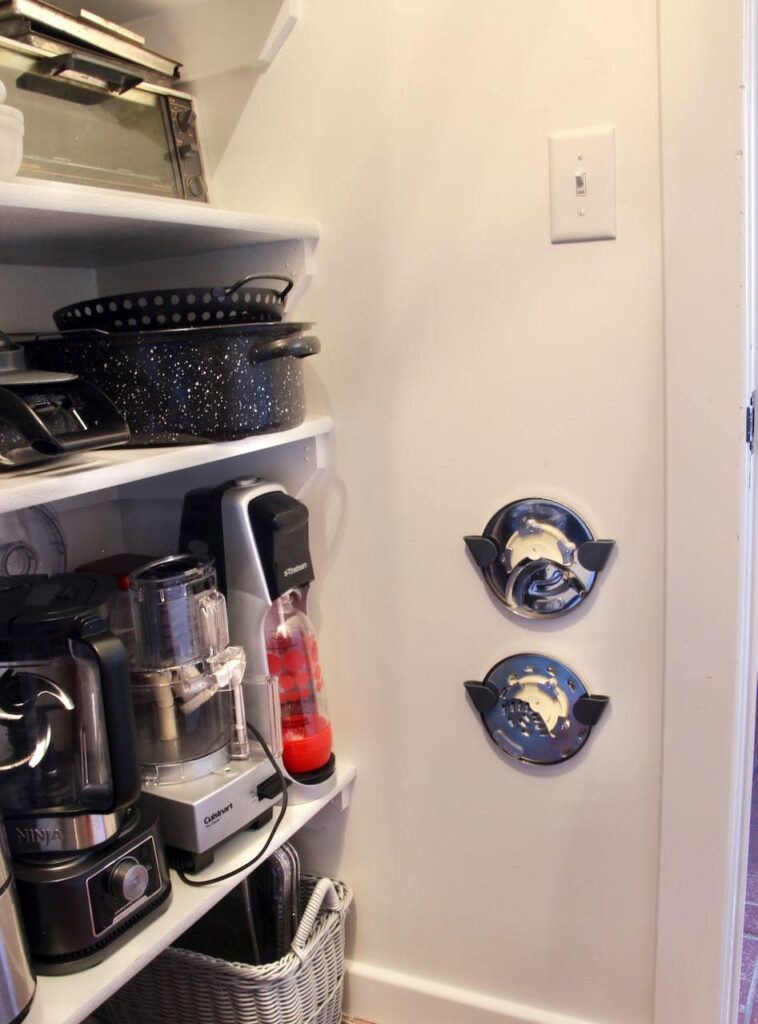
I can’t use this sidewall for things that stick out much because the items on this shelf get used frequently.
Sidenote: Those discs and blades that come with the food processor have been driving me crazy. They fall all over the shelf behind the food processor. Not anymore.
These were a GREAT find. They are actually pan lid holders. But I bought them for our food processor discs. And am thrilled at how well they work for this! You can find them here.
It’s really quite sad what can make me giddy.
CAUTION: I hung them low so they were right by the food processor. If I had little ones around, I would hang them high above the light switch.
I have them in the holder so the sharp edge is against the wall, but knowing they may not always be put back like that, I made sure they were well away from the light switch so no one would grab a blade when searching for the light.
We just found out we will have a little one around soon (💝), so you bet those will be moving up, high above the light switch.
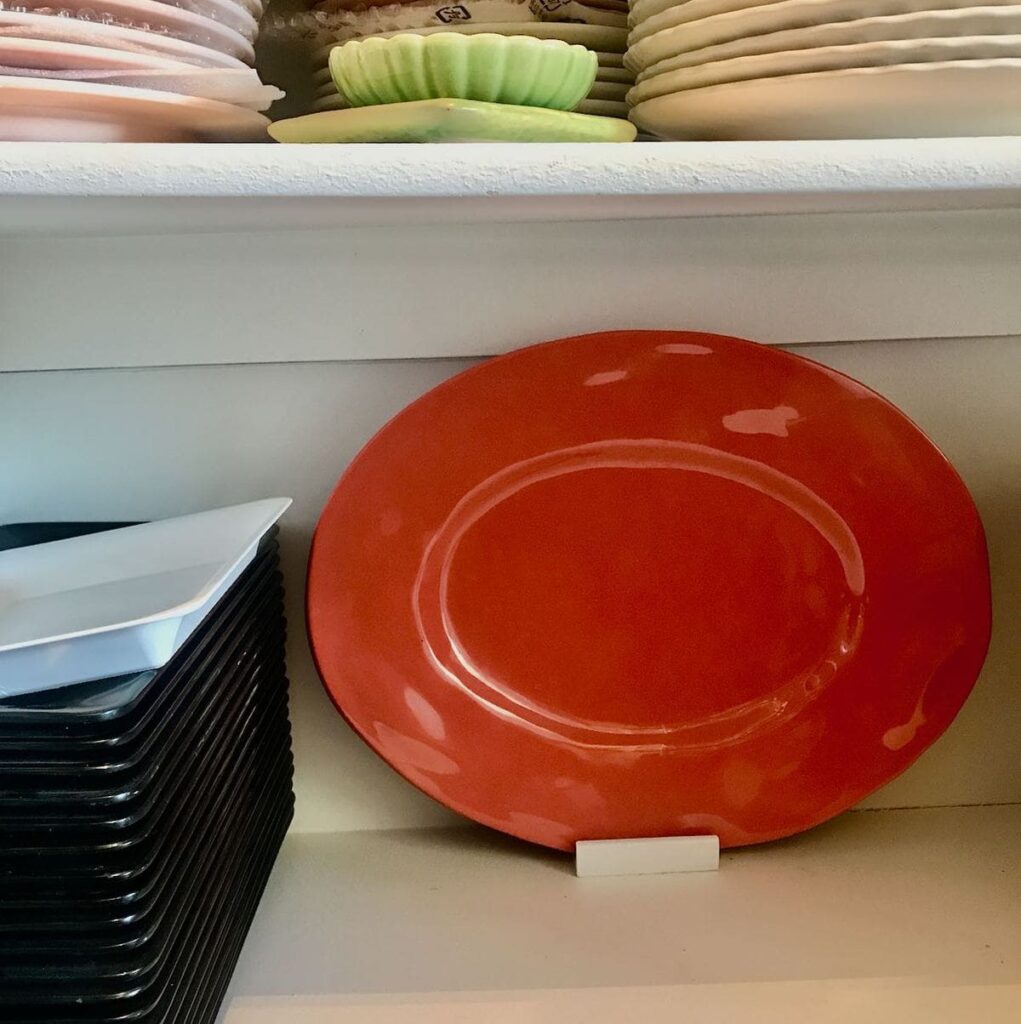
4) The Wall Within the Shelves — Lip for Platters
We’re still thinking vertically and using wall space, but this time, the walls within the shelves.
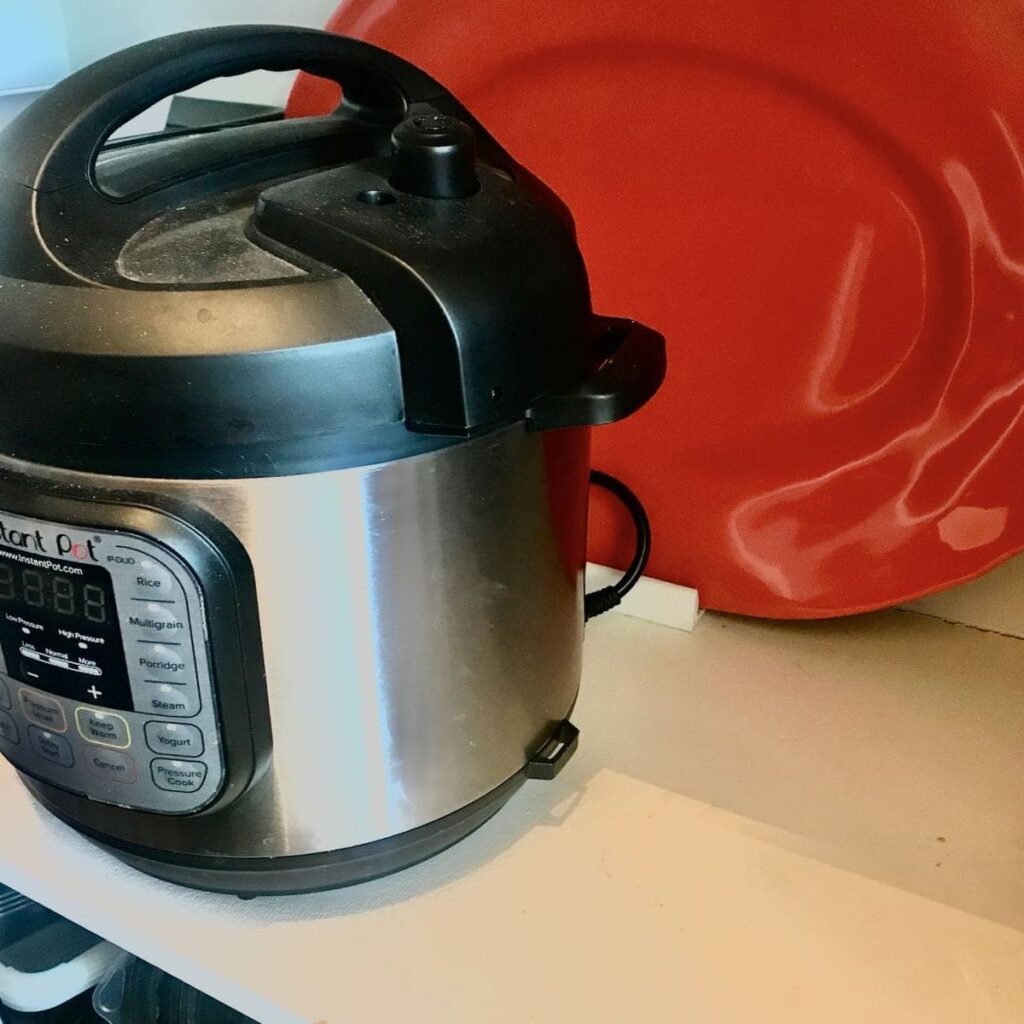
The North side of the pantry is where almost all of the non-food items reside. Those shelves are 16-inches deep. Surprisingly, there is a remarkable amount of space behind the bottom row of small appliances that is not used.
I have several large melamine platters that I use for summer fun on the patio and dock. It’s a perfect spot to store them behind the Instant Pot and standing mixer. But when you take one of those off the shelf, the trays slide all over.
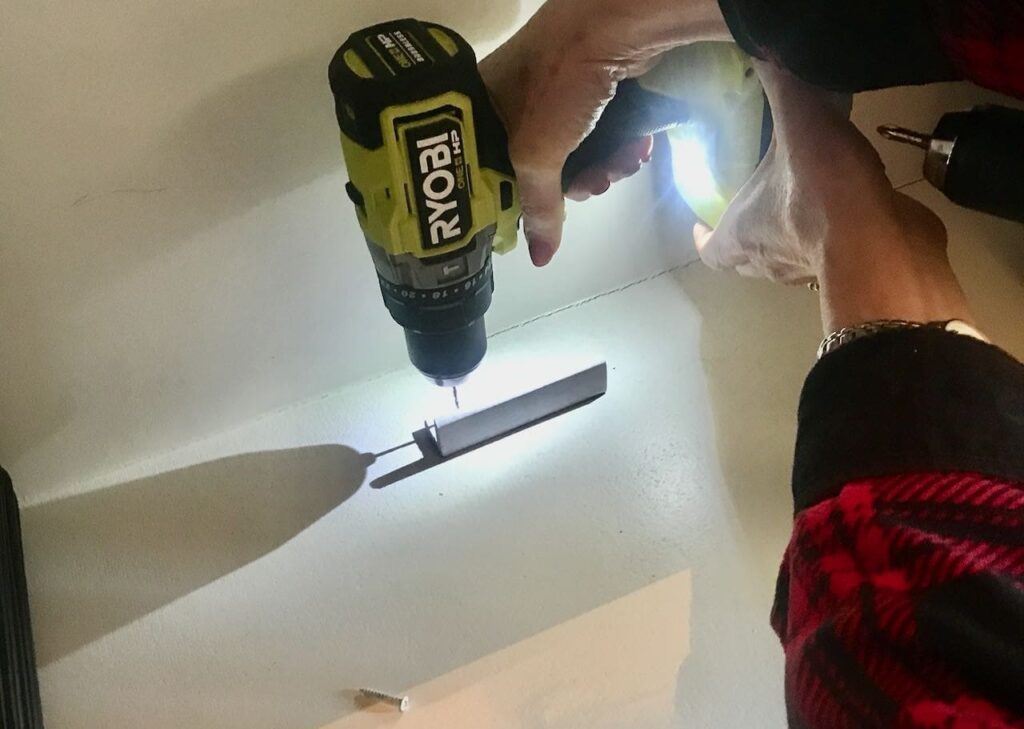
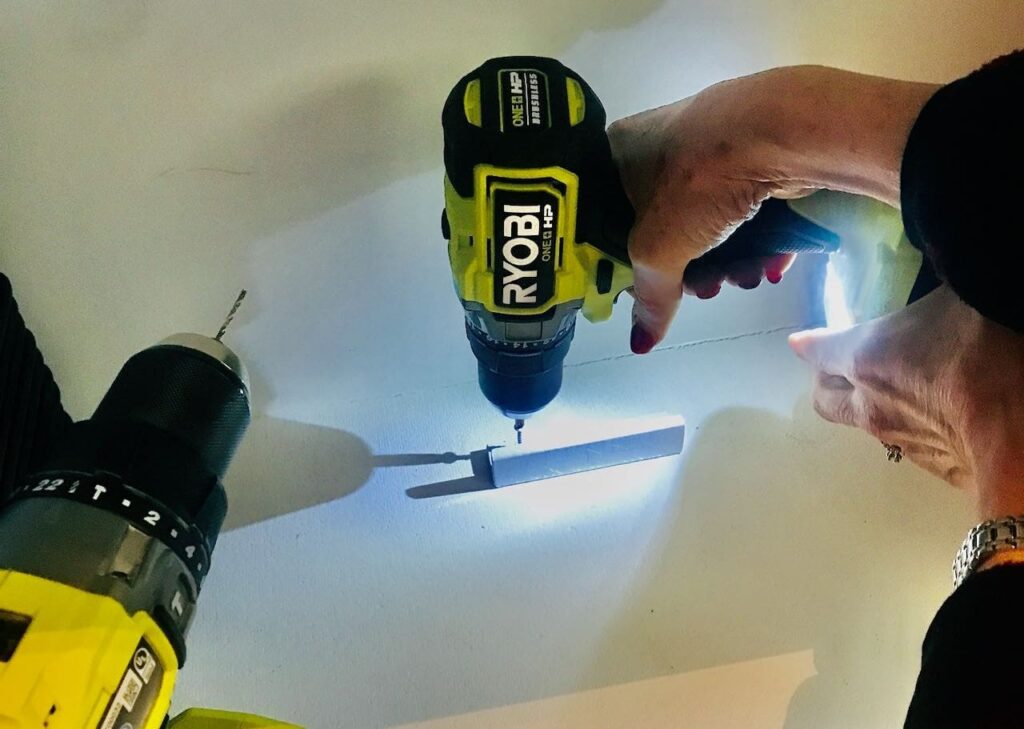
To solve this, I added a lip behind the Instant Pot to hold the platters upright. I used a short piece of scrap wood L-shaped corner trim. It is held in place by two wood screws. Be sure to pre-drill your hole so as not to split the trim piece.
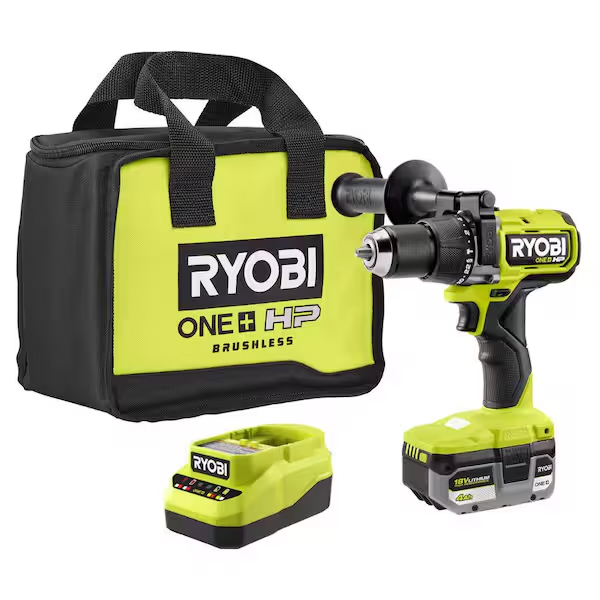
PRO TIP; I LOVE having a drill and a hammer drill, I disable the hammer function and use it to pre-drill all the holes. Then the regular drill is set with a phillips head drill bit to act as a driver.
No need to switch bits back and forth in the middle of a project. Saves oodles of time and keeps my projects moving forward.
Also on that wall, I added a couple of nails behind the food processor to hold its lid and extra seldom used accoutrements. Now they are up and out of the way.
So when thinking vertically and using wall space, don’t forget about the walls within the shelves.
And now! Ta Da!!!
What a difference. My husband was actually excited to make dinner last night. That’s how happy this Walk In Pantry Makeover makes us.
Been dreaming of adding a walk in pantry or making over yours?
Be sure to save this for when that day comes. Save it to your
Kitchen Board
your Organizing Board
your Dream Pantry Board
wherever it makes sense for you.
I hope this has inspired you! It’s amazing what two shelves and lots of labels can do!!! And don’t miss how I organized the spice jars right here
And while we’re into organizing, how about this conveyor belt-type storage for your garage? And this decorative and function storage for your bounty of faux florals and greens?
If you’ve been hanging out here, you know I am all about creative problem solving and joy-filled living. Having our pantry organized makes it function with less stress, saves us money by not buying what we already have, but just can’t find, and saves tons of time.
To me, more time, less stress and saving money is the perfect recipe for joy-filled living.
This post may contain affiliate links, which means if you purchase anything using these links, you pay no extra, but I may receive a small commission. Know that I will never recommend a product I do not believe in! I truly appreciate your support when you use my links so I can keep this blog up and running!
Here are some of the items I used. I hope it helps, and I so appreciate you using an affiliate link if possible.
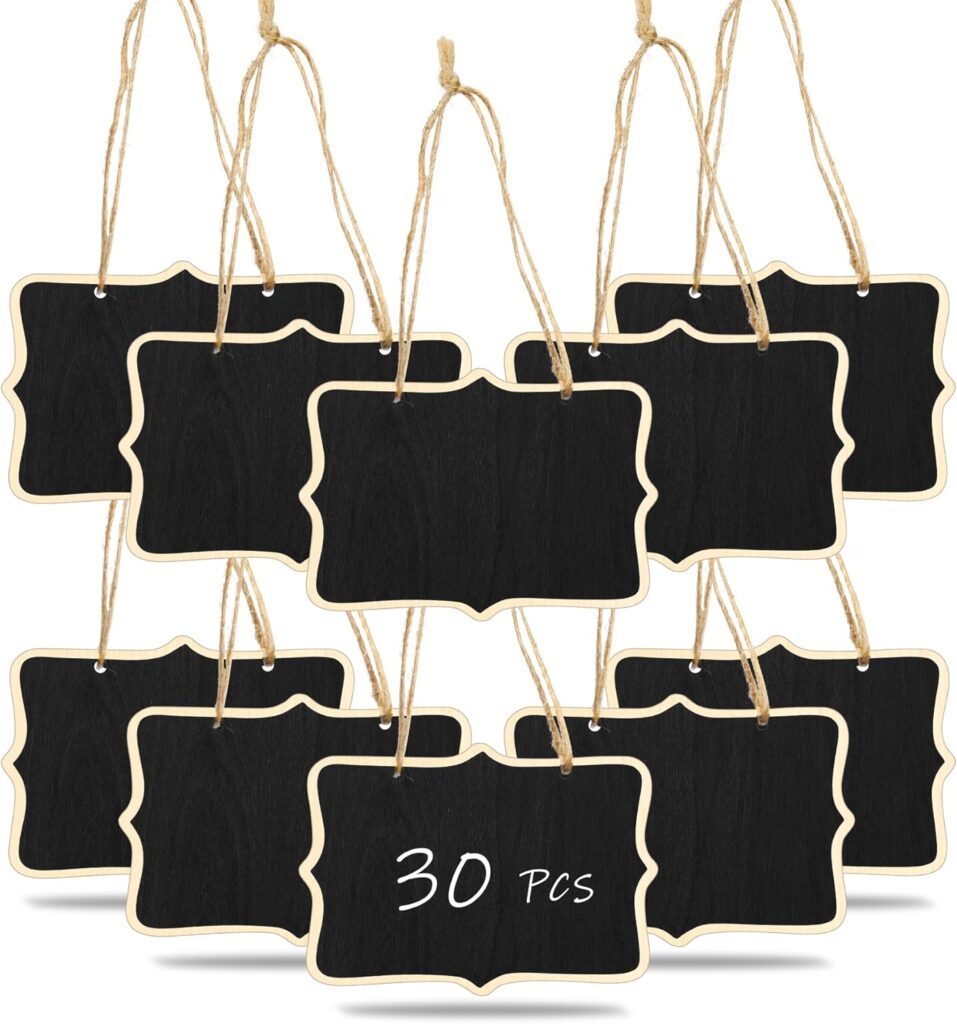
Not the exact tags I used, but a new replacement at a great price. 30 tags for less than $6
The same canister set that I am using – and highly recommend. You can find a whole assortment of sizes to make your own set.
These are the pan lid holders I used for my food processor blades.
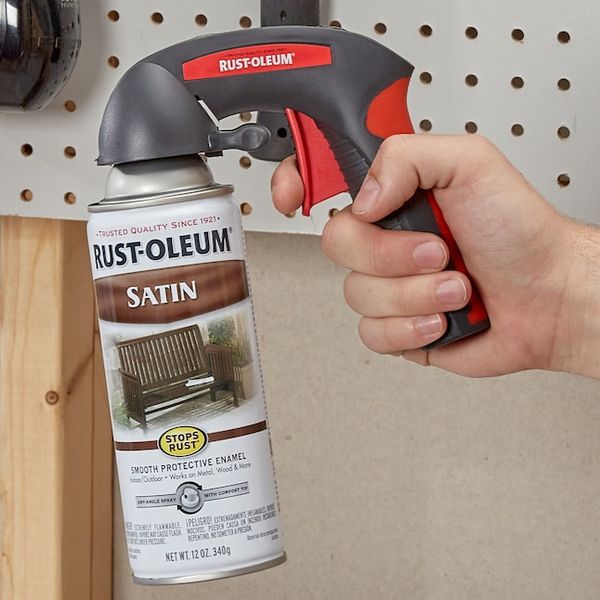
My favorite comfort hand grips for spray painting — true game changer!!!
This compound sliding compound miter saw does it all! 10- and 12-inch options.
As I said over and over, we love the Ryobi drill and suggest the second be a hammer drill for drill and driver combo.
.This is our nail gun. Great tool to have. Shocked at how often its gets put to use!

What a transformation. An organized pantry is the best. I’m always surprised at how quickly it gets out of control. I’m getting so much better at putting things were they belong right away instead of a monthly reset. I love the lid holder idea and the lip for holding up serving platters. Genius.
anything thrifty about this? What did you save with the fancy containers???
Hi Karen, thanks for visiting and reading through.
Yes, the canisters were a bit of a splurge for me. But I finally decided that because we have so many different flours and sugars, it made sense for us. You can see in the before picture that we couldn’t find anything and packages were spilling everywhere since you couldn’t stack them neatly. It also helps when planning our meals for the week and the corresponding grocery list. Wee know immediately what we are running low on prevents us from buying double since we can now see everything. All the other bins and baskets came from Ikea and Walmart and the chalkboard labels came from Dollar Tree. And I cut the labels out with my Cricut, using a free font of course.
Wow, so great! The items are out front where you can check the dates as well and medicine, I can put up away from kid’s reach. Great job!
Thanks Caryn! The addition of that one shelf, made such a huge difference!!!
I was trying to sign up for just the newsletter but it disappeared. I get too many emails to subscribe to all offers though.
Thanks for adding me to your list!
Thanks so much Kathleen!
I have added you to the Weekender House Party newsletter.
(sorry it disappeared on you)
What a great transformation Diane! You used every bit of space you could. I especially like the idea about the little piece to hold platters and such towards the wall! Brilliant!
Thanks Cindy! That is a good little nugget isn’t it? Solved a big issue for me, otherwise those platters would be on their way too the thrift store. So glad I’m able to hang onto them.
Gorgeous! I do like the looks of the woven baskets. Could you put small cutting boards in the bottom for stability?
Thanks for that suggestion Ded! I tried a cutting board and it was too thick then the bottles couldn’t fit standing up. A piece of sturdy cardboard helped.
I loved the tips in this post! The idea of using clear containers for dry goods is so practical, and I can’t wait to try out the labeled baskets for my snacks. Thanks for the inspiration!