A Bit of Painting, a Bit of Stitching, and Heads Will Be Turning
A little loose painting, stitched or drawn veggie outlines, and a plain canvas tote turns into serious Farmer’s Market charm — whether you sew your own bag or dress up a ready made one.
Vegetables aren’t just for the crisper drawer this month — the Handcrafted Society challenged makers to see them as design inspiration. (Psst — don’t skip to the bottom just yet, but there’s a whole lineup of other veggie-inspired projects from the Handcrafted Society crew waiting for you there.)
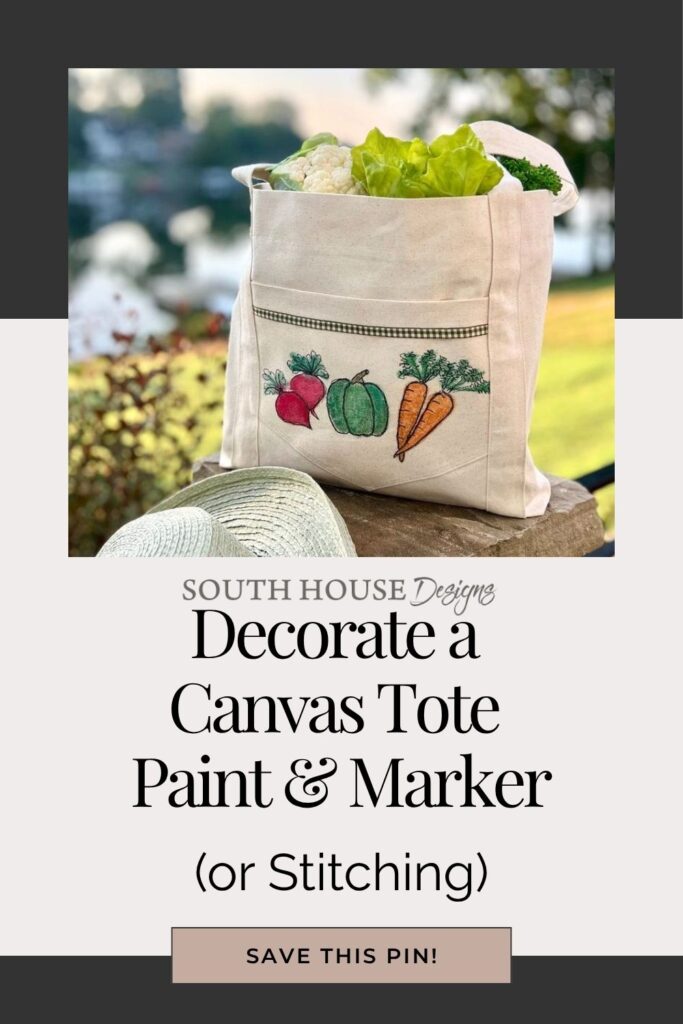
A farmers market canvas tote bag felt like the perfect place to let a few veggies show off.
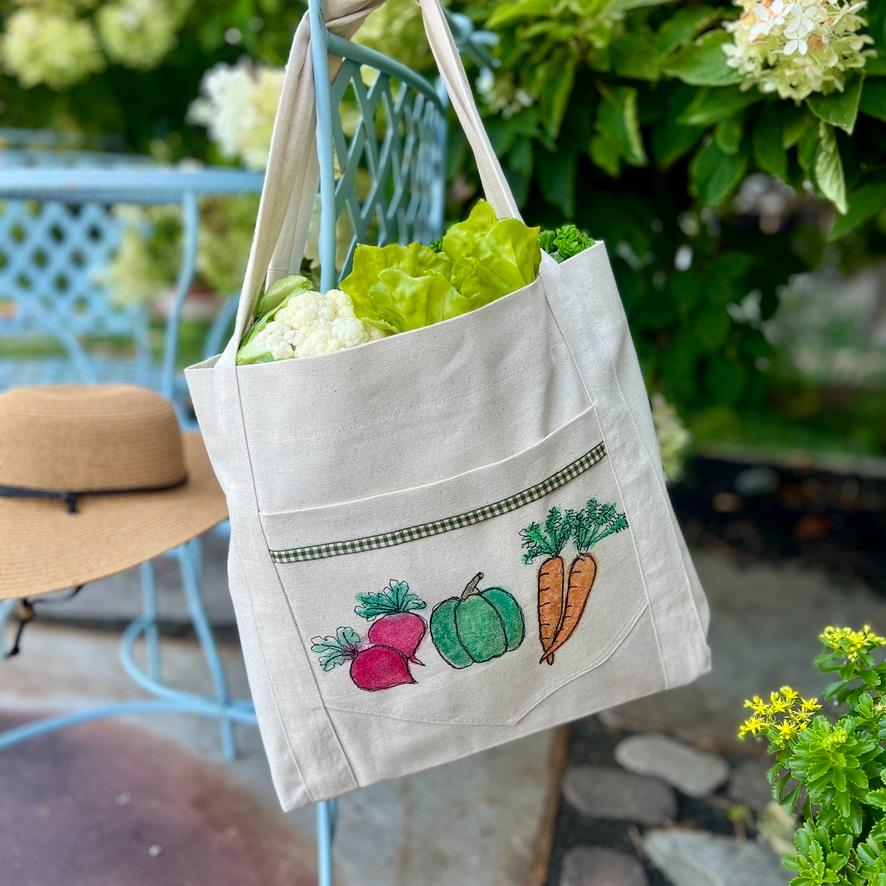
Whether your veggies come from a farmers market or the grocery store, this canvas tote bag is such a fun way to bring them home.
My first one started as a loose watercolor painting, then got its charm locked in with a stitched outline right over the dried paint — no fussy precision required, just paint, thread and a plain canvas tote bag willing to become something better.
Does freehand painting or stitching sound intimidating? No worries — I’ve got ya! I’ve included a Cheat Code alternative to both, right in the detailed steps below, so you can get the same look your way.
Whether you’re sewing your own tote from scratch, dressing up one you already own, or getting a blank one at the craft store, your bag will be a hit.
The links in this post may include affiliate links, which means if you purchase anything using these links, you pay no extra, but I may receive a small commission that helps keep this blog running. I truly appreciate you using affiliate links whenever possible. Please know that I will never recommend a product I do not believe in!
Ready to jump right to it?
Here’s a Quick How-To Card for Confident Crafters
If you’d rather feel like I’m right by your side, stepping you through it — no problem, keep scrolling.
Fun Veggie Painted and Free-Motion Stitched Tote Bag
A quick look at how to paint vegetables on a canvas tote bag, then add free-motion stitched outline — PLUS a NO SEW outlining alternative.
Materials
- - Canvas tote bag (store-bought) or canvas fabric (to sew your own)
- - Paints, watercolors or acrylics
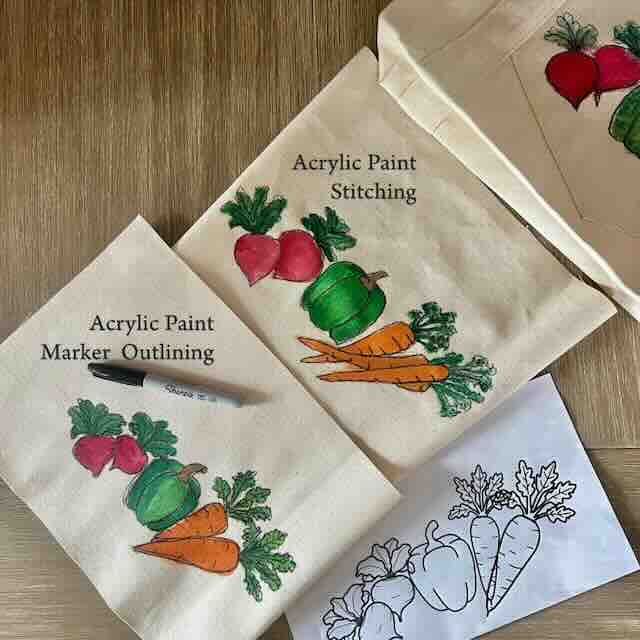
- - Black thread or fine-tip permanent marker (like a Sharpie), for outlining
- - Green gingham ribbon, for the pocket trim
- - Graphite paper, optional
Tools
- Sewing machine with free-motion/darning foot
- Paintbrush
- Scissors
Instructions
- Design your veggie layout in Canva (or use the free printable)
- Paint the design loosely on the canvas pocket or bag front
- Outline the veggies over the dried paint with free-motion embroidery or a fine-tip permanent marker
- Heat Set
- Optional, Trim the pocket edge with ribbon if making your own bag like I did. Or, if ready made bag, optionally add a colorful paint stripe along the top of the pocket.
Notes
Keep Scrolling for Detailed Steps with Tips, Hints and Cheat Codes
Detailed Steps With All my Hints,Tips and Cheat Code Alternatives
Step 1) Design Your Veggie Layout in Canva-
Pull together your vegetable shapes and arrange them into a layout you love. This becomes your template for both the transfer option below and your painting reference.
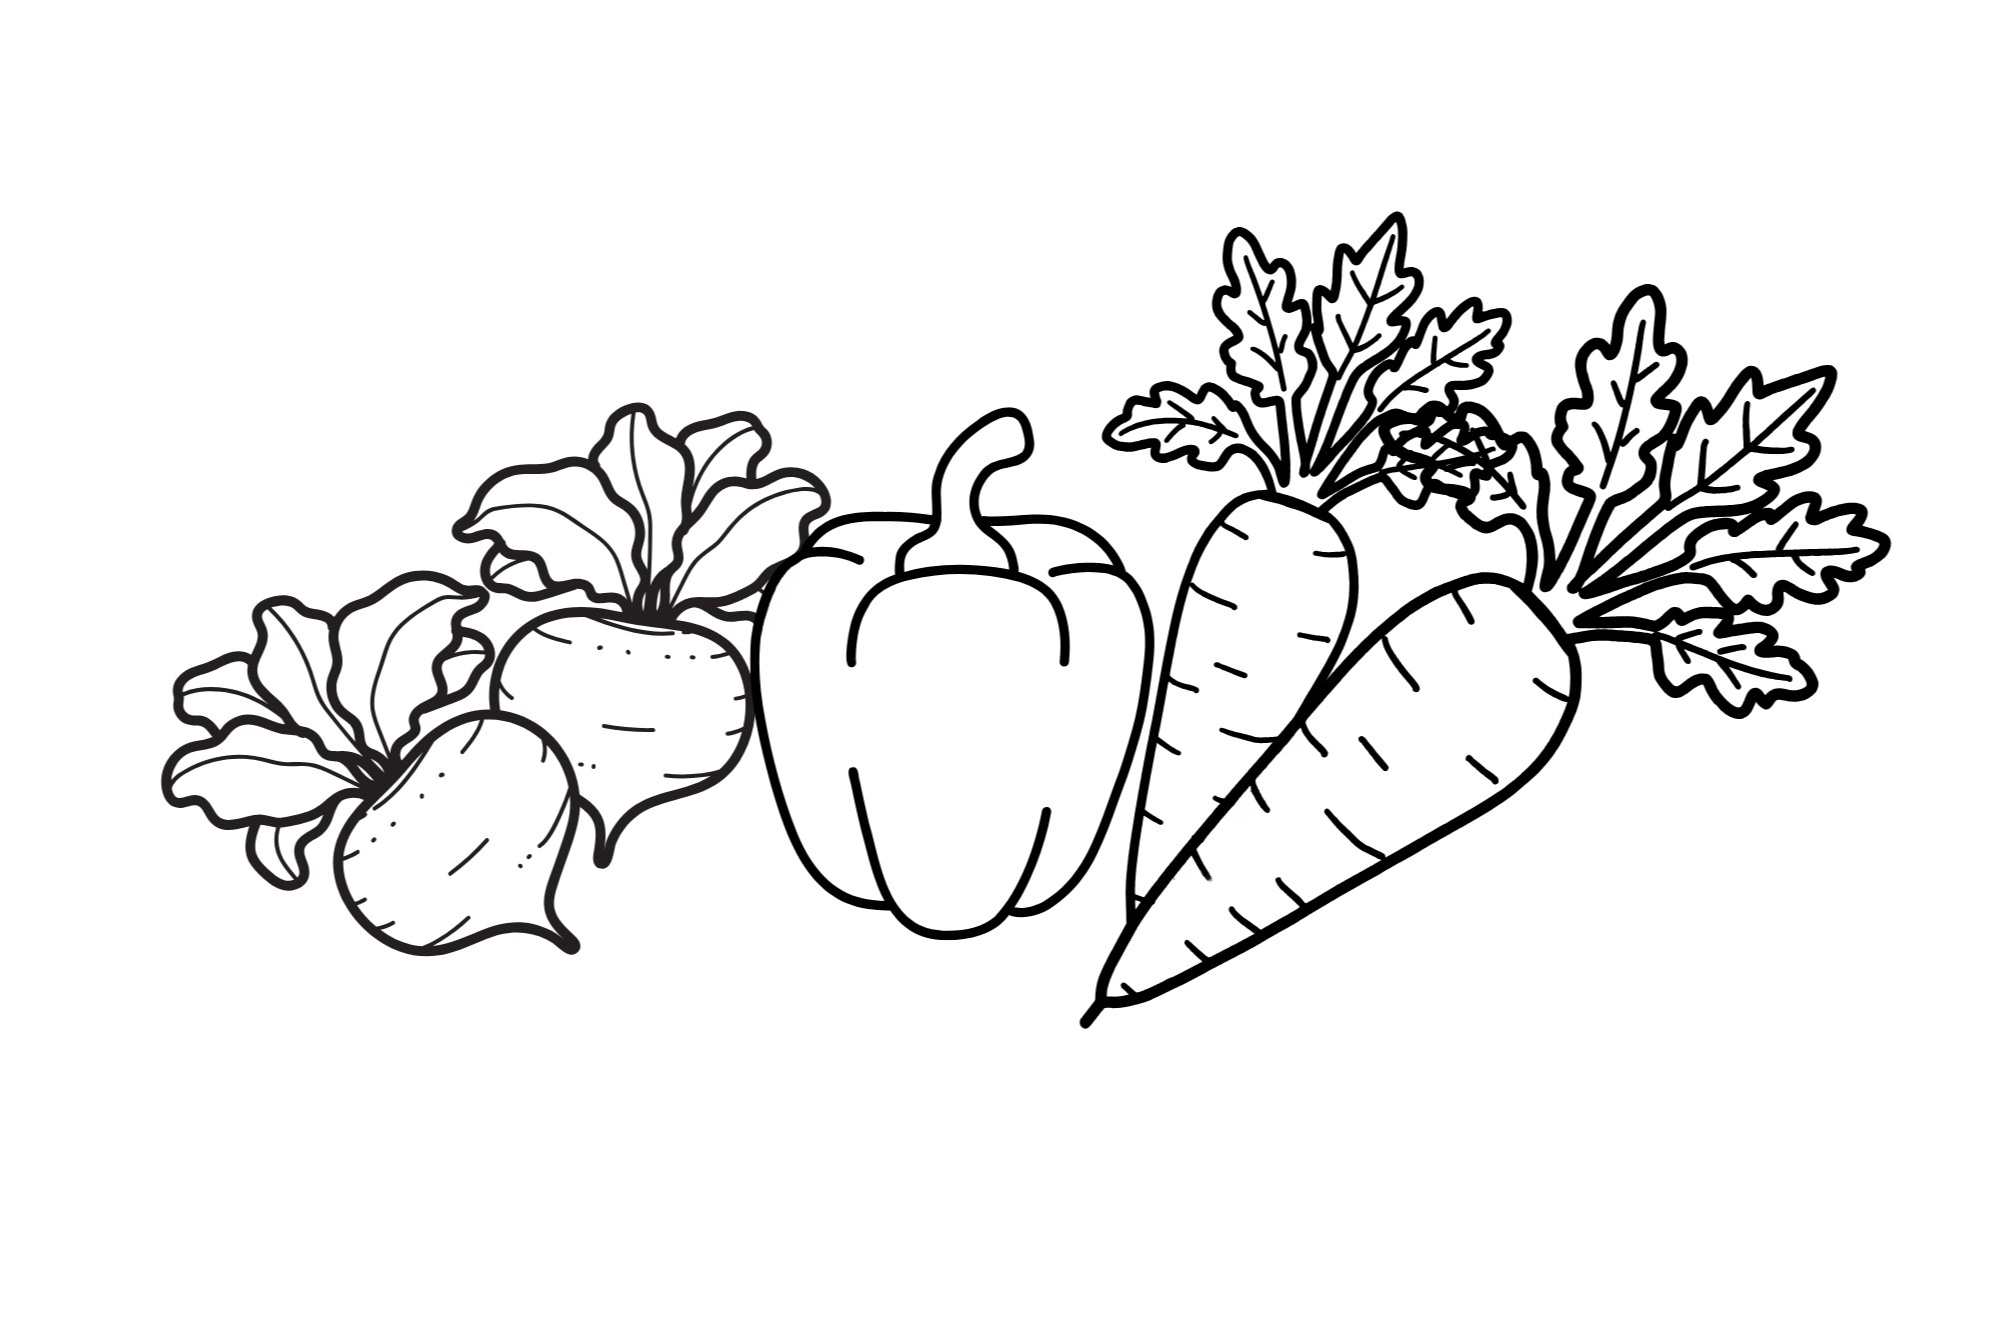
If you’d rather skip the design work entirely, my template is available as a free printable for subscribers.
What, you’re not a subscriber? Let’s take care of that right now:
Thanks bunches! Now back to our Farmer’s Market Tote:
Step 2: Paint the Design Loosely on the Canvas Pocket or Bag Front-
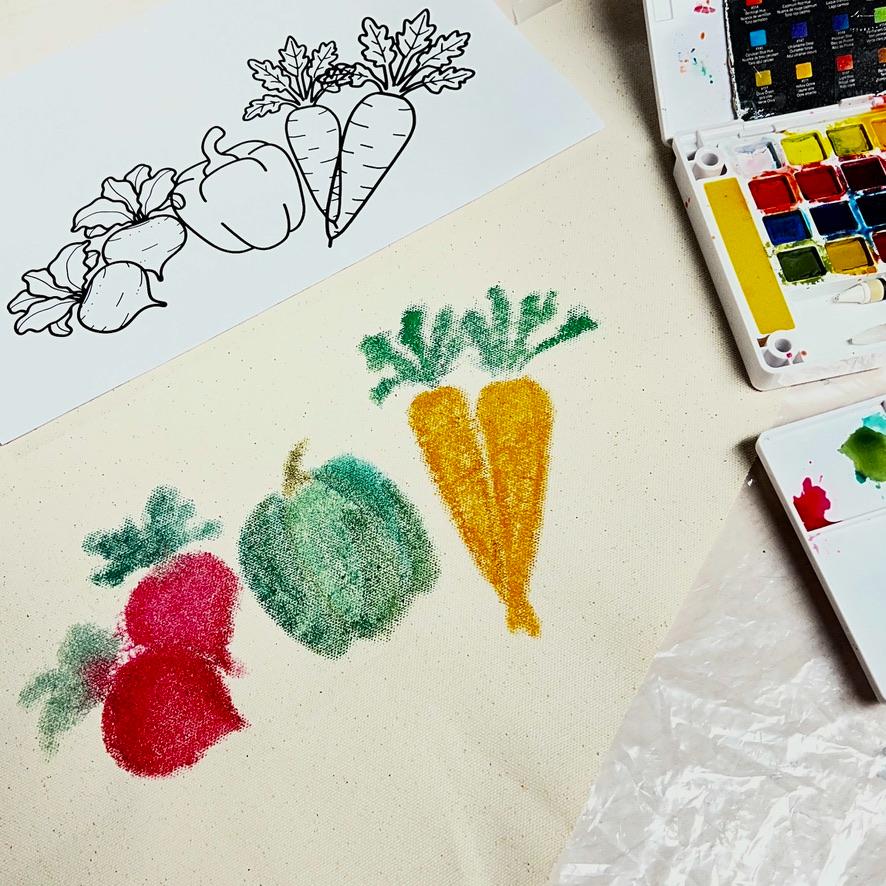
I started with watercolors — I love their watery effect, and the way you can layer them. They are my natural go-to. But watercolor comes with a tradeoff worth knowing upfront: it fades in bright sunlight and won’t hold up the way you’d want through the laundry.
That’s what pushed me to try the same technique in acrylic. Not everyone loves working with watercolors anyway, and acrylic brings real durability and longevity to a project that’s going to get used and washed. Both are genuinely good choices — pick whichever fits how you plan to use your finished piece, or which one you simply enjoy painting with more.
CAUTION: Painting directly on a finished bag rather than a separate pocket like I did? Slip a piece of cardboard or plastic underneath the area you’re painting first, to keep paint from seeping through to the back.
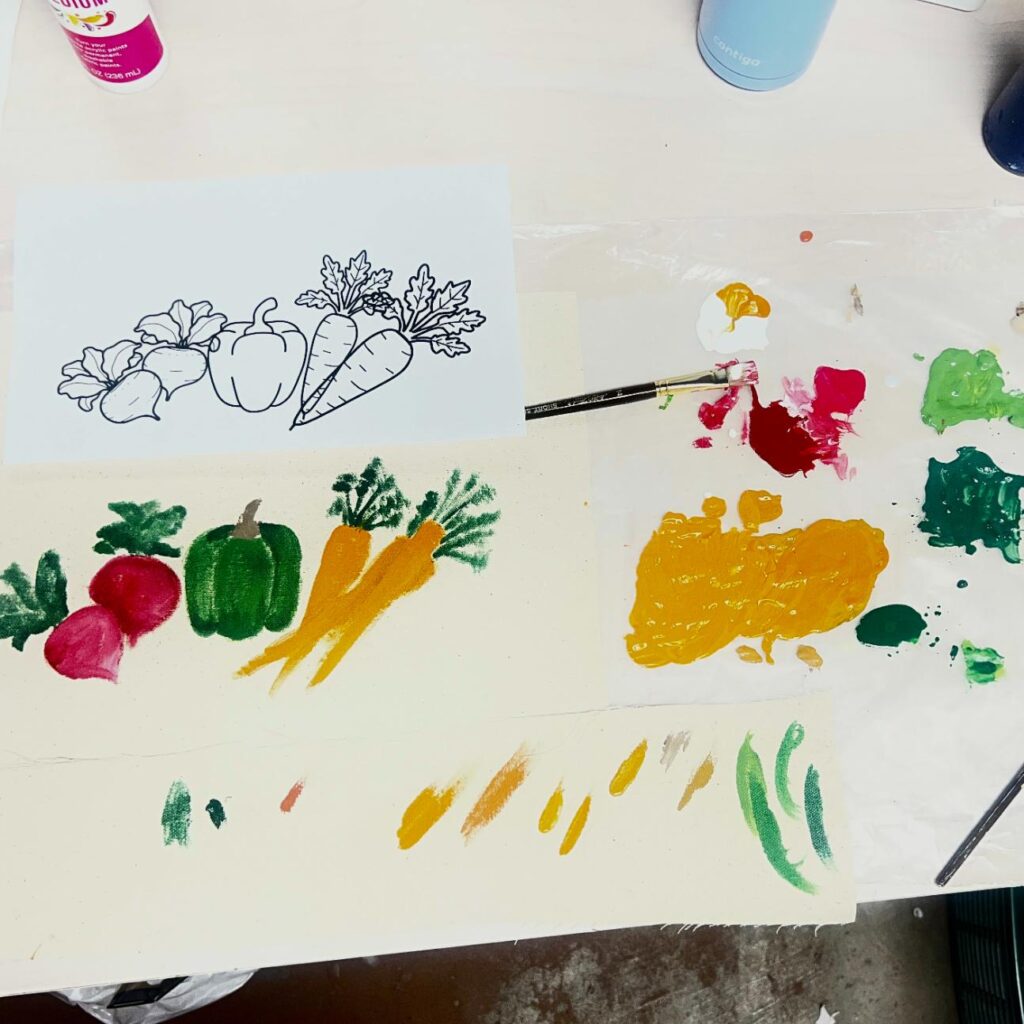
Using your template for reference, load your brush and paint the veggies freehand, straight onto the canvas. The goal here isn’t precision — eyeball your placement and approximate shapes, and let the paint move a little looser than you think it should. That looseness is what gives the finished design its charm once it’s outlined.
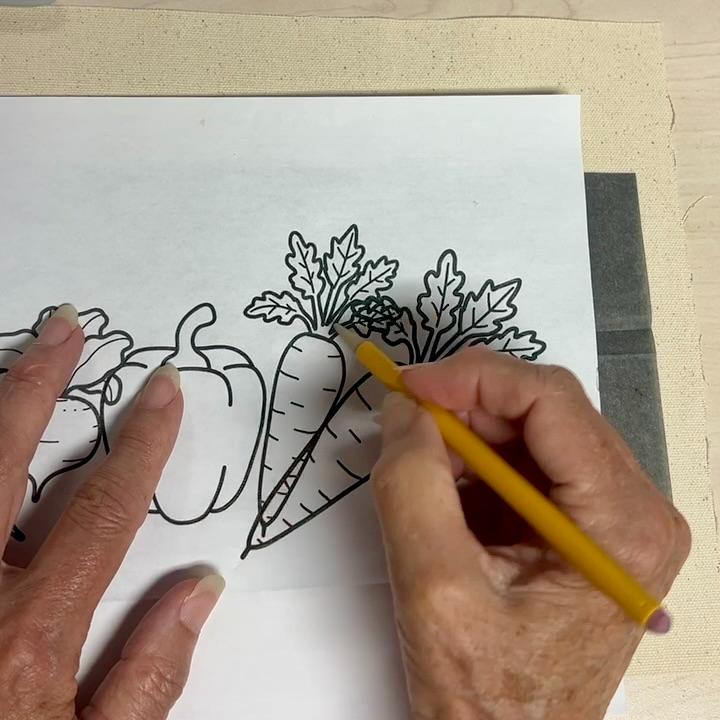
CHEAT CODE: Does painting freehand without an outline feel intimidating? No worries — slip a piece of graphite paper between your template and the fabric, and trace as much of the outline as you’d like. Then pick up your paintbrush and remember: loose paint, not tight hugging to the lines.
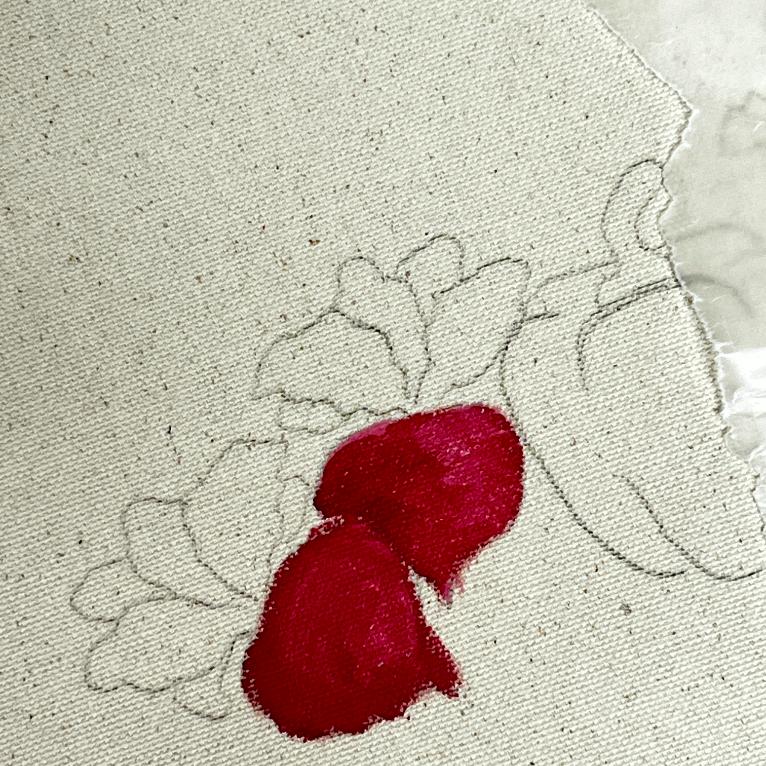
PRO TIP: Add a bit of each color you plan on using to a palette, and mix in a variety of shades within each color family — several different greens, for example, rather than just one. All one flat shade and the painting will look flat and lifeless; a range of shades adds depth and richness.
Let the paint dry before moving on. Watercolor should be dry in under an hour; if you’re using acrylic — especially with built-up layers — give it quite a bit longer. Mine sat overnight.
Step 3: Outline the Vegetables on the Dried Paint-
CAUTION: Working with a ready-made bag that has a functional exterior pocket? Free-motion stitching around the design will stitch that pocket closed. If you want to keep the pocket usable, either use the fine-tip marker outline instead, or paint and stitch on the other side of the bag, transforming it into the new front. Bonus: your pocket now sits against your body, which is safer for your phone, keys, and money anyway.
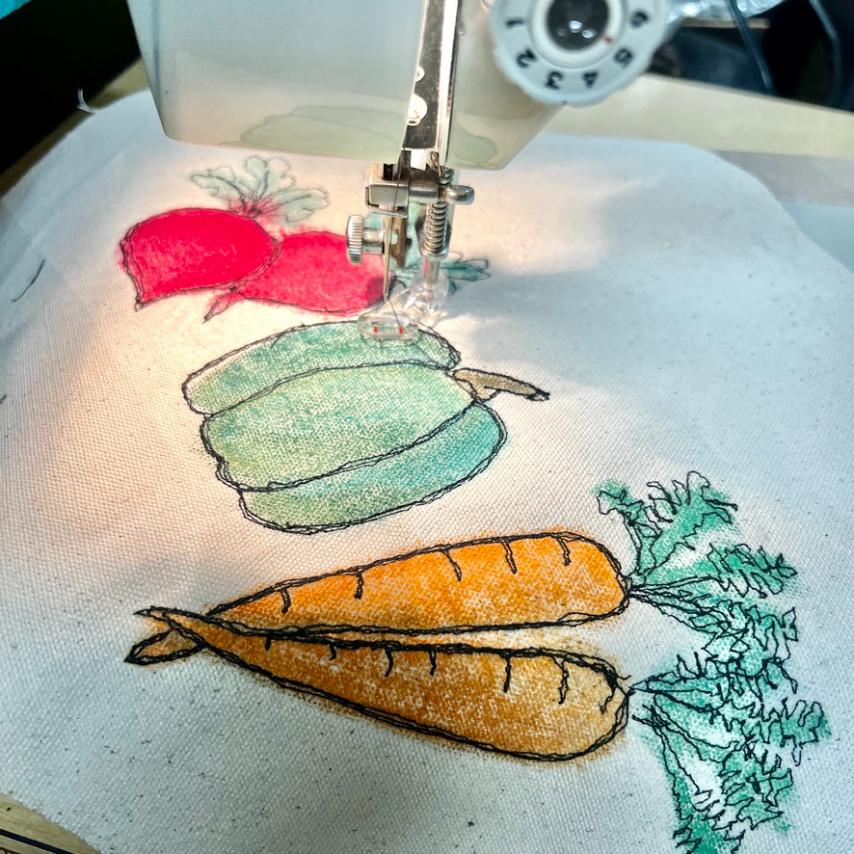
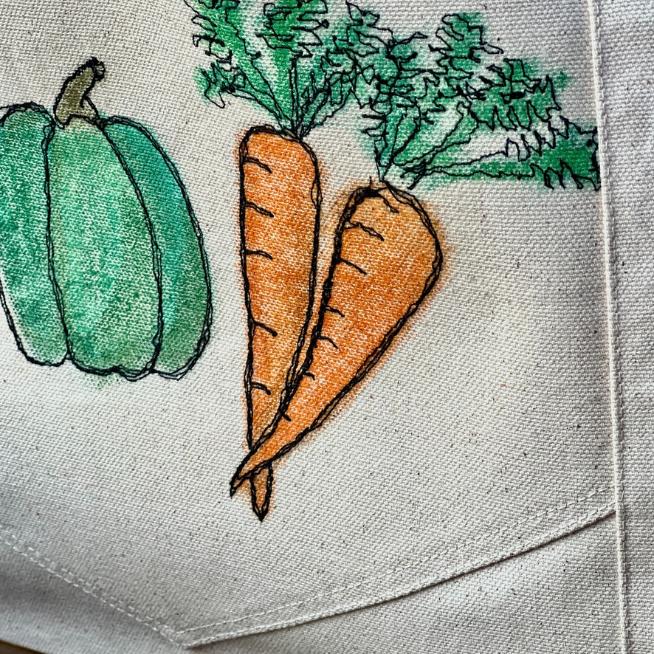
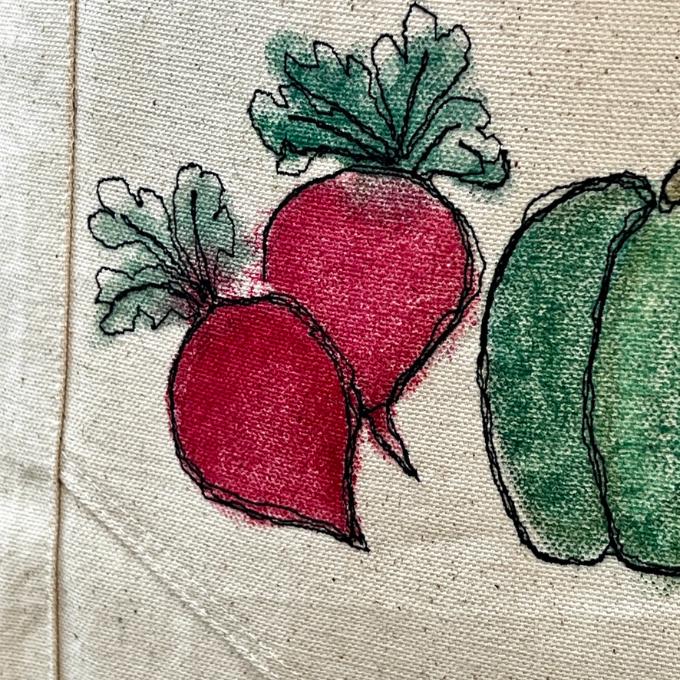
Once the paint’s dry, outline each veggie shape. Free Motion Stitching gives you that hand-drawn, textural line; a marker gets you a similar look with zero machine required.
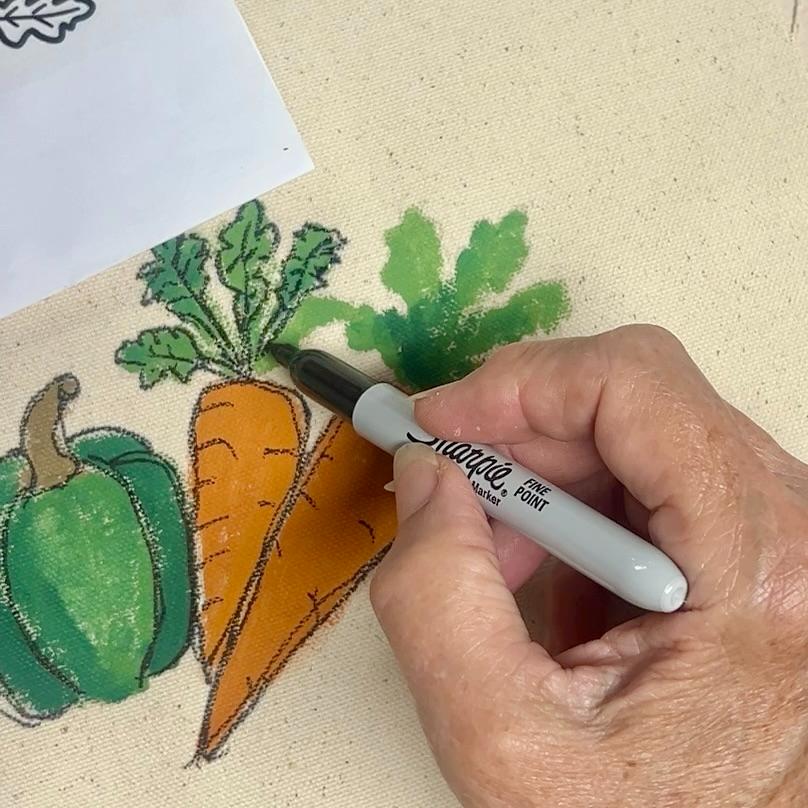
CHEAT CODE: No sewing machine? You can get a similar look with an ordinary Sharpie fine-tip permanent marker instead — outline your veggies right over the dried paint.
PRO TIP: If you have trouble letting go of a perfect outline (yes, like me), hold your marker a bit farther away from the tip — you’ll have less control, and that’s exactly the point.

A Quick Word on Free-Motion Embroidery
Totally True: I did all of this stitching on a machine probably older than my parents me.
I used a Morse — an all-metal machine made in the 1950s and 60s. They were made in Japan by manufacturers that included Toyota, of all things.
It’s heavy as heck, sews beautifully, and I found it in near-perfect condition while out thrifting recently.
I had never seen one in the wild before — only have heard of them and read about their legendary performance.
My gem has no extension table, no fancy features — which honestly is all free-motion stitching really asks of a machine. Just a gorgeous workhorse that gets the job done,
If you’ve never tried free-motion embroidery, here’s the shift: swap your regular presser foot for a darning or free-motion foot, then drop your feed dogs. That second part is what actually makes it “free motion” — instead of the machine feeding the fabric through at a fixed pace, you’re driving the movement entirely by hand.
Because you’re in control of the fabric, your stitch length comes from the relationship between two speeds: how fast you move the fabric, and how fast the machine is stitching. Move the fabric slowly with the machine running fast, and you’ll get tiny, tight stitches; slow down the machine or move the canvas faster and they lengthen out. It’s worth playing with this on a scrap of fabric first, just to get a feel for the balance before you commit to your actual project.
Two things that trip up sewers new to this:
- You’ll never need reverse — you just move the fabric backward instead.
- And if you’re used to rotating your fabric to sew a circle or angling it for a curve, that instinct might fight you here.
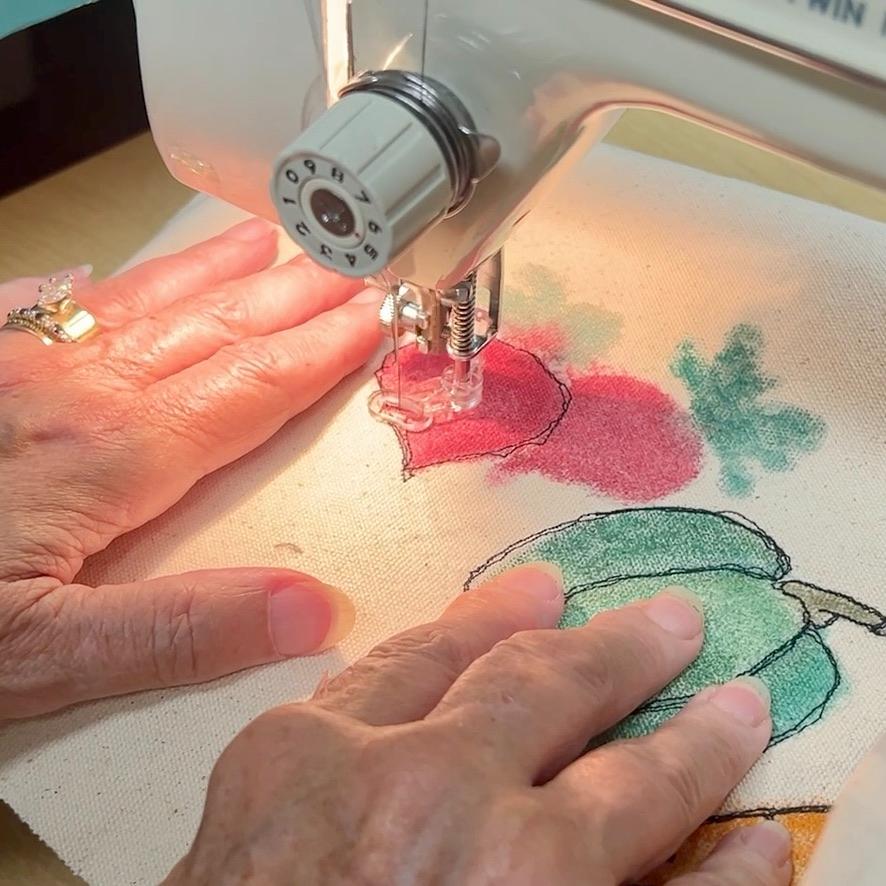
Try picturing the needle like a pencil point suspended in place at a fixed spot above the table. To draw a shape, you wouldn’t rotate the pencil — you’d slide the paper underneath it. That’s exactly what you’re doing with the fabric: your hands steer it under the needle, tracing the outline, while the needle just stays put and does its job.
If rotating the fabric feels more natural to you, there’s nothing wrong with that either — this is just the mental shift that helped me.
CAUTION: I didn’t use a stabilizer or embroidery hoop for this project — my canvas was thick enough to handle the stitching on its own.
If you’re working with a lighter-weight fabric, hoop it and add a water-soluble stabilizer underneath before you stitch. As with any machine embroidery, test your fabric first — with and without stabilizer, hooped and un-hooped, and check your thread tension — until you get the result you want.
Step 4) Heat set-
Set your iron to the highest dry (no steam) setting your fabric can handle — canvas can take quite a bit of heat. Always work with a press cloth between the iron and your design.
Press the iron over the press cloth for about 10 seconds, then move to the next section of the design. Once you’ve covered the front, flip the fabric and press the back side too, again with a press cloth underneath — even with steam off, irons can spew a bit of gunky water from the plate, and the last thing you want is a ruined design before you’ve even carried the bag once.
PRO TIP: A press cloth is just a fancy term for a thin piece of cotton fabric. A small remnant of preferably white cotton works well — even the back cut off an old dress shirt.
Step 5) optional, Trim the Pocket Edge-
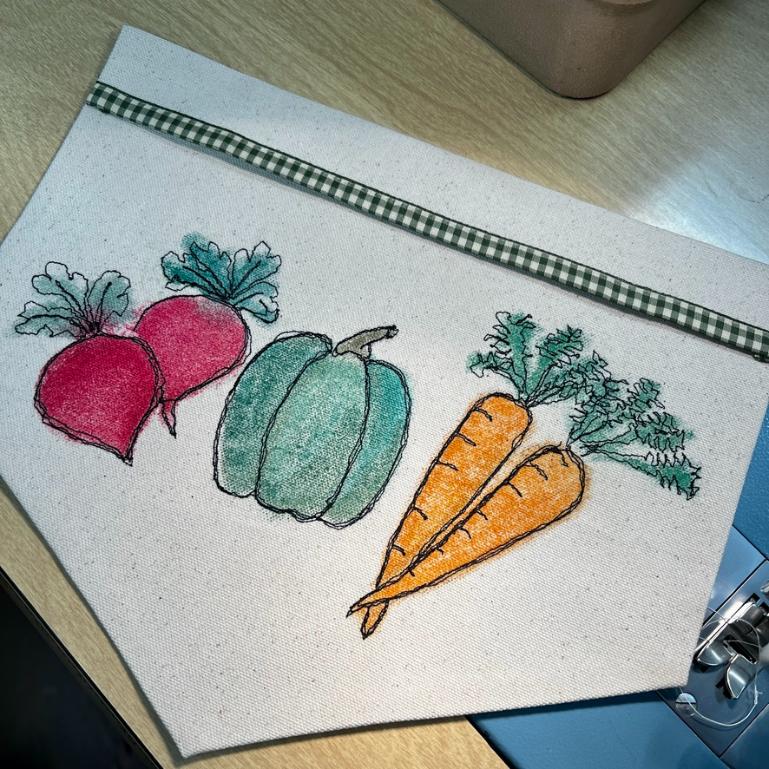
If you sewed your own pocket, trim the edge with ribbon — I used green gingham for a touch of accent color.
If you’re working with a ready-made bag, I might be easier to skip the ribbon and instead add a colorful painted stripe along the top of the pocket for a similar pop.
Make It Your Own
The easiest way to make this your own? Swap in your favorite veggies. Love beets more than radishes? Want a palette that matches your kitchen, or ties in with your fall dishes? The technique doesn’t care which vegetables you pick — paint what makes you happy.
And once you’ve got the technique down, it doesn’t have to stop at a tote bag. A few places these veggies could show up next:
- Table runner — a cluster of veggies at each end
- Tea towels — one or two veggies, simple and quick
- Napkins — a single vegetable (or a small bundle of one kind) tucked in the corner
- Placemat — a row of veggies running down one side
- Apron — a full scattered design across the front, or a single pocket accent like the tote
Same steps, same Cheat Codes — just a different canvas
Don’t Miss the Rest of the Vegetable Patch
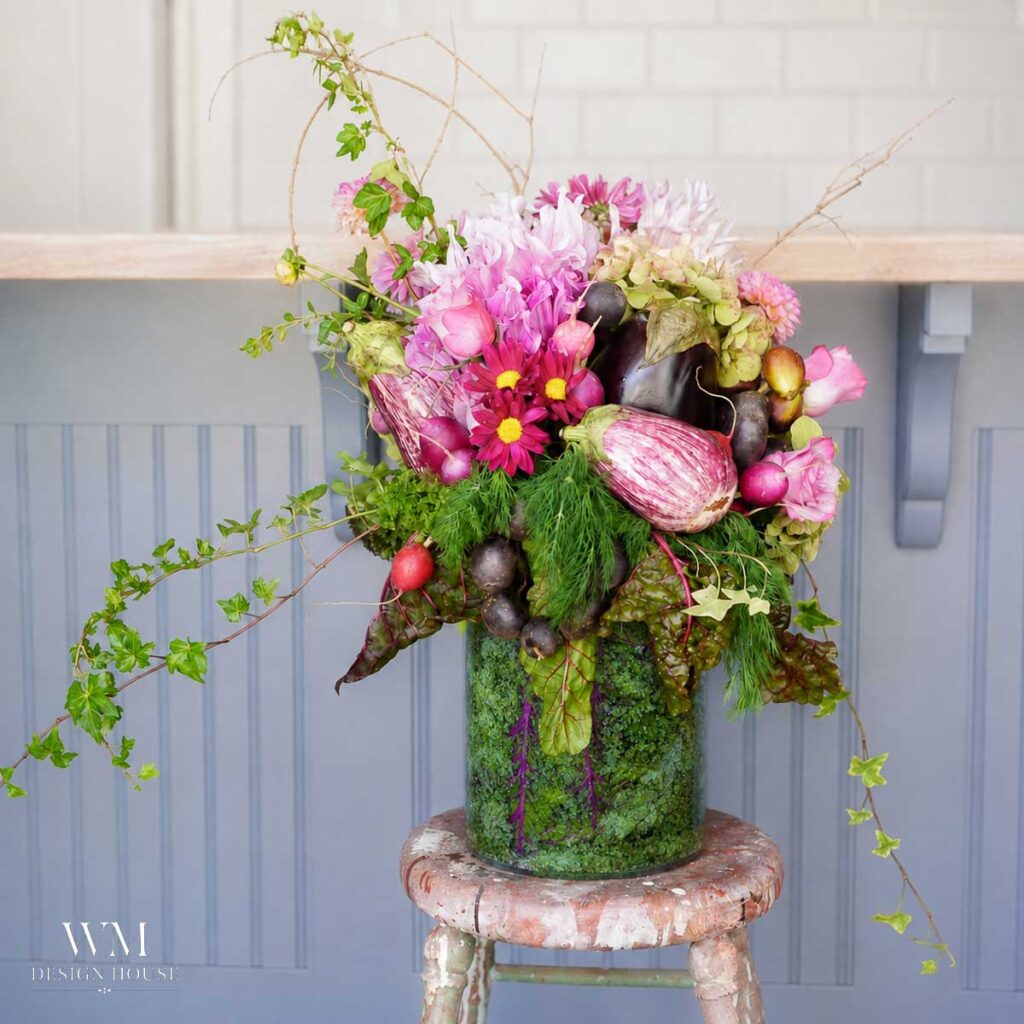
Wendy at WM Design House
Wendy created a stunning flower arrangement with vegetables! Wendy’s masterpiece using vegetables in such unexpected ways including how she lined the vase.
Bonus: it all goes back to the kitchen when the party’s over!
Head over to see her full step-by-step tutorial for this gorgeous vegetable centerpiece.
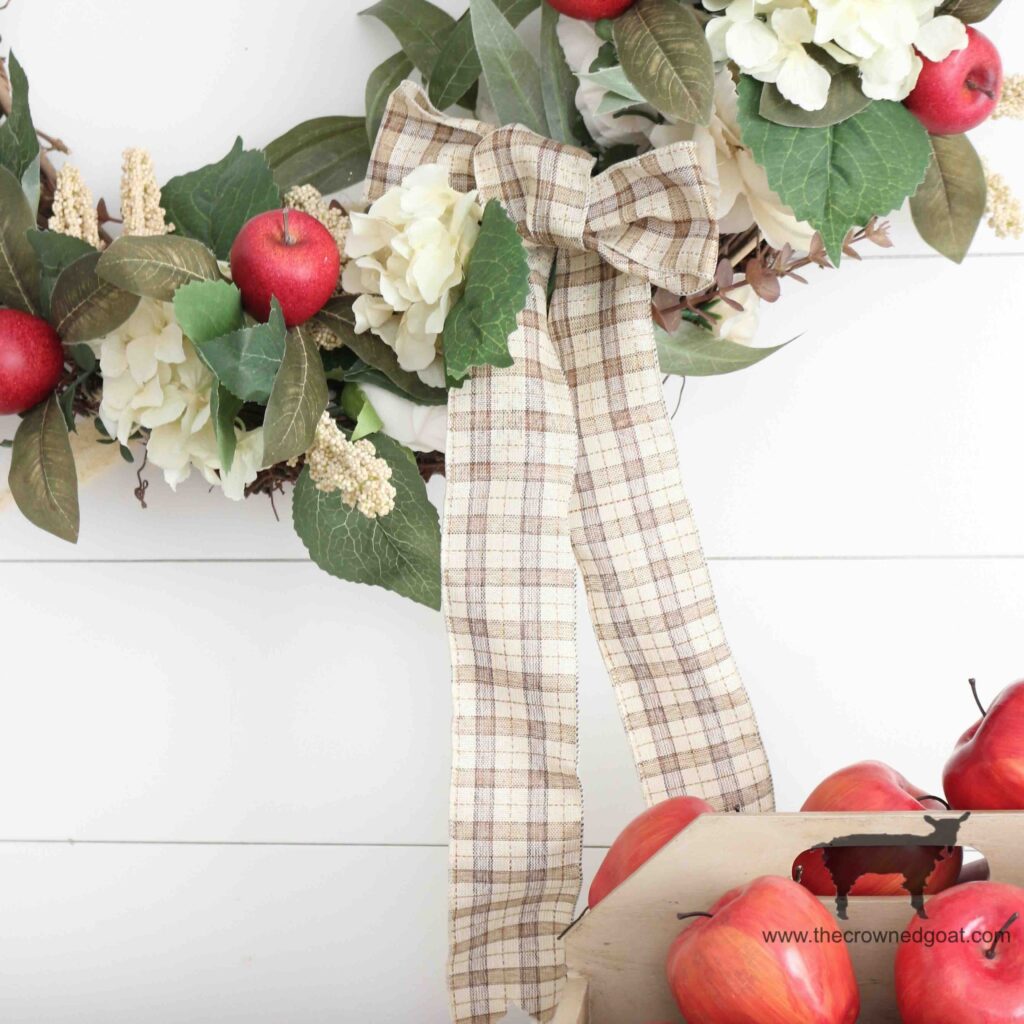
CoCo at The Crowned Goat
CoCo shares how she created a warm and welcoming seasonal touch for her home with this easy grapevine wreath decorated with apples.
Perfect for late summer and early fall, this simple DIY adds charm to your front door, kitchen, or entryway without a lot of fuss.
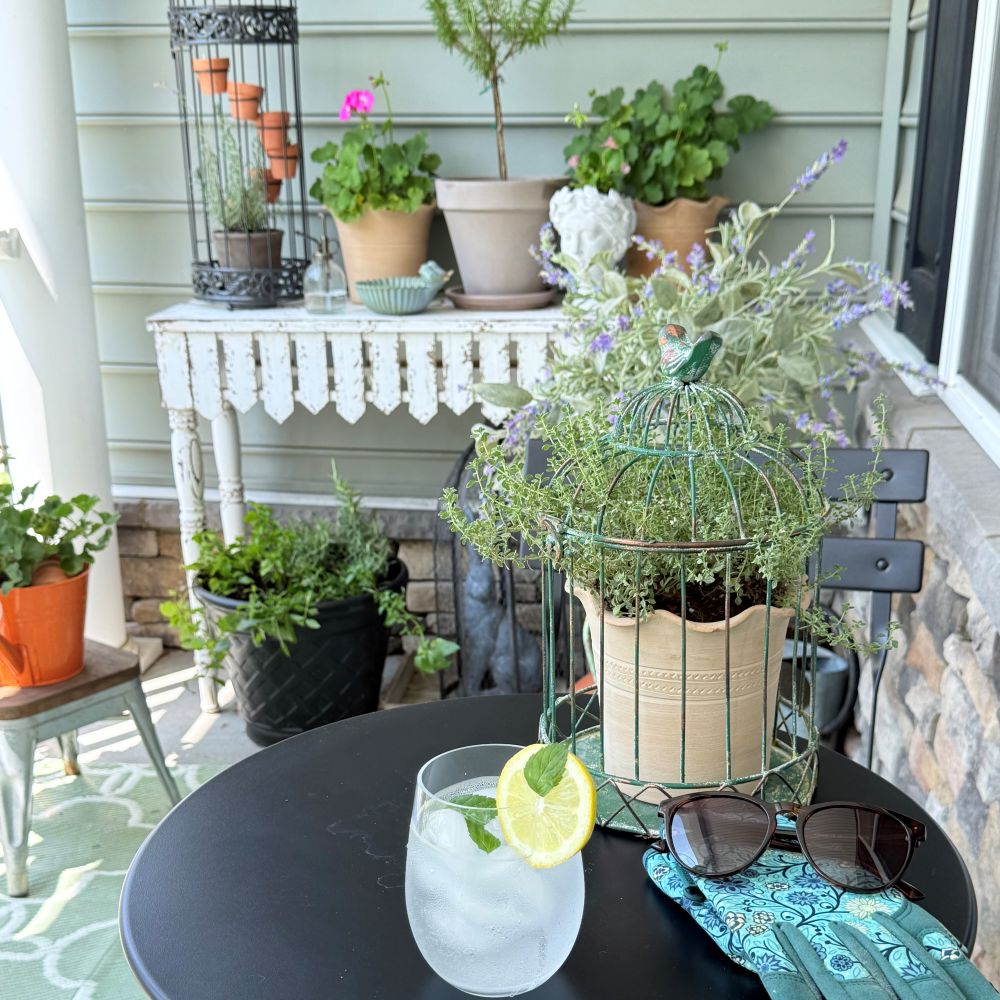
Tammy at White Lilac Farmhouse
Tammy created a beautiful kitchen herb container garden – one of the easiest ways to enjoy fresh herbs for cooking or entertaining, even if you have limited outdoor space.
Perfect for a patio, porch, balcony, or a sunny kitchen windowsill, a container garden brings fresh flavor and natural beauty right to your fingertips.
And don’t miss her clay herb markers.
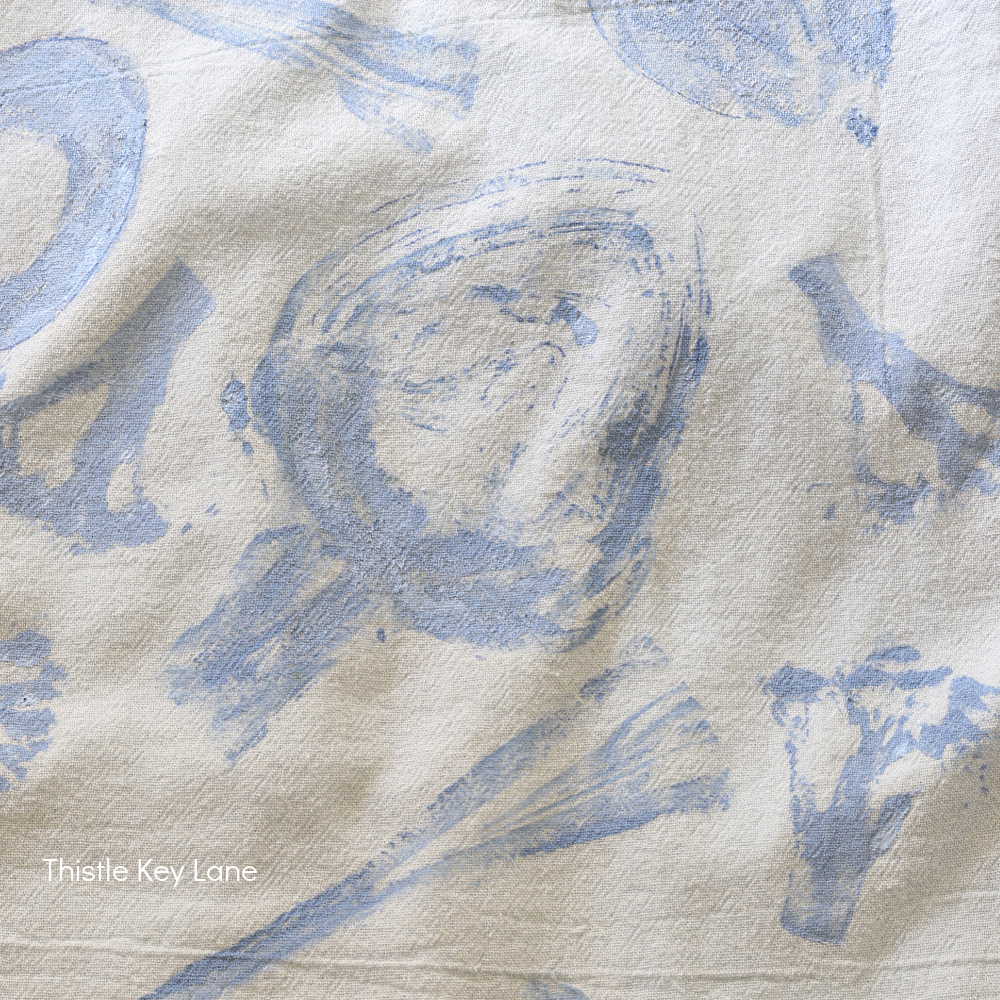
Michelle at Thistle Key Lane
Michelle’s fun vegetable shapes add such fun to a classic pinafore apron with easy to use fabric paint.
When you’re not cooking, you’ll want to display it on the pantry door for all to admire,
I hope we inspired you to look at all those gorgeous late summer vegetables from a new angle. and incorporate them in to your joy-filled life.

Love this idea so much, Diane, and thank you for sharing the free motion stitch technique. I’m relatively new to sewing, but I’ve had a blast learning this summer. I love that this idea can be gifted. We’re getting ready to switch over our summer garden beds to fall garden beds, so this idea would be fun to pack with seeds and garden supplies too! Big hugs, CoCo
You have convinced me Diane, I gotta try the free motion stitching. I have my mom’s old Bernina sewing machine that dates back to the 70s. All metal and heavy too. I adore your vegetable graphic, and your darling tote bag! Excellent tutorial and post my friend!
Diane, the possibilities are endless! Your design would look beautiful on toss pillows on a bench, apron, tea towel, etc. Love the ideas and tutorial.
Diane – Your “new” sewing machine is truly impressive. It goes to show that older things were well made and meant to last a life time. Your canvas tote is adorable. This would be so cut to custom make a set of these for a special occasion – like a baby shower – and then fill it with small gifts. Such a charming idea with so many possibilities.