Have a Rabid Sports Fan You Need to Make a Gift for?
Imagine making your sports fan a gift with favorite team’s logo out of wood. If you have a Cricut, you can! Then turn it into a bolo tie, earrings, a pin etc.
Don’t know what to get the rabid sports fan in your life?
Sports fans seem easy on the surface with gift ideas running from anything in their team colors to jerseys with the numbers of their favorite players.
Gift ideas can include sports memorabilia and game tickets if the price tag fits your budget. Or, a sports enthusiast can always use more water bottles, right?
Pretty easy, but also rather predictable. What if you’re looking for a unique gift, the perfect gift with a personal touch for your sports lover? Their favorite team logo to tout their team spirit can be the answer.
Whether basketball fans, baseball fans, or a college football fan, come game day, a die-hard sports fan wants a fun gift in the right colors to take their sports fandom to the next level.
But this is not just for sports fans. This same technique can be used for all kinds of fun graphics. How about your own fictional family crest or a logo for the next family reunion?
Fear not, crafty moms and friends- If you have a Cricut, I have a great way for you to surprise your favorite fan and favorite friends this holiday season!
With just a few steps you can create one-of-a-kind awesome gifts they will love featuring their
- favorite team’s logo
- a wedding logo
- a fictional family crest
- or perhaps for our son’s kindergarten class, their mascot , the “Rainbow Dumptruck”! (I kid you not. Now that was a teacher who knew how to garner compromise, right?)
How will you use these logos? So many ways:
- make them into earrings
- make a pin
- attach to a ribbon for a bookmark to hang on the spine of their books
- glue a pair of mini logos on the ear pieces of sunglasses
- an over-the-top necklace
- drill two holes and stitch to the front of a beanie

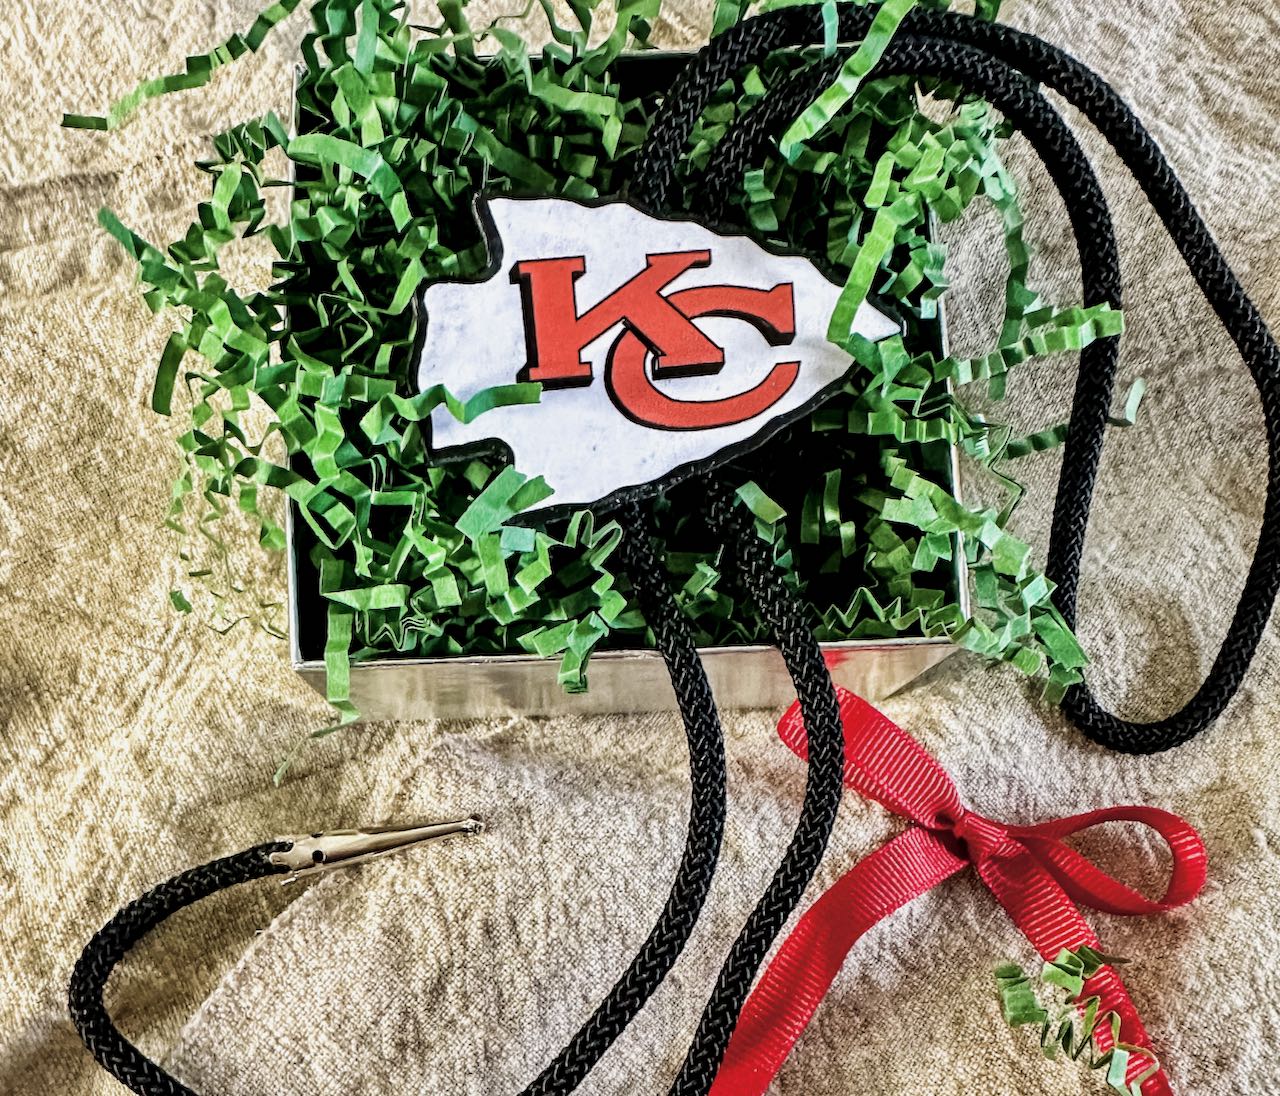
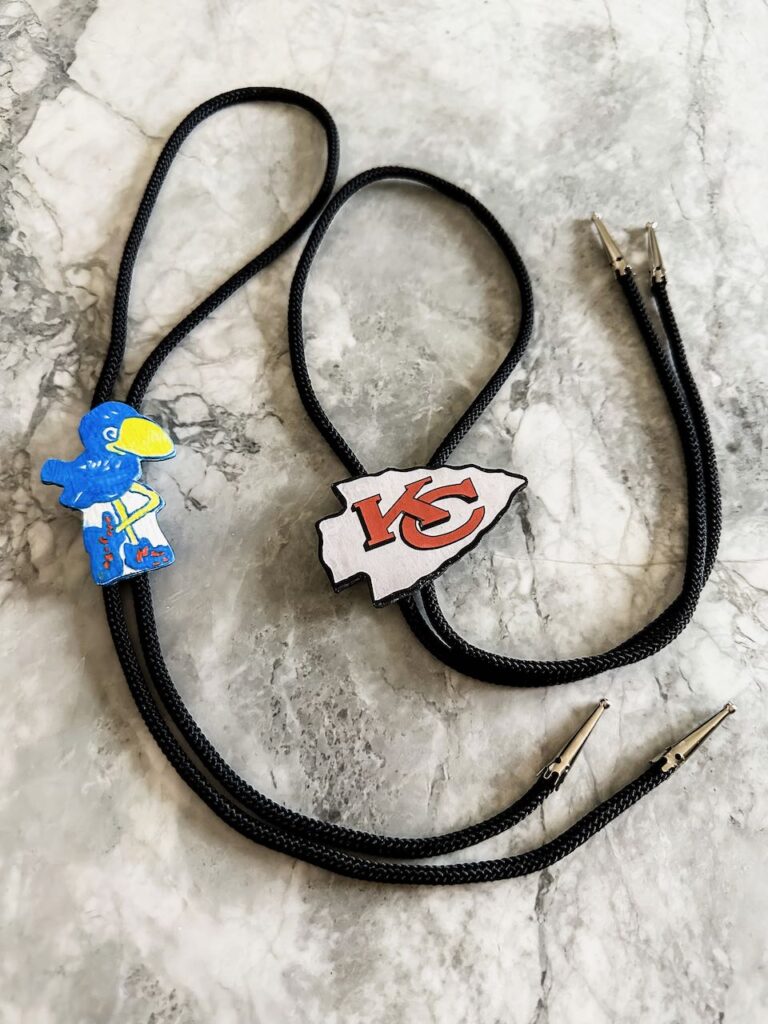
For me, our oldest son requested bolo ties! I know, I was shocked too!
What can I say . . . he’s a Kansas boy having fun making his way in Texas.
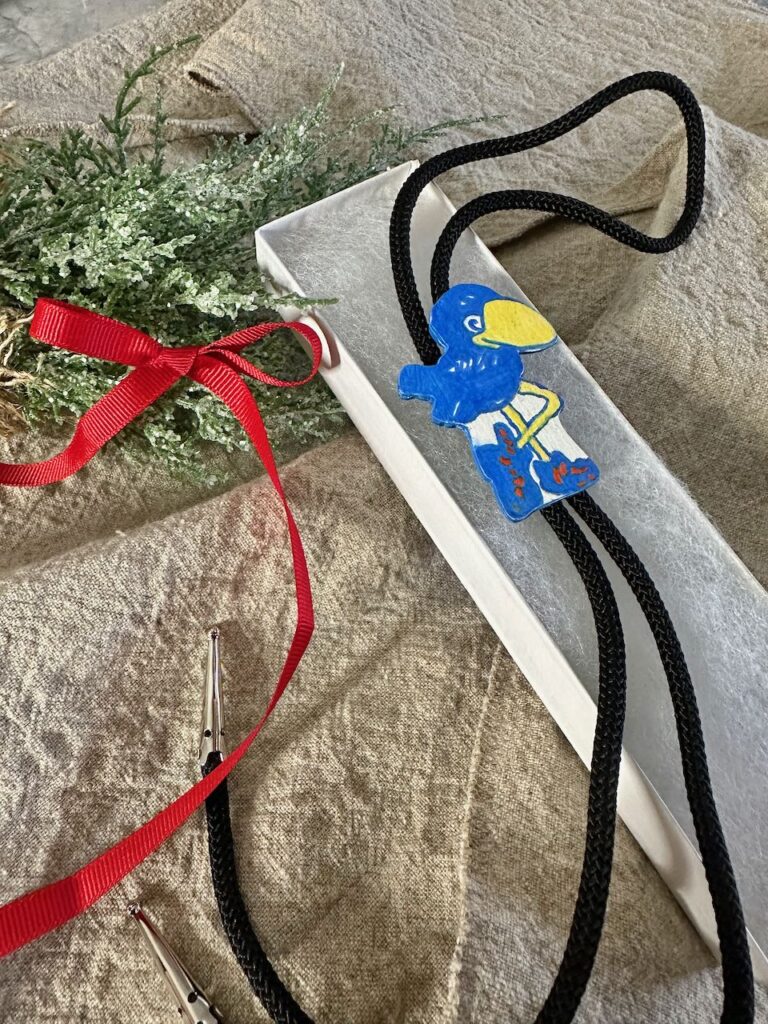
And not so shocking, he couldn’t find a 1912 Jayhawk bolo anywhere! So he resorted to Mom, who he knows loves a challenge.
That’s how this project was born. Maybe, this will solve a dilemma for you.
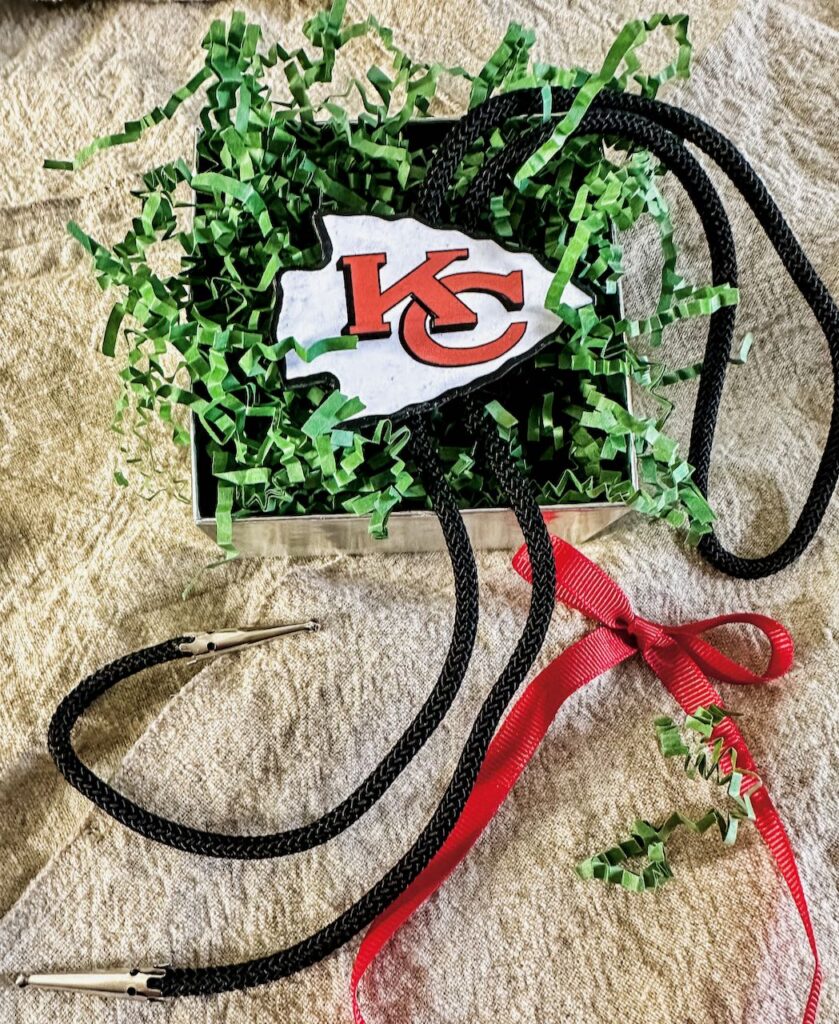
Table of Contents
- So Let’s Look at How You Can Make a Wood Logo
- Materials:
- Supplies:
- Step 1- Prime Your Wood
- Step 2- Find or Design Your Logo
- Step 3- Remove the Background
- Step 4- Upload the png to Cricut Design Space
- Step 5- Load the Print Version to Your Canvas
- Step 6- Cut the Wood Shapes
- Step 7- Add the Artwork
- Step 8- Attach Your Chosen Hardware
- The Best Gifts are Personal & Handmade
So Let’s Look at How You Can Make a Wood Logo
Materials:
- 1/32-inch basswood
- markers in team colors
- matte white craft paint or chalk paint
- or decoupage medium
- fine grade sandpaper
- spray sealer
Supplies:
- Cricut or similar cutting machine
- Strong grip mat
- fine point blade
- craft paint brushes
- spray glue
- Exacto knife
- Access to Canva or other background eliminating app
Step 1- Prime Your Wood
Paint the one side of your wood with the white paint before you get started.
Dry completely. Lightly sand with fine sandpaper on both sides and wipe off dust.
Step 2- Find or Design Your Logo
Search on the internet for free logos to download. The logos for almost any major sport seems to be readily available for pro teams and college teams. You may have to get a logo file from your high school. Their website is a great place to start.
CAUTION: All professional teams, college teams and even some high school teams and their mascots are trademark protected. You can NOT sell anything you make using their logos. I have simply made one each for our son.
Save your logo as a jpg or png file.
Step 3- Remove the Background
I used Canva — the pro version. I uploaded the image and removed the background.
If your artwork has a long, thin appendage anywhere, you may need to add in a bit of background to strengthen it. I did this around the Jayhawks legs.
Be sure to save the resulting image as a transparent png file.
Step 4- Upload the png to Cricut Design Space
Open Cricut Design Space. Upload your file and save as either a simple or moderately complex.
Now you’ll have a cut version and a print version in your uploaded files.
Step 5- Load the Print Version to Your Canvas
Select your print version and click Add to Canvas.
Adjust the size to your needs.
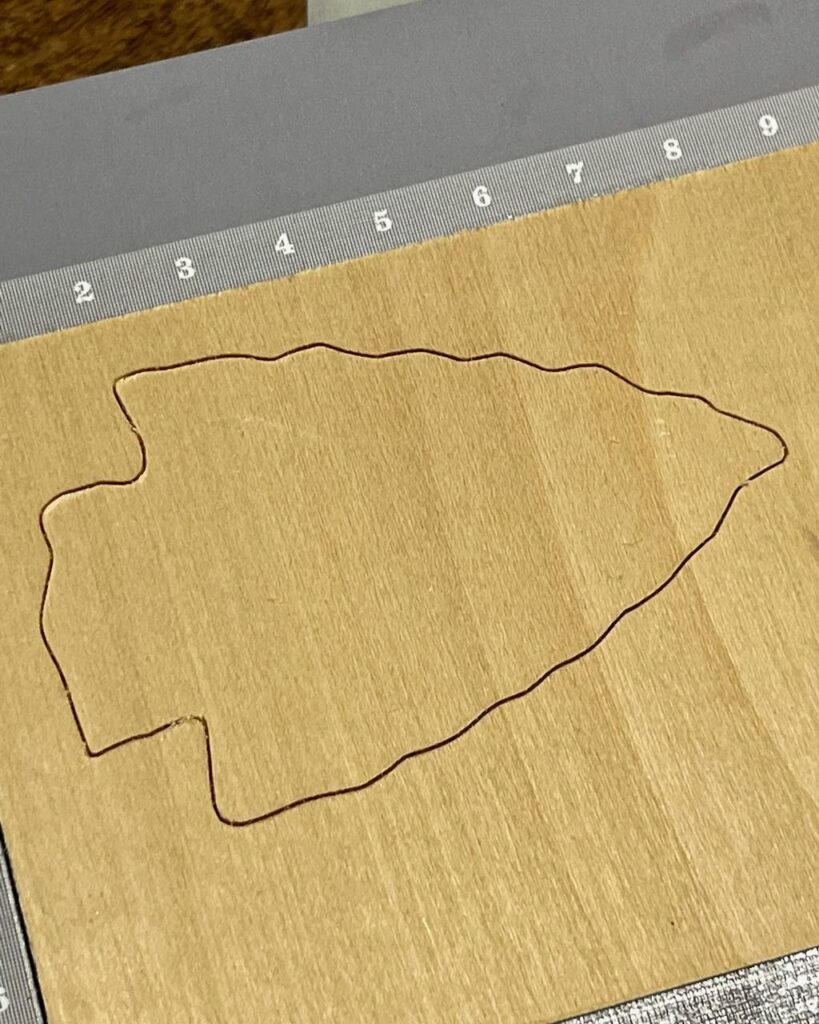
Now print this on heavier stock paper if. you want to decoupage it, like the Chiefs arrowhead. Or print on regular printer paper if you want to trace it and color it in with markers, as I did with the 1912 Jayhawk.
Cut out your artwork and set aside.
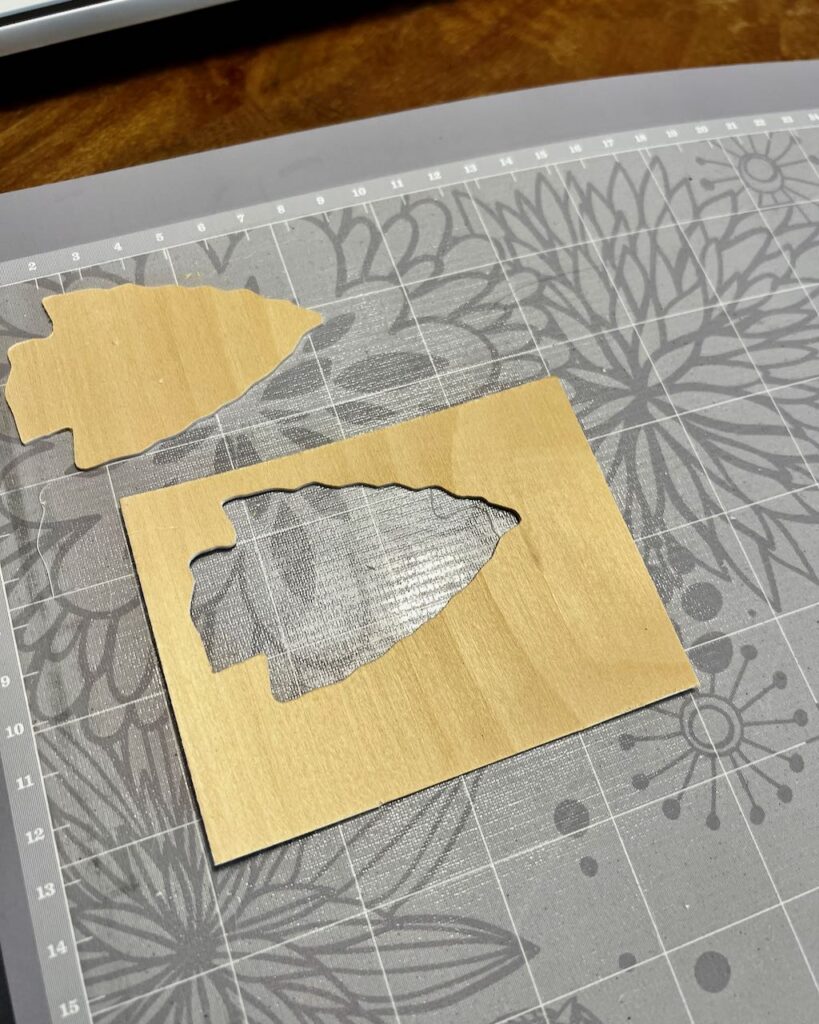
Step 6- Cut the Wood Shapes
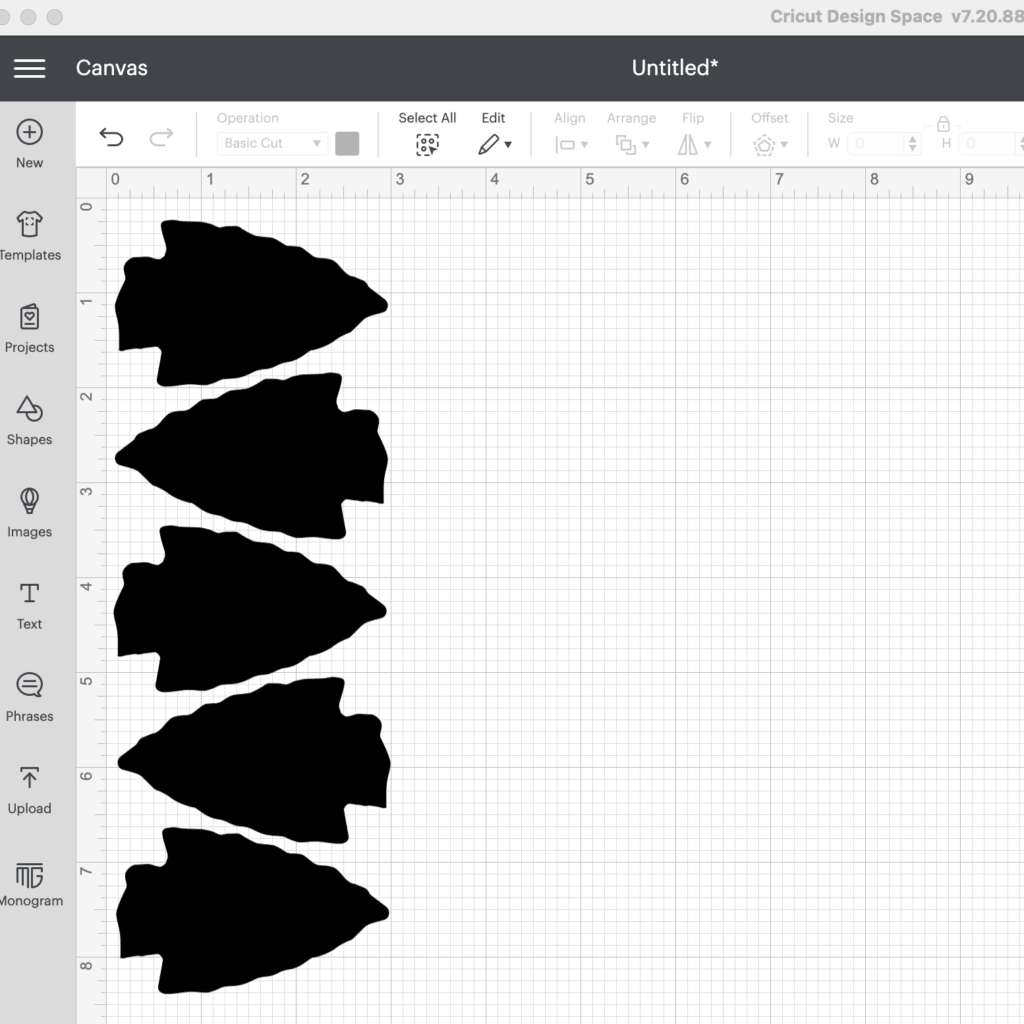
I made mine three layers thick, so I cut multiple layers at once using the weld function. Flip one or two of these horizontally so that you will have a white side for the back of your wood emblem.
Use a strong grip mat to hold your basswood securely.
TIP 1: Make sure you use 1/32-inch basswood, NOT balsa wood. Balsa wood will rip and tear rather than cut clean lines.
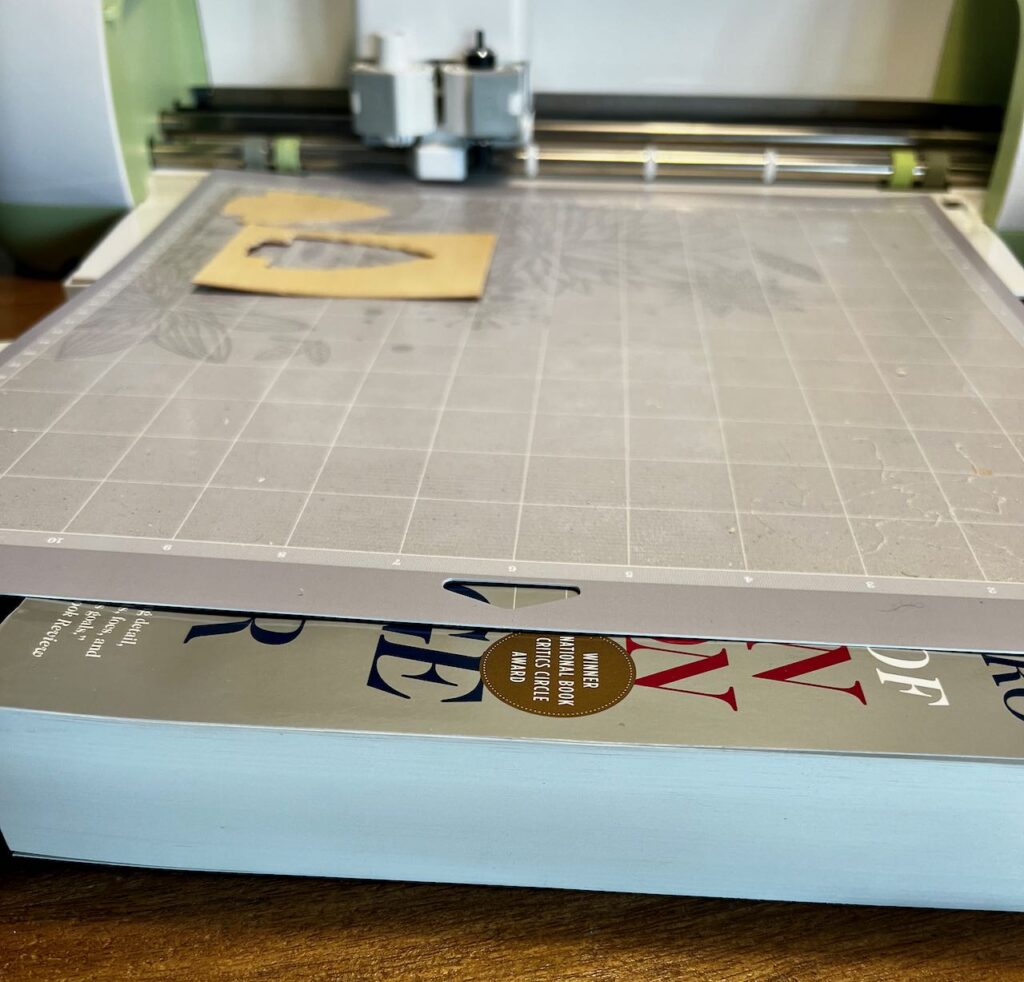
TIP 2: Place a book in front of the open door of your Cricut to give the mat a level surface to glide on which keeps the basswood from wanting to peel off the mat.
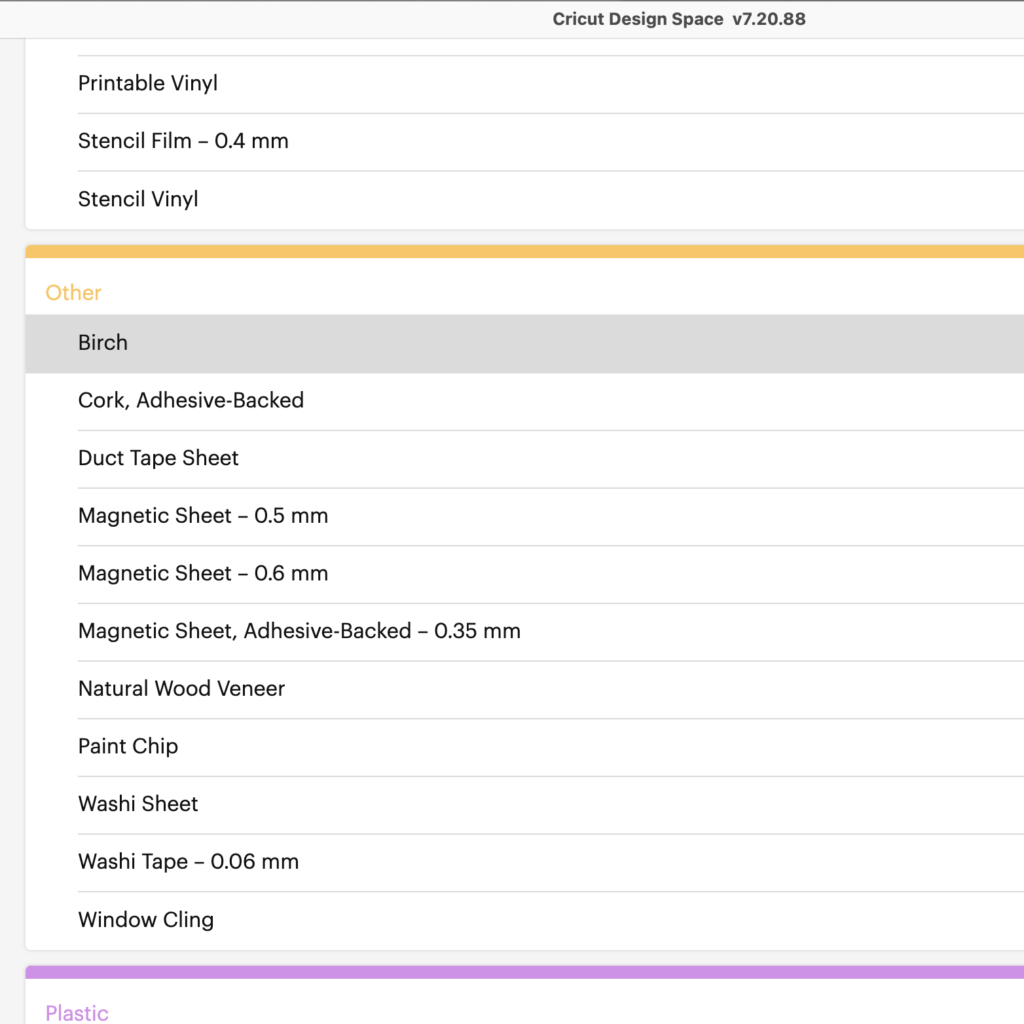
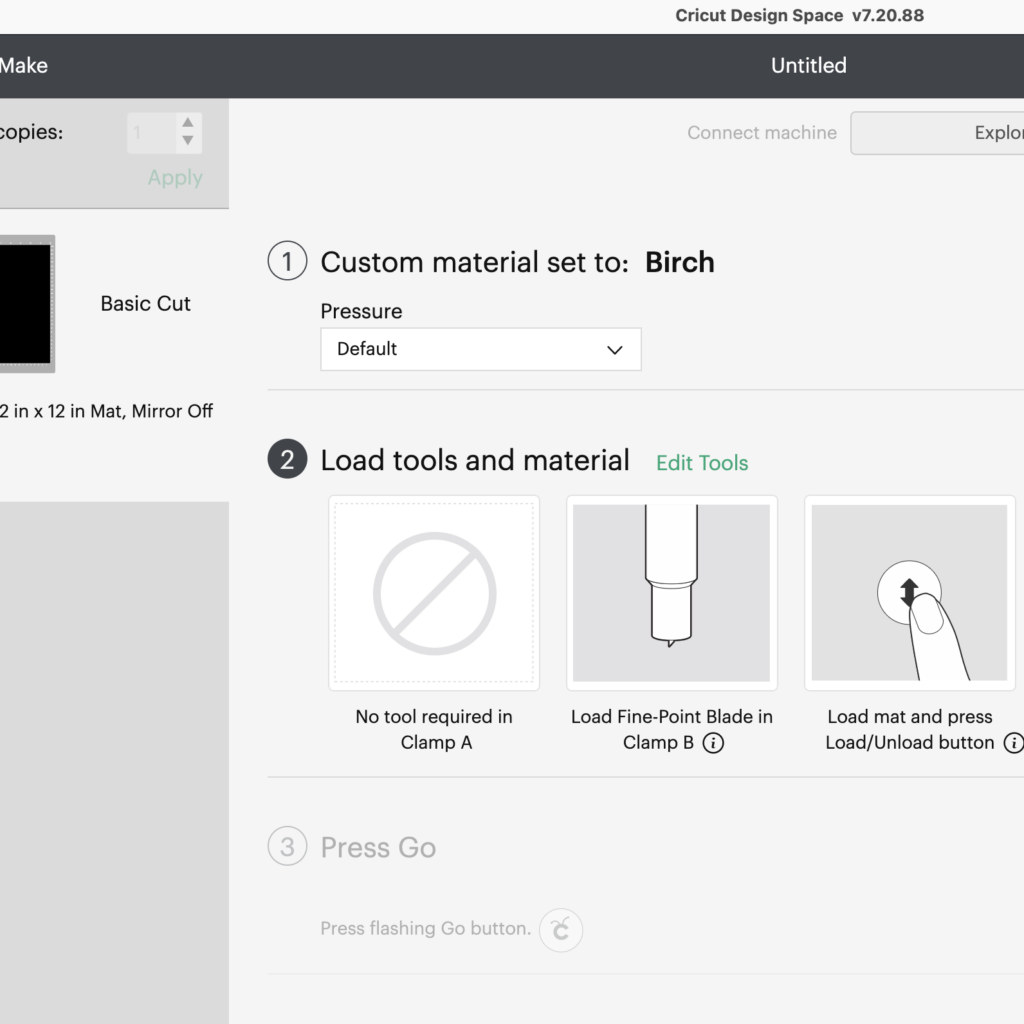
Set the material wheel to Custom and then towards the end of the list of materials, you’ll see Birch. Select that.
Cricut recommends a fine point blade, but I actually used a Deep Cut blade and it worked perfectly.
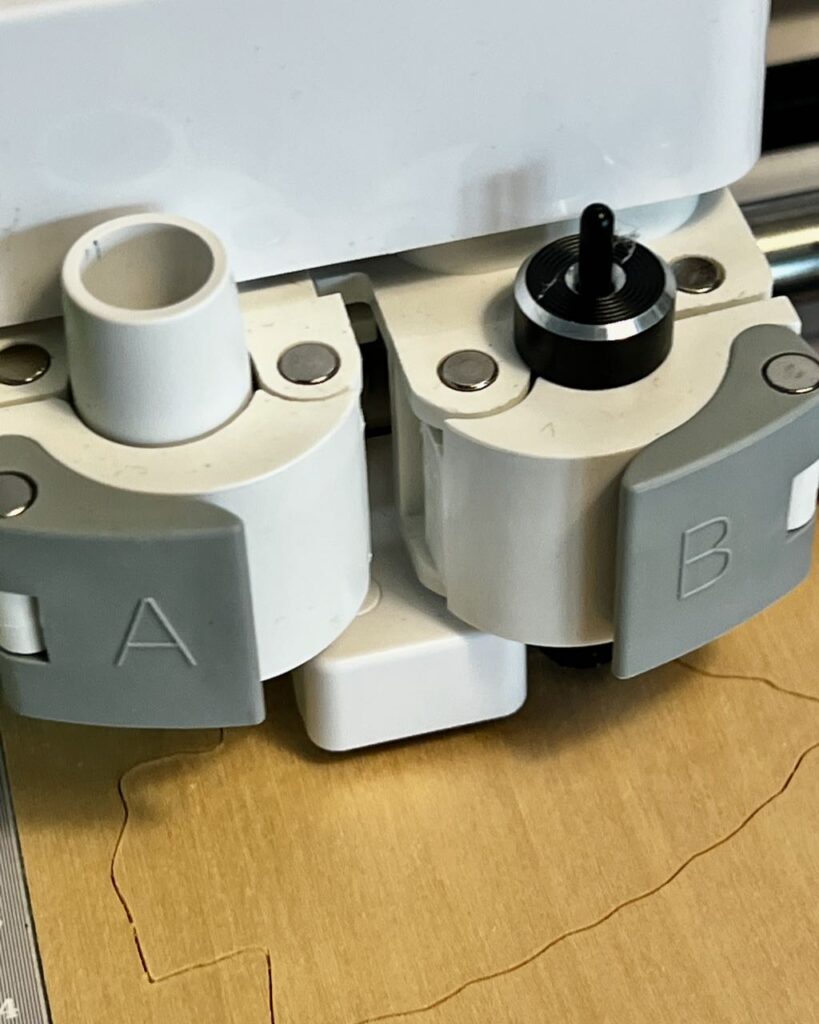
Load your mat and hit go as usual.
Lightly sand the edges. And now you’re ready for the artwork.
But first, are you enjoying this post? We are just heading into “my” season. So hang on, there’s so much more coming! Don’t want to miss a thing? May I suggest subscribing? You pick how much!
Step 7- Add the Artwork
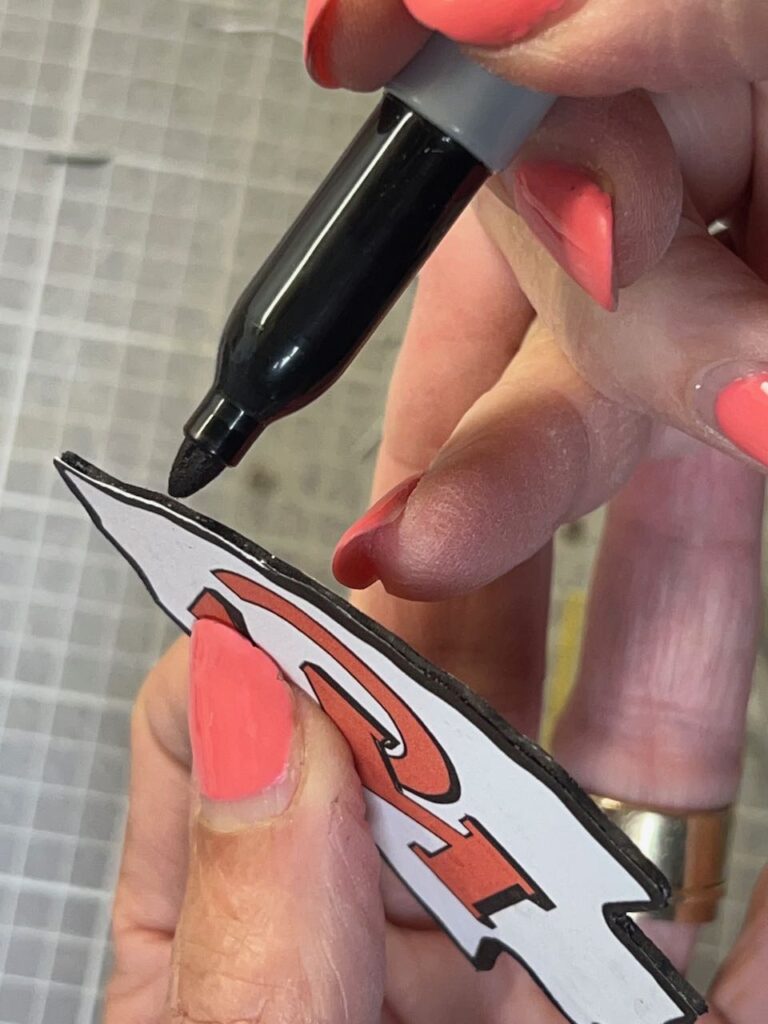
If Using Markers
Transfer the outlines with graphite paper onto the face of one of the wood pieces. Color to your liking.
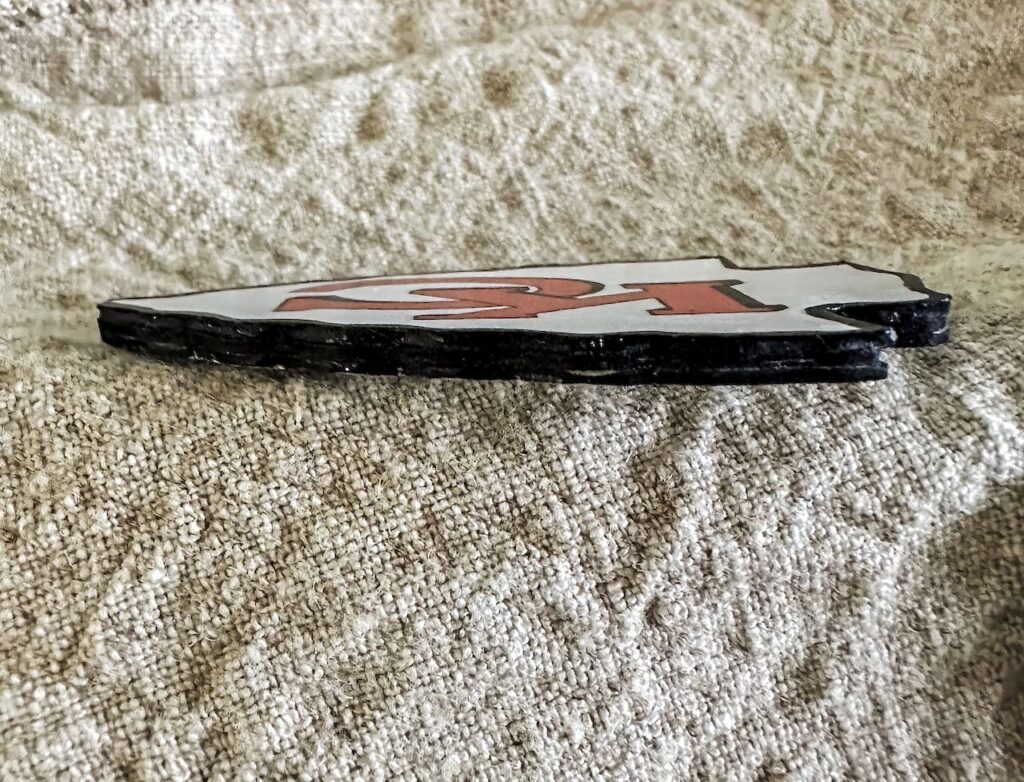
Now color the edges of thee three layers before your glue them together. Use a color marker that matches the outline of the artwork coloring the edges of all three layers and a smidge beyond on the inside surfaces.
When dry, use spray glue to attach three layer together, being sure to use one of the flipped ones for the bottom layer so it is finished white on the back.
When dry, use spray sealer to protect and produce the level of shine you like.
If Decoupaging
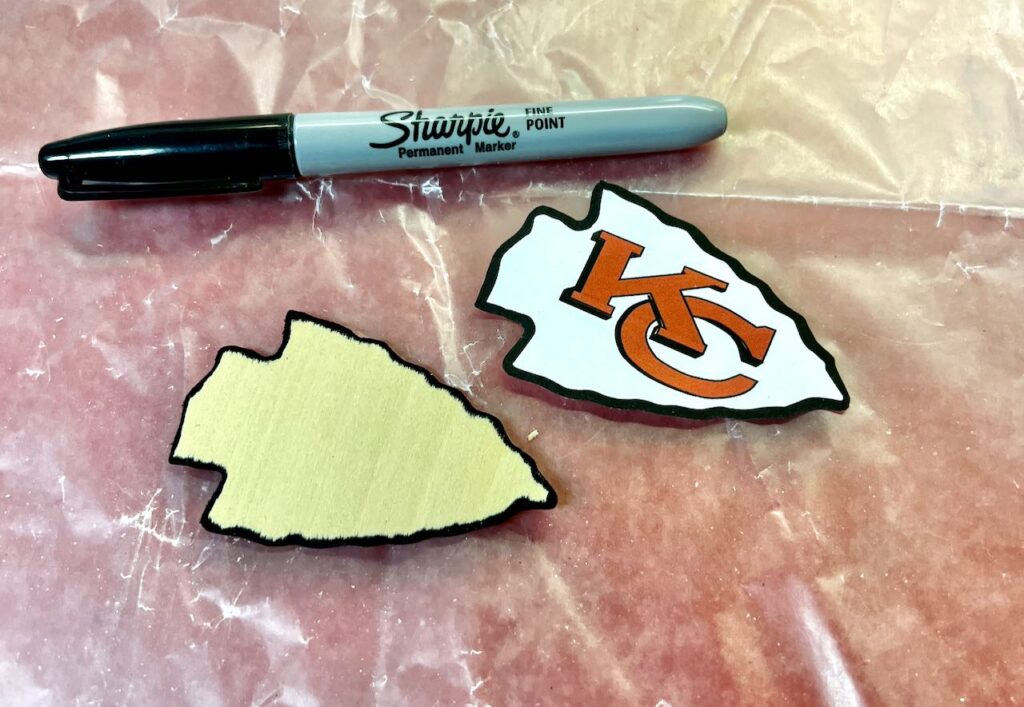
With a marker that matches the edges of your artwork, color the edge of a wood piece and on the face just a bit. And repeat with the other two layers overflowing a bit on the inside layers.
Now follow the directions on the bottle to adhere the artwork to the front of that wood piece. Once it dries, flip the piece over and use an Exacto knife to trim away any excess paper.
Very lightly sand the edges if needed and touch up with the marker.
Now apply as many top coats of decoupage medium as desired, including the sides.
Step 8- Attach Your Chosen Hardware
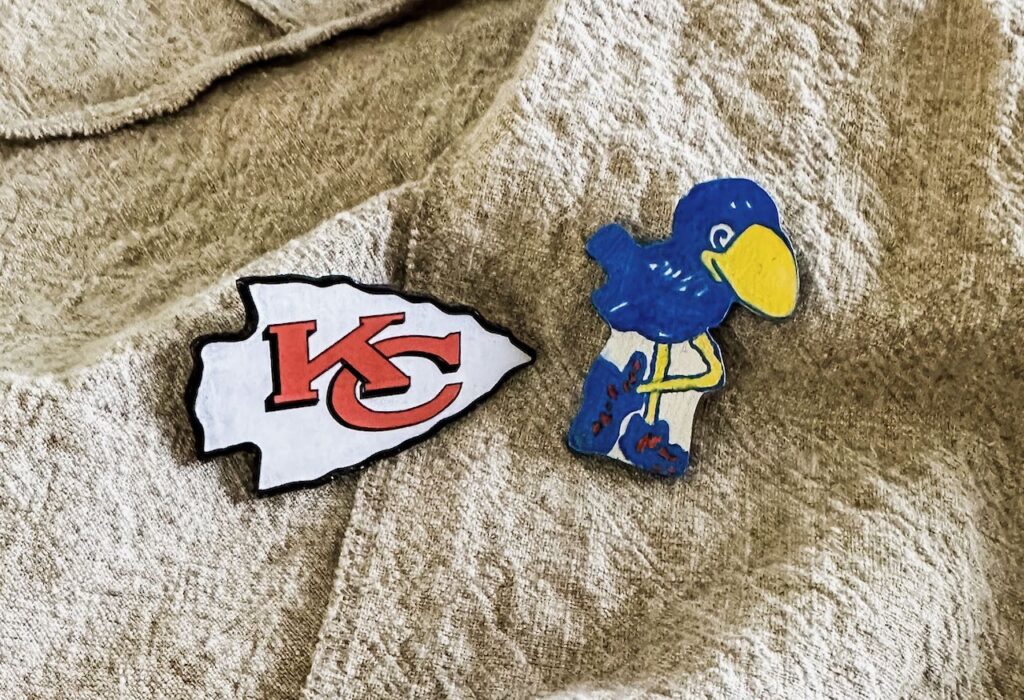
Whether earrings, a pin, a ribbon, a hatband, even a Christmas ornament, now is when you attach your wood emblem to whatever your vision is.
For me, that is this bolo hardware I ordered on Amazon.
Aren’t they fun?
The Best Gifts are Personal & Handmade
Do You Agree?
If you don’t now, I bet you will by the time you see what my Christmas Cheer partners have put together!

DIY Farmhouse Style Christmas Ornaments are easy to make using pine cones from your yard for this holiday season! Start celebrating your Christmas season by making your own rustic farmhouse ornaments!
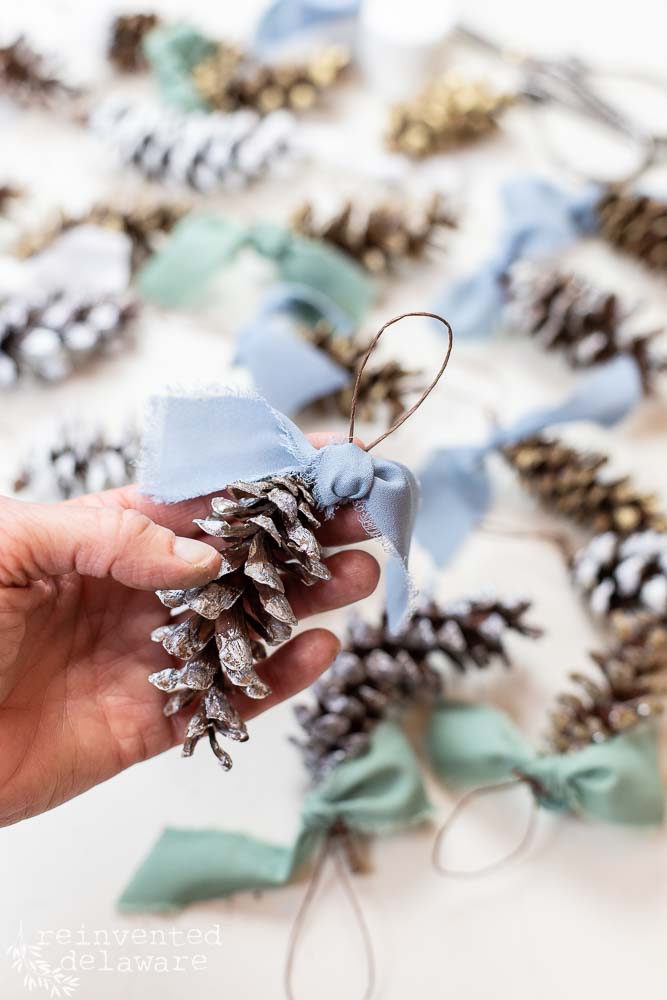
Michele – Vintage Home Designs
If you need some super easy Christmas ornament ideas, look no further. These unique handmade ornaments would be beautiful on your tree and they would make a great gift for an ornament exchange or hostess gift for a holiday party.
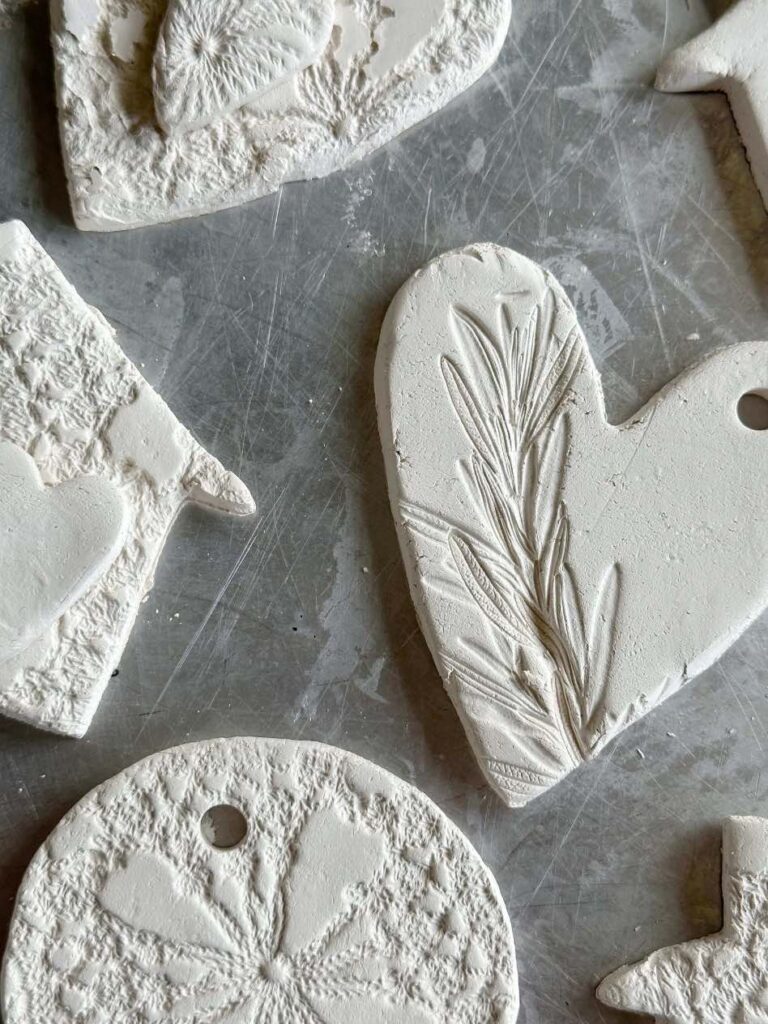
Lynn – Living Large in a Small House
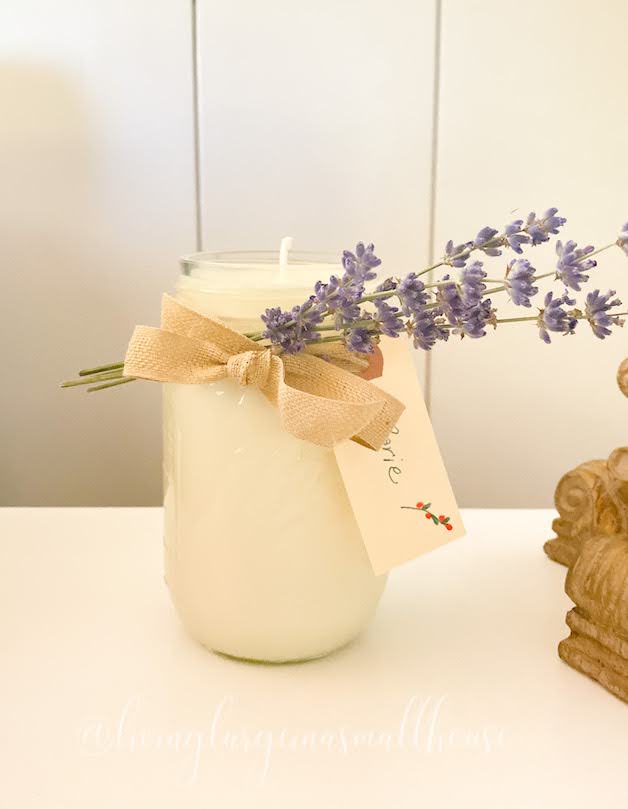
I have many handmade mason jar gift ideas for you today! If you are on a budget this holiday season this is a great way to keep the cost down by making homemade gifts.
***Reminder, some of the links I include for your convenience may be affiliate links, which means if you use the link (which I really appreciate!!!), I may receive a small commission, but you pay not a penny more. This helps me continue to create and share great content for you.
Sending you loads of Handmade Cheer this Beautiful Season!

Fun idea, Diane. It’s been a fun week together.