
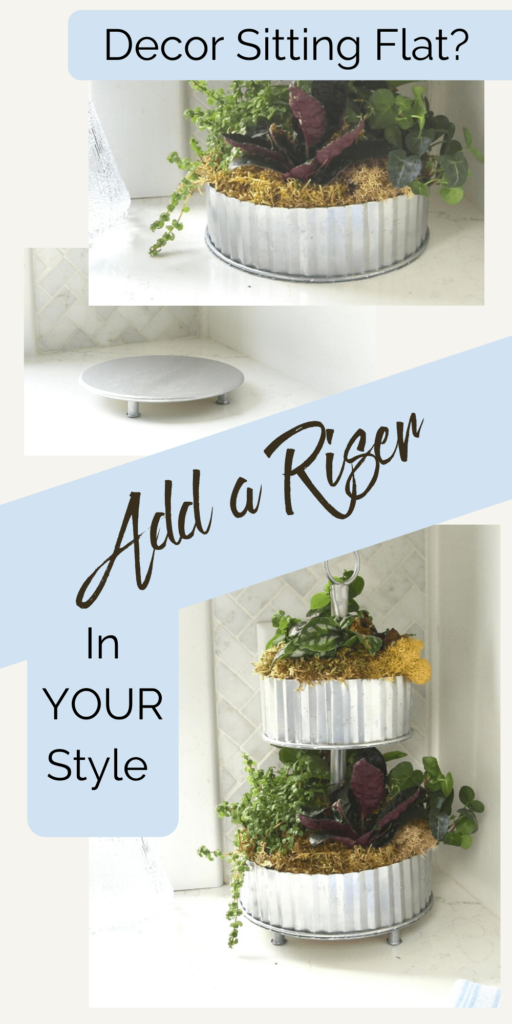
Decor Display Risers to Elevate Your Style
Do your displays sit flat? Give them a lift with decor display risers. They’ll turn your decor accessories into treasures. A simple, cheap DIY!
Simple DIY To Elevate Your Display
Decor risers are like a mini tray and a throne mash-up. They can corral objects to make a single visual statement and as risers they bring a level of importance to your “goodies”.
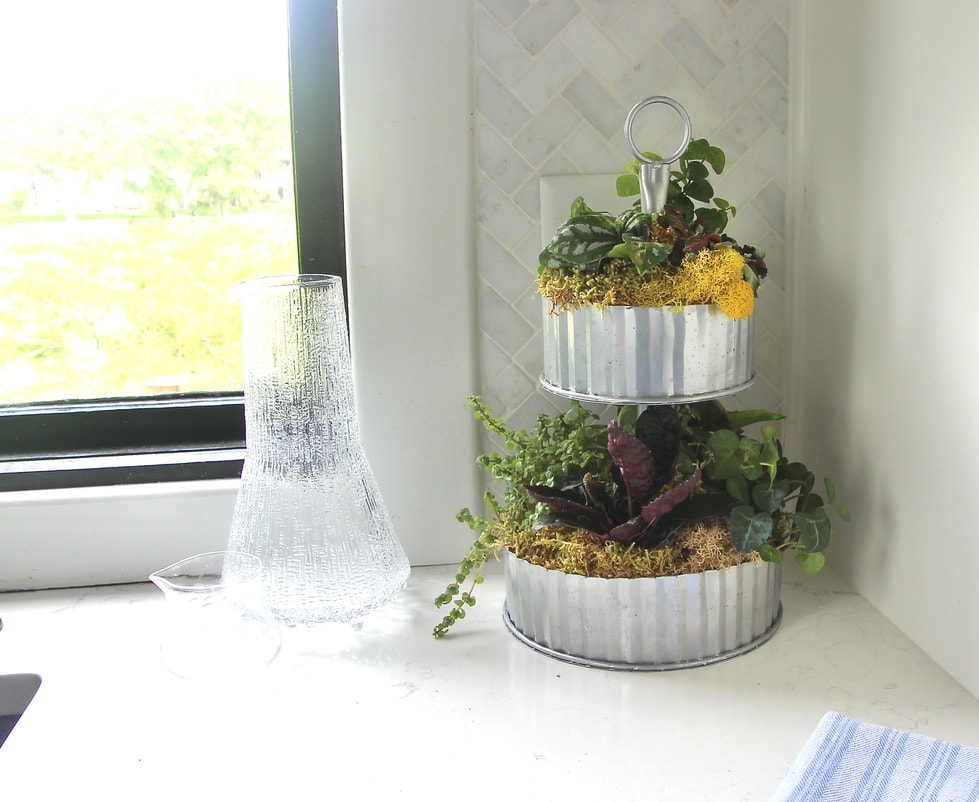
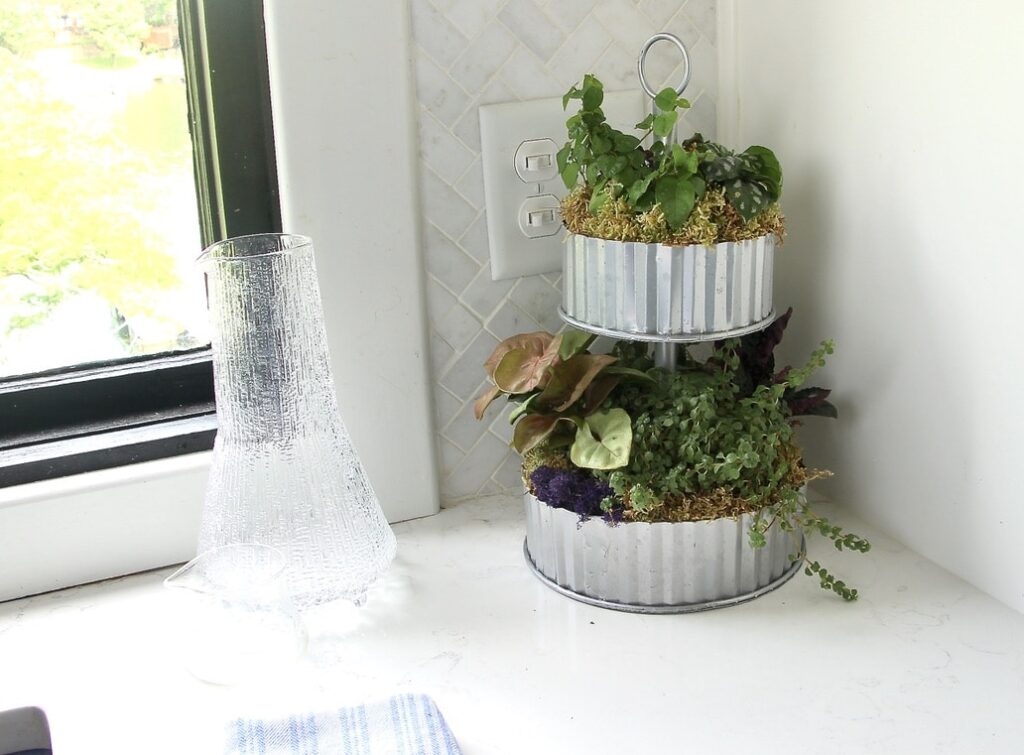
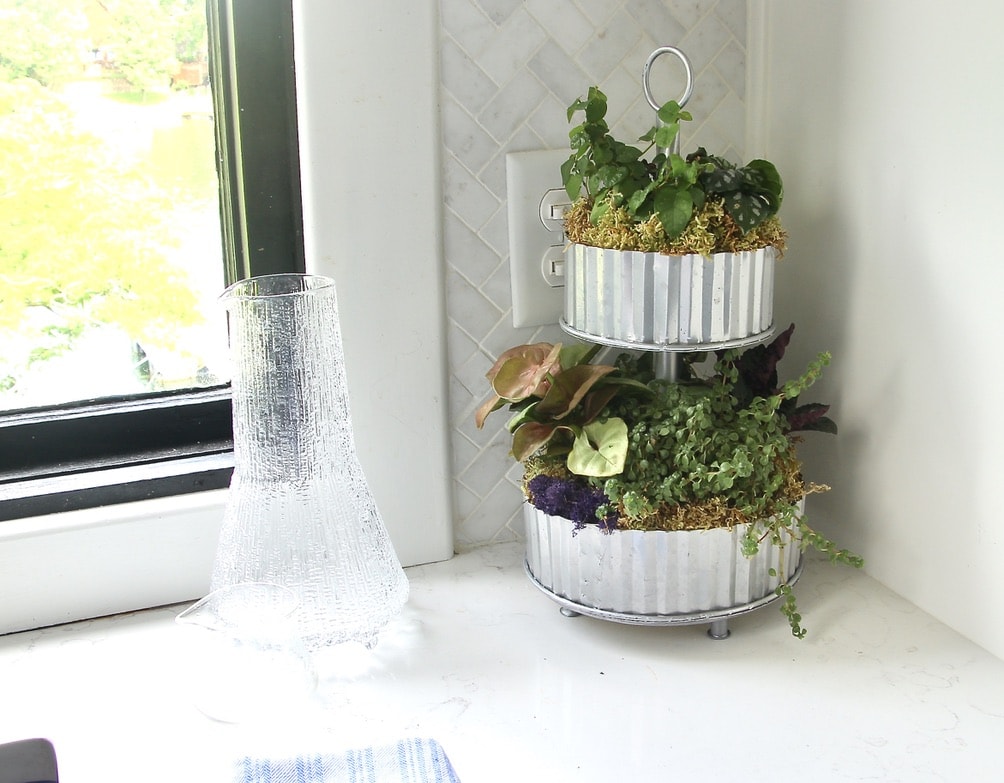
My husband bought me this darling tiered tray of miniature houseplants. I love it and knew instantly it would be great on the counter by the kitchen sink — right in front of those obnoxious, but so necessary outlets and light switches. What’s a girl to do with them? Hide them of course!
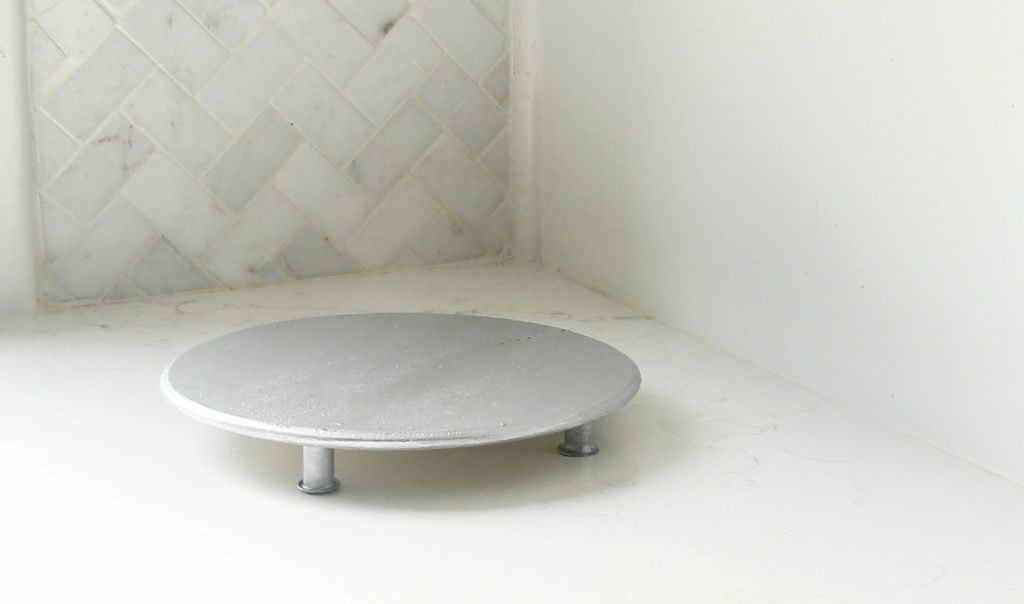
It looks good there, but …

It just needed a little lift, just a bit of air between it and the quartz that I’m still crushing over. It was crying out for some feet.
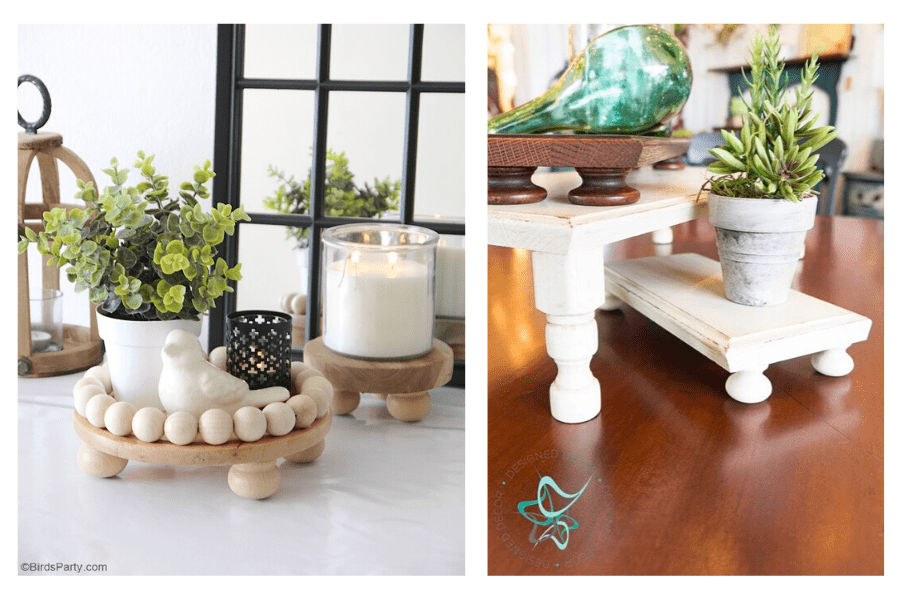
I’ve seen a number of DIY decor display risers floating around the web. Like these cuties from Birds Party and these rectangular ones from Design Decor.
But What About Other Styles?
Remember picking formals in High School? For me, this was long before the days of sequins and glitter, so don’t judge me too harshly. The gorgeous, stylish “in” girls were wearing dresses that were a bit slinky and a bit shimmery.
Me? I tried. I really did. Honestly, I looked good great, but felt like my skin was crawling, so uncomfortable. They just weren’t me. For the winter formal I showed up in a long flowing skirt with a plaid taffeta fitted blazer. And I had a ball!
It’s like that for my kitchen. I tried, but she just doesn’t want to go farmhouse. She’s a bit European Modern but casual. She’s the small kitchen in a Bungilla (Bungalow on the streetside, but all Mediterranean villa on the lake side).
She needed simplicity with just some feet to complete her outfit, not to overtake it.
I needed to DIY a more streamlined version of the popular chunky farmhouse decor display risers. Here we go!
Step 1: Materials & Supplies
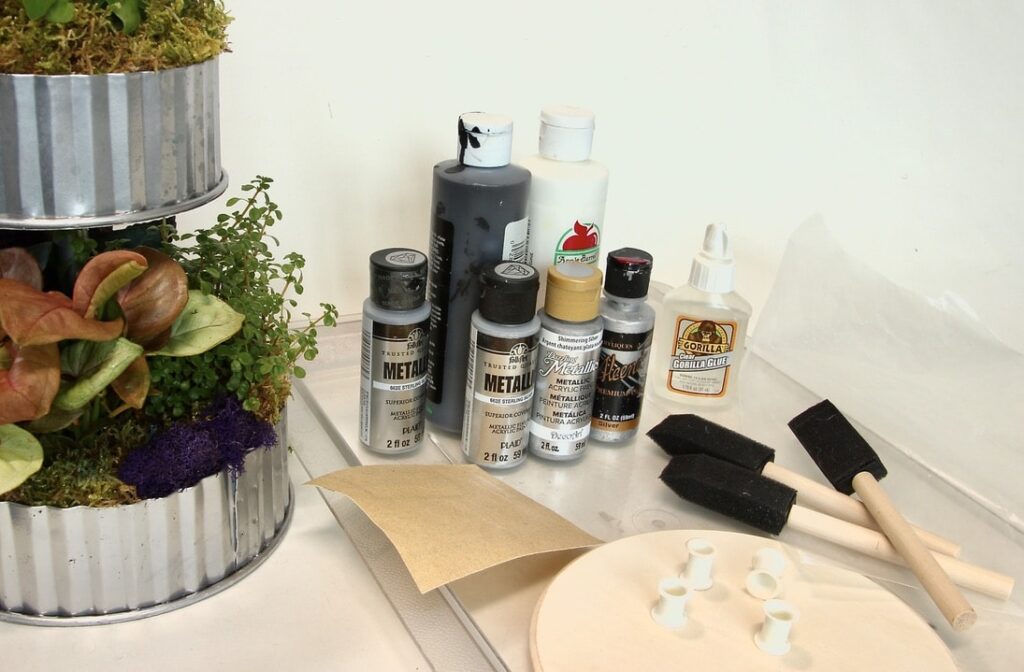
Materials:
I picked up a thin round craft board at WalMart and then scoured the aisles and the house for some silver feet. Drawer pulls were my first thought, but they were too big and shiny and too obviously drawer pulls.
I decided I need some long beads. The closest I came up with were these innards from spools of ribbon (I go through a lot of seam binding ribbon at my shipping table). Perfect!
Supplies:
- Sandpaper for the wood disc
- Craft paint
- Craft paint brushes
- Glue
- Wax paper or paper plate for mixing paint
Step 2: Paint
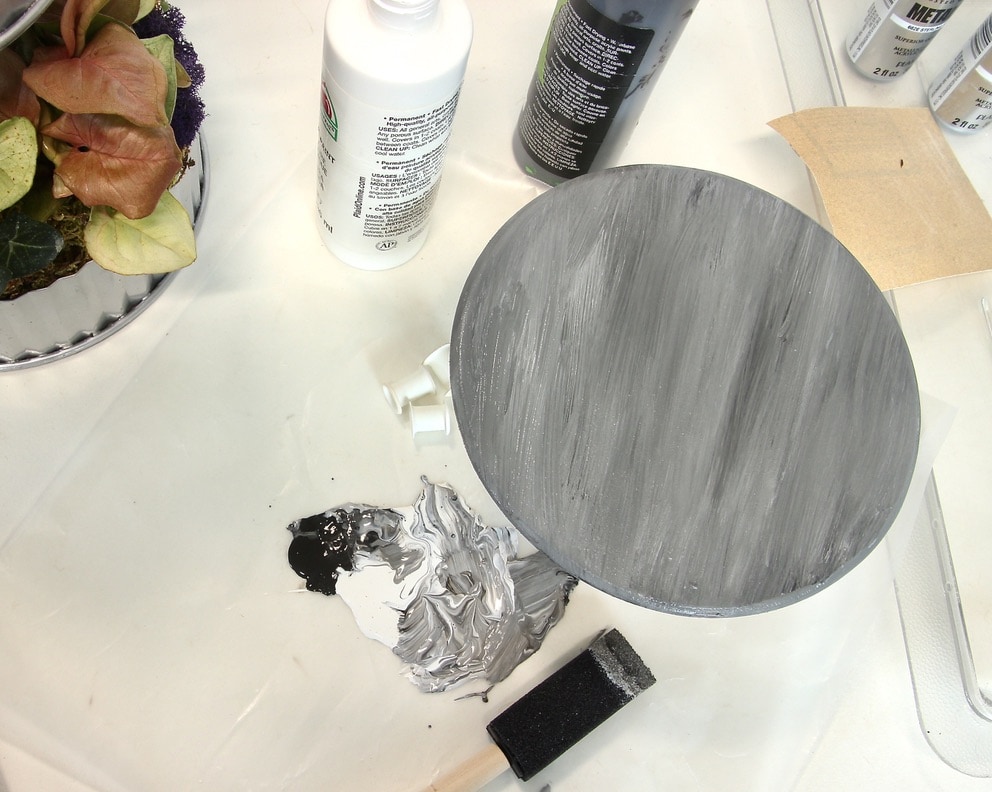
I wanted my riser to closely match the tin of the tiered planter, so I rooted through my stash of craft paint for black, white and any metallic silvers.
After sanding the disc, I painted a base coat of striated grays like the ribbed planter. In hindsight, this was not necessary. I was imagining that I would rub the metallic paint over this to get the shine.
In reality, I painted the silver on as regular, so I probably could have done fine with two coats of silver. That’s okay, now I have more silver waiting for the next project.
And I gave the “feet” a base coat of the gray followed by a coat of silver metallic.
To paint something like these or beads, I have found the easiest thing is to skewer them on a piece of paper wound around something solid.
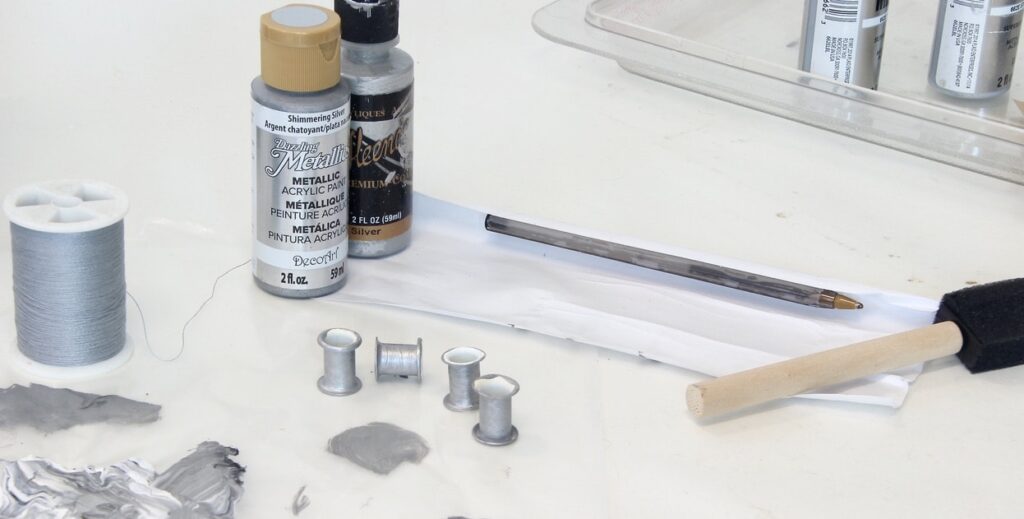
I taped a pen along the length of a piece of paper. I then cut off part of the width of the paper and then rolled it tight and tried to slide the feet on it. It too me several tries, each time cutting a bit more off the width of the paper and re-rolling until it was thin enough for the feet to slide on but still thick enough that they didn’t twirl around or slide down the paper skewer.
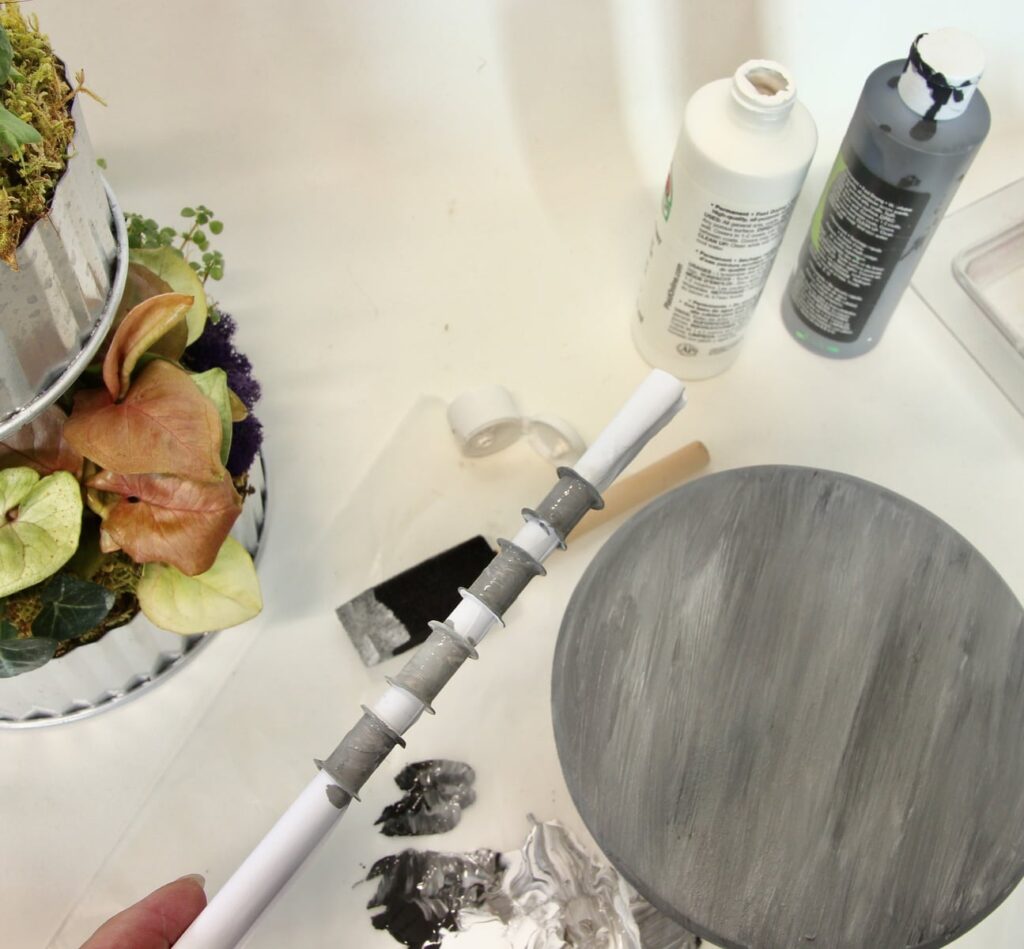
To dry them, I slipped the end of the paper skewer into the open spot on the end of a spool of thread and they stood up nicely, drying without issue.
Step 3: Glue
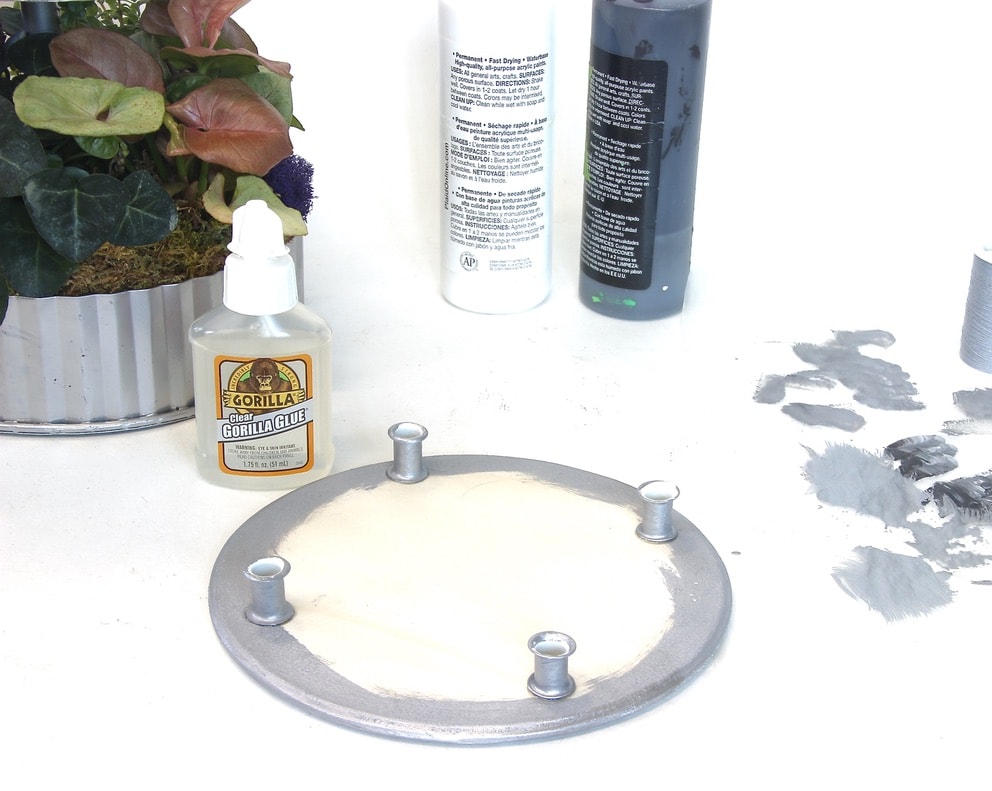
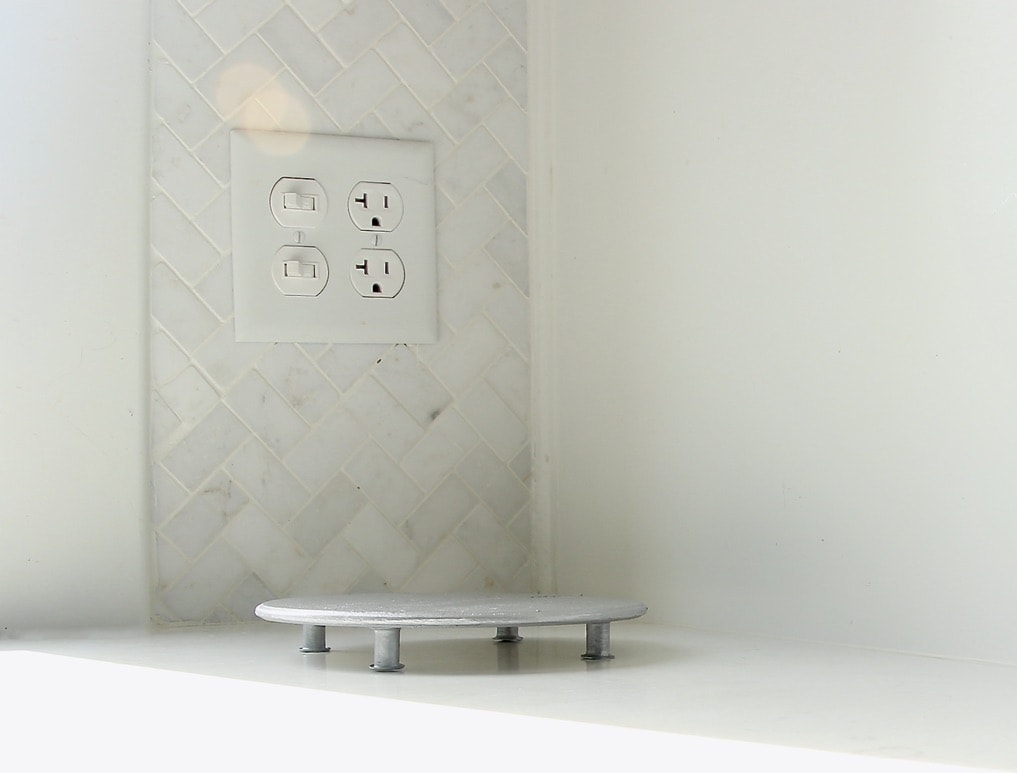
Once all dry, the feet were glued in place. Gorilla Glue worked great for me on this project.
Let it dry and that’s it.
Just to help you remember:
And Who Doesn’t Love a Good Before & After?
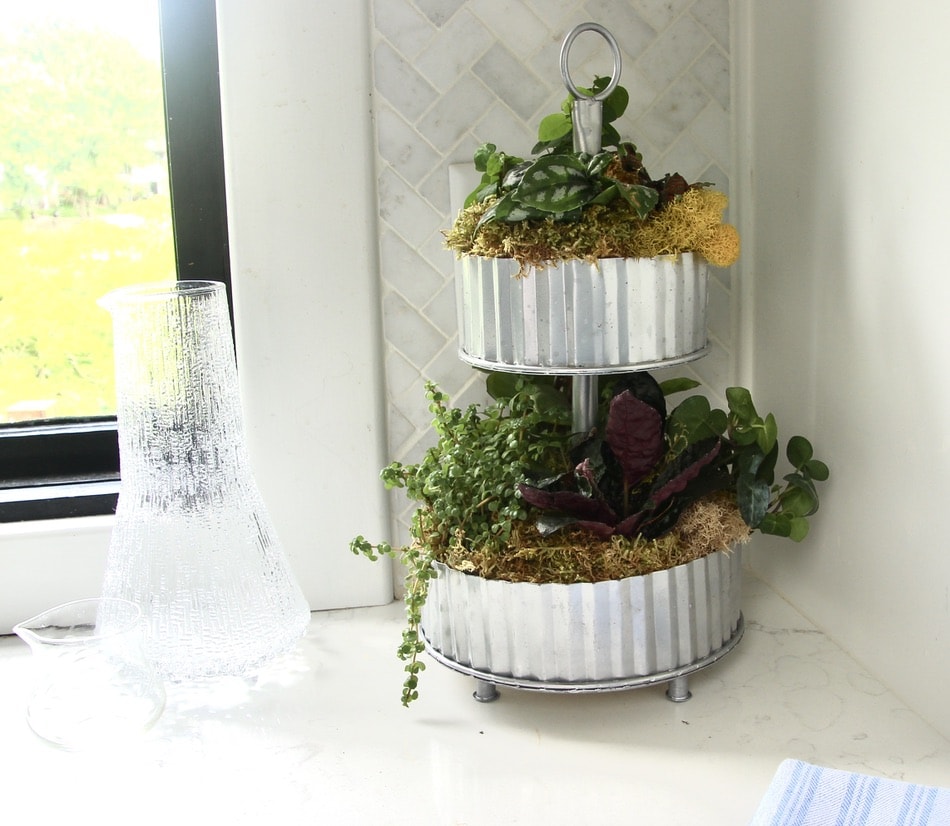
Before:
After:
It’s amazing how huge the difference, from such a little addition. And with minimal time and money!!! Win-Win!
And an extra plus: no risk of metal rust rings on my counter.
Remember, not all decor display risers have to be chunky or farmhouse, they can be custom to your home, your style, your displays. Can’t wait to see what you come up with.
That extra lift sure did made a difference! I’ll have to look around the house and see if anything I have needs a lift. Lol
Oh, good! Send me a pic when you do some “lifting”. 😉