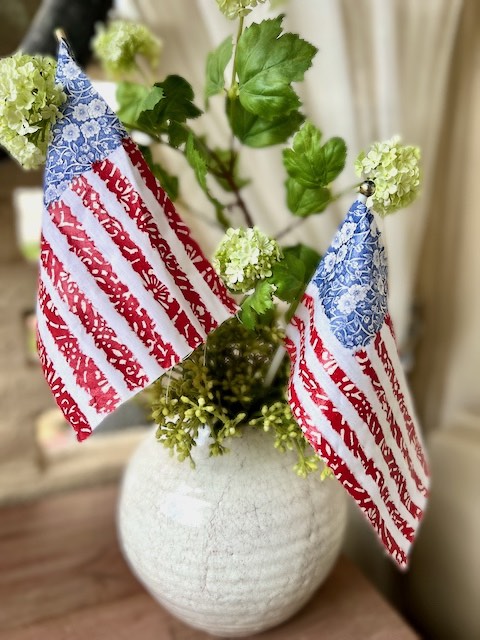
Make Easy American Flag Decor with Decoupage and Napkins
Fun and creative 4th of July decor: Flags made from decorative napkins. Budget-friendly, cute and custom for your home, your style!
The 4th of July is a time to celebrate the birth of our nation and the freedoms we hold dear. It’s also a day for reflection, a chance to consider the ongoing journey towards a more perfect union. It’s also a celebration of individuality and the rich tapestry of cultures that make up our nation.
This year, why not express your patriotism with a touch of creativity?
Here, we’ll be crafting some adorable flag decorations using a fun decoupage technique with Mod Podge and napkins.
These DIY flags are a budget-friendly way to add a touch of patriotic flair to your 4th of July decor, all while celebrating what makes you unique.
The links in this post may include affiliate links, which means if you purchase anything using these links, you pay no extra, but I may receive a small commission that helps keep this blog running. I truly appreciate you using affiliate links whenever possible. Please know that I will never recommend a product I do not believe in!
Let’s Make Some Fun Flags!
Materials and Supplies:
It’s a short list:
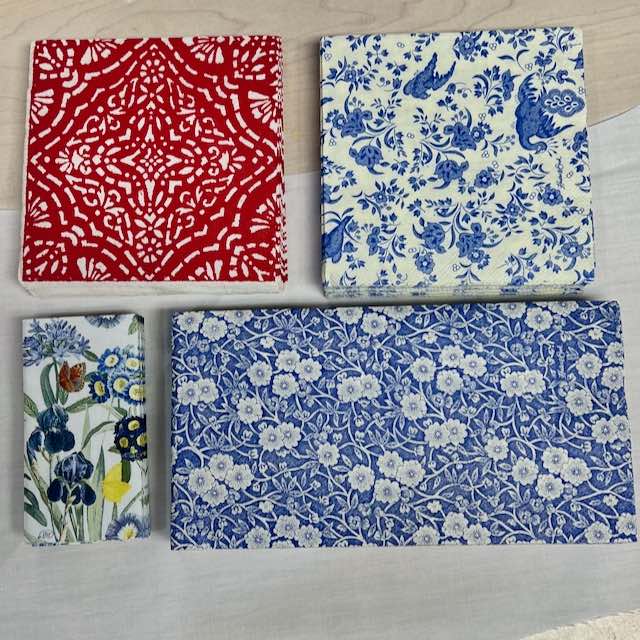
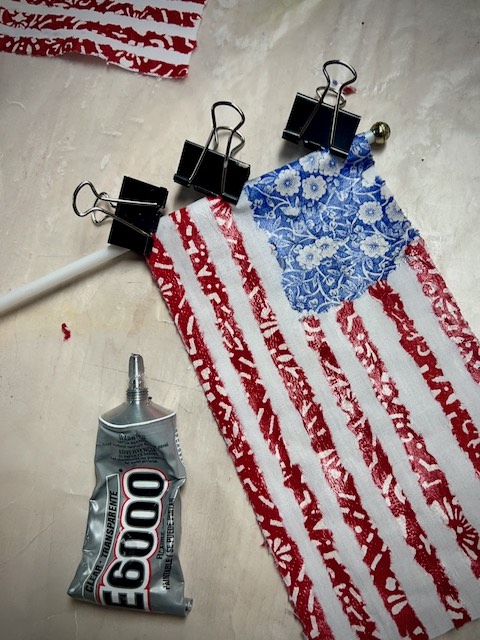
- Decorative paper napkins (i had four too choose from, but ended up just using two)
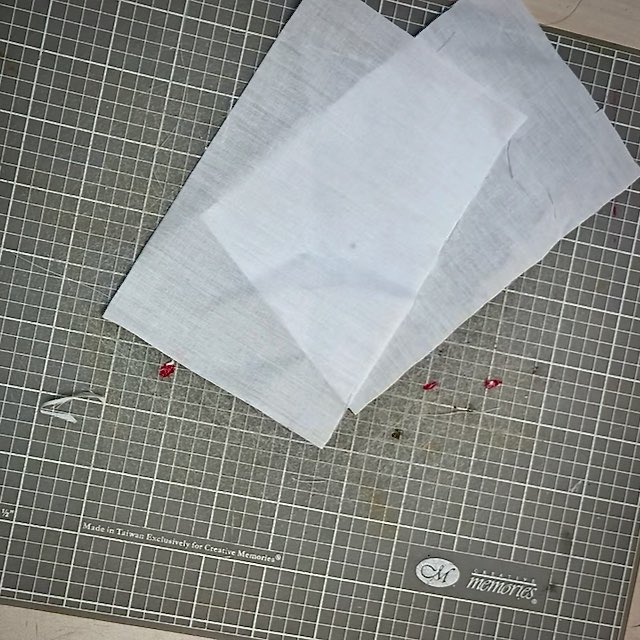
- Thin white cloth (could even use an old sheet)
- Mod Podge decoupage medium, I used both the Super Matte and the fabric version
- Wood skewer, dowel or straw
- Wax paper, or other work surface protection
- Ruler, preferable with a sharp edge
- Pencil
- Rotary cutter and mat, or scissors
- Paintbrush, or small foam brush
- Iron
- Glue, hot glue or other
BONUS Project:
- Artist canvas, I used 8 x 10
- Acrylic paint in white and sky blue
- Misting bottle with water, optional, this is mine that I could not do without
- Fine line permanent markers
NOTE: the misting bottle is listed as optional. But, in my book, it’s not! I would never want to go back to not having this mister in my craft room and always within easy reach!!!
The links in this post may include affiliate links, which means if you purchase anything using these links, you pay no extra, but I may receive a small commission that helps keep this blog running. I truly appreciate you using affiliate links whenever possible. Please know that I will never recommend a product I do not believe in!
On to the Crafting:
Step 1) Prepare Your Napkins-
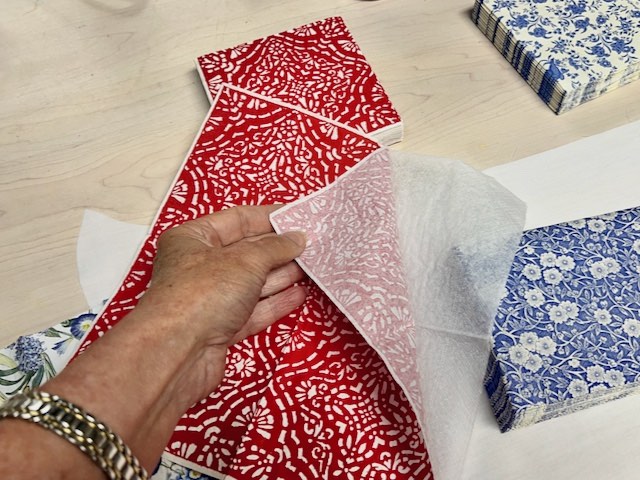
Most paper napkins have multiple layers, usually three.
Gently peel off the bottom layers, keeping only the topmost one with the printed design.
Rub one corner between your thumb and forefinger and you can usually see the layers and separate them starting there.
These layers are held together by the perforations around the edges. If you have a napkin that you can’t seem to separate, no worries:
PRO TIP: on super stubborn napkins, cut a small slit in the body of the napkin, beyond the perforations, and there the layers will be separate.
Step 2) Cut Out Your Flag Background-
Determine the finished size you want and add a bit extra to the longest length for wrapping onto your skewer flag pole.
I thought I wanted to stay true to the American flag. So my first flag the followed the 10:19 ratio of our official flags.
However my first flag seemed really long and narrow. Why?
I broke out my stash of flags and none of them were even close to this official ratio. Most of the small flags we use in centerpieces and waving at parades measure 3 x 5-inches.
The navy field should be 40% of the length. These same small flags were not.
So I guess what I’m saying, is really anything goes.
Step 3) Prepare Your Flag Design-
Now that you have your background, it’s time to prepare the individual design elements.
You’ll need one blue and white piece for the field of stars and seven red stripes.
I prefer to tear my napkins for most decoupage projects. There is nothing inherently wrong with cutting them, I just prefer the more organic look and the edges disappear or at least have a softer edge when they are torn.
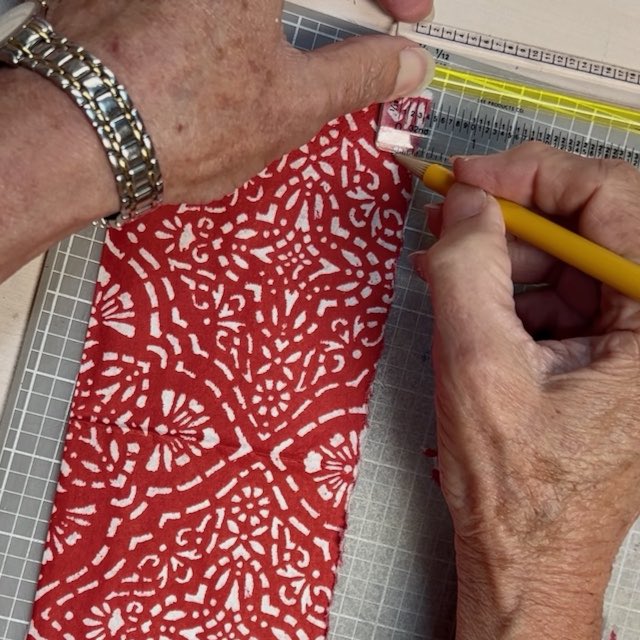
Measure off the size you need, and mark with your pencil.
Lay your straight edge along your pencil marks on top of the bulk of the napkin, The piece you are tearing away will be either a stripe or the blue field.
For the stripes, fold your napkin in half, using your straight edge, tear off the outside perforated edge (you won’t be using this). With your napkin still folded, now measure and mark your first stripe width (I used 3/8-inch for my small flags) lay your straight edge along these marks and gently tear.
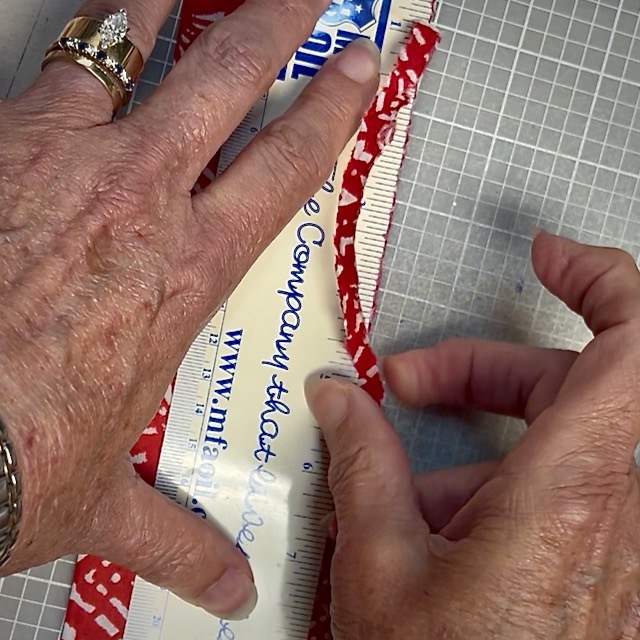
This works best when you grasp the edge of the napkins as close as possible to the straight edge and pull the napkin up and towards you a bit at a time, all while holding the straight edge firmly in place.
Now measure and mark again, hold and tear. Repeat as needed.
My red napkins were small beverage napkins, Four passes produced enough stripes for two small flags.
Step 4) Decoupage Magic-
Lay your white flag on a protected surface.
PRO TIP: Wax paper is my craft room go-to! For protecting surfaces and as paint palettes.
Usually with decoupage, you add a thin layer of Mod Podge to the base surface and then apply the paper to it.
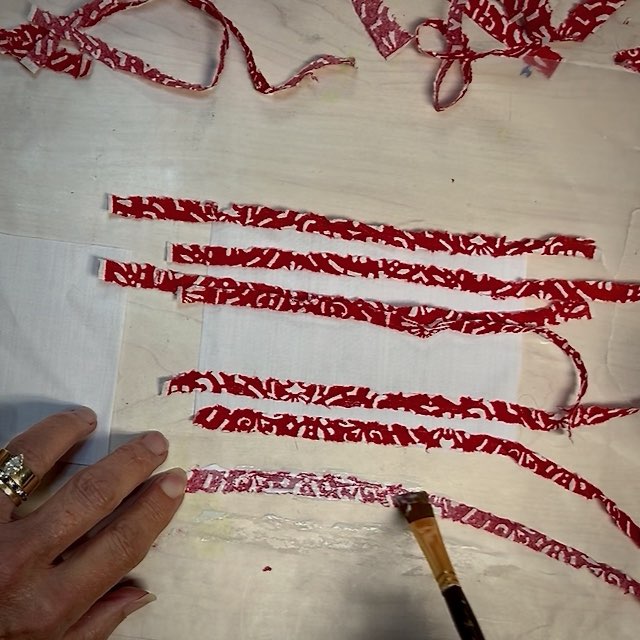
In this case I applied a thin layer of Mod Podge to the back of a red stripe, except the very ends.
I picked up the strip using those clean ends and placed it along the bottom of the flag, just slightly overlapping the edge.
I placed the stripe off to one side, so the excess could become the shorter stripe next to the blue field.
Repeat with the next red stripe spacing it with a gap to create the white stripe.
Place the first three bottom red stripes.
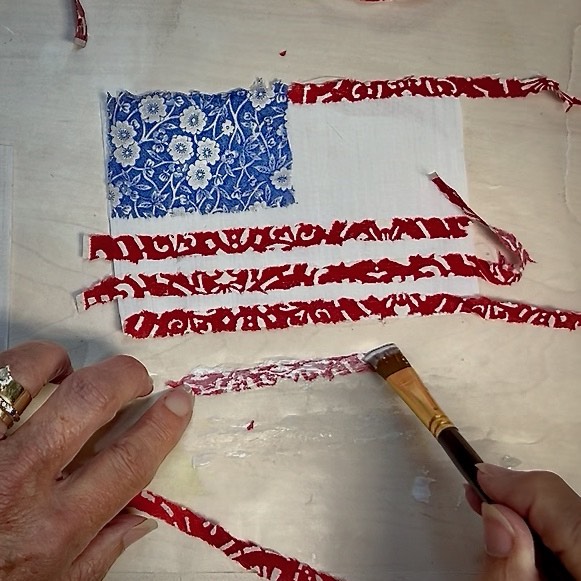
Now it’s time to place your blue field.
Because the napkins are so thin, I found in easier with the blue, to paint the Mod Podge onto the white flag base in the area of the field.
Remember there is a white stripe below the navy field, so be sure to leave a gap equal to the other white gaps.
Gently lay the blue in place. If the Mod Podge did not go all the way to the edges, just hold back the napkin, sneak a bit of Mod Podge in there, and lay the napkin edge smoothly over it.
Finish with your four remaining red stripes.
Make sure all the edges are sufficiently glued down.
Set aside to dry.
Depending on how you plan to use your flag, you may want to add the red stripes and blue field to the reverse side too.
If you do, use the same process, just be sure to give it a quick press prior to adding the backside elements.
PRO TIP: While your backside stripes are still wet, be sure to hold your flag up to the light and check stripe placement and width.
Any place that your backside stripe is a bit too wide, tear off a bit or mush the excess into the stripe with your fingernail.
Let dry and then press again

At some point, either once it is all dry, or when your Mod Podge is still wet, you’ll need to tear off the excess bits of napkin that are extending beyond the flag background. Easy peasy!
Step 5) Iron-
As my flag dried, it curled up.
No worries, nothing that a quick press can’t take care of.
PRO TIP: Keep an old iron labeled “Tester”. Now, this is the iron that you can use for crafts and for experimenting with different heat settings and materials without damaging your good iron.
Step 6) To Seal or Not to Seal?
I chose not to seal mine as I didn’t want any shine at all and I wanted the fabric to be as flow-y as possible.
If you are new to decoupage, the norm is to add a layer, or two, of Mod Podge on top of your finished project to protect it. It is the glue and the sealer.
The first flag I made, I used Fabric Mod Podge. Then I switched to the Super Matte Mod Podge. Both worked great.
Step 7) Add a Flagpole-
Optionally, you can paint your skewer or dowel and add a finial to the top.
With the glue of your choice, attach your flag to the skewer.
May I ask if you enjoyed this project? If so, please consider joining this creative community so you don’t miss a thing! Plus you have access to exclusive content. Subscribe now:
Thanks Bunches! Now onto a few ideas and more wood craft projects:
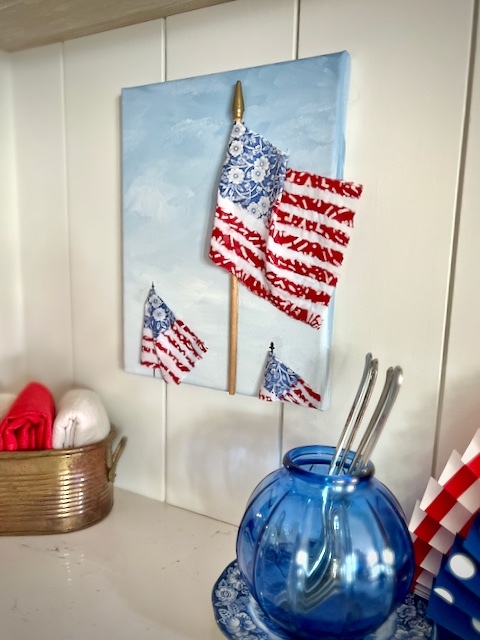
BONUS: Turn Your Flag Into Wall Art
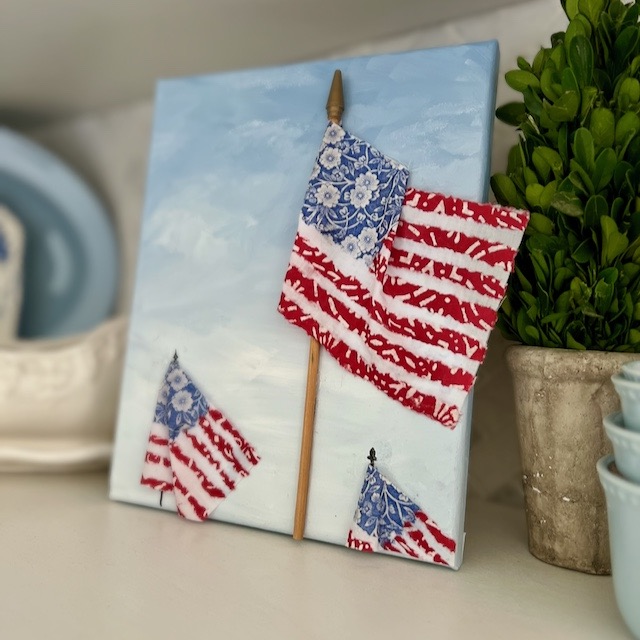
Isn’t this the cutest!
You can prop on a shelf or hang in a small spot that needs a bit of brightening
It can also be framed, or even matted and framed larger
PSA: are you enjoying this project. Would you like more, do you love exclusives? Then you need to join the party — the Weekender House Party. Subscribe now:
Many thanks!!! Now back to our flag canvas:
How-To:
With a bit of white and sky blue acrylic crafts paint, I started by adding a bright Summer sky with just a touch of wispy clouds.
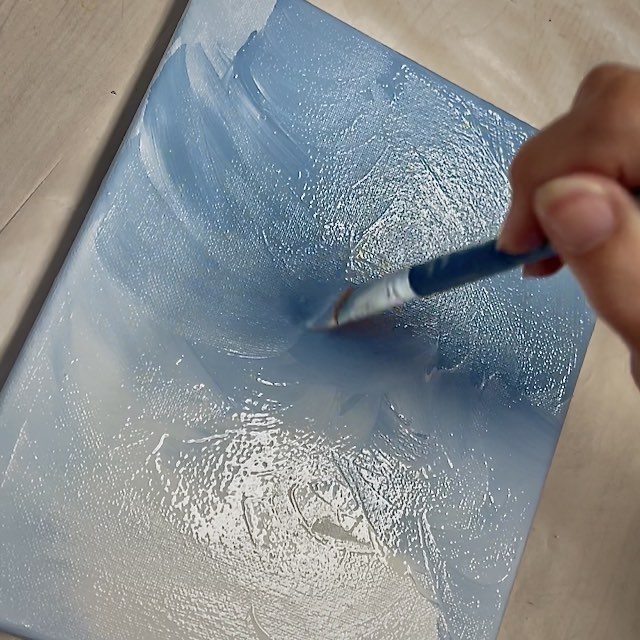

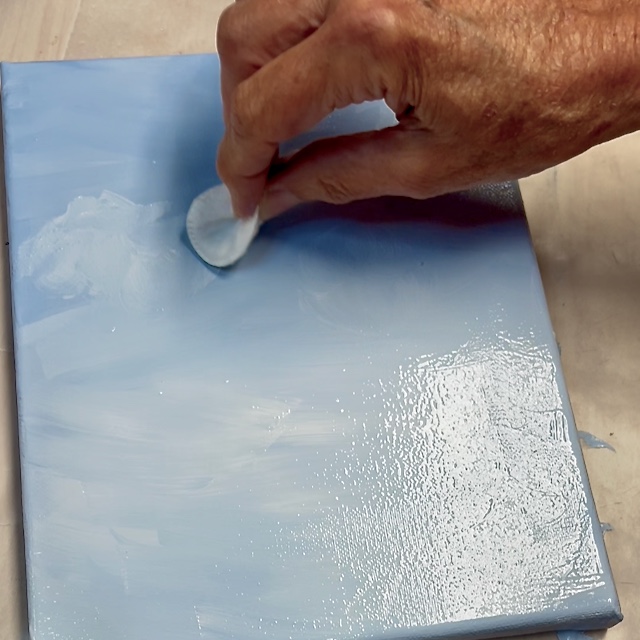
PRO TIP: Keep the misting bottle handy to blend your colors and a face pad is great for softening and adding clouds.
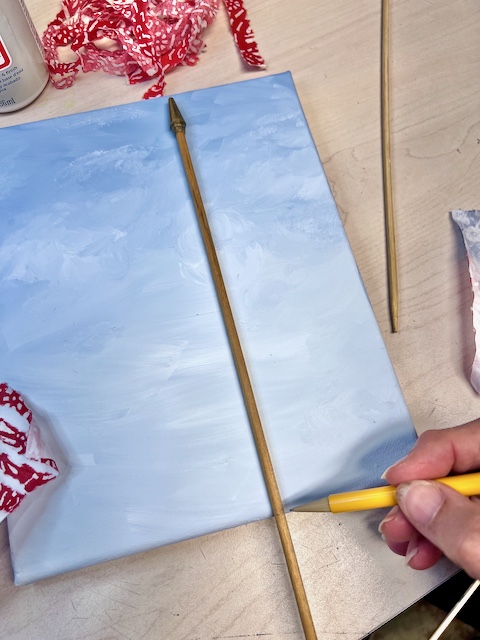
Once my paint was dry — which doesn’t take long — I marked the length of my flagpole. Cut it and glued
the largest (my foreground) pole in place,
Once that glue was set, I applied my large flag (which is actually a small 3 x 5 flag) and then arranged the folds of my flag as I liked, gluing it where it touched the canvas.
NOTE: Because I knew some of the back would show where the folds fall, I added some red stripes to the backside just where I thought they would show.
Next I added two even smaller flags by gluing the straight edge to the canvas.
Then when the glue was set, I arranged the folds and glued in place, trimming off the excess.
Lastly, With Micron permanent markers, I drew in the top of these background flag poles and finials.
What I Love About This Project:
- It’s relatively easy to do.
- Customizing, with the sizes I needed and the shades of red, white and blue I wanted
- So many ways to decorate with them!

I hope this project inspired you to add some fun crafted touches to your patriotic decorating.
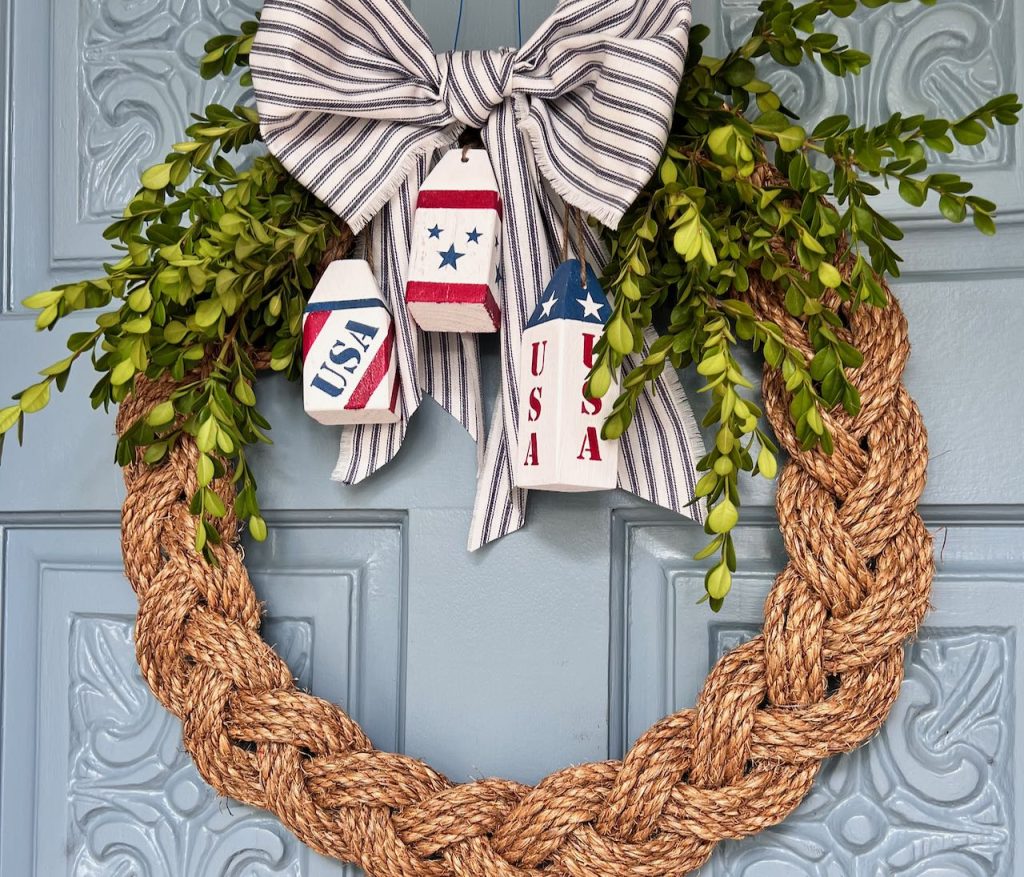
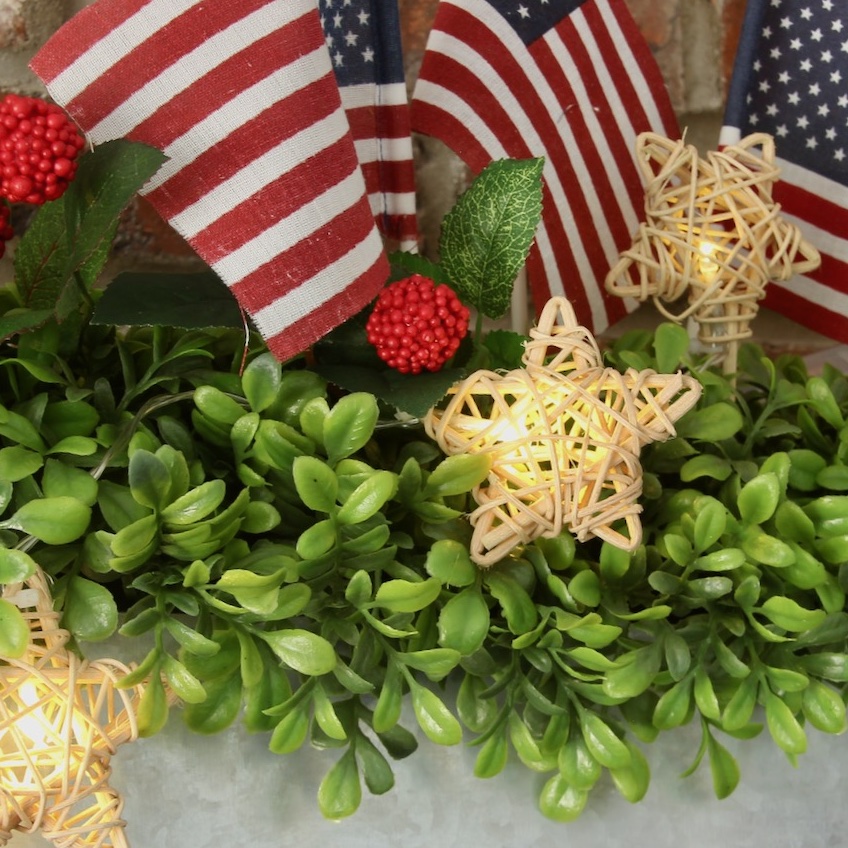
Here are a few more patriotic crafts for you to enjoy:

Diane, this is such a cute idea! I am going to try it!
Have a wonderful Weeknd,
Oh, Elizabeth, I can’t wait to see how yours turn out. Don’t forget to send me pics I can share.
You are SO CREATIVE, Diane! Such a great new twist on decoupage! Not only did you create adorable and unique flag, but you created 3D art with it! You are my hero today! ~Missy
You are too kind Missy! But I’ll happy to take it. I think its comes from hanging out with creatives like you!!! Love that we challenge and celebrate each other.
Diane
These are so cute. Love this idea