
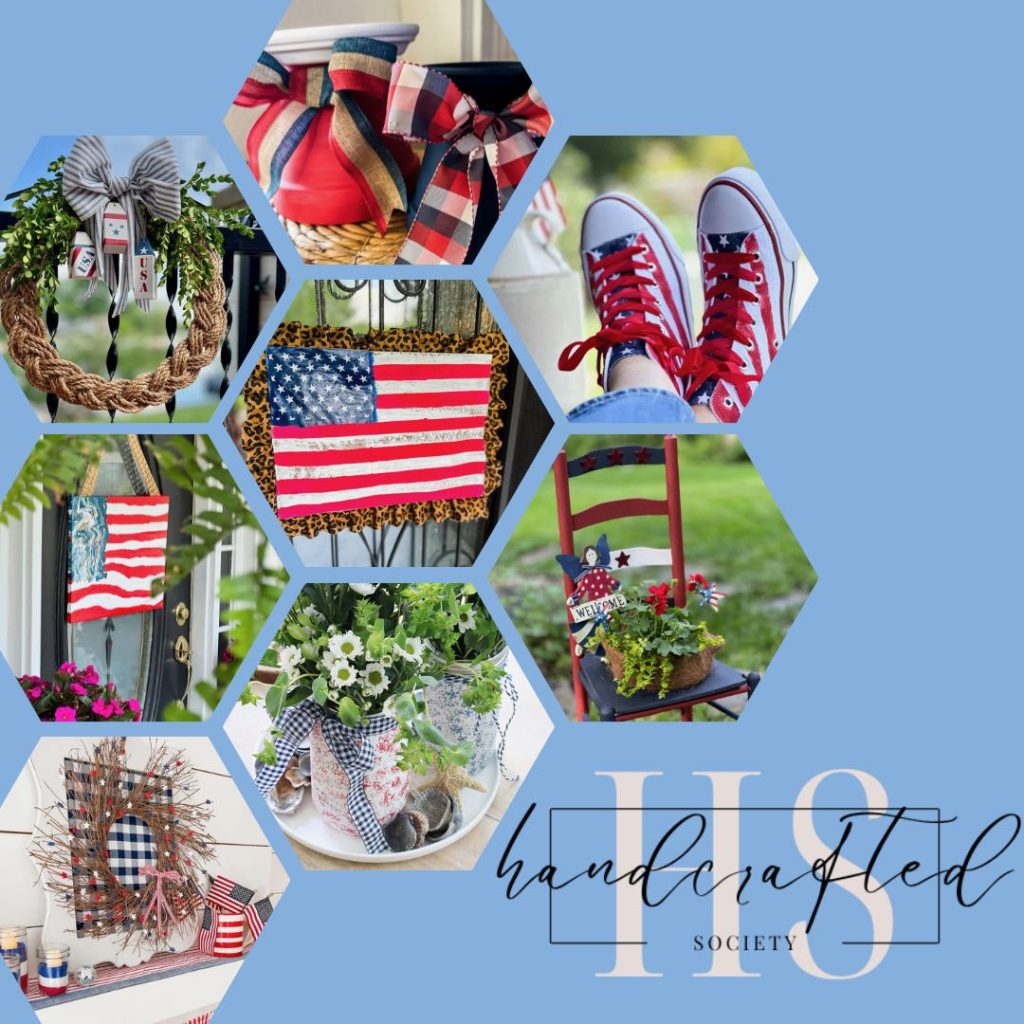
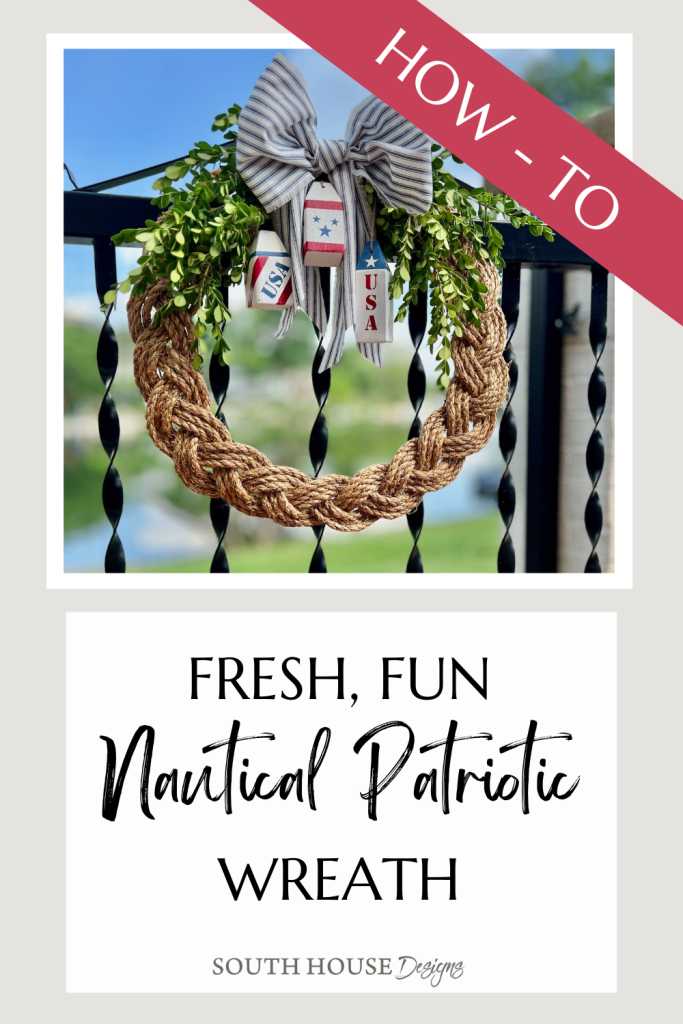
How to Make the Cutest Nautical 4th of July Wreath
It’s a given. Summer, Water and Patriotic Pride all belong together! Luckily this means we can hoist our cute nautical, patriotic decor for all the patriotic holidays, all Summer long.
Welcome! It’s the 1st Tuesday of the month. Have you figured out what that means?
YES, It’s a convening of The Handcrafted Society — a group of bloggers who love elevated crafting. We get together to challenge each other and have fun together.
If you’re new here, I’m so happy to have you stopping in, and hoping you’ll become a regular here. We are all about living joy-filled lives by using creativity to solve life’s stressors. It might be how to do something more efficiently with a life hack, how to make something more beautiful, or how to save a bunch of money with a fun dupe.
I’m blessed to live in a little lake community where July 4th is a special celebration we work towards all year long. It is pure Americana.
Not so much a Norman Rockwell painting, but rather a Norman Rockwell mural!!!!
See, our celebration runs for 6 days! Yes, six. Actually, it’s more like 4 days and nights with two extra nights for bonus. This year we’re starting with a Cornhole Tournament rather than our usual North Shore vs. South Shore softball tournament, and ending with the Fireworks display we are rather famous for.
And between those are 30+ additional events including decorating our houses, our boats our golf carts and our kids & pets. We have watermelon races via kayaks and paddleboards. There’s Margarita Madness night and Bingo night — and on and on!
So my focus is usually all about the 4th and getting ready for all the guests that come stay for the festivities.
I love patriotic decorating. I can put out the patriotic decorations now (or if I’m super on top of things, Memorial Day) and leave them out until Labor Day. No last minute scrambling! Gotta love it.
Recently, I posted some Summer Wooden Buoys I made for our front door in place of a wreath. I had so much great response, I decided to have more fun with this idea.
This is a rather long post. So here are some quick jumps to key spots if you prefer:
How to Make Mini Patriotic Buoys
- Step 1) Cut the Buoys-
- Step 2) Drill the Hole-
- Step 3 & 4) Paint the Buoys-
- Step 5) Distress, optional-
- Step 6) Add twine or rope–
How to Make an Easy Nautical Wreath From Jute
- Step 1) Spray Paint the Wreath Frame-
- Step 2) Cut and Prep the Jute or Rope-
- Step 3) Braid and Attach to Frame-
- Step 4) Finish the Ends-
Embellish Your Patriotic 4th of July Wreath
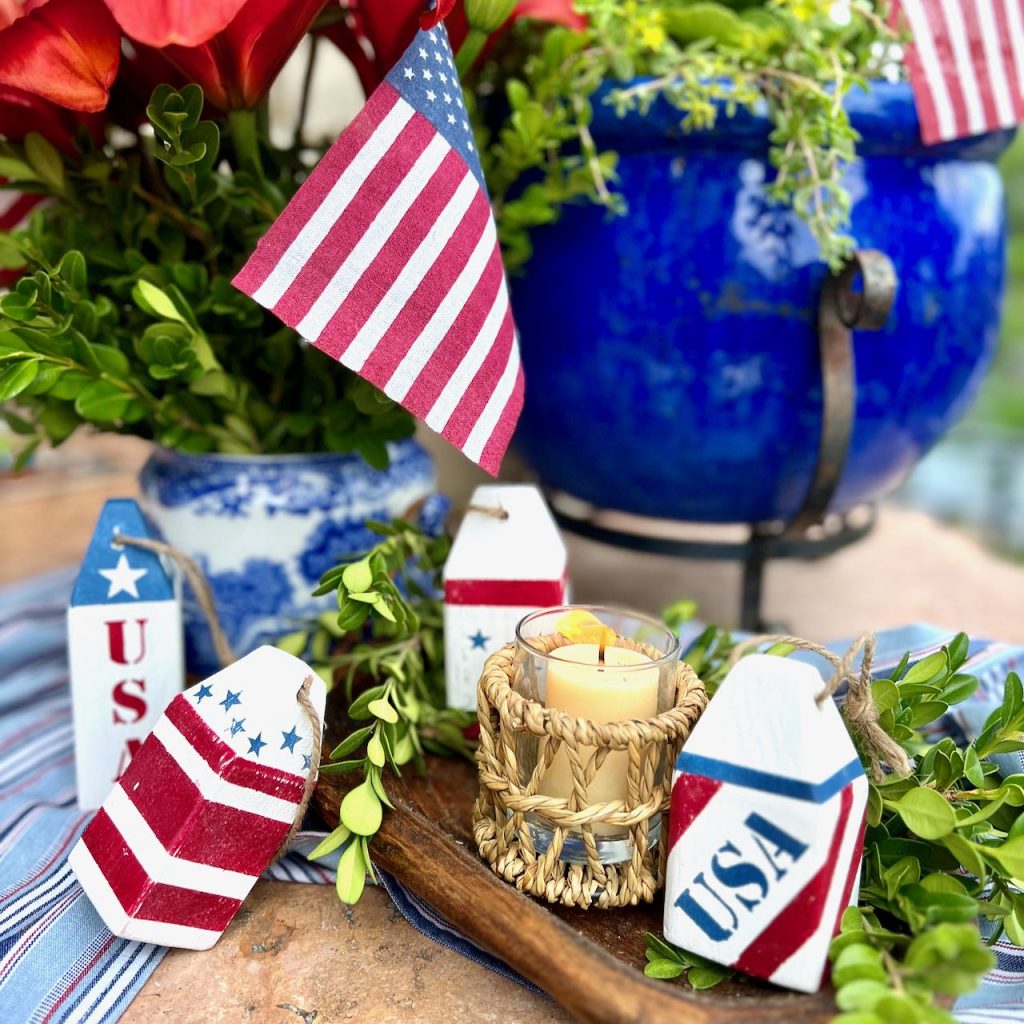
I wanted to freshen my red, white and blue decorations beyond the expected assortment of American flags and a few pinwheels. And I thought little mini patriotic buoys would make easy diy 4th of July wreaths. But actually, they are great for many other uses beyond wreaths to amplify our American pride.
They’re so fun for all kinds of decor, I’m including TWO how-to’s in this one post! One to make the buoys and one to make the nautical jute wreath.
If you have enough 4th of July decor, paint them in bright Summer colors to match your patio decor.
How to Make Wooden Patriotic Buoys
Materials-
- Scrap wood
- Sandpaper
- Twine
- Craft paints in patriotic colors or spray paint
- Stencils or Cricut vinyl cut-outs
- Painters Tape
Supplies-
- Saw
- pencil and ruler
- Drill and bits
- Personal Cutter such as Cricut, optional
- Scissors
- Rotary cutter and mat, helpful but not required
Step 1) Cut the Buoys-
These buoys are a great use of wood left over from larger projects (and boy we’ve had one of those projects at our house)
I had some 2 x 4 scraps that had been cut vertically so they are closer to 1 1/2 x 1 /4 – inch around.
Cut them to your desired heights.
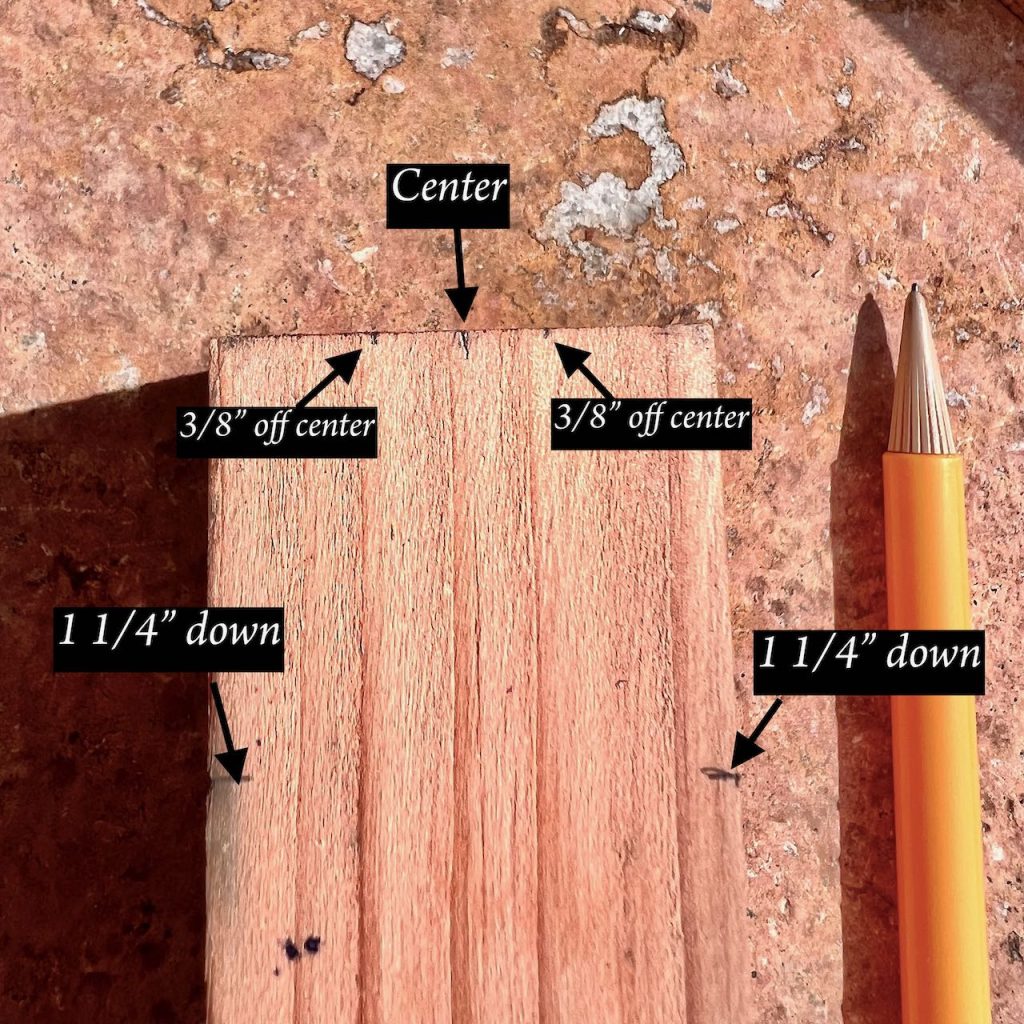
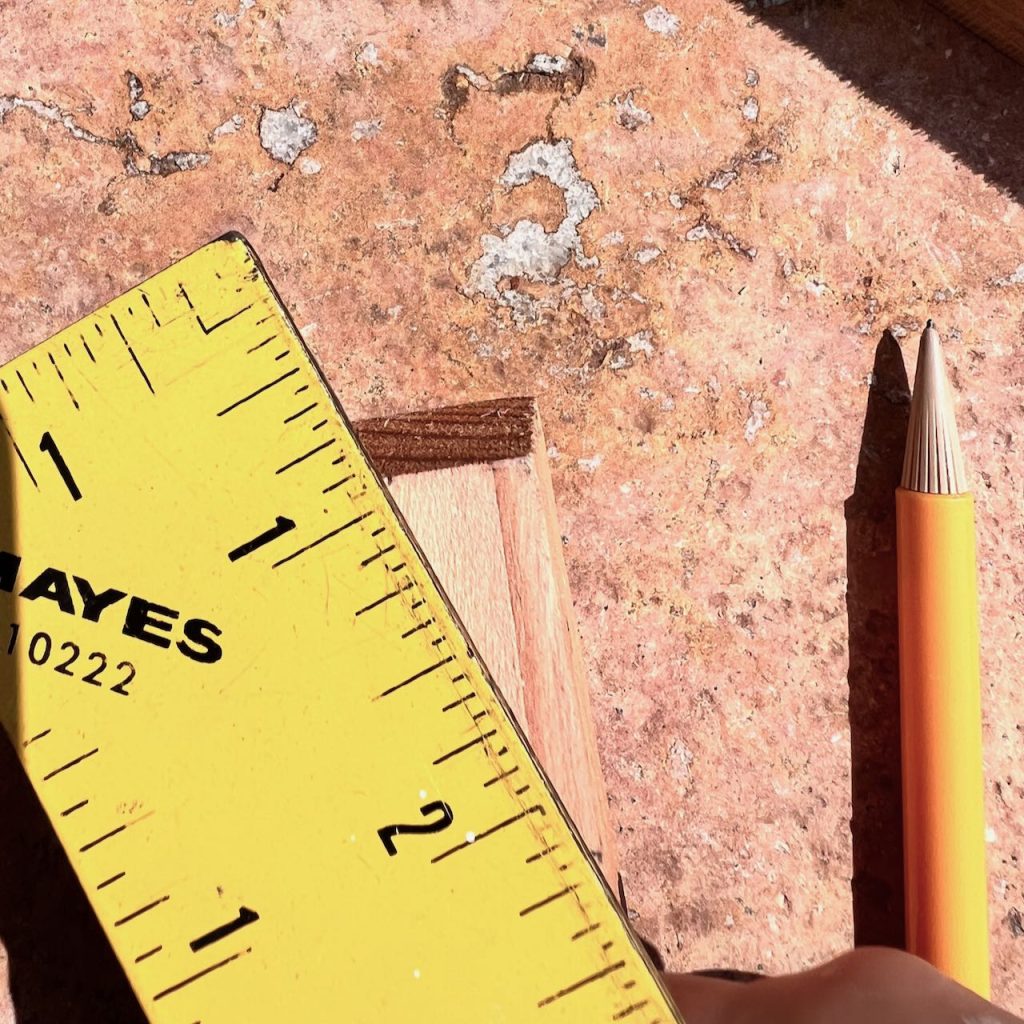
LEFT Image: Then on each of the four edges mark the same distance down from the top. For this buoy, I went with 1-1/4 inches.
Next, mark the center of each of the four sides at the top. Then mark on both sides of each center marking the same distance apart. For this buoy, I went with 3/8-inch from the center.
Center Image: Now with a ruler, draw a line connecting those dots.
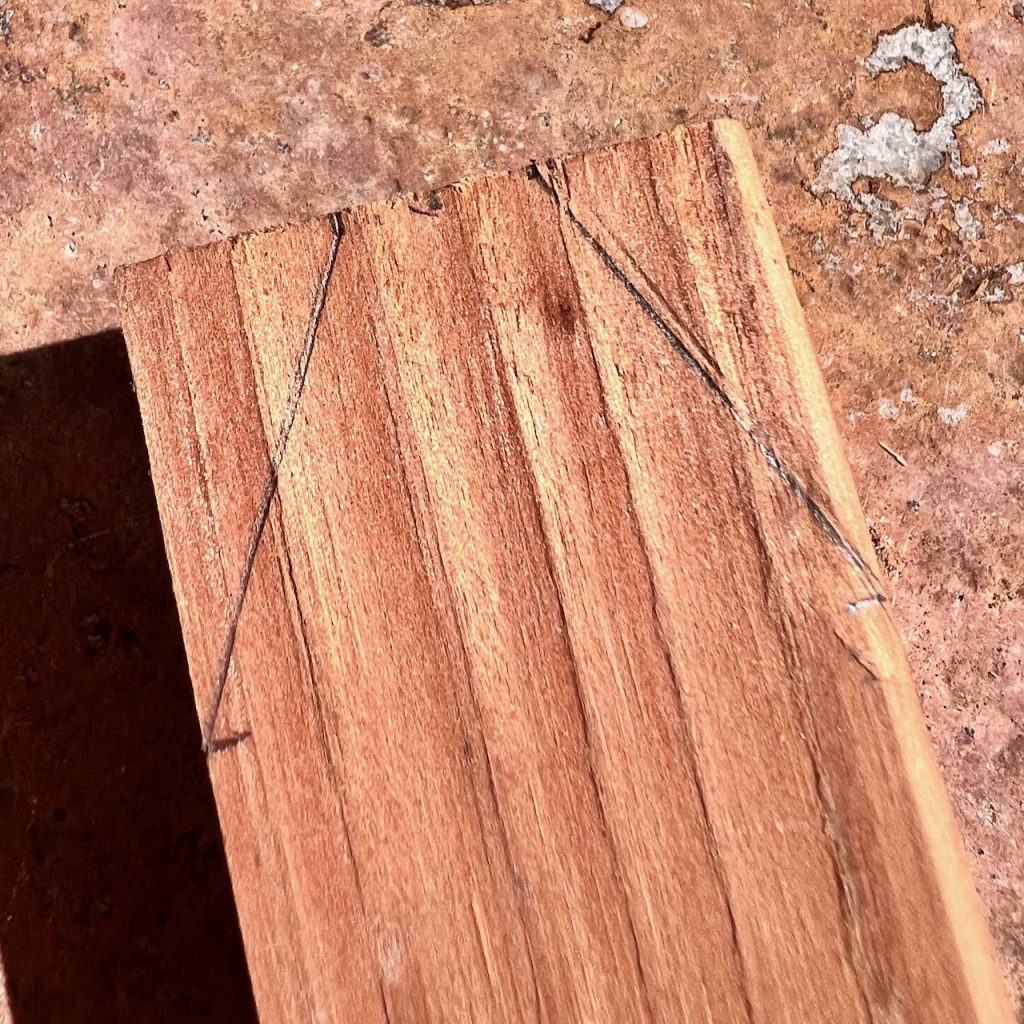
RIGHT Image: You have eight lines drawn, but you really only need to make four cuts as one cut will cut both sides of a corner.
Clamp those buoys securely and using whatever saw you’re comfortable with, cut the top angles.
Don’t worry if the cuts don’t line up perfectly. Now we sand them and a good sanding will round all those sharp edges and camouflage and off kilter angles.
Step 2) Drill the Hole-
Start with a thin bit and work up to the size you need for your twine or rope.
Step 3) Paint the Buoys-
I started with a white chalk paint I had in my craft supplies stash for the base.
Step 4) Add Stripes, Stars and Accents-
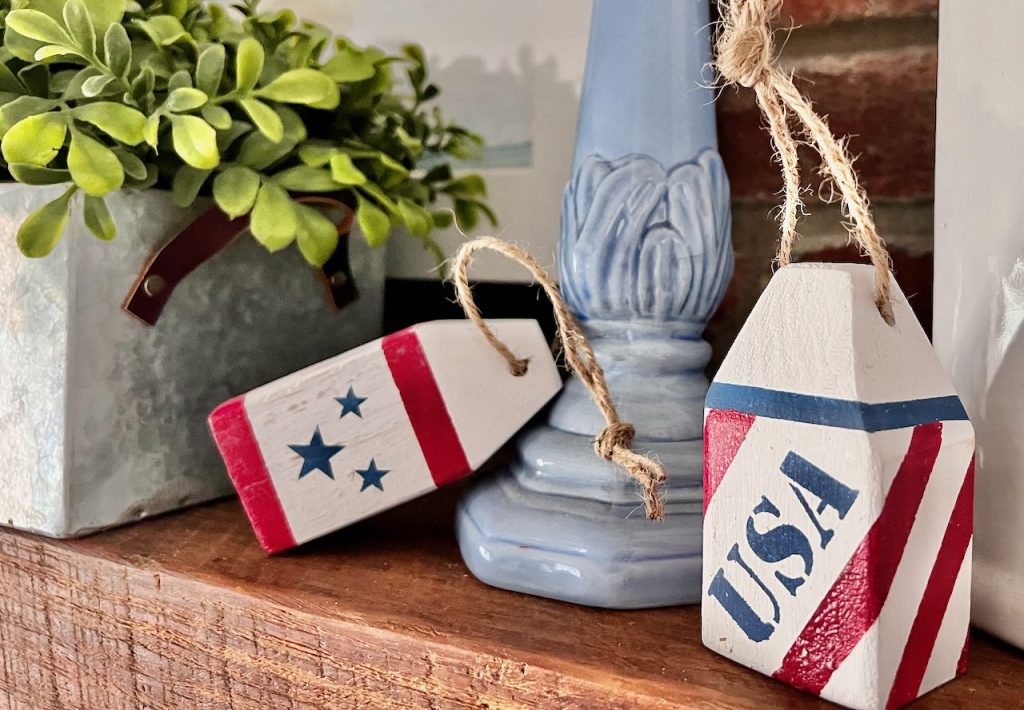
Now is the time for your personality and style to shine through. If these are for celebrating our patriotic holidays, of course you’ll want to add some festive red, maybe some blue stars, red and white stripes maybe a stenciled USA. And how about some beautiful stars on a blue section?

I used my Cricut to cut out the USA lettering stencils and the different star patterns. Sometimes, I placed a star on my white background and stencil pounced navy paint around it. and other times I placed the frame around a set of three stars on the white background and pounce navy paint in the star openings.
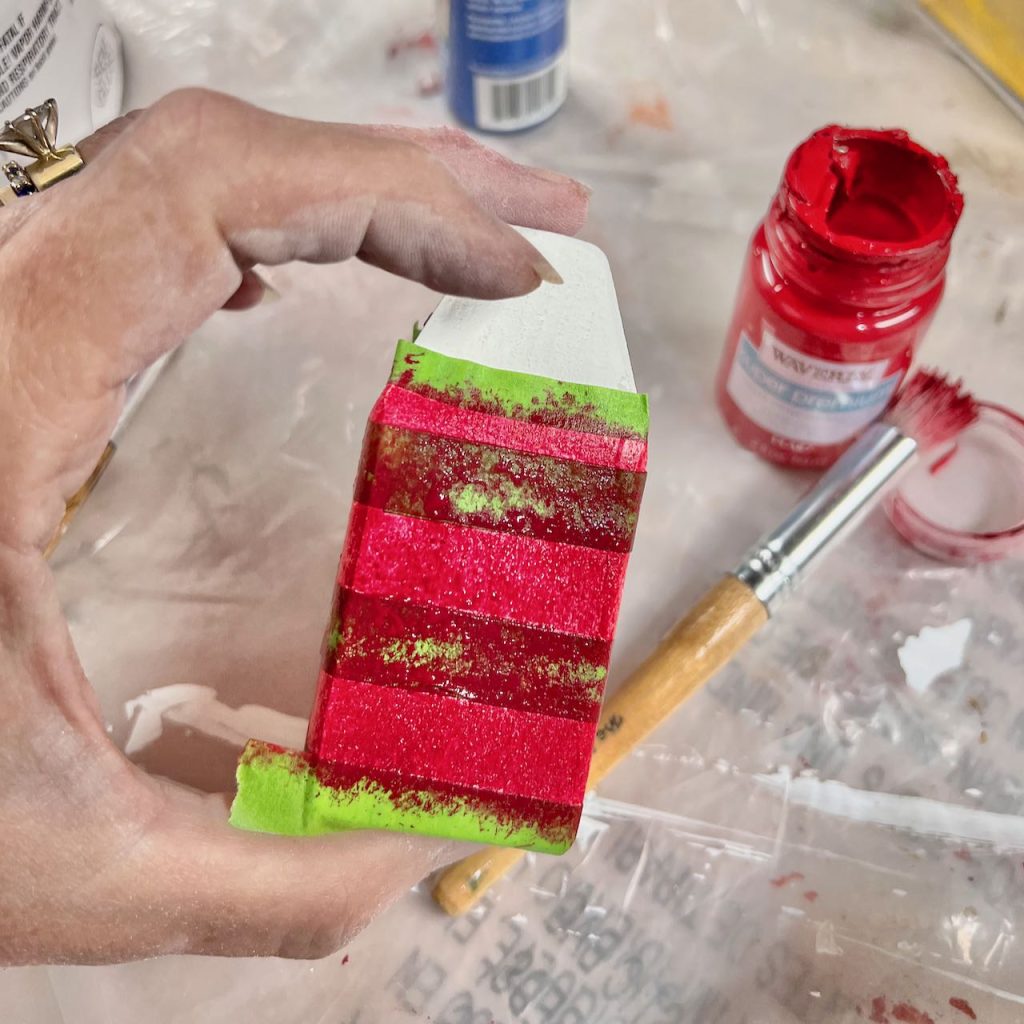
I used painters tape for all the stripes and to color block different sections.
TIP: Cut strips of painters tape vertically with a ruler and a rotary cutter to get different width stripes.
Step 5) Distress, optional-
After all the paint was dry and cured overnight, I sanded them with 220 grit sandpaper to bring a bit of age and distressing.
Step 6) Add twine or rope-
Thread your twine through the hole and knot it.
TIP: A piece of tape wrapped around the end of the twine will help thread it through the hole.
Just like I did here.
Time for a quick pause in the action to ask if you are a subscriber. No? Please consider joining the fun, growing commuity:
Thanks bunches. Now back to the Red, White and Blue!
How to Make an Easy Nautical Wreath From Jute
Materials-
- Jute or nautical rope (I used #36 Jute and used approximately 50 yards)
- Wire wreath form, or wreath frame
- Fish line or thin wire
- Hot glue
- Painter’s tape
- Spray paint to match jute or rope color
Supplies-
- Hot glue gun
- Scissors, wire cutters
Step 1) Spray Paint the Wreath Frame-
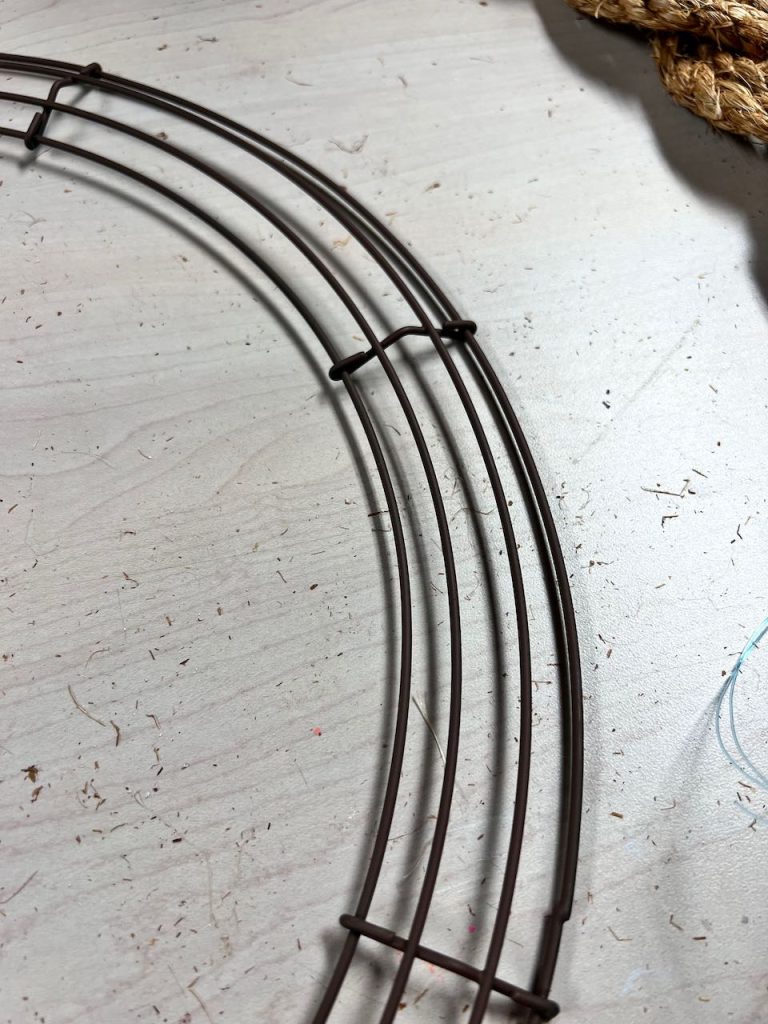
My wire frame was the typical “florist green”, so I gave the front of it a quick coat of brown spray paint so it would blend in with my rope.
Step 2) Cut and Prep the Jute or Rope-
My local dollar store (Dollar Tree) was sold out of the nautical rope I like from them. Fortunately, my ReStore had pallets and pallets of rope and twine to choose from. I completely replenished my craft rope, twine and jute inventory!!! (I may have to go back for more).
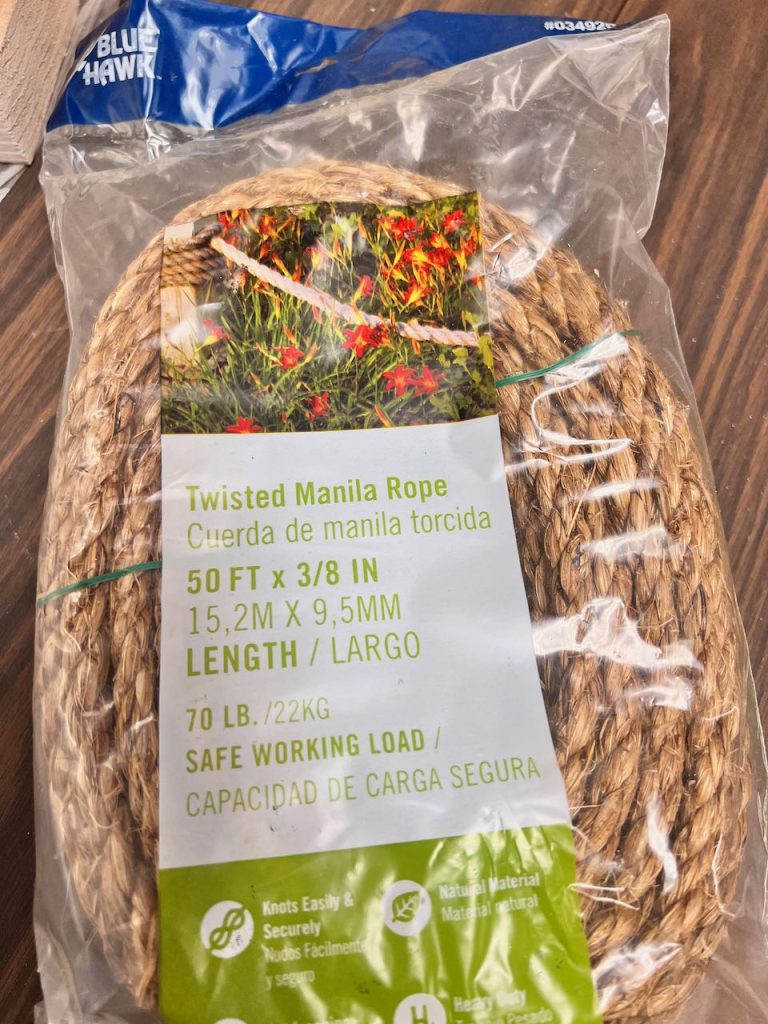
I used a 50 yard package of 3/8-inch manila rope.
Cut your rope into 9 lengths for three bundles of three.
Wrap each of the cut ends with tape.
HINT: If you are using thinner rope, you could also do three bundles of four lengths.
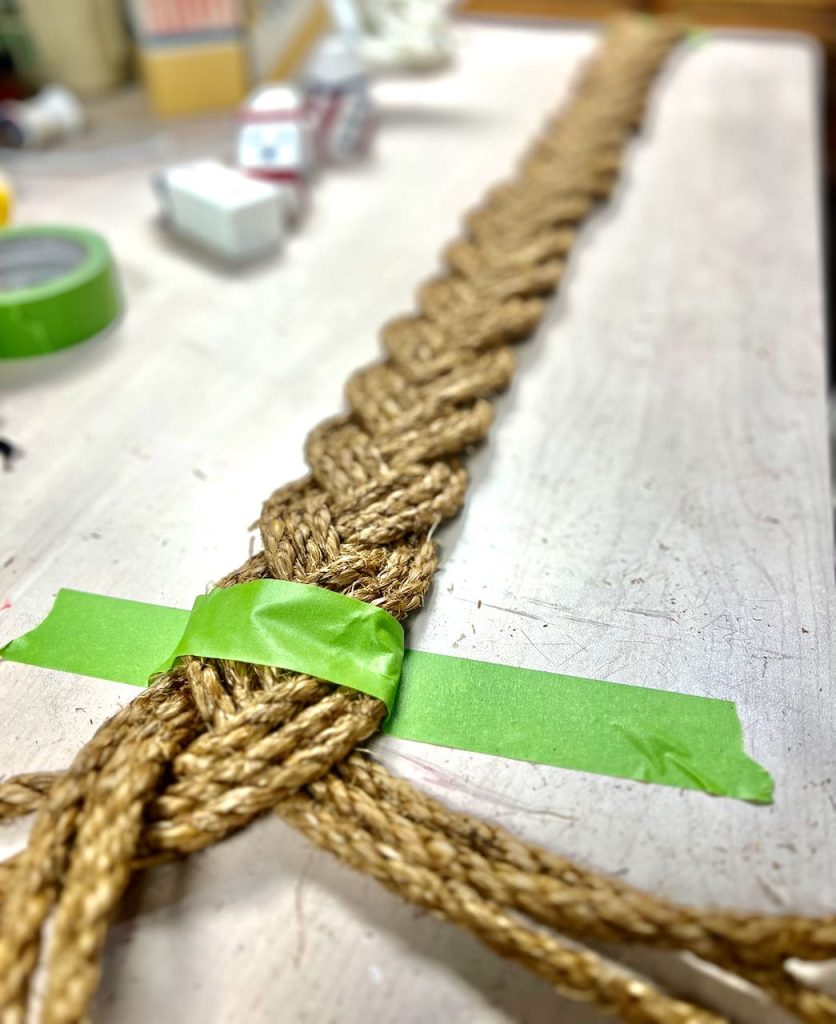
Wrap a piece of painters tape around the top of each bundle with the three ropes laying side by side (not on top of each other)
Have a piece of painters tape ready. Now begin your braid on a flat work surface. Tape over the top of your braid to hold it in place.
NOTE: It’s important to keep each bundle of ropes flat with the individual ropes always in the same position. Do not let them cross.
LESSON LEARNED: This is where you get to learn from my trial and error. I got carried away with how cool the braid was looking that I braided the whole thing on the table and then tried to attach it to the wreath form.
It worked, but I wasn’t as thrilled with the end results (although I am very persnickety). So I un-braided except for the first two overlaps of braiding.
Step 3) Braid and Attach to Frame-
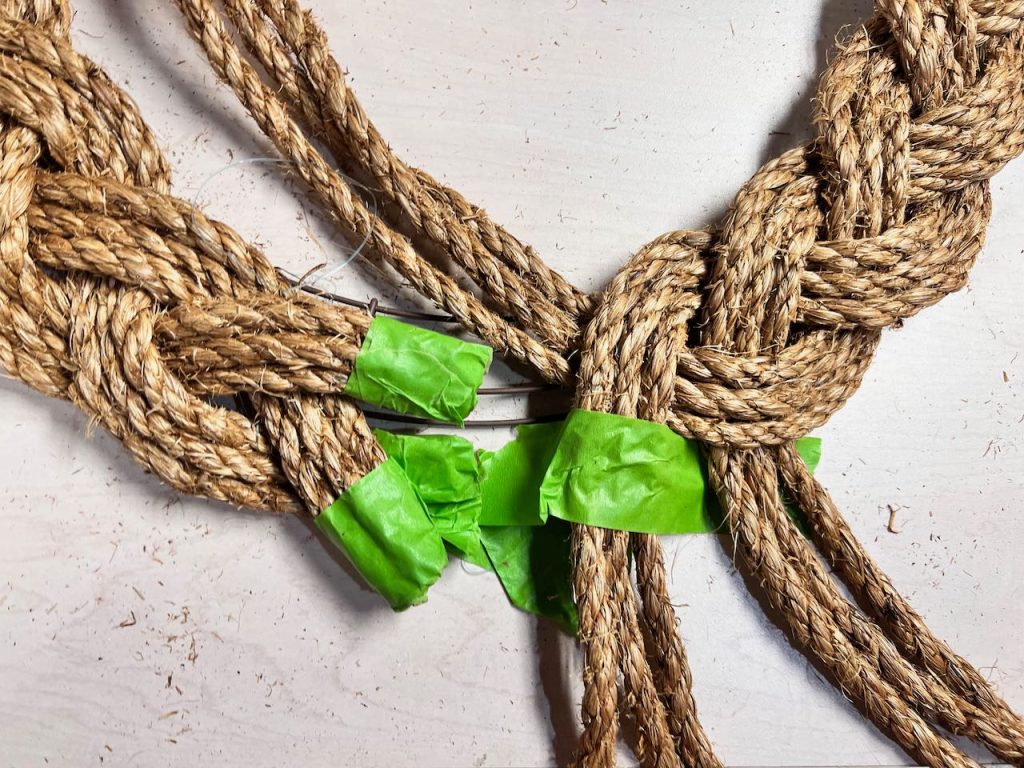
With the first two or three overlaps of braiding done, attach the rope to the wreath frame.
ANOTHER LESSON LEARNED: I used fish line, but I strongly suggest wire to attach the braiding to the frame.
Lay those first two to three overlaps on the frame, weave a length of wire through the frame and up between two ropes across a bundle and back down through the frame. Then overlap the next braid pattern and attach to the frame.
As you continue braiding, continue attaching to the frame as you go, crossing a bundle of rope where it will be overlapped by the next bundle of rope.
Step 4) Finish the Ends-
When you get to the end, remove the tape from the end of rope. Match up the pattern of braiding.
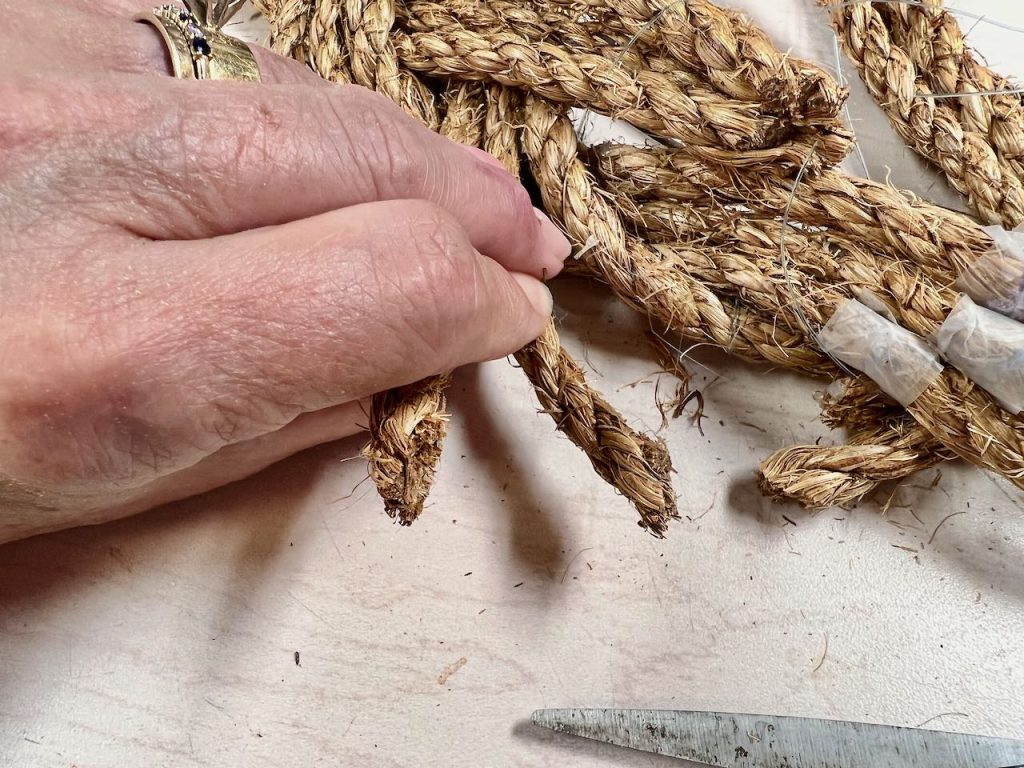
Where the beginning and end of a rope meet, cut each at an angle, apply hot glue to the end and carefully hold them together as the glue cools.
HINT: These don’t have to be perfect. They’ll be covered by your bow and/or embellishments.
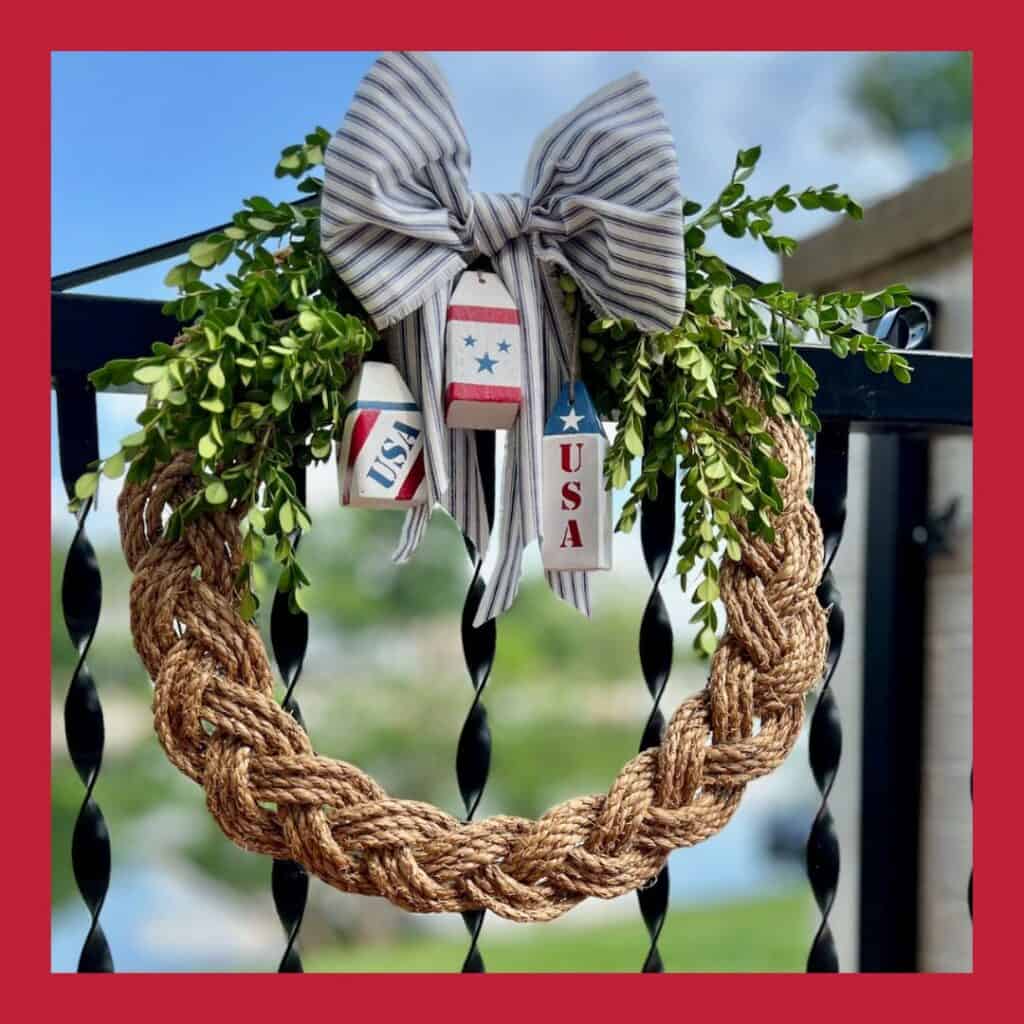
Embellish Your Patriotic 4th of July Wreath
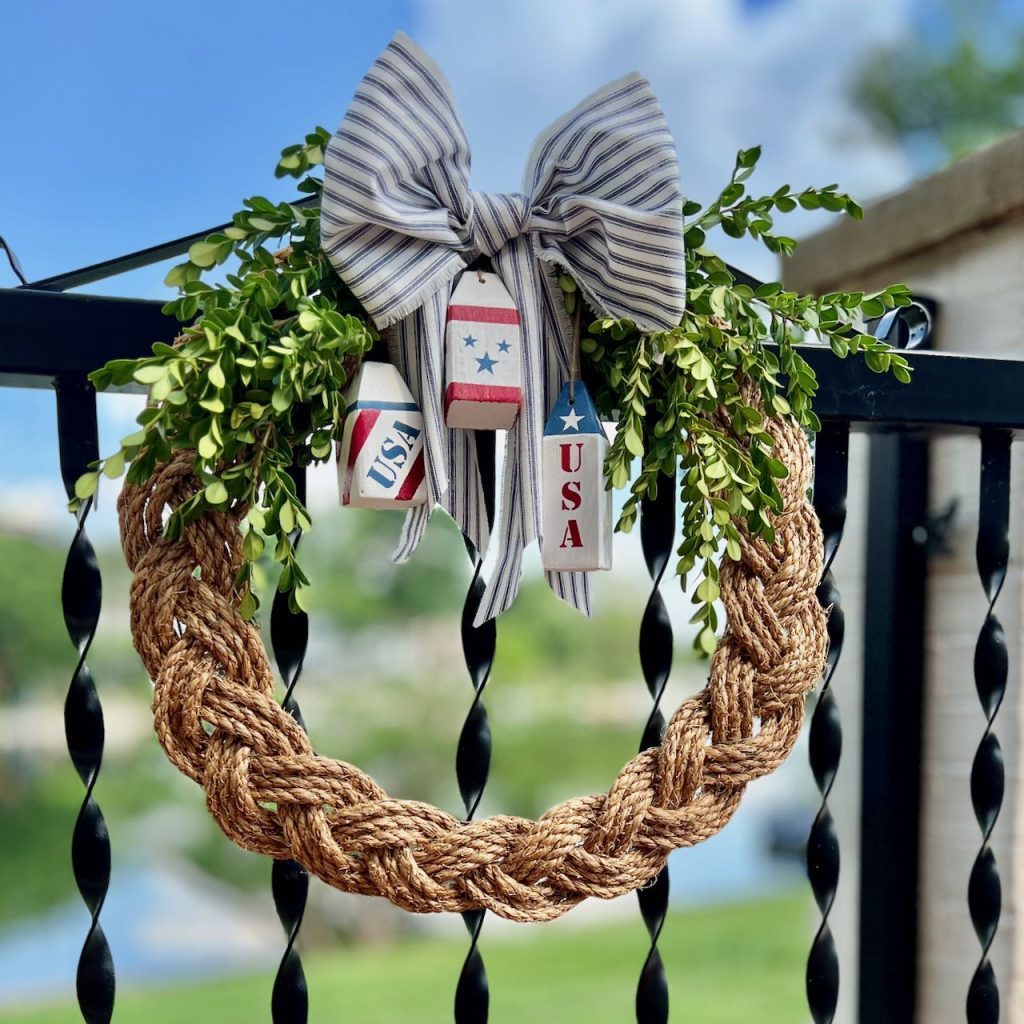
Suggestions for Embellishments –
- Small wooden buoys (of course).
- Small American flag
- Wooden stars, or use metal stars
- Faux flowers or greens
- Patriotic bow
- Drift wood
- Shells
- Anchor or oar cut-outs from a craft store
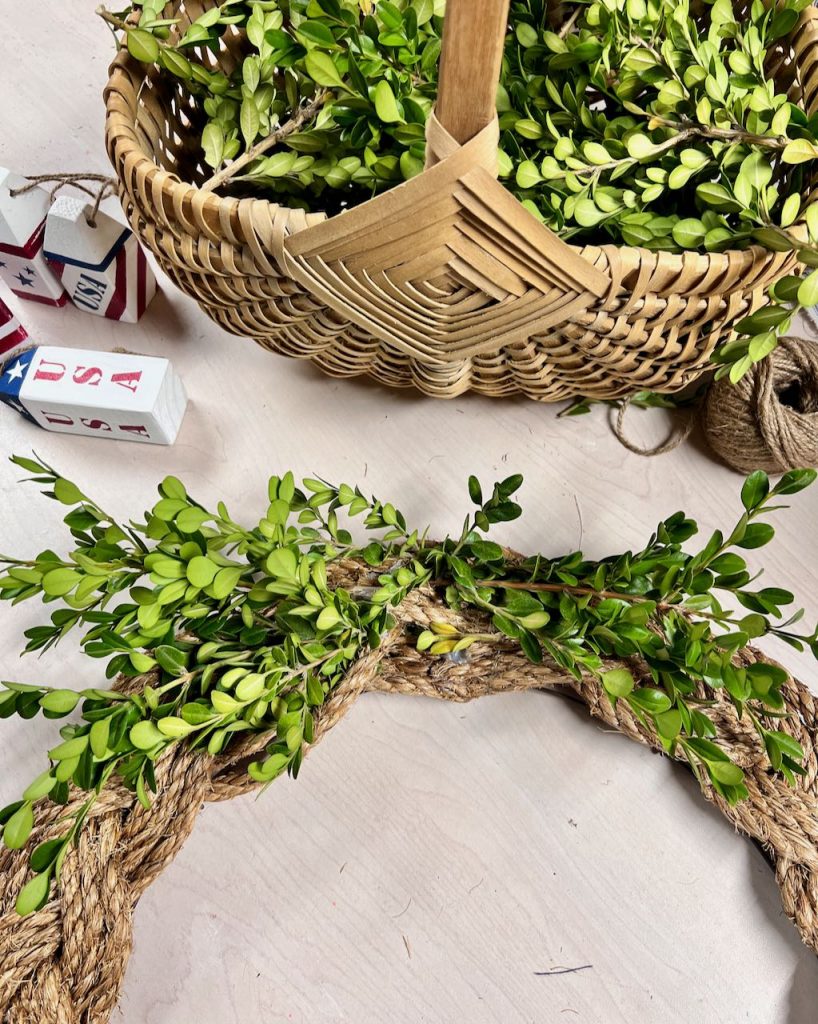
I love to start with some greenery. Fortunately, fresh boxwood, lasts for quite a while. Otherwise I would use faux greenery. I cleaned the lower leaves off and then stuck the stem tightly between the rope. Easy Peasy!
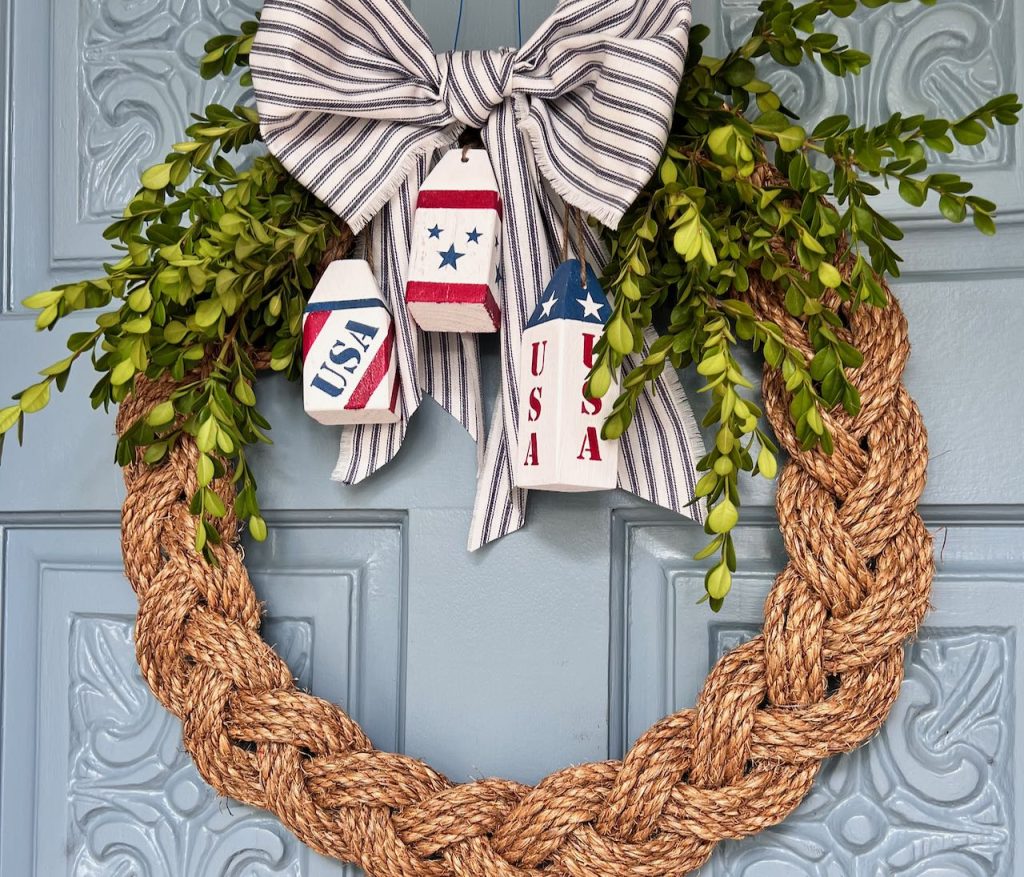
I couldn’t find any ribbon I really liked for my wreath, but I did have a piece of navy ticking in my stash. So with a quick snip and rip, I had extra wide ribbon with a fringed edge.
I added three of my buoys with a bit of wire through the twine loop and then through the wreath.
Are you lovin’ the buoys? Well, it all started right here with Christmas Buoys and then these Summer Buoys.

I hope this has inspired you to make some mini buoys and/or a fun braided wreath with just a bit of time and minimal investment. You might even already have what you need on hand.
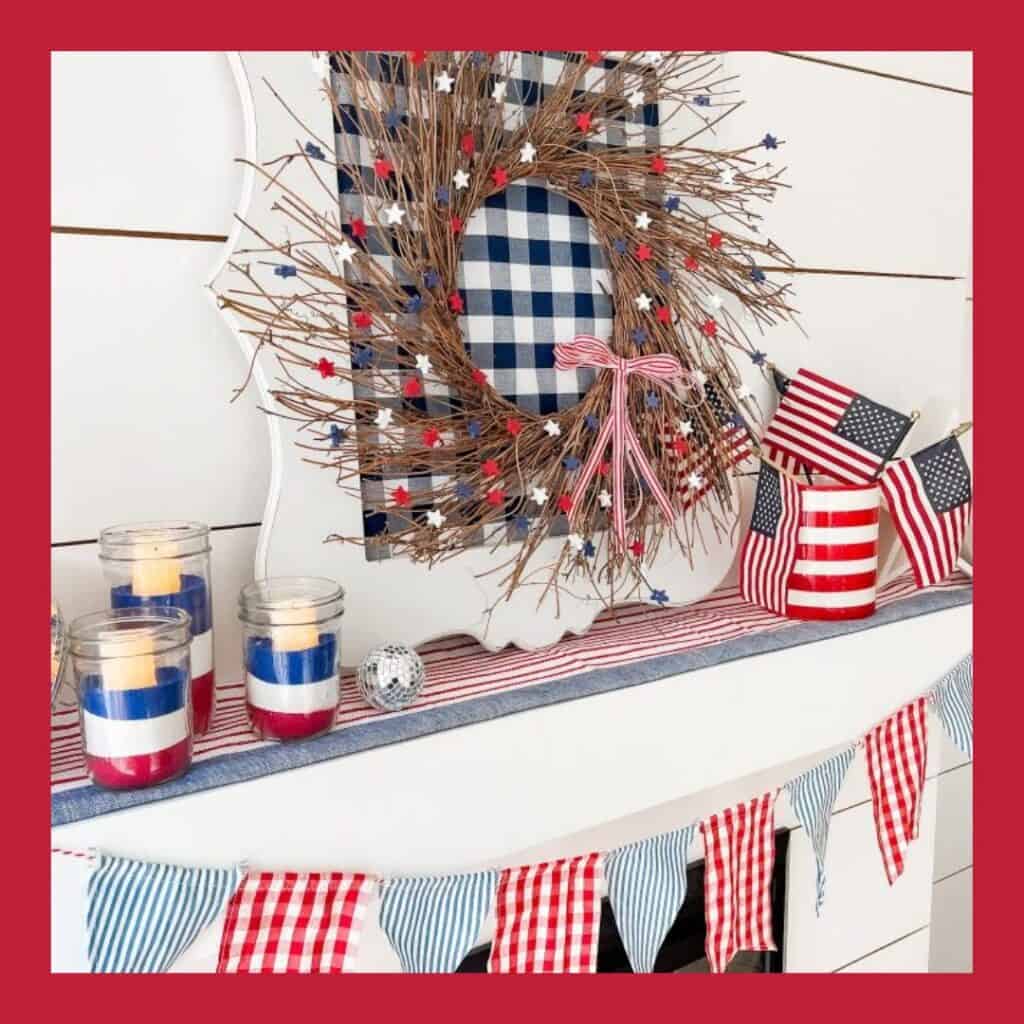
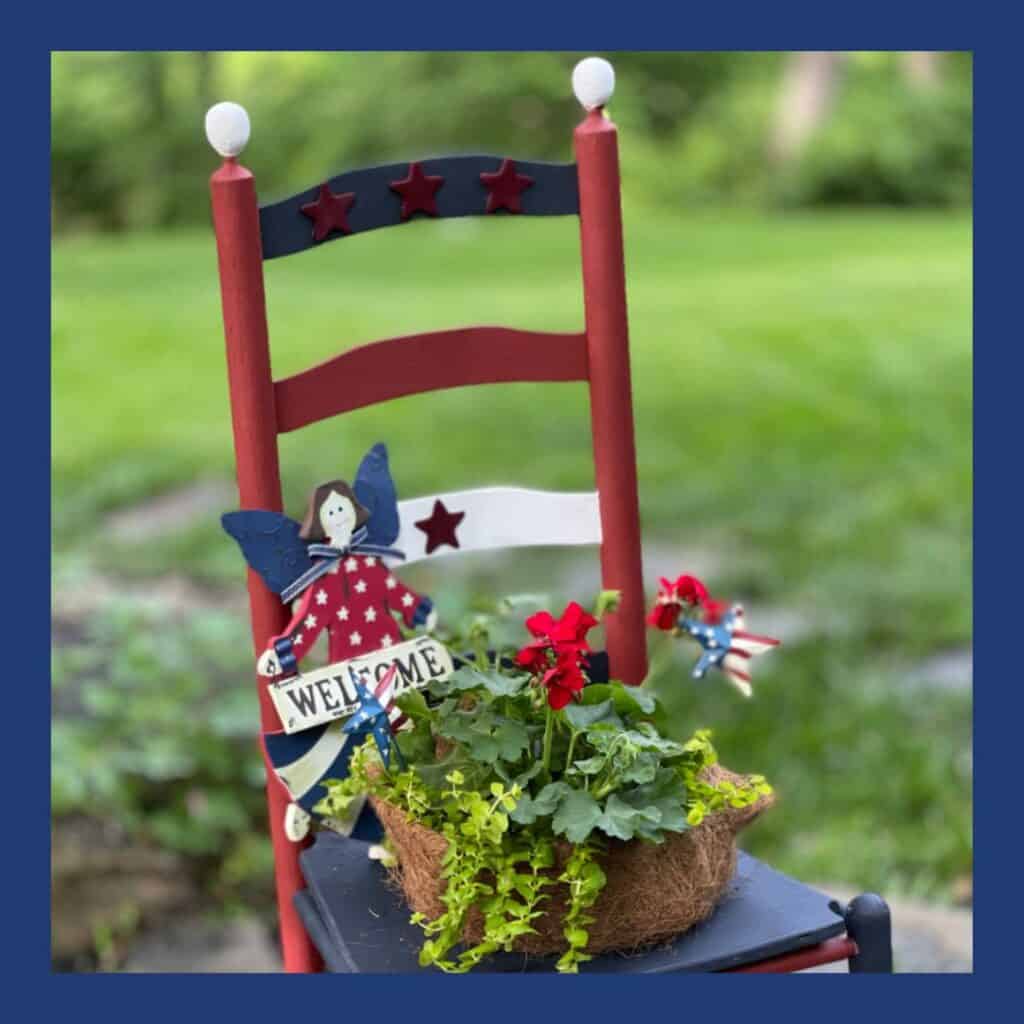
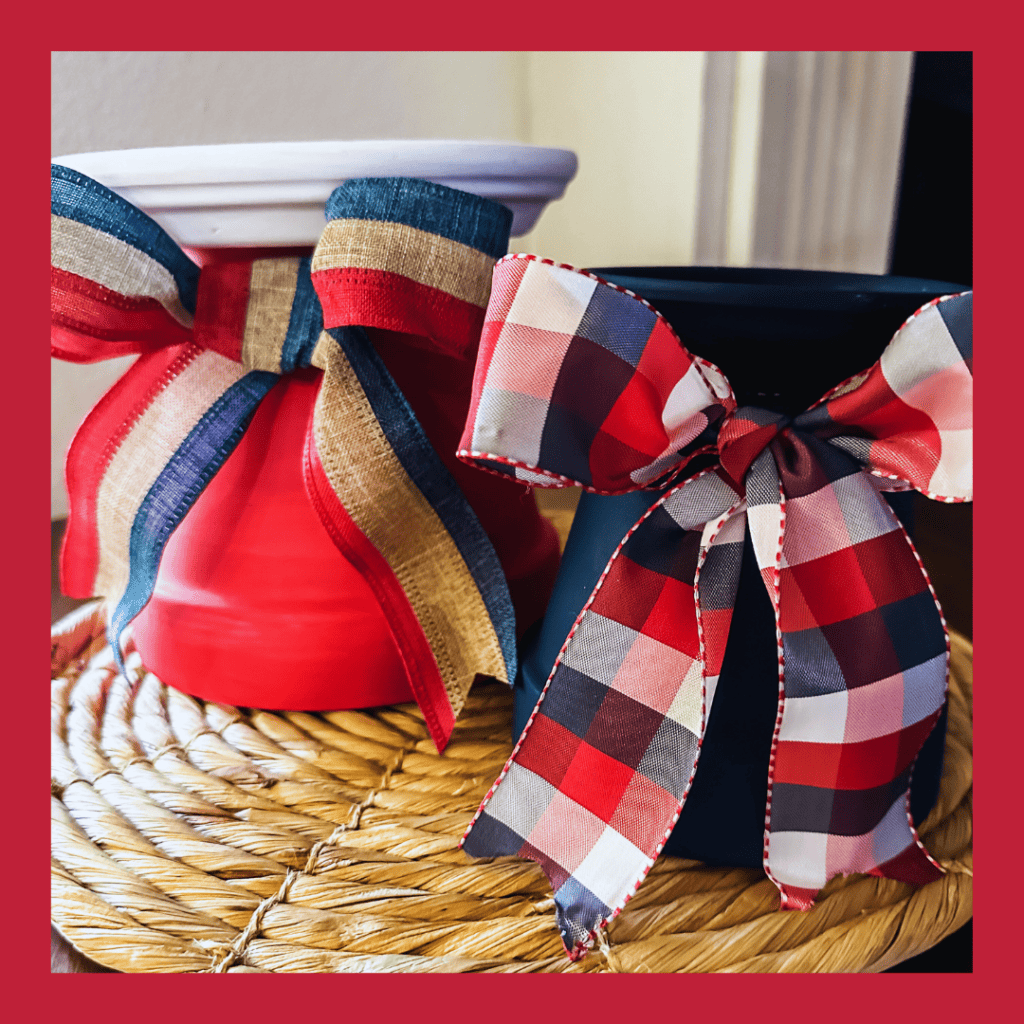
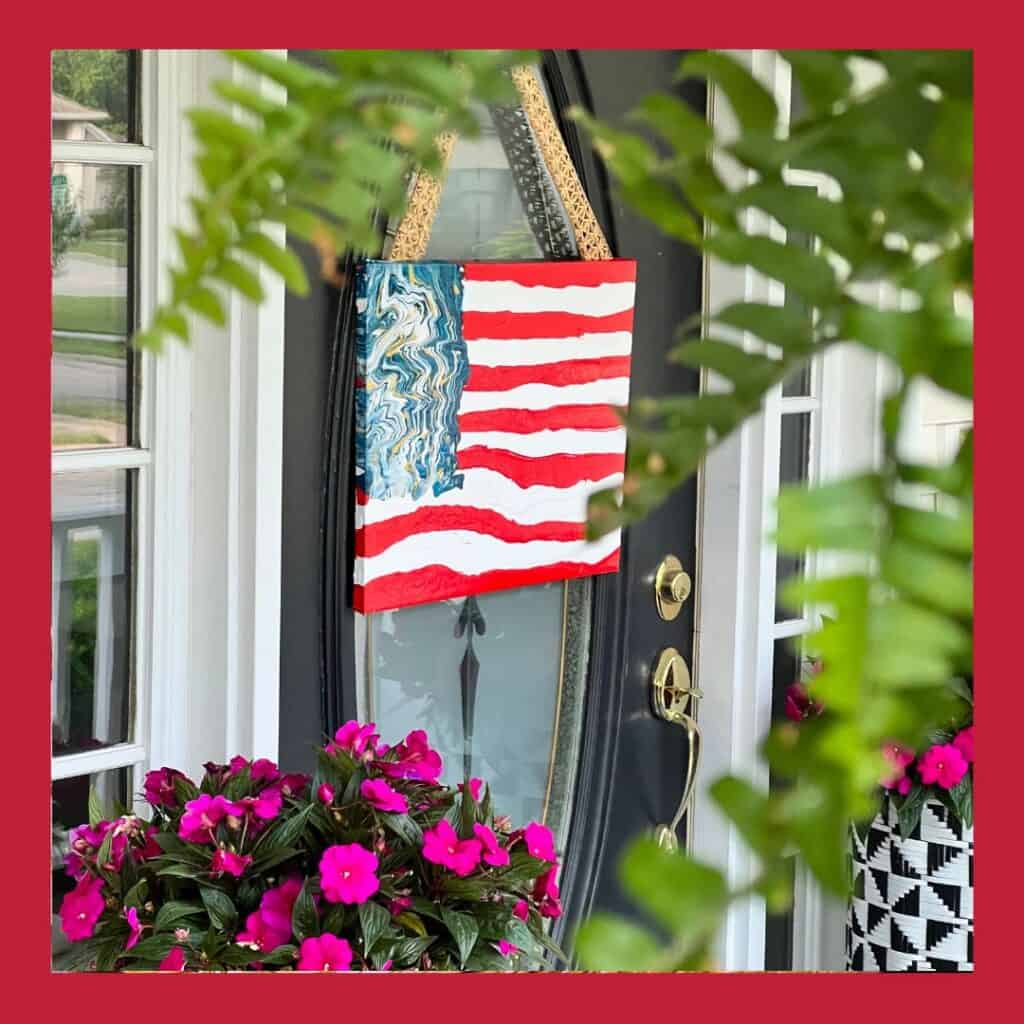
And here are links to all the rest of the gals! Enjoy this Red, White & Blue Paint Hop.


Very cute indeed Diane! I’ve been wanting to make large scale buoys, but your mini versions are just adorable!! Love the rope, ticking bow and the boxwood too! Pinning!
Thanks Michelle!!! I truly appreciate that and love hopping with you every month!
So pretty, Diane! I love those hand painted buoys! I pinned it to my patriotic board to share 🙂
xoxo
Thanks bunches Jen! I love that we both went the wreath route, yet they are so different. It’s sure is fun hopping with you!
What a darling wreath Diane. The braiding of the jute rope adds so much detail. I love all of the celebrating you do on the lake, sure wish I lived closer.
That’s two of us! I happen to know of a perfect house for you right here on the lake. Imagine, a 2-minute cart ride or a 5 minute paddle away!!!
Diane, you make me want to buy a lake house with this nautical wreath! The buoys are adorable and I am blown away that you braided the wreath yourself! (Even tension is not one of my strong suits. lol) Great job, Diane! Pinned!
I say this every time. You are the sweetest!!!! Mwah!
Diane,
I LOVE this cute wreath. I need one for my beach cottage. Such a clever idea. I plan to share a link on my Dirt Road Adventures.
Oh, Rachel, Thanks so much!!! I Love your Dirt Road Adventures. Truly honored!
Oh Diane! What a fun use of red, white, and blue! I love this! Thank you for sharing your talents!
It was such fun to have you with us this month Melanie. You always bring such a fresh attitude wherever you go — love it!
Super cute idea. I love the braided rope. So beautiful.
Thanks Renae! I really appreciate that!
Oh, I love this idea Diane! From the wood buoys to the nautical braid, this wreath is perfection! Thank you so much for sharing your inspiration with us!
Adorable Summer wreath, Diane! That nautical braid is lovely. All of the accents are perfect for a Summer lake extravaganza!
Oh, thanks so much Rachel!