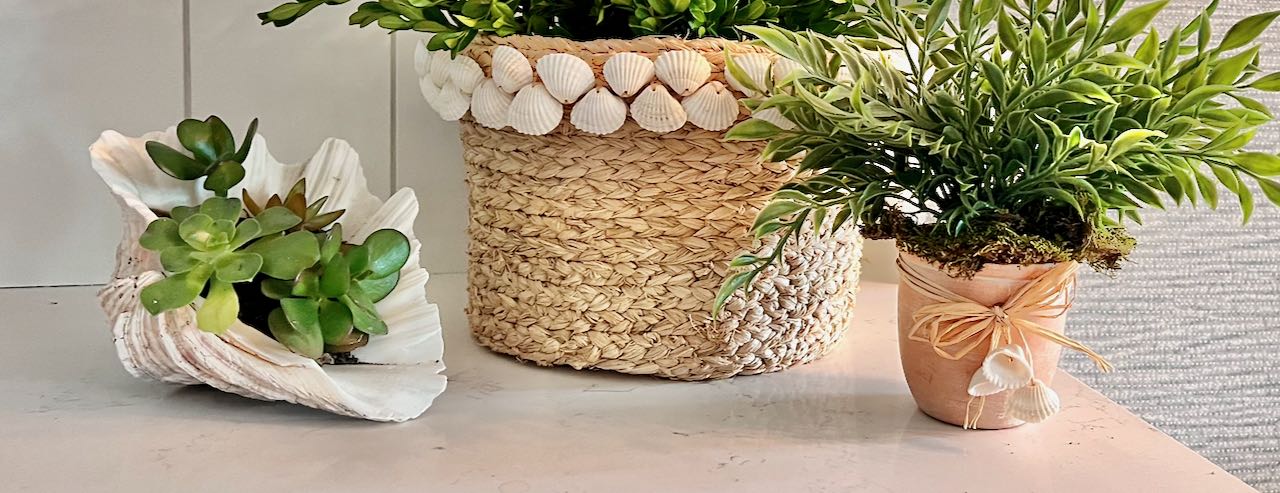
How To Add Sea Shells To Baskets for Easy Summer Decor
Adding seashells to baskets and pots is just one of many easy and quick ways to bring a beachy vibe to your Summer decor. And it’s fun too!
Did you collect shells on your beach vacation too?
Then what did you do with them? Did all those beach finds from last summer get tossed in an old shoe box? Or did you wash them and then after a week or two added them to the growing inventory in your craft supply closet?
I’m right there with you!!!
But not anymore. They are beautiful, why not add them to your home for a touch of coastal decor.
And no, your home does not need to be coastal in location to enjoy a Coastal look for the Summer season — or really any time of year.
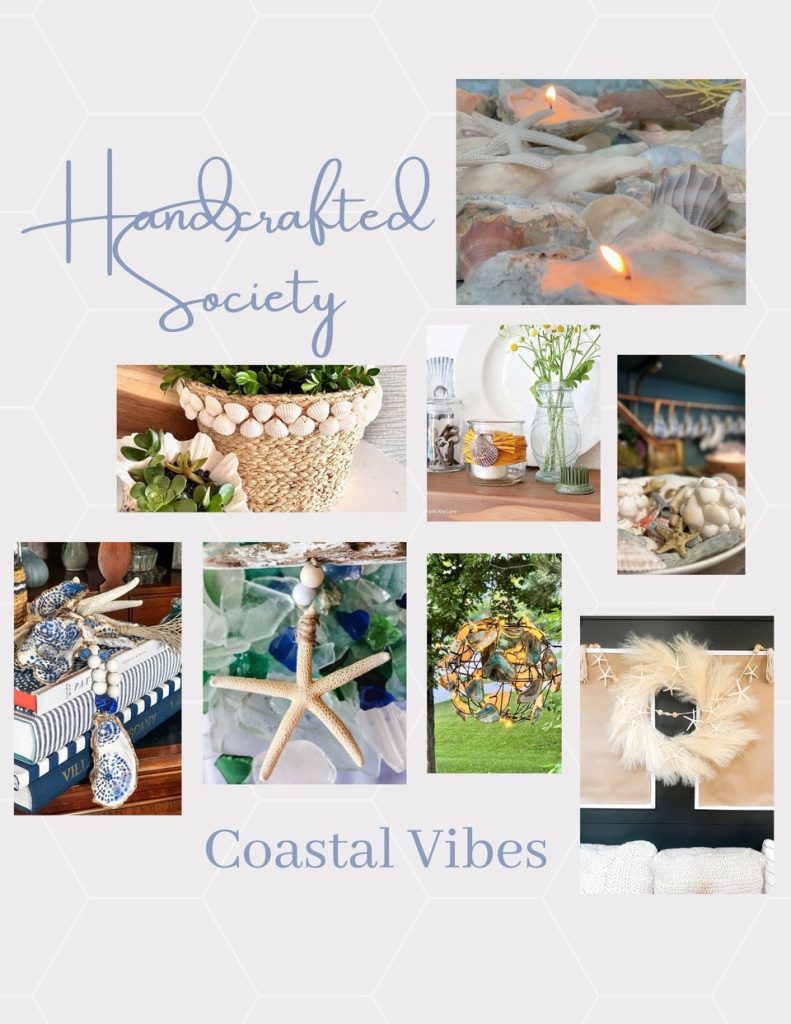
And even better news, this is the monthly convening of The Handcrafted Society. And you can guess this month’s focus. Yep, Shells!!!
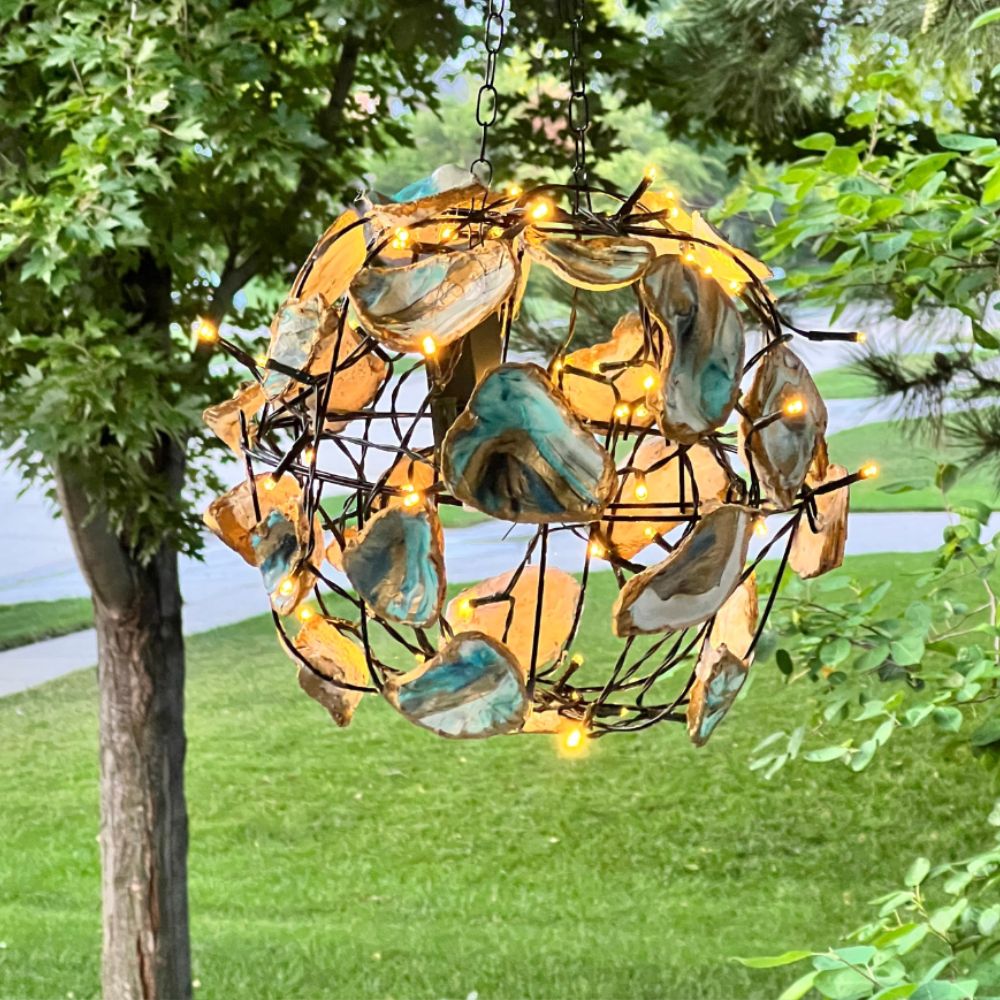
Did you Missy send you my way? Her chandelier is so clever isn’t it!
However you arrived, I appreciate you being here. South House Designs is all about using creative thinking, creative doing and creative problem solving to bring more joy to our lives. You can join me in this right here.
Shell Decor Ideas
My personal style leans towards a subtle embrace of a theme. But that’s just me. Feel free to dive into the beachy look head first if that’s for you!!!
There are so many easy ways to freshen your decor, whether a Summer mantel, or coffee tables or a front door wreath, all using beautiful shells.
Sea Shell Art, as in Wall Art-
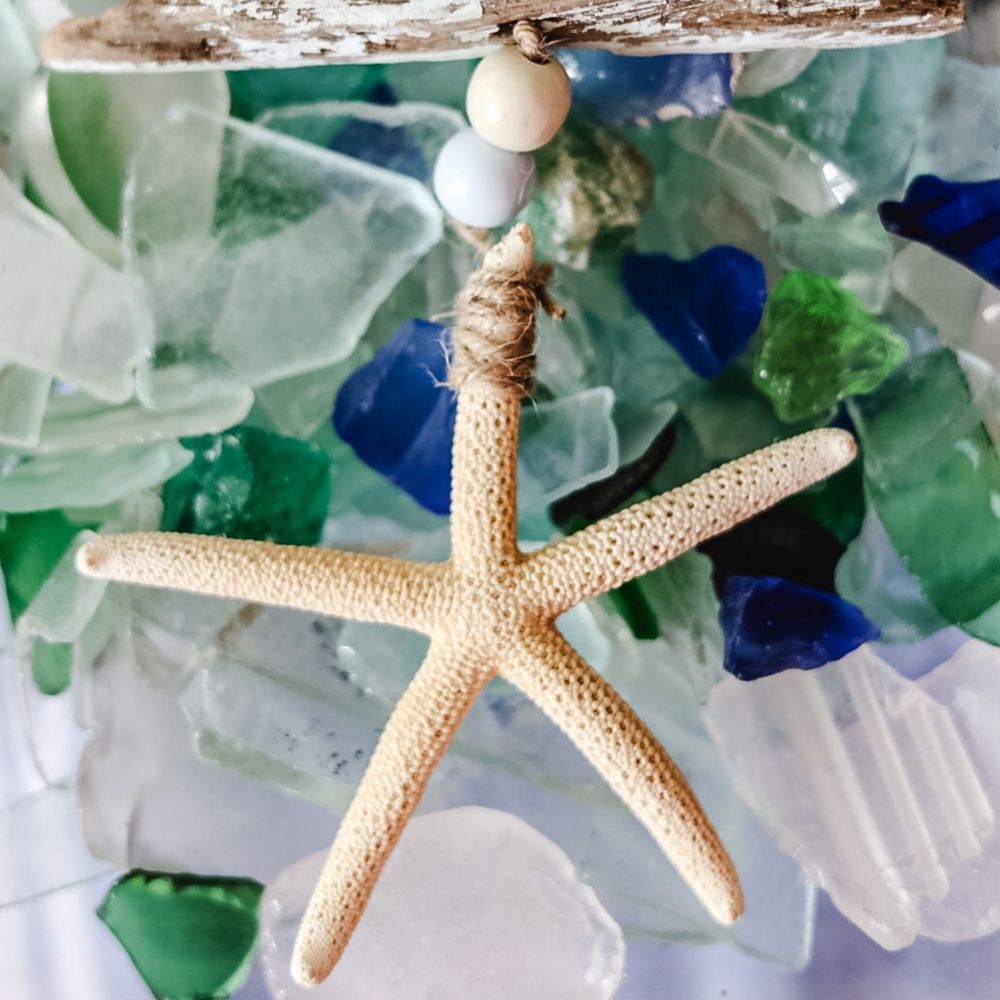
I love the charm of a gorgeous starfish — aren’t they captivating?
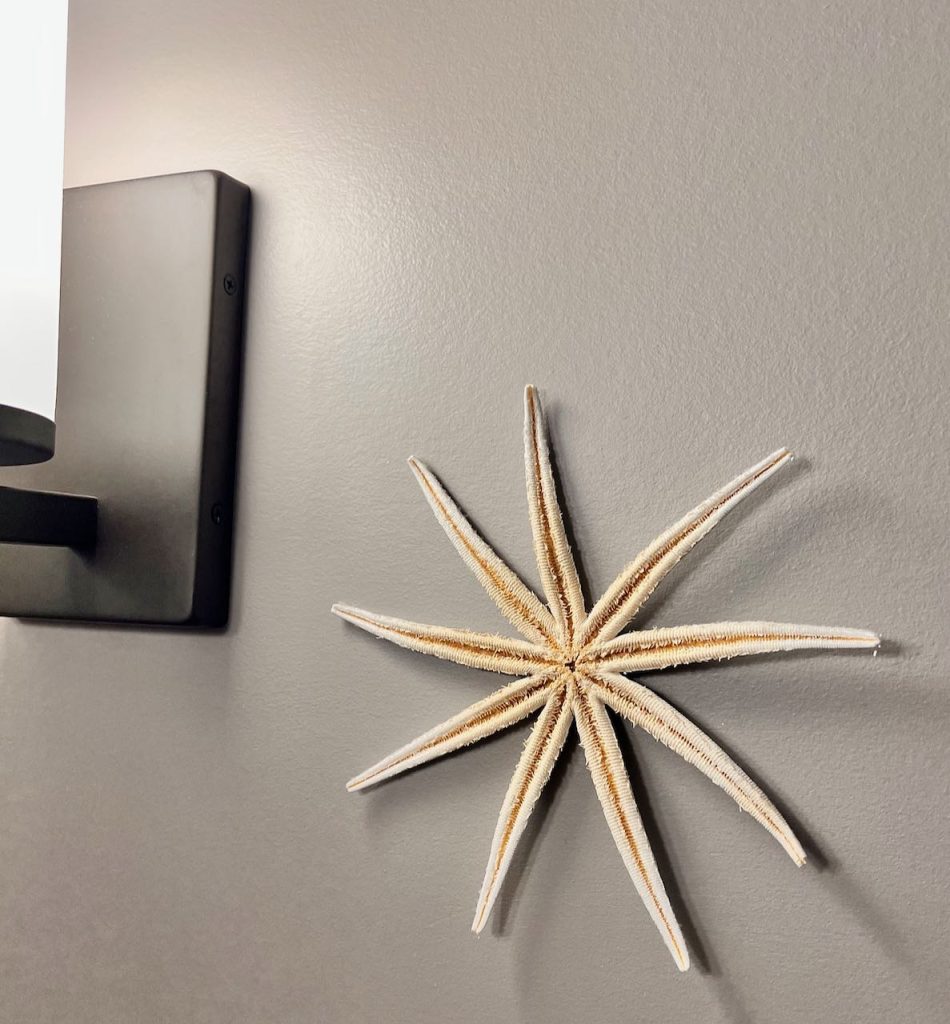
My wonderful MIL, found this starfish at the beach in Florida where they liked to go in the Winter. They look so delicate, I can’t believe she made it back to the Midwest with it in one piece.
I wanted to display her in a very simple way. Allow her to be the focal point and highlight her gorgeous, unique shape.
Our guest bath has beautiful dark taupe walls. Perfect for her distinctive shape and light matte color to really shine.
Using two thin straight pins is a great way to mount a starfish on the wall.
As Planters-
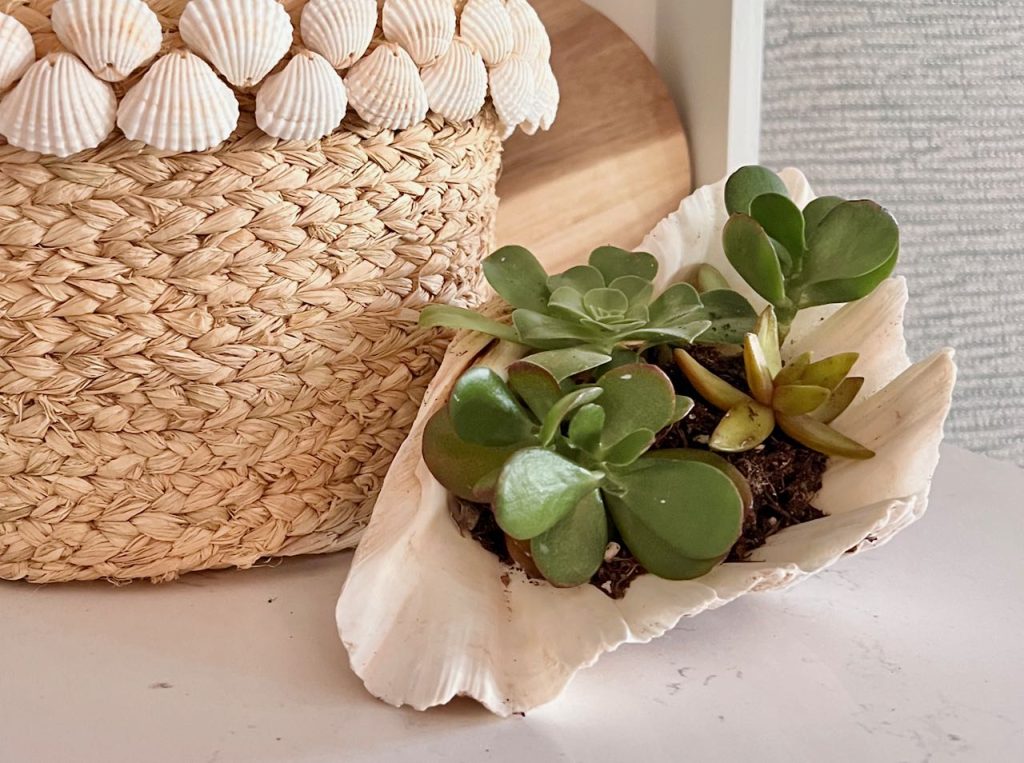
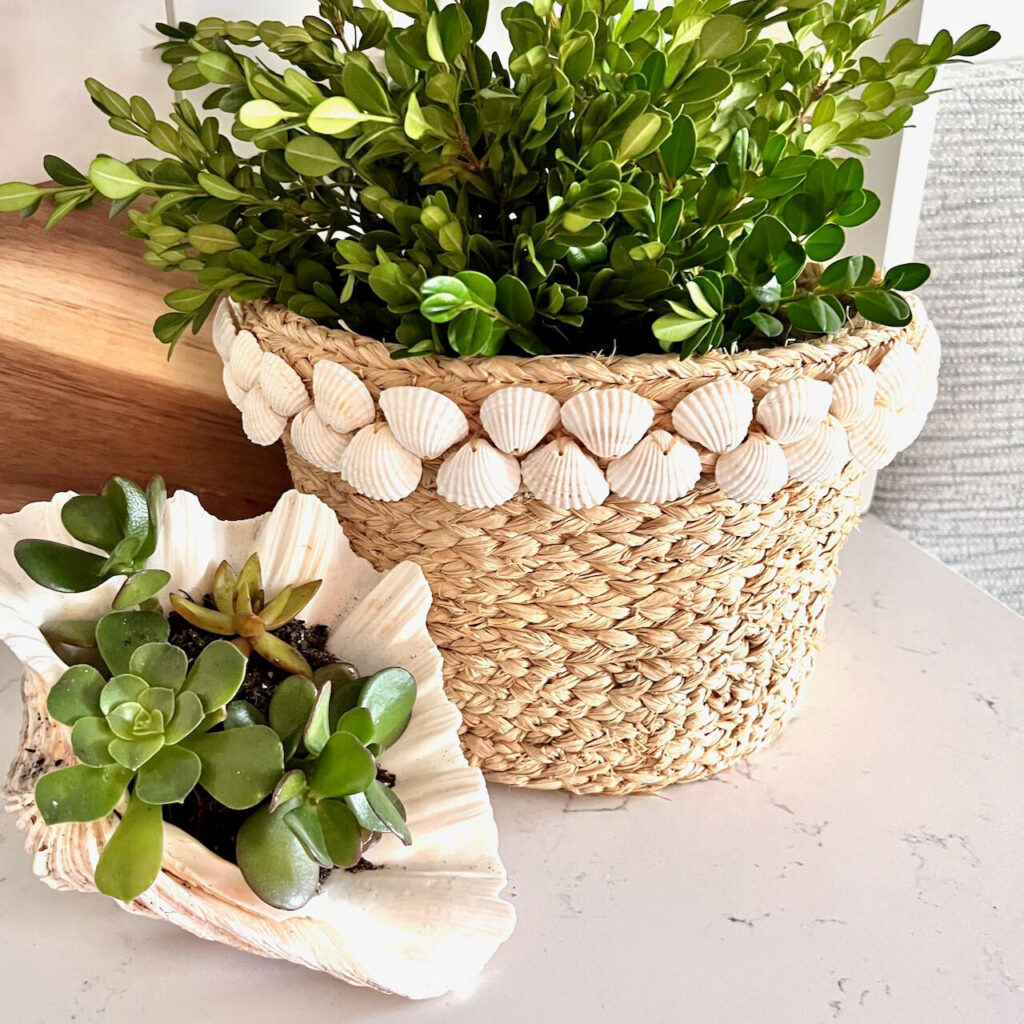
Larger shells can be used as planters for little plants. I added a handful of succulent soil to this shell and plopped a couple of the succulent babies I have been rooting in these propagation pots I made with air dry clay.
Typically succulents need lots of good drainage. They have minimal thin root systems that rot easily if the soil remains wet. But the way this shell sits, I’m hoping the excess moisture will run down the slope of the shell.
I’ll update this post in a month and let you know. If you have experience or tips for planting succulents in large shells, please leave a message in the comments or send me a message so I can share your advice with everyone.
For Serving-
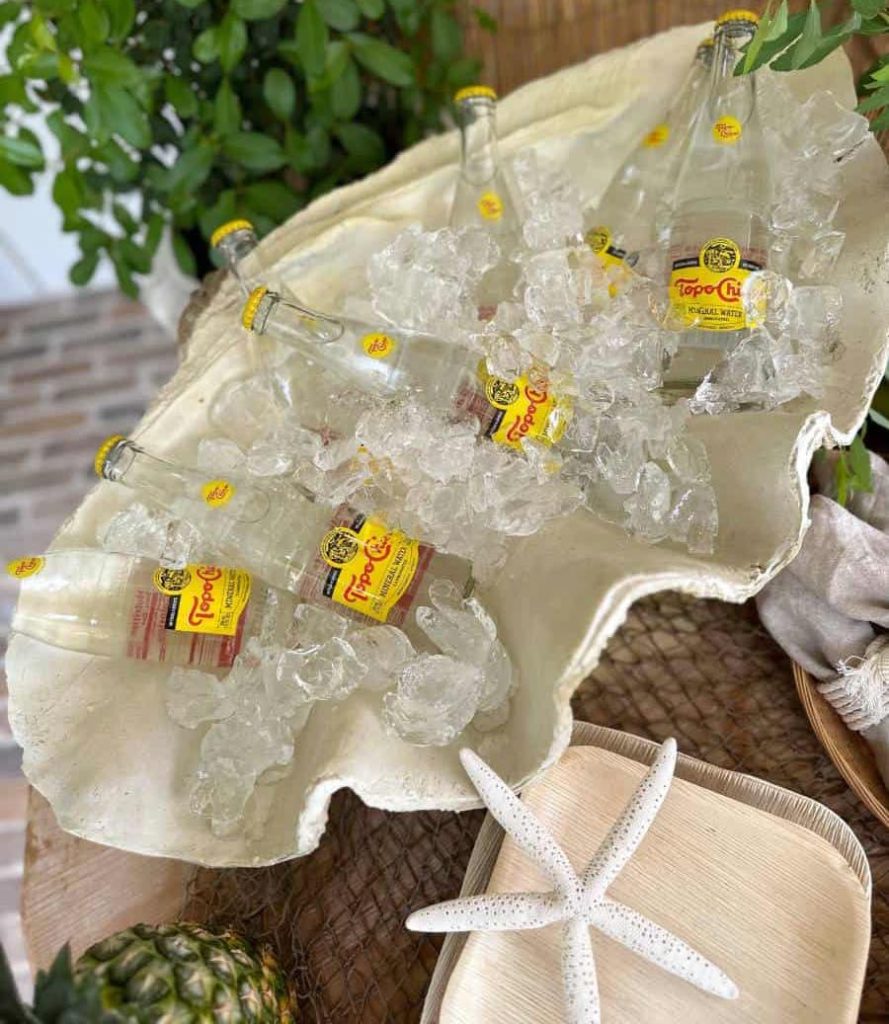
A really large shell can be used for icing drinks as the super talented Michele of Vintage Home Designs recently did here for a Tropical Dinner Party.
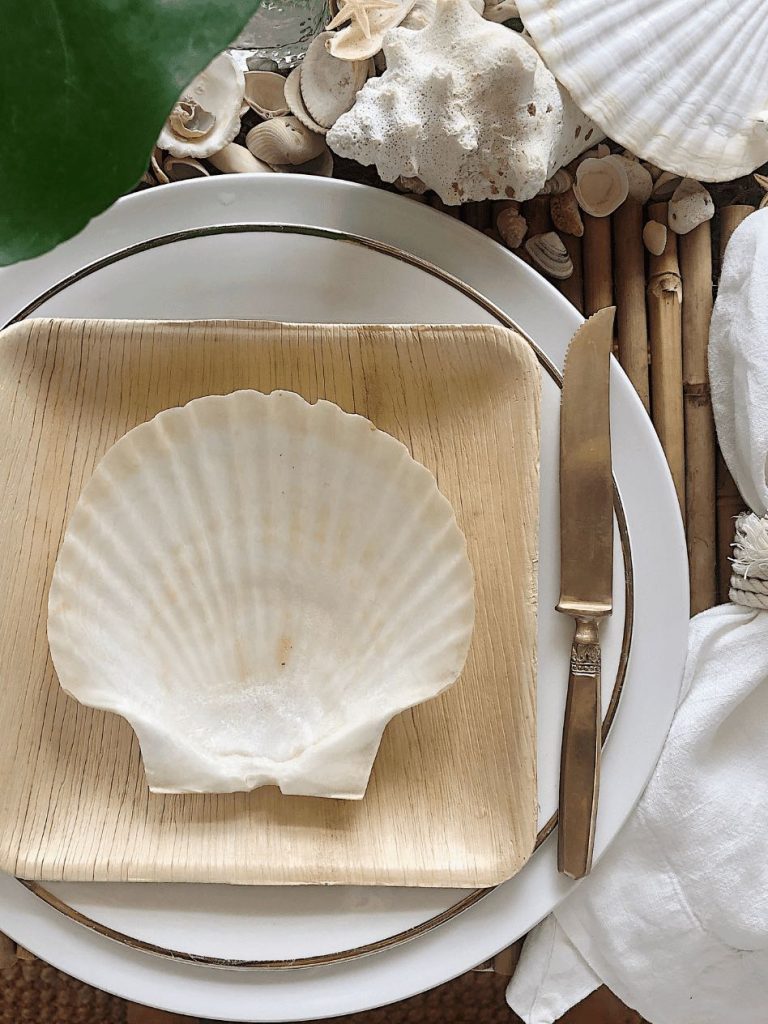
Or here where Michele used shells from her collection at each placesetting. These large seashells are perfect for serving appetizer, or dessert.
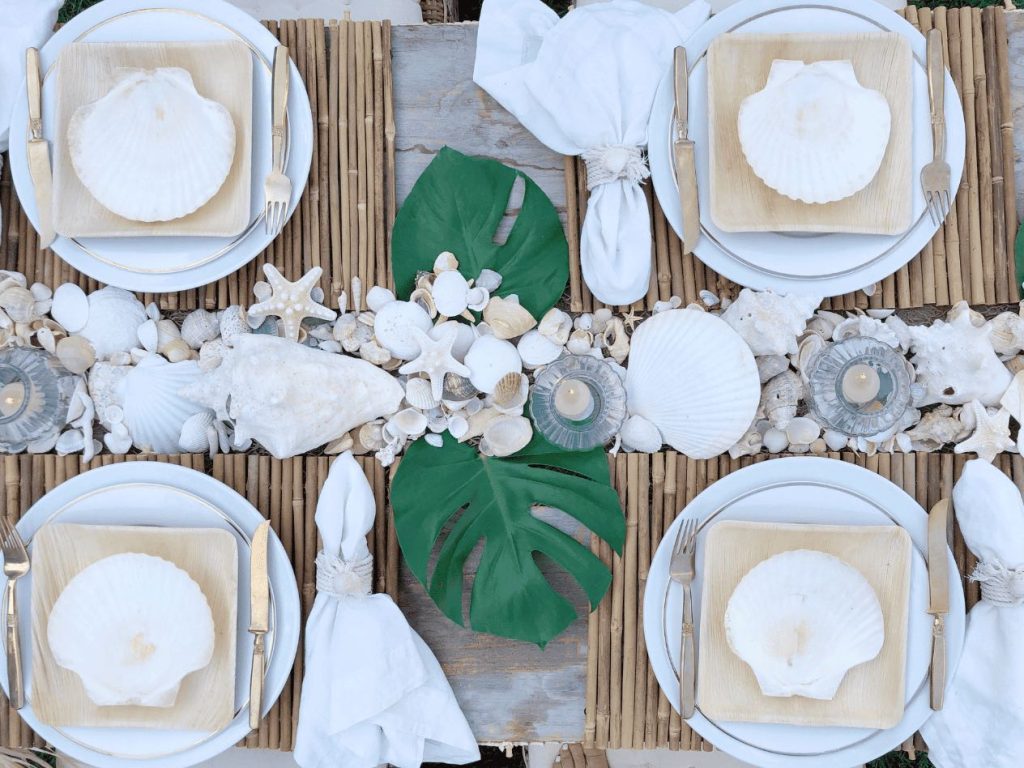
And here where Michele used wide variety of shells she had collected and thrifted to make a table runner.
My parents had several large abalone sea shells when I was younger. They often used them when hosting bridge club. One shell would sit on the corner of each card table holding nuts or some such little snack. I wish I knew where those were today!
Frame a Mirror With Shells-
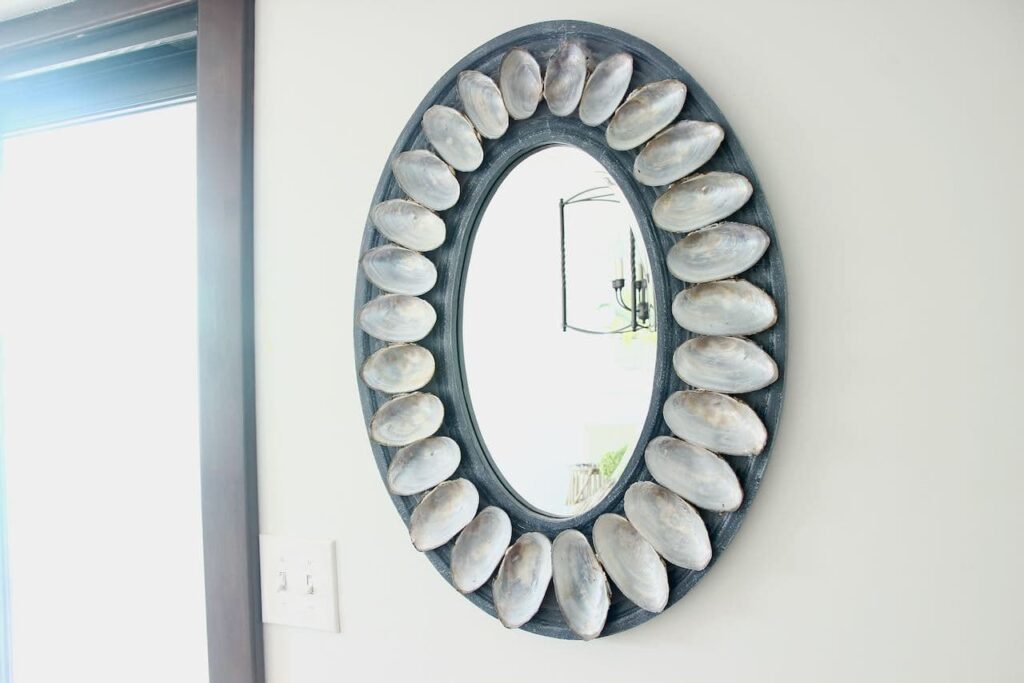
I upcycled a thrifted mirror with shells from our lake. The How-to can be found right here.
Tie Onto Pots-
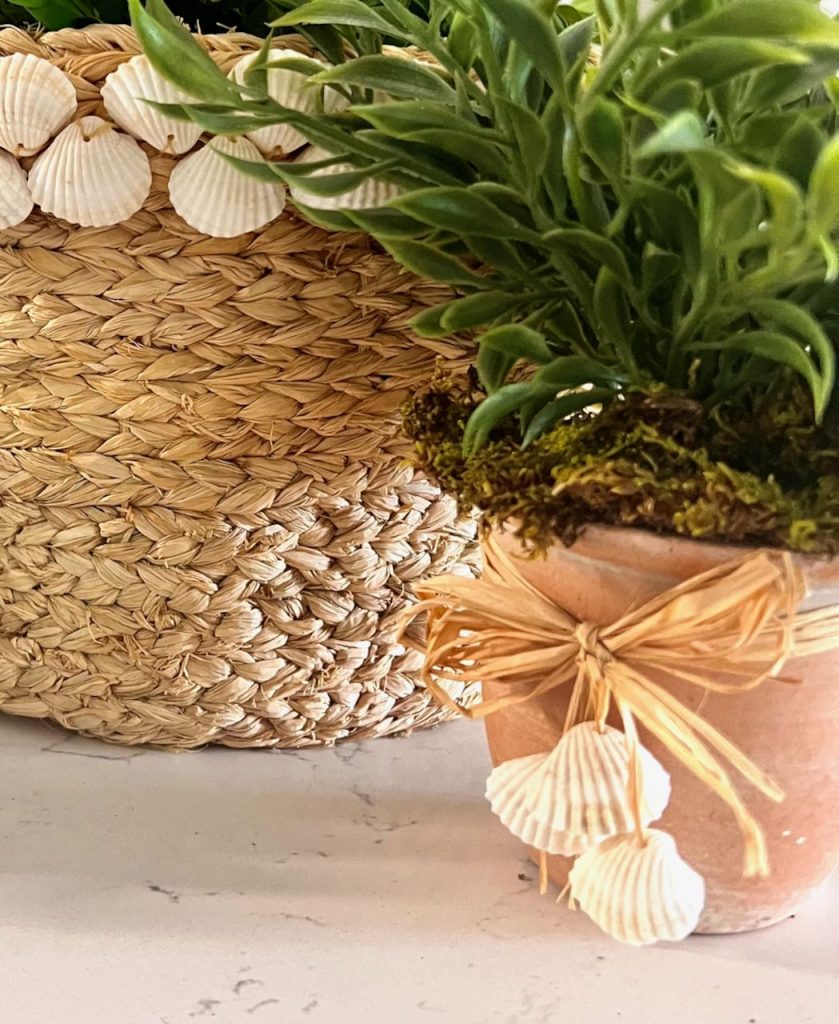
I love shells combined with raffia. Smaller shells with holes look so cute tied onto the ends of raffia tied around clay flower pots.
Here I wrapped three strands of raffia around the top of a clay pot. I tied the first half of a square knot. Held a looped bundle of raffia over that and tied the second half of the square knot.
Now, I have a full raffia bow with eight tails.
Using a needle threader, I strung a shell with a hole in it onto the end of three of the tails, tied slip knots at varying lengths and trimmed off the tails as desired.
Fill a Decorative Jar with Them-
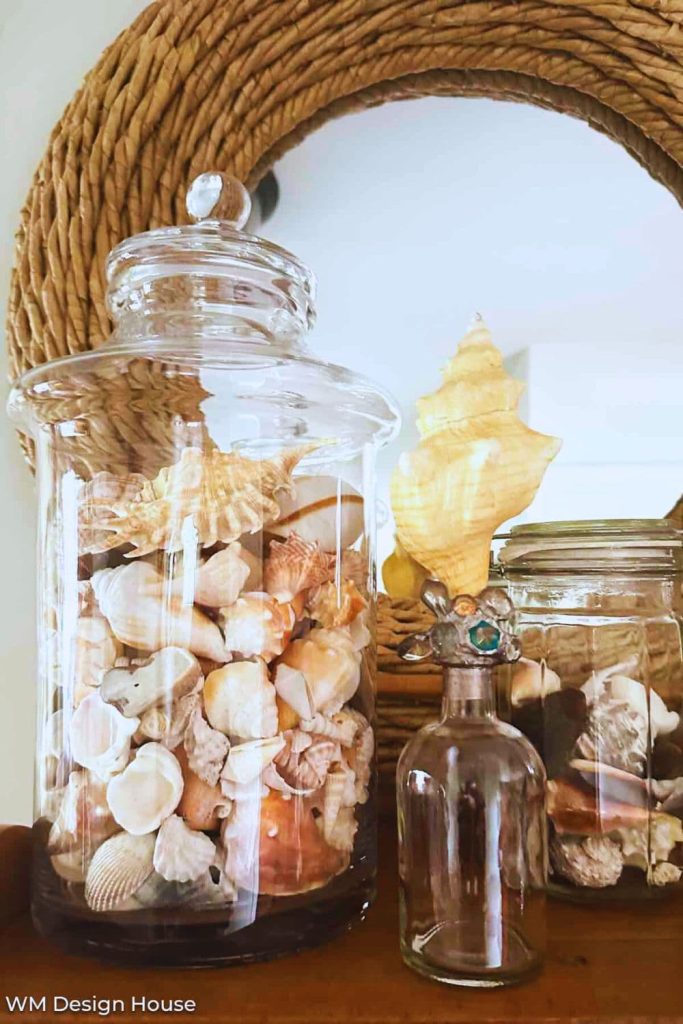
Isn’t this a gorgeous collection my friend Wendy of WM Design House displayed in her apothecary jars on her kitchen counter?
And how about that bottle topper!!!
Trim a Basket-
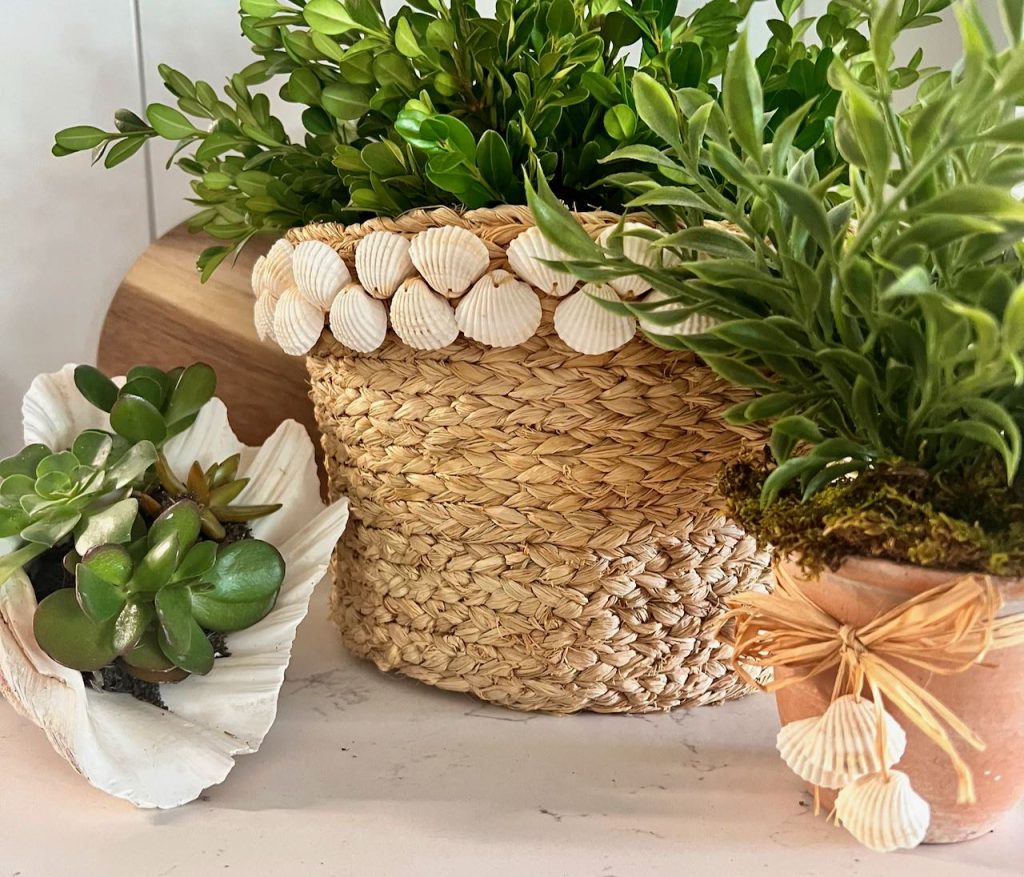
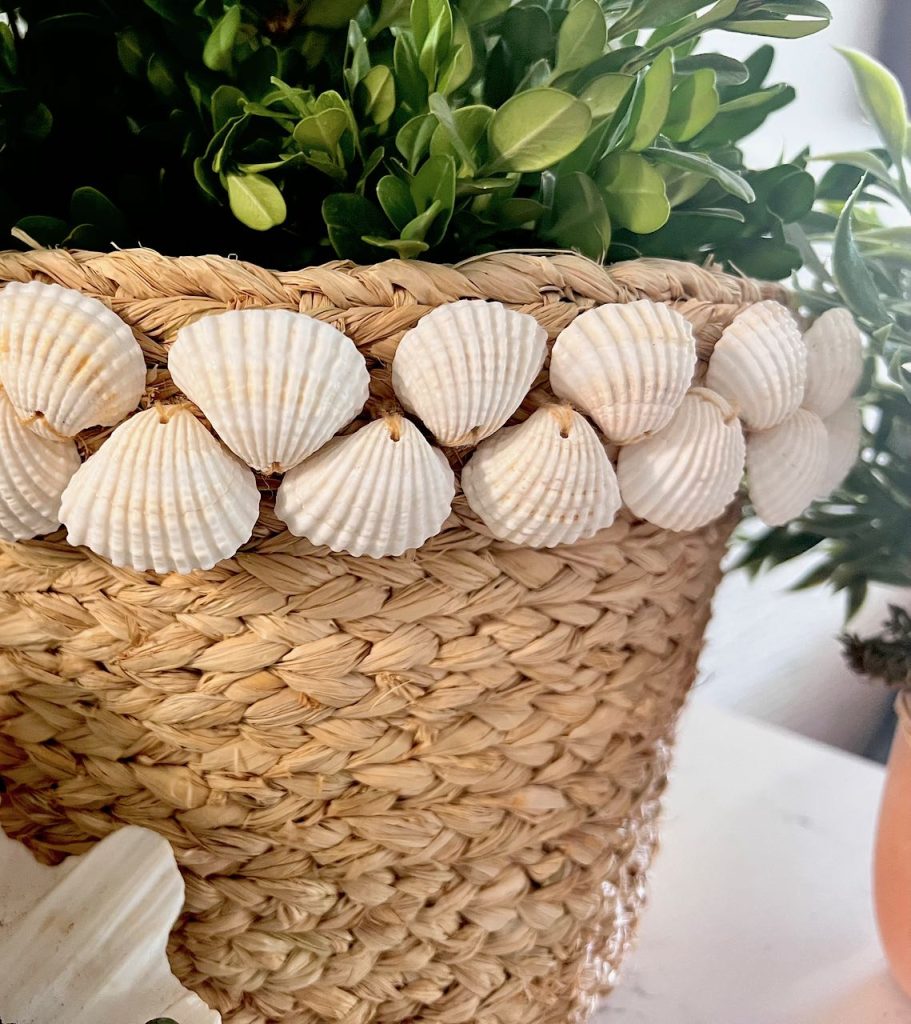
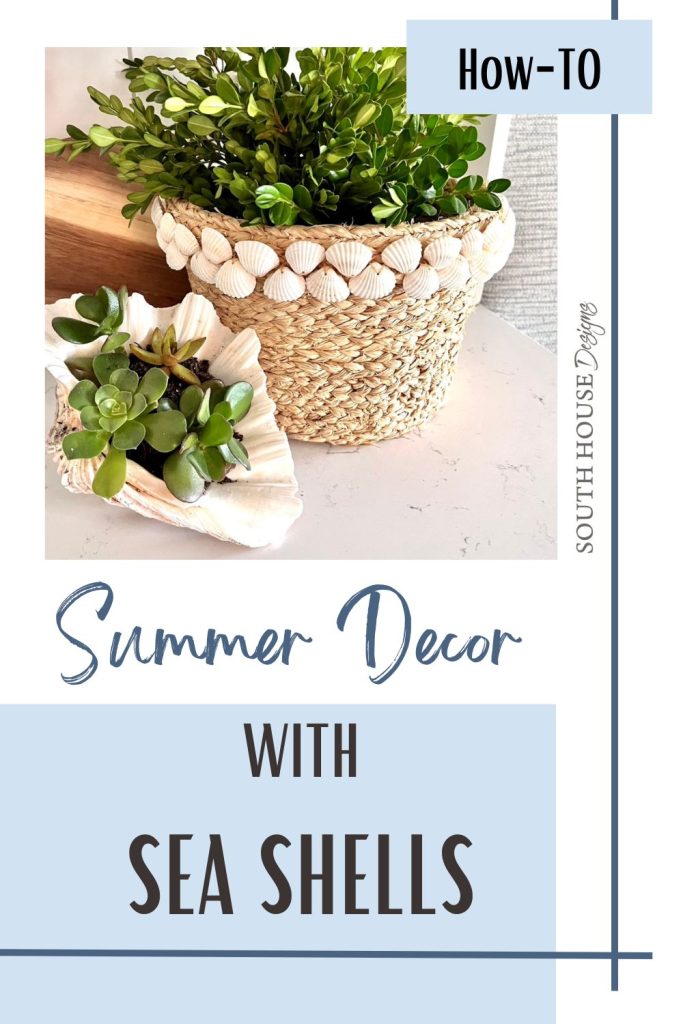
And this is my new favorite way to embellish a basket, whether a wicker basket or a sisal rope basket.
Isn’t this charming and sweet? And really so very simple to do.
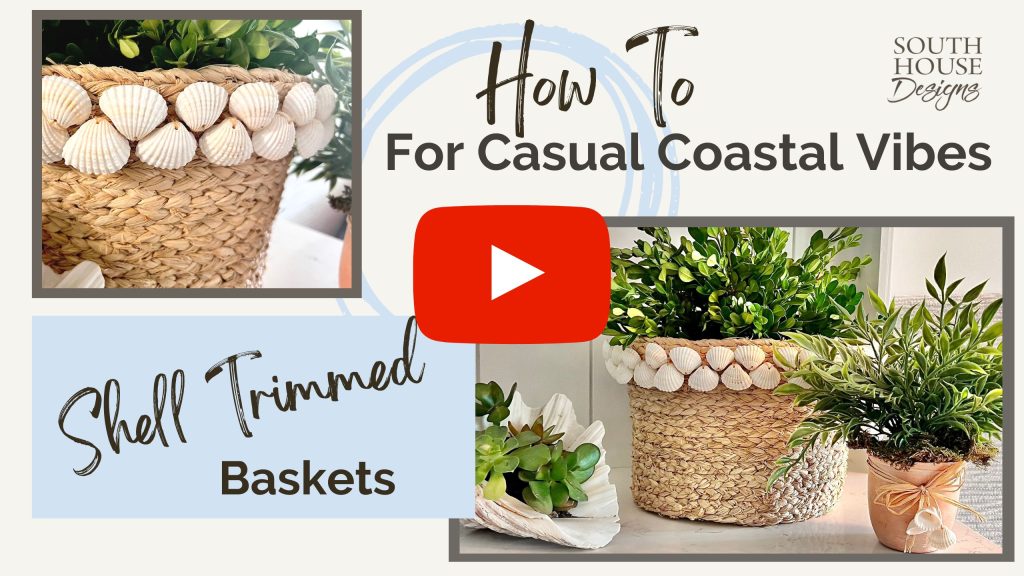
Read on for the written tutorial. But if you are one that prefers video, I’ve got you covered!
(Click above to play the video)
Quick Break: Are you enjoying this post? There’s a lot more coming! How about subscribing so you don’t miss a thing? You say how much is right for you!
Thanks bunches! (Now back to the shell basket How-To:
Materials and Supplies Needed for Seashell Basket-
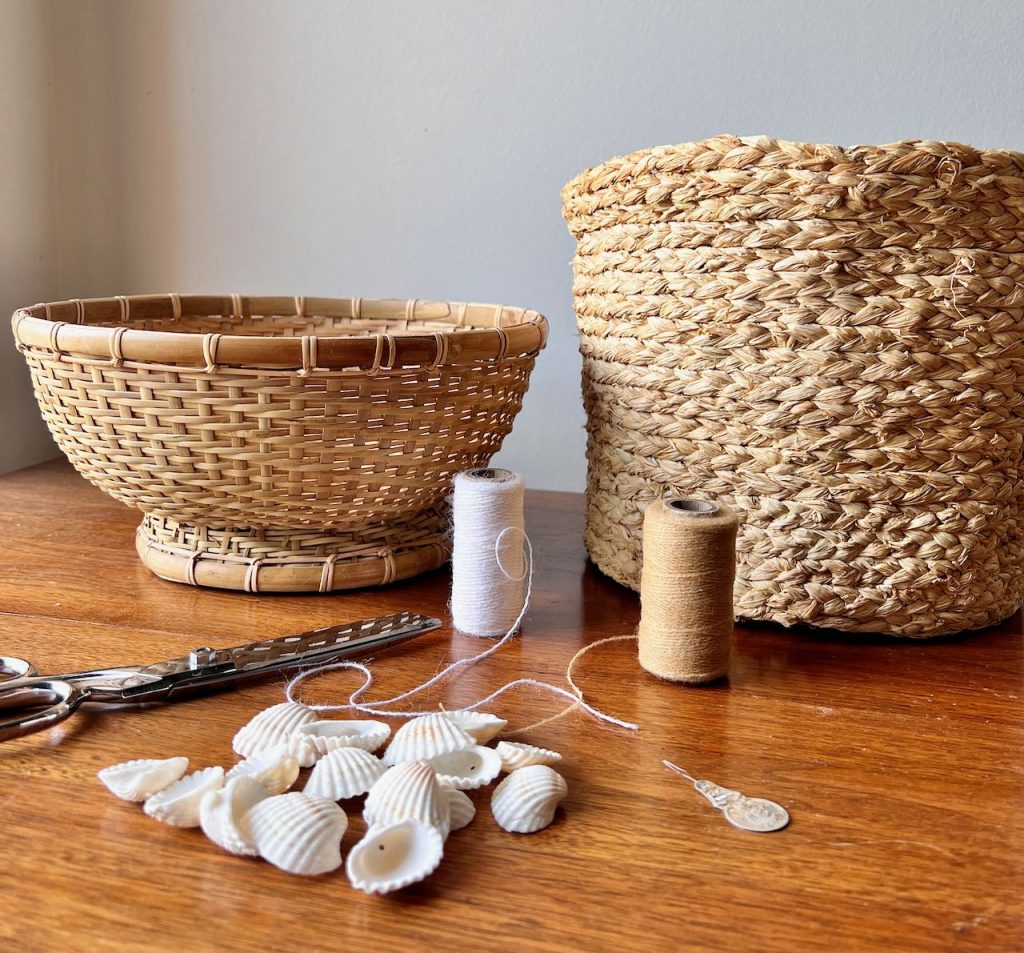
- Basket with a turn down cuff or a rim that is wider that than the rest of the basket.
- Shells with holes, these are the small scallop shells I used.
- Embroidery floss or crewel yarn
- large eyed needle
- needle threader
- scissors
- hot glue gun and glues sticks, optional
Step 1) Organize shells-
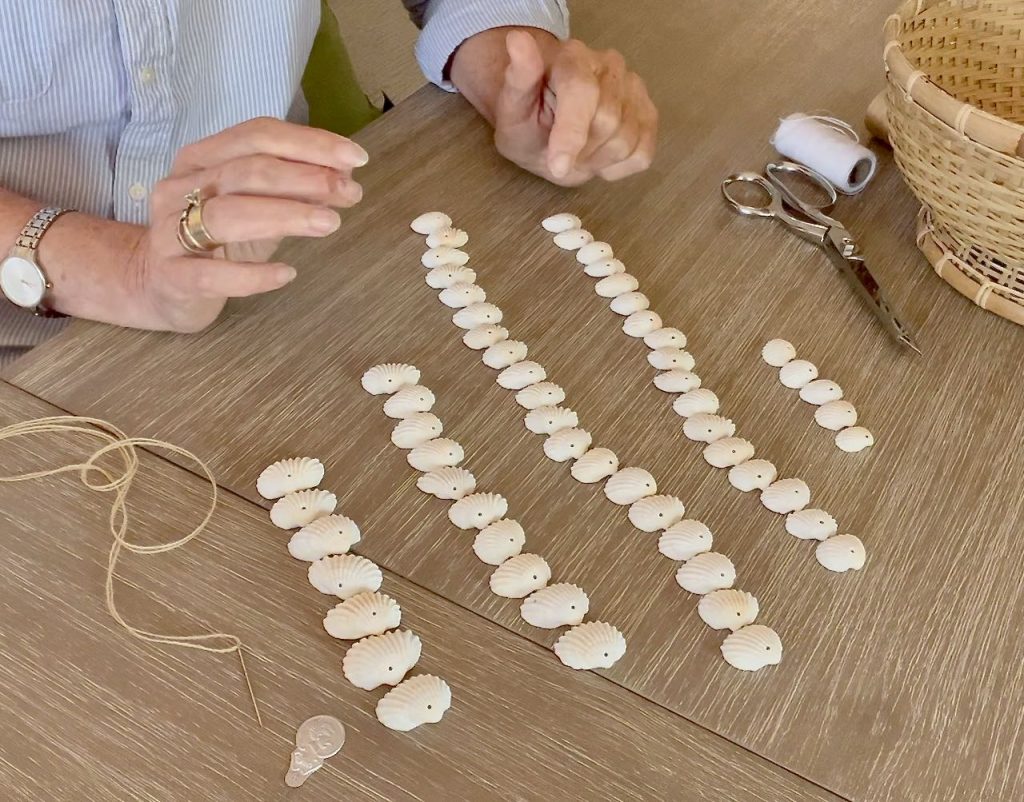
I may have overthought this, but I arranged my shells by size. Meaning by the width of the scallop edge. I typically do this with a seashell crafts
This helped me determine how I wanted to arrange the shell trim. If there had been more of the largest shells and smallest, I may have done an alternating pattern, creating a bit of a scallop effect.
Step 2) Determine placement of shells
Because I had so many middle size shells, close in size, I decided on a somewhat tailored cuff on my basket with two rows of shells overlapping in the middle.
Step 3) Stitch shells onto the basket
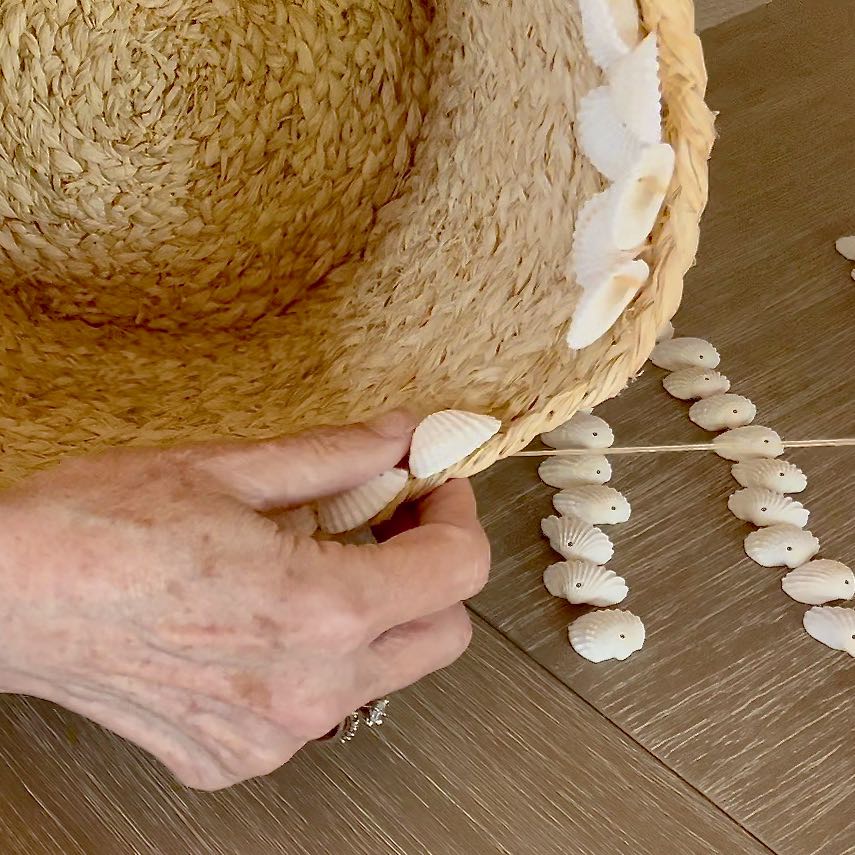
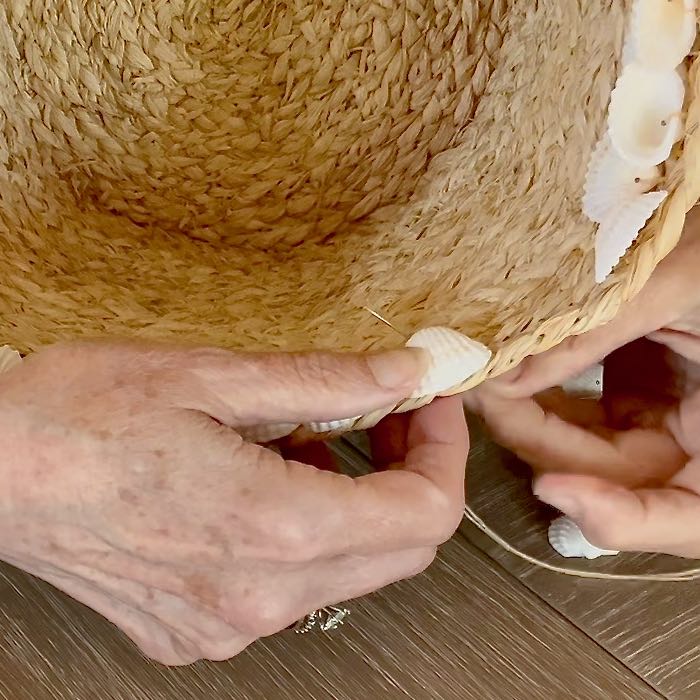
Select the shell and hold in place with one hand.
Bring threaded needle up through the basket on one side of the shell.
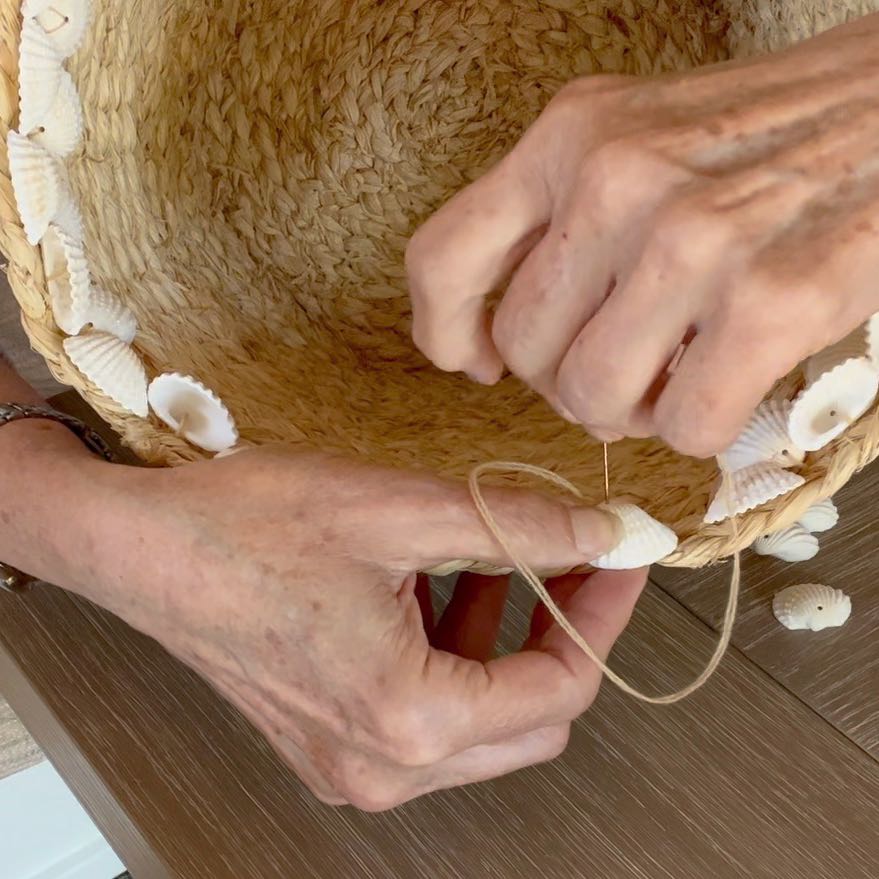
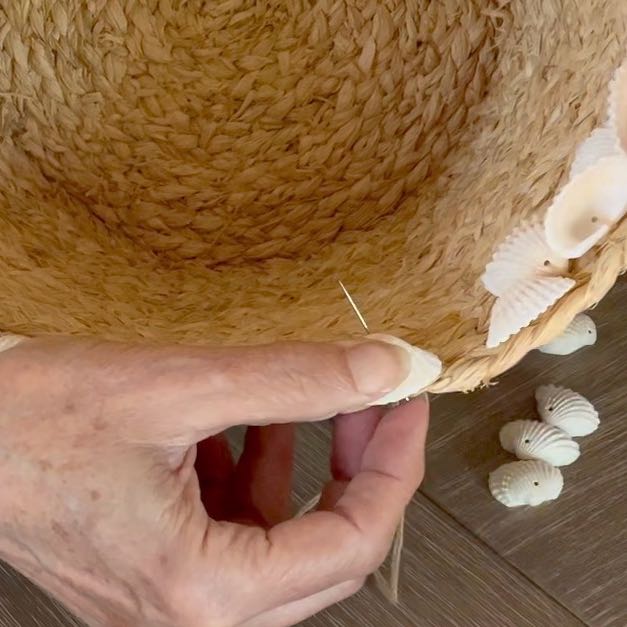
Push needle down through the hole in the shell.
Then bring the needle back up through the basket on the other side of the shell. Push the needle back down through the hole and that shell is held firmly in place.
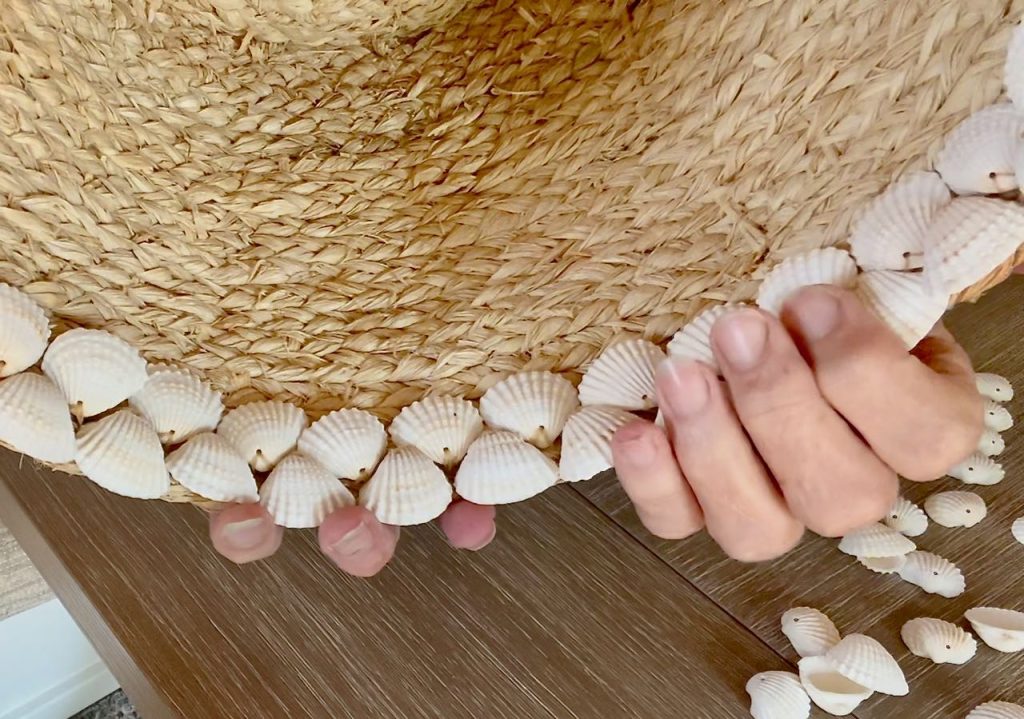
Look closely, and you can see that each shell is held in place with a V of the thread or yarn.
Now for this basket, I just turned the top down like a cuff.
If some of the shell want to fall away from the basket more than you like, a touch of hot glue will keep them standing up straight and tall.
Yep, Trimming a Basket With Shells Is As Easy as 1, 2, 3!
My design of an intertwined line of similar shells on a round basket is a great mix of texture without a lot of color variety.
I find this restful, yet interesting — exactly what I like in my Summer decor.
Does the needle and yarn/thread intimidate you? No worries, grab a glue gun, a more rigid basket or tin bucket and go after it.
Some of my favorite things about seashell crafts and seashell decor are:
- There really are no hard and fast rules
- You do what looks good to you
- Can be free — or darn near!

And More Shell Ideas
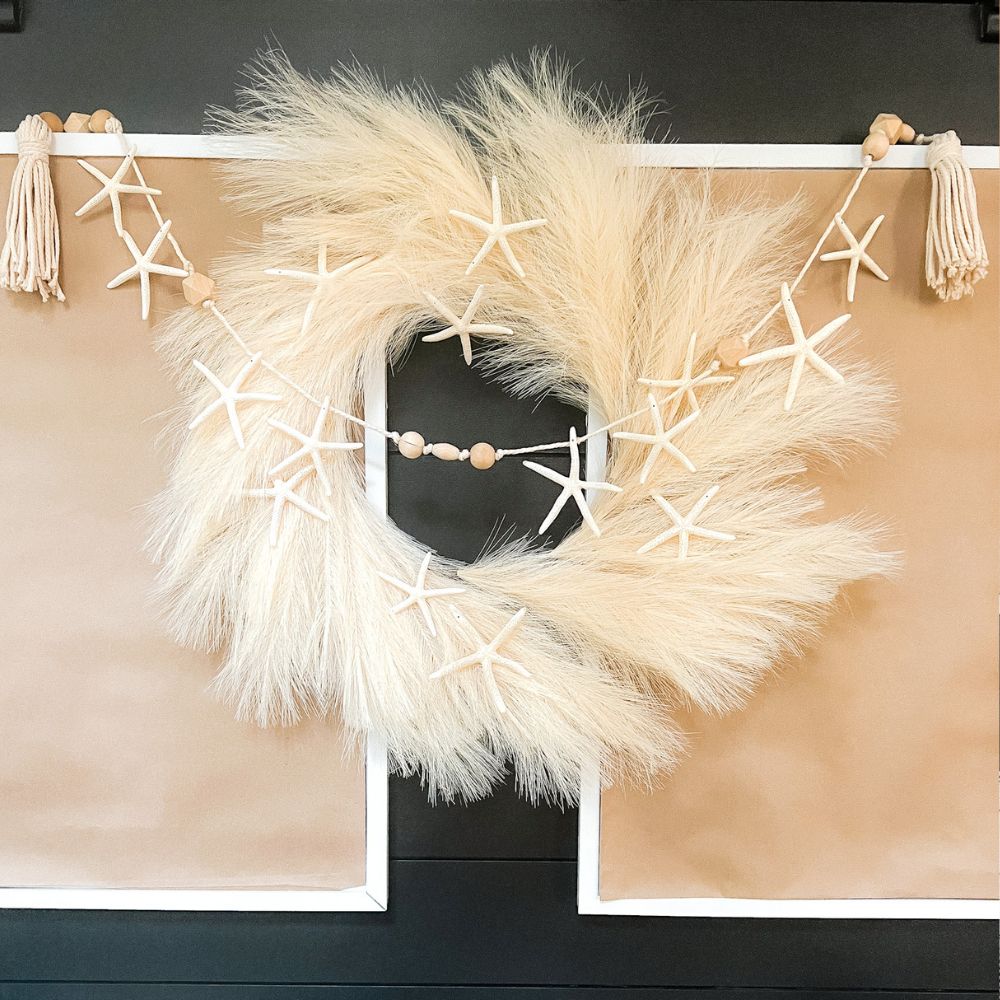
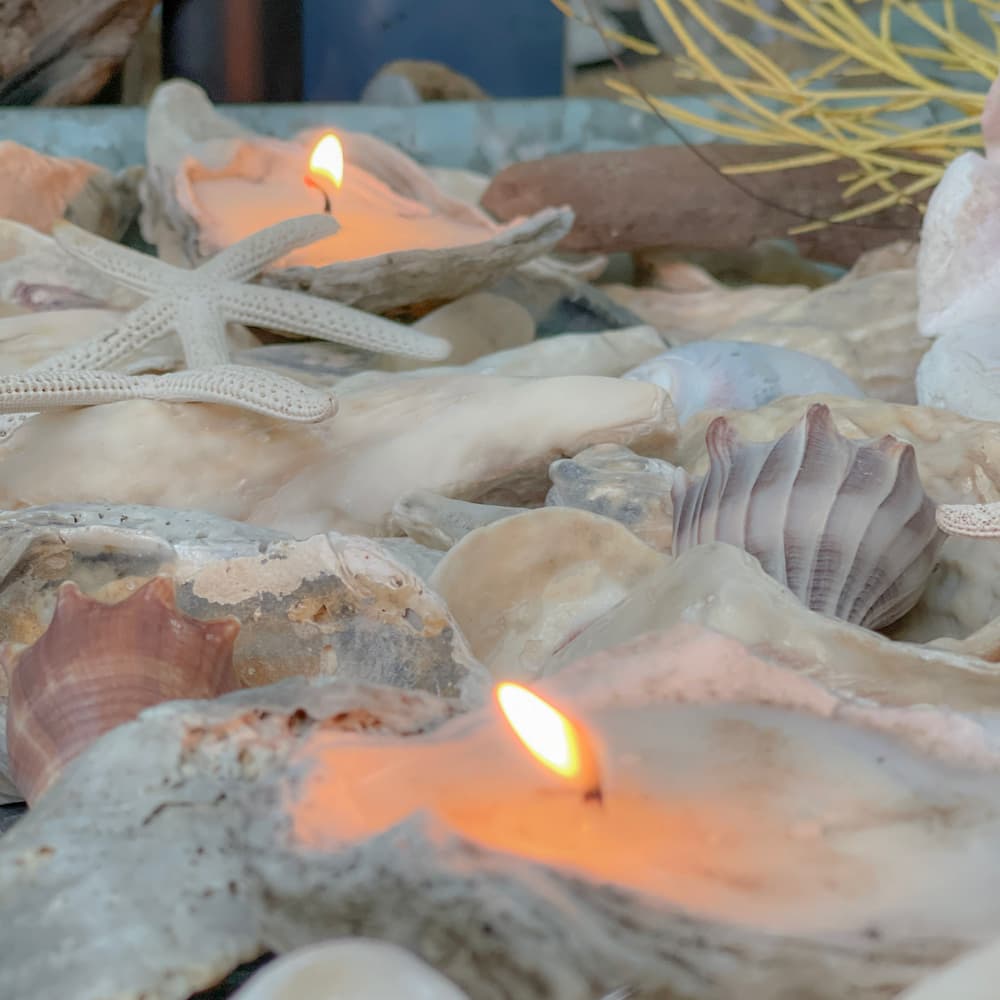
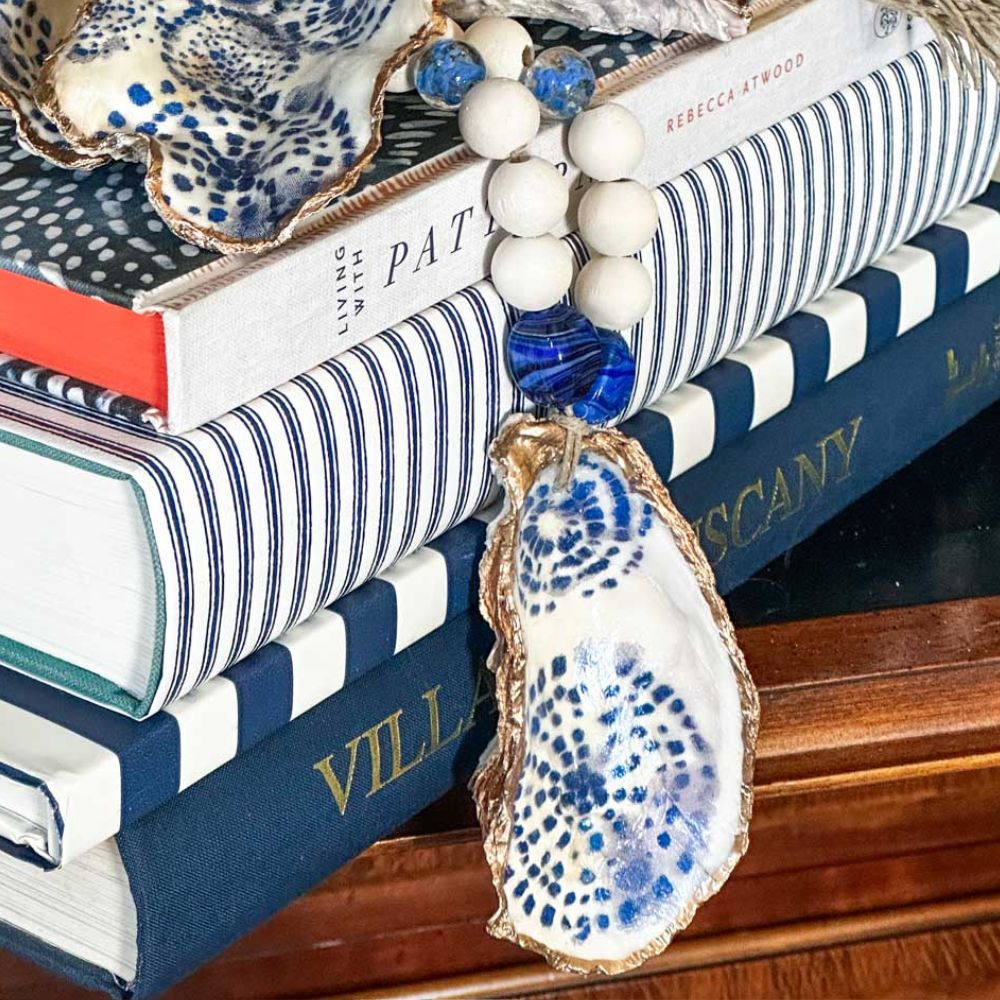
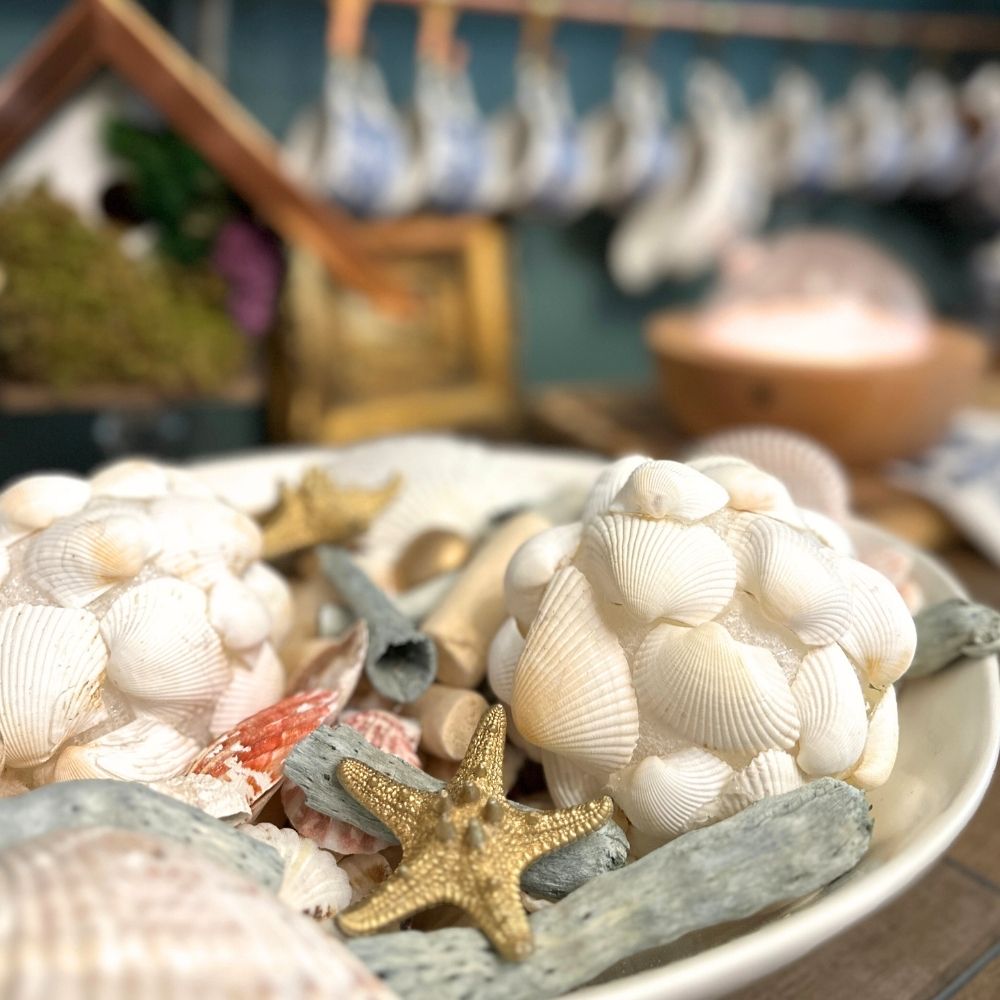
And how about a shell embellished wreath, or candlesticks
Remember I mentioned this is our monthly Handcrafted Society blog hop, this month featuring . . . . yes, you guessed it, SHELLS!
It’s amazing what all the girls came up with!!! Check them all out!
But now it’s time for me to send you on to Jen at Tater Tots & Jello, where you will always find something fun going on — and today is no exception!
Let me know, if you’ve done or seen shells used in a way I didn’t cover. I’d love to update this post with even more ideas!





This basket is awesome. I love the basket with the shells It’s so pretty!
Oh thanks Renae! Shells are always so easy to work with.
I love what you did with the shells. I have had shells in glass jars but never thought about a basket or pot! Thanks for the great ideas!
I am happy to provide inspiration and add to your creative project list (tee hee!). Be sure to check out the YouTube video I just added to really get a sense of how easy the process is as long as you don’t repeat my mistakes. (you’re welcome ☺️ )
Such a beautiful idea, Diane! And perfect for summer. I love it! I pinned it to my summer board to share 🙂
xoxo
Oodles of thanks Jen! These were such fun and I’m always amazed at how different all our projects end up. Your Boho garland is the cutest!!!
This is so charming, Diane! I love how you positioned the shell pattern! Pinned!
Oh, Missy, thanks bunches! It is always such fun hopping with you. I’m sad I won’t get to catch up with you at Haven this year.
Diane, I love basket projects, and the idea of adding a decorative border with shells. Another project to add to my summer craft list!
So kind, Michelle! We can never have too many Summer craft projects can we?
OMG, this is just the cutest and cleverest thing ever. Love every detail. And a big thank you for sharing my Apothecary jars. Now, I am off to sew shells on every basket I have.
Awwww, you are the sweetest! Thanks bunches. Enjoy stitching!!!
That really is an adorable idea! It looks like it’s from Anthropologie!
Wow! Thanks Jennifer. Anthropologie, it quite the compliment!!
Diane, this is the perfect trimming for a basket! I see a sea shell-trimmed Christmas Stocking! Wouldn’t that be cool?!?!? Your website looks beautiful btw!
Ha ha! That would be fun!!!!
Always such fun hoping with you Amy — actually, doing anything with you.
How lovely, Diane!!
I LOVE placing shells inside jars…that’s my favorite way to display them. I sometimes can remember where I found particular shells! That basket is just adorable…what a simple and pretty way to trim a basket. Pinned!
Shells in jars are so pretty. And when you group a bunch together — even better!
Thanks for sharing, I truly appreciate it Rachel!