
DIY Shell Mirror
DIY a new statement shell mirror to brighten your walls. This how-to combines a thrifted mirror, collected shells and joint compound!
True Story: The summer we moved in, the water moved out!
The centerpiece of our city was drying up before our eyes.
Although no one actually said it, internally we heard: “Those are the new people, the villains, who made our lake dry up”.
We joked about it. But that was to cover for what felt so dreadfully real at the time.
So what did I do? The required beach activity, whether it’s sand beach or mud beach that was once 6 feet under. I walked and gathered shells — lots of big shells!
Totally mystified me. I thought shells were only at the ocean style beach.
SIDENOTE: Can you tell I was raised all city girl? Once I begged for our family vacation to be a camping trip. My mother laughed sooo hard and then signed me up for Girl Scouts (which I loved, btw).
So now what to do with all these gorgeous shells? All those shiny iridescent insides? That beautiful blending of white silver, blues and greys?
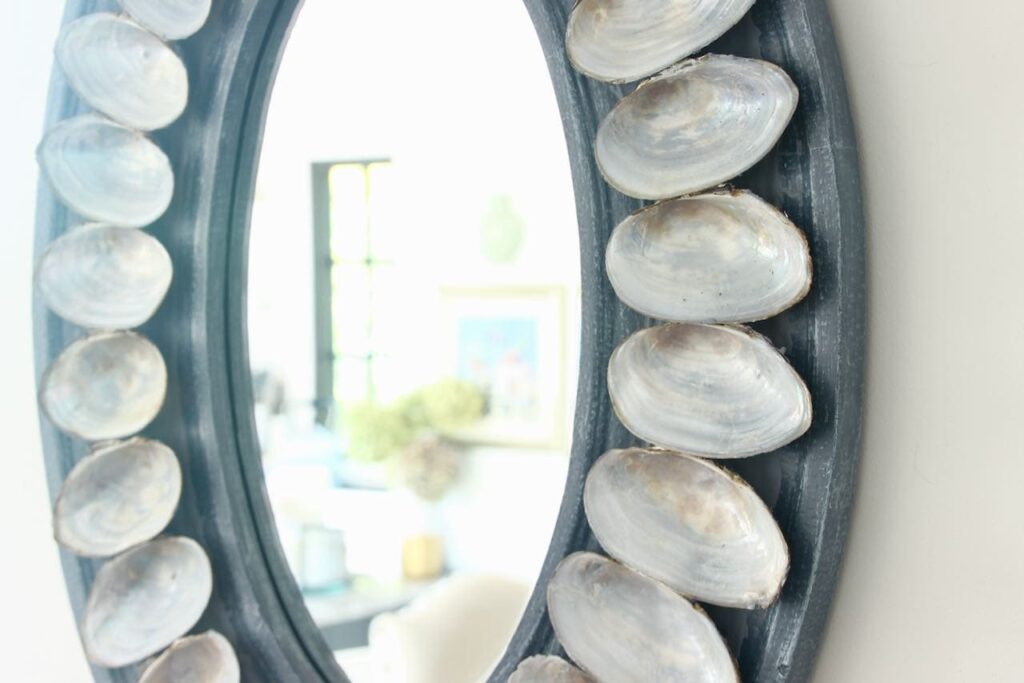
Frame a mirror, of course!
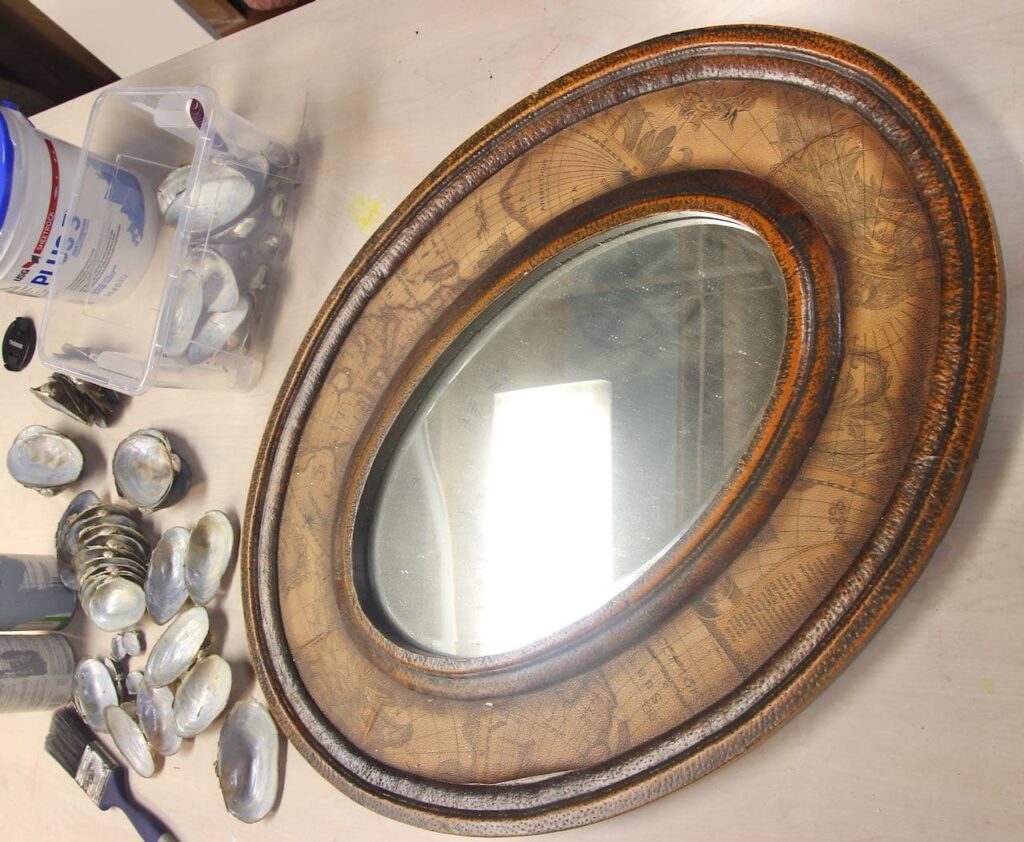
Yep, in my stash was a truly awful thrifted mirror waiting to be reborn.
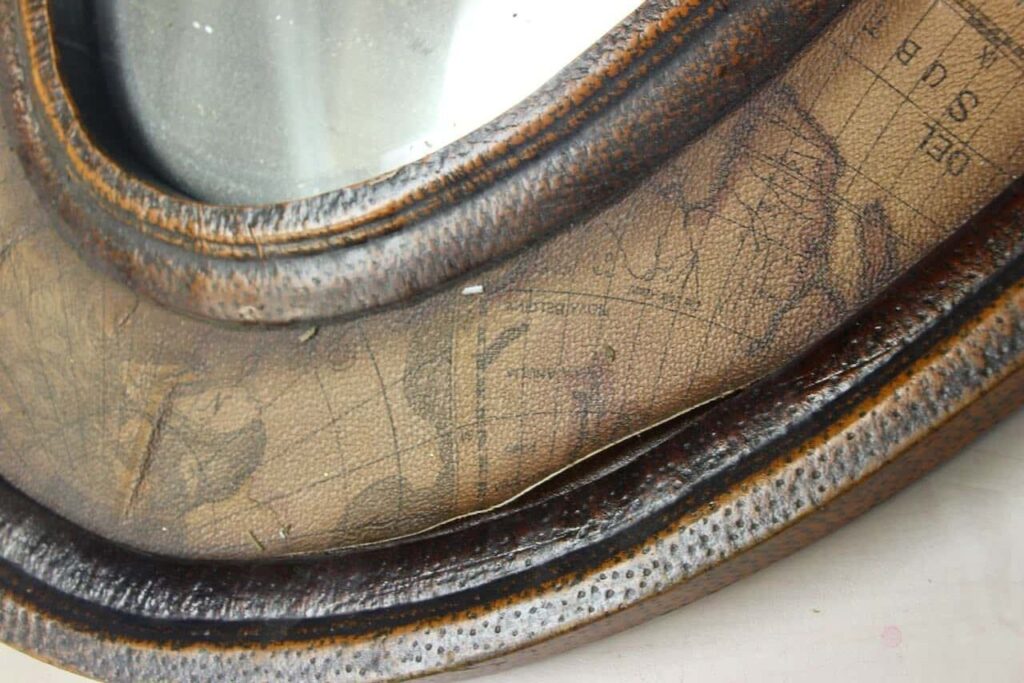
It’s a perfectly sized beveled oval mirror. Score! And the frame? The frame is wide and flat with a raised lip along the inside and outside edges. She’s been absolutely crying out for some kind of mosaic treatment.
Her wishes came true!
Materials:
- Thrifted frame
- Gathered shells
- Joint Compound
- Construction Adhesive
- Paint
Supplies:
- Paint brushes
- Cheap small craft paint brush
- Paint stir stick
- Zipper style freezer bag
Step 1) Prep Your Frame & Shells
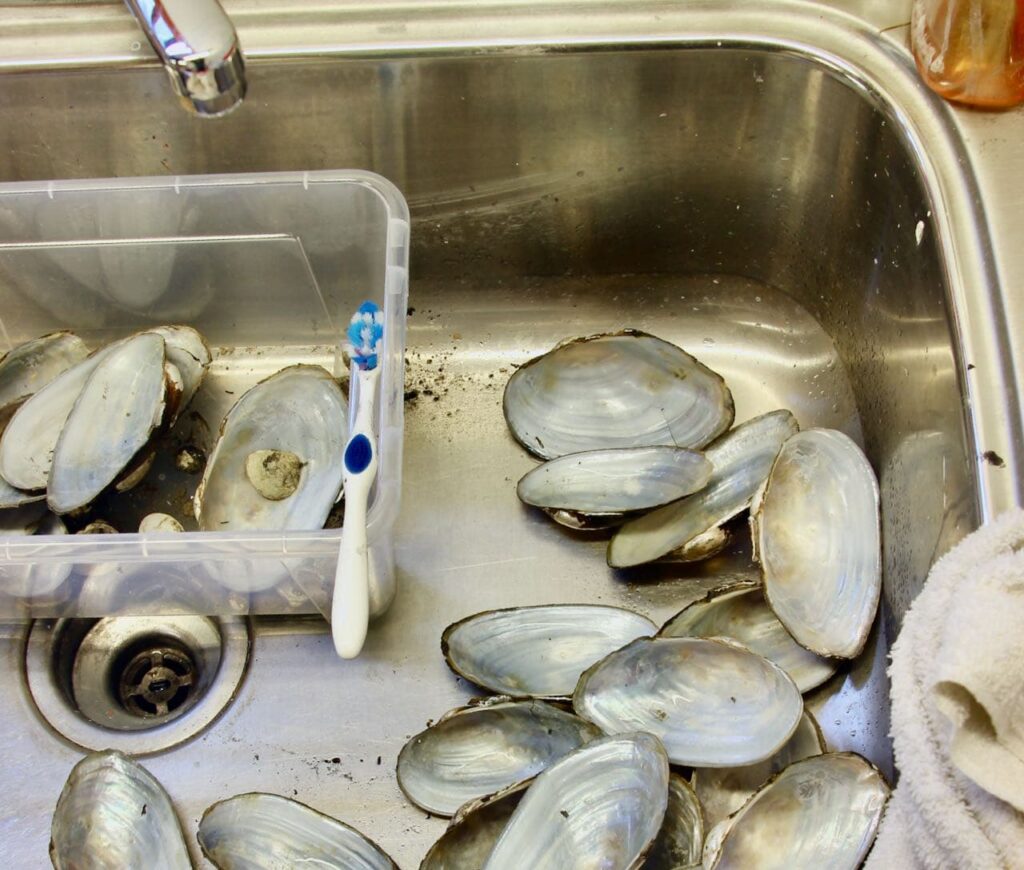
Wash those shells really well and let dry.
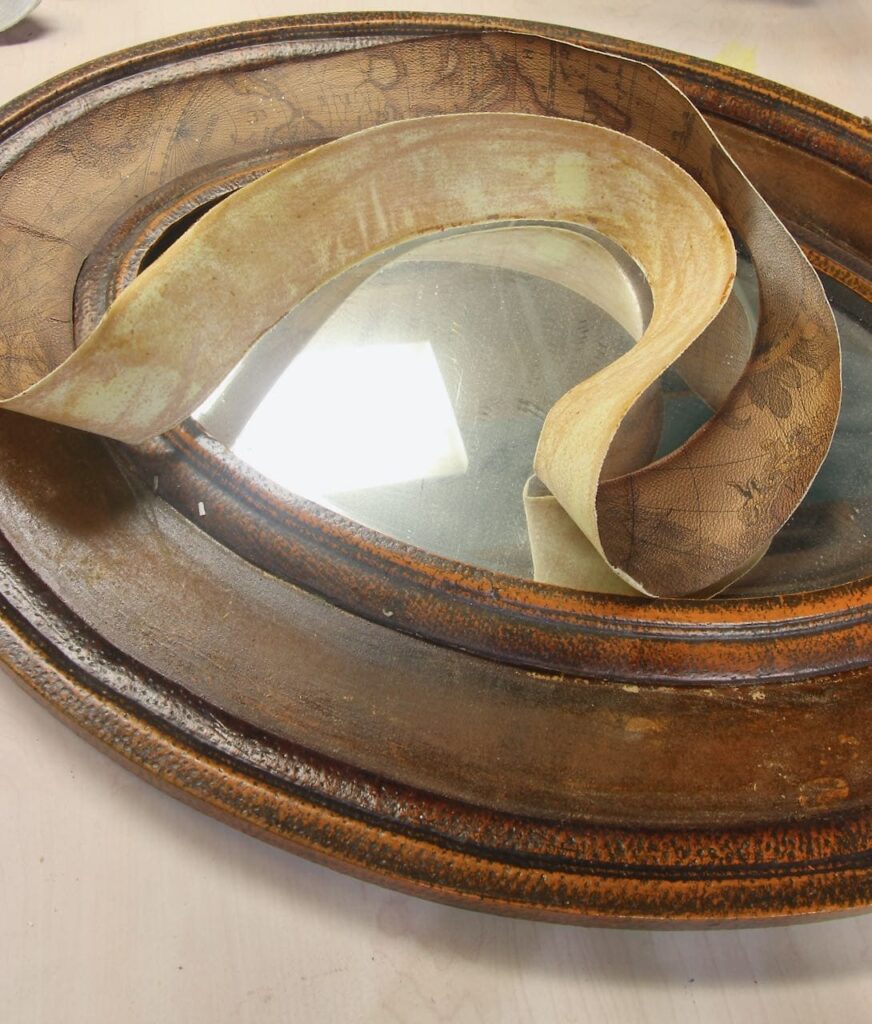
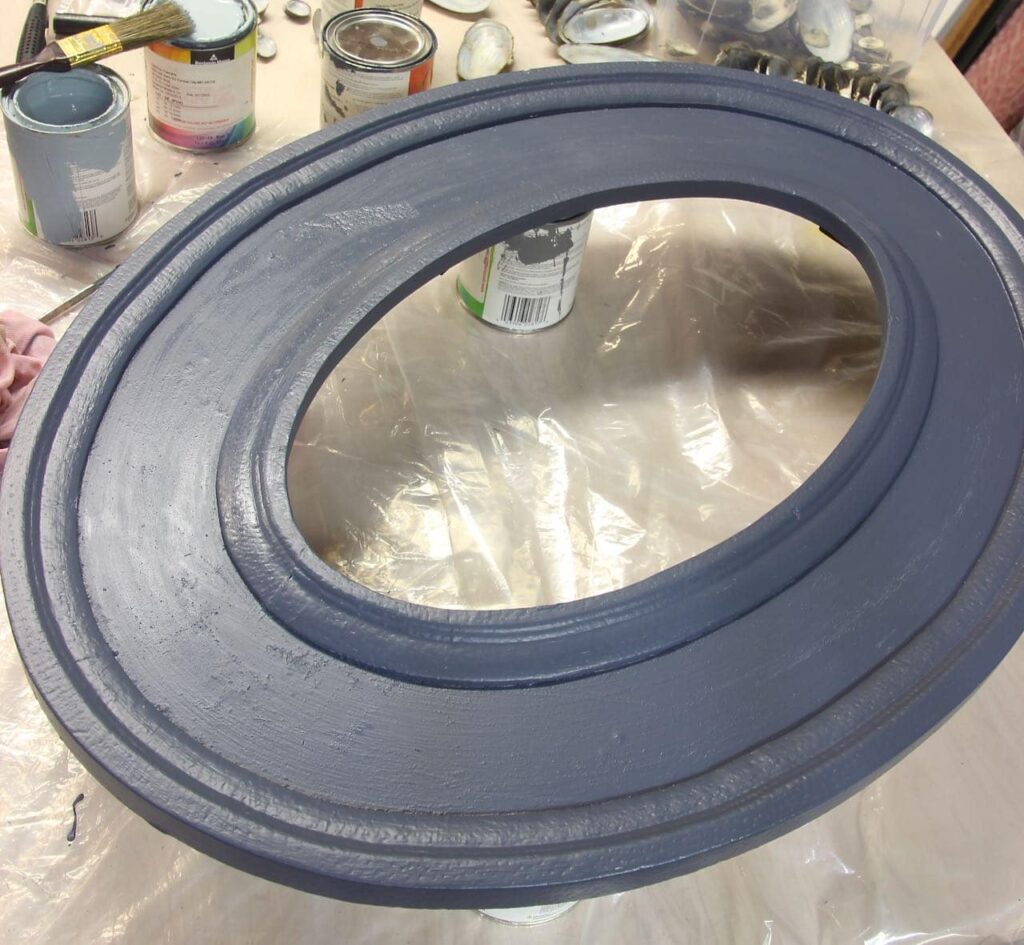
Prep and paint your frame. For me, that included pulling off that map, removing the mirror and then two light coats of a deep grey blue.
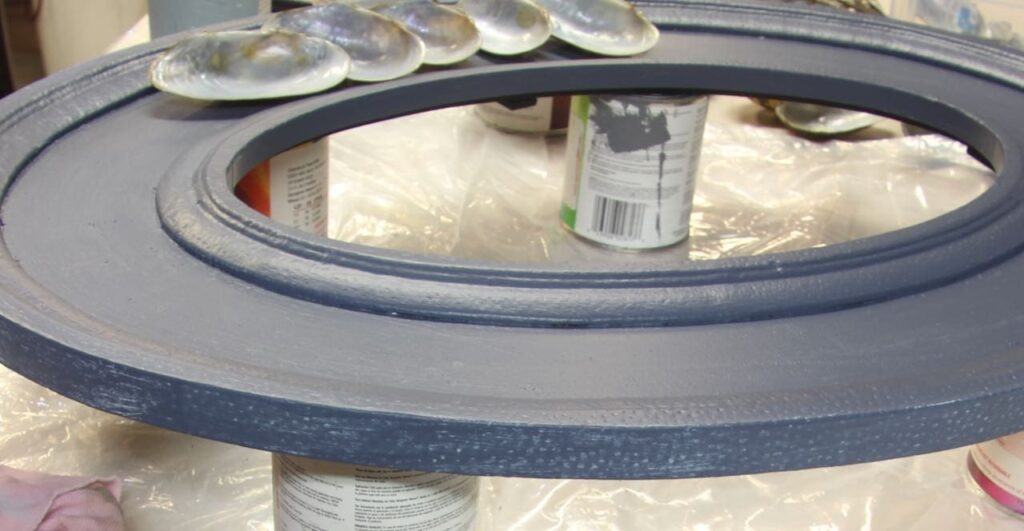
Because I knew I would not be able to get the frame color completely duplicated with the mounding joint compound, I dry brushed a tiny bit of a lighter steel blue on top.
Step 2) Lay Out Your Shells
I started by separating them in two piles: hinges on the left, hinges on the right. This way they would catch the light the same and assured that the narrower end of the shells all pointed in the same direction.
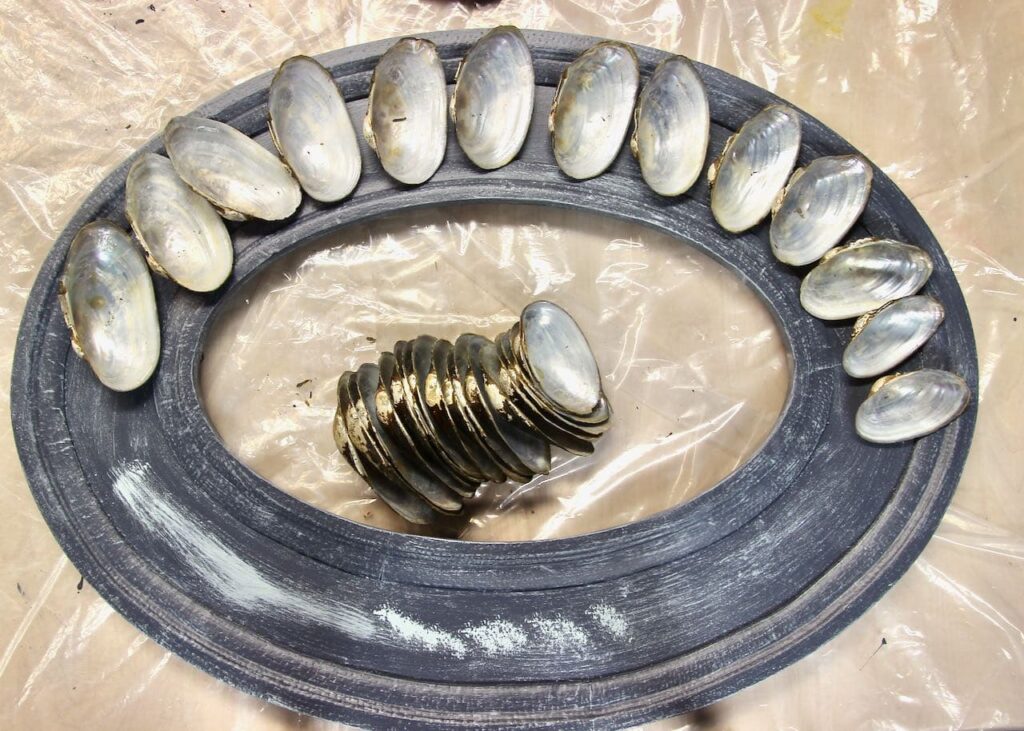
Then I lined up each pile by size. I decided the largest ones would be at the bottom with the shortest ones at the top. This gives more visual weight to the bottom, just as traditionally done with mats in frames.
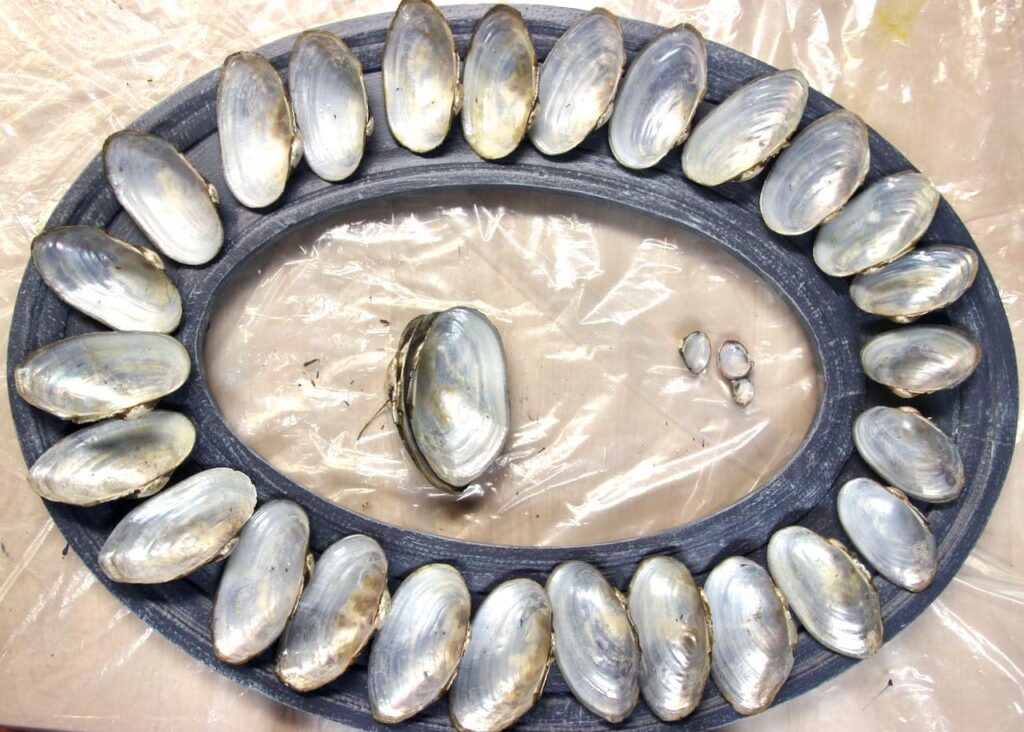
Transferred these onto my frame to make sure they fit.
Step 3) Attach Your Shells
The base layer is joint compound. I tinted mine with some latex paint, rather than thinning with a touch of water to make it more spreadable.
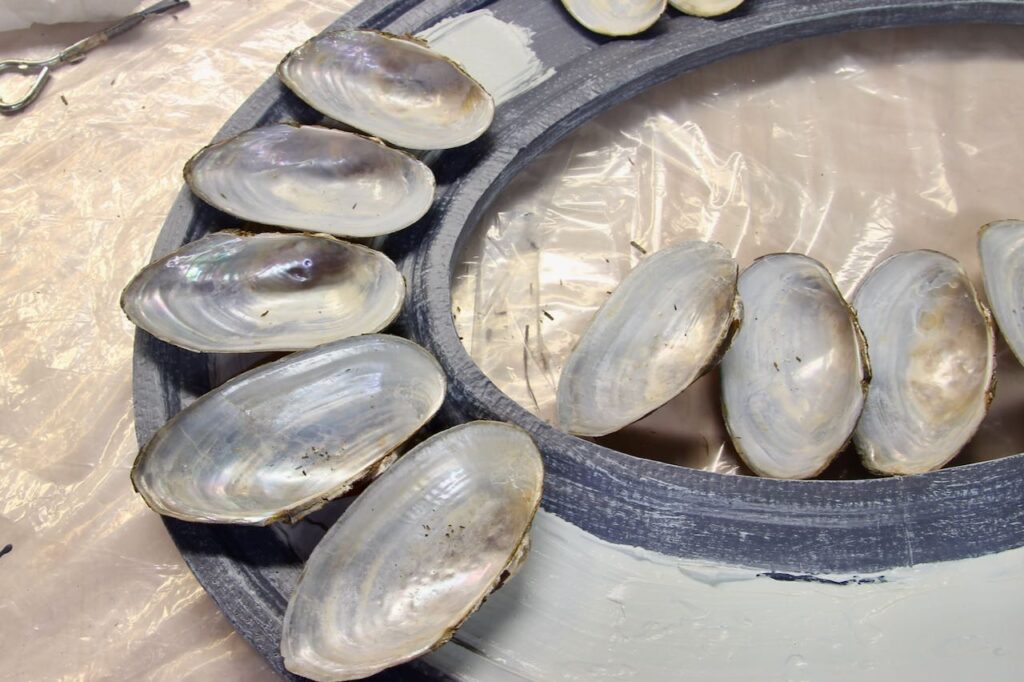
Working in short sections, spread a generous layer, then set each shell back in place smooshing it down into the joint compound.
I was hopeful this would be enough to hold the shells in place. I would be WRONG!
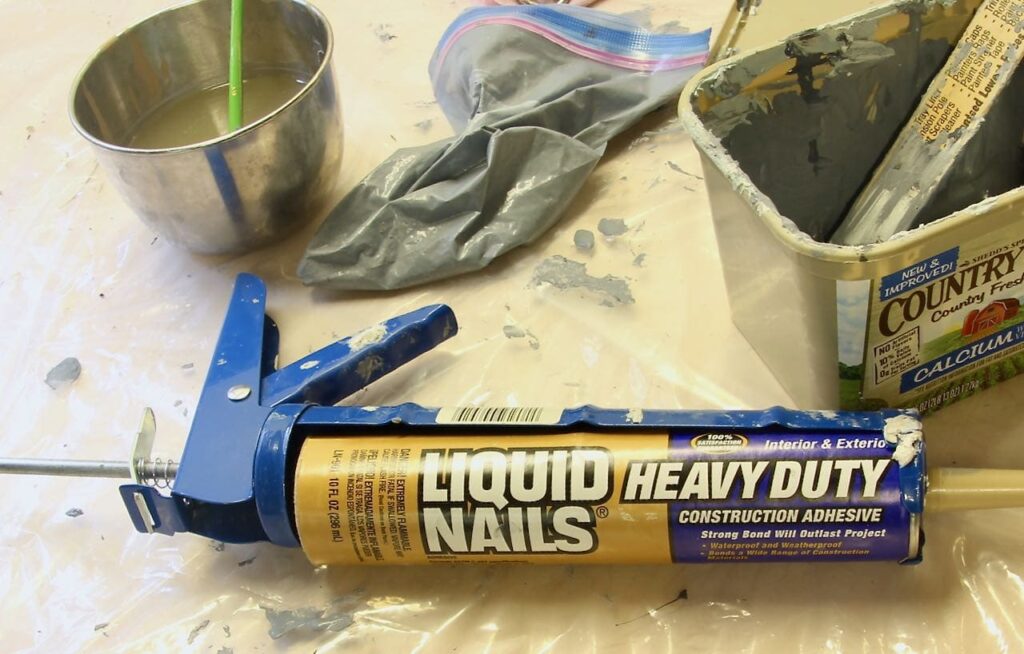
So adjust and adapt: Once the joint compound was thoroughly dry, I gently lifted each shell off and applied a generous lathering of construction adhesive. Those shells are there for good!
Step 4) Fill The Base
It’s the final step and the gooey step!
Joint compound is a great filler for this. It’s cheap, it’s easy to work with and it dries hard — oh, and did you know it’s tintable!
I used a disposable tub to mix a batch of joint compound with dark latex paint. trying to match my frame color as close as possible and get the joint compound to a squeezable consistency. But not too runny as you want it to hold its shape.
Transfer this to a freezer zipper style bag. Seal it up well and clip just a very small tip off one of the bottom corners.
Squeeze a mound of the prepared joint compound in between the shells. and them spread it with the small craft paint brush. I suggest starting with the outside edge. This edge is easier to work so use it for “practice” to get your technique down. Also the very bottom and the very top will probably not be seen much so start at one of those.
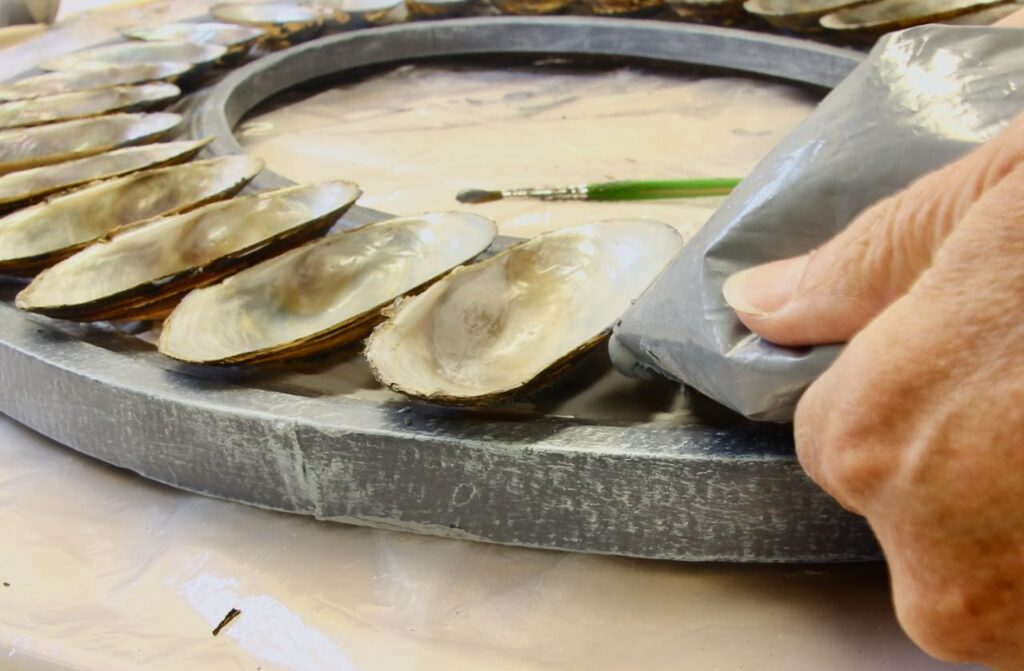
The idea is to pipe a generous mound of the tinted joint compound under and in between the edges of the shells.
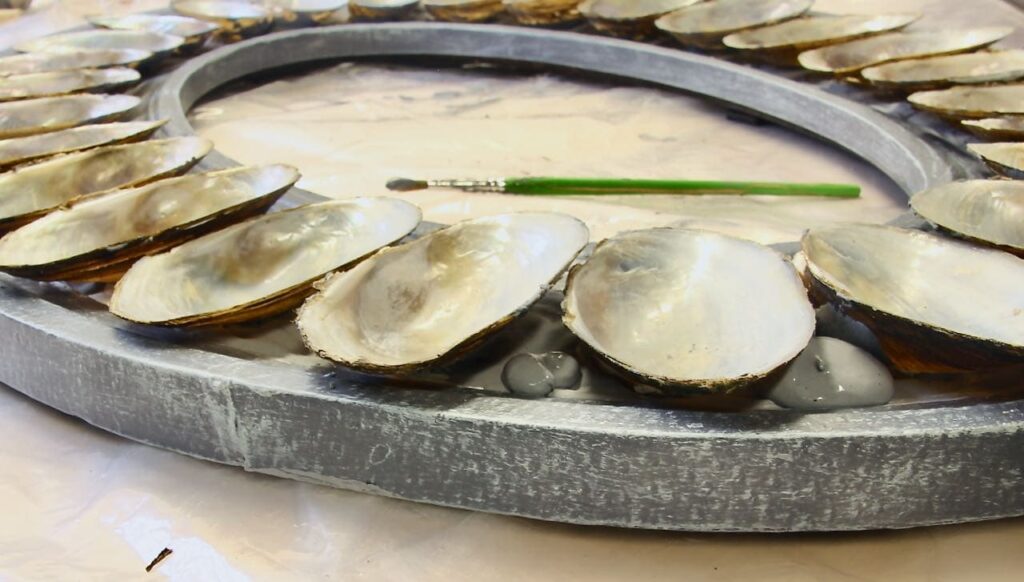
The mound on the right is the size you want.
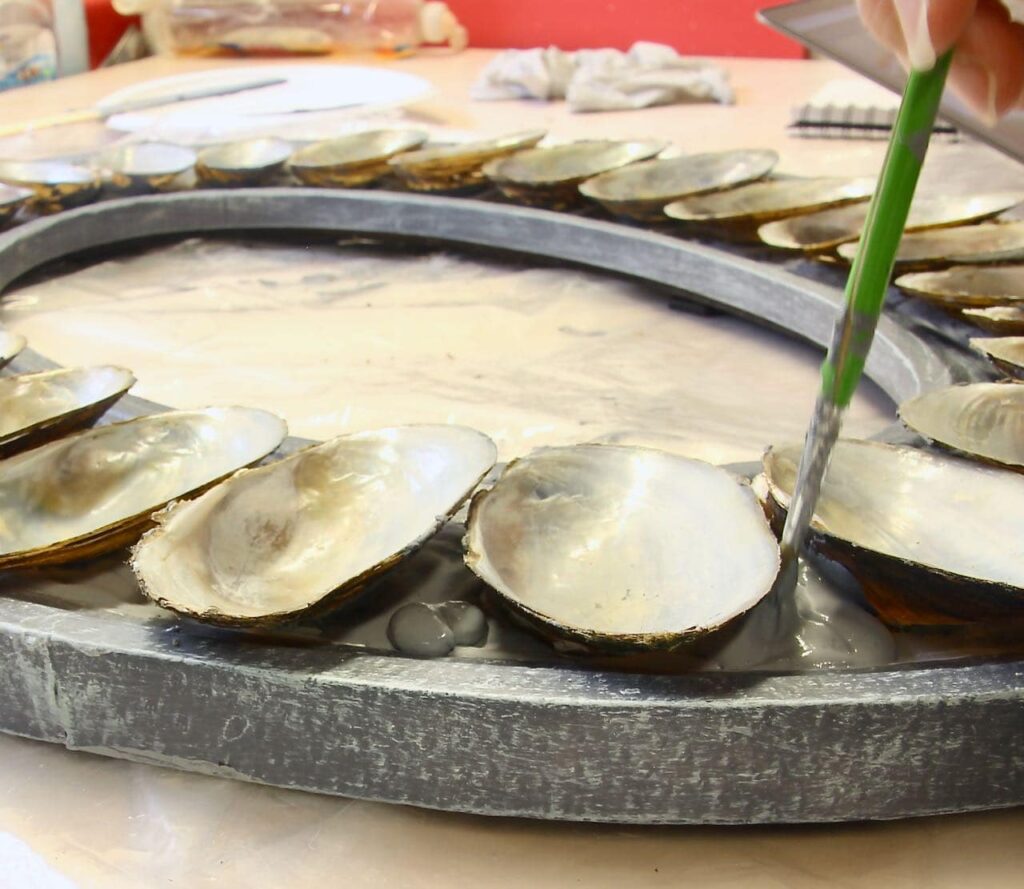
Now use your thin craft paint brush to spread that mound around and cover the base layer and fill the frame in more.
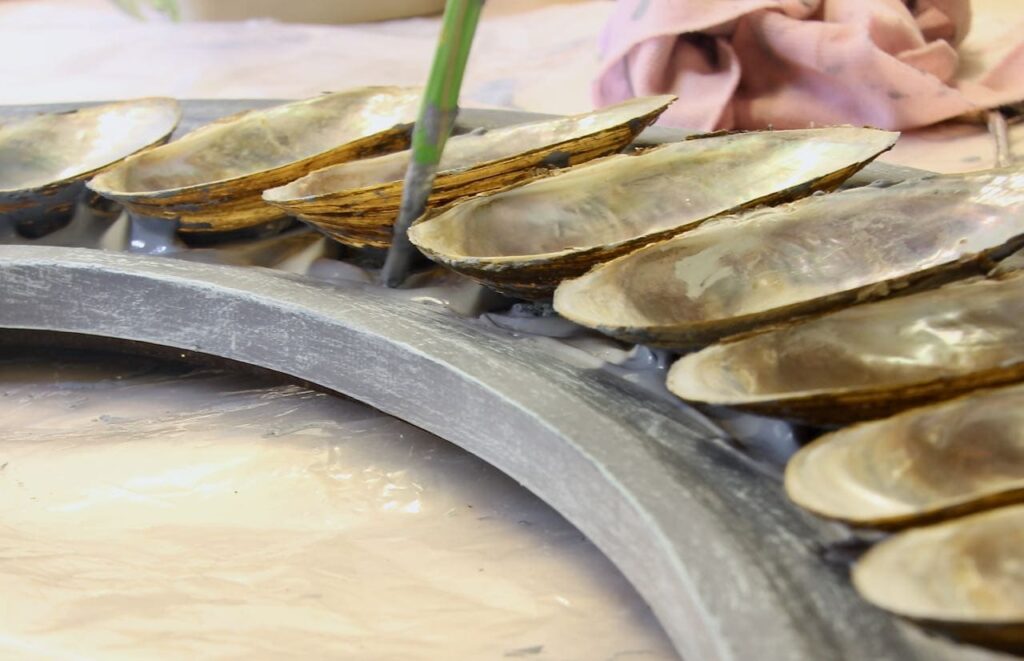
And then the same mounding and spreading treatment is applied to the inside edge of the frame.
Step 5) Dry, Fill, Hang
Give the joint compound at least 48 hours to dry since we added moisture to it.
Keep in mind, the shell edges are delicate! You will need a helper to hold the frame (not the shell edges) while you reinsert the mirror.
Now hang. Admire! Enjoy!
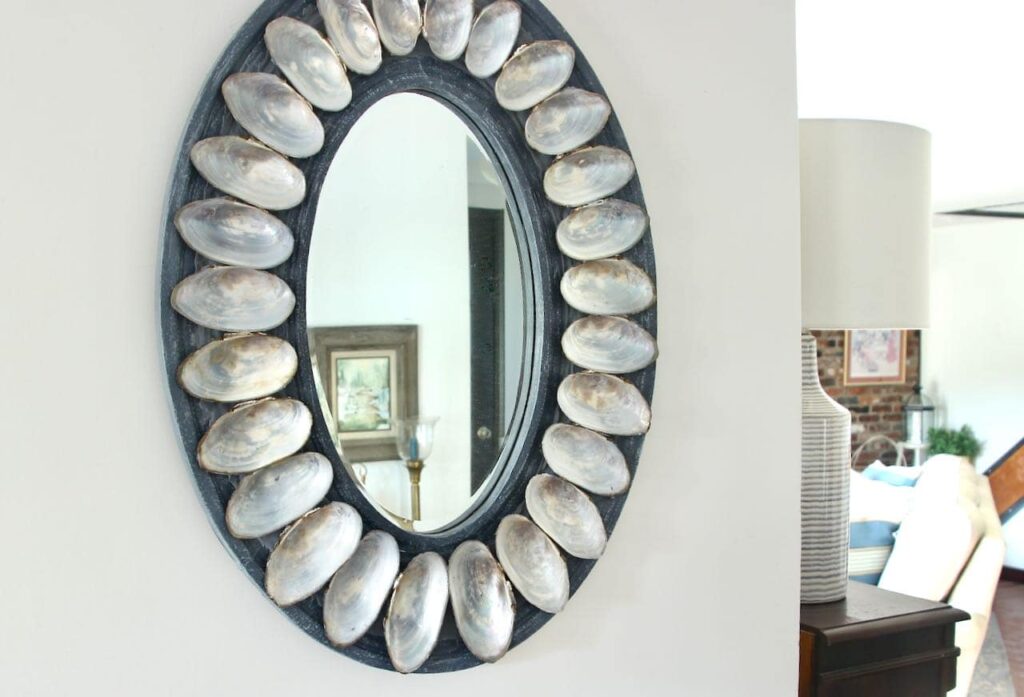
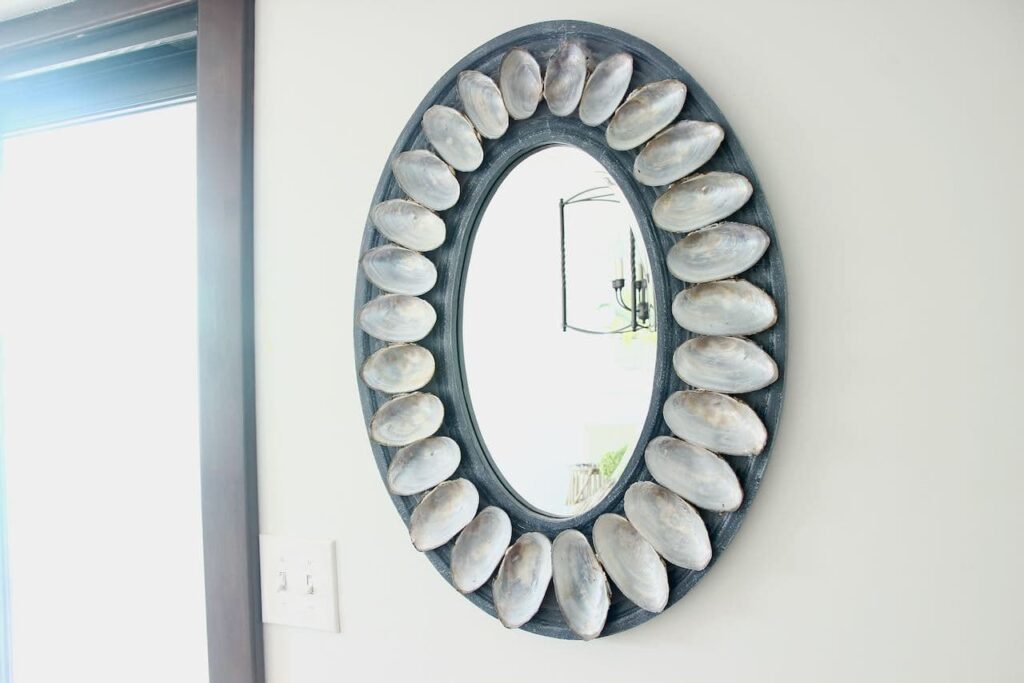

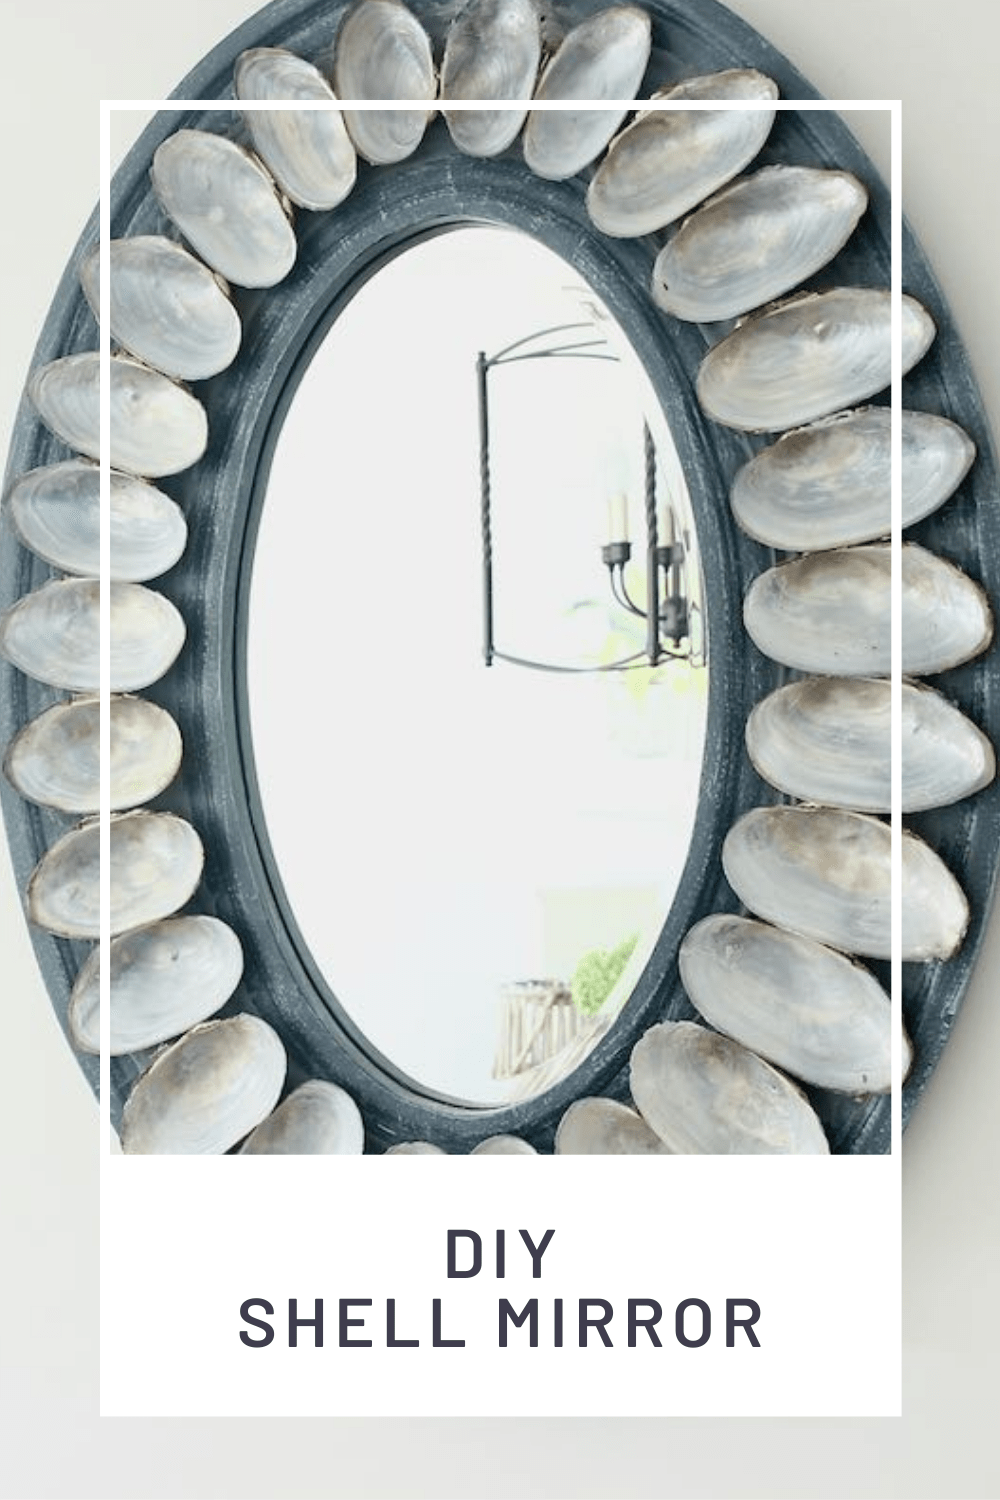
I hope you enjoyed this project and gleamed a bit of inspiration and perhaps learned a bit. I hope you give it a try and you proudly hang it on your walls, lightening and brightening your home.


This turned out so great! When I was a kid my mom had a really cool shell mirror we had got in Mexico. Sadly it broke during a move. I still think about that mirror!
Thanks Marie! I do really love it and glad it reminded you of your mother’s.