
Shell Trinket Dishes
Gifts From the Heart
We are blessed to live on a lake. (Nothing beats full time lake living!!!) When the lake levels are low, I like to hop over the seawall and gather these gorgeous shells that are usually many feet below water. I’ve shared several maker projects I’ve done with these shells, like this mirror. But this one is by far the quickest. And don’t tell the others, but I think it’s the cutest, too.
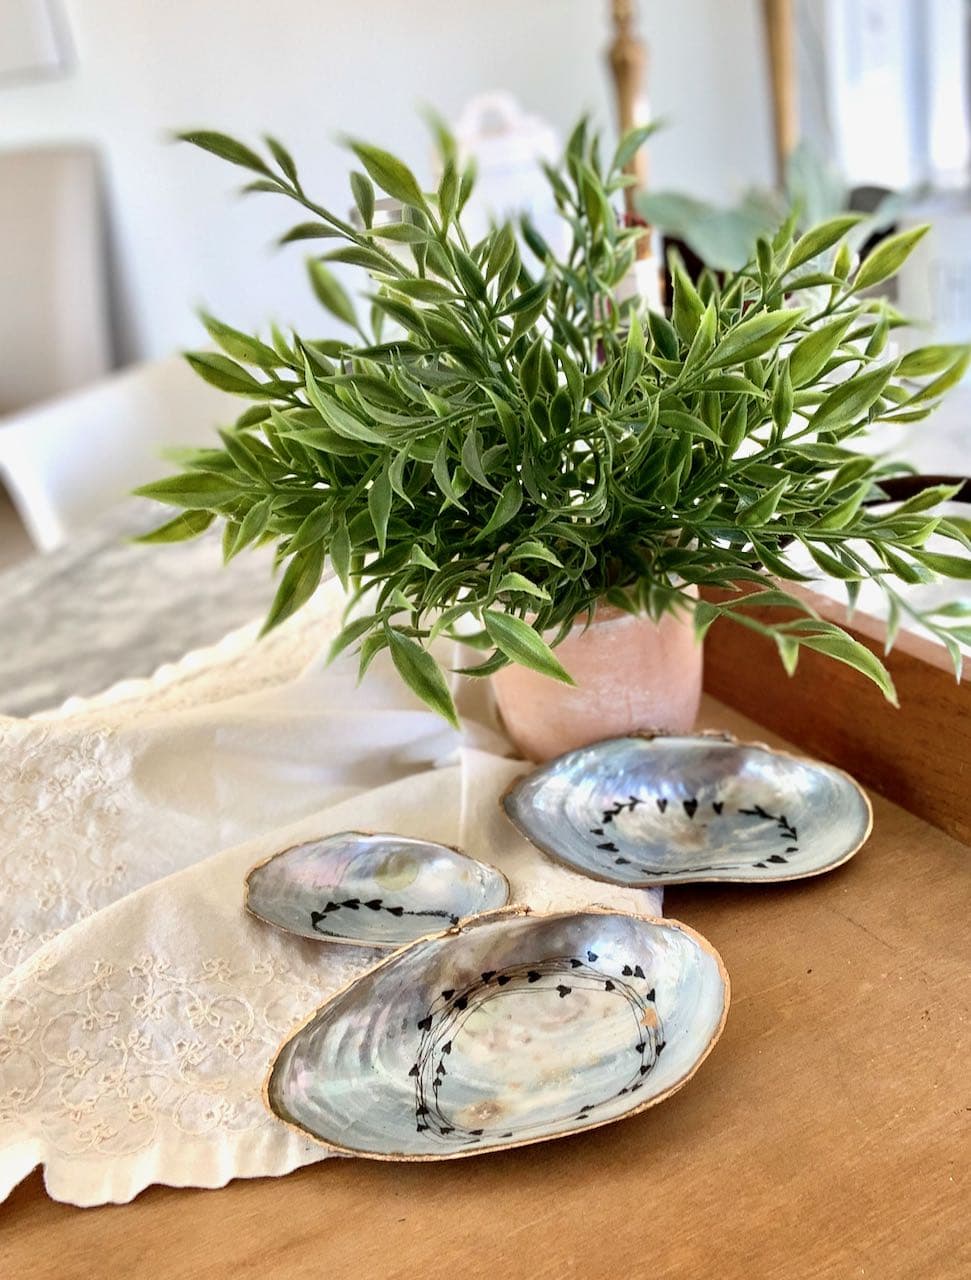
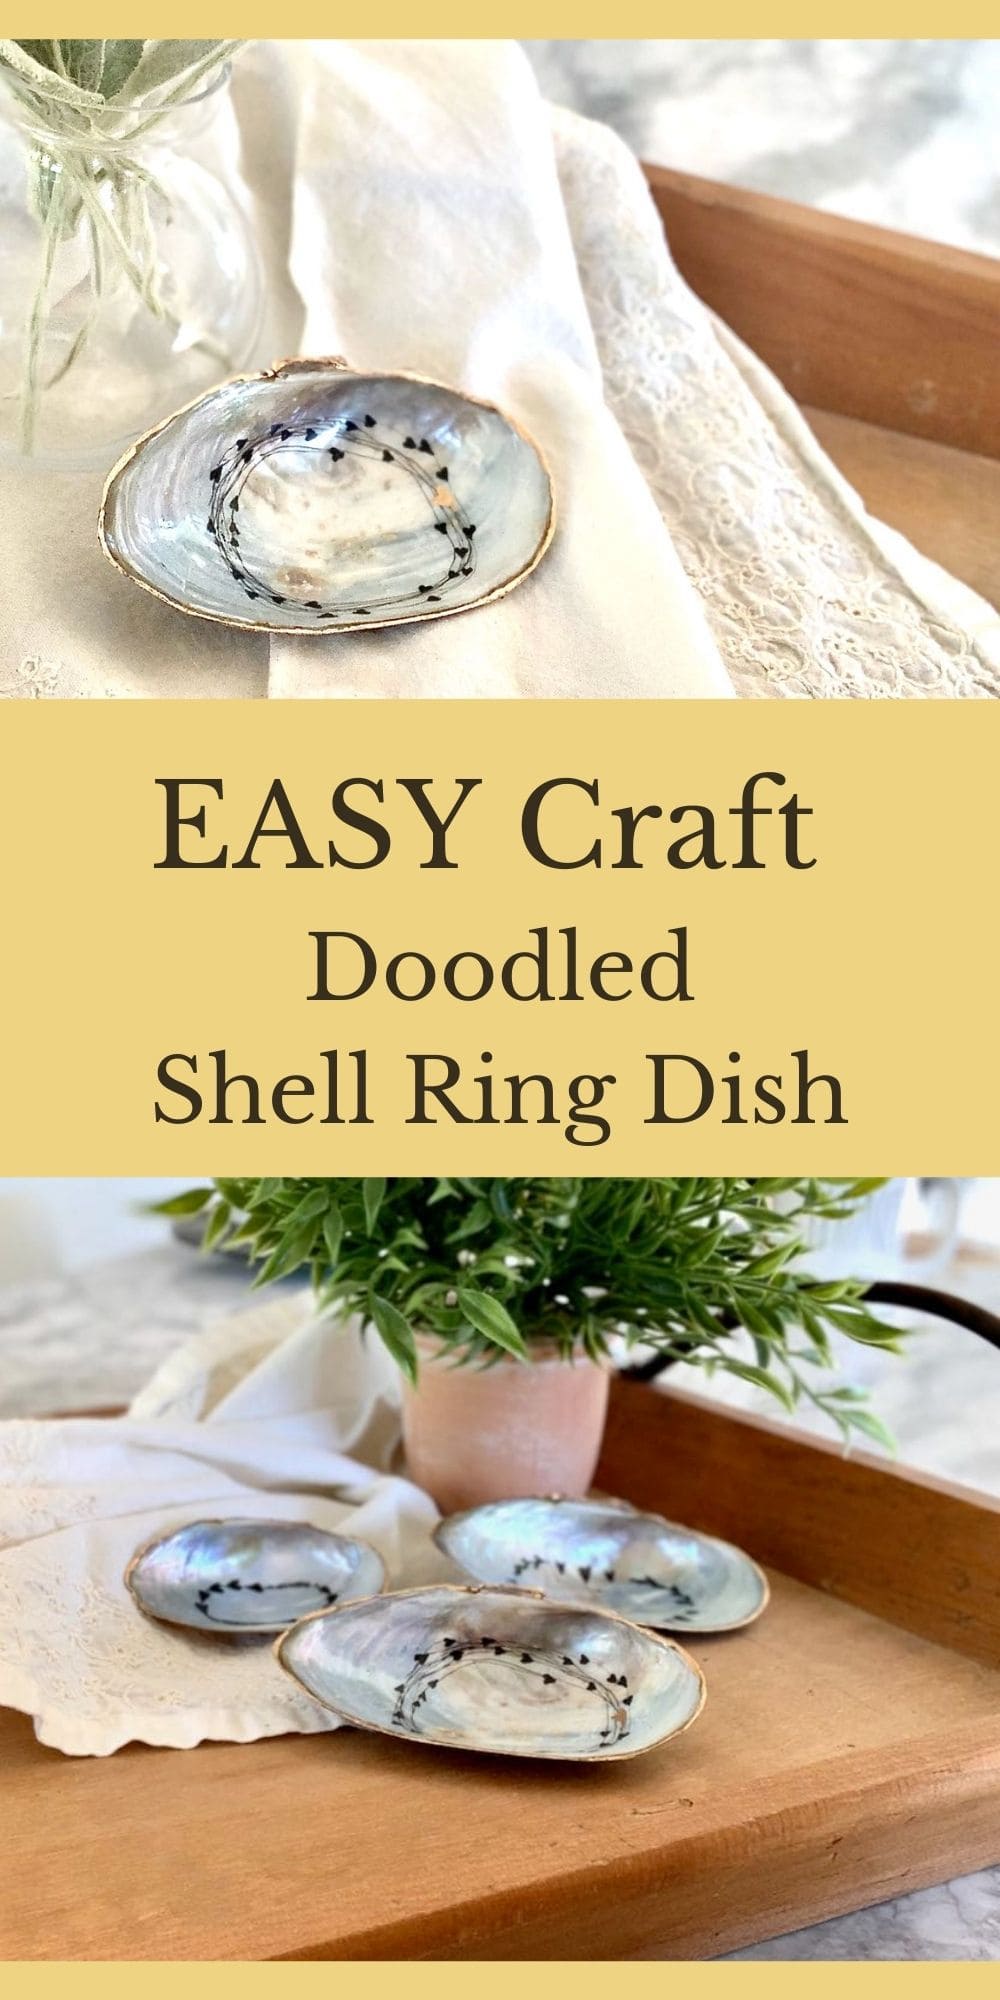
It’s the sweet freehand doodling that have these shell trinket dishes tugging at my heart so hard.
What makes them so quick and easy, is what makes them so darn sweet, so irresistible, so charming.
Remember how you would doodle in the margins of your spirals while your thoughts wandered to, and lingered on, Steve or Bruce or Dan or … (whoever it was that week) while Mr. Lorensax (or Sister Kathleen, in my case) droned on and on?
It’s the doodlement — that’s a valid word, right? — that says I was thinking about you when I made this. And that’s true even when you are making it for yourself — isn’t self-care and loving ourselves our motto for the year?
Let’s Make Some Shell Trinket Dish:
Step 1) Get ideas for your your shells.
Mine are intended as Galentine gifts, so I am all about tiny little hand drawn hearts.
Hearts know no season, but the same can be true for flowers. What is a passion of the recipient? Maybe cute little cat faces?
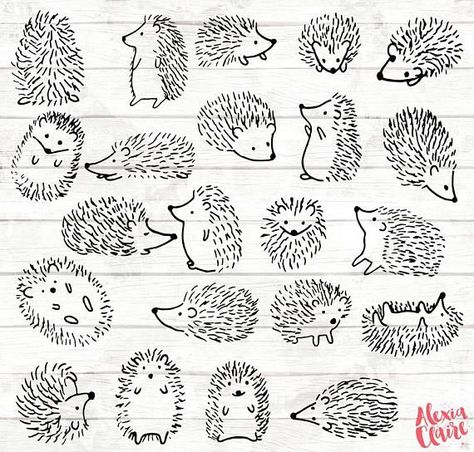
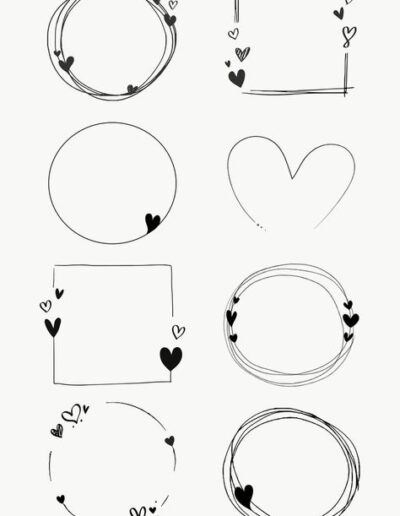
I started by seaching pinterest for “doodles”. These are just a few of the ones I found. I curated a board for you of quite a variety of doodles I thought might work well in the shells. Feel free to check it out and pull from it.
Step 2) Using Micron Pens, Doodle Your Shells
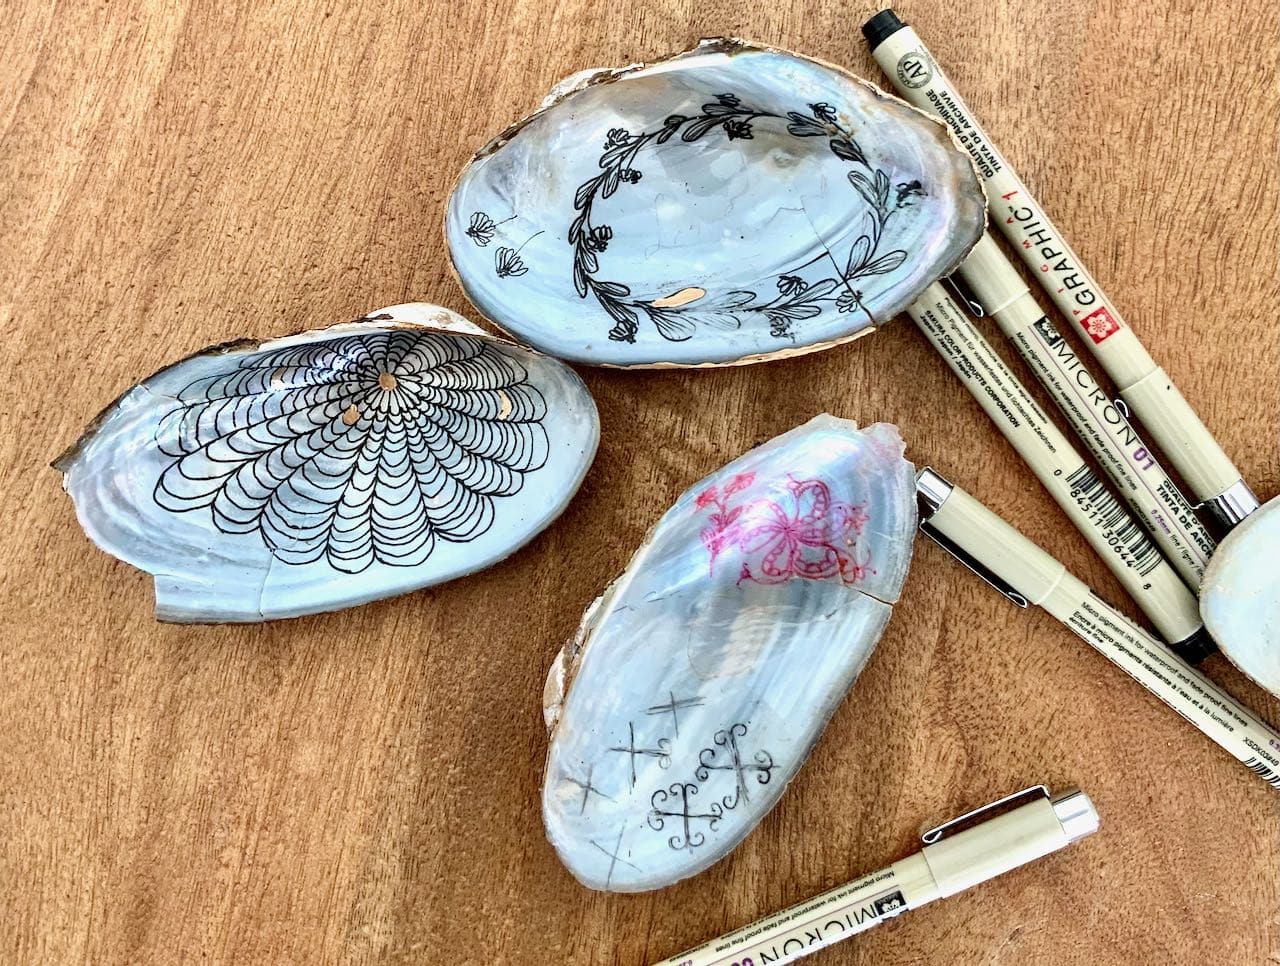
I had some broken shells, so I practiced on them first. Just to get the feel of the pen on the surface and the occasional bumps. Also tried red to see how color looked — oh, no! This also helped me determine the direction I wanted to take. Initially, I planned on something fuller like the on the left. I really like it, but thought for my girls, I wanted something softer and simpler and more freeform doodling.
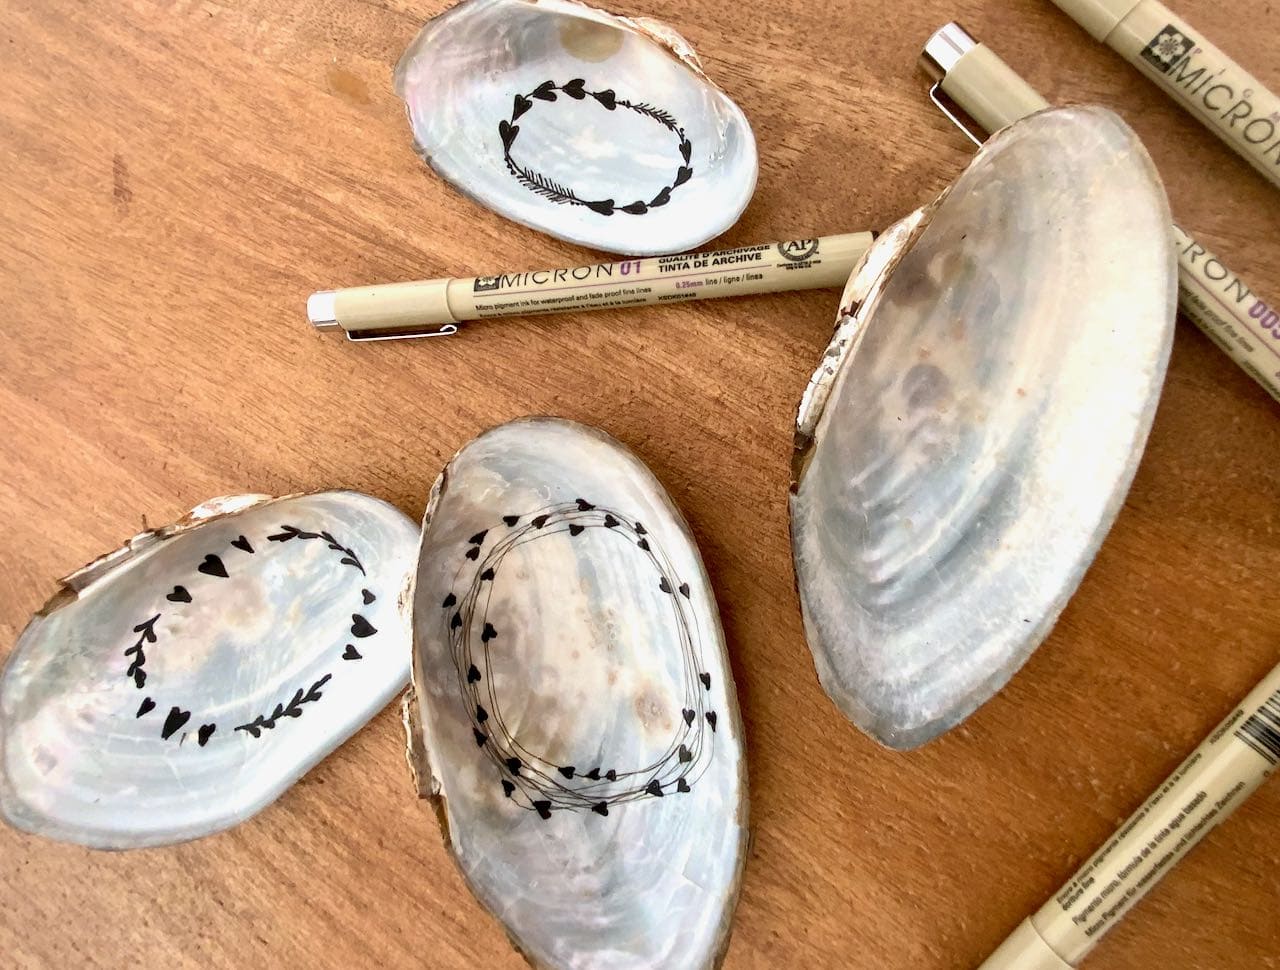
Doodle in the shells. Don’t overthink it! Channel your middle school self. Keep a damp paper towel on hand and if you really must, you can wipe your design away and start fresh. This also means you must be careful not to smudge your work as you go along.
I’m going to bring my ovals more centered on the outer edge than on the deep pocket like these are. Either way, I just don’t think you can go wrong.
Step 3) Seal Your Doodles
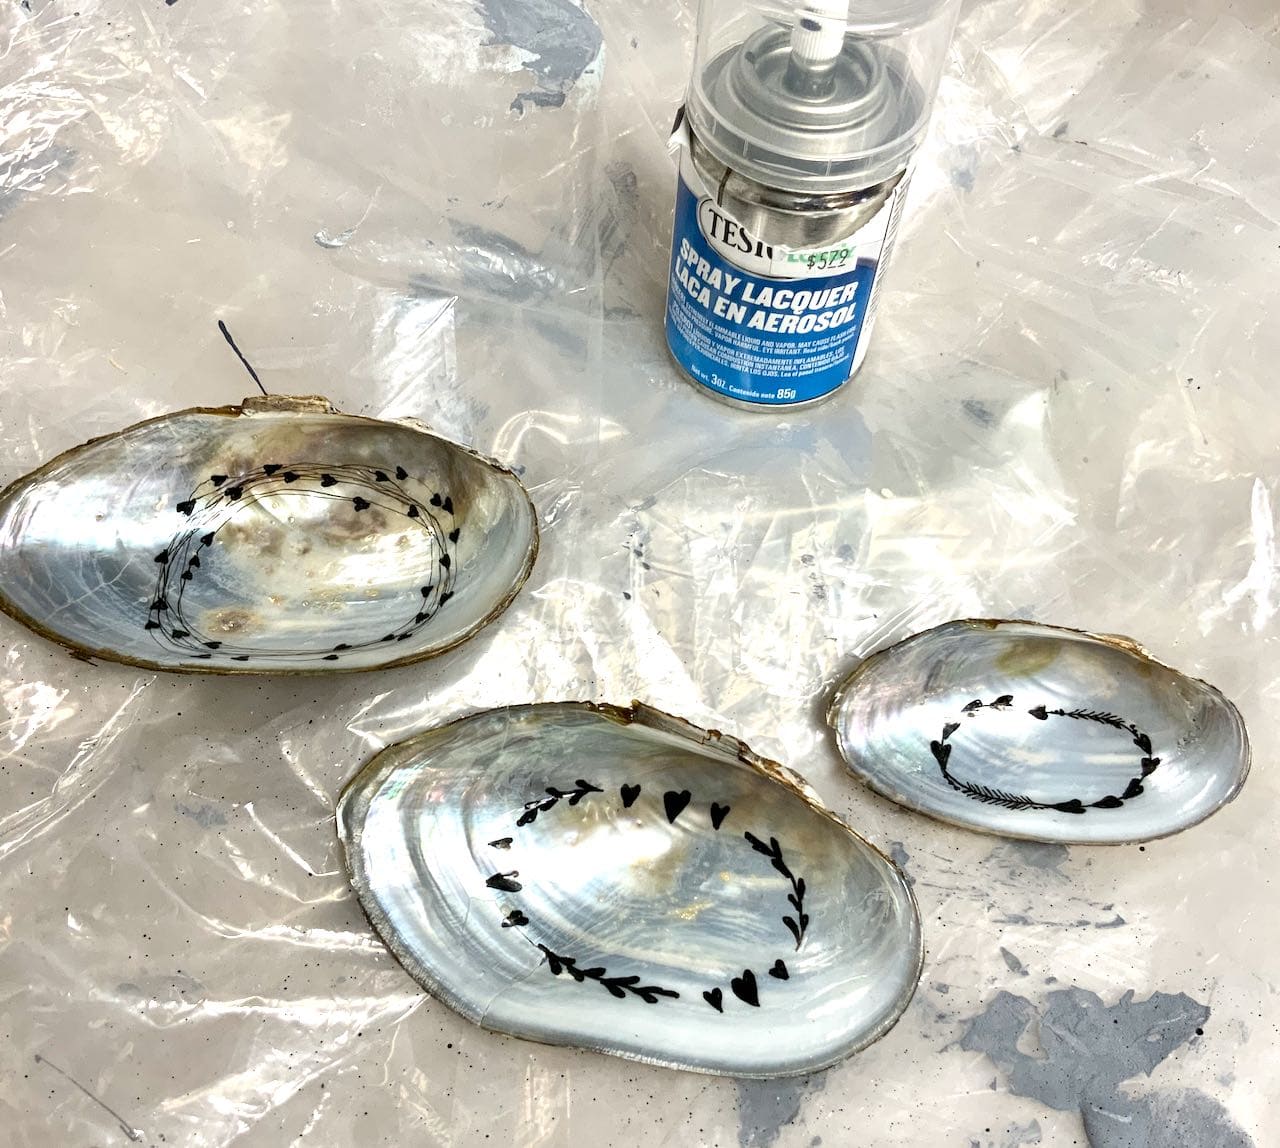
Only use a spray sealant!
There are many to choose from. You can also choose between satin and gloss (I don’t recommend the matte as you would lose all the lustre of the inside of the shell). The one I used is gloss — it’s what I had on hand.
Brushing on a sealant, even lightly, can smudge your doodles or make them run a bit.
Spray lightly! After this is dry, turn the shell over and spray the backside to help keep the skin of the shell from peeling off. Two or three coats would be best.
Step 4) Edge in Gold
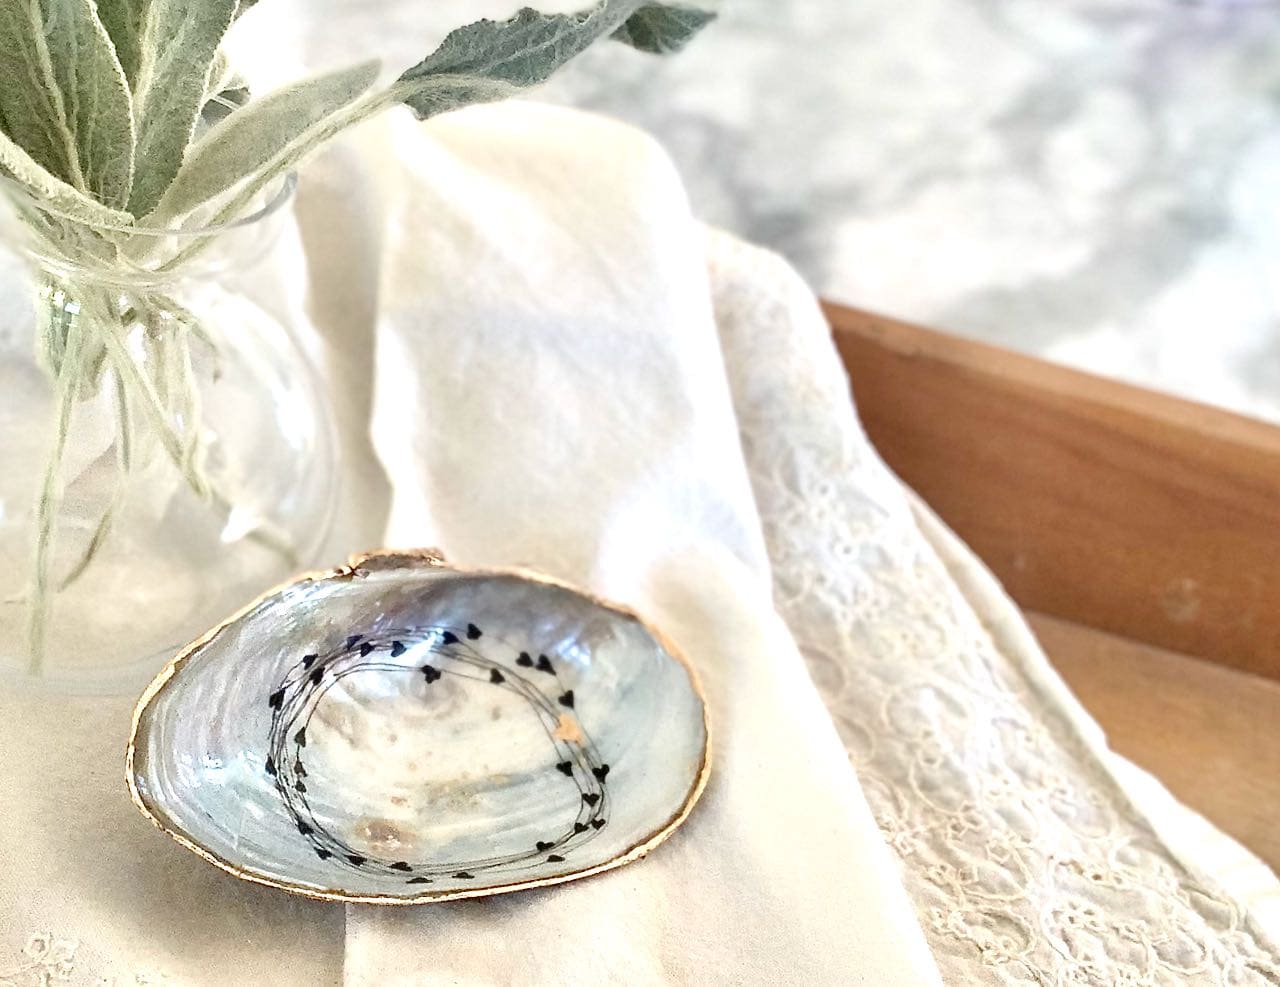
I think this step makes them! So although it is technically optional, please don’t skip it.
Any color can work, I just think a metallic is stunning against the inside of the shell. But there are lots of options available, I’d suggest something thick and glossy.
I am crazy about the Liquid Leaf Paint from Plaid!!! And there are the Plaid FX Paints that will give you the metallic finish with a variety of color choices. [Not a sponsored post, just sharing products that I think are great!]
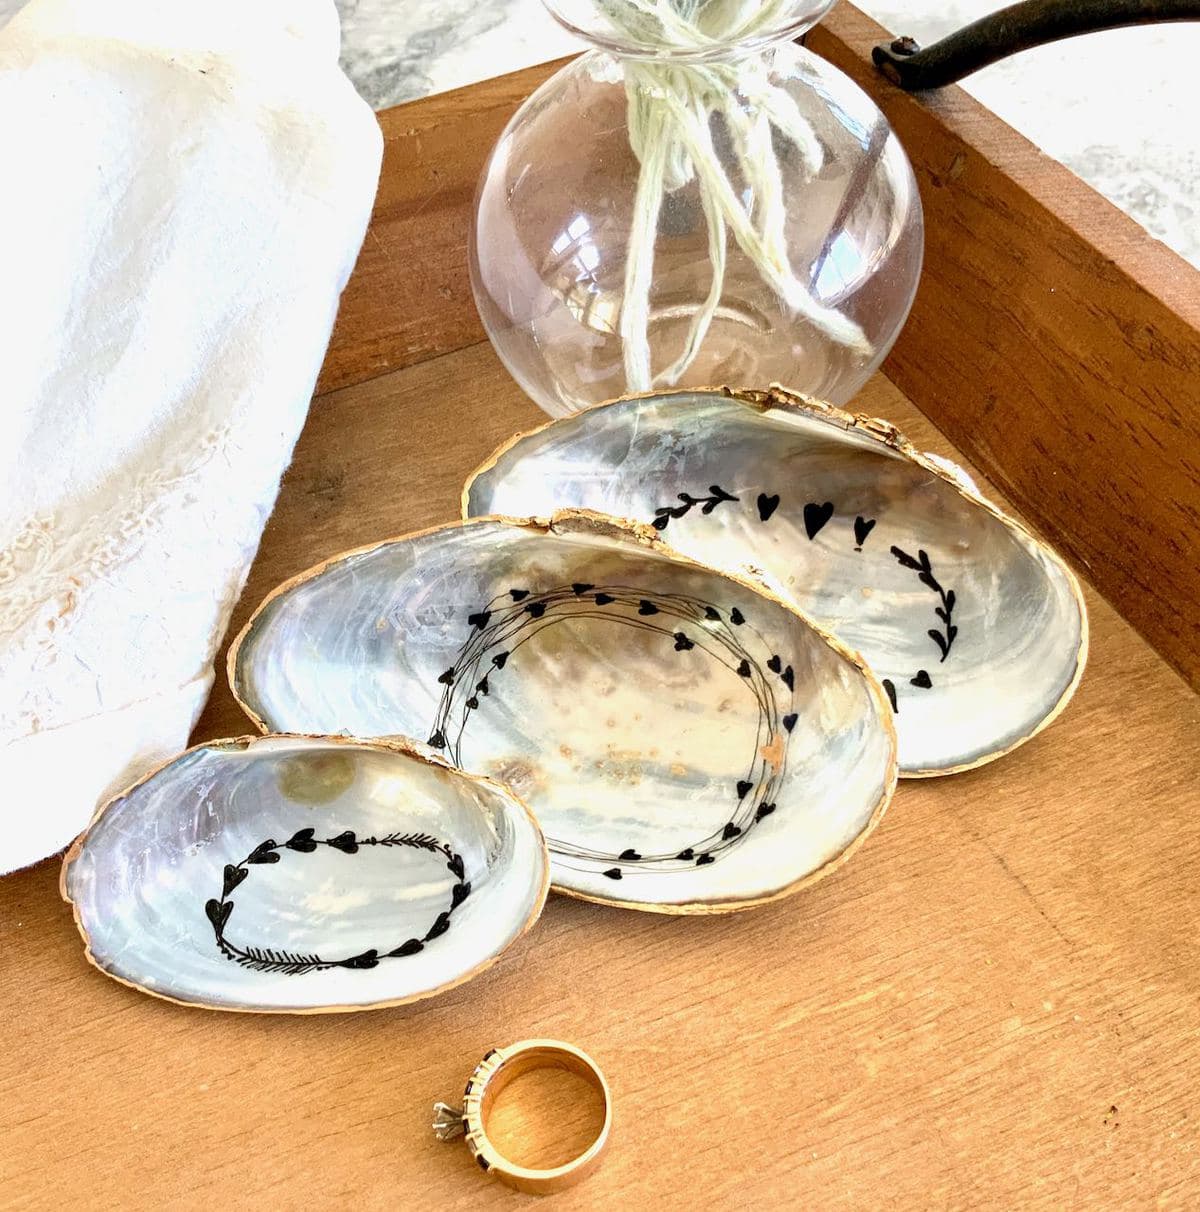
Aren’t these fun? Now who will you make them for?
- Gal Pals for Gal-entines
- Thanks to our warrior teachers
- Secret Santa gifts
- Hostess gift
- Party Favors
- Congratulations for the newly engaged
- Thinking of you
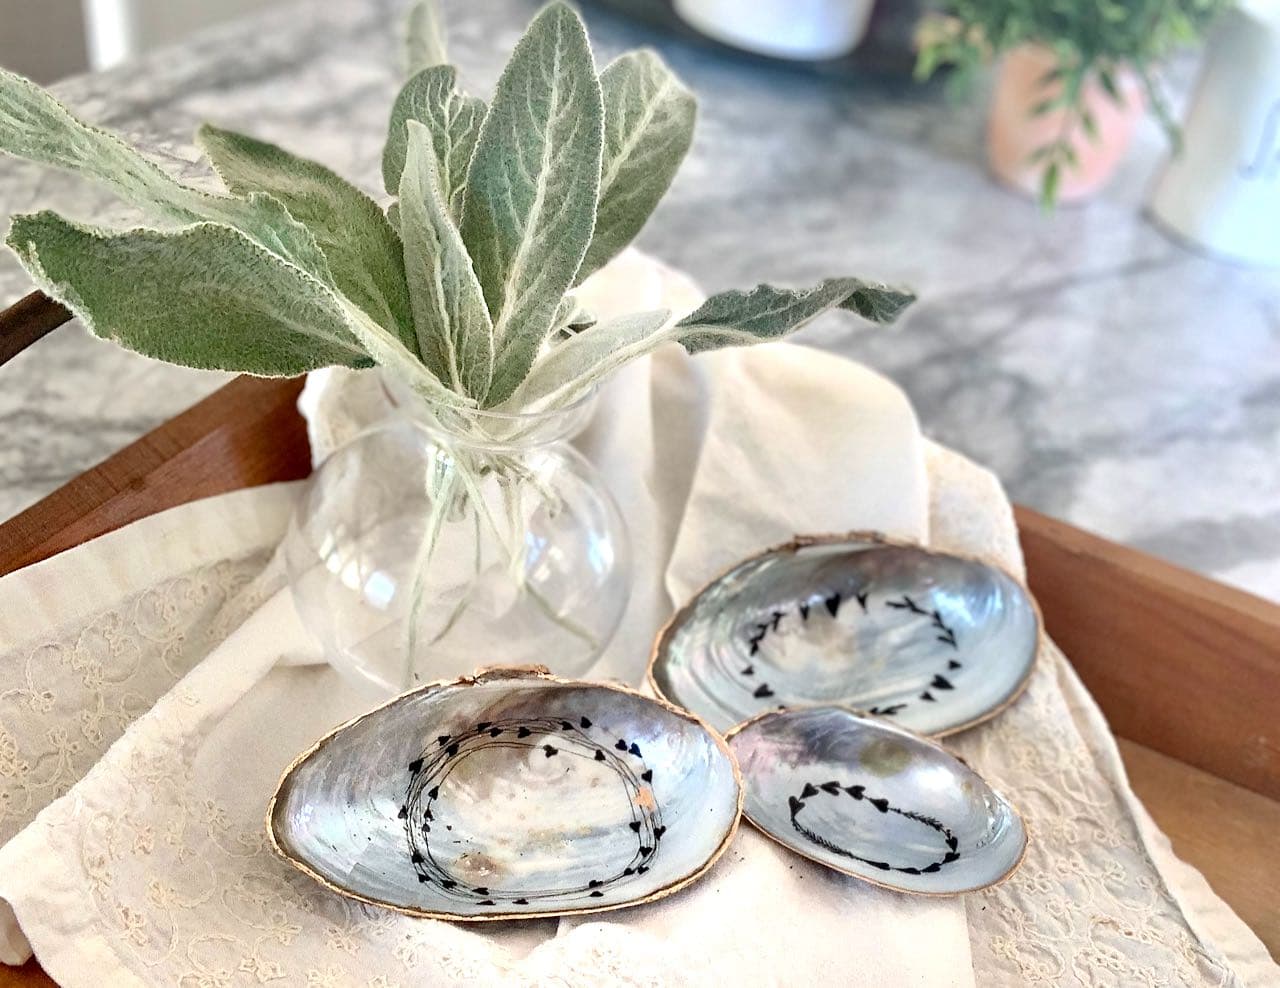




So cute!
What kind of shell is this?
I will find out for you. They are all over our fresh water lake. Some kind of mussel?
Sorry for the delay. I wanted to get you accurate info and the best I’ve been told is that they are fresh water mussels, native to MO lakes. No, we don’t eat them, I think they are food for all the fish that are stocked in the lake.
Diane,
These shells came out so cute. Such a great and simple way to use nature while decorating for valentine’s day. Pinned! Thank you for sharing with us at the Home Imagined Party. -Meagan
Wow, Diane, I love these… now if only my doodles looked like yours! I know I would love a beautiful shell like this on my nightstand. When I make my next trip close to water, I will need to keep an eye out for this. Thank you for sharing your inspiration with Whimsy Home Wednesday!
Diane, these shell trinket dishes are beautiful! I am excited to feature your post at Tuesday Turn About. Thank you so much for sharing!
Oh my goodness, thank you Lynne! Sorry for my delayed response!
very cool project. Love the inspiration
Thanks bunches Vicki! Hope you give it a try — they are so addicting to make.