
Make a Display Easel For Seasonal Printables
Easy to use. Easy to make a display easel for seasonal printables, family artwork, sweet messages, reminders, schedules, photos. They hang too!
Life is fast.
Seasons are short.
I really, really want to celebrate all of them, all of life’s occasions, all the fun moments and most importantly all our loved ones.
Printables seem to be great for this. I love printables. I collect printables. I have a printables folder. I can imagine exactly where I’ll use them. Sometimes, I even get so far as printing one out.
. . . . . dum, dum dum. And that’s typically as far as I get.
There are just too many shiny balls and rabbit holes (and projects calling to me) for me to follow through with taking a frame apart, inserting, reassambling, etc. I know, it is not hard! it doesn’t take that much effort. I just don’t get it done.
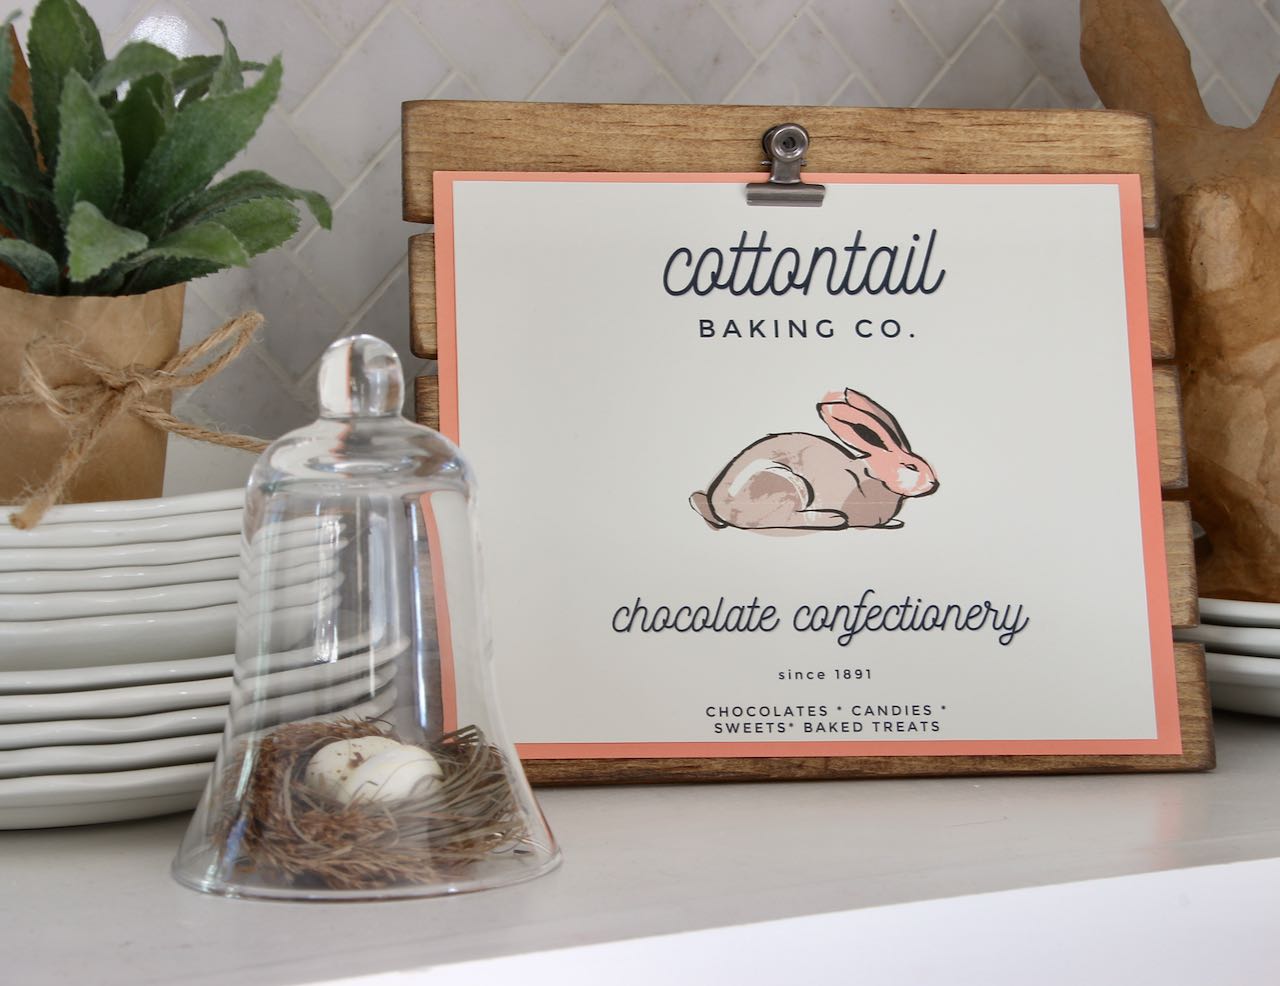
But what if I could change out the printables with the push of a finger? What if it could sit on a shelf OR hang on the wall?
AND, truth be told I saw the cutest little display easel at a gallery that has been sitting in my head, begging to be duped.
So let’s get started duping, shall we?
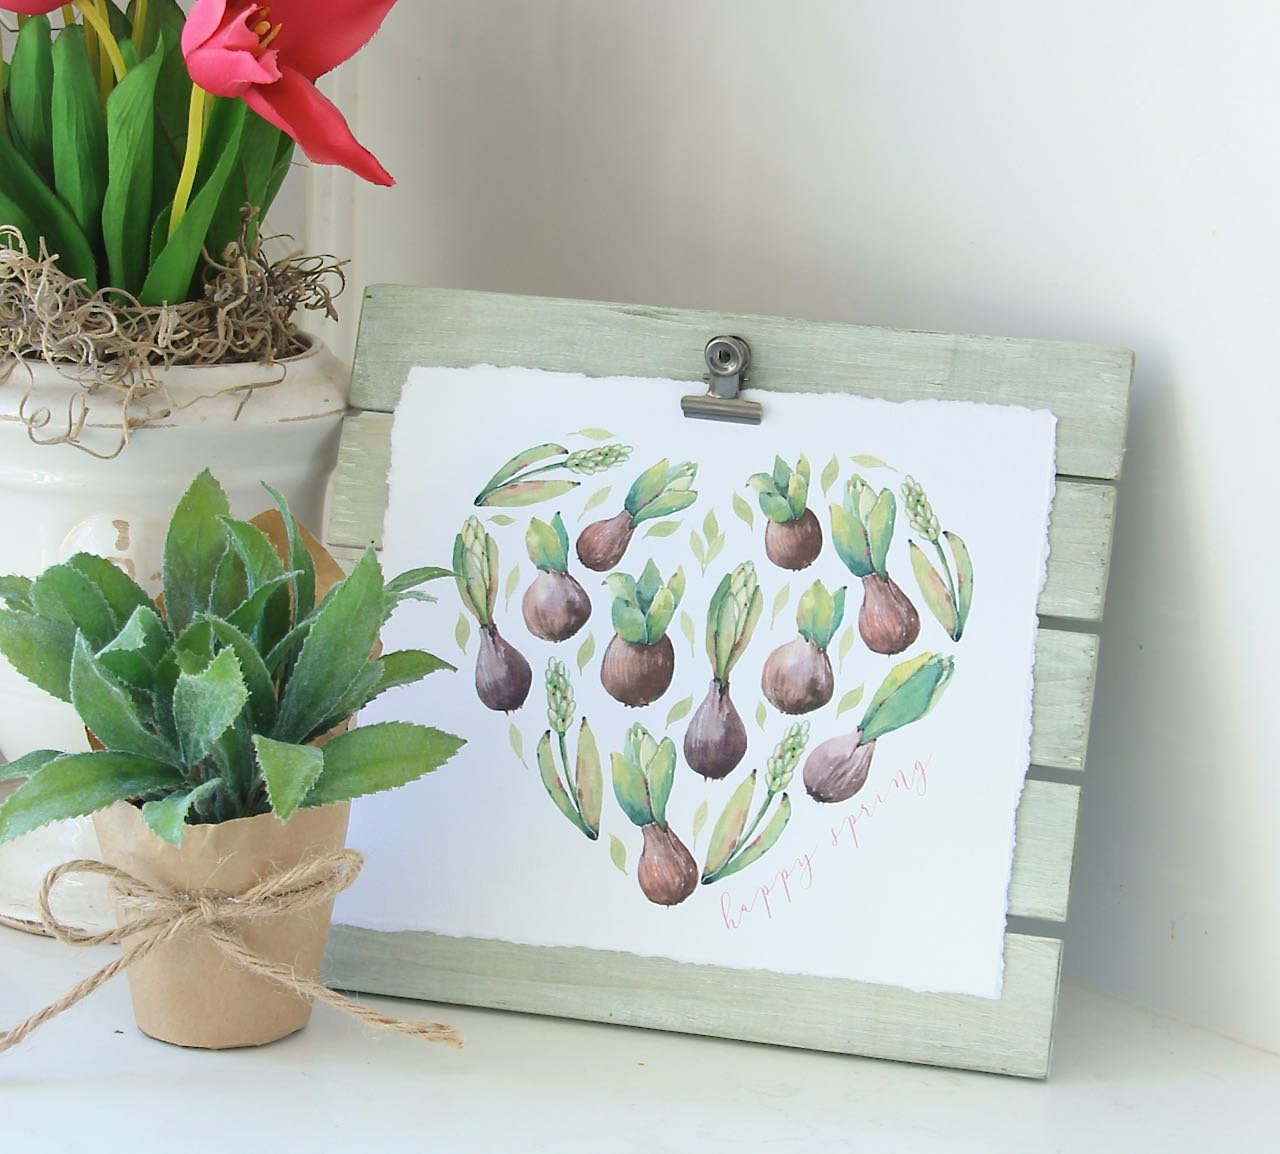
Let’s Make a Display Easel, or Three
Materials:
- Thin wood for slats (I used lathe)
- Thicker wood for spines, easel and hanger backing (I used 1/2″ x 1-1/4″)
- Hinge (came in a pkg of 4)
- Wire nails
- Picture hanger
- Bulldog clip (came in pkg of 25)
- Screw for bulldog clip
- Wood glue
- Stain or paint of your choice
- 6-inches of jute
Supplies:
- Saw
- Sand paper
- Paint brushes
- Carpenter’s square, optional
- Drill
- Hammer
- Thin screwdriver
- Wire snips
- Staple gun (optional)
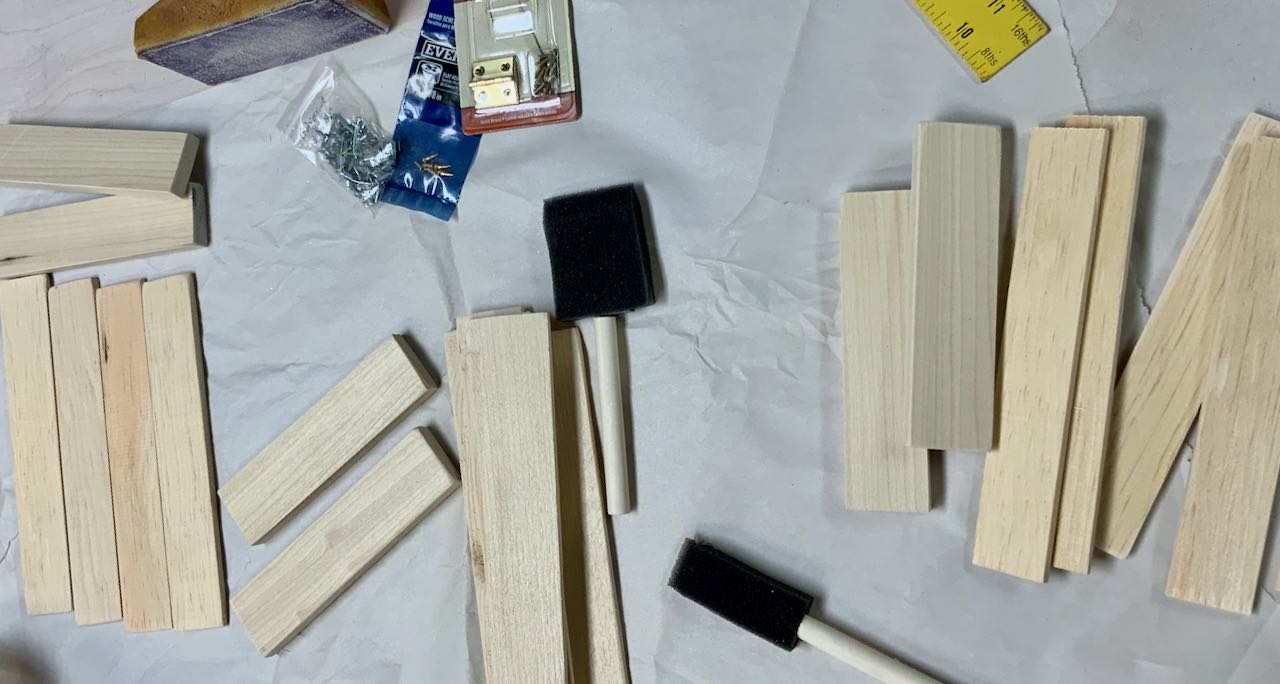
Step 1) Cut wood pieces to length, Drill hole and Sand
For each easel, I cut the following:
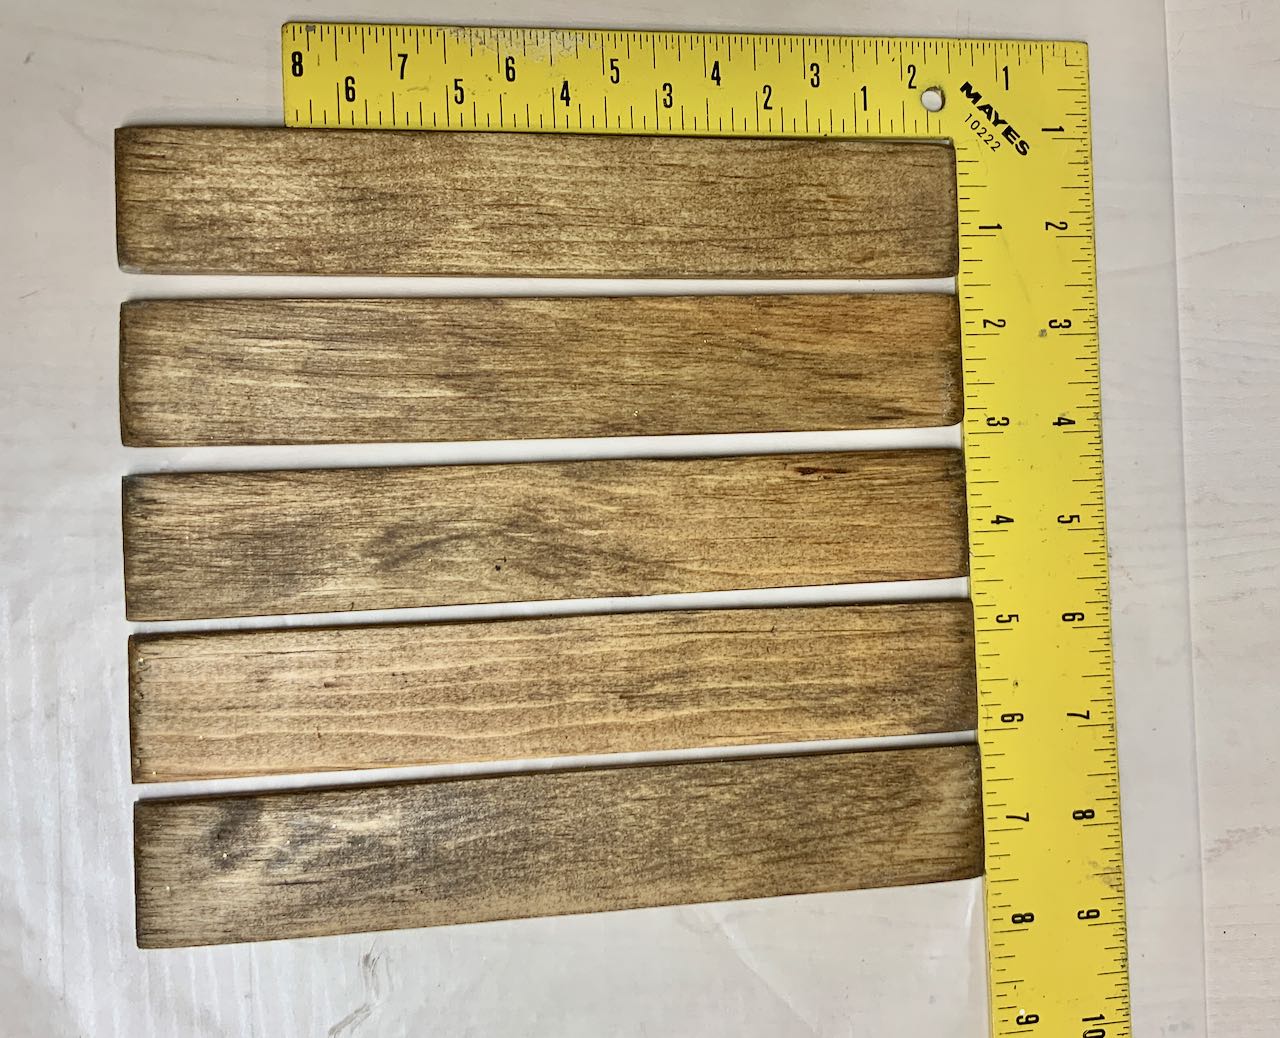
- Lathe – Five @ 8″
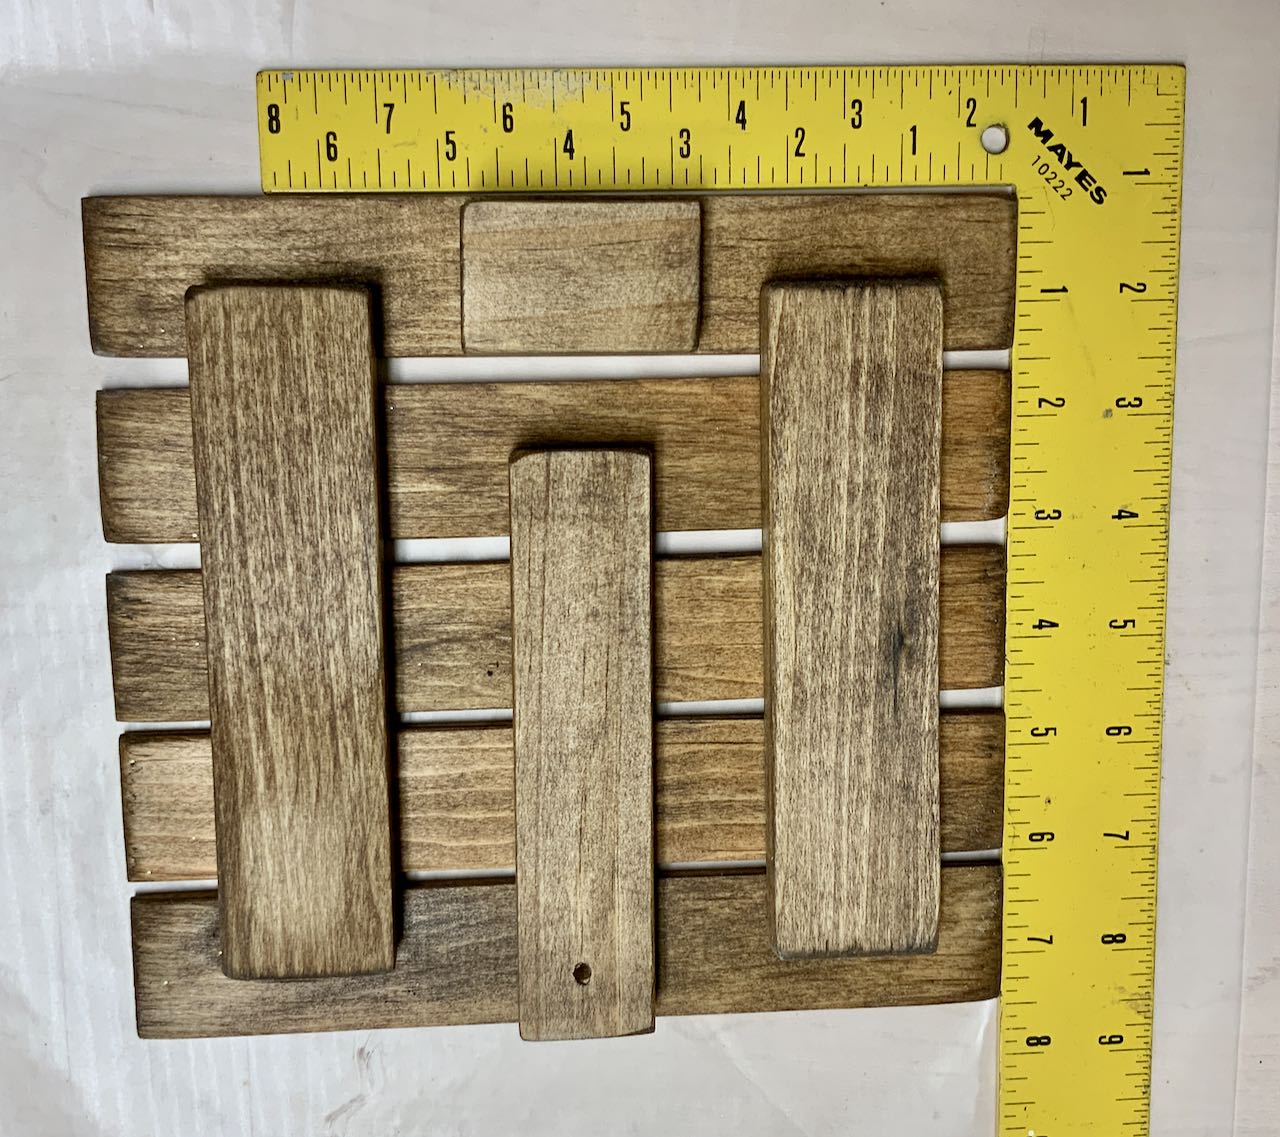
- 1/2″ x 1-1/4″ – Two @ 6″ (note, I suggest 7″), One 5″, One 2″
These yielded easels that are 8″ wide, by about 7″ tall. Feel free to adjust your cut lengths to your desired size.
Drill a hole for the jute twine 1/2″ from one end of the 5″ piece.
Sand all pieces.
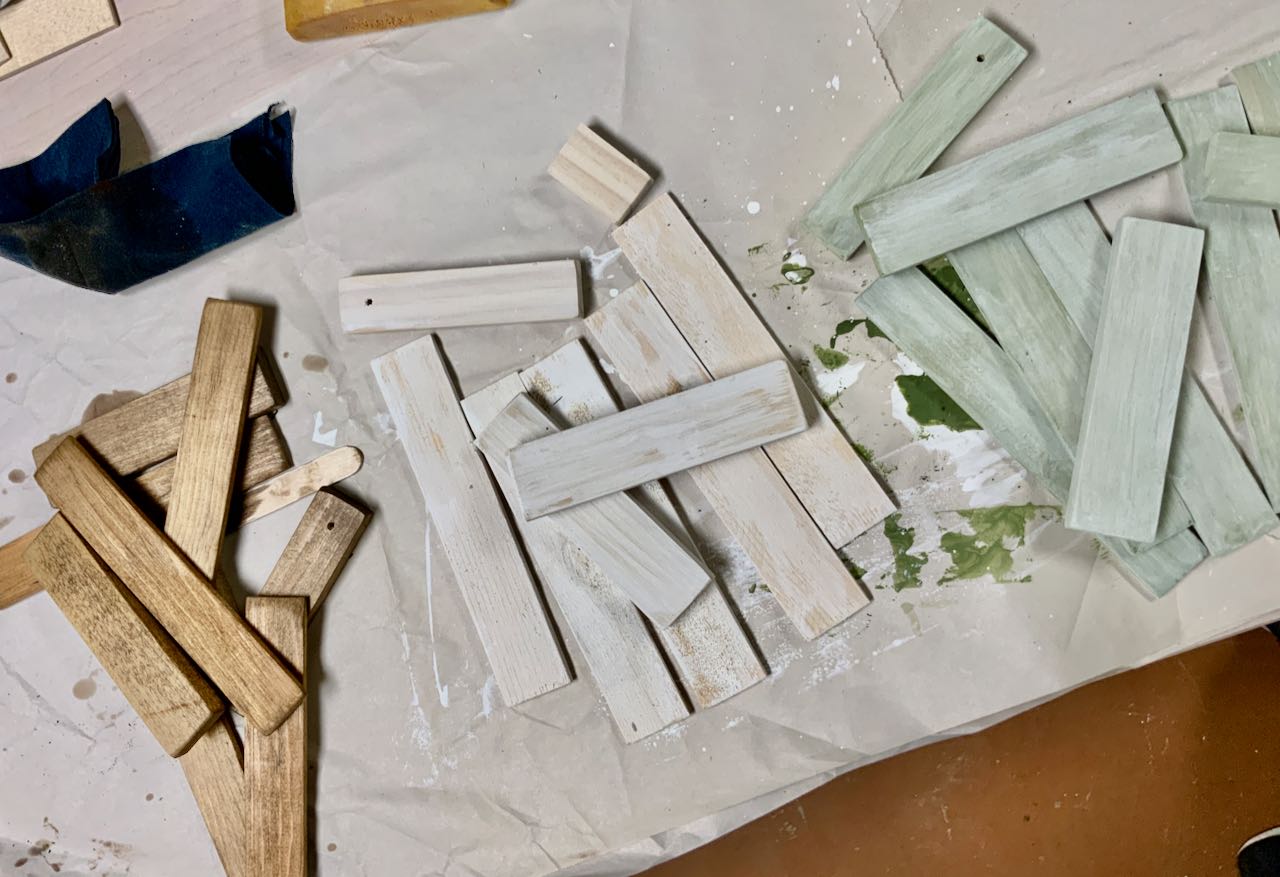
Step 2) Finish Your Pieces as Desired
I knew I wanted one easel to be stained a mid-brown and one more rustic white-washed. I think heading into Spring prompted my pale green wash — craving something fresh. All received a rubbed wax coating. But this is all optional and totally open to what paints and stains you have stashed.
Step 3) Arrange and Glue Wood Pieces in Place
With best sides down, on a protective surface (you may have some glue seepage), arrange your five slats within a carpenters square**.
Glue the two 7″ spine pieces of wood in place.
Glue the 2″ hanger support across the top, centered.
BEST Practice: give it 10 minutes to set up a bit, then carefully place a heavy stack of books on top to assure a really good bond.
** Improvise a carpenters square on your protected table by placing two yard sticks along the edges of something you know is square, a large hardbound book or if you’re old school a record album cover, and hold them in place with painters tape.
Step 4) Nail or Screw Spines to Slats
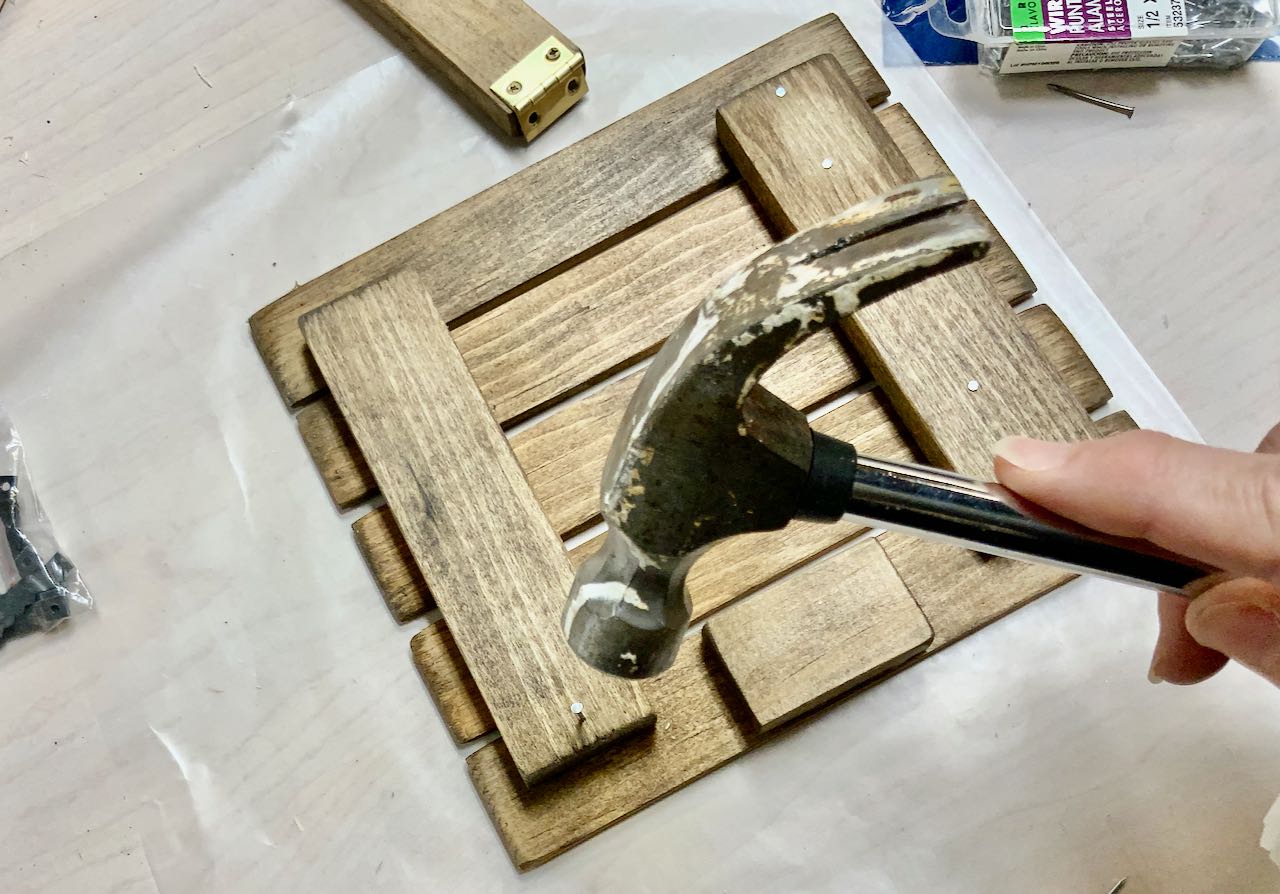
Because my lathe was so thin, I used 5/8″ wire nails.
Really like the look of the nail head. But Next time I may try some small wood screws (who’s going to see the back but me? Unless I want to use them in centerpieces).
Full-disclosure, I had a bit of trouble with a couple of the slats wanting to pop off. I had to re-glue them (clamping the second time — I did not use my own “best practice” the first time around).
Step 5) Hinge on Easel Piece
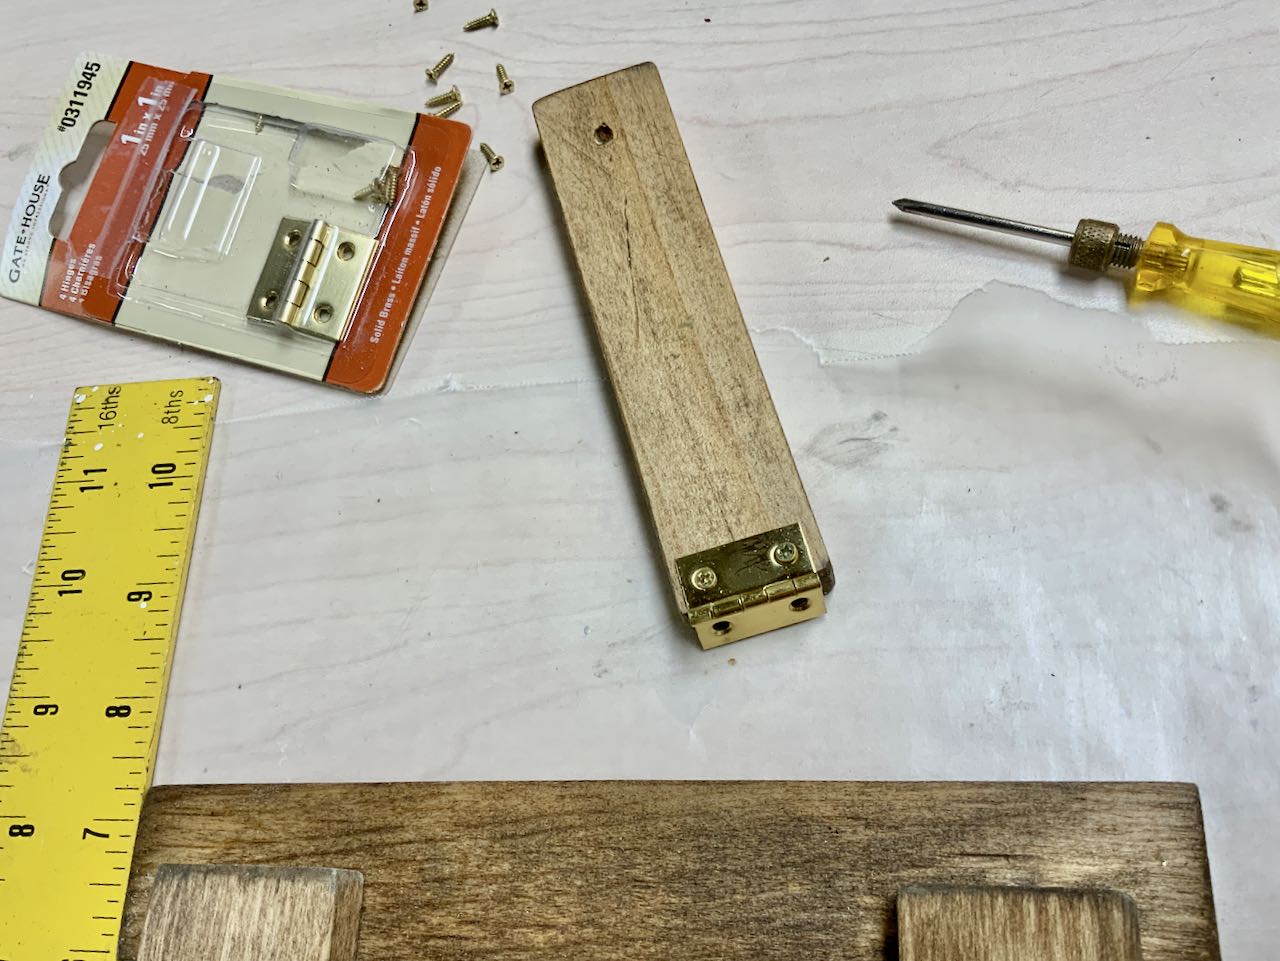
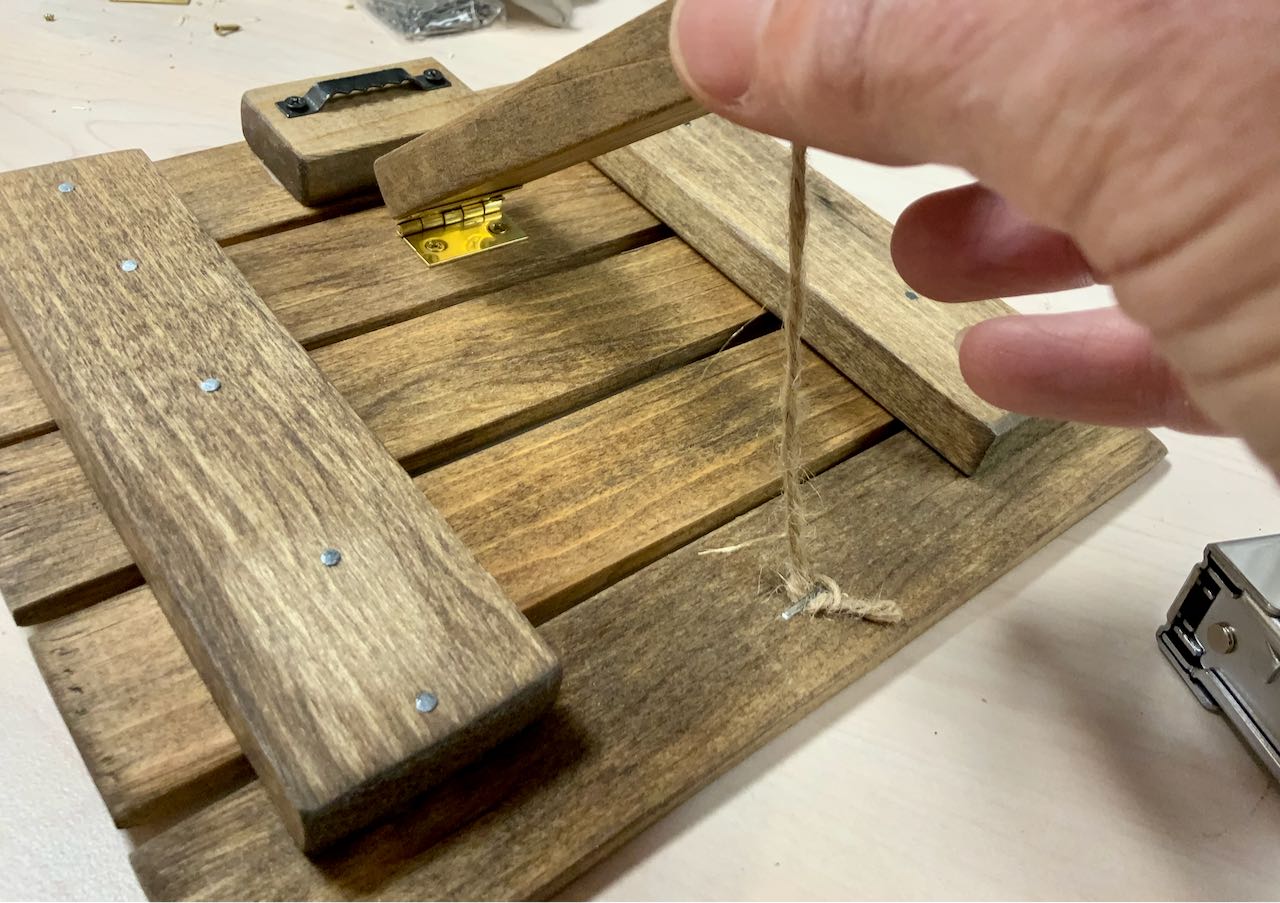
With screws provided, screw one side of hinge onto the opposite end of the easel piece as the hole.
Step 6) Attach Hinge to Slat Back
Honestly, this is where is gets a bit tricky.
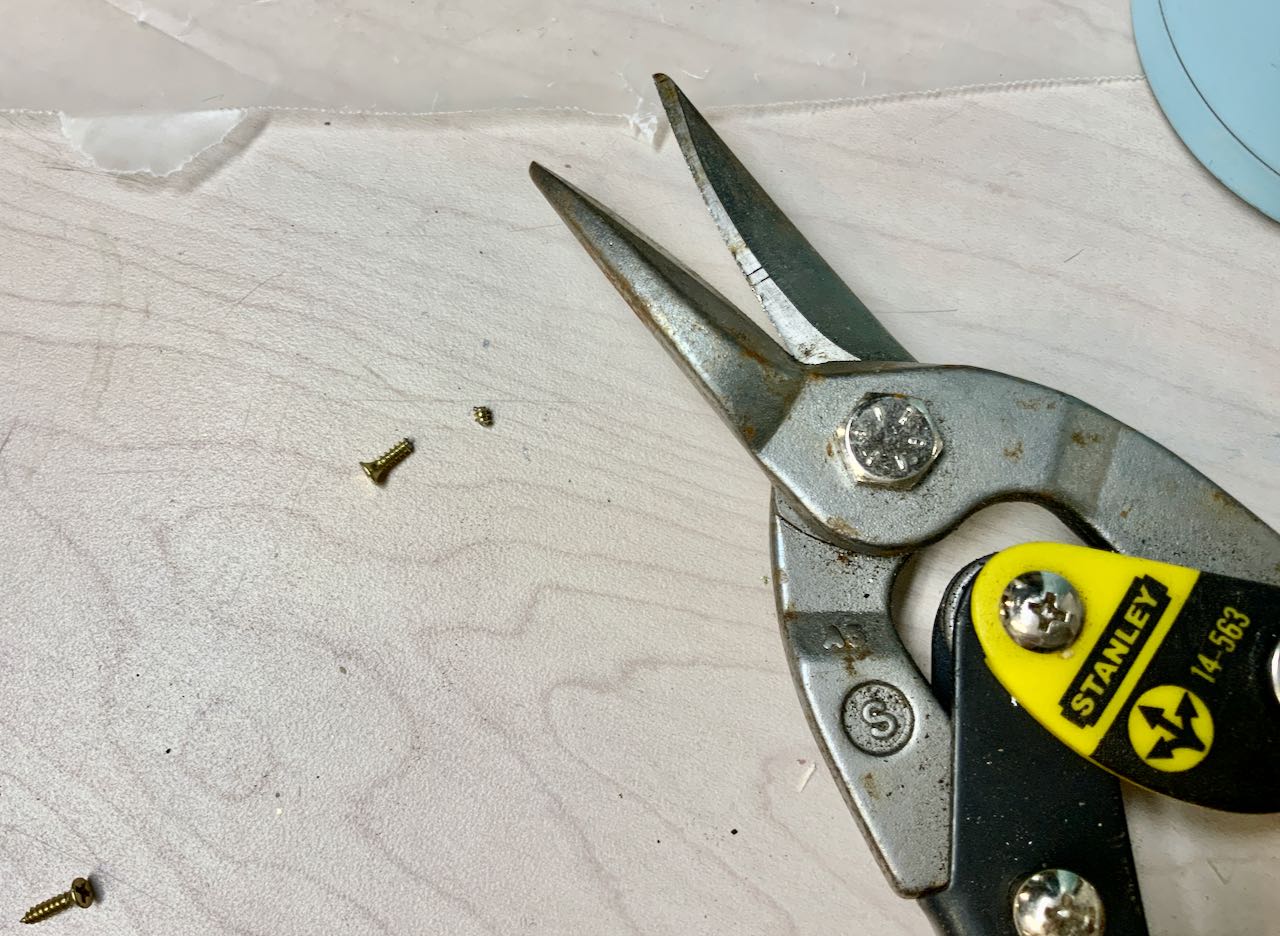
I could not come up with a screw that was short enough to not poke through the thin lathe on the front.
I thought about adding some thickness between the hinge and the slat board, but that would interfere with being able to hang the easel if/when I wanted. I thought about add a washer between the screw head and the hinge so that the screw wouldn’t go all the way through, but that would interfere with the hinge closing all the way for hanging.
SOOOO, out of desperation, experimenting with a scrap of lathe, with my Fat Max metal cutting snips, I snipped off the end of the screw — about 3 or 4 threads. I then started a hole with a drill since my screw no longer had a sharp tip. And it worked!
Step 7) Attach Picture Hanger
(same picture as above)
Make sure you measure and place the center of your hanger on the center of the easel.
Pre-drill your holes.
Step 8) Add Jute to Base of Easel Leg
Wrap a bit of tape around one end of your jute rolling to a point. Thread this through your easel leg from back to front. Tie a knot and trim off any extra. 3-1/2-inches from the other end tie a loose knot and attach with a 1/4-inch staple or tack through that knot.
Step 8) Attach Bulldog Clip
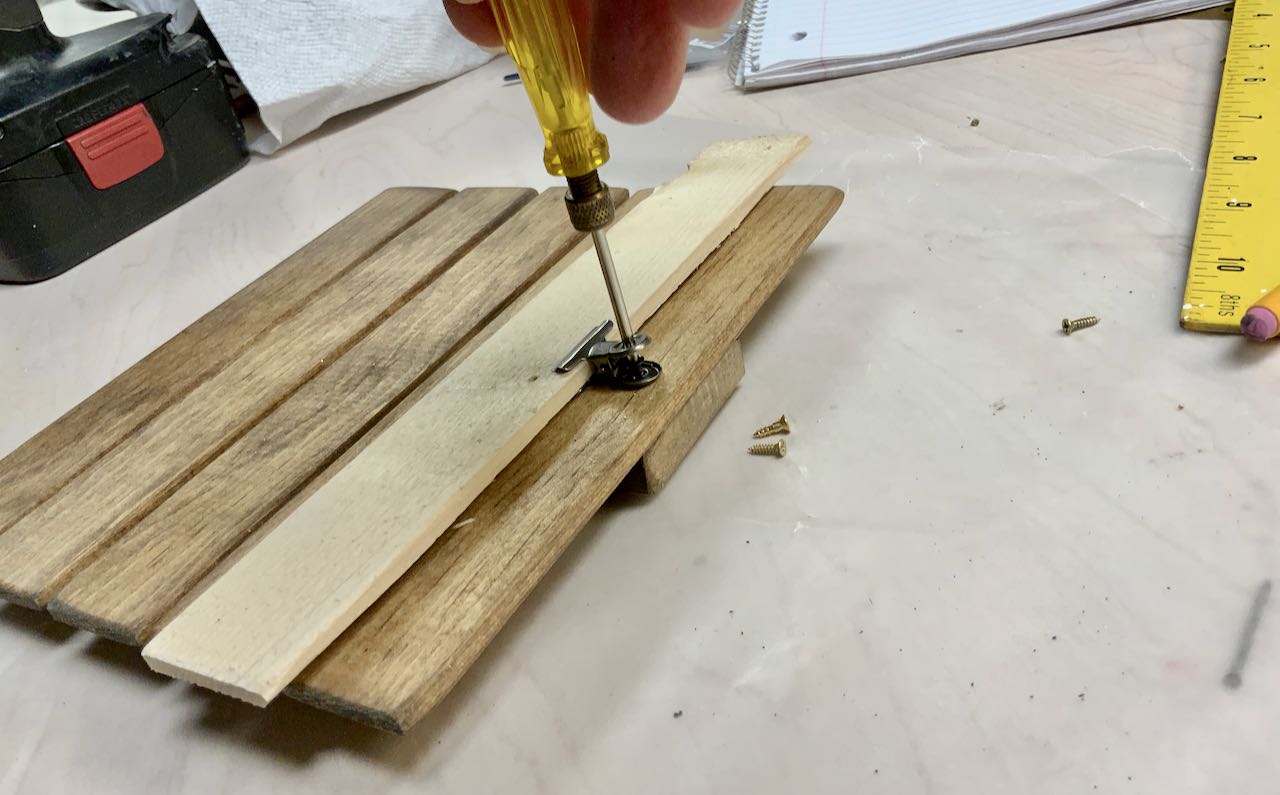
Measure and mark your placement, making sure it’s centered.
Pre-drill a starter hole.
Slip the screw between the top and bottom of the clip with the tip going down through the bottom hole. While holding it in place, slip a piece of scrap would between the teeth of the bulldog clip. This aligns the top and bottom hole so it is easier to line up a screwdriver from the top.
Screw it in place.
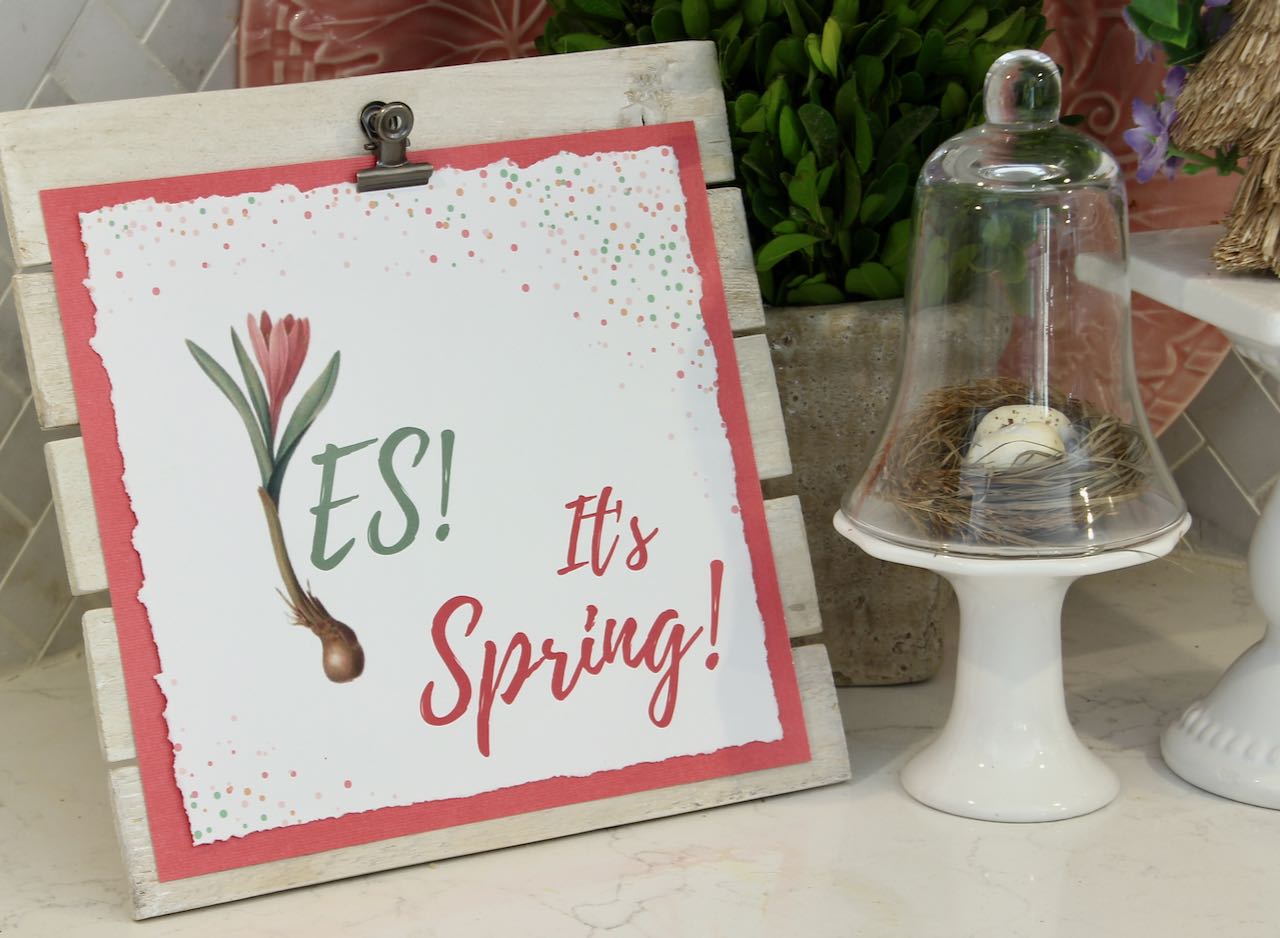
Voila! You are Done.
Now for the really fun part of finding the perfect printable on line, or creating your own with amazing tools like Canva, Easil and PicMonkey.
You might start by searching “Spring Free Printables” or “Easter Free Printables” or “Blue and White Free Printables” or “Bible Verse Free Printables”. You get the idea. Be as specific or as broad in your search as you want.
So many talented home decor bloggers share their talent offering free printables.
Several of the ones I’m showing here are from Laura at TheTurquoiseHome and the Cottontail Baking Co. printable is from Jen at TatertotsandJello. Thanks to both of these amazing bloggers for sharing their talents with us. Please hop over and give them some love!
The “Yes! It’s Spring” is the first printable I’ve ever done. If you’d like it, leave me a message and I will send it directly to you as I haven’t learned how to offer it on the blog yet. Next shiny ball to chase.
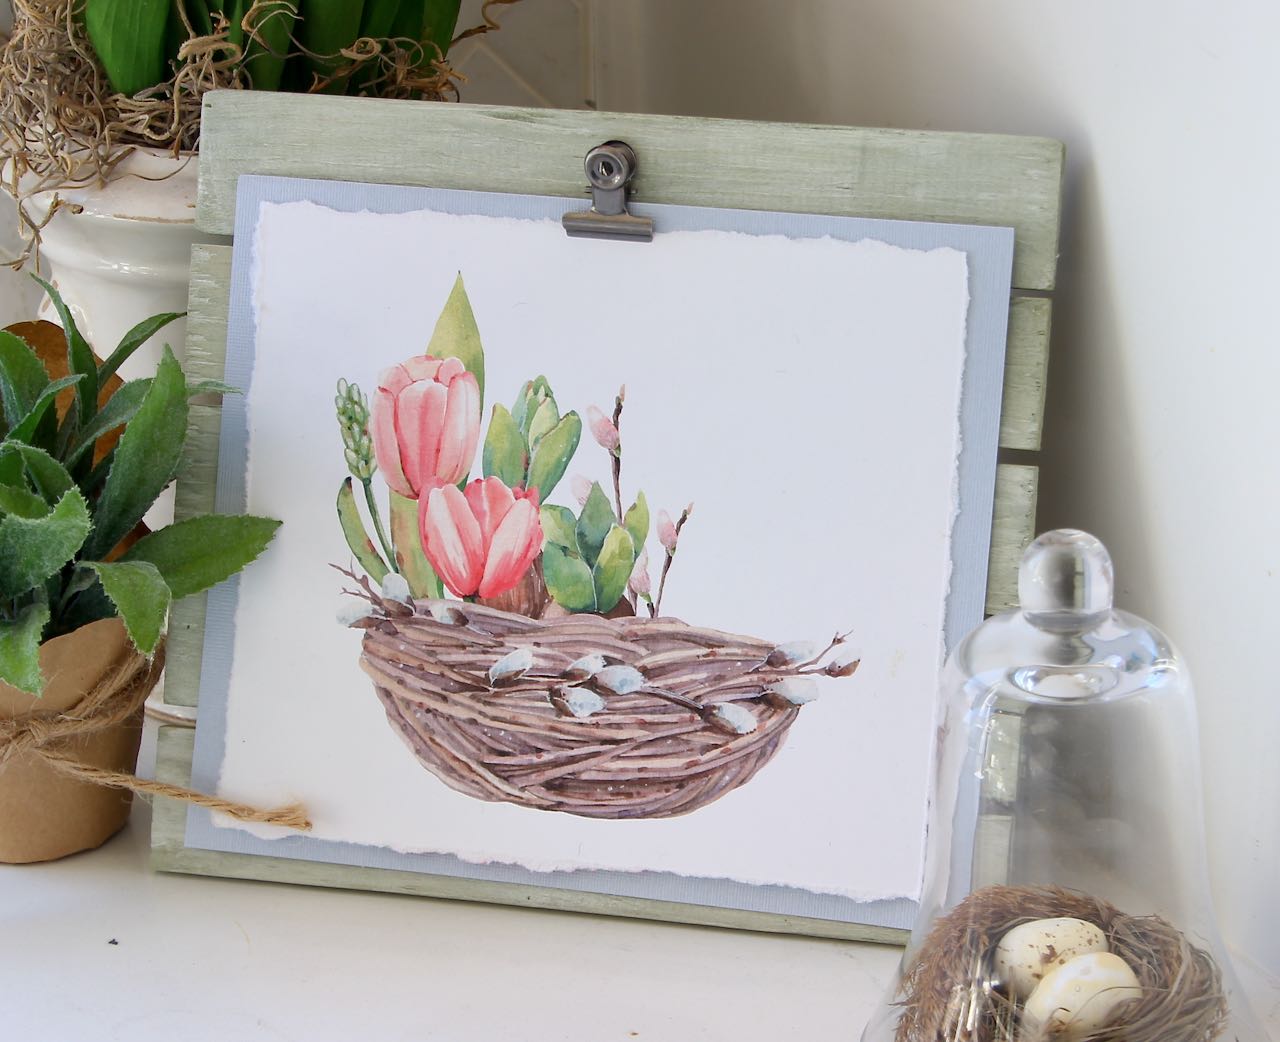
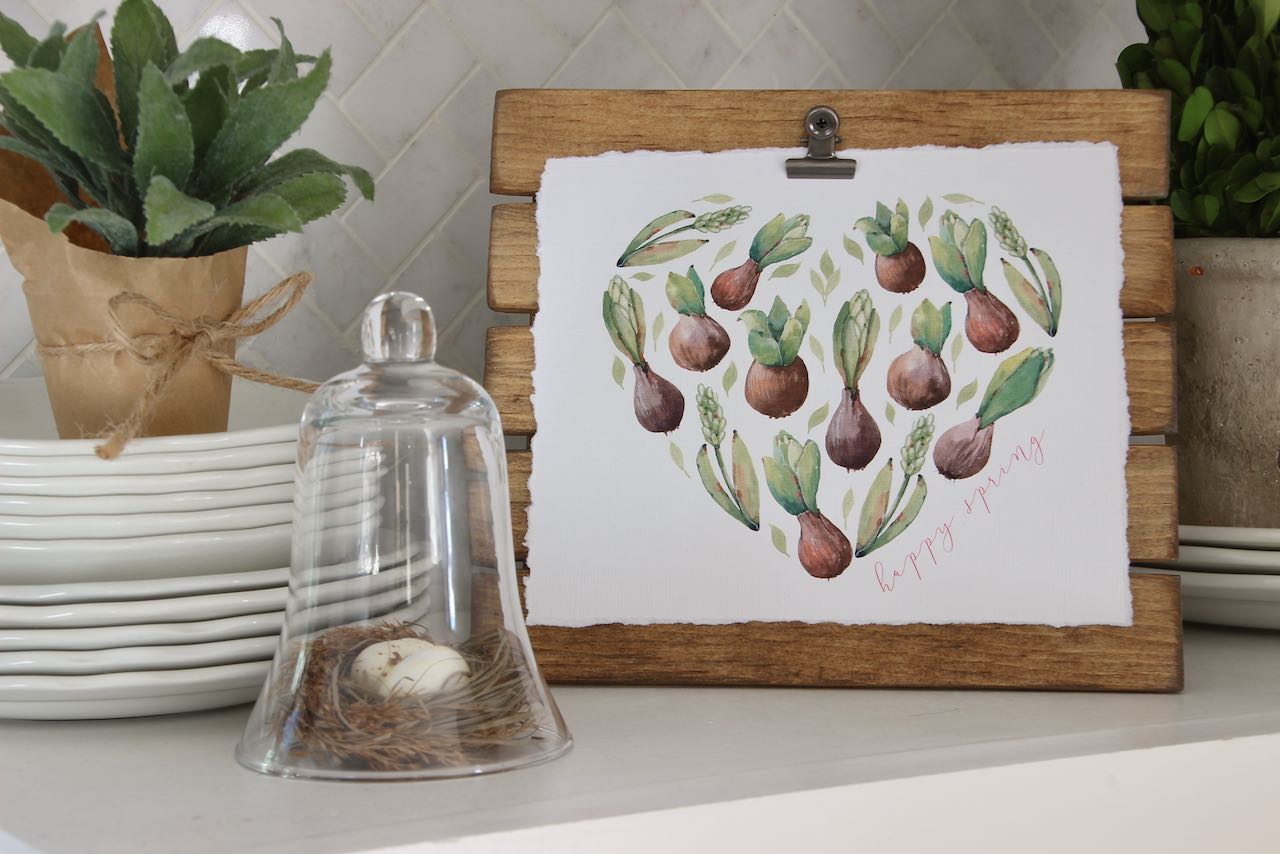
Aren’t they just the sweetest? And here’s another sweet little gift from the heart to make.
Wouldn’t they make delightful little Thinking of You gifts for friends we are distanced from? Or maybe for the kids’ teachers with a fun “School’s Out” printable (and a message of “Thanks for Enduring”).
Honestly, if you’re making one, why not set up an assembly line? The hinges come in packages of four anyway. And the bulldog clips at Hobby Lobby are 12 to a package. So why not?
I am so excited about these. Please share pics. I’d love to see your easels and what printables you choose. On socials please use @southhousedesigns or #southhousedesigns.

As always, I truly appreciate each and every one on you. Please share this with a friend and I love hearing from you.


0 Comments