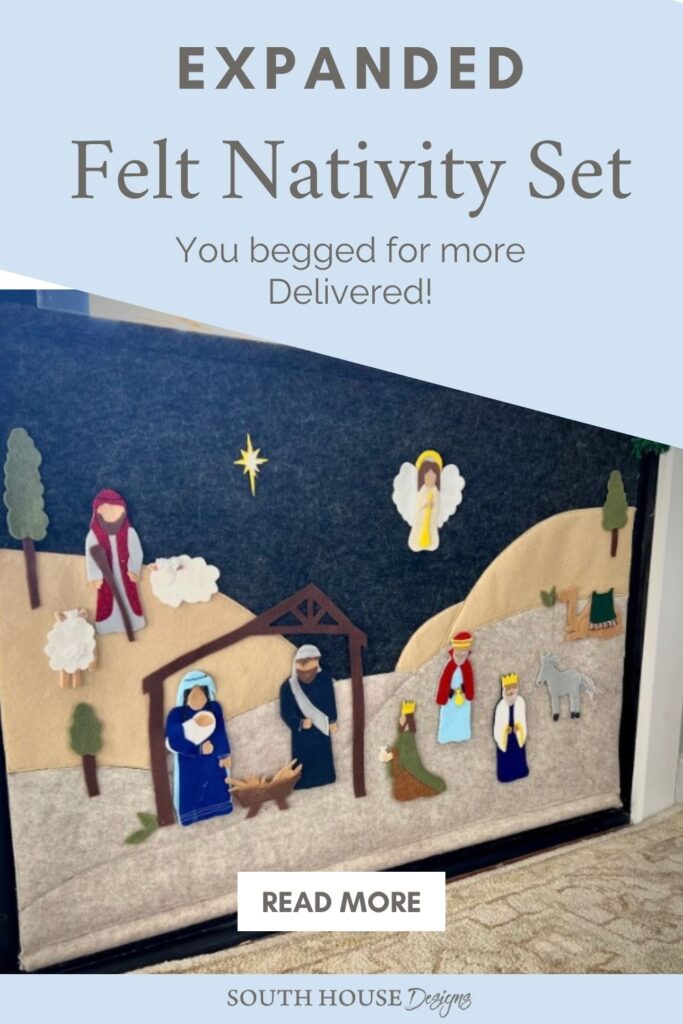
DIY Felt Nativity Set Expansion: New Patterns and Backdrop
Expand your DIY felt nativity with new character patterns and a clever felt backdrop for interactive play all season long.
Last Christmas, I shared my DIY Felt Nativity Set — a sweet, simple way to handcraft a timeless scene in felt, glue and thread.
But this story isn’t finished. For Christmas 2025, our nativity family is growing!
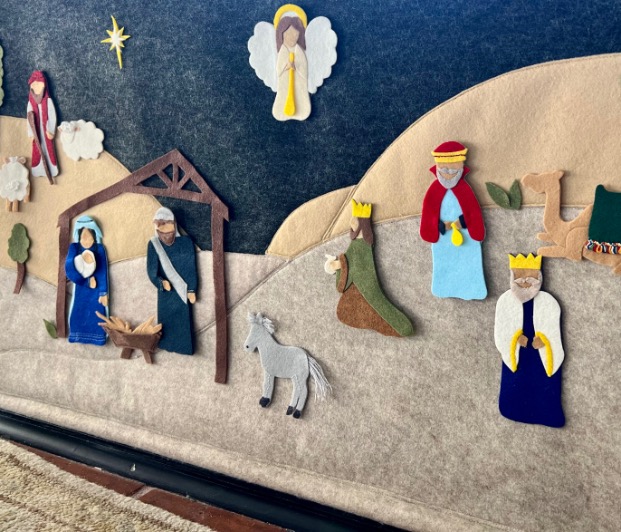
We’re welcoming three new characters — a faithful donkey, a joyful angel, and the final wise man — along with a new felt backdrop that turns your nativity into an interactive display for the whole family.
It’s still beginner-friendly, still made from soft felt, and still perfect for little hands to help arrange and re-arrange all season long.

TABLE OF CONTENTS
The links in this post may include affiliate links, which means if you purchase anything using these links, you pay no extra, but I may receive a small commission that helps keep this blog running. I truly appreciate you using affiliate links whenever possible. Please know that I will never recommend a product I do not believe in!
If you’ve already made my original felt nativity, this year’s expansion brings two fun additions:
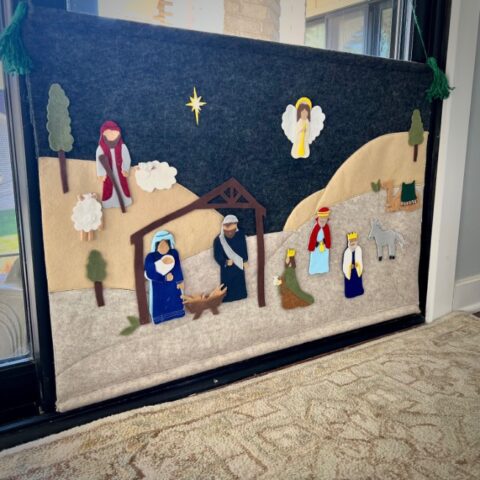
- a larger, simple felt backdrop that turns your nativity into a beautiful wall display or storytelling station, and is easier to store!
- three new handmade characters to expand your cast and for richer storytelling
Each project has its own quick-reference card below, so you can dive straight into whichever one you’re ready for first.
Create the Felt Backdrop
Felt Nativity Tapestry Style Backdrop
Add a simple felt tapestry backdrop to display and play with your felt nativity set.
Materials
- One large piece of felt (about 18 x 24 inches works well)
- Two wooden 5/8-inch dowels (for top and bottom edges)
- Craft glue or spray glue suitable for fabric
- Twine or ribbon for hanging
- Additional colors of felt for hills, optical
Tools
- Scissors
- Ruler
- Quilter's or Builder's Square, helpful
- Stapler (optional)
- Sewing machine, not required
Instructions
- Cut your felt background to double your desired to size.
- Fold in half and stitch or glue a hem for the top dowel.
- Stitch or glue a hem for the bottom dowel.
- Cut and apply contrasting hills, stitch or glue in place.
- Add a ribbon or twine hanger to the top dowel.
- Hang your backdrop at display height or child height — the felt surface is perfect for arranging your handmade figures throughout the season.
Notes
Keep scrolling for additional ideas to simplify.
I started with a 36-inch wide piece of felt, 56-inches long, in a deep charcoal gray. I folded it in half so it’s double thickness (sturdy enough to hang smoothly) and stitched a simple hem across the top to hold the dowel.
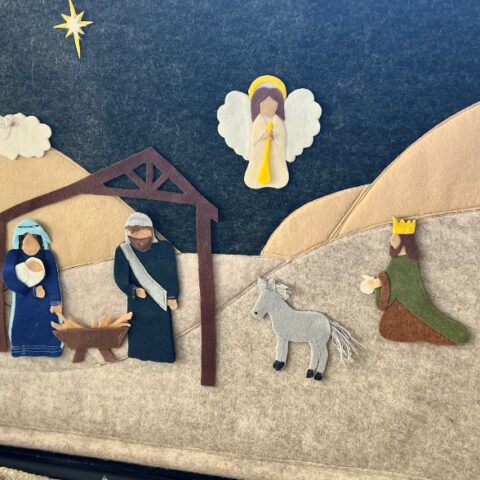
Next, I sketched a few gentle overlapping hills on newsprint — just freehand curves that rise and fall across the width of the felt. These create depth and give the scene a sense of place without distracting from the figures themselves.
Once I liked the arrangement, I cut the shapes from beige and tan felt and layered them onto the backdrop, adhering them with my Heat ‘n Bond.

PRO TIP: When two pieces are to butt tightly together without overlapping, layer the felt and cut through both at once for clean matching edges.
Because I want this nativity set to last for years of interactive play, I also machine stitched close the hills’ edges.
Using a long straight edge and square, I trimmed the backdrop for clean straight edges and square corners. Then added a hem at the bottom for the second dowel.
Now let’s make it hangable. Insert the top dowel and hand-stitch the edges closed securing a length of twine, rope or ribbon on those side seams.
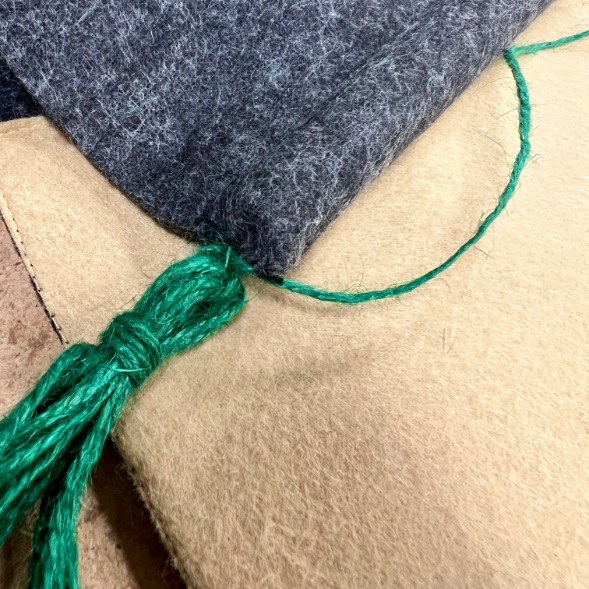
Because this is a fancy “tapestry” background for a very special tableau, I added tassels made from the green twine I used for the hanger.
I mean nothing says special like tassels, right?
Okay, maybe I’ll add a few shiny seed beads scattered through the night sky for a touch of sparkle too.
Customize Your Nativity Backdrop
This is my newest backdrop option, but if you prefer something simpler or smaller, you’ll find a few other display ideas in the original felt nativity post.
For this hanging tapestry style, there are so many easy ways to make it your own:
- Keep it Super Simple: eliminate the hills
- Starry Night Sky: Use navy or deep blue felt and add embroidered fresh knots or sew on sparkly beads for stars.
- Trim the Edge: Cut a wavy or scalloped lower edge, or add a row of tiny tassels for texture.
- Layer More Hills: Vary your felt colors — dusty olive, sage, tan — for dimension.
- Finish the Dowel Ends: Add wood finials and larger tassels instead of closing the ends and hiding the dowels
- Instead of Wood Dowels, use tension curtain rods and size your backdrop for a wide glass door or picture window.
This simple felt backdrop turns your handmade figures into a complete wall-hung display that’s easy to roll up and store after the holidays.

Where This Backdrop Works Beautifully
- On a glass door or window – hang it with suction cups or Command hooks for a light-filled display.
- At child height on a wall – perfect for hands-on storytelling and gentle interactive play.
- From play to display and back again – start it on the floor or tabletop for playtime, then simply hang it in place of artwork for Advent and the Christmas season.
- Rolled up and stored – the felt and dowels make it easy to tuck away until next year.
Now that your backdrop is ready, let’s bring the scene to life.
Time to meet the newest members of the nativity family — the angel, the donkey, and the final wise man who completes the trio.

Meet the New Cast Members
2025 Felt Nativity Expansion Figures
Add three new handmade characters to complete your felt nativity set.
Materials
- 2025 Expansion Pattern Set (download below)
- Freezer Paper
- Heat n Bond iron on adhesive
- Tiny bit of soft iron-on interfacing
- Felt sheets in chosen colors
- Embroidery floss and needle
- Small bits of hook side of velcro
Tools
- Sharp scissors
Instructions
- Print and cut the pattern pieces for the angel, donkey, and third wise man.
- Follow the same layering and detailing used in the original set (linked below if you need a refresher) along with the character-specific tips on each patter printout.
- Use Heat 'n Bond adhesive to add backs to your figures.
Notes
Here are the "General Instructions" in the original blog post.
With your new backdrop finished, it’s time to welcome the latest arrivals. These three handmade felt characters complete the story — and bring a bit more personality (and color) to your nativity display.
Each uses the same layering and embroidery techniques as the original set, so if you need a refresher, you can jump right to the General Instructions section in the original post.
Then download the 2025 Expansion Pattern Set below and start creating your newest cast members.
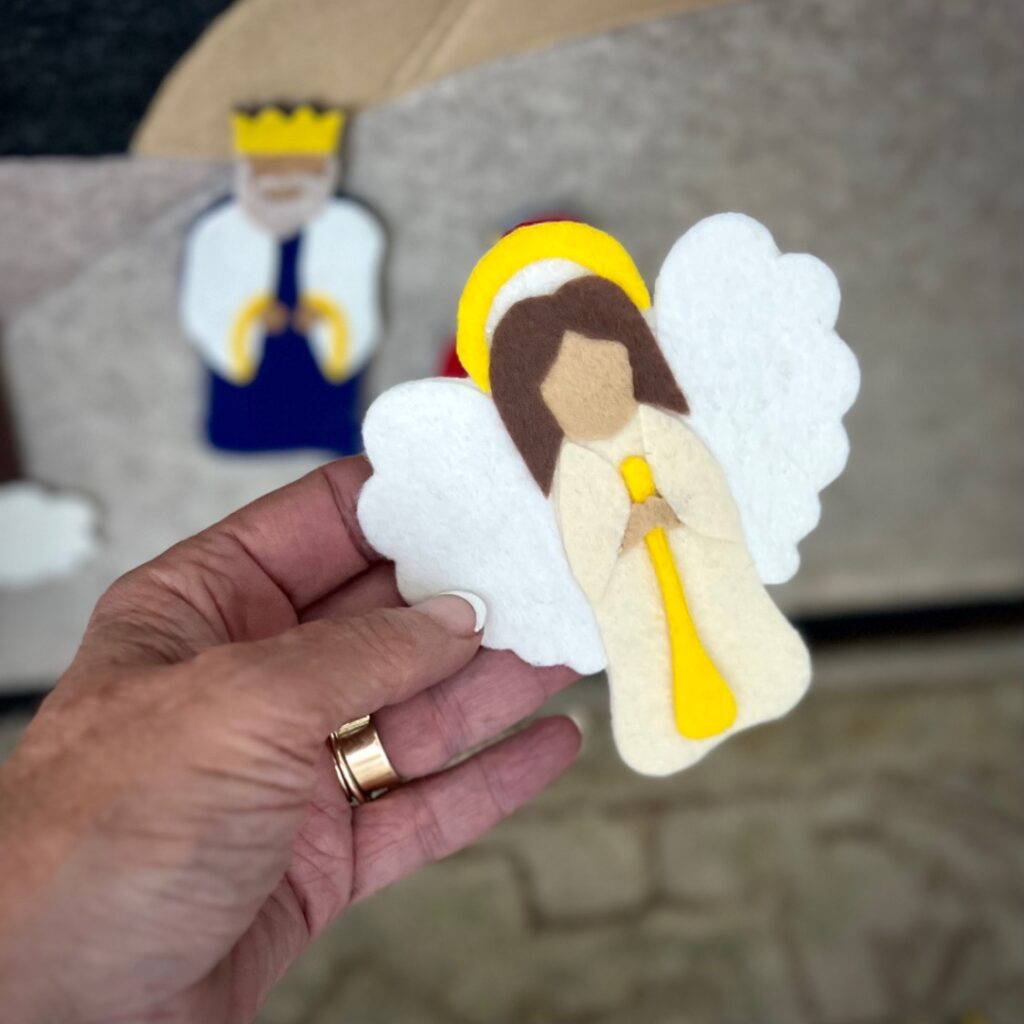
The angel brings a soft grace to the scene — and a touch of sparkle if you’re in the mood. Her layered robe pieces make her look dimensional, and she’s easy to personalize with different felt colors for her gown, or hair.
Try pale blue or ivory for a classic look, or go bold with gold thread and seed bead “stars” in her wings.
Her hands are loose so she can hold a brass horn to herald the birth of the babe in the manger.
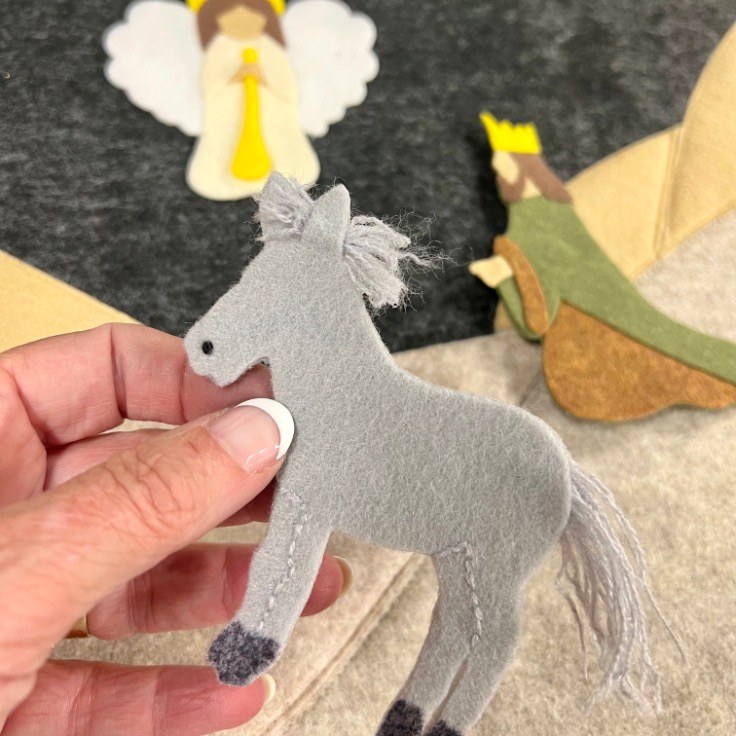
Every nativity needs a donkey — the humble companion that ties it all together. This one’s a quick win if you’re new to this felt layering process. It’s all one piece with just a few optional stitched details to define the legs
You can keep him classic in gray or taupe, or add a bit of shading with layered felt tones.

At last — the third wise man completes the trio!
You can have fun with his robe and gift details, or choose the route I went with more muted colors to match his kneeling demeanor. For a more regal look, choose deep plum, royal blue, or emerald green felt.
Metallic embroidery thread can bring an extra touch of royalty to any of these important visitors.
And there they are — three new characters ready to join your handmade nativity scene. Together with the new backdrop, they turn your DIY felt nativity into an heirloom piece that tells the story beautifully year after year.
Grab Your 2025 Expansion Patterns
Ready to add your new angel, donkey, and wise man to the story?
You’ll find the 2025 Nativity Expansion Pattern Set waiting for you in my Free Resource Library.
If you’re already a subscriber, just head there and use your password — the patterns are filed under “Expanded Felt Nativity Patterns (2025).”
If you’re new here (welcome!), it’s easy to join. Sign up below and I’ll send the password straight to your inbox, along with access to all my other printable patterns, cheat sheets, and creative guides.
Download Includes:
- Full-size printable pattern sheets for the angel, donkey, and third wise man
- Cutting and assembly notes for each figure
- Quick reference reminders for layering and stitching
Once you have your patterns printed, gather your felt, scissors, and backdrop, and you’ll be ready to add new important characters to your interactive felt nativity set for Christmas 2025!
Thanks bunches! Looking forward to having you in our creative community!
Please Pin and share with your friends:
Please do to hesitate with any questions you may have — but also, ask your kiddos for me, who or what would they like to add to their special nativity set next year? Let me know!
Wishing you a holiday season overflowing with friends & family, love & laughter, blessings & bliss!