The Whimsical Peek-a-Boo Stencil Detail I Couldn’t Resist
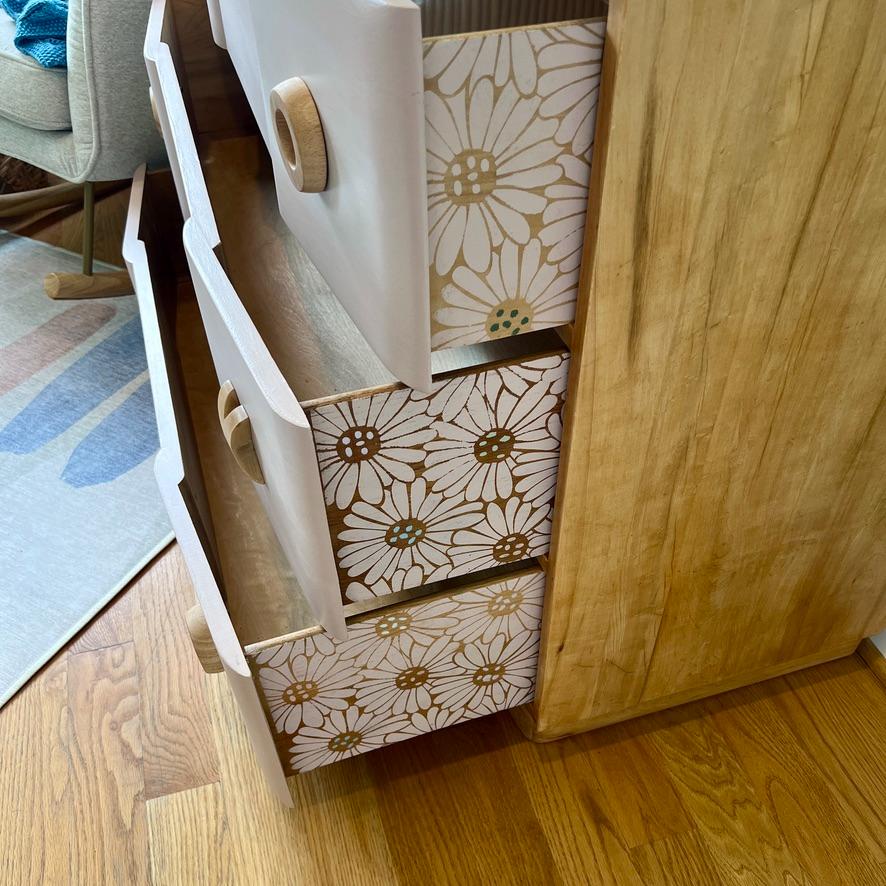
Easter eggs aren’t just for movies. Meet the one I hid inside this changing table to delight a special little girl. So easy, so rewarding!
Filmmakers spend serious money tucking tiny Easter eggs into their movies.
Taylor Swift built a devoted fan culture on hiding clues for the people paying attention.
Why? Because nothing feels better than finding a little delightful something nobody told you to look for.
Furniture can do that too.
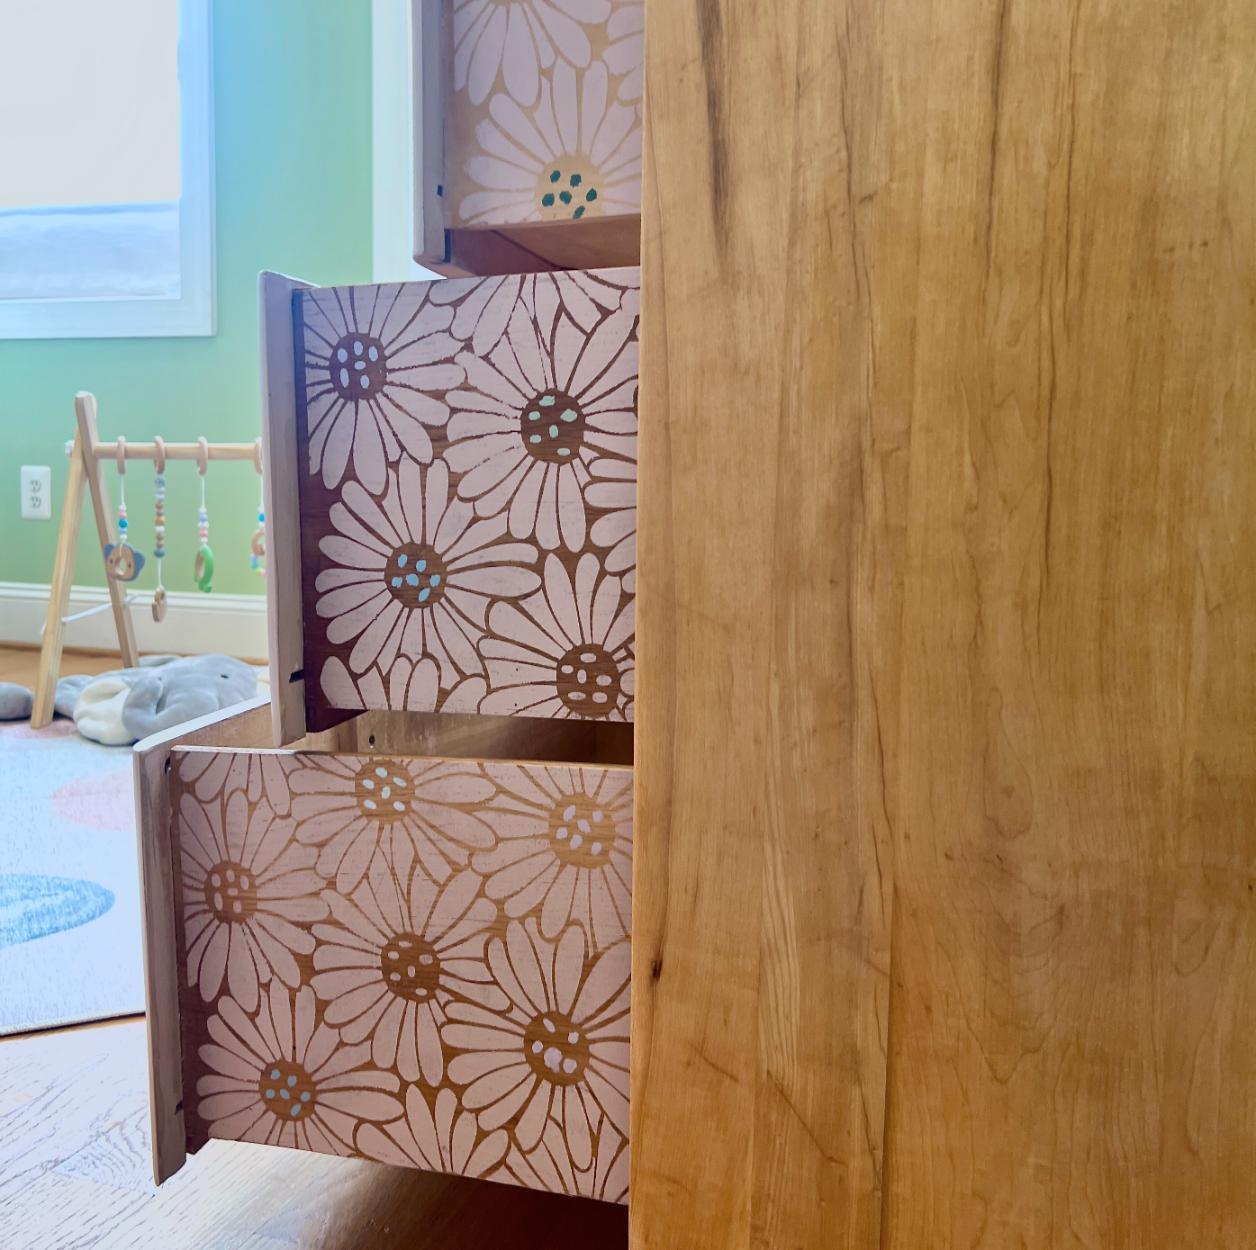
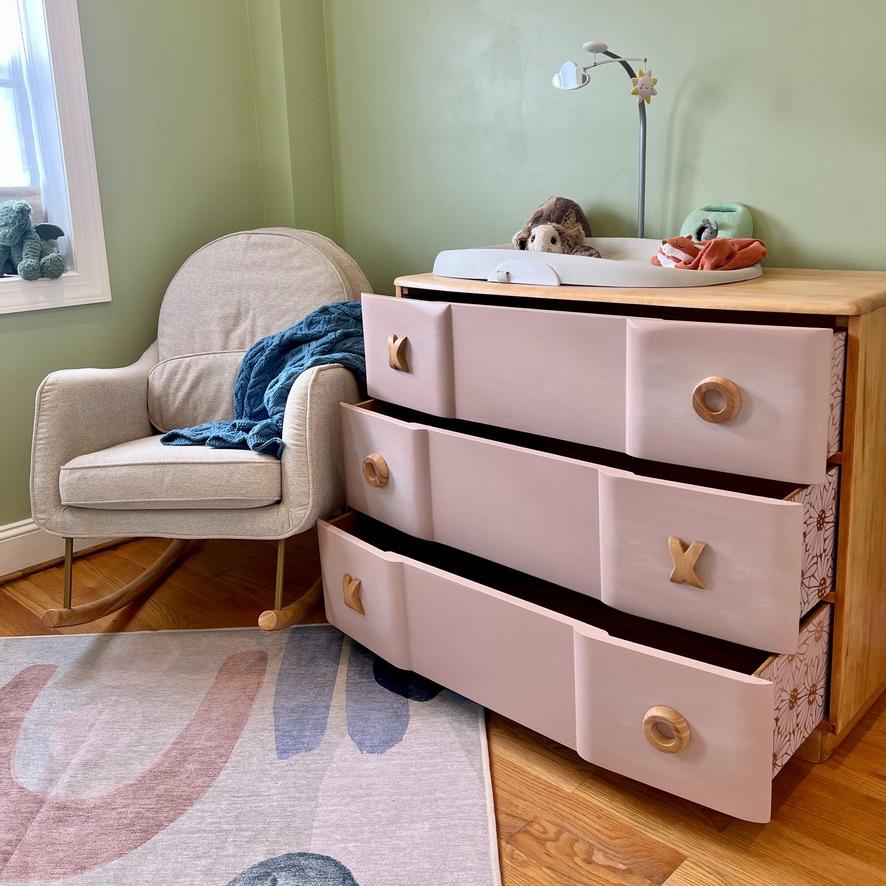
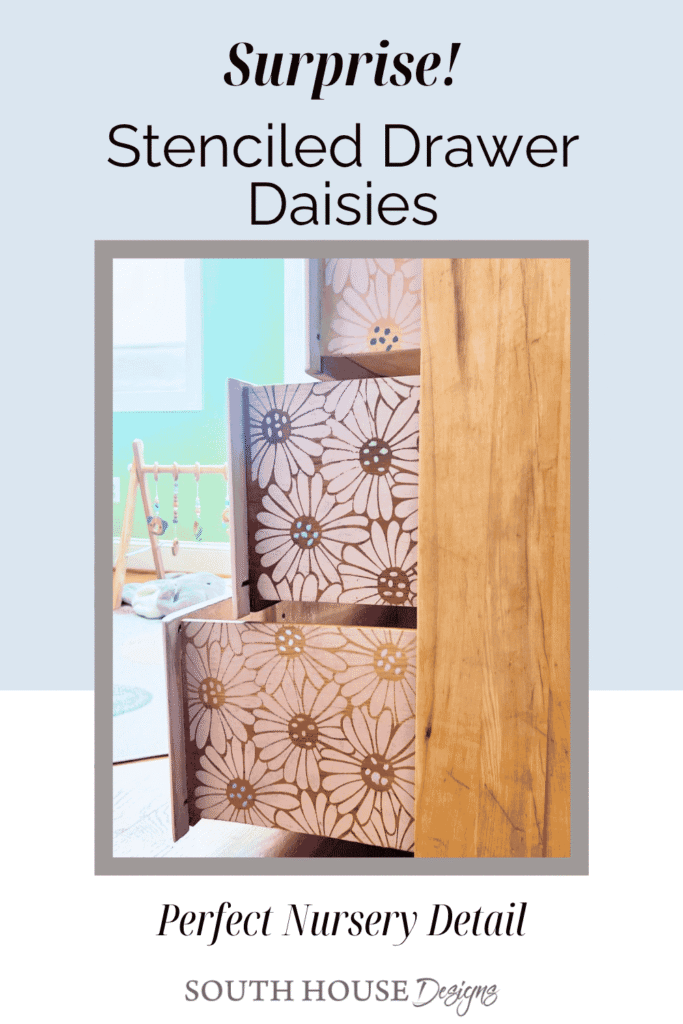
If you’re just dropping in, we’re turning a home gym into a nursery for my newest granddaughter, and in Episode 5 an MCM dresser became a changing table. Gorgeous, sure. But I wanted delightful. So I planted an Easter egg. I stenciled the drawer sides, which means the daisies stay hidden until a drawer slides open.
And here’s the best part: the only people who’ll find them are the sweet little girls hosting tea parties and reading to their stuffies in this room.
Psychologists call it the reward of an unexpected positive event. I call it a tiny dopamine party in the middle of picking out that night’s jammies.
Research at Johns Hopkins for one, suggests these kind of unexpected surprises help develop curiosity and learning skills. When early learners are surprised by an object, they don’t just stare; they immediately want to figure out the “how” and “why”. There are many more positive effects. But really, I wanted to add these crazy daisies for the joy on their faces.
One stencil, a few leftover paints, and a lot of pouncing. Low effort, big payoff.
Home Gym to Sweet Nursery Series:
- The Plan — planning the transformation
- IKEA Pax Closet Wall — turning wasted closet space into real storage
- Mini Attic Storage Space — claiming the space most people leave empty
- Decal + Paint Accent Wall — adding a playful “watercolor” touch to a simple decal
- MCM Dresser to Changing Table — a vintage dresser gets new purpose
- Peekaboo Stenciled Drawers — (you are here) a surprise hiding inside the changing table
- X & O Drawer Pulls — oversized, playful, and made by hand
- Scalloped Roman Shades — solving light and privacy in style
- The Nursery Reveal — the whole room, start to finish
The links in this post may include affiliate links, which means if you purchase anything using these links, you pay no extra, but I may receive a small commission that helps keep this blog running. I truly appreciate you using affiliate links whenever possible. Please know that I will never recommend a product I do not believe in!
Let’s Add Some Unexpected Whimsy
Materials & Supplies
Materials
- Gator Hide, eggshell (Dixie Belle)
- Tea Rose Chalk Mineral Paint (Dixie Belle), leftover from the changing table
- Assorted leftover paints for the daisy centers, optional (mine came from the decal wall)
Supplies + Tools
- Crazy Daisy stencil (Dixie Belle)
- Spray adhesive
- Stencil brush
- Paintbrush for the Gator Hide
- Scissors
- Sanding sponge and a damp rag
- Tub of warm water and a towel
- Disposable plate and paper towels
- Narrow sponge brushes, one per accent color (optional)
Stenciling the Drawer Sides, Step by Step
Step 1) Give the Drawer Sides a Quick Spa Day —
Swipe the outside of each drawer side with a sanding sponge. and make sure the edges are splinter free. We know little fingers will not be able to resist those surprise daises right at their eye level.
Then wipe off the dust with a damp rag. Let them dry completely before moving on.
Step 2) Seal the Wood with Gator Hide —
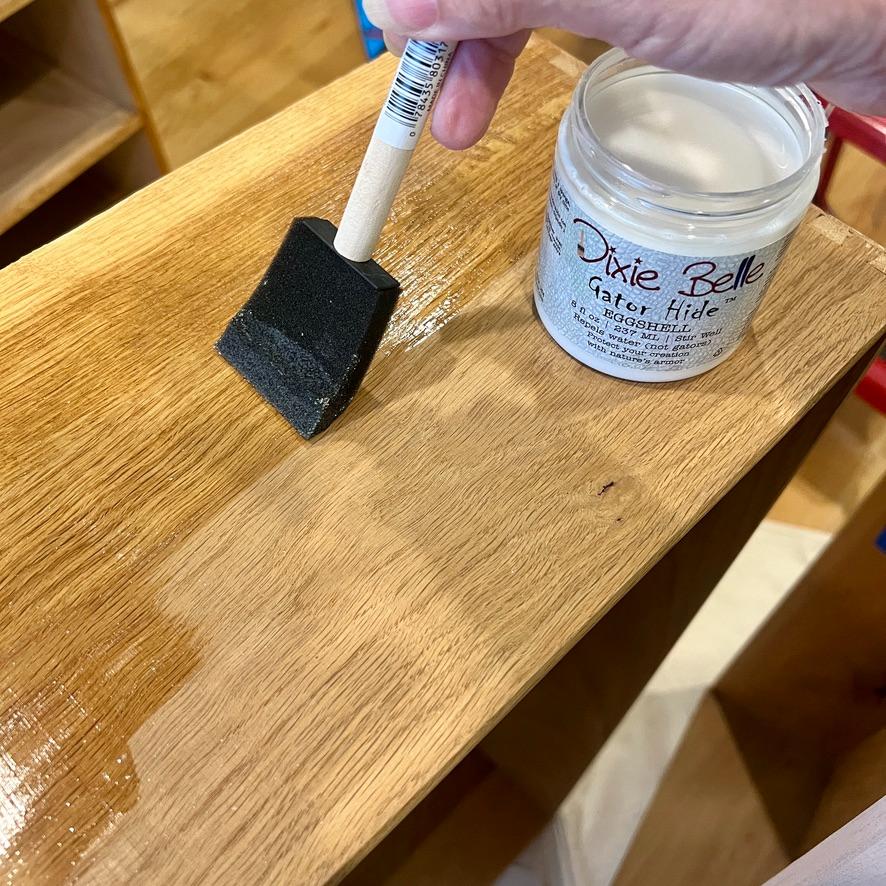
Brush on one coat and let it dry for 2 hours. Then give it a light, smoothing pass with the sanding sponge.
PRO TIP: If the sponge turns gummy, the sealer isn’t ready. Walk away and give it more time.
My drawer sides were raw, untreated softwood, which is basically a thirsty houseguest who’ll drink whatever you hand them, including the moisture in your paint. That can leave bleeding lines in the grain.
It’s rare, but one quick, easy beats gambling.
Step 3, Optional ) Trim the Stencil to Fit —
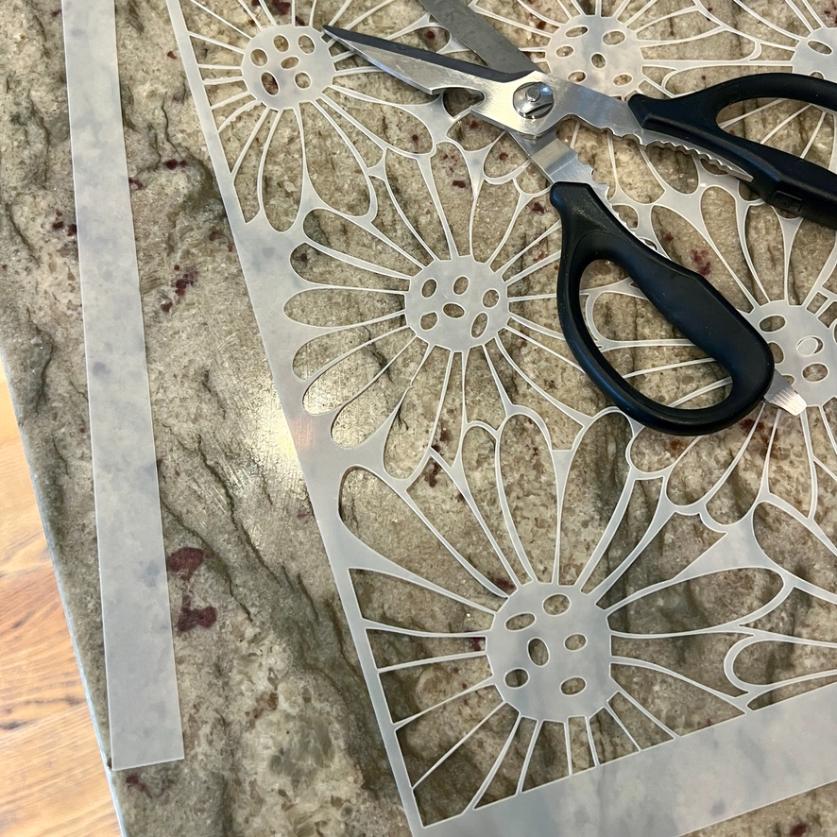
I noticed the margin is wider than I wanted, so with scissors, I trimmed one side, leaving just enough border to keep the stencil in one piece. That trimmed edge tucks up against the back of the drawer face, giving it a more custom look.
Ever with the Crazy Daisy stencil trimmed, it more than covers a drawer side.
Step 4) Set Up a Rinse Station —
The stencil’s is going to deserve her turn at the spa treatment, so get ready.
Fill a large tub with warm water and park it on a towel on the floor, within arm’s reach. Your stencil will enjoy a dip between each pouncing session..
Step 5) Placing the Stencil —
Spray the back of the stencil with adhesive, lay it down carefully, and press it flat.
Pro Tip: Skip the painter’s tape for holding the stencil. Spray adhesive is the way to go.
I tried it, and about 20% into the first drawer side, the paint was bleeding under the edges like it had somewhere better to be. Spray adhesive solved it.
Lucky for me, I’d started on the lowest drawer, at the back of the side, where nobody will ever see my “learning experience.” Start somewhere hidden.
Safety Tip: Spray adhesive in a well-ventilated space and keep it off nearby surfaces.
A quick pause before we start pouncing. Are you enjoying this project? Please subscribe so you don’t miss a thing — and I’ll also send you my Creatives’ Tool Kit for free:
Now onward in our project:
Step 6) Pounce On the Paint —
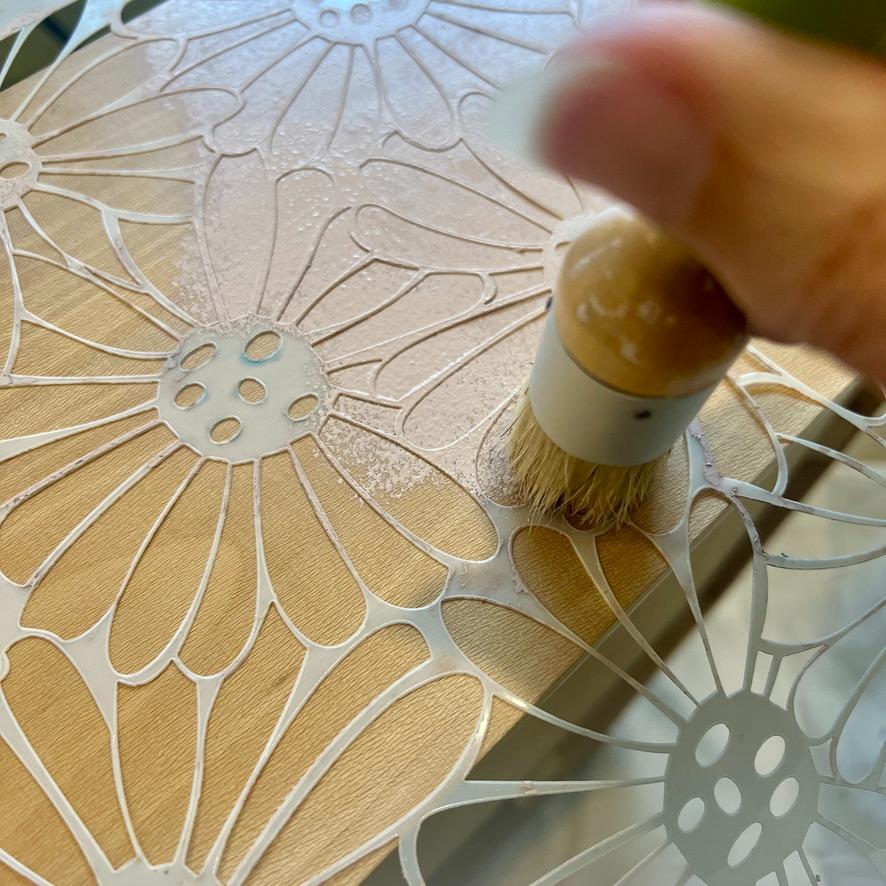
Dip just the tip of the stencil brush into the Tea Rose. To get rid of the excess, pounce it on a folded paper towel on a disposable plate. You want a fairly dry brush.
Then pounce straight up and down with a gentle-to-moderate touch, like a woodpecker with good manners. Lots of pounces, light enough that the paint doesn’t sneak under the stencil.
Keep going until the exposed wood looks fully covered.
Step 7, Optional) Add Pops of Color to the Daisy Centers —
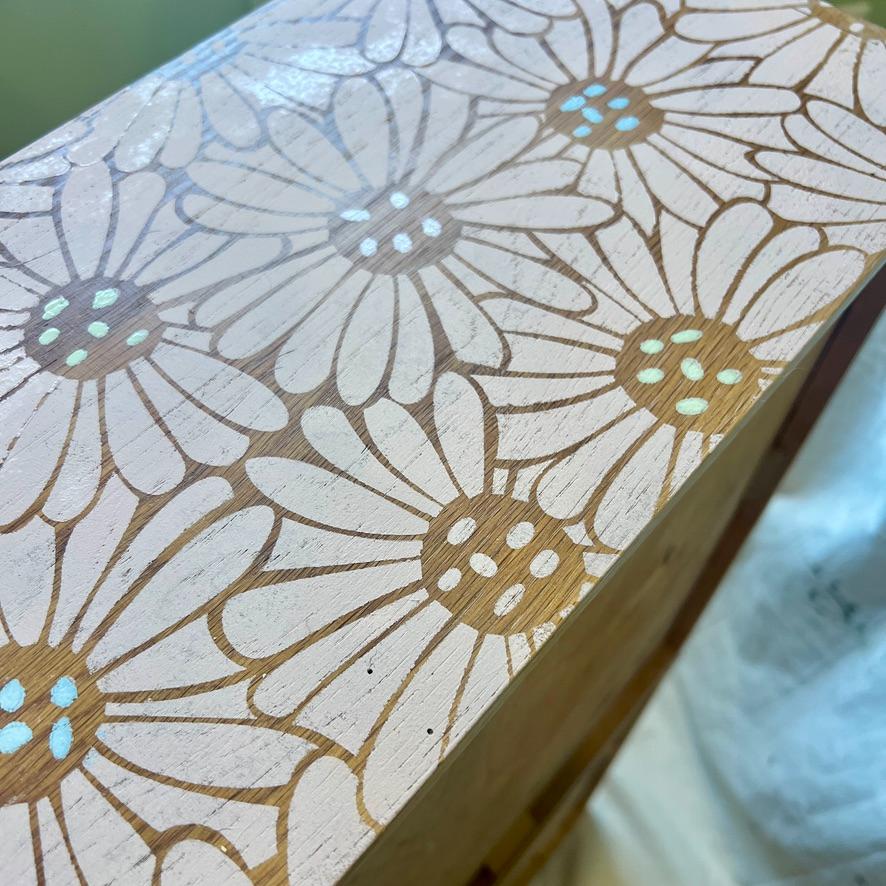
Don’t lift the stencil yet!
I wanted different colors in the centers of some of the daisies, but washing one brush between five or so colors across six drawer sides would have tested even my persnickety side (and probably ended the project).
So I raided the leftover paints from the decal wall and gave each color its own narrow sponge brush. With my scissors, I snipped off the pointed tip so it was flat like a stencil brush, barely dipped it, pounced off the excess, and dabbed tiny dots in the centers of a few flowers. Each drawer side is intentionally different, and just enough color peeks through to add some punch.
Step 8) Lift, Rinse, and Repeat —
Peel up the stencil while the paint is still wet and send it straight to the tub, wiping off any paint that gathered around the cut edges. Lift it out and pat dry.
The adhesive stays tacky enough for another drawer side or two. Then it’s lather, rinse, repeat, only with daisies.
Step 9) Let It Dry Overnight —
Chalk paint dries to the touch rather quickly, By the time I finished the third side, the first drawer was dry enough to flip over and expose the other side. Do this one, then flip the next one stencil that one, Repeat until all sides are complete.
Walk away and let the drawers dry overnight. Resist the urge to poke.
Step 10, Optional) Seal with Gator Hide —
Want extra insurance? Brush a thin coat of Gator Hide over the stenciling. It dries in 2 hours and fully cures in 21 to 30 days.
Since this lives on the outside of the drawer sides and never touches what’s inside the drawer, you don’t have to wait out the cure before filling them.

Suggested Variations
- Stencil the floor of the drawer or the inside sides instead.
- Skip the stencil and use painters’ tape to make stripes, plaid or checkered, then pounce with a stencil brush.
- Swap the all-over pattern for numbers (“No. 1, No. 2, No. 3”), letters (“ABC / DEF / GHI”), six animal silhouettes, or a wildflower garden using this silk screen.
What’s Next
Every good Easter egg deserves a sequel. The original X pulls on this dresser were practically begging for a partner, so next up, I’m making the O’s. Hugs and kisses, drawer hardware edition. (Yes, there’s a hole saw involved.)

More Projects to Enjoy