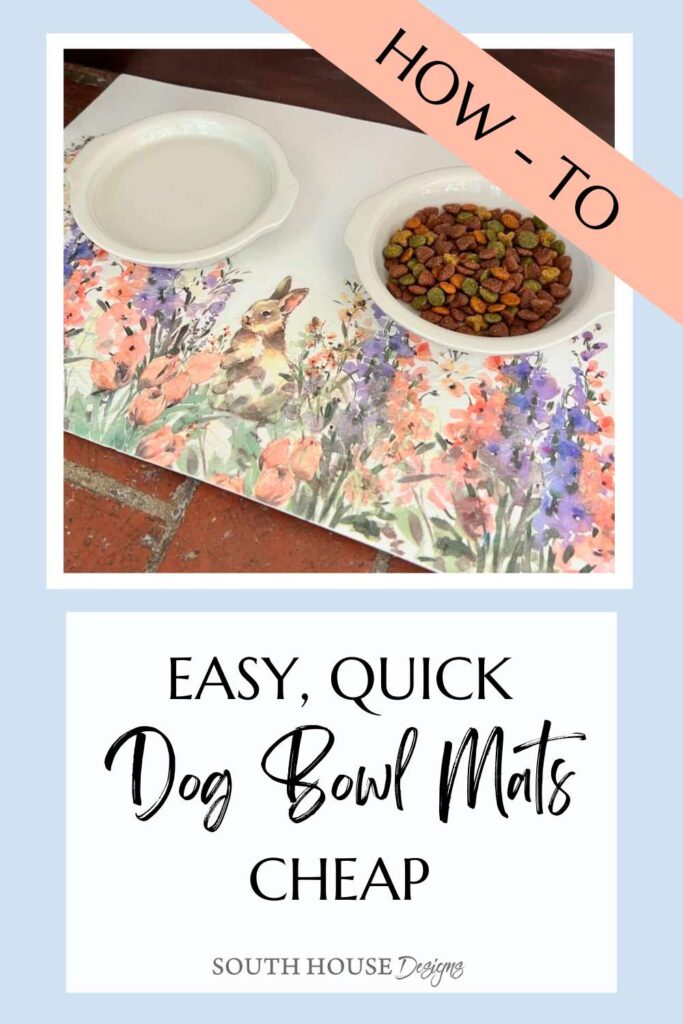
Make a Colorful Spring Dog Bowl Placemat with Decoupage
Surely the furry, members of the family would enjoy some Spring cheer too! This easy-to-follow tutorial shows you how to create a colorful dog bowl placemat with decoupage your pup (or cat) will love.
As a pet owner, our fur babies are important members of the family, aren’t they?
So while we brighten and freshen our homes for Spring, why not spruce up your pet’s space and celebrate the blooming season with this adorable Spring dog bowl placemat. I’m sharing how to use decoupage to transform a simple mat into a colorful and customized accessory for your fur babies’ meals time.
I love making special mats for our little fella, Grittles.

I make them in all different ways for different seasons and holidays. But my starting point is always the same! With a craft foam sheet.
They come in many different colors.
And they are so easy to customize to literally any decor style and yes to any level of crafting.
They are water proof, so they protect your wood floors under the water bowl.
They quiet the noise of the bowl being nosed about.
And, did I mention they are $1 each — and two-sided. And washable! (The goodness just doesn’t stop, right?)
TABLE OF CONTENTS:
Quick review! What Makes the BEST Pet Placemats?
Craft Foam Sheets make the BEST pet place mats because they are:
- waterproof
- great cushioning
- sound reducing
- washable
- reversible
- hold up, darn near forever
- $1 — downright cheap
- Easy to craft with
Honestly, I have been using these under Grittles’ dog bowls for 13 years now. But only recently did I think about their potential for fun crafting and decorating.
Yes! It’s okay if you just want to get a piece of craft foam, place it under the food bowls and call it good.
This blog is a judgement free zone! I encourage you to do “you”.
But I’m whispering in your ear, do you hear it? “At least round the corners with whatever scissors you have handy. It’s that easy and makes such a difference!!!”
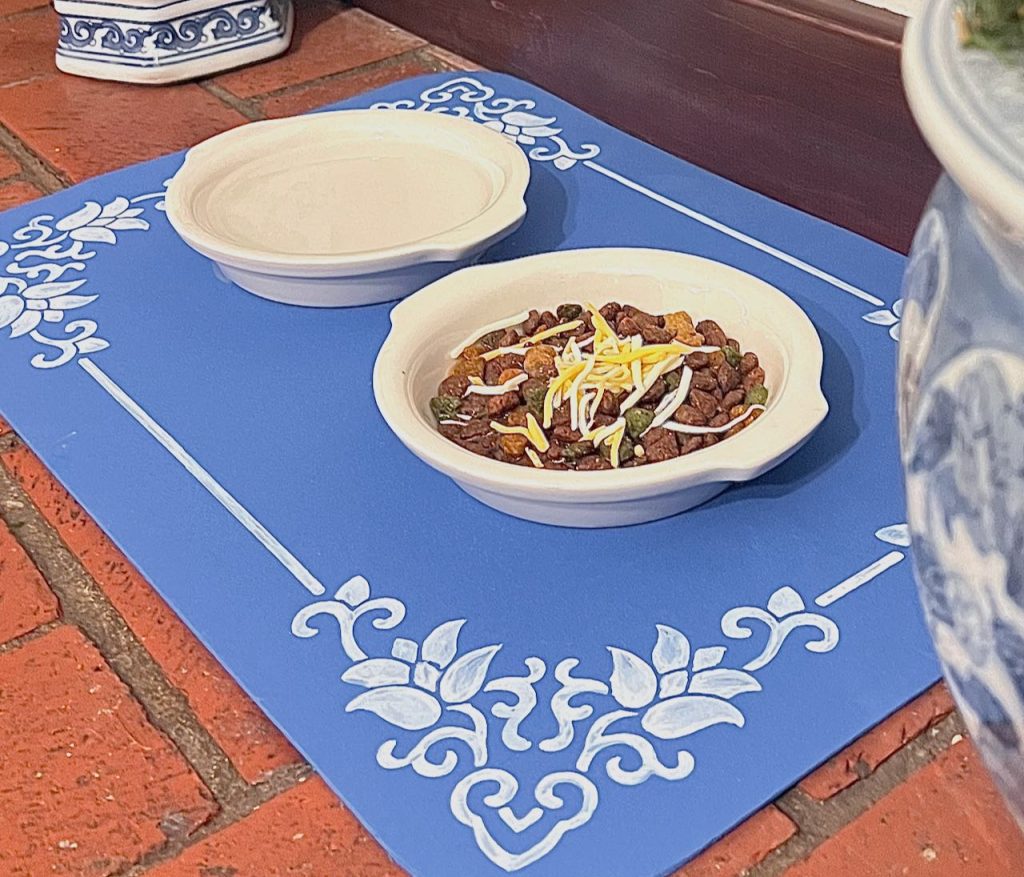
The first stylish dog mat I shared is this blue and white chinoiserie-inspired pet placemat. It only requires a sharpie and access to a Cricut to cut the stencil. That’s it!!!
Today’s Spring dog food mat is even easier. And no Cricut or Silhouette required.
Let’s Decoupage a Spring Placemat For Our Pets
Materials and Supplies–
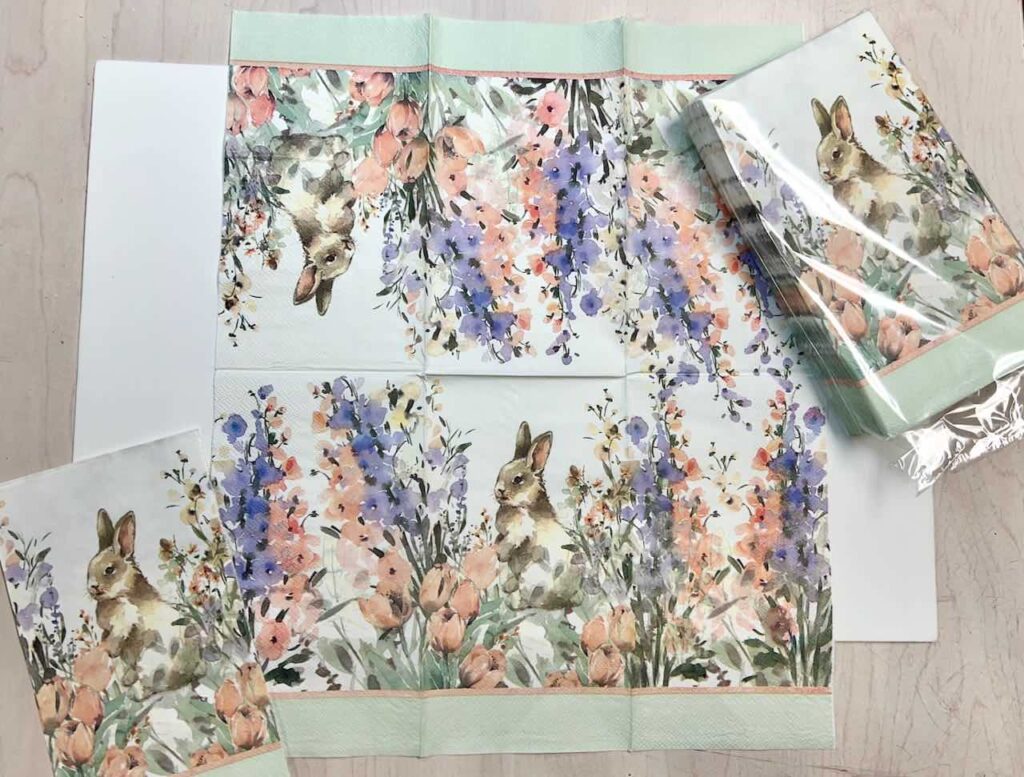
- Craft Foam Sheet, preferably white, see NOTE below
- Decorative Paper Napkin, see NOTE below
- Mod Podge, or diy decoupage glue
- Foam brush
- Scissors
- Rotary cutter and mat are helpful, not required
NOTE: When you decoupage napkins, you only use the top ply of the napkin, so the napkin as we apply it is very thin. Any color of foam will show through the napkin and significantly alter the look of the napkin. The best results usually happen with a white craft foam sheet and a napkin with a white background.
PRO TIP: If you are a beginner with decoupage, a design that is watercolor or has a lot of movement to it is more forgiving that something that has very sharp lines and a clear repeating pattern.
Step 1) Separate the Napkins–

Gently pull apart the plies of the napkin.
Notice the plies are held together by tiny perforations around the four edges of the napkin. It is easiest if you cut the middle of the napkin and start there.
Step 2) Trim the Design–
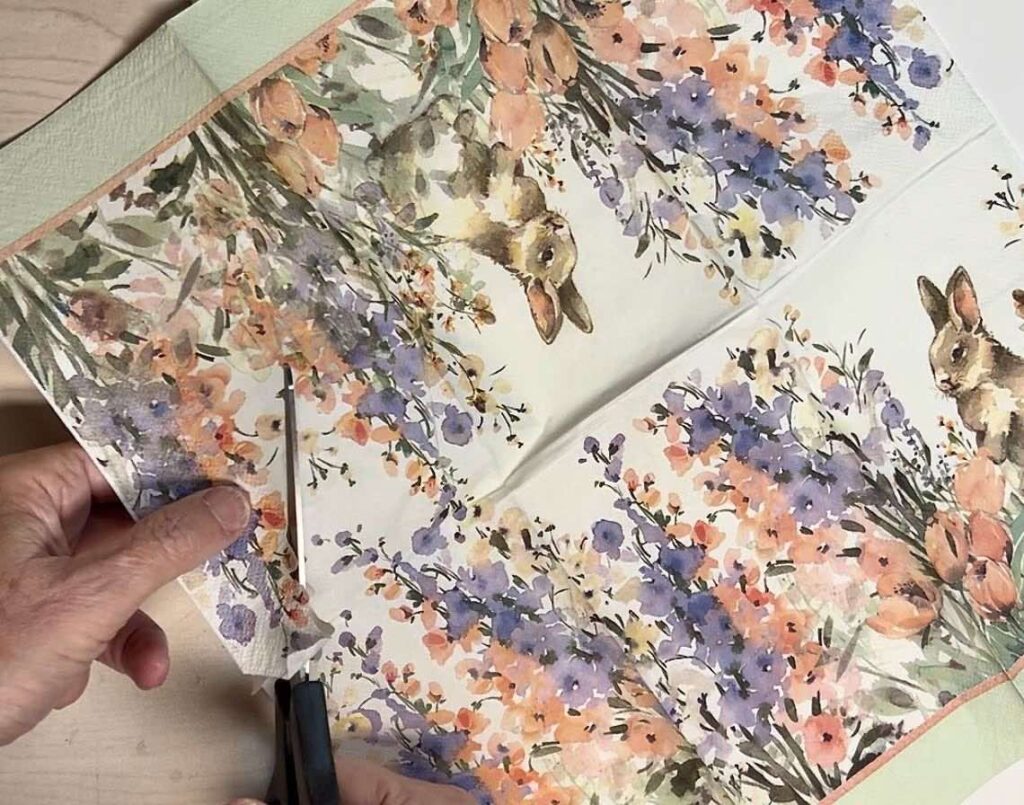
I listed this as a step after pulling the plies apart. You can certainly start by cutting around the design to lay its out the way you want it. And then separate the layers.
Follow whichever order seems to work best for you.
I tried its both ways and really didn’t see much difference.
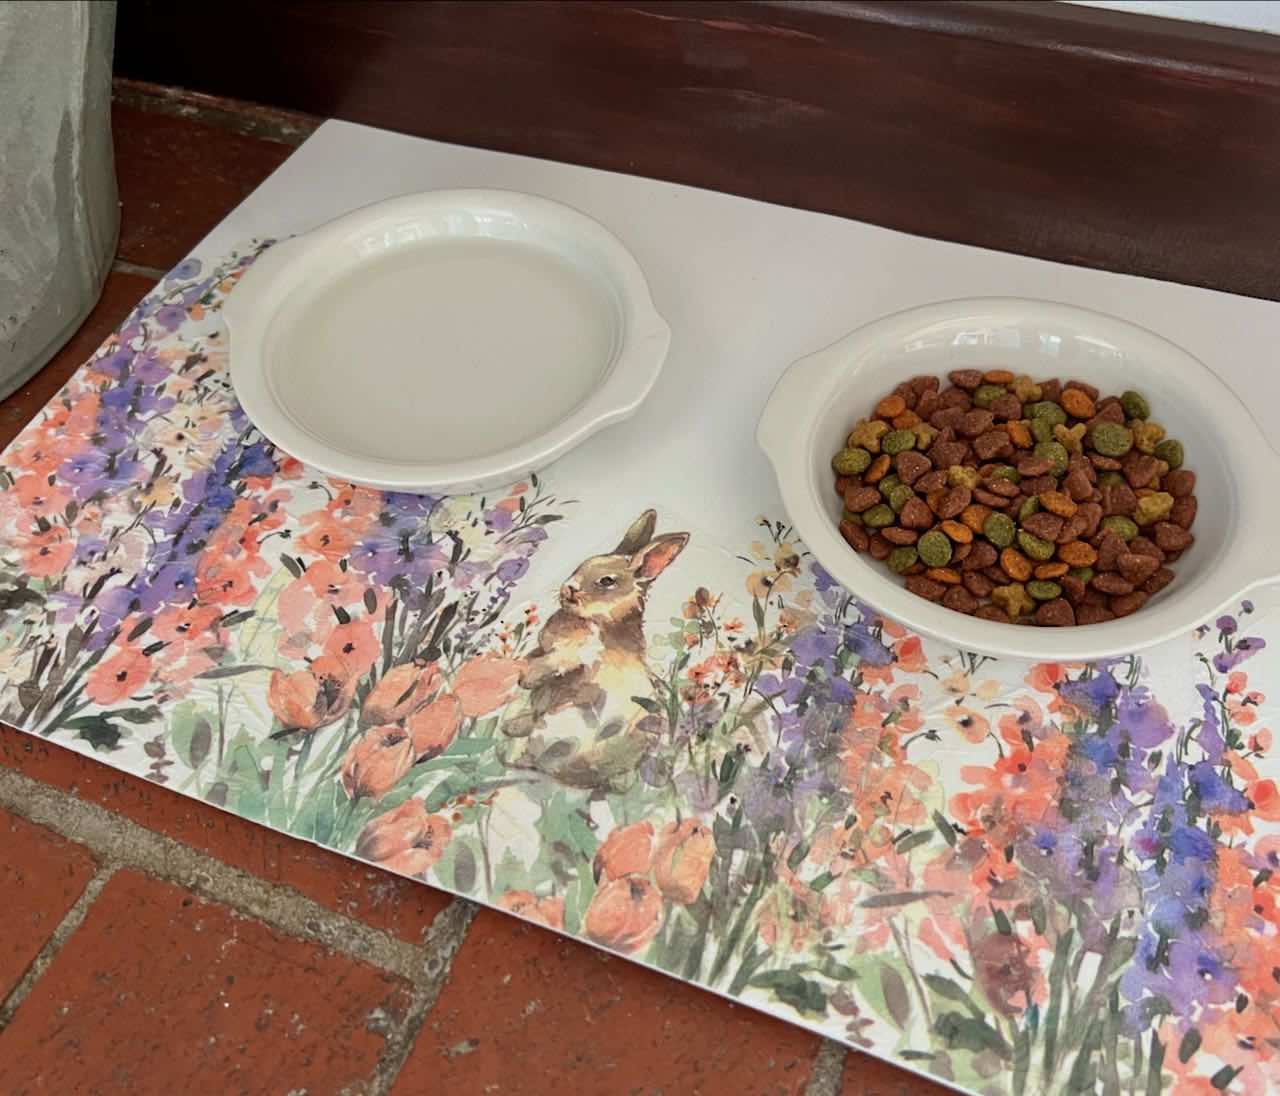
One width of my napkin was not enough to fill the all the way across the bottom of the placemat. So I cut two pieces from the other half of the napkin to continue the florals off the edge. The patterns did not match exactly. And you can’t really tell because of the fluid style of the watercolor.
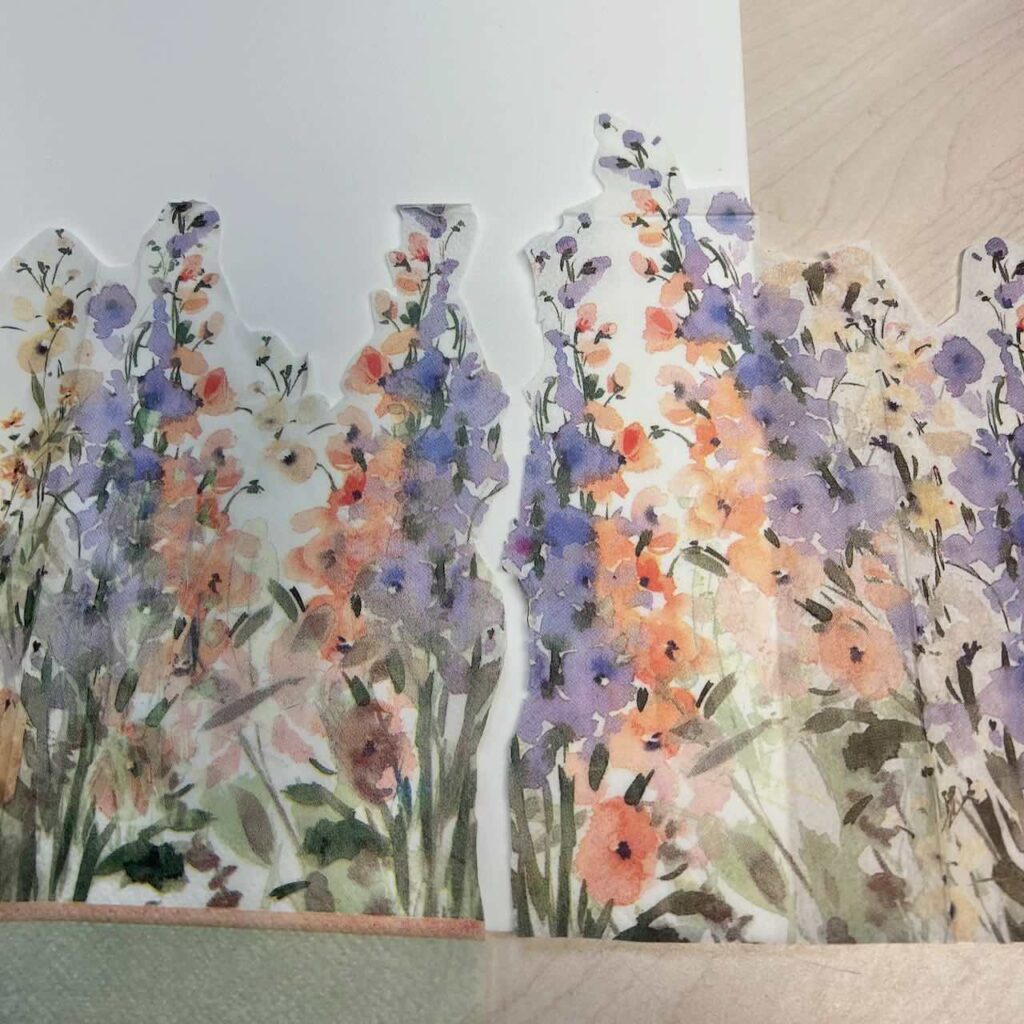

I just got it close and tried to get the two edges to meet, not to overlap.
PRO TIP: Wherever layers overlap, it will appear much darker because you’ll have the bottom layer showing through. The overlap will be obvious. Minimize the overlaps.
Because my watercolor design has a white background, small sporadic gaps don’t show and small sporadic bits of overlapping appear as natural variances in the florals.
PRO TIP: For perfect edges, do not cut your napkin to line right up to the edge of the foam. Let it hang over and cut it after the Mod Podge has dried.
Step 3) Apply Mod Podge to the Craft Foam–
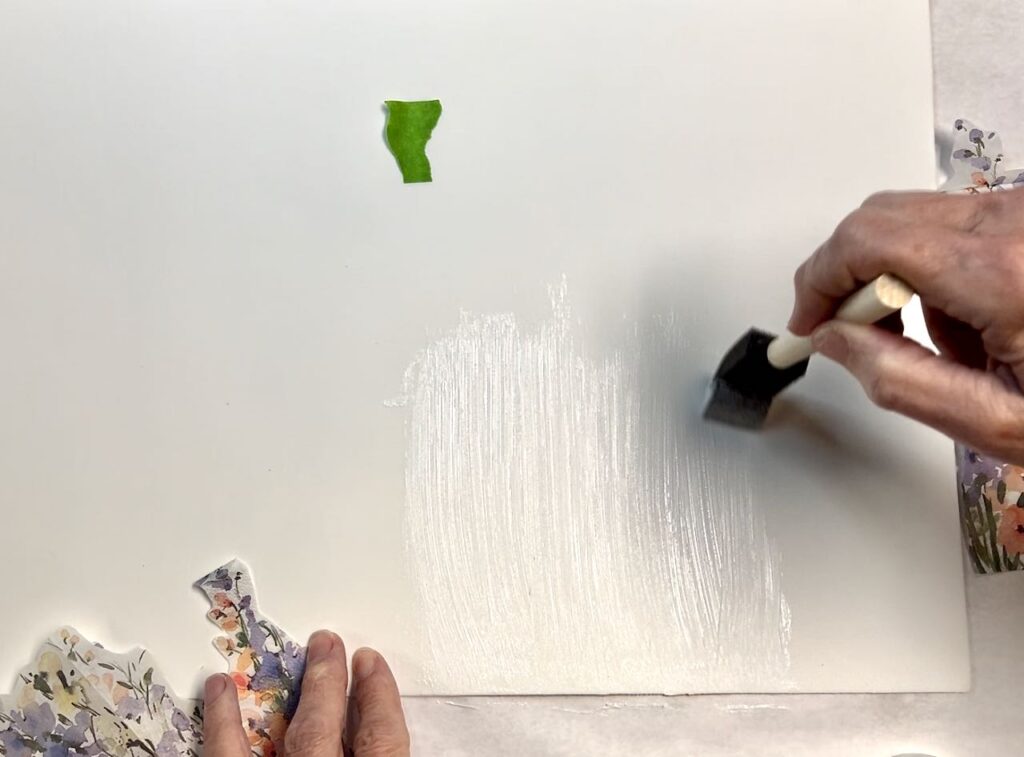
Apply your Mod Podge with a foam brush to the craft foam. Thoroughly coat the area under your design. If you discover your design extends beyond the Mod Podge, it’s easy to fold it back and spread a bit more Mod Podge where it’s needed.
NOTE: You may notice in my pictures, that I used the fabric version of Mod Podge. That’s only because it’s what I had on hand. The fabric version is very thick, I would not normally suggest it for using with paper napkins. Rather, I recommend the Matte version.
Quick Interruption to ask if you are enjoying this project. If so, please consider joining the HouseMates or subscribing:
Many Thanks!!! Now back to our napkins and craft foam:
Step 4) Adhere the Napkin–

I like to start in the center and spread outward from there.
With this design, I started with the center piece along the bottom of the place mat and worked my way up and out to the sides.
Very gently lay just the first part of your napkin on the “glue”, with you finger, gently smooth out the napkin releasing a bit more as you go. Try not to lay a large napkin piece down all at once.
I’m right handed so once the first part of the napkin touches in the right place, while holding the left side in my left hand, I gently lay down the right side, bit by bitt, lightly smoothing it with my right index finger. Then I move back to center, slowly lowering and smoothing towards the left side of the design.
Then add any extra pieces until your design is done.
Step 5) Trim Excess Napkin and Round Corners, optional–

After the base coat of Mod Podge is dry, trim off any excess napkin and round the corners if you like.
Because I have a rotary cutter and mat, I turned Grittles’ placemat upside down on my cutting mat and sliced off the excess napkins. Easy peasy!
Step 6) Seal with Top Coat–
You need to seal the napkin part of the placemat. If it will bother you that the shine may be different between the foam and the sealed napkin, certainly give the entire surface a coat of glue (Mod Podge or a diy version made with white glue).
I sealed it with the Mod Podge Matte.
Party Idea!
This is a great crafting project for an afternoon or evening with “the girls”. Offer to bring all the supplies, except they each need to bring a pair of scissors and napkin or two that would go well in their house. One jar of Mod Podge will be plenty for all. You provide the foam ($1 each) and the foam brushes (.29 each).
You’ll look like a big spender, without spending big!!! (No worries, I’ll keep your secret)
Cut and adhere your napkins. Then enjoy a snack and beverages while the Mod Podge sets up. Seal them and send them on their way home.
Wrapping Up
Our dog’s water bowl is always out right there in the kitchen. And we know the kitchen is where everyone hangs out, right? I can’t believe that it took me way too many years to realize that a fun pet placement would be such a great project and way to bring some unexpected style to our kitchen and his meal time.

I mean if everyone is going to be seeing his water and food bowl, shouldn’t they be cute and stylish? Of course they should.
Be sure to save Pin this Post, so you’ll be able to find it when the time is right for you.
And please share this project with a pet-loving friend!
Talk about a creative solution to one of life’s little stress points: how to protect the floors without spending a bundle and have it stylish rather than just utilitarian.
And if you’ve been around here long, I hope you realize that I am all in on creative solutions to life’s issues allowing for more joy-filled living.
Thanks for joining me today! I hope you add some Spring fun to your pet’s food bowls

Thank you for sharing this adorable and easy project. I’m going to do this for our Sadie.
Oh, I’m so glad to hear that Carol. I’d love to see a pic of Sadie at her mat.
Loved it all and very SPRING!! Thank you for all your easy instructions. Keep up the good work.
Thanks Jeannie! I hope you make one, or three, for your special fur baby!