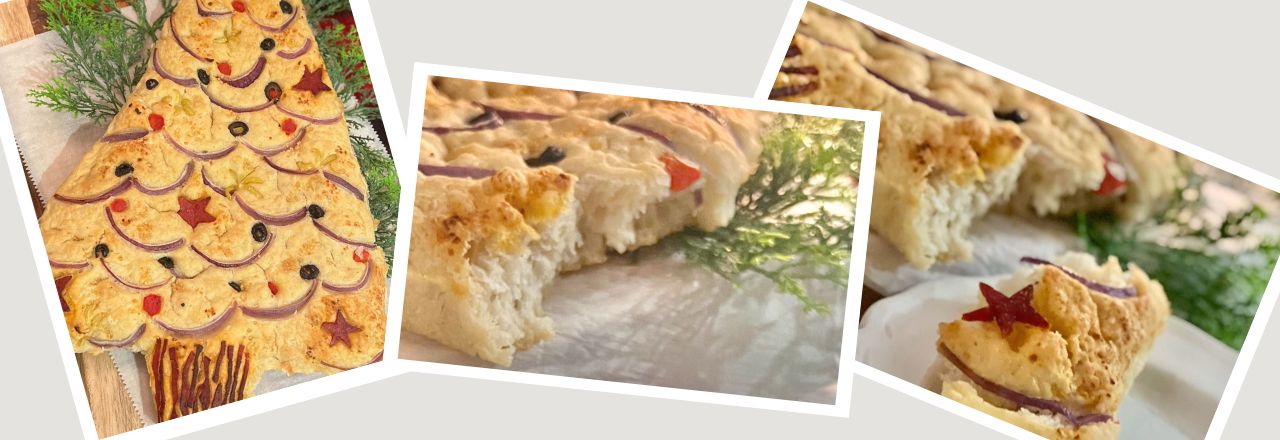
How to Make Homemade Focaccia Bread Festive For Christmas
Treat your guests to a delicious, focaccia Christmas tree. It’s festive focaccia bread art that’s perfect for any casual gatherings. Grazing board, anyone?
‘Tis the season for all things festive, including delicious Christmas-themed food!
If you’re looking for a way to make your focaccia bread stand out from the rest, I’ve got a few ideas for you.
So get creative and have some fun with your food this year!
Your guests will love it! It’s delightful to look at, unbelievable to smell and then there’s the savory pillowy goodness you get to eat. Mmmm, mm, mmmmm!
Beyond this, I’m thrilled to be kicking off this week of Christmas Cheer and Inspiration with four of my best blogging buddies.
Today, Monday, we are each sharing a favorite holiday recipe. Of course, so much of our celebrations center around food and beverages, from counting our blessings thru to toasting the New Year.
Each of their amazing recipes is at the end of this post.
Before I get sidetracked — tomorrow, is Tablescape Tuesday! You won’t want to miss it.
So let’s get cooking, shall we?
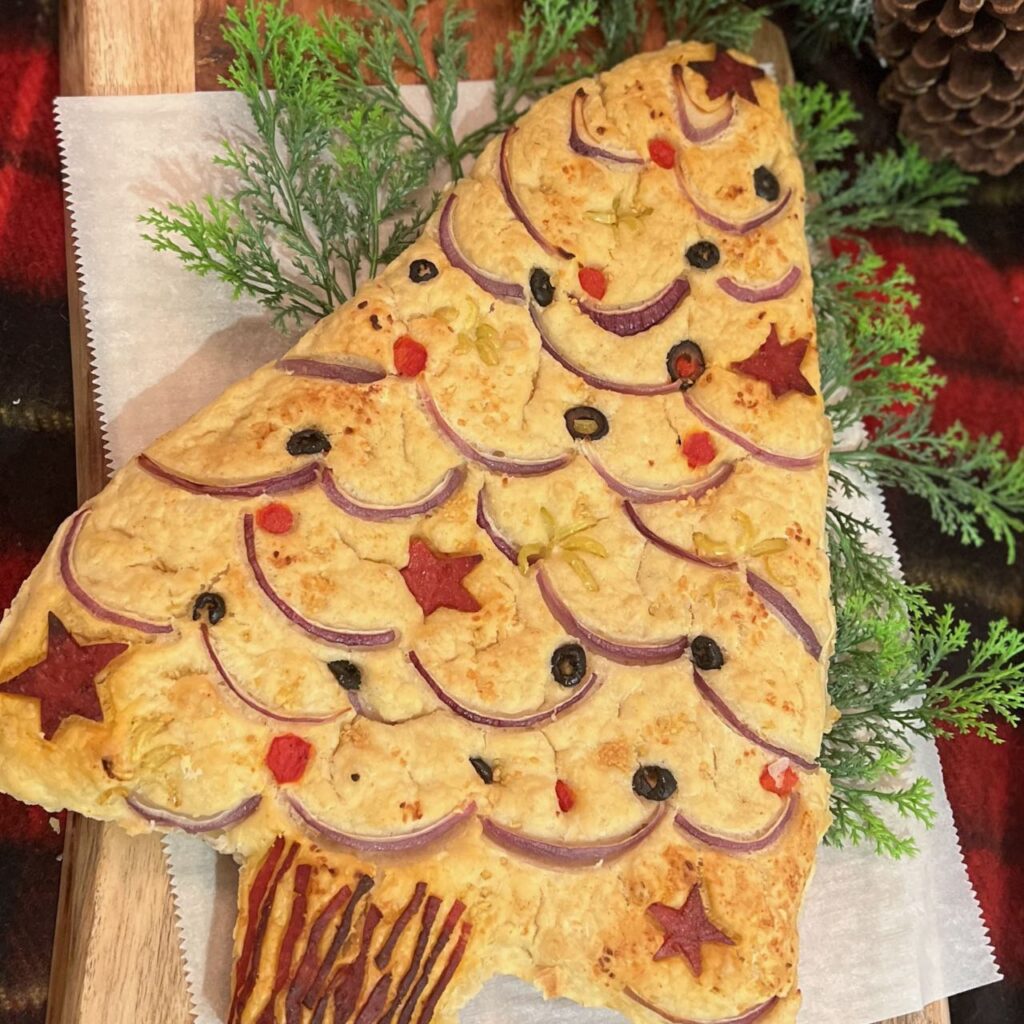
This is one of our favorite recipes — I think you can see why even if you can’t smell it!
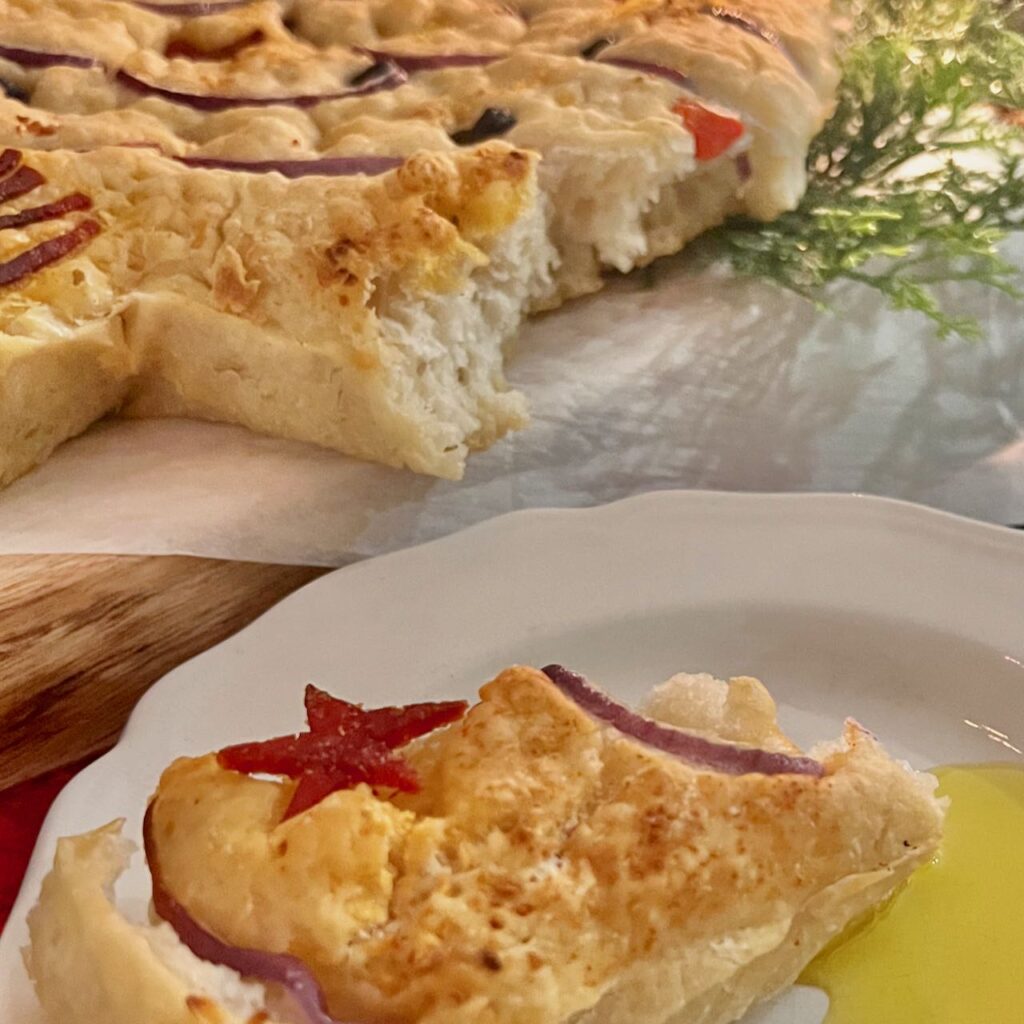
You know how they say you should have bread baking in the oven when you show your house? This is what we would have baking in our oven!
Is Focaccia Dough the Same as Bread Dough?
It is a yeast dough, made with some variety of flour. And that’s about it for commonality. Focaccia typically uses just water as its liquid and olive oil. Other breads can use those but often might also include milk or creams or even melted butter.
Focaccia dough is a very sticky dough, often times is not kneaded or just minimally. It is most often baked in a large flat sheet pan.
And it’s this low flat baking that allows for the fun in decorating it — making it into focaccia bread art.
Pizza dough is different from focaccia dough Focaccia typically has a higher ratio of yeast which adds to it’s pillowy goodness.
Do Italians Eat Focaccia?
You bet they do! Fresh from the oven, they are one of the great street fares. Plus you will often find them stuffed with veggies, cured meats and maybe cheese (not Cheddar or Colby mind you).
What they are stuffed with and how fluffy they are will vary by region. Just like BBQ in the US!
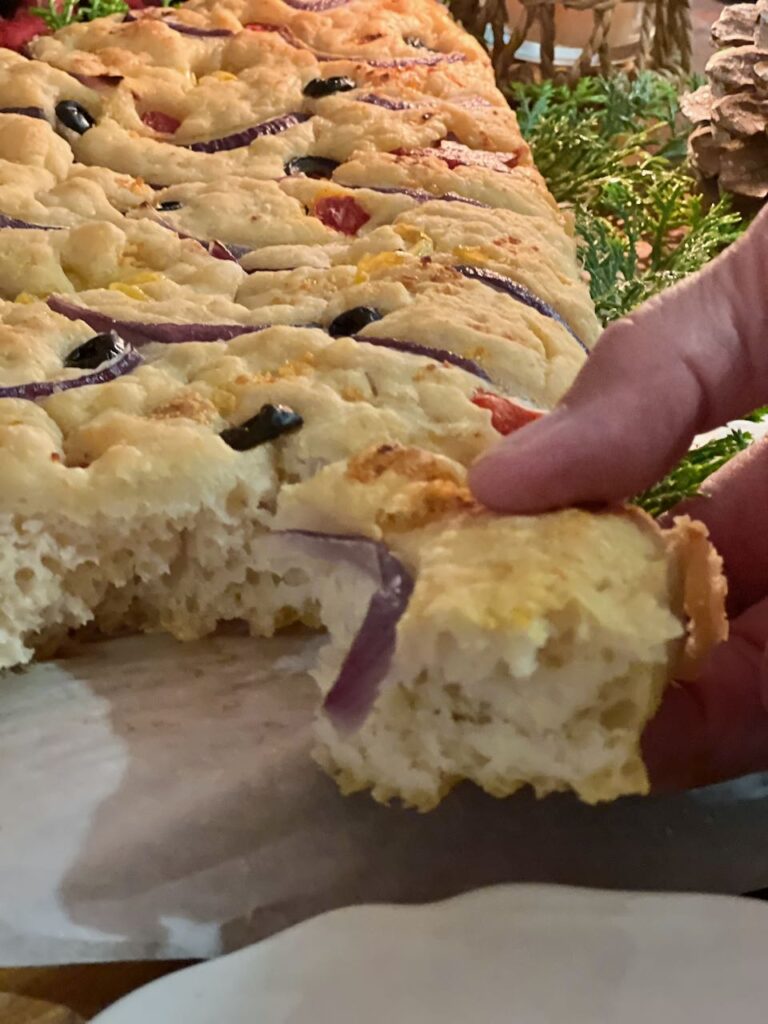
Table of Contents:
Let’s Start With the Foundation:
The Focaccia Bread Dough-
Materials & Supplies–
In addition to the baking ingredients listed below in the recipe, you’ll need:
- a sheet pan
- foil
- parchment paper
- a bowling bowl
- spatula
- measuring spoons and cups
- plastic wrap
- food scale — optional
The links in this post may include affiliate links, which means if you purchase anything using these links, you pay no extra, but I may receive a small commission that helps keep this blog running. I truly appreciate you using affiliate links whenever possible. Please know that I will never recommend a product I do not believe in!
Step 1) The Dough-
The Yeast-
By far, focaccia dough is the easiest yeast dough to make. If you are new to making yeast bread, this is the recipe to start with! And this is a great basic focaccia recipe. It’s our favorite recipe for adapting and getting creative with.
There’s no kneading required! No fancy equipment. I just use a bowl, spatula, measuring cups and spoons and a sheet pan. But you can even use two pie pans if you don’t have a sheet pan. A food scale is helpful, but not required. This is super forgiving.
Don’t let the idea of yeast intimidate you!
Typically you sprinkle the active yeast on the top of your pre-measured warm water and let it sit from 5 – 15 minutes to let it “bloom”. You’ll know your yeast is live when it starts to foam a bit and it releases it’s “yeasty” aroma. It’s the active yeast that makes the dough rise.
This batch was the first time I used a short cut that I had read about from Ali at Alexandra Cooks. She skips the “bloom” process entirely. She mixes the yeast in with the flour and salt.
I suggest this only if you are confident that your yeast is active. If you have used yeast recently from the same jar, I’d say you’re safe. If not, it’s a good idea to do a “test bloom” while you’re gathering your supplies. Put some warm water in a small bowl. Sprinkle a bit of yeast on top. Gather your supplies, empty the dishwasher, wipe down the refrigerator doors, then in 5 minutes, check on your yeast. If it is starting to foam a bit or at least turning the water murky and you can smell it, then you know your yeast is good and you can proceed with the recipe.
Combine Your Dry Ingredients-
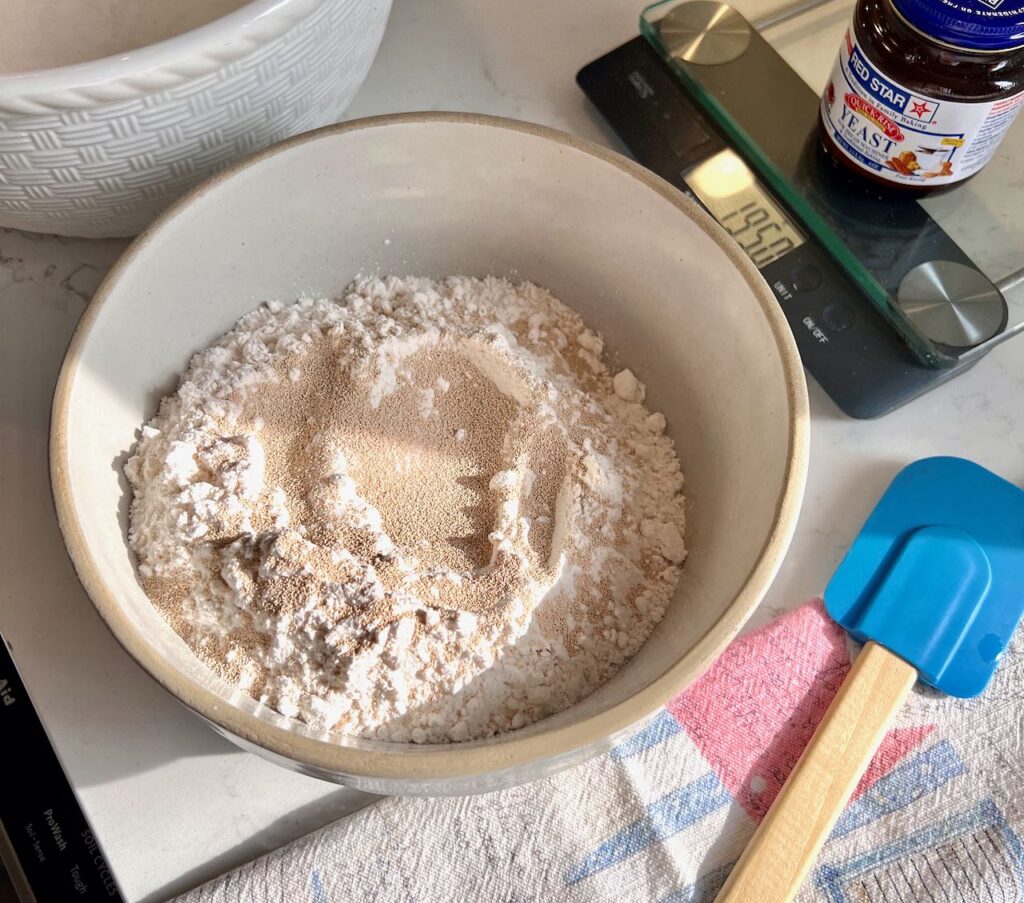
4 cups of all purpose flour (you can also use cake flour, gluten-free flour or really any combination)
2 teaspoons salt (it seems like a lot, I know)
2 teaspoons yeast (I use basic Red Star double active yeast in a jar I keep in the fridge)
Dump these all in your bowl and whisk to mix thoroughly.
We like our focaccia to have extra flavor, so this is where I will typically add minced garlic, roasted garlic, minced olives, caramelized onions, minced roasted red peppers, even minced pepperoni. Whatever sounds good that you have on hand. Just mince them small and mix them in thoroughly.
Add Your Water-
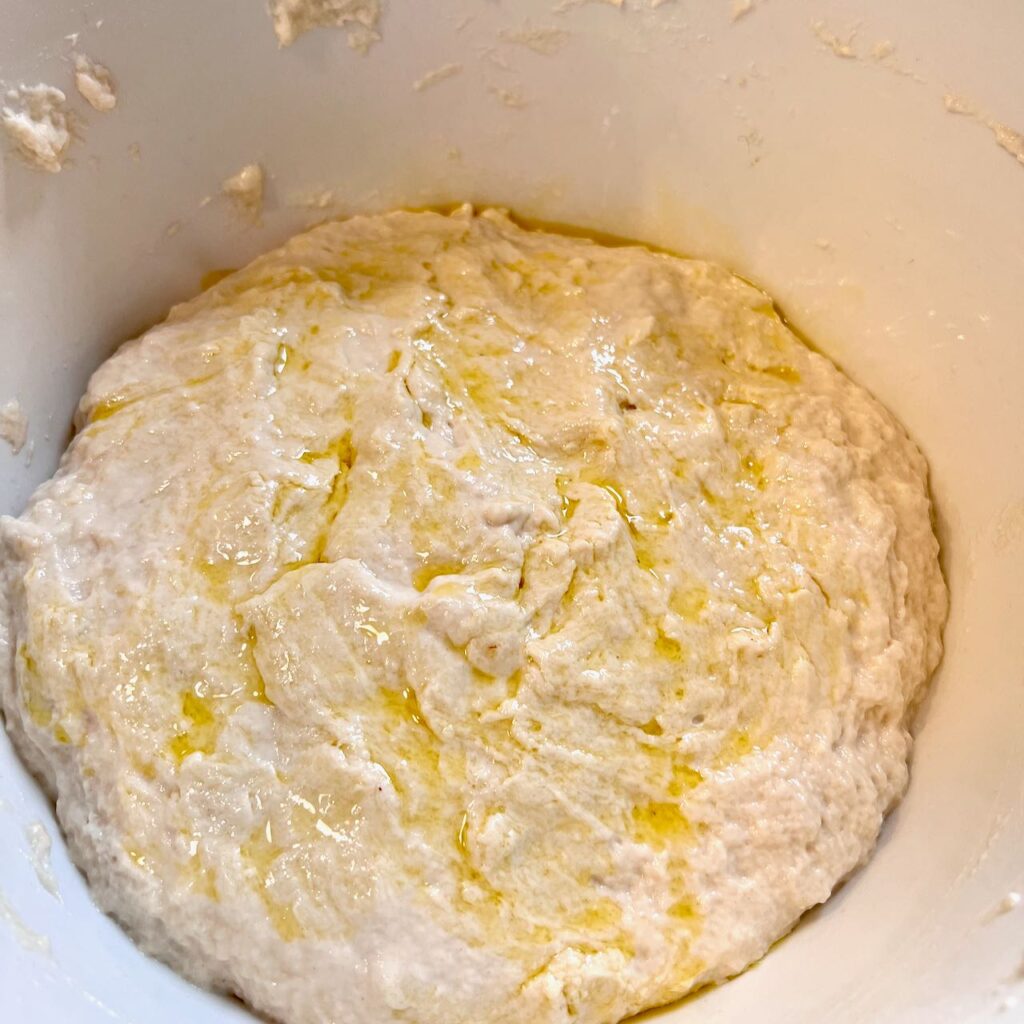
Add 2 cups of warm water into the bowl with your dry ingredients.
Now with a rubber spatula, mix this well, being sure to scrape the base and the sides of the bowl.
This will be a very wet, sticky dough. That’s part of its magic.
Prepare a large bowl. Your dough will rise a lot, so use the largest bowl that will still fit in your refrigerator. I always wipe it with a bit of olive oil and then transfer my dough into this large mixing bowl. It’s critical for you to also coat the top of the dough with olive oil and then cover tightly with plastic wrap or a clean tea towel held tight with clips or a band, or another airtight container. You want to keep it well covered so it stays moist.
Place it in the refrigerator. And that’s it! Easy, right?
Your focaccia dough needs to rest in the cold there for 12 hours minimum. I usually have mine in closer to 24 hours. And I’ve heard it can sit there for several day
Step 2) Prepare Your Sheet Pan-
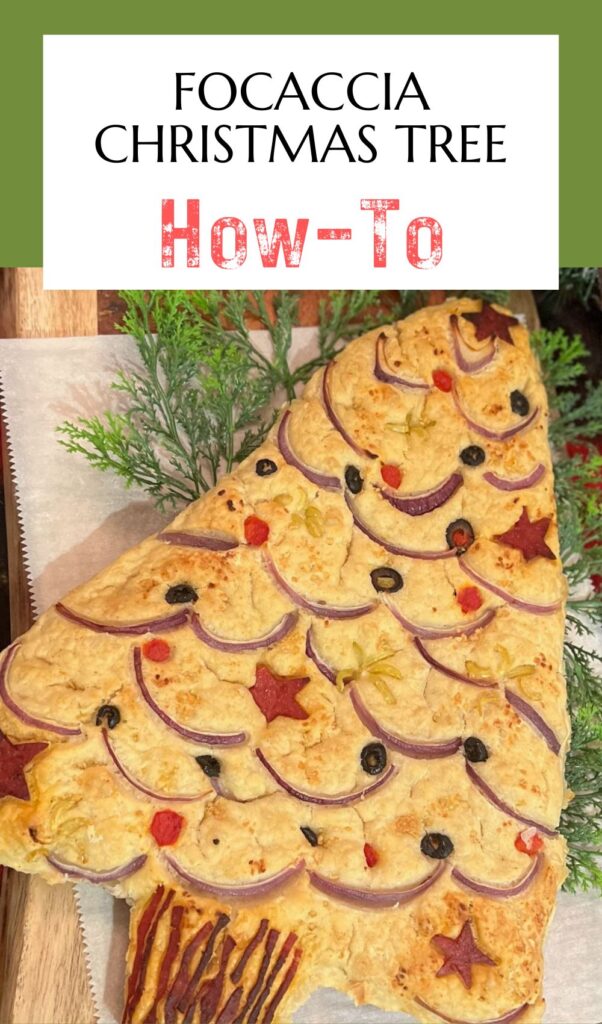
There are many examples of decorated focaccia bread out there. Why not make it extra festive by shaping it in a Christmas tree design?
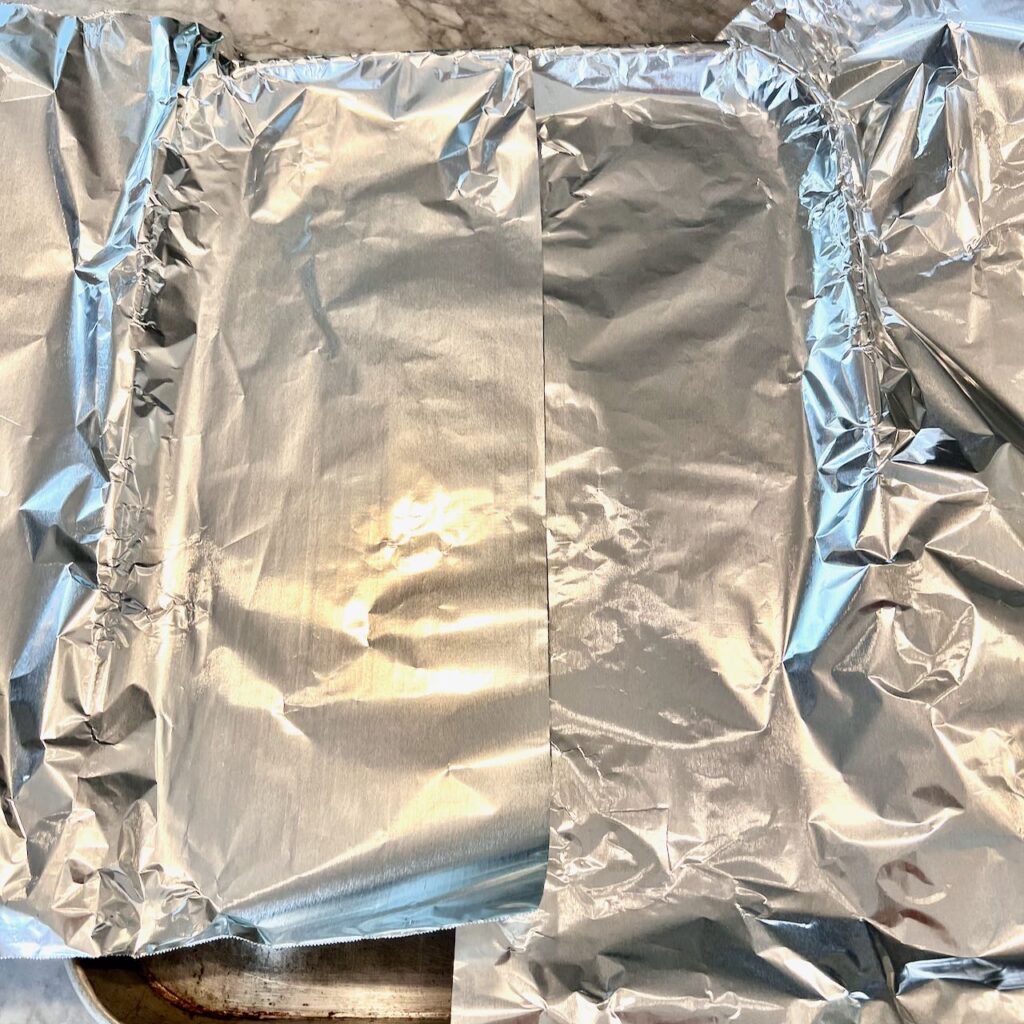
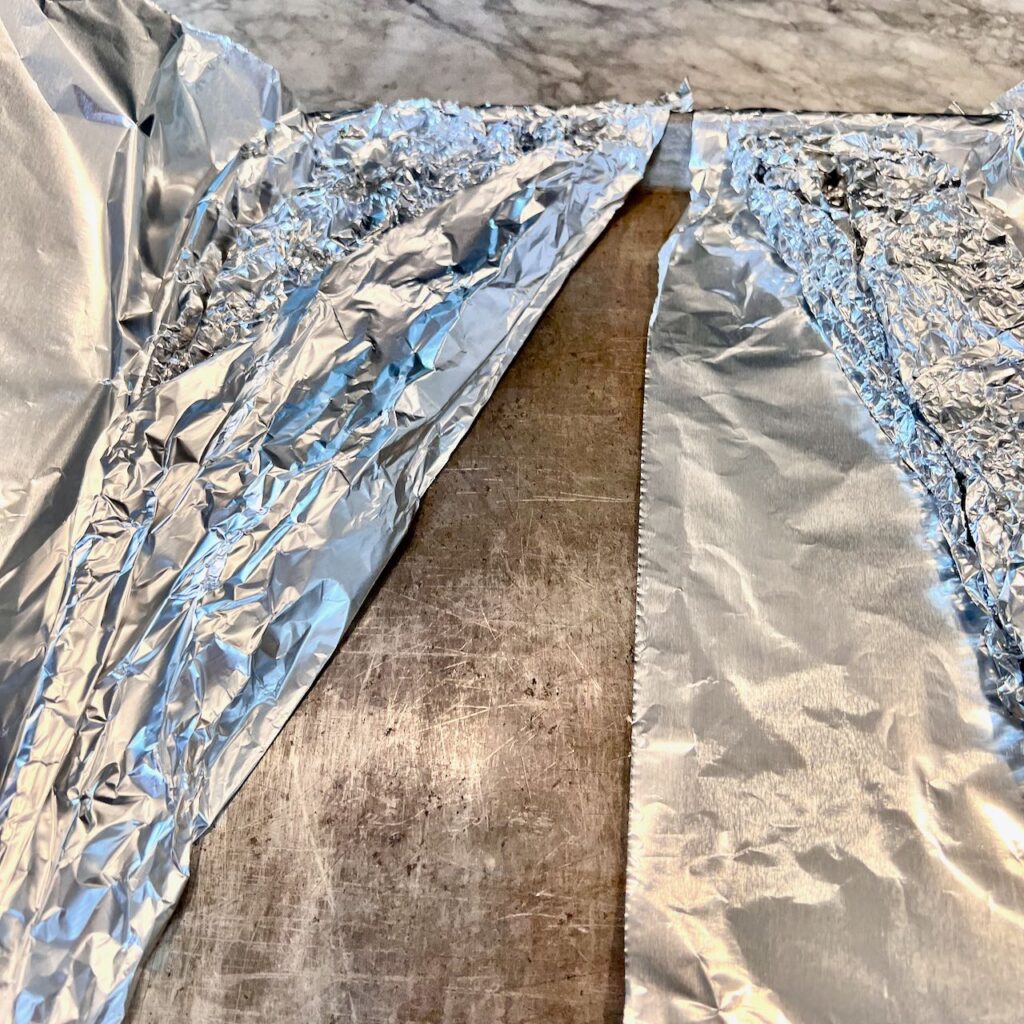
I started with one length of foil on each side of the sheet pan. Then I loosely wadded up more foil to fill the top two corners with long triangles. Then I folded the flat pieces back over the triangles and secured around the lip of the pan.
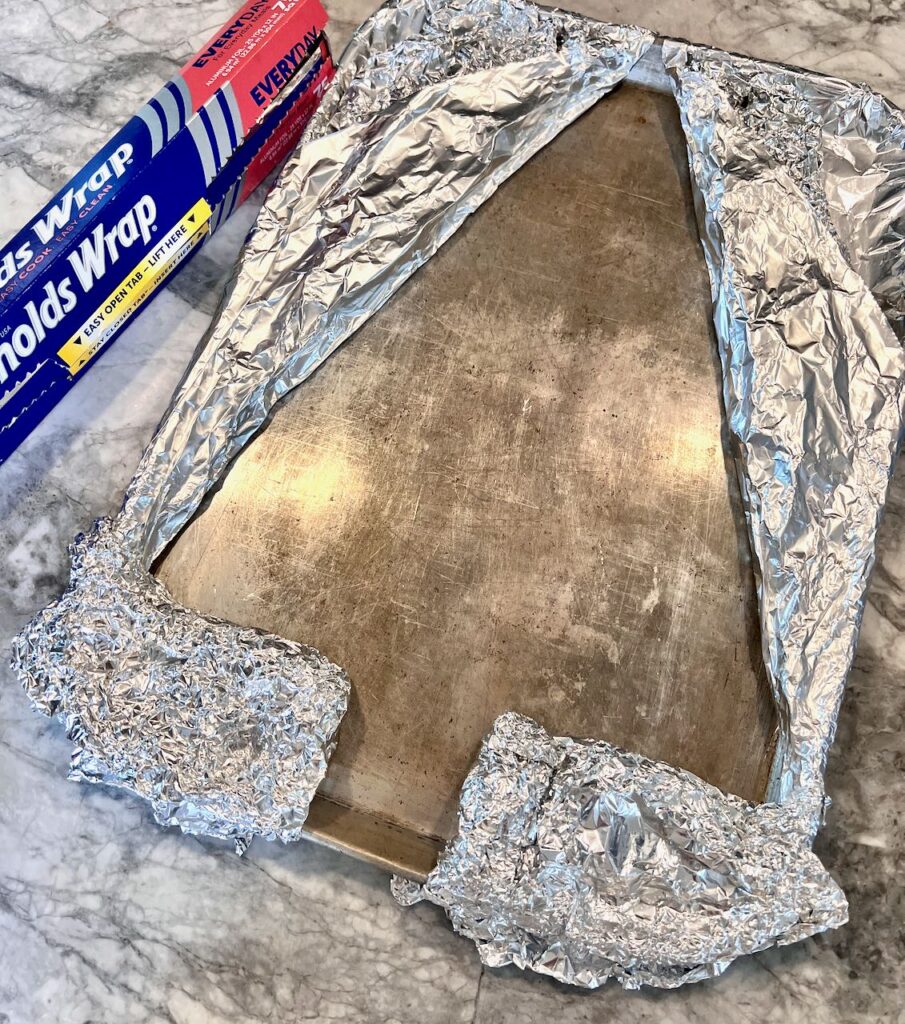
I repeated this process in the bottom two corners with rectangles creating a void in the shape of a a tree.
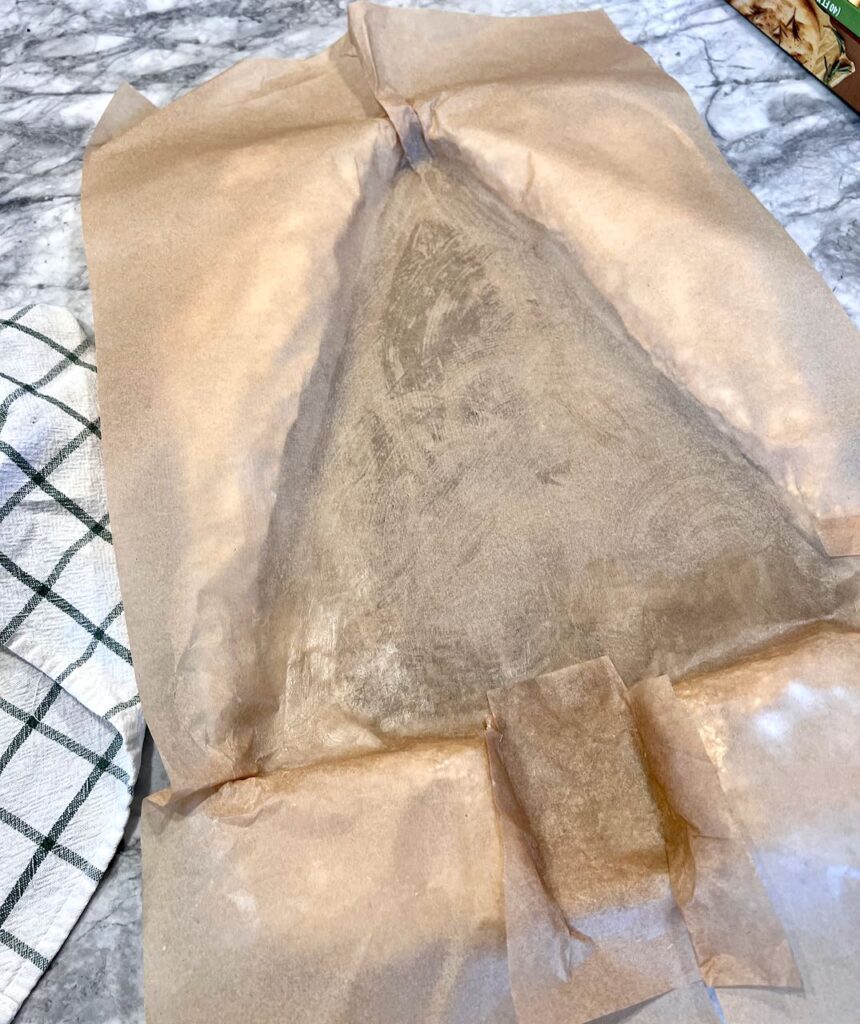
Just before you take your dough out of the fridge, add a layer of parchment paper over all.
TIP: slather a layer of shortening or butter on the baking sheet and your parchment paper will stick to it making this much easier.
I cut off one large length of parchment paper and pleated the top at the top of the tree. Then laid it in place starting at that point and creasing and folding as I moved downward. Another pleat at each bottom corner of the tree is also necessary. Then I clipped the corners of the paper at the points where the trunk meets the tree. And added a second small piece of parchment paper to cover the pan at the trunk overlapping and using shortening to hold in place.
It seems excessive, but wipe the parchment with more olive oil. Trust me on this. It’s very sticky dough.
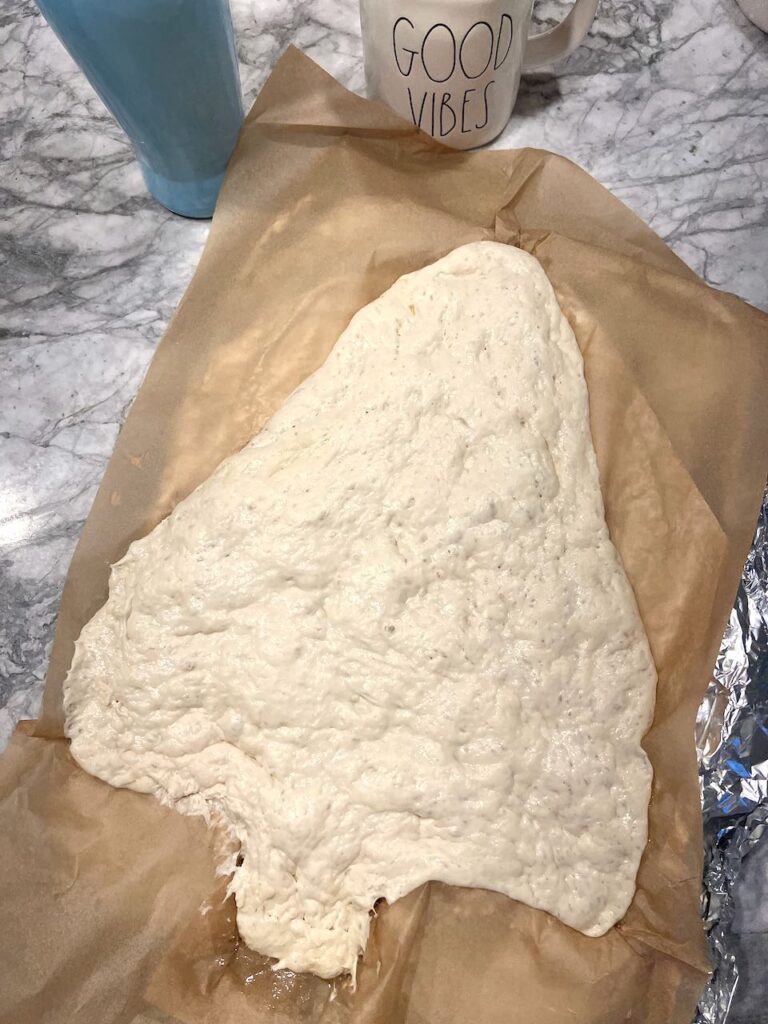
Remove your dough from the fridge and punch it down a bit with your hand or spatula and pour it into your parchment line sheet pan. I then spread mine out a bit so that I knew it would fill the top and trunk.
Now let it sit undisturbed in a warm place for another, its second, rise. Really, don’t fuss with it!
It will take from 1 1/2 – 3 hours depending on the environment. I used the proofing feature on my oven. If you don’t have that, you can turn your oven to preheat to 250 and then turn it off after a few minutes, crack the door open to make sure it’s not too hot too quickly. Then place your dough in there to rest.
Step 3) Decorate Your Focaccia Art-
Here’s the fun part!
What should you use for your focaccia toppings? So many options! Really anything that will hold up to high heat.
- red onions
- red peppers
- yellow peppers
- banana peppers
- sun-dried tomatoes
- black olives
- cherry tomatoes
- fresh herbs
- green onions
- asparagus spears
- hard salami or pepperoni
- parmesan cheese
Just to get you started
While you’re waiting for the second rise, get your toppings sliced and ready.
Preheat your oven to 425.
After the second rise, whether you are decorating your focaccia or not, you want to dimple your dough. This is using your knuckles to make dimples all over the surface of the dough. you can press surprisingly deep.
Once you’ve dimpled, the goal is to get your dough in the oven pretty quickly. If it sits for a while, it will start to rise again and you will lose some of the pillowy air bubbles inside. We’re going for lots of air bubbles inside and crevices on top.
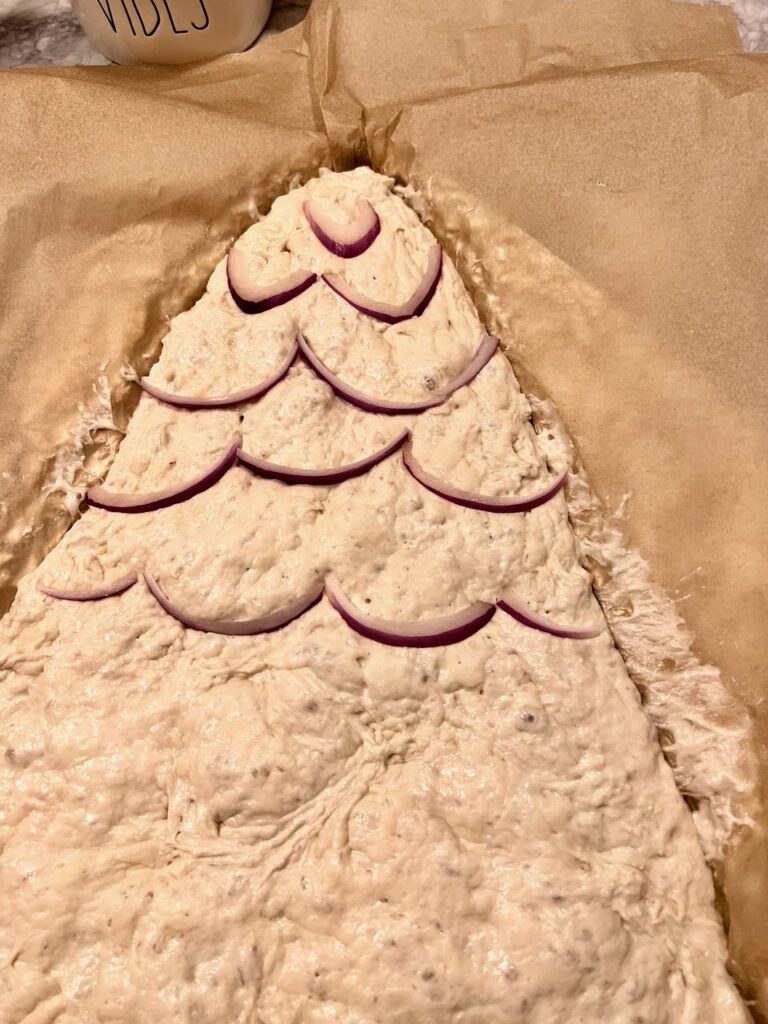
For my tree, I started with the garland — my arches of red onion.
This is very forgiving. I started with concentric rows of the onion swoops. More than halfway down, I decided I wanted them less regular. It was easy to pull them up and start again.
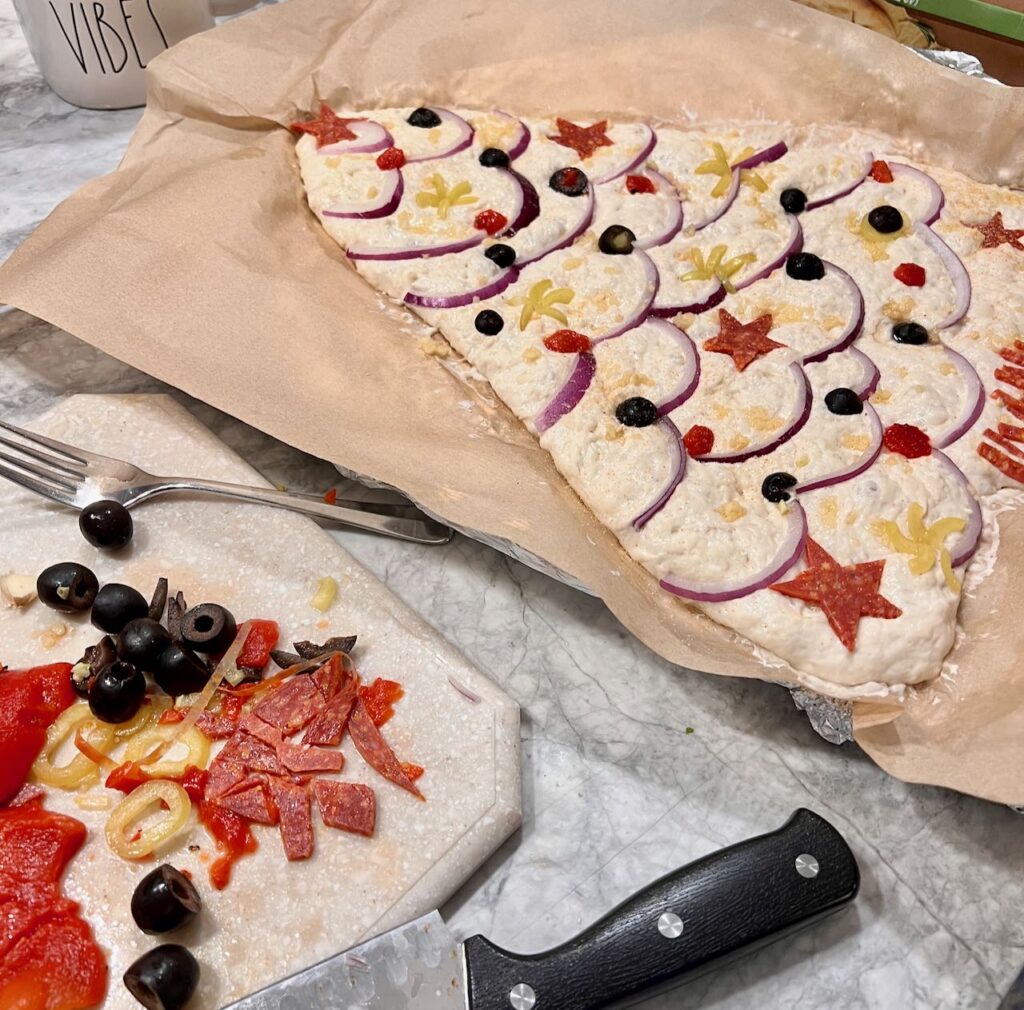
I did the same making my banana pepper stars, starting one way and then changing course.
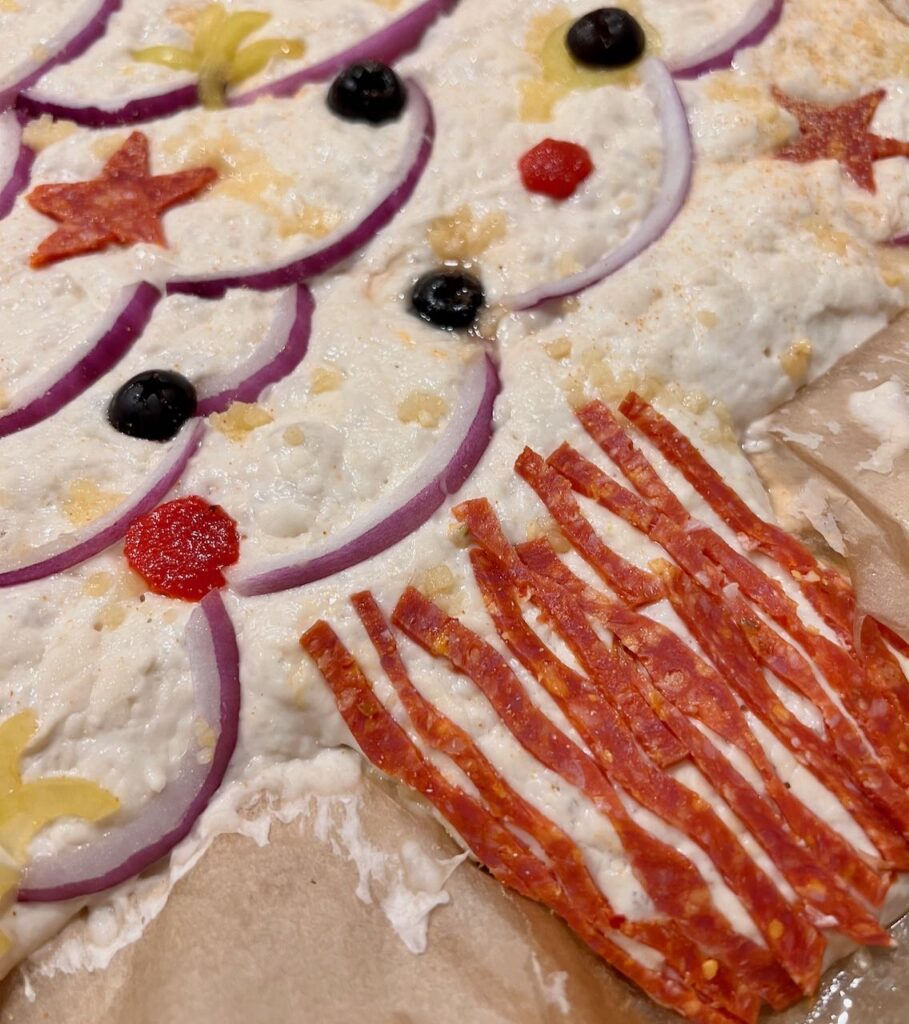
The tree trunk is little slivers of pepperoni. The ornaments are roasted red peppers cut into little circles and the end of black olives. And more stars are cut from pepperoni.
I pushed these down into the dough rather significantly. My hope was that the onion swoops would create almost perforated lines to tear off a section of tree rather than cutting it into squares.
Happy to report it worked perfectly.
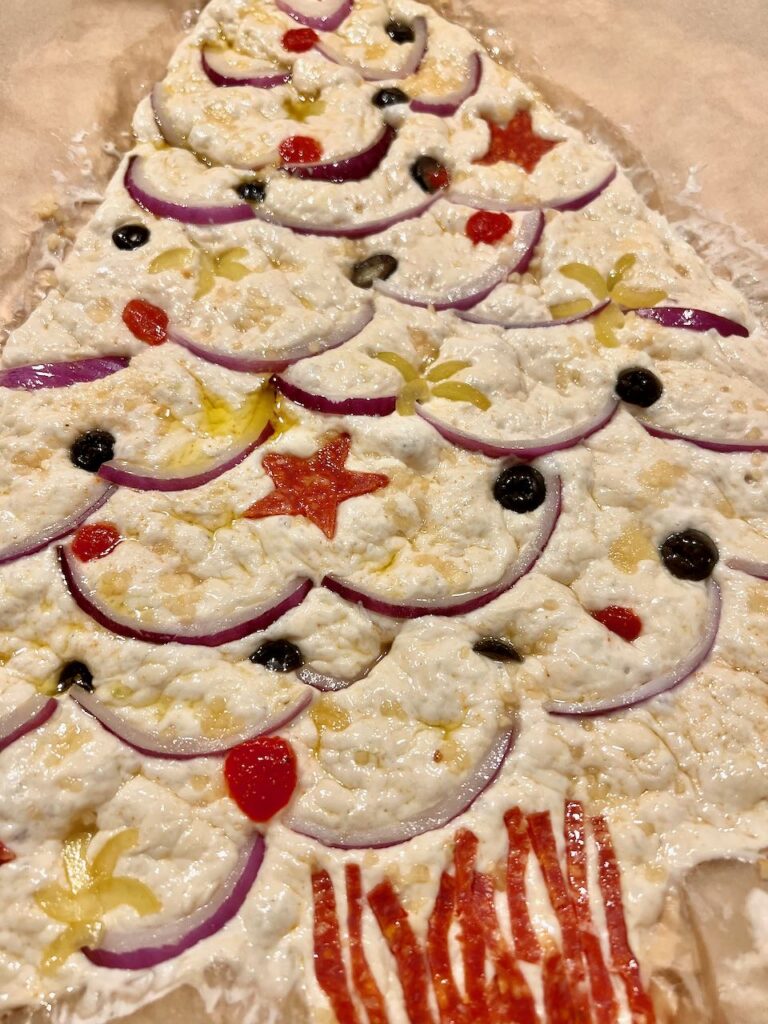
As soon as the last star was in place, I poked it all down good and brushed on a thin coating of olive oil with my pastry brush.
NOTE: Some toppings may char, but olive oil will help prevent this. And if it still chars, don’t sweat it. A little char is delicious and part of the rustic bread appeal.
Step 4) Bake-
Bake for about 25 minutes, or until golden brown.
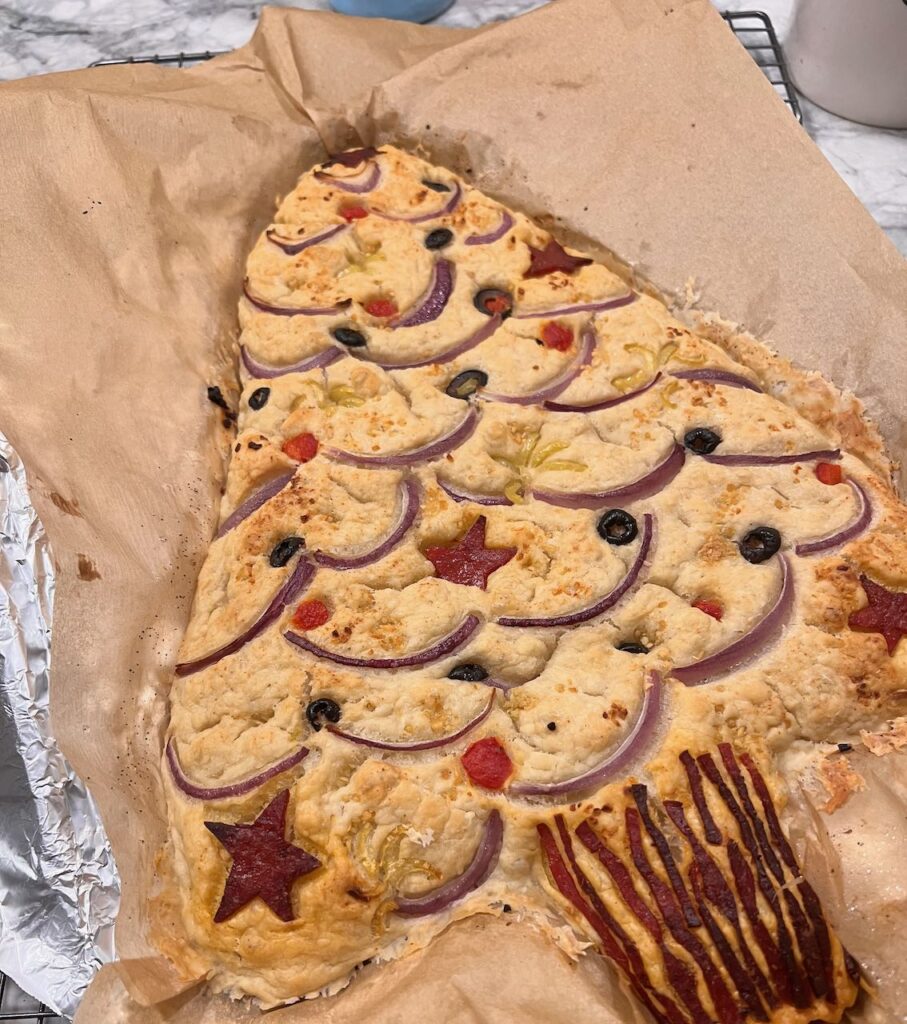
Remove from oven and let cool for 5 minutes. Then lift the parchment paper out of the pan and transfer your tree to a large serving board, tray or platter.
Ready to see the finished focaccia tree?
But first, are you enjoying this post? We are just heading into “my” season. So hang on, there’s so much more coming! Don’t want to miss a thing? May I suggest subscribing? You pick how much!
The Final Results!

Gather some friends, light some candles, start a great playlist and enjoy!
Serve with plenty of high quality extra virgin olive oil.
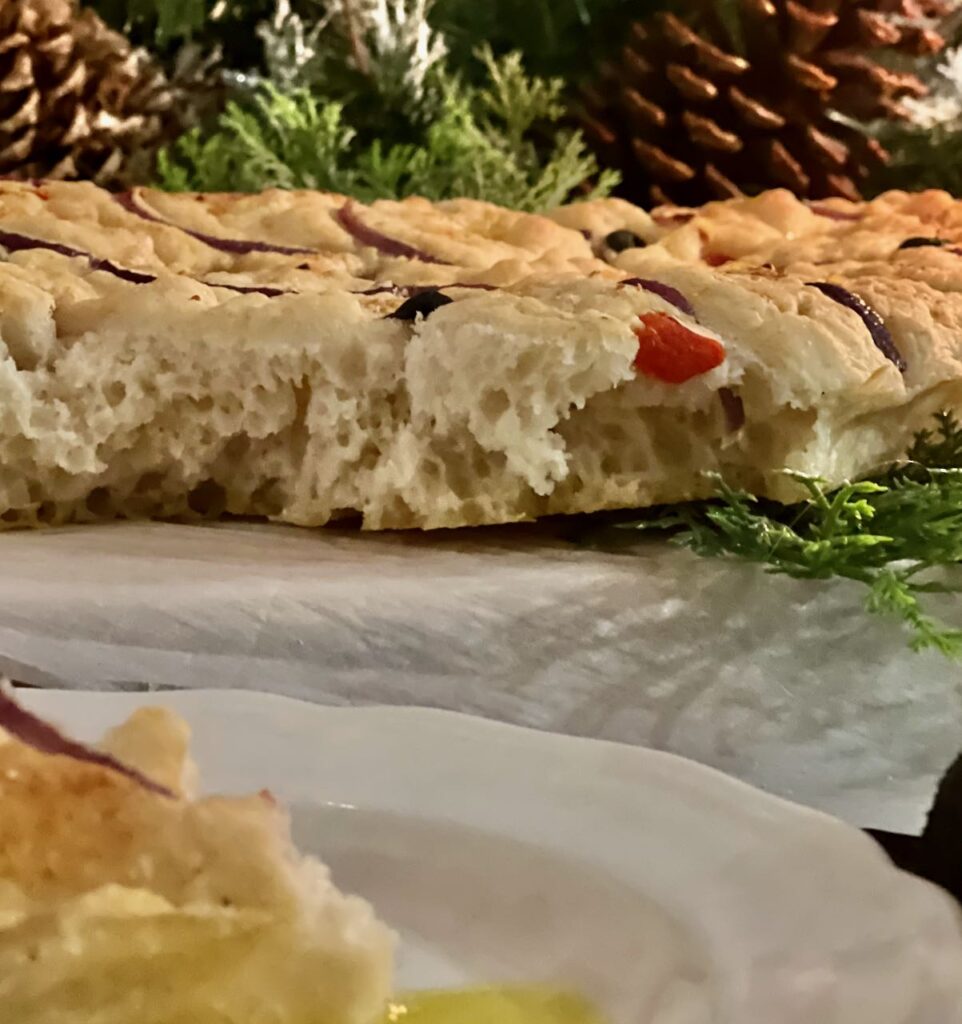
How Else Can You Serve Focaccia? Three of our favorites:
- dimple and add flaked salt and slivered parmesan on top. Cut in crosswise lengths and serve as breadsticks with pasta
- slice the slab in half horizontally and make one large sandwich with pesto, cheese and your choice of fillings reheat and serve small squares
- I’m really partial to a grilled cheese with caramelized onions made with focaccia – comfort & decadence!!!
- use the dough recipe as a pizza crust split between two deep dish pans.

Pin it so you don’t Forget it!
Pin it on your Christmas board,
your entertaining board.
your recipe board.

Lynn – Living Large in a Small House
Signature cocktails are fun especially at this time of year so Lynn is sharing how to make the perfect holiday cocktail. She has 5 different cocktails to go along with 5 different types of holiday events.


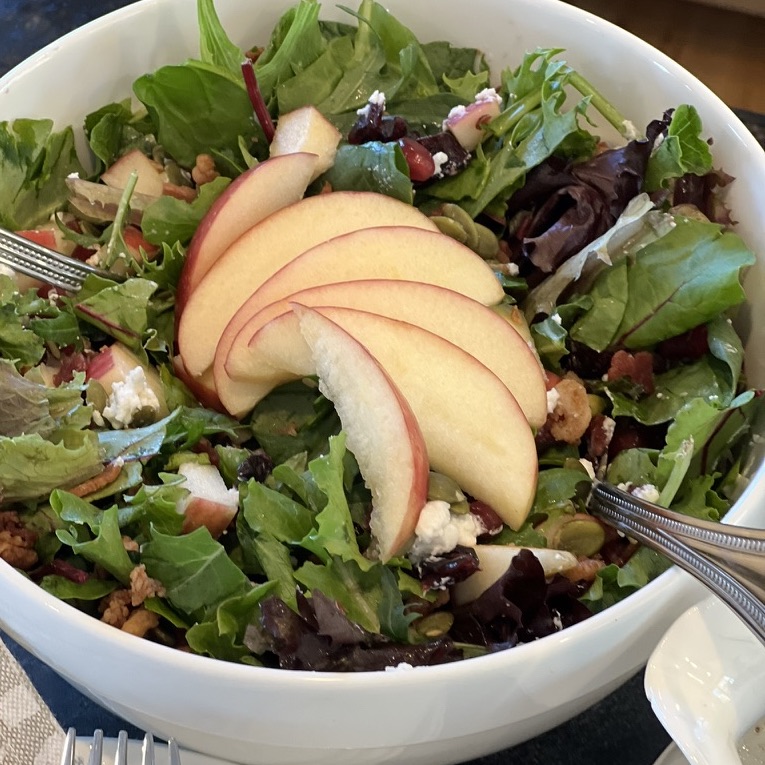
Chill is in the air and that means it’s time to start thinking about delicious harvest salads for your Holiday Feasts! This festive salad recipe is easy to follow and perfect for a nutritious lunch or dinner. Plus, it’s hearty enough to keep you satisfied all day long.

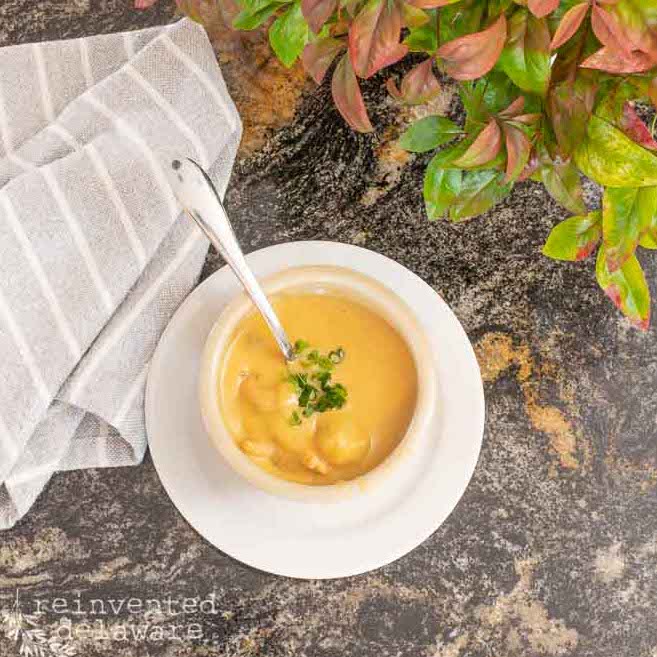
This easy shrimp bisque instant pot recipe is the perfect starter for a special occasion or for any night of the week. Ingredients can be kept on hand so this delicious soup can be made in just 30 minutes!

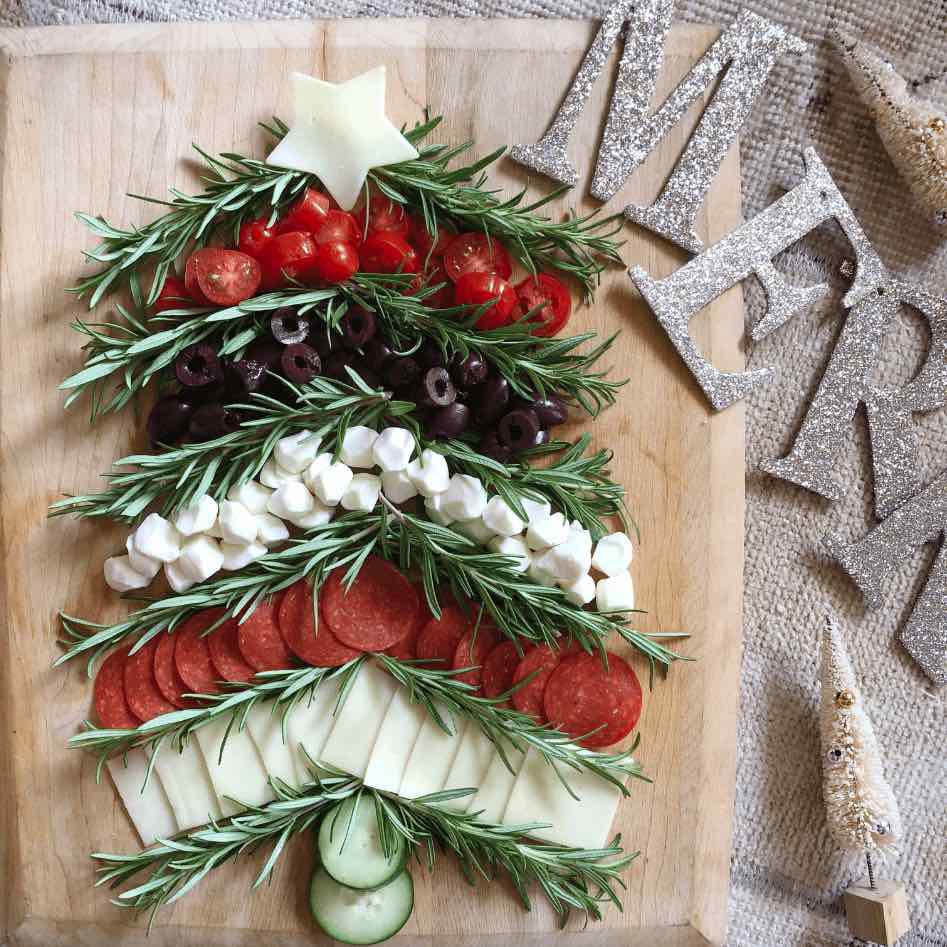
Michele – Vintage Home Designs
This Christmas tree charcuterie board is so easy to put together. It’s very festive and perfect for any holiday get together.

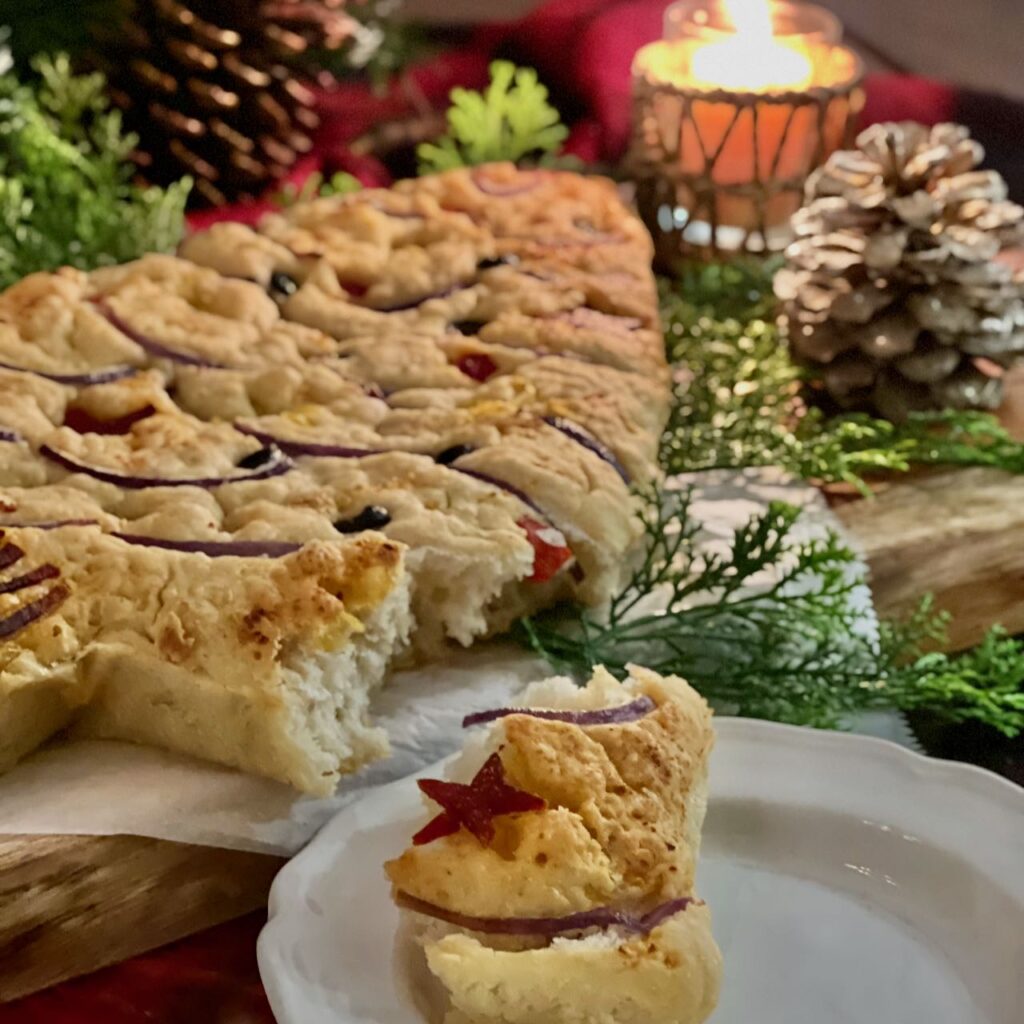
And one more parting shot of this delicious yummy light, chewy focaccia.
Can you smell it?
So good! Now if that doesn’t bring joy I don’t know what will!


I was blessed to sample some of Diane’s bread tree. DELICIOUS!!
It sure made a yummy dinner, didn’t it?
This is amazing! I love it. So festive.
Wow – this is fabulous! I love to make focaccia and this Christmas tree decoration is the coolest! I can’t wait to try it! Thanks for yet another wonderful idea and tips!
Isn’t focaccia the best? And I love it for grilled cheese too!
Omgoodness this looks amazing! I could make a meal out of this bread!
Funny you should say that, we actually did!