How do you hang your Christmas Stockings? It’s the question I get All. The. Time!
It depends.
I hang Christmas stockings, lots of Christmas stockings. Like 8 – 10 different groups of stockings every year.
I have several tricks I use to hang my stockings. Each one eliminates the need for individual stocking hangers that limit, if not totally botch your mantel display dreams. (Can you tell this is a peeve of mine?)
Which method I’ll use is determined by which fireplace I’m using and what mantel display I want to pair with the stockings I’m preparing to hang. In a previous blog post, you can see my original stocking rod idea that uses just two stocking holders.
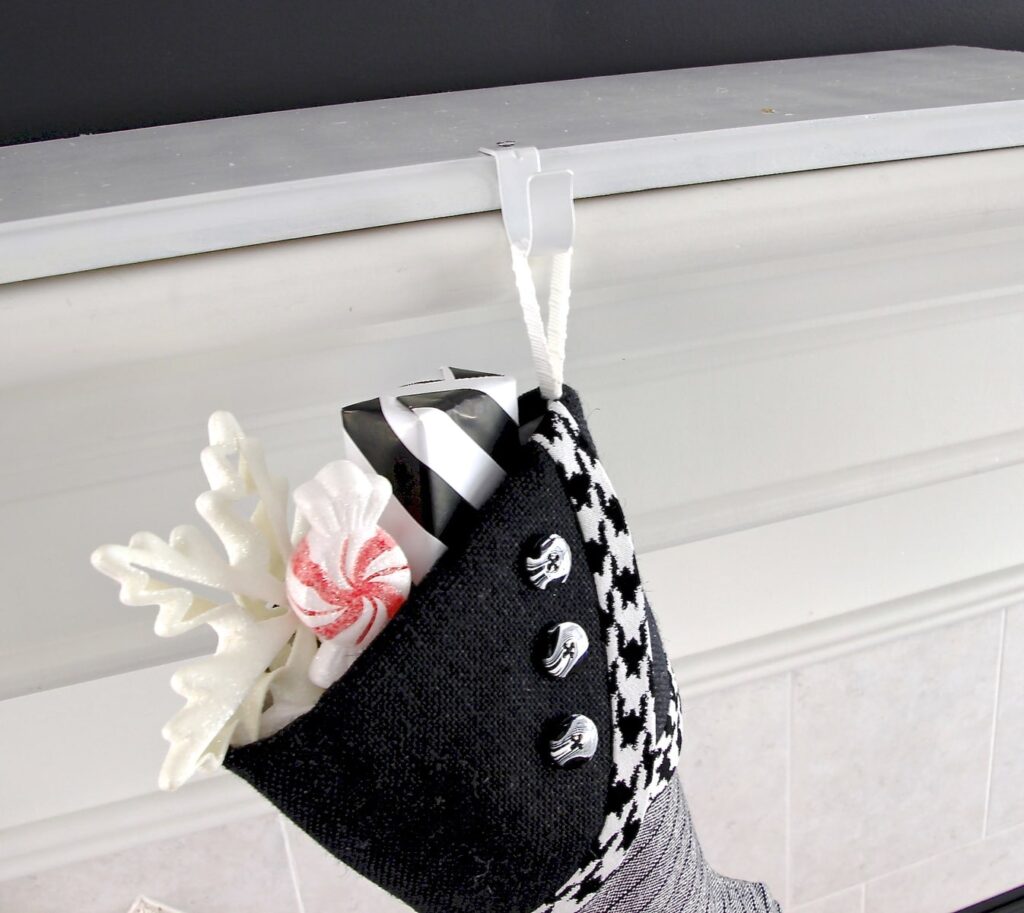
Here I’m showing you how to make a thin shelf that sits on your mantel disappearing in all that holiday finery with subtle hooks for each stocking.
Let’s call it a stealth shelf 2.0! Stealth shelf 1.0 is here. Check it out so you can decide which works best for you. This is least expensive and least visible, while 1.0 gives you flexibility if your number of stockings grows and shrinks with holiday guests.
Let’s Make a Mantel Shelf to Hang Your Christmas Stockings:
Materials:
- Wood board or reclaimed shelf cut to desired length and width
- Optional wood trim
- Paint or stain to match your mantel
- Ikea rod holders or substitute hooks
- Wood screws
Supplies:
- Saw
- Sand paper
- Miter box, optional
- Paint brush
- Screw driver
Step 1: Cut & Trim (optional) Your Shelf
I scored a long shelf with 3 trimmed sides at the ReStore for $2. A piece of MDF cut at the home improvement store would be just as good. Sand down the edges. Or for bonus points, add some thin trim to finish the 3 outside edges.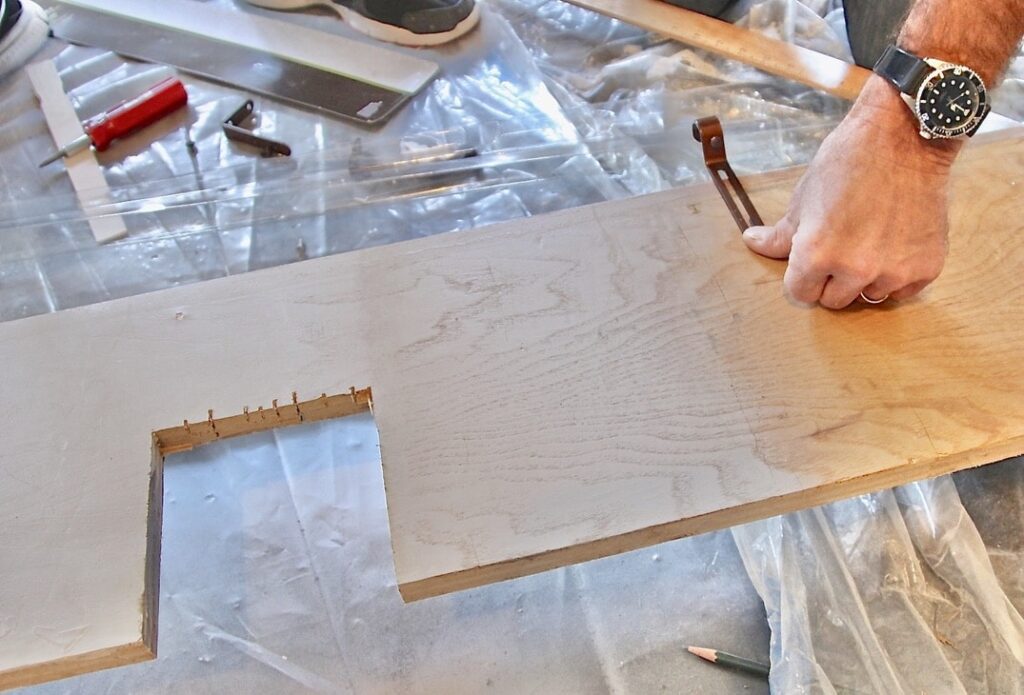
We have an outlet recessed in the center of our mantel, so we cut out a space for that. Be sure not to cover an outlet if you have one too. Afterall, what would Christmas be like without twinkling lights?
Step 2: Paint or Stain Your Shelf
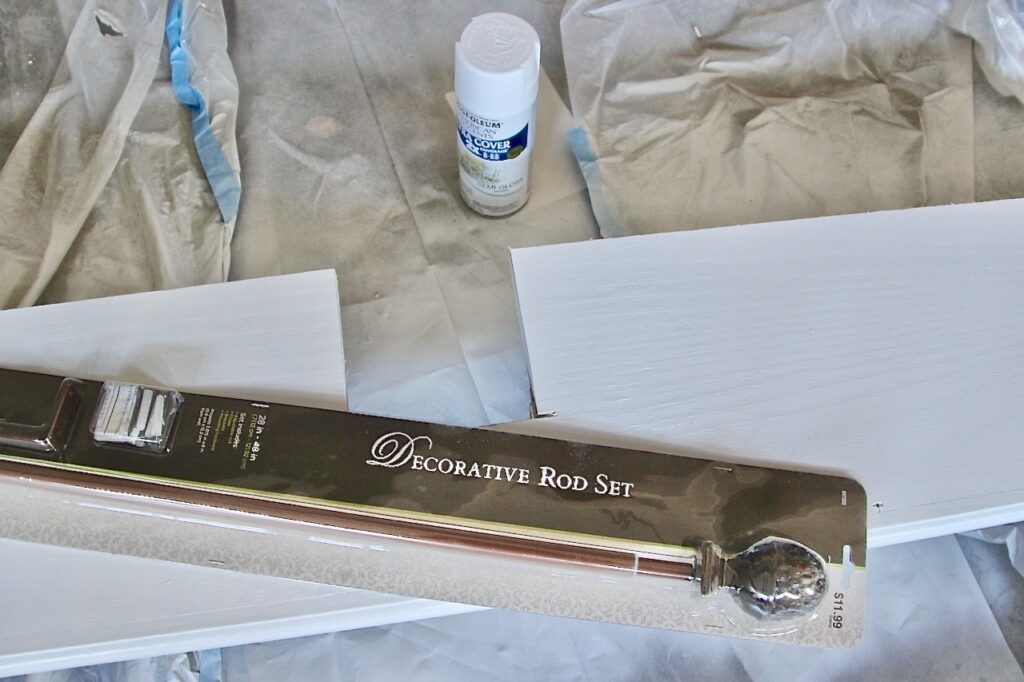
Paint or stain to match your mantel — in our case, I sprayed a white primer and then brushed a light coat of our trim paint.
Step 3: Add Your Hardware
Add an IKEA Betydlig rod holder for each stocking. The best part– .50 each!!! And they come in white, black and “silver color” (not metallic).
Be aware, the horizontal extension of these IKEA rod holders is very short. So with the large rounded lip on the top of my mantel and the “bonus point” trim on the stealth shelf, the shelf has to sit just a bit beyond the mantel lip causing that pesky shadow line. sigh* I like the width of the Betydlig rod holders vs. a simpler hook as it helps to keep the stockings all hanging forward. If your hook is narrow, your stockings may have a tendency to twist and turn.
You will need to also supply the wood screws.
AND a little math to space the hooks.
The down side to this approach is every time you add a stocking you’ll need to reposition all the hooks. But not too tough. If you hang stockings for a whole extended family that visit every other year, that takes more planning and then you might want to opt for Stocking Stealth Shelf 1.0.
Let’s Hang Those Christmas Stockings:
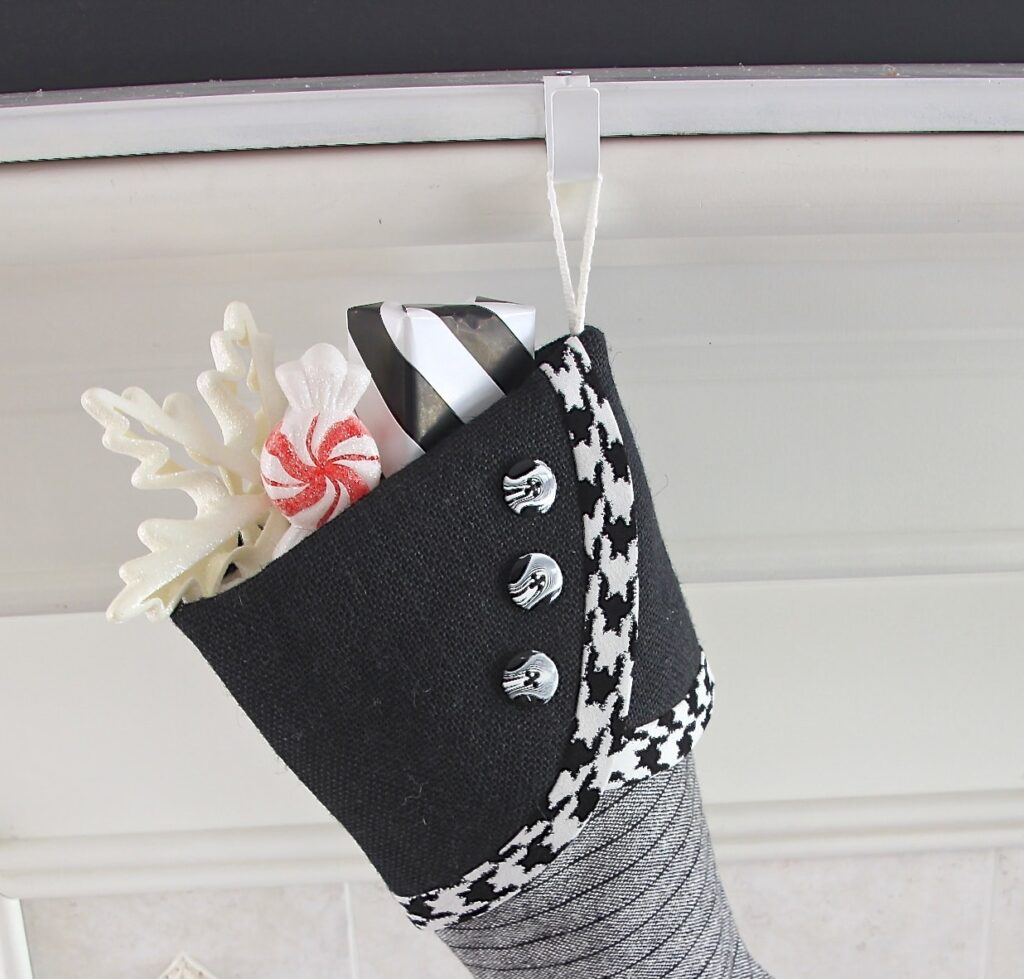
Stating the obvious, slip the stocking loop on the hook and you are set!
Just look how clean your mantel is! She’s all ready for you to dream up and create a fabulous [or charming, or delightful or nostalgic or …] focal point reflecting your style, your home, your family and of course complementing your stockings!
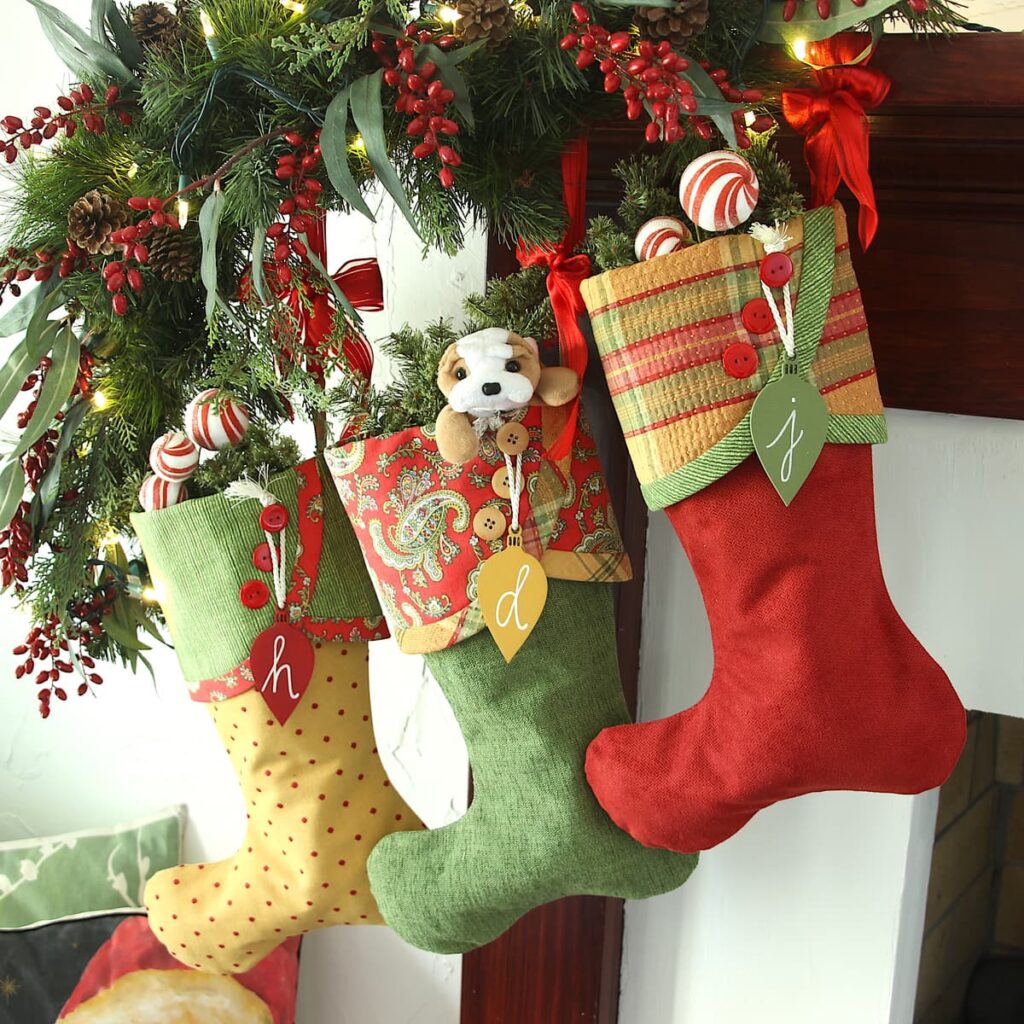
If you like to stagger the heights, or add wide satin bows for a bit of “extra”, you can sure do that by with an extra length of ribbon between the hooks and the stocking loops. The ribbons will just need an extra loop in them to keep the stockings parallel to the fireplace/mantel. If you need help, just send me a comment and of what you are trying to do and I’ll send you pics of the process. Very simple, but hard to write.
And before we go, how about styling your stockings? Want to learn how to take your stocking from flat to fab? I’ve got you covered, check it out.



0 Comments