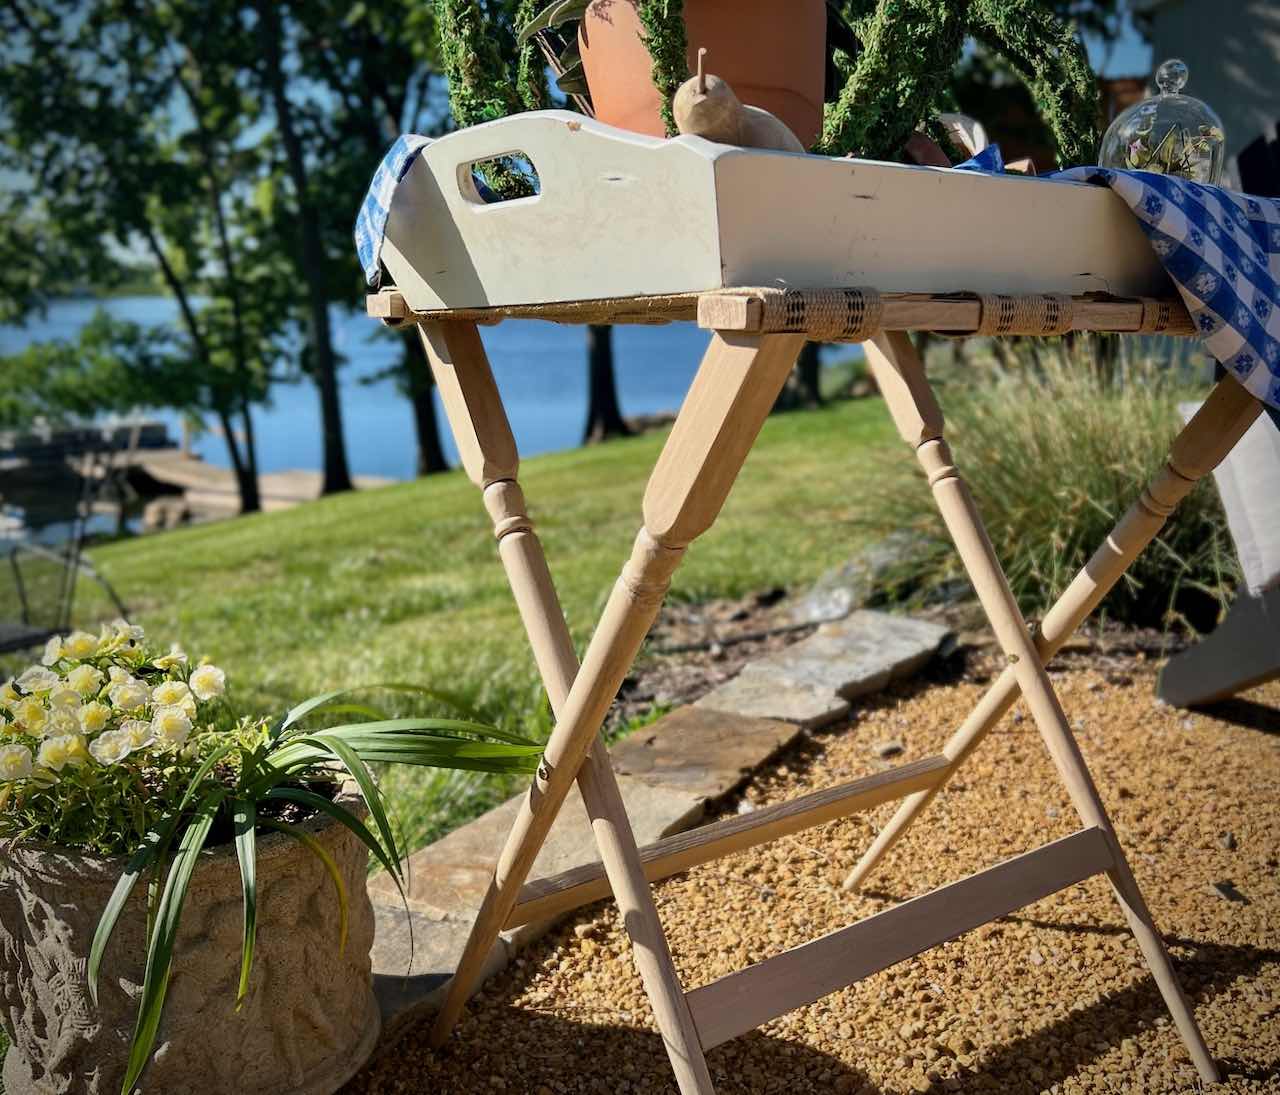
Give Guests the Hotel Treatment (but More Style, Less Price)
Turns out the hotel-luggage-rack problem (sturdy, expensive, but soulless) has a DIY fix — it starts with a some thrifted stair spindles and a little vision.
If you’re anything like me, you want to pamper your overnight guests — not require toe touches of them every time they need to grab a sweater or sox.
Which means, somewhere sturdy (and at a comfortable height) to set their suitcase is a guest room must.
Simple enough, right?
Except — plot twist — most guest rooms are pulling double duty these days. Office, craft room, storage overflow, you name it.
There’s rarely a spare corner for a luggage rack to just . . . live there, permanently, judging you.
That’s where a folding rack comes in clutch: flat in the closet or tucked under the bed. A guest shows up, and snap, it ready for service. (Bonus: it can moonlight as a nightstand or tray stand the rest of the time.)
So, naturally, I began my hunt. Store-bought folding racks run $60 to $80 — and even then, most still look like they wandered out of a hotel hallway. Great function, zero personality.
So the DIY route won out: get the function right first, then make it pretty.

Like me, are you someone who gets a little thrill out of reimagining forgotten pieces into something new?
Oh, good. I knew we’d be great friends.
This luggage rack project is also for The Handcrafted Society — my monthly meetup with a few blogger friends. This month, we’re all reimagining wood pieces into something fresh. Stick around, because there are seven more spindle, picket, and molding projects waiting for you at the end.
Today, I’m reimagining a set of thrifted stair spindles into a multi-functional luggage rack that can double as a charming nightstand or tray stand.
The links in this post may include affiliate links, which means if you purchase anything using these links, you pay no extra, but I may receive a small commission that helps keep this blog running. I truly appreciate you using affiliate links whenever possible. Please know that I will never recommend a product I do not believe in!

Ready to jump right to it?
Here’s a Quick How-To Card for Confident Crafters
If you’d rather feel like I’m right by your side, stepping you through it — no problem, keep scrolling.
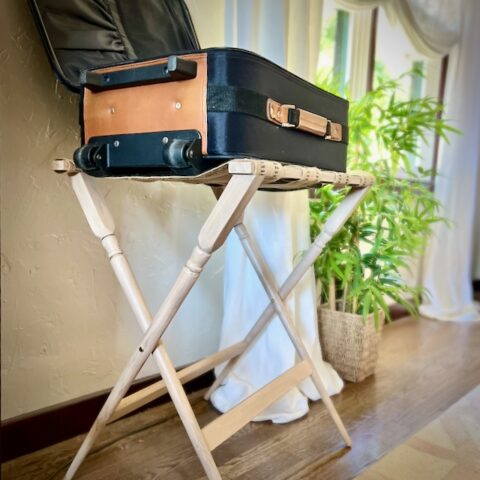
Upcycle Folding Luggage Rack From Old Wood Spindles
Materials
- 4 old stair spindles (or new balusters)
- One 1x2x8 board (oak or your choice)
- Binding screws
- #6 x 1½" flat head screws
- Webbing (3 yards)
- Upholstery tacks or staples
- Stain or paint, sealer (optional), sandpaper
Tools
- Miter saw
- Drill + bits
- Level
- Fabric scissors
- Tack hammer, or staple gun
- Router or Dremel tool, optional
Instructions
- Cut the leg tops at an angle (30° worked well) so the top boards sit flat and level once the rack is open.
- Cut all 4 legs to length, angled tops as shown in details — two pairs, mirrored.
- Drill a center hole in each leg for the binding screws; drill pairs together so holes line up, important placement in details
- Cut the two top boards (24" pieces of 1x2), save the remainder of the board for Step 7.
- Sand and finish all wood pieces — legs, top boards, and stretchers.
- Attach webbing to the top boards, then screw the outer legs, then the inner legs, into place over the webbing.
- Cut and attach the leg stretchers between each pair of legs for stability.
Notes
Keep Scrolling for Full Details and Tips
Detailed How-To Make a Spindle Luggage Rack With Hints and Tips:
Notes On Materials and Supplies-
These are the binding screws I used
.This is my favorite webbing — so many great projects! You’ll use 3 yards for each luggage rack.
If you’re using tacks, you definitely want a magnetized tack hammer.
NOTE:
My spindles were 34-inches long. The finished dimensions of my luggage rack are: 24″ wide x 17.5″ deep x 26′ tall.
Depending on the spindles or boards you use, and your desired finished dimensions, you may need to adjust your cuts accordingly.
Step 1) Decide the Angle to Cut the Legs Tops-
Here’s a little insider secret about ready-made folding luggage racks: a lot of them cheat.
Look closely, and you’ll notice the top board — the one the webbing attaches to — often sits at an angle instead of flat. Which sounds like a small thing, until a heavy suitcase decides to teeter, or worse, slide right off.
I wanted mine flat. Properly, boringly, reliably flat.
And since I seem to be incapable of doing anything the simple way, I also wanted this rack to pull double duty — a nightstand in a pinch, a butler’s-tray-style stand for appetizers at a party, even a spot to overwinter some plant pots.
All of that only works if the top boards sit level and take the weight properly, resting on top of the legs rather than wedged between them partway down (which is how a lot of store-bought racks are built, and exactly why suitcases end up balancing precariously on the leg tops instead).

All the multi-functional possibilities work best with flat horizontal pieces attached on top of the legs.

CAUTION: I know, this sounds backwards, but stick with me: to get a flat, level top board once the rack is opened, you actually cut the legs at an angle — not straight across. When the rack opens, the legs splay outward, and that angled cut is what brings the top boards back to level.
The exact angle you choose, combined with the length of your webbing, is what determines both how wide the legs sit and how tall your finished rack stands.
For reference, my legs are cut at 30%.
Step 2) Cut the Wood Legs-

With your angle decided, cut the tops of all four leg pieces to match.
In the drawing above, the two on the left will be one pair and the two on the right will make another pair.
Keep them sorted as pairs from here on out — it’ll save you a headache later.
Step 3) Drill the Holes-

Now for the part that actually lets this thing fold — a single hole through the center of each leg, where a binding screw will act as the hinge.
CAUTION: The holes go on the sides of the legs with the angled cut top — not just anywhere. Get this backwards and your rack won’t fold the way it’s supposed to.
Here’s the trick to getting your holes to actually line up. Stack a pair of legs together with their angled tops pointing opposite directions — one pointing right, one pointing left — and make sure the lengths line up exactly. Secure them together (clamps, or an extra pair of hands) and slide a shim between the sloped tops to keep things level while you drill.
PRO TIP: Start with a thin drill bit and work your way up to the thicker ones. You can separate the legs before the last bit or two, which makes the whole process easier.
You want the binding screw to spin freely through these holes — that’s what gives you the fold.

Once drilled, assemble the legs so the inside pair’s angled tops point one direction and the outside pair’s point the other way. Thread the binding screws from the outside in, capping them with the slotted screw cap on the inside.
Step 4) Cut the Top Boards-
Cut two 24-inch pieces from your 1×2 board. These become your top stretchers, the ones the webbing attaches to.
PRO TIP: Cut these from a longer board and set the remainder aside — you’ll need it for the leg stretchers in Step 7, and there’s no reason to buy more wood than you have to.
Step 5) Refinish the Legs and Wood Stretchers-
This step is where the rack goes from “reclaimed spindles” to “where did you buy this?”
Pull the binding screws back out (yes, after all that careful drilling) and get your legs, top boards and the leftover board your saving for the lower stretchers in Step 7 finished before anything gets permanently assembled.
It’s so much easier to paint pieces flat on a table than to contort around a fully built rack later.

I gave everything a light sanding, by hand and with an orbital sander, then added a base coat from a leftover paint sample I had hanging around. (No shame in the paint-sample stash — that’s half of how these projects get made.)

And I added a color wash or glaze of grey.
Color wash? It’s one of my go-to paint finish techniques. I used it on this cute blue bench for my closet, and on this blue and brass beauty, just to name two of many..
There are limitless options here. It doesn’t take much, so do what works best for your style, your home and what you may already have on hand.
Finish all four legs, the two top boards and the remaining 1 x 2 that will become your leg stretchers.
Step 6) Add Webbing and Legs to Top Boards-
Now it’s time for the rack to be born! So stick with me — there are a few small moves in a row.
Cut your webbing. I used four lengths of 27-inches.

Lay one of the top pieces on your work surface arranging the webbing straps as you like.
Either tack or staple the straps securely on the top side of this stretcher.

Flip the stretcher over and wrap the webbing around the underside of the stretcher.
Using two wood screws, attach the two outside legs in place over the webbing.

Lay the stretcher on the table top side down with the webbing underneath.

Pull the webbing tight. Lay the second top stretcher next to the first one and mark the webbing placement.
Lay the top side of this second top board on the work table under the free ends of the webbing.
Align the ends with the markings and the edge of your boards. Staple or tack in place.
Roll the board so the webbing straps wrap across the underside of the board.
Now it’s time to attach the inner legs to the top board. I did this with the binding screws in place holding the crossing legs together. This helped me get the placement of the inner legs just right to open and fold easily.

Place the two inner legs in their spot on top of the webbing and attach with two wood screws each coming through the webbing on the top side where you originally tacked the webbing in place.
PRO TIP: Support the outer legs and their top board up a few inches, then pull the length of webbing off to one side to access this spot.
I used a paint can to support the outer leg — worked perfectly!
Step 7) Add Stretchers to Legs-
To figure the stretcher between the leg pieces, I laid the assembled luggage closed on my work surface.
Then I laid one of the top stretchers on my work table and laid the legs aligned as they will be assembled.
Now I was able to measure and mark for each leg brace piece.
Because my spindles are slightly tapered, I laid the 1 x 2 board under the legs and marked on the board where it would cross the legs at the top and bottom. Then I connected these for my cut line.
PRO TIP: Make sure you are marking and measuring both of the leg stretchers at the same height on all four legs!
OPTIONAL, and totally for my own satisfaction and to challenge myself: I carved a slight curve into the cut edges of my stretchers so they wrap the round legs just a touch. I used a rotary tool with a sanding cone.
It’s a little detail that just adds a bit of extra style that no one will probably notice except me. And that’s exactly why I did it.
Pssst, it ended up being surprisingly easy!

Yep, I’m weird that way, but it makes me feel happy!
Two flat head screws coming from the outside of the legs into each stretcher hold everything nice and tight. Drive the screw heads into the wood just a bit. Now they can be hidden under some putty and paint.
Now Your Wooden Luggage Stand Is Ready!
May I ask if you enjoyed this project? If so, please consider joining this free creative community so you don’t miss a thing! Plus you have access to exclusive content. Subscribe now:
Thanks Bunches! Now onto a few ideas and more wood craft projects:
What I Love About This Project:
- It’s relatively quick and easy to do.
- Customizing, with the size and features I wanted
- The elegant look of the tapered legs and the simple spindle detailing
- I could have dressed it up with leather straps rather than the jute
- The easy storage
- The multi-functionality!!!
Where to Find Spindles:
The spindles I used in this project were part of a much larger assortment (perhaps 30 or so) vintage or salvaged spindles that I found at a garage sale for $10.
The stair spindles just like these are usually available to any of my Habitat for Humanity Restores — usually $2 each.
You can also purchase these same balusters new for under $5.
I would keep an eye out for these at:
- Garage and yard sales
- ReStore
- Thrift Stores
- FB Marketplace
- Salvage lumber yards
Do your future self (and my current self) a big favor and save this pin to remember this project when you come across the perfect spindles:

On to MORE Handcrafted Society Projects!
Jump over and check out my friend’s projects. They’re sooo good!


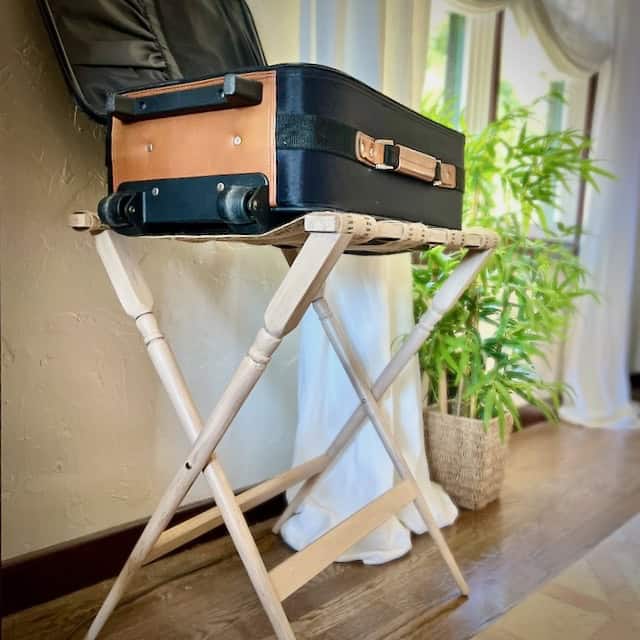
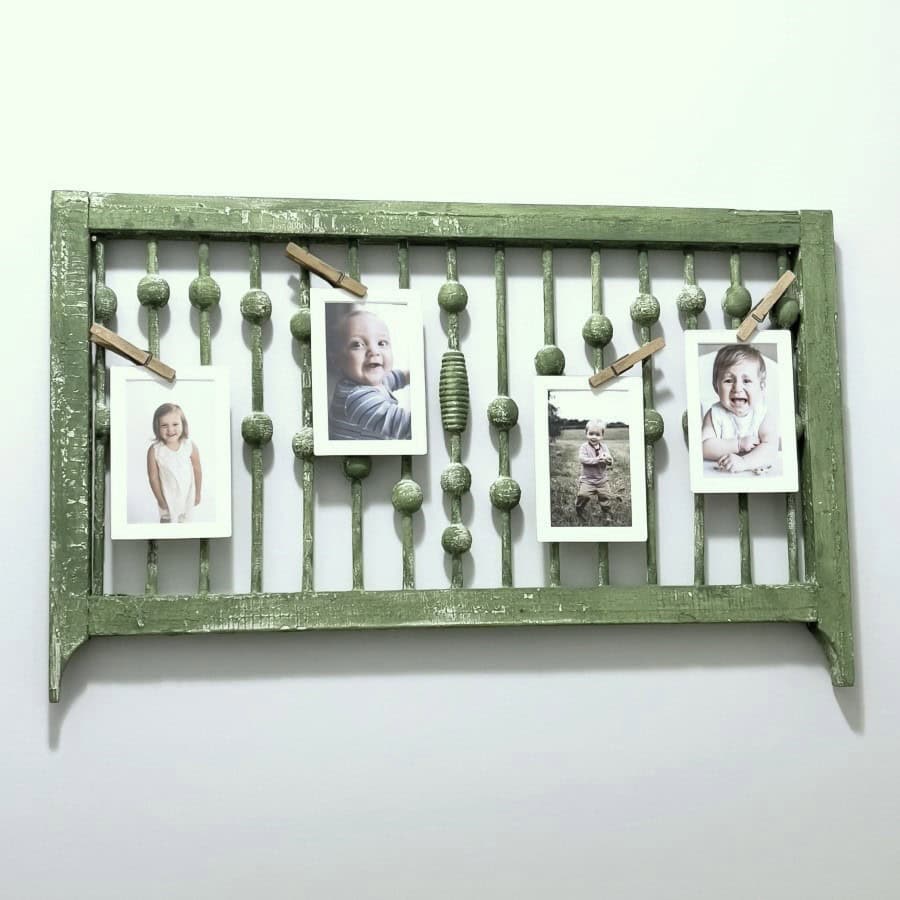
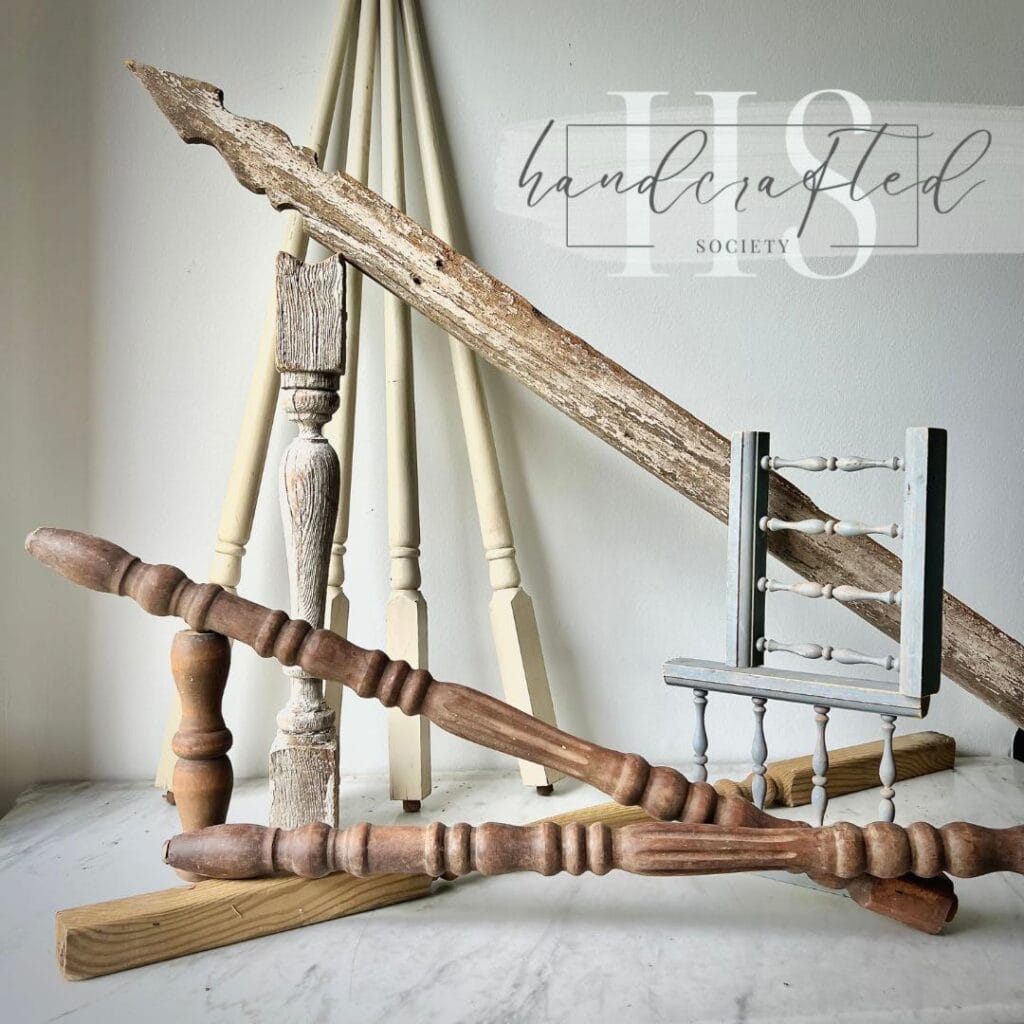
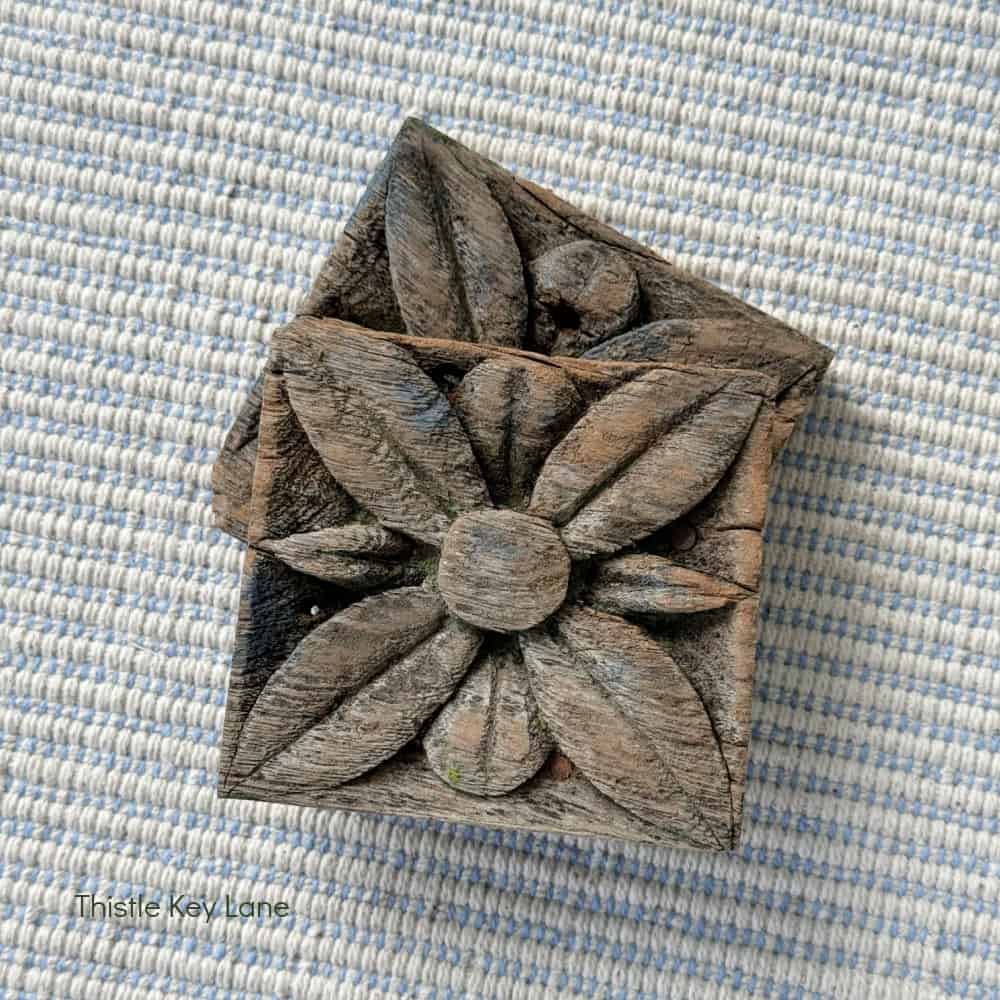
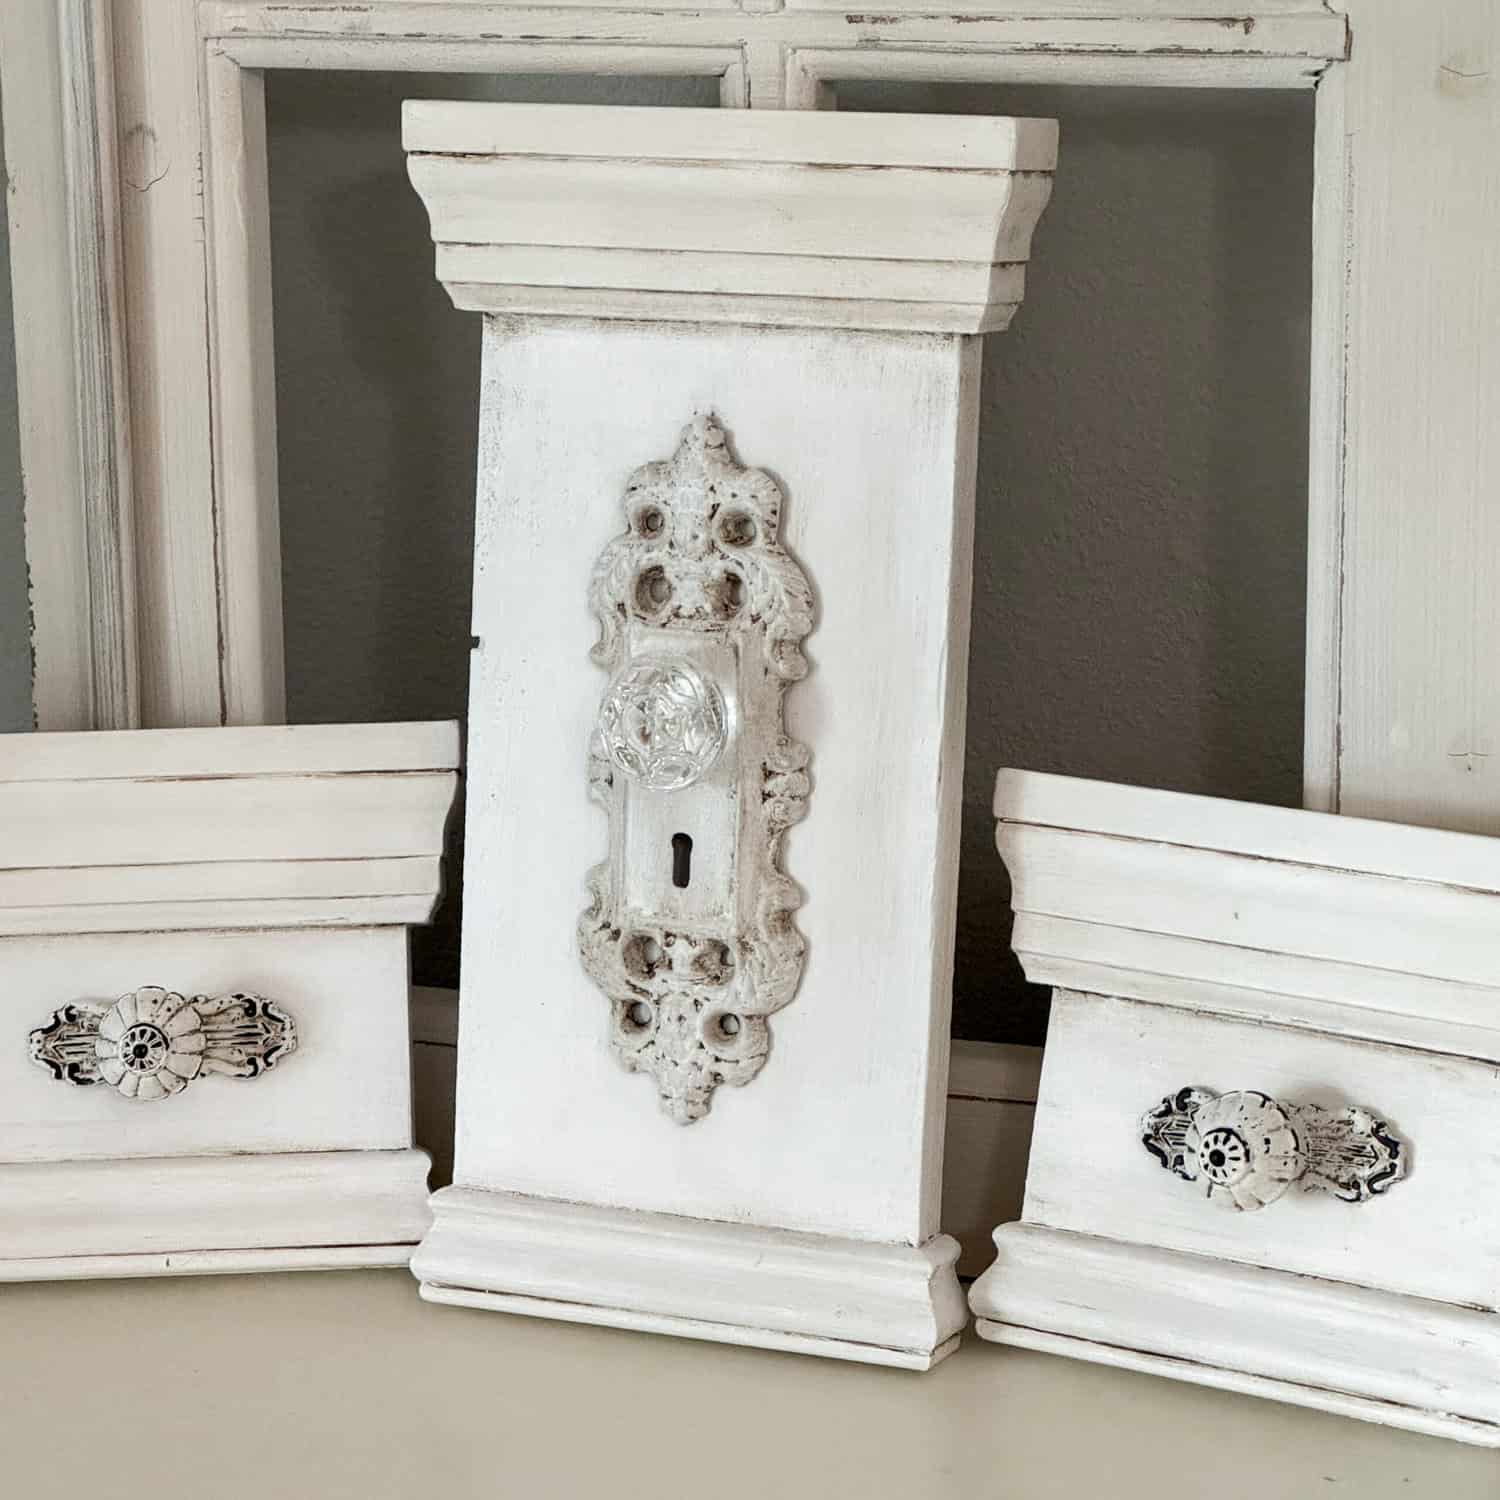

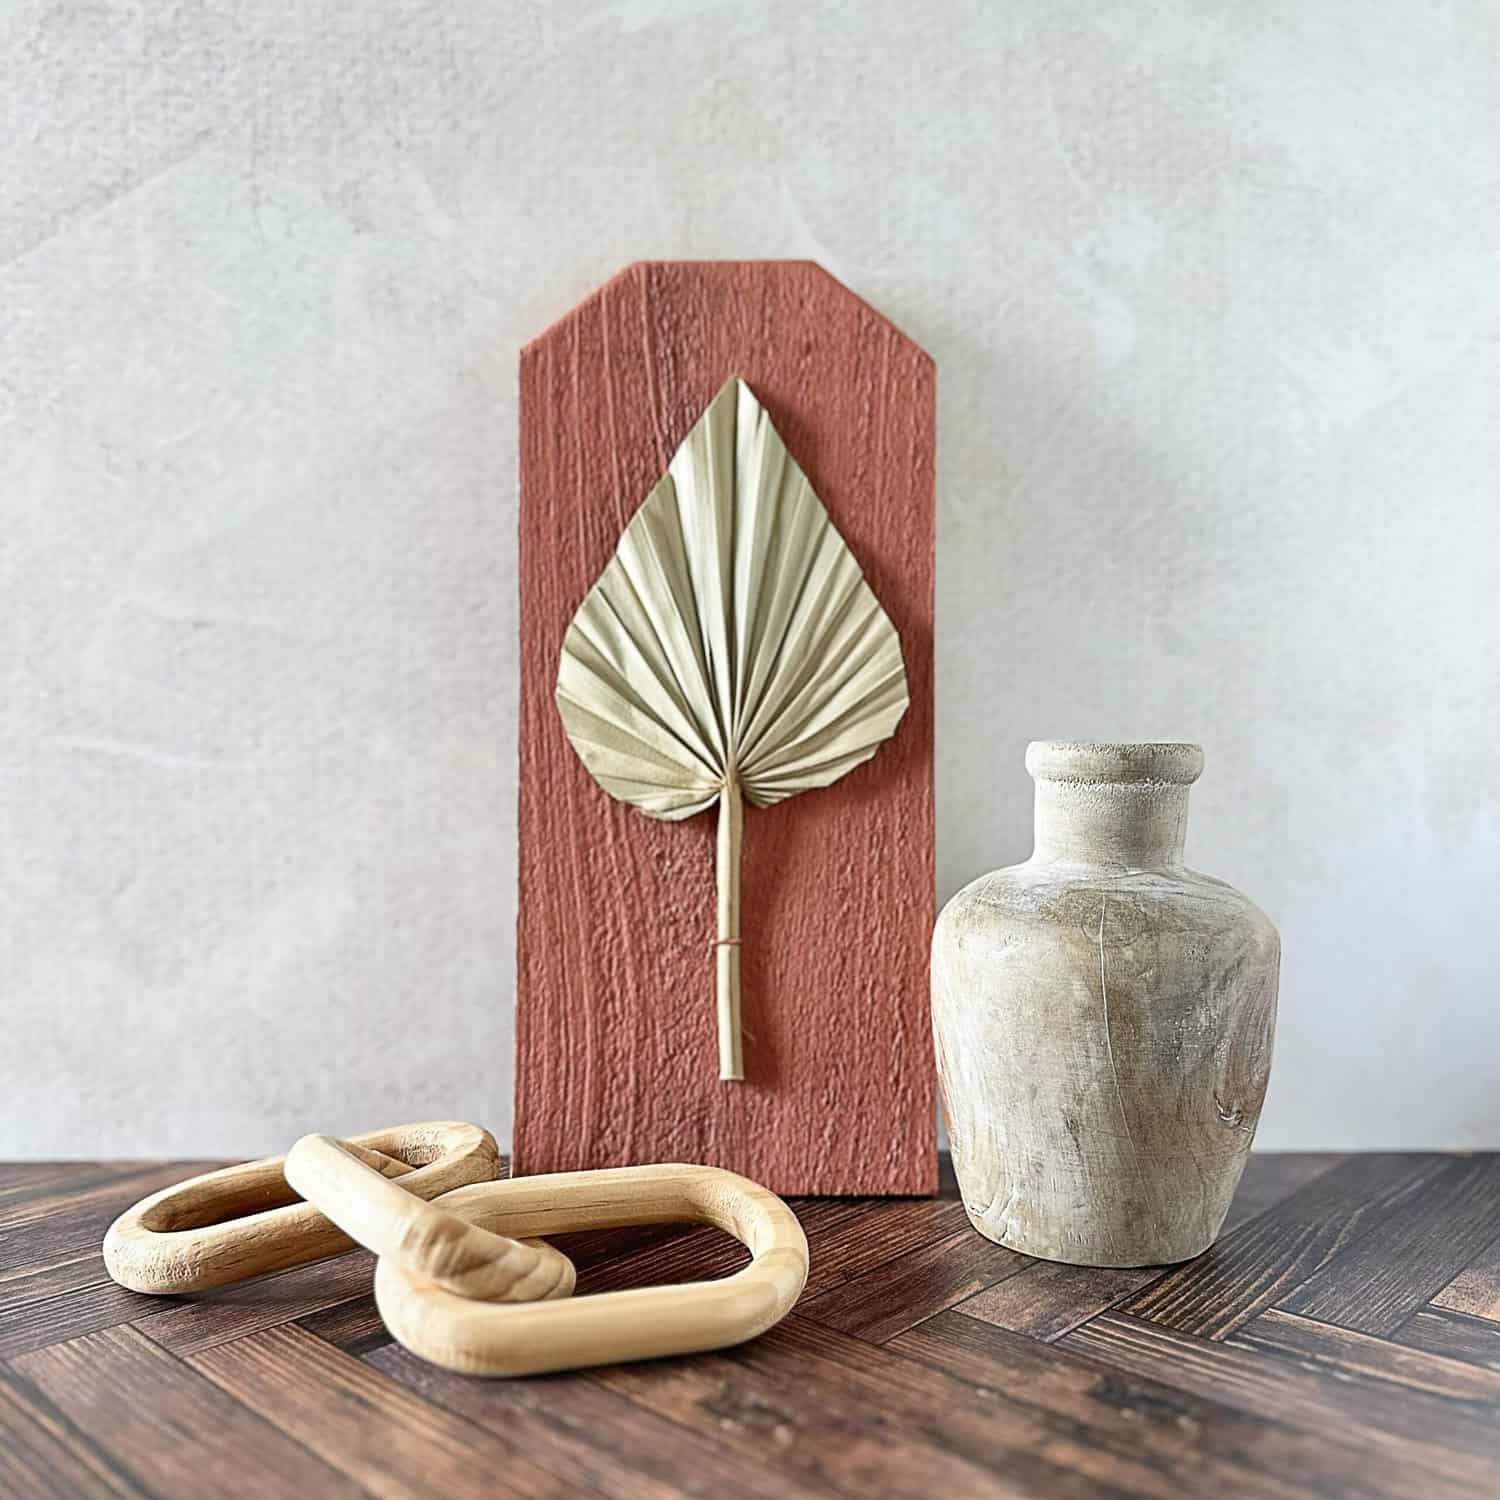
I hope this project and the additional Handcrafted Society projects open your eyes and creativity to the fun possibilities with repurposed wood pieces!

More Upcycle Projects to Enjoy

This is a fantastic project. It’s better than a store bought luggage rack.
Pinned!
Diane, I’m super impressed with your luggage rack. The webbing and the color of the spindles looks so good together! Love this project!
Hey Diane! I have been searching for a luggage rack at thrift stores and yard sales with no luck! I think you solved my problem!! Something like this would be perfect for our guest room! Pinning now and I’ll add vintage spindles to my shopping list!! Thanks for the inspiration, my friend!!
Wendy, you are one clever and talented lady. I love how your luggage rack turned out. It’s such a great way to upcycle the stair spindles too. Virtual fist bump.
Diane – This luggage rack turned out GREAT! The spindles are the perfect length. I also love the color you selected for the spindles. Always fun to participate in the HCS with you!
This is such a wonderful idea! I love the look and I’m always about reduce, reuse and recycle when it comes to home decor and furniture! Defiantly going to give this one a try for all of our our vacation home guest rooms.
So glad this inspired you! Perfect for all the guest rooms!
Such a clever way to use old spindles, I love it. This will be a feature over at Handmade Monday this week 🙂
Thanks so much Julie!!! I sure appreciate the feature.