
Make Charming Dried Flower Place Cards – Free Templates
Easily craft charming dried flower place cards for your next event! Free templates for a flower box, bunny rabbits and more are included
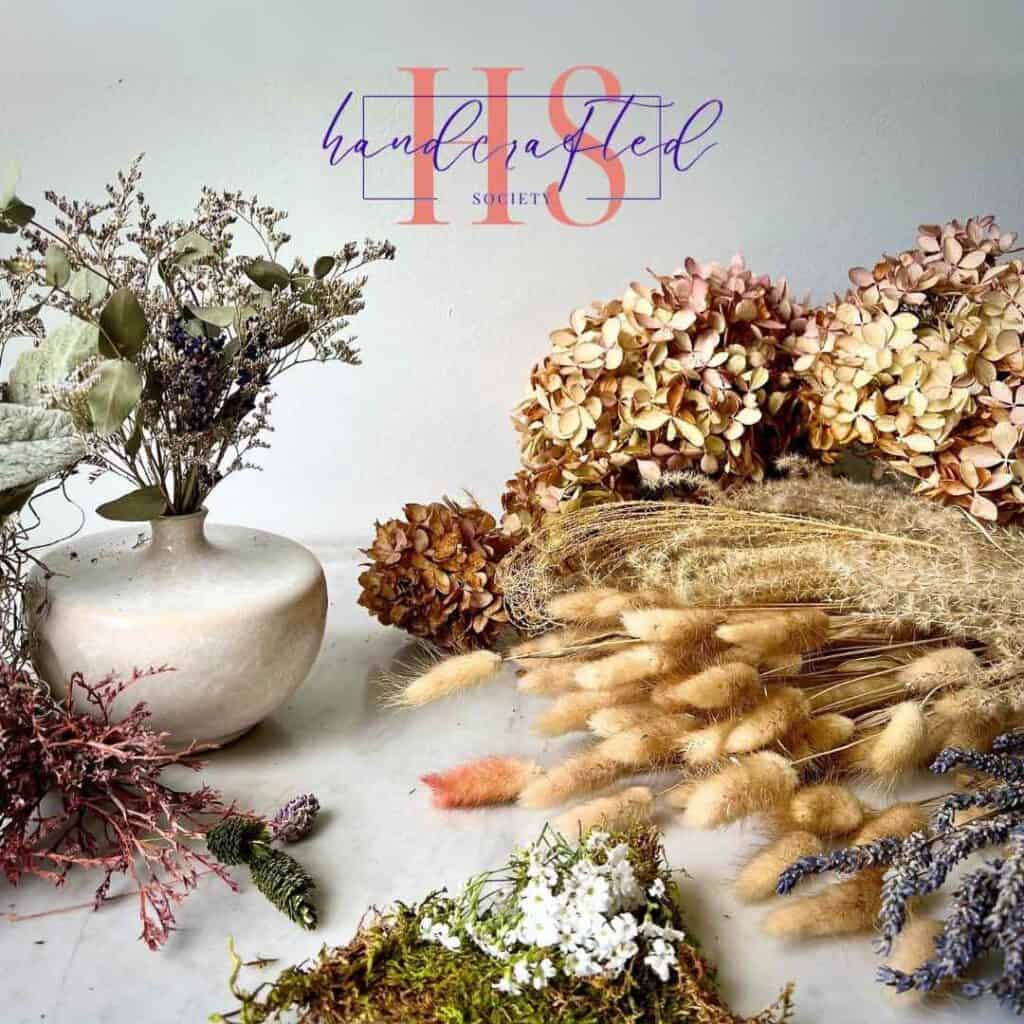
Welcome and Happy 2nd Tuesday! Yes! It’s like a holiday for me.. The day each month when I celebrate creative crafting with my crafting besties — The Handcrafted Society.
It is so fun to gather around a common medium or theme, and create!

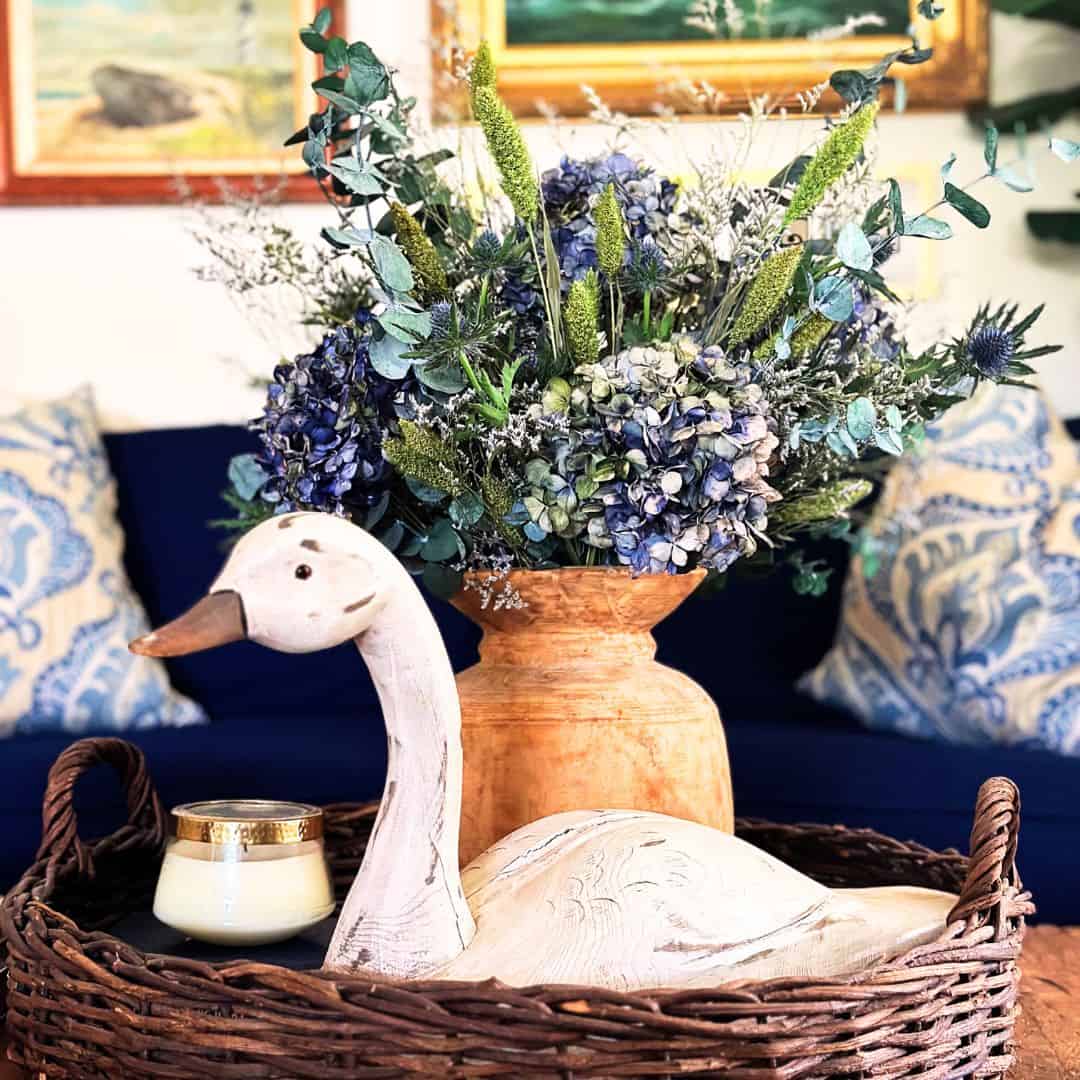
The thought of dried or pressed flowers, immediately took me to entertaining and honoring my guests with personal place cards. A place card that would reflect how happy I am to have them at our table.
Do you ever feel like place cards are a bit, well, boring? We’ve all seen the fancy script on white card stock. Don’t get me wrong, there’s a time and place for classics.
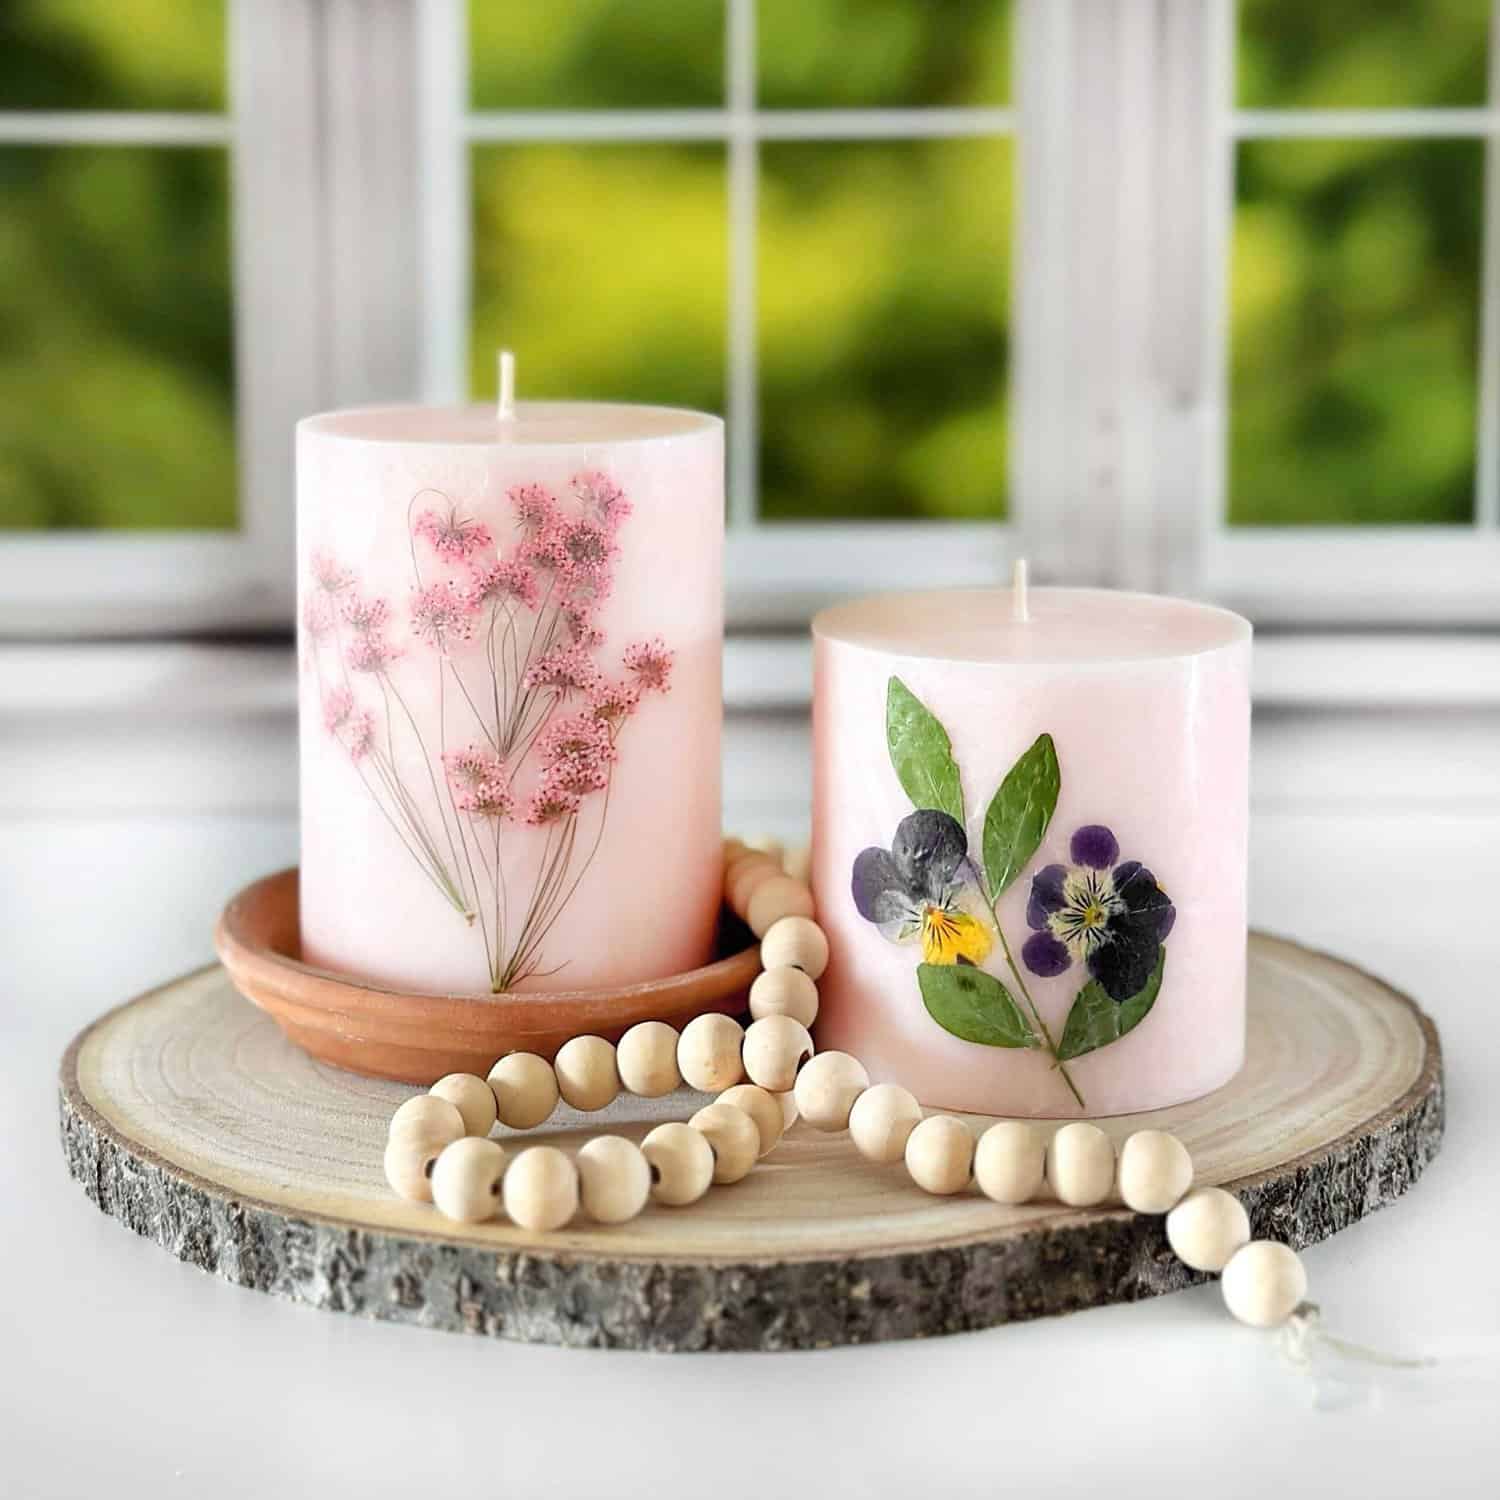
But what if you could add a touch of magic to your next dinner party – with DRIED FLOWERS? This post is all about creating charming (and FREE!) dried flower place cards that will have your guests ooh-ing and ahh-ing. And they work for just about any season!!!

Whether you are looking for garden charm, something whimsical or more stream-lined elegance, I’ve got you covered. With multiple different types of place cards, all with their own free printable place card template.
Yes, these are EDITABLE, so you can add your guest names bringing a personal touch to each table setting (without worrying about your penmanship).
TABLE OF CONTENTS:
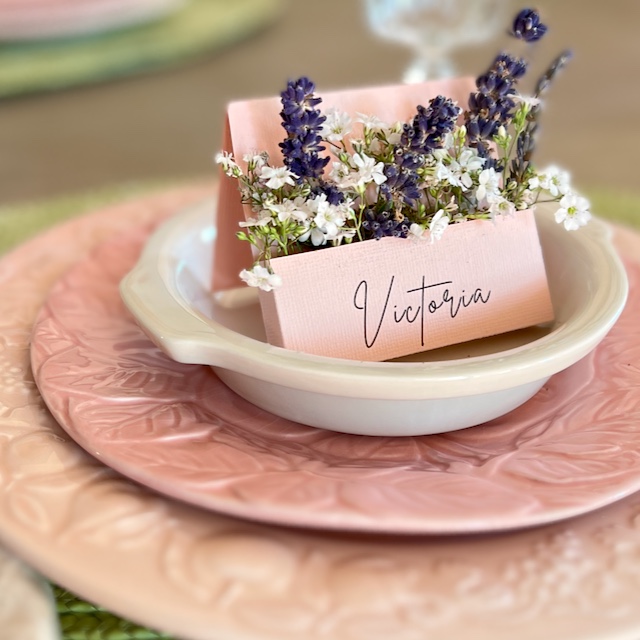
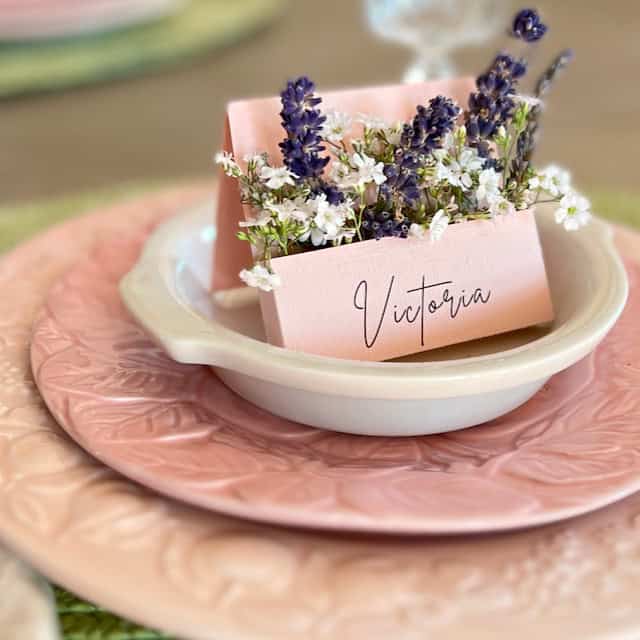
Flower Box DIY Place Cards
I’ve been quite taken with the charming Welcome signs that look like a flower box on an easel.

There are so many great versions on Etsy, including this one!
These signs got me thinking about carrying that theme through to the dining table, and even the individual place settings.
Materials and Supplies-
- Cardstock*
- Template from Resource Library
- Floral foam
- Dried moss and flowers
- Tape Runner or scotch tape
- Scissors
- Straight edge
- Scoring tool, or any dull pointed object to score lines, a nail file or butter knife
- Electric knife, or sharp knife will do
*Each 8 1/2 x 11-inch sheet of printable card stock will make two flower box place cards.
Step 1) Print Your Place Cards-
Follow the step-by-step guide for how use my editable free place card templates to change the sample names to your guest list.
A quick pause is in order for me to ask, are you already a House Mate, subscribing to SHD? Great, then just look at one of the emails you have received from me and the password is at the bottom. If not, then would you like to take care of it now and start your access to all my Exclusive Content? It’s easy peasy and super quick:
Thanks bunches! Now on to the place cards:
Step 2) Score and Cut Out Your Flower Box-

NOTE: The score lines do not appear on the template, just the little arrows. Use a straight edge to between the arrows to make your score line.


Referencing the image above, using your straight edge and scoring tool, score seven lines between the arrows.
Only after scoring all the lines, cut out your flower box.
PRO TIP: If you are a novice crafter, cut left to right see the line if your right handed. Cut right to left tif left handed.
Try to stay slightly inside the cut lines.
Step 3) Fold and Tape-


Fold the two short scored lines on each side wing to the back.
Fold the two scored lines across the bottom of the box towards the back. Then fold the single scored center-line to the front.
Fold each wing around the front of the easel while making sure that the gusset lines up with the box bottom.
With tape runner or scotch tape, adhere the outermost section of each wing to the back of the easel front.
Step 4) Add Florist Foam-
Dried flower stems can be tender and brittle. So I like to use oasis, or wet florist foam, (but using it dry) for arrangements with dried flowers as it is the softest and easiest to stick the delicate stems into.
Pro Tip: I save the florist foam from fresh floral arrangements and reuse them for this kind of project.

Lay your flower box on top of the foam, mark cut lines. and cut.
HINT: keep your eye open for an old electric knife at thrift stores and garage sales — they are a great addition to your craft room.

Step 5) Add Your Dried Flowers-
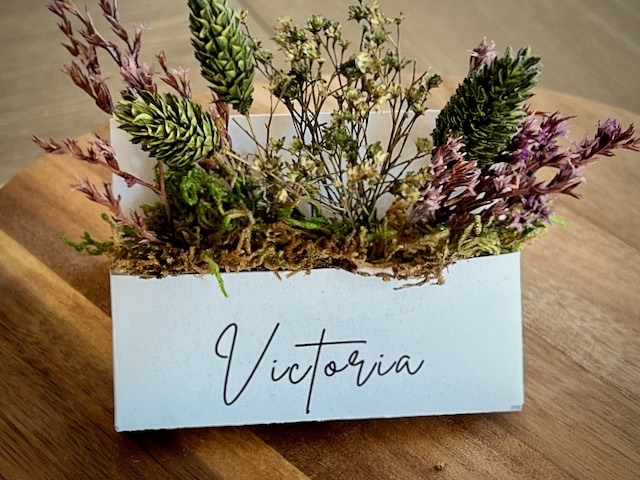
Make any arrangement you like that works with your colors for your dinner party or special event.
I like to start with some loose dried moss (not sheet moss) or a bit of Spanish moss to cover the foam.

Then I add my flowers of varying heights just like you would a window box.
PRO TIP: when the space gets tight as you add more flowers, using tweezers to hold and add the flowers can be very helpful.
Of course a mass of a single type of flower can be lovely too.

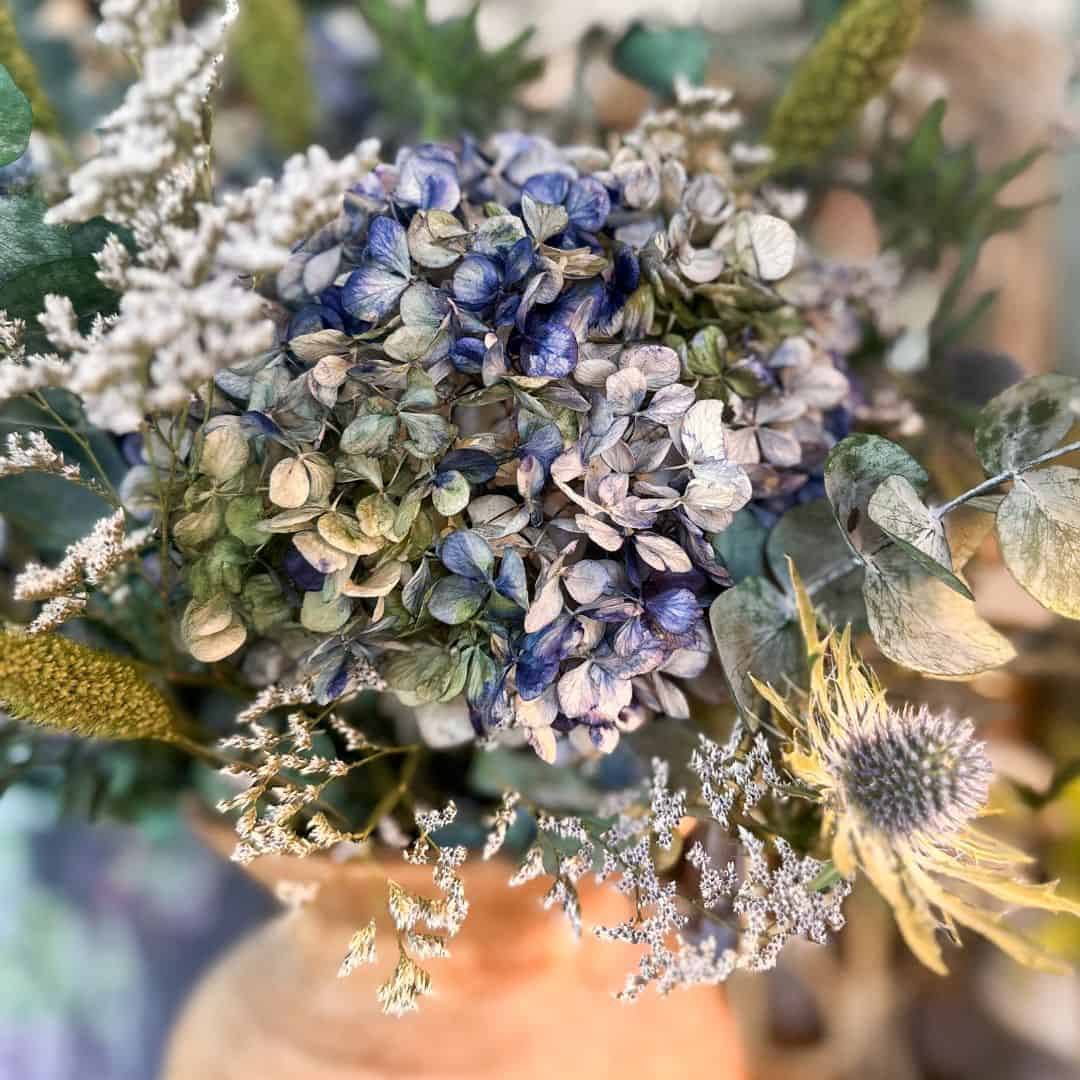
Or here’s one with dried statice (I had saved from an arrangement) and individual hydrangea petals clipped from a large dried hydrangea flowerhead.
Aren’t these flower box easels amazing? And so simple and inexpensive too!
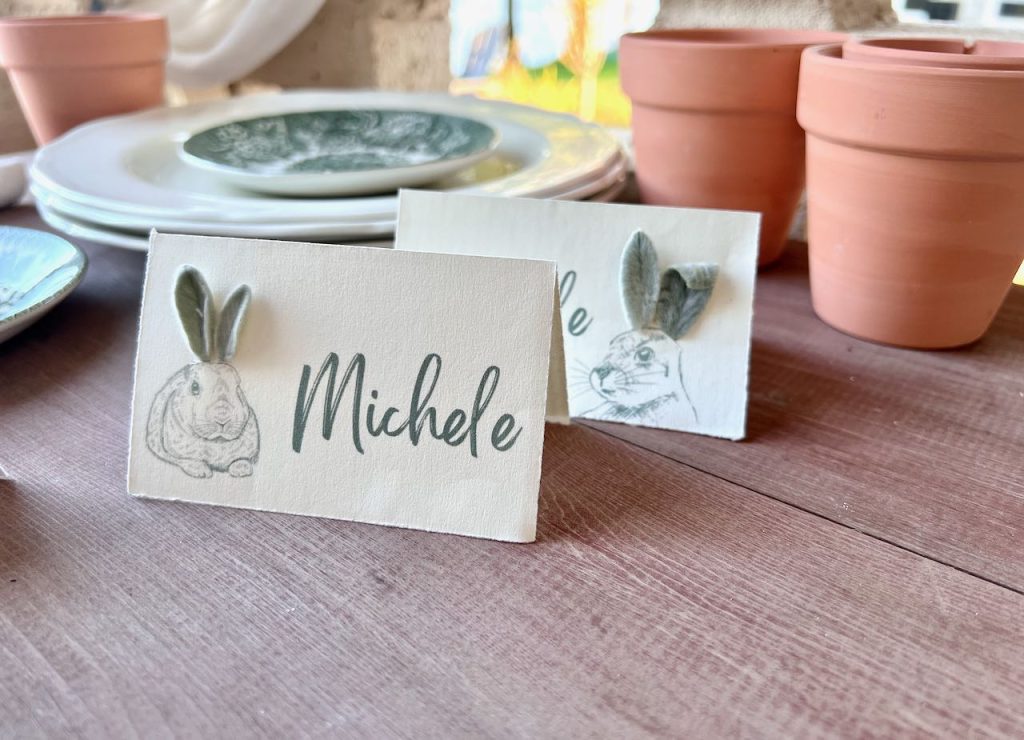
Lambs Ear Adorned Bunny Printable Place Cards
But while we’re talking dried flowers and place cards, I can’t skip past my obsession with Lambs Ear. Did you know it dries beautifully? Here are all your drying questions answered.
When crafting with these sweet little leaves, they reminded me of a bunny’s soft ears and fluffy tail and one thing led to another!

These are delightful little fellas perfect for Easter, for Spring brunch, and a totally charming a Hunny Bunny baby shower!
You can print your own place cards by following the simple steps included with the free place card template in the Resource Library or by following my Guide to Use an Editable Printable Template below. I am also working on a video tutorial to step you through the simple process. So be sure to check back.
Change the name of the guest for each place card.
Use a paper trimmer, rotary cutter or scissors to cut apart the place cards. Use the faint, thin guideline beginning and ending marks along the edge of the paper.

Use the bunny images on the first page of the template as reference for the placement and size of lambs ear leaves you need.
You can use white craft glue or hot glue to attach the leaves for the ears and tail.

PRO TIP: Part of the charm is the dimension the lambs ear brings, so don’t glue them flat. I love giving some of them one floppy ear. Working with leaves that were harvested 2 to 5 days ago works best for this.
Lambs Ear Streamlined Printable Place Cards
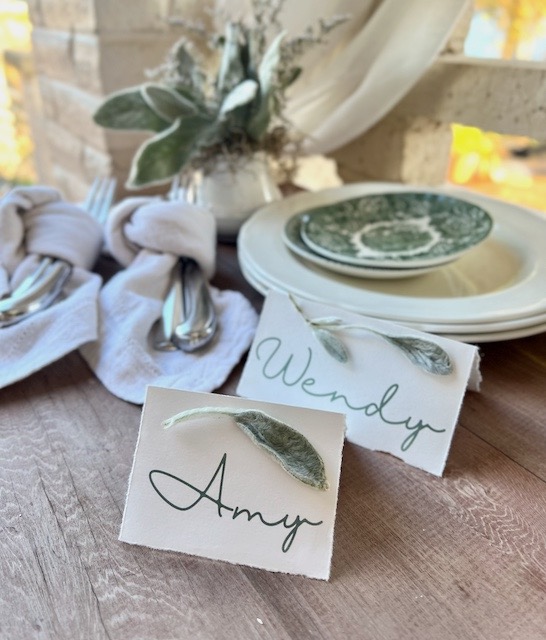
Lambs ear, with their lush, soft color and rich texture can add a touch of elegance to more formal events.
Along with the bunny place card templates is an option of a more minimalist or stream-lined place card design with text in your choice of 4 different fonts.
Select the font you like best. Change the other fonts to your fave. See the guide below or the video tutorial if you need help with this.
Change the text size as needed. Also change the colors of your printing if you prefer.
Print, and then use a paper trimmer, rotary cutter or scissors to cut apart the place cards. Faint, thin guideline markers are along the edge of the paper.
Fold in half and then use craft glue or hot glue to attach the leaves however you like. I like to shape the leaf or leaves to emphasize the shape of the guest’s name.
These also work great to identify dishes for a buffet as seen in the 17 Tips for a Functional, Beautiful Buffet.
Step-By-Step Guide to Use an Editable Printable Template
Resource Library-
- When you are ready to make your own, jump over to the Resource Library. Enter the password that is included in all the emails you receive from me.
- Scroll until you find the Editable Printable you are interested in using.
- Click on it to open. [NOTE: If you receive a black background screen, hover at the bottom and a . . . (more) will appear in the bottom right corner. Click the more
then click Edit.] - You’ll receive a PDF file. The first page of directions includes a long, crazy link. Copy that whole link (typically 4 lines long) and paste it in your browser address bar.
Canva Editing-
- Download and Print-
- Click Share [top, right], then download, then PDF [standard is fine]
- Look for “Select Pages”. The default will be all pages.
- Click the all pages to deactivate it and then click on the page es you need to print
- Click Done and Download
- Find the file on your computer and send to your printer.
- If you already have a Canva account, it will open automatically for you. If you do not, you will need to open a free Canva account. (Yes, it truly is free and I am making nothing for sending you there, it is just a great program that makes it possible to share templates that you are able to edit.)
- Now click the purple “Use Template For New Design” button.
- Now the place card templates should be on your screen.
- Pick the page you want to work with. The stream-lined name only design is the first two pages with two names in each of four fonts.
- Pick the font you like best. hover and highlight one of those names, in the upper left you’ll see the font name appear. Now go to each of the other 6 names, double click the names to make the font name appear and change it to your desired font.
- Edit the names as needed [click to highlight a name, type your name in its place].
- Adjust the size as needed. Highlight the name. At the top next to font name is the font size, use the + and -, or grab a corner of the highlighted text and pull in or out.
Download and Print-
- Click Share [top, right], then download, then PDF [standard is fine]
- Look for “Select Pages”. The default will be all pages.
- Click the “All Pages” to deactivate it and then click on the pages you need to print
- Click Done and Download
- Find the file on your computer and send to your printer.
I hope this spurred your imagination!
Have you thought about using Lambs Ear? I may need a bit of Lambs Ear intervention!
Don’t believe me, check out 13 ways I have used Lambs Ear in decor. Yes, it dries beautifully retaining its soft silvery sage color and fuzzy texture. It does turn brittle over a pretty good length of time. Be sure to check out my tips for when to harvest the leaves for each of these projects.
I hope this has spurred your imagination and your creative juices are flowing. I know you will find several more projects, or just pick up a crafting tip or two when you visit the other amazing ladies in The Handcrafted Society.
Don’t forget to Pin It, to Remember It!

I truly appreciate you being here and love to hear your questions and comments. I love sharing with you, but I also love exploring and learning. So please let me know your thoughts.

A darling idea, Diane. Beautiful for a summer table.
Awww, thanks Tammy! So happy to have you hopping this month.
This is entertaining gold! Great instructions and a template! Can’t wait to try this! ~Missy
Friday, 7:00? I’ll be there! 🤣
Oh my gosh Diane! The bunny ear place cards are ADORABLE. I love this idea and think it would be so charming to use at a wedding. Pinned!
Awww, sounds like someone’s still in wedding mode. Good for you — keep it that way! Anyway, thanks bunches Anna!
I’m loving all your place card examples Diane! I want to plan a dinner party, just so I can make place cards! Very very pretty!!
Oh, what date do you have in mind? I’ll set the date aside (and a day on either end for travel 🥲)
The most creative ideas, Diane! The little bunny ears are so sweet, and I just love the flower box cards! Thanks so much for these fabulous ideas!
That’s the sweetest Kim. It’s so funny how ideas come to us — especially when they come from friends, like those gorgeous candle cups!!!
These are so adorable! I would love to be seated at a table with a special place setting like these!
Thanks Amy! Let me know when you’re scooting through town and I’ll roll out the red carpet for you!!!
I love-love-love dried flowers and often don’t know what to do with them. These are so fabulous. I’ll be using these for place cards soon. Thanks for the inspiration, Diane!
So happy you’ll be able to use them — please share some pics with me that I can add.
These place cards are adorable. You are so creative!
Oh, thanks Lynn! Thanks to you for that gorgeous Welcome sign to your daughter’s baby shower — the inspiration for these place cards!
Diane, your creativity never ceases to amaze me! I have never seen the idea to put a flower box on an easel and I love it! All your place card ideas are precious and would dress up any table! Pinning this now so I can try it sometime!
That’s so sweet of you Donna! I do hope you use them sometime and I’d love to share pics when you do!
Diane, these place cards are so pretty. and very unique. I love the idea of combining paper crafts and flowers. Thank you for a great tutorial.
Oh, Carol, it’s great to hear from you. Thanks bunches