
The Easiest DIY Window Treatment — No Sewing, No Tools, No Kidding
A budget-friendly, renter-approved DIY window covering that puts YOU in control — of your privacy, your view, and your style. All for less than $30.
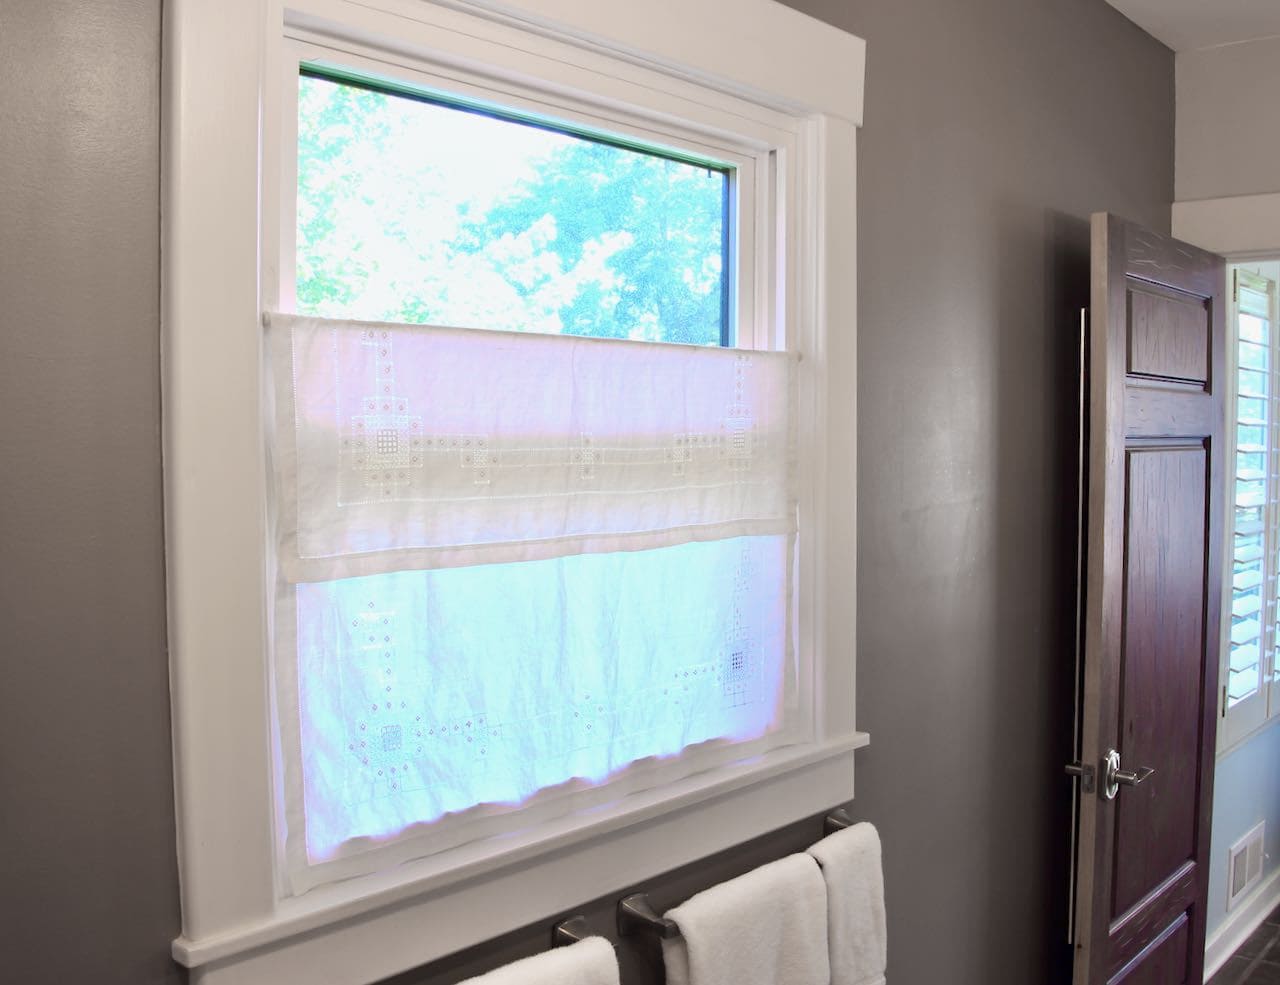
Natural light is non-negotiable. But so is privacy. And if you’re like most of us, you’ve got at least one window somewhere in your home that makes you choose between the two — and neither option feels great.
Maybe it’s a bathroom window that looks straight into your neighbor’s yard. Maybe it’s a bedroom in a rental apartment where drilling is off the table. Or maybe it’s just a window with an uninspiring view that you’d love to edit — keeping the sky and the treetops while losing the parking lot or the fence line.
This DIY window covering solves all of that. No sewing. No tools. No drilling. And no permanent commitment — which makes it just as perfect for renters as it is for homeowners who just haven’t gotten around to “doing something” with that window yet.
This DIY window covering solves all of that. No sewing. No tools. No drilling. And no permanent commitment — which makes it just as perfect for renters as it is for homeowners who just haven’t gotten around to “doing something” with that window yet.

What You Need for this Simple Window Treatment:
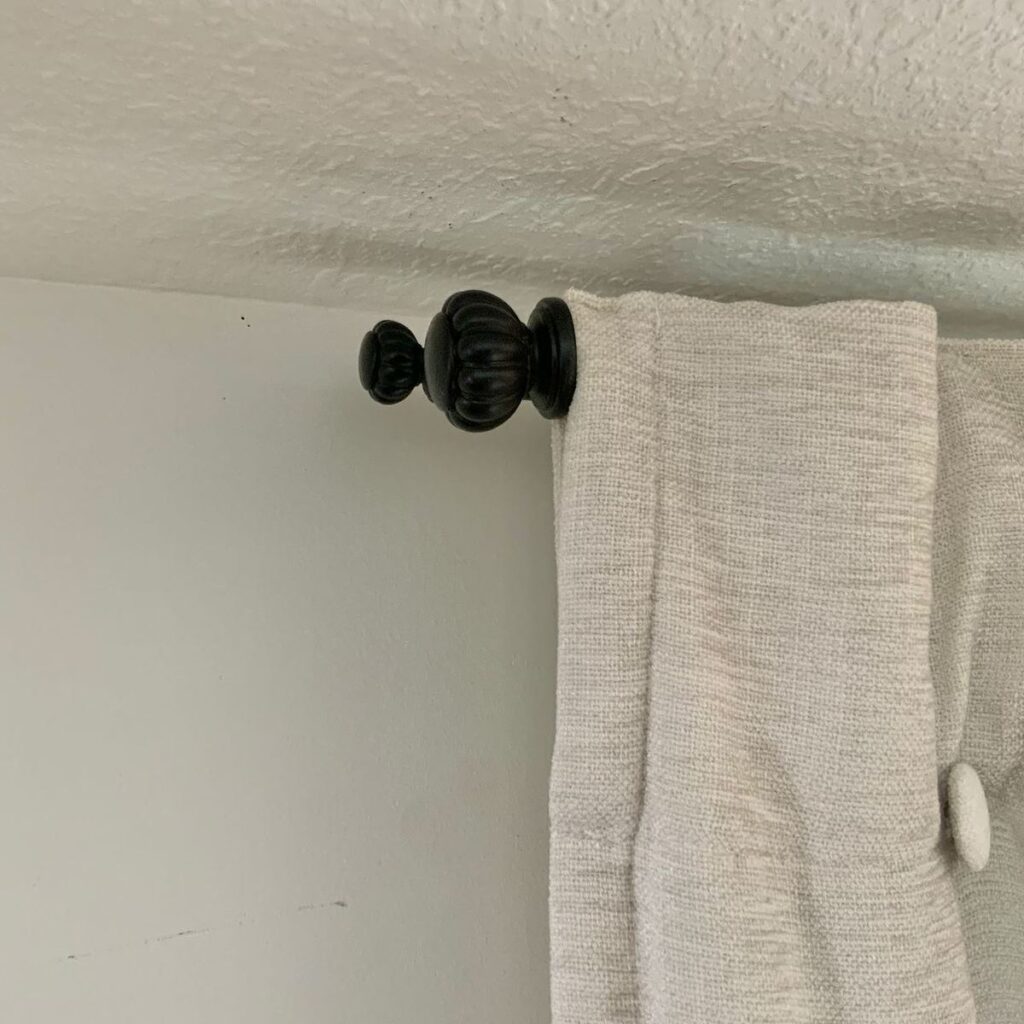
- A spring tension rod sized to your window width
- A textile with finished edges large enough for your window (more on fabric options below!)
- A few straight pins or a needle and thread if you want to secure your fold — totally optional
That’s it. Truly.
Heres the solution! A quick and easy window covering that’s:
- Genuinely simple — we’re talking 10 minutes
- No-sew and no tools required
- Removable — renter approved!
- Completely customizable to your window and your style
- Charming enough to look intentional
- Under $30
The links in this post may include affiliate links, which means if you purchase anything using these links, you pay no extra, but I may receive a small commission that helps keep this blog running. I truly appreciate you using affiliate links whenever possible. Please know that I will never recommend a product I do not believe in!
A Renter-Friendly, Budget-Friendly Solution That Actually Looks Stylish
Here’s why this works so well, especially for renters or anyone in a temporary living situation: a spring tension rod requires zero hardware. It wedges inside your window frame with tension alone, leaves no marks, and comes down just as easily as it went up.
Pair it with a beautiful textile — a vintage linen, a pretty scarf, a small tablecloth — and you’ve got a window covering that looks intentional and lovely for well under $30. Often well under $20.
Let’s Make a Window Dressing
Step 1) Find Your Height —
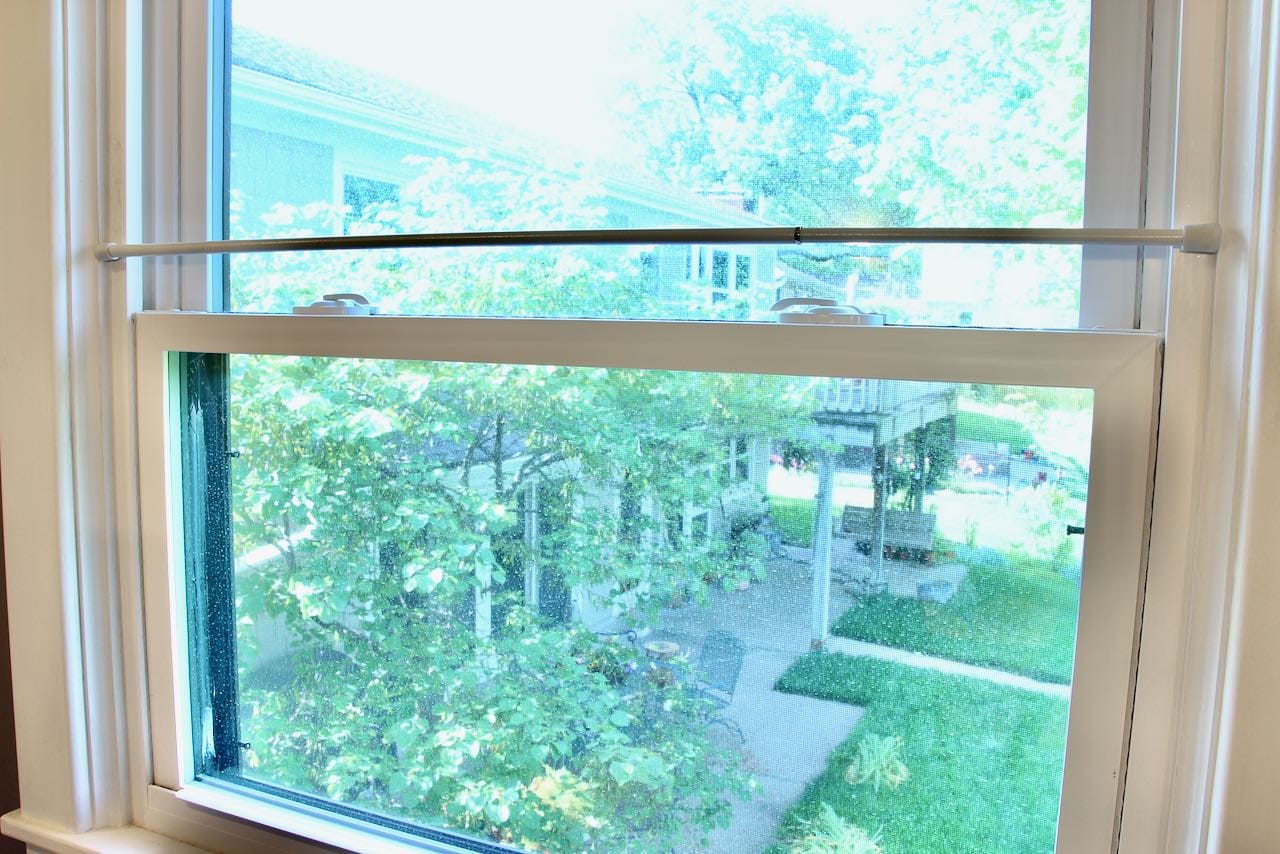
This is the key to the whole concept.
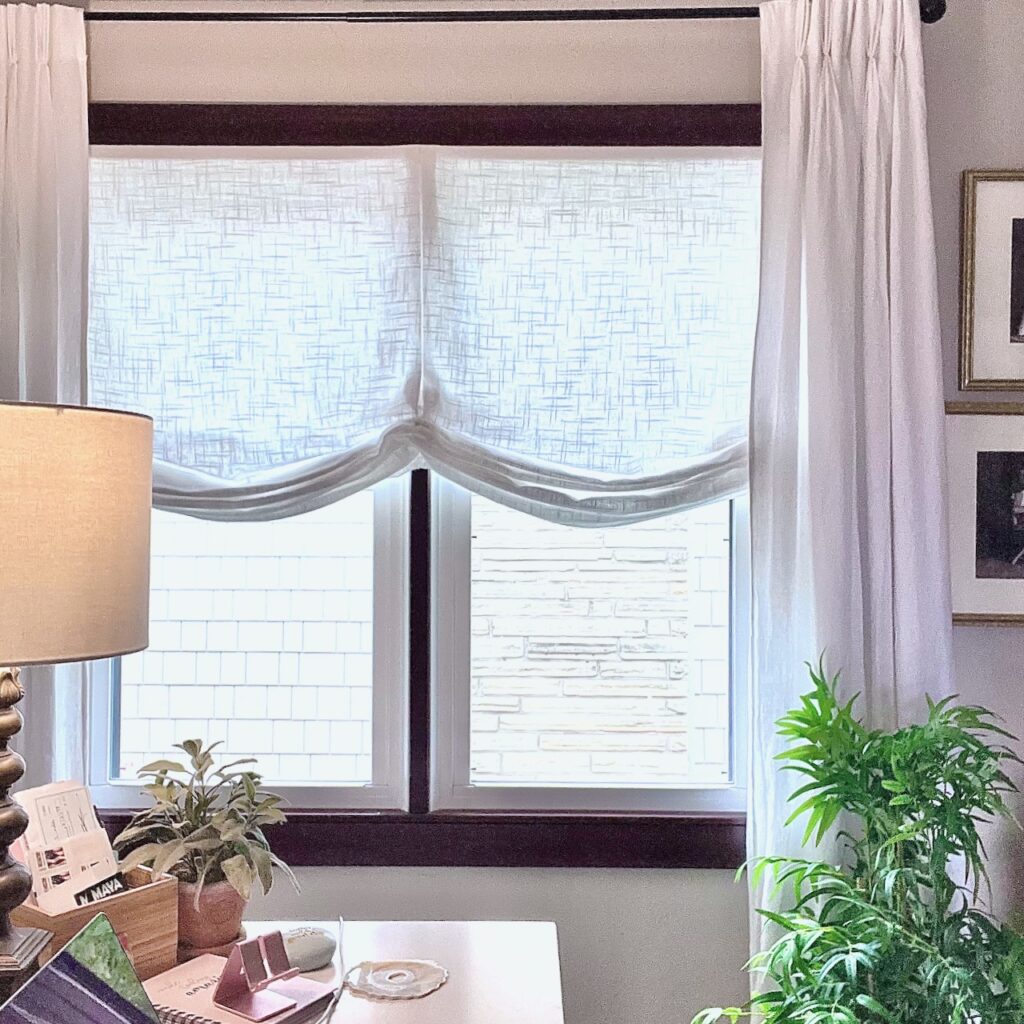
You’re not necessarily covering the entire window — you’re choosing how much to cover.
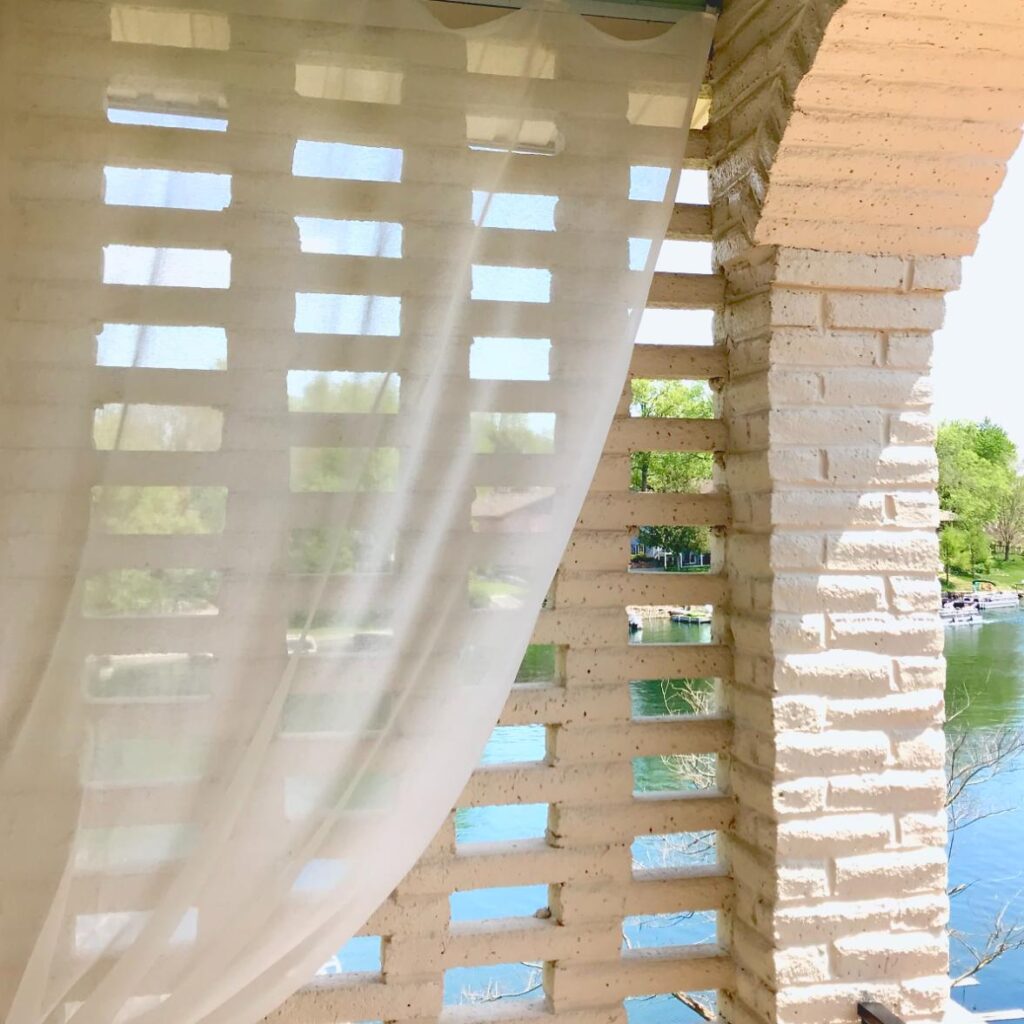
Start by holding your tension rod at different heights inside the window frame until you find the sweet spot: enough coverage for privacy, but positioned to preserve the view you actually want to keep.
Sky? Treetops? A pretty roofline? Keep those. Edit out the rest.
Step 2) Measure-
Once you’ve landed on the rod height, measure two things: the width of your window and the drop from the rod to where you want your panel to end (just above the sill is a natural stopping point). Add at least 3 inches to your drop measurement — that’s your fold-over allowance.
The table topper, table cloth, curtain panel — whatever you choose will need to be that width by the finished height plus your fold over.
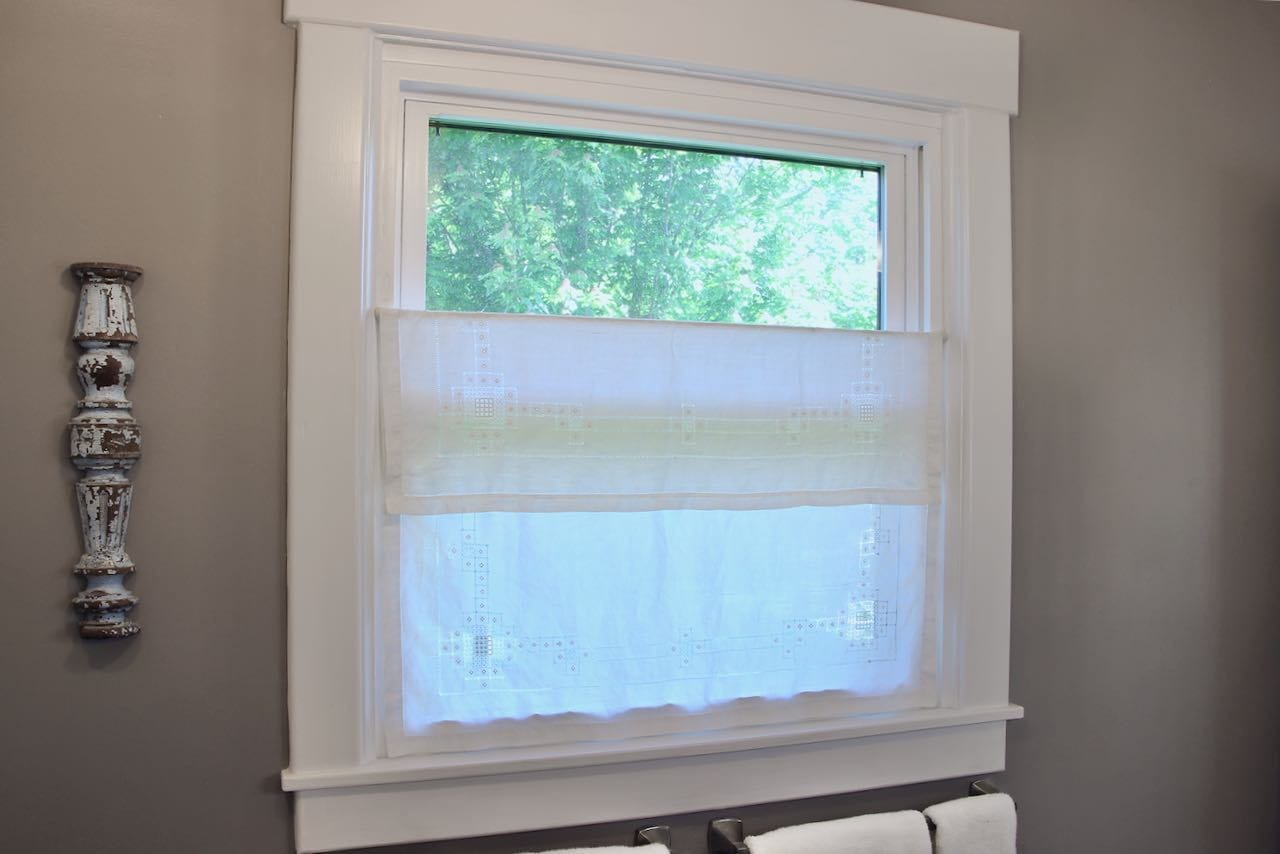
In my case, my window is 33-inches wide and I wanted my panel to fall from the rod to just above the window ledge, which is 24-inches. So I needed something that was a minimum of 33 X 27 (24 height plus at least 3 inches to overlap.
Step 3) Choose Your Textile and Size It Up —
You need something with finished edges that’s close to your measurements.
It doesn’t need to be exact — a little extra width softens nicely, and a longer drop just means a deeper fold at the top.
I had in my collection of vintage linens, this charming table topper that measured 34 x 34. So I looped it over my rod and it hangs over about 10-inches
More on fabric options in the next section!
Step 4) Hang It —
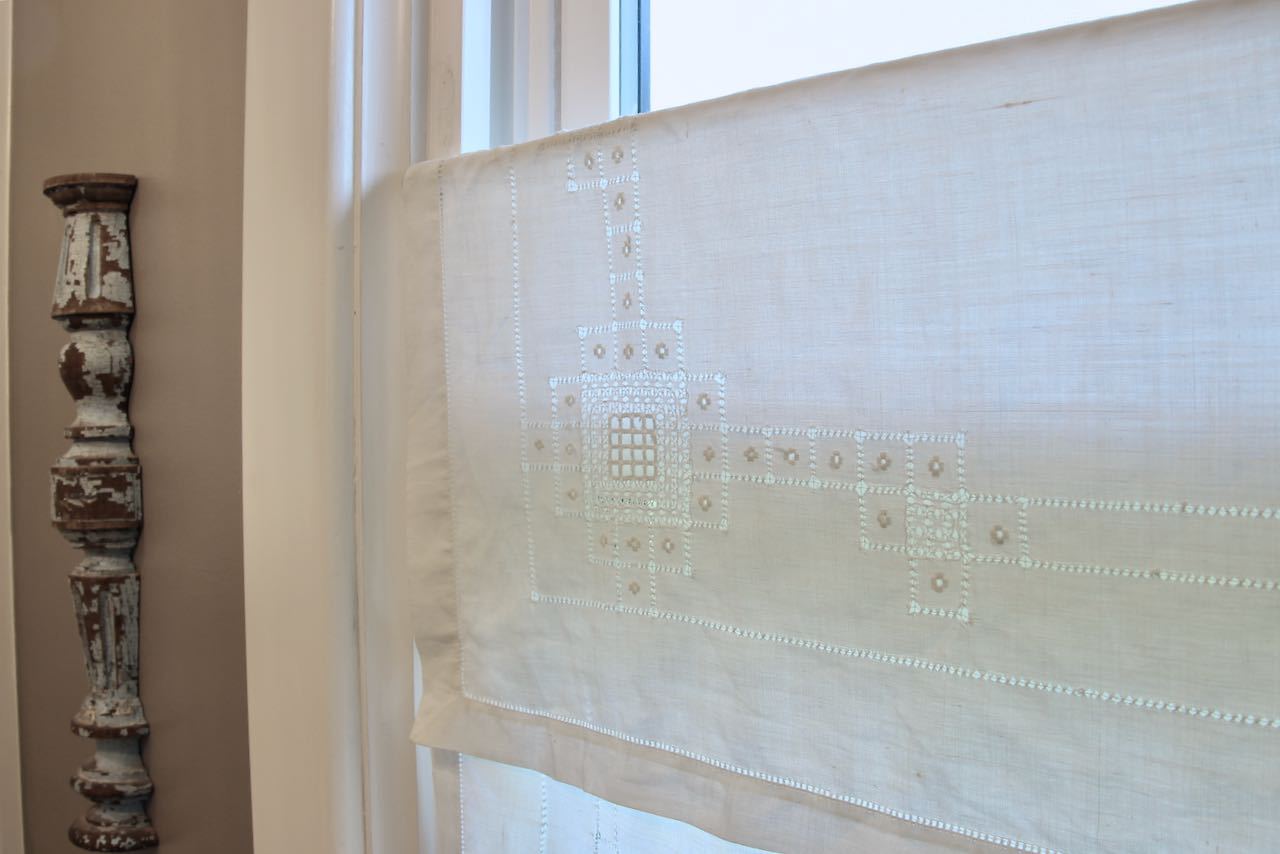
Loop your textile over the rod so it folds over the top by at least 3 inches.
Adjust until you love it. If you want it to stay put, a few straight pins along the back of the folded over hem are invisible from the front.
A quick stitch works too if you want it more permanent — but honestly, pins are fine.
And that’s it! You’re done!!!
Since I already had the table topper in my stash, all it cost me was less than $10 for the spring tension rod.
The Best Fabrics For This Window Covering
This is where it gets fun. You’re looking for any textile that has finished edges and is approximately the right size — which opens up a lot of beautiful, budget-friendly options:
Small tablecloths and table toppers are the sweet spot. They come in great sizes, they’re meant to be seen, and thrifted versions are often absolutely gorgeous for just a few dollars.
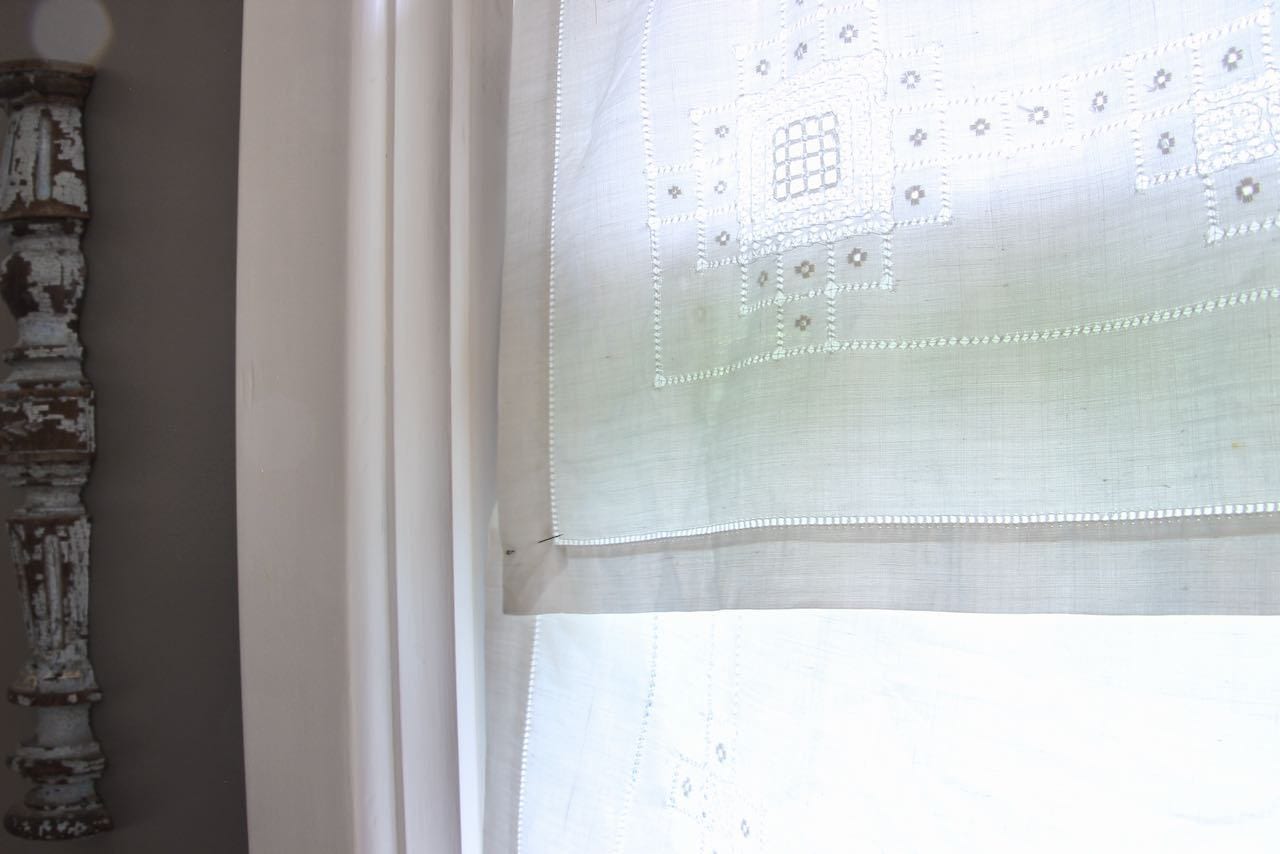
Vintage linens are my personal favorite for this. Embroidered edges, beautiful texture, a little bit of history — they add so much character to a simple window. Etsy is a goldmine for these, often in the $12–$25 range.
A pashmina or oversized scarf works beautifully, especially for a narrower window. The drape is soft and elegant and the colors tend to be rich.
A pretty dish towel — don’t laugh. For a small window, a pair of beautiful linen dish towels looped side by side on a tension rod can look incredibly intentional.
HINT: When looking for your textile, keep in mind that the back side of the fabric and any trim will show either as the long section or as the valance or “flip over” part.
The main criteria: finished edges, right general size, and something you love looking at. That’s the whole checklist.
The Results
What you end up with is a window covering that gives you real control — over your privacy, over your light, and over your view. You’re not blocking everything out. You’re editing. And it looks like you meant to do exactly that.
For renters especially, this kind of solution is a game-changer. No landlord conversations. No damage. No left-behind hardware when you move. Just a tension rod and something beautiful.
Total cost? A tension rod runs $8–$15. A thrifted or Etsy linen? $10–$25. You’re looking at a finished window treatment for $30 or less — and one that actually has charm.


Have a great day — with a gorgeous view!

More Projects to Enjoy
Clever idea for a beautiful piece of material! I have a couple of bins of old linens and such that I got from my MIL that I need to look through. Thanks for the idea.