Can’t Find a Long Enough Curtain Rod? Make Your Own at Any Custom Length
When store-bought rods fall short, galvanized pipe saves the day. Make extra long curtain rods at any custom length, on a budget — plus a clever finial.
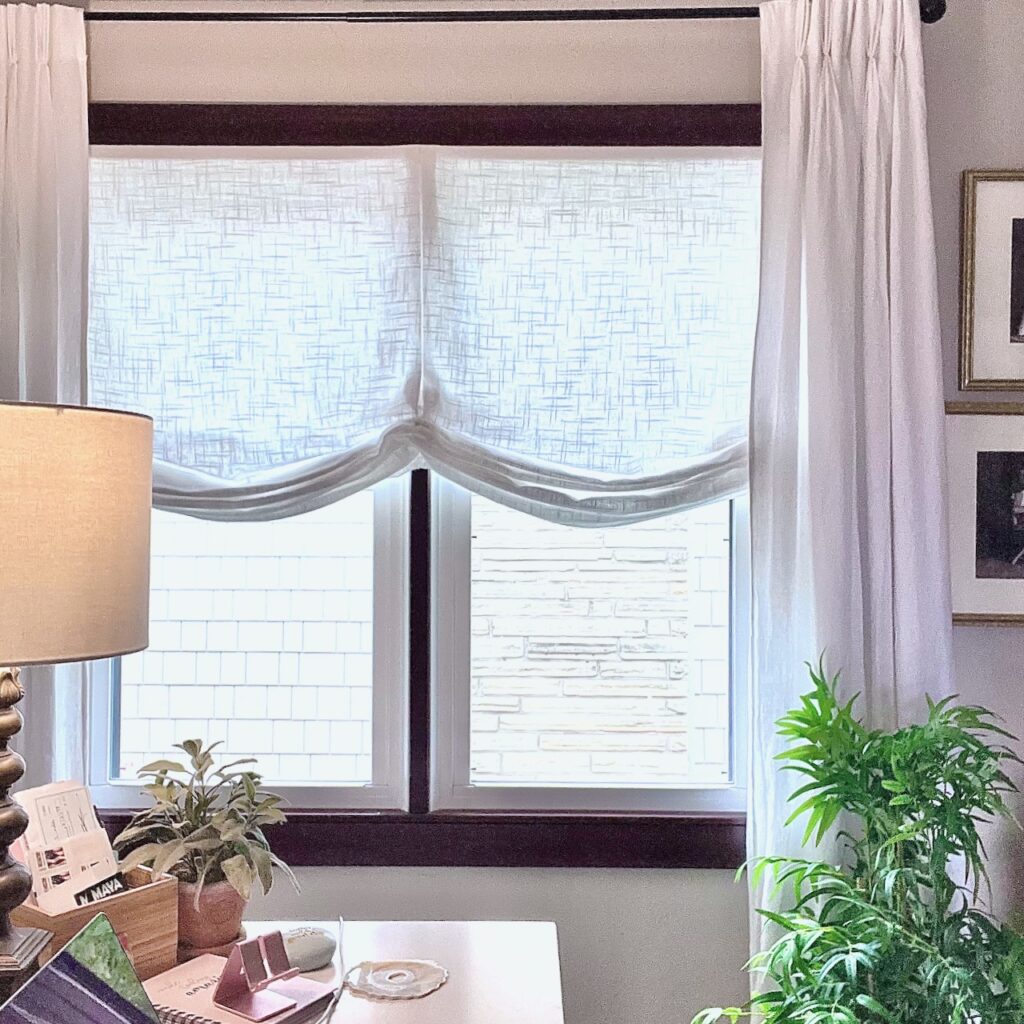
There’s nothing quite like a wall of glass — until the sun goes down. On cold winter evenings, all that beautiful glass turns into a row of large black mirrors, and suddenly your cozy gathering spot feels anything but warm and inviting.
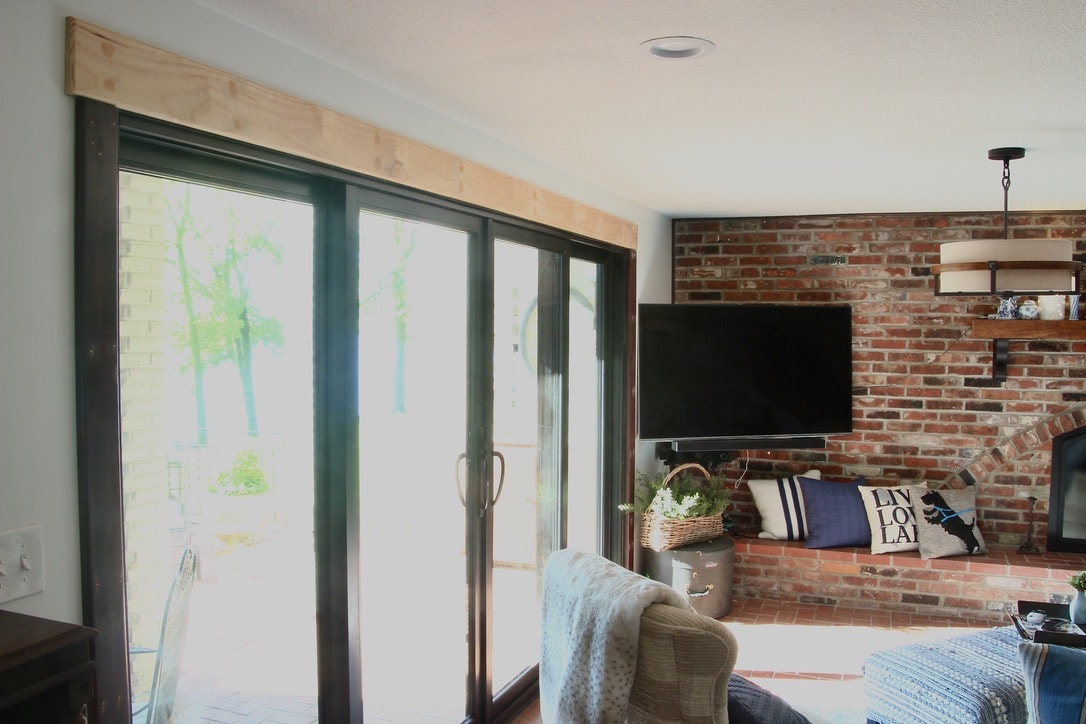
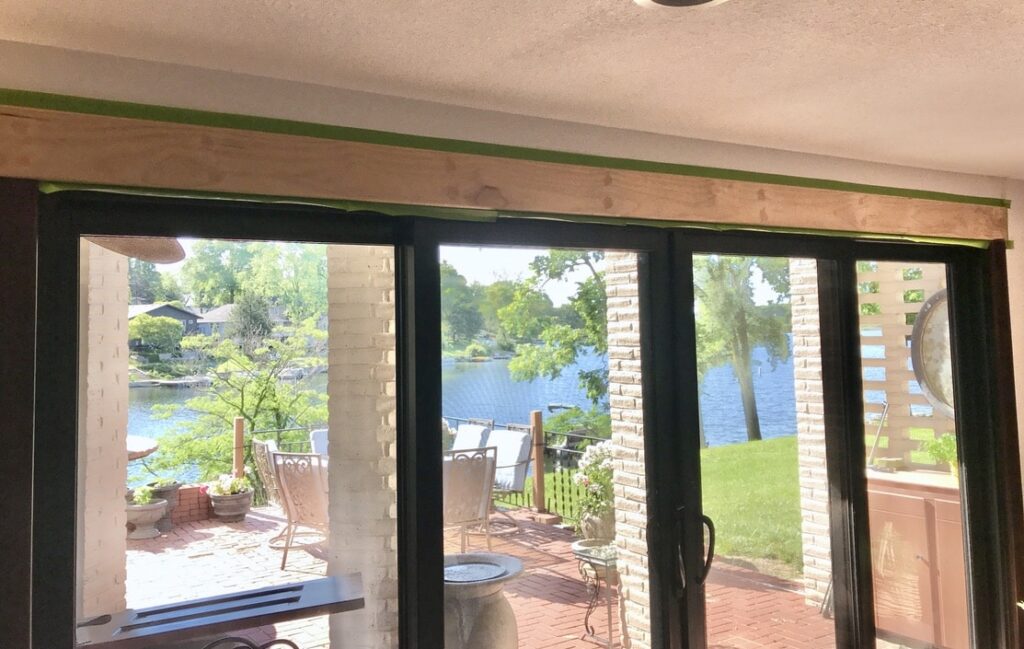
Quick note: this project was originally completed about five years ago, deep in the middle of a massive makeover of our new-to-us 60-year-old lake house. You may notice unfinished wood trim in a few of the photos — that’s exactly where we were in the process! If you’re tackling new wood trim too, you’ll want to read about the three mistakes we made so you don’t repeat them before you pick up a brush.
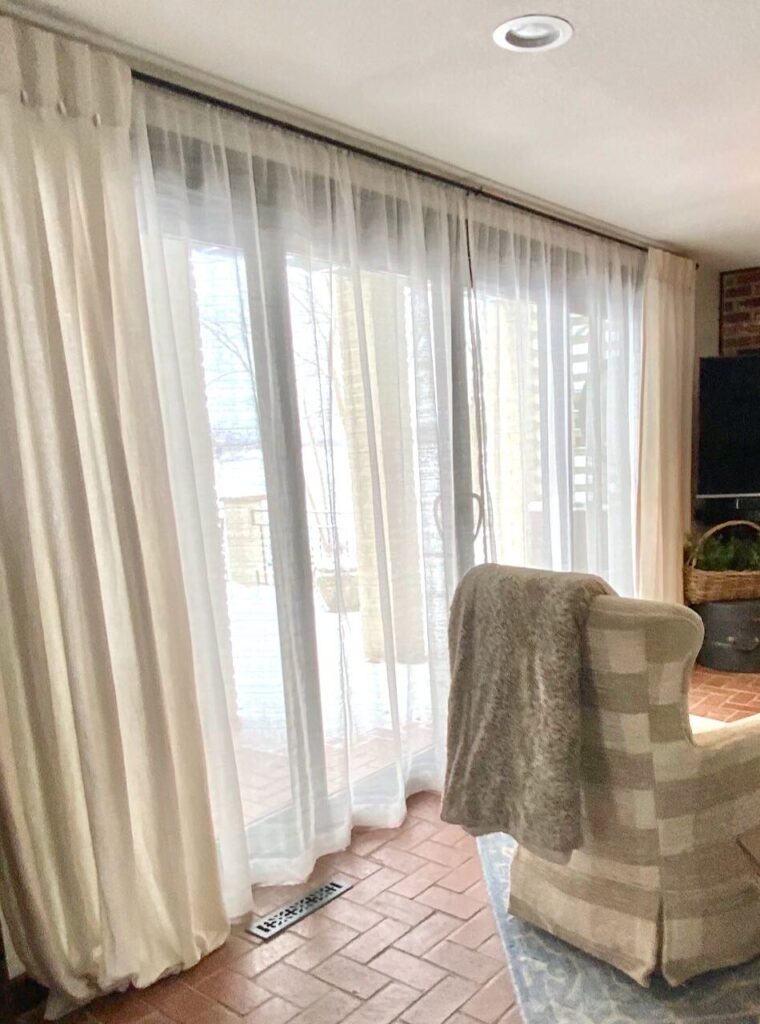
The solution to the black mirror issue? Layers!
Stationary panels on each side to soften the frame, and a lightweight sheer on a second rod to pull across that expanse of glass when the evening calls for it. Warm, cozy, done.
Which means you need an extra long curtain rod. A double extra long curtain rod.
Store-bought rods max out at 144 inches — and the longer ones online come with so many brackets they’d block your sheers from sliding all the way across. So I made my own from galvanized pipe, for less than $30 (in 2021), cut to exactly the length I needed.
And I have a clever little finial trick I think you’re going to love.
The links in this post may include affiliate links, which means if you purchase anything using these links, you pay no extra, but I may receive a small commission that helps keep this blog running. I truly appreciate you using affiliate links whenever possible. Please know that I will never recommend a product I do not believe in!
Ready to jump right to it?
Detailed Custom Length Curtain Rods
With All my Hints and Tips:
Step 1) Choose Your Pipe Length and Get It Cut —
The beauty of this method is that you’re not limited to what’s on a store shelf. Need a 14-foot rod? No problem. The only rule: plan for one seam, centered, resting on your center bracket. That seam is both supported and completely hidden — nobody will ever know it’s there.
For my 14-foot wall, I had a plumbing supply house cut four 7-foot lengths of 3/8″ nominal galvanized pipe (the actual outer diameter is .675″). Two lengths per rod — one seam each, right in the middle. Easy.
Your two options for getting the right length:
- Plumbing supply house — call ahead, give them your measurements, and they’ll cut it for you. Mine cut four lengths for under $30 total. Worth every penny.
- DIY with a pipe cutter — a pipe cutter is inexpensive and gives you a clean cut. No saw needed.
PRO TIP: Measure your window or door width first, then add however far you want the rod to extend beyond each side of the frame. Hanging wide — beyond the frame — is what makes windows and doors look larger and lets in maximum light when the panels are open.
Step 2) Join the Two Pipes —
To connect your two pipe lengths, you need a wooden dowel that fits snugly inside the pipe opening. Take a pipe with you to the store — you want a fit that’s snug but still slides in.
One 12-inch dowel is your connector. Slide one pipe over each end of the dowel until the pipes meet in the middle. If there’s a little wiggle room, wrap two layers of duct tape around the middle area of the dowel first to ensure a good snug fit.
PRO TIP: Aim for a tight fit rather than a loose one. A little duct tape mushes between the pipes at the seam? Perfectly fine — it’ll be hidden under your center bracket, and it means your two pipes aren’t going anywhere.
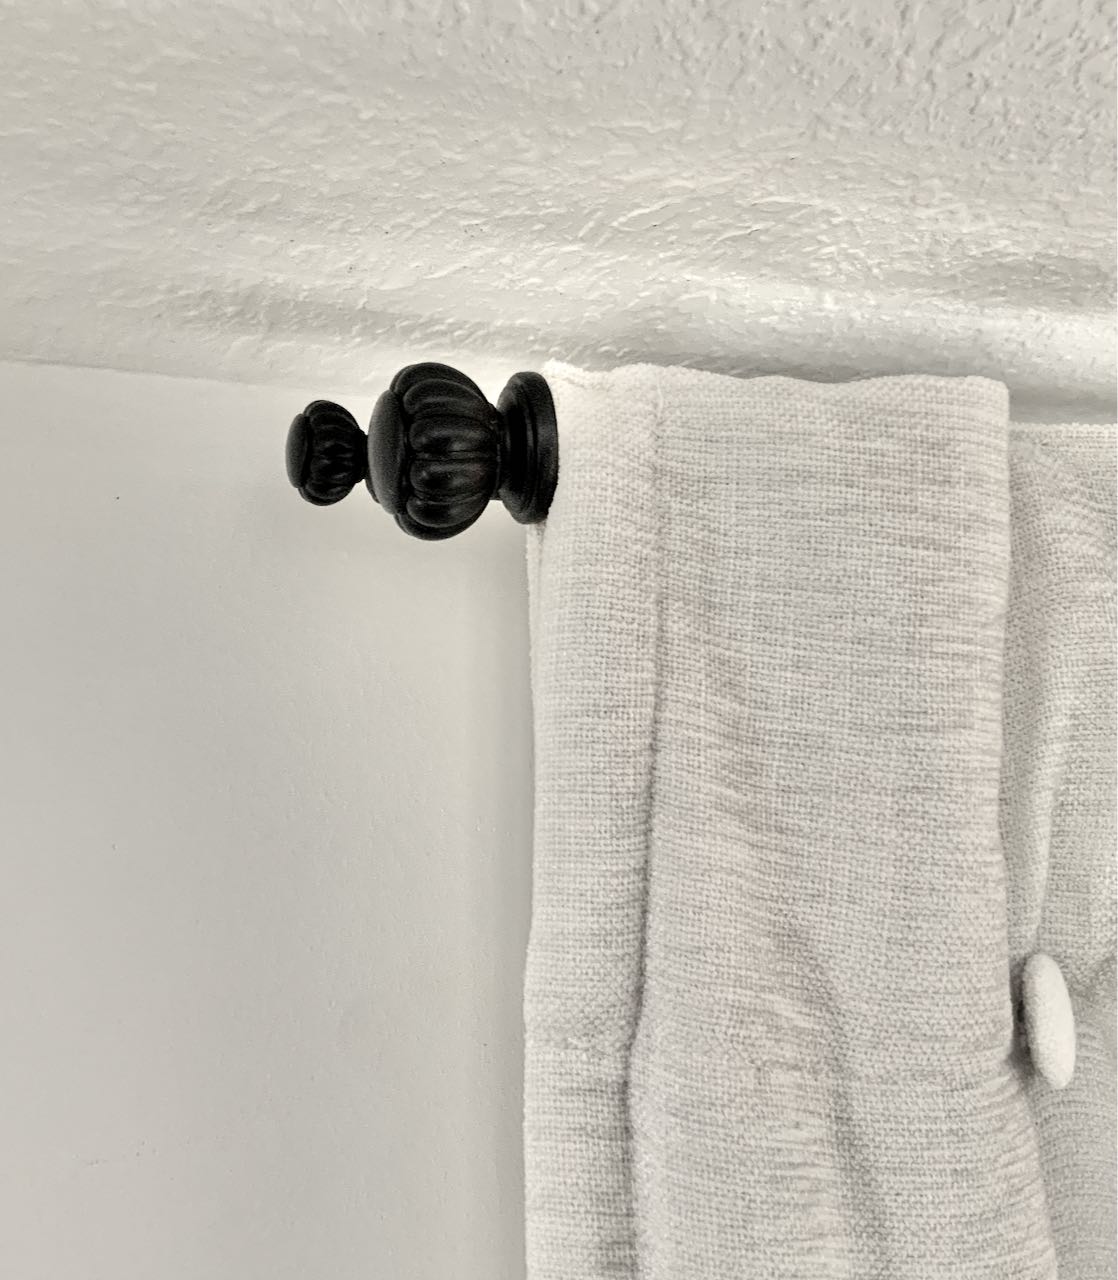
Step 3) Finish the Ends with Rubber Stopper Finials —
This is my favorite part — and the clever trick I promised you.
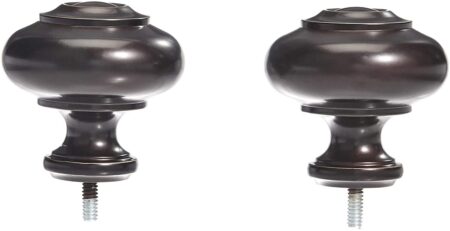
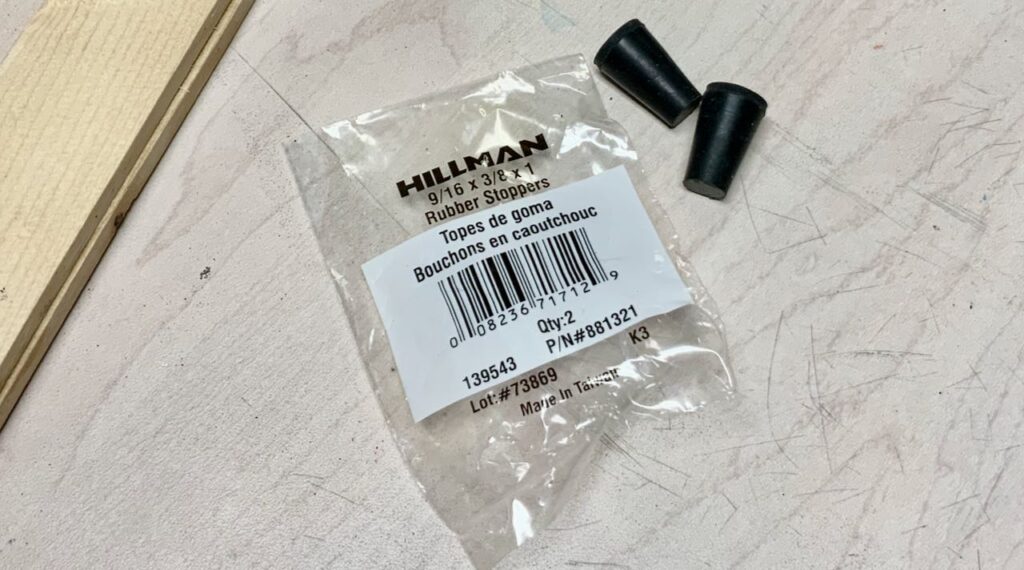
Raw pipe ends aren’t pretty. But rather than hunting for finials that specifically fit galvanized pipe, I found a simpler solution at my local home improvement store: rubber stoppers.
These are the stoppers I used.
Here’s how it works. Place a stopper wide-end up on a piece of scrap wood. Using a drill bit slightly smaller than the bolt end of your finial, drill a hole into the center of the stopper — but not all the way through. The scrap wood is there just in case you get a little zealous with the drill. (As you can see from my photos, I did.)
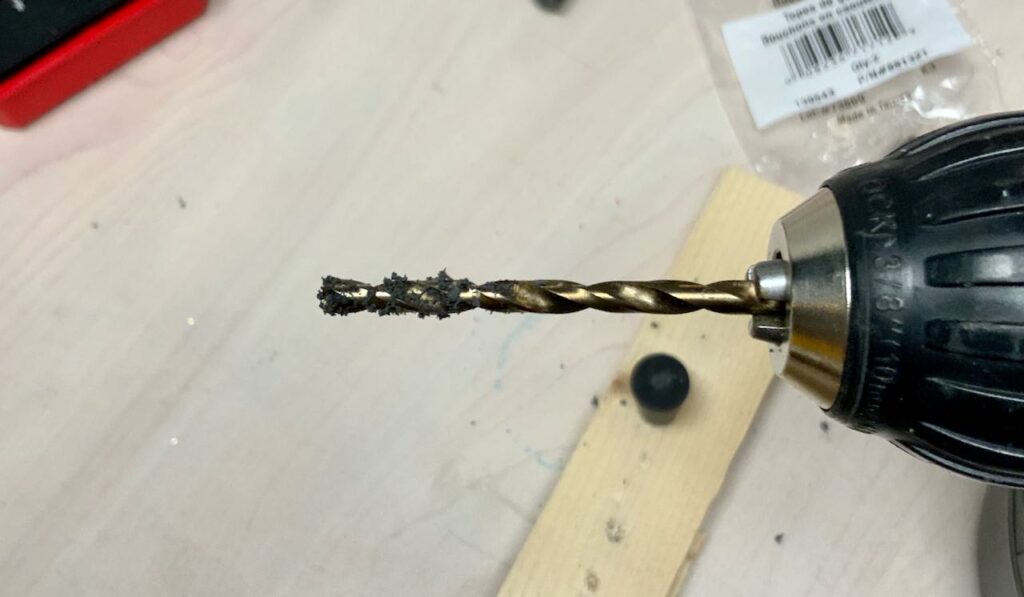
PRO TIP: Every time you retract the drill bit, rubber shavings come with it. Wipe them off with a shop towel after each pass. After 7 or 8 passes you’ll have a clean hole sized perfectly for your finial bolt.
SAFETY TIPS: Mask and eye protection! You don’t want to be breathing in those tiny rubber shavings. Also, hold the rubber stopper with a pair of long handled pliers.
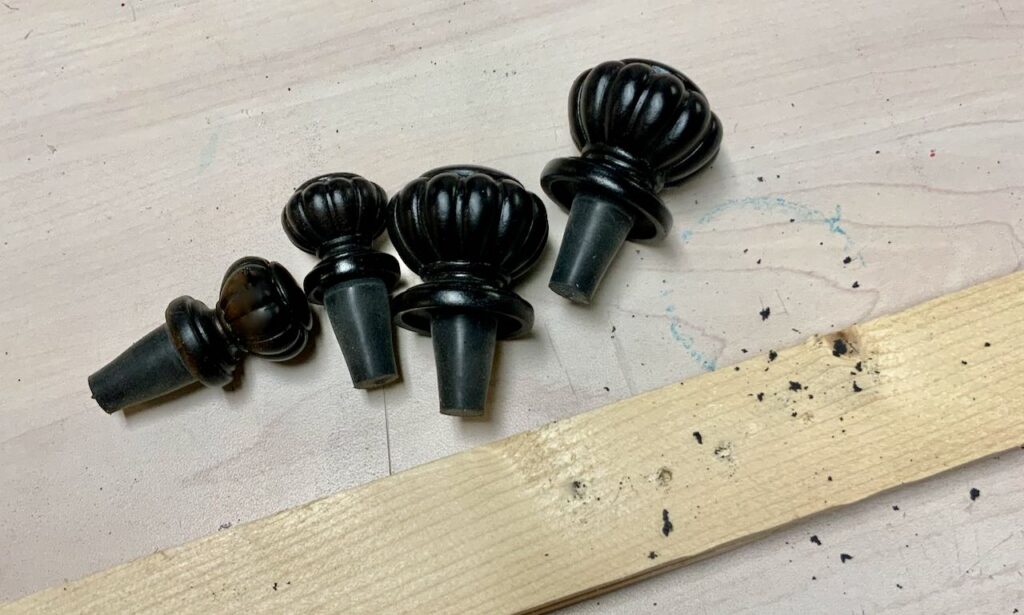
Press your finial bolt into the hole and push the stopper into the pipe end. The stopper holds the finial securely in place while the finial base covers the raw pipe edge completely. And if you ever need to remove them? They pop right off.
Step 4) Prep and Paint Your Rods —
Take your assembled rods and finials outside for this step. Three light coats of spray paint is all it takes — rushing this is the enemy of a smooth finish, so let each coat dry before adding the next.
I painted mine black to match my existing hardware, but galvanized pipe takes spray paint beautifully in any finish — matte, satin, even metallic. This is your chance to make these look like anything but plumbing pipe.
Five Years in, What Would I Do Differently?
What I’d absolutely do again: The galvanized pipe was the right call. These rods are rock solid — not a hint of sag, even spanning 14 feet with double layers of curtains. The rubber stopper finial trick still makes me happy every time I look at it. And coming in under $30 for the whole project? I’d do that again in a heartbeat.
What I’d do differently: Honestly? Not much. The dowel connection has held perfectly — no slipping, no shifting. I’d call this one a win all the way around.
I might change the style of the finials to something a bit more streamlined. But that’s super easy. When I come across the perfect finials, I’ll just switch them out using the same rubber stoppers.
How are they holding up? Still going strong. No sagging, no slipping, no paint chipping. Galvanized pipe is tough stuff.
PRO TIP: If you’re considering a different finish down the road, the rods are easy to take down and repaint. Just pop off the finials and head back outside with your spray can.
And once your rods are up, you’ll need curtains to hang on them. Extra long rods mean extra wide panels — and if you’ve shopped for wide sheers lately, you know the fabric choices get limited fast and the prices get steep. Here’s exactly how I solved that problem without breaking the budget: Curtains for Sliding Glass Doors.
These rods have been one of my favorite budget wins in this whole room. Under $30, built to last, and that little finial trick never gets old. I hope they solve your extra long curtain rod problem as beautifully as they solved mine!

More Window Covering Projects to Enjoy
Just came to comment that there are sadly way too many ads and pop-ups that I couldn’t even read the content.
I truly appreciate your feedback. I’m am working with my ad company to curtail the intrusion as much as possible.