
Curtains To Soften Our
Over-Sized Sliding Glass Doors
Budget friendly curtains for sliding glass doors and huge windows. Make your room more inviting eliminate the nightly “black mirror” effect.
Curtains for Sliding Glass Doors Idea — But Not Big Heavy Drapes!
There is a negative to those huge windows and glass doors and walls of glass that we love — love, most of the time.
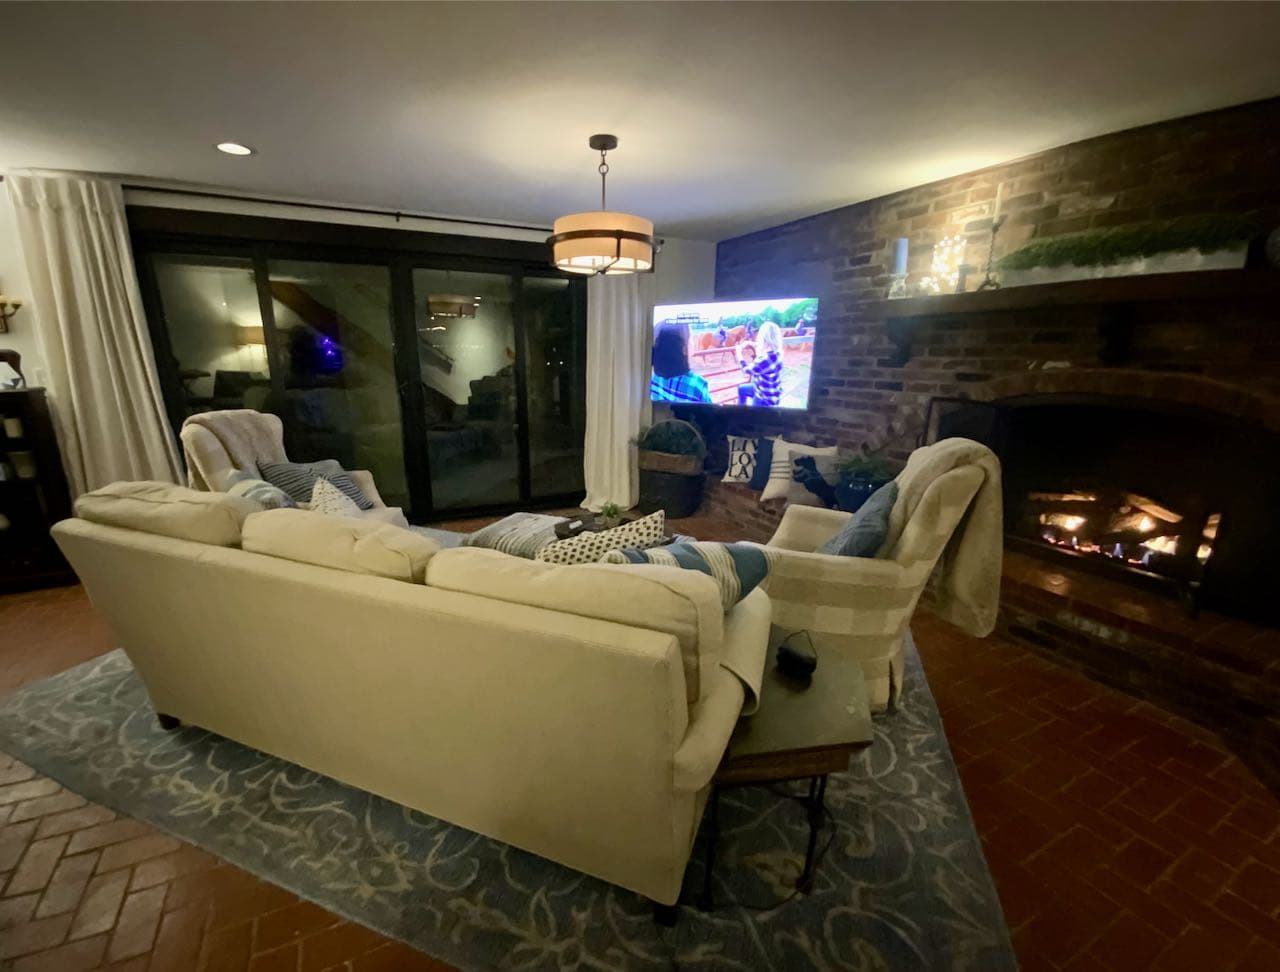
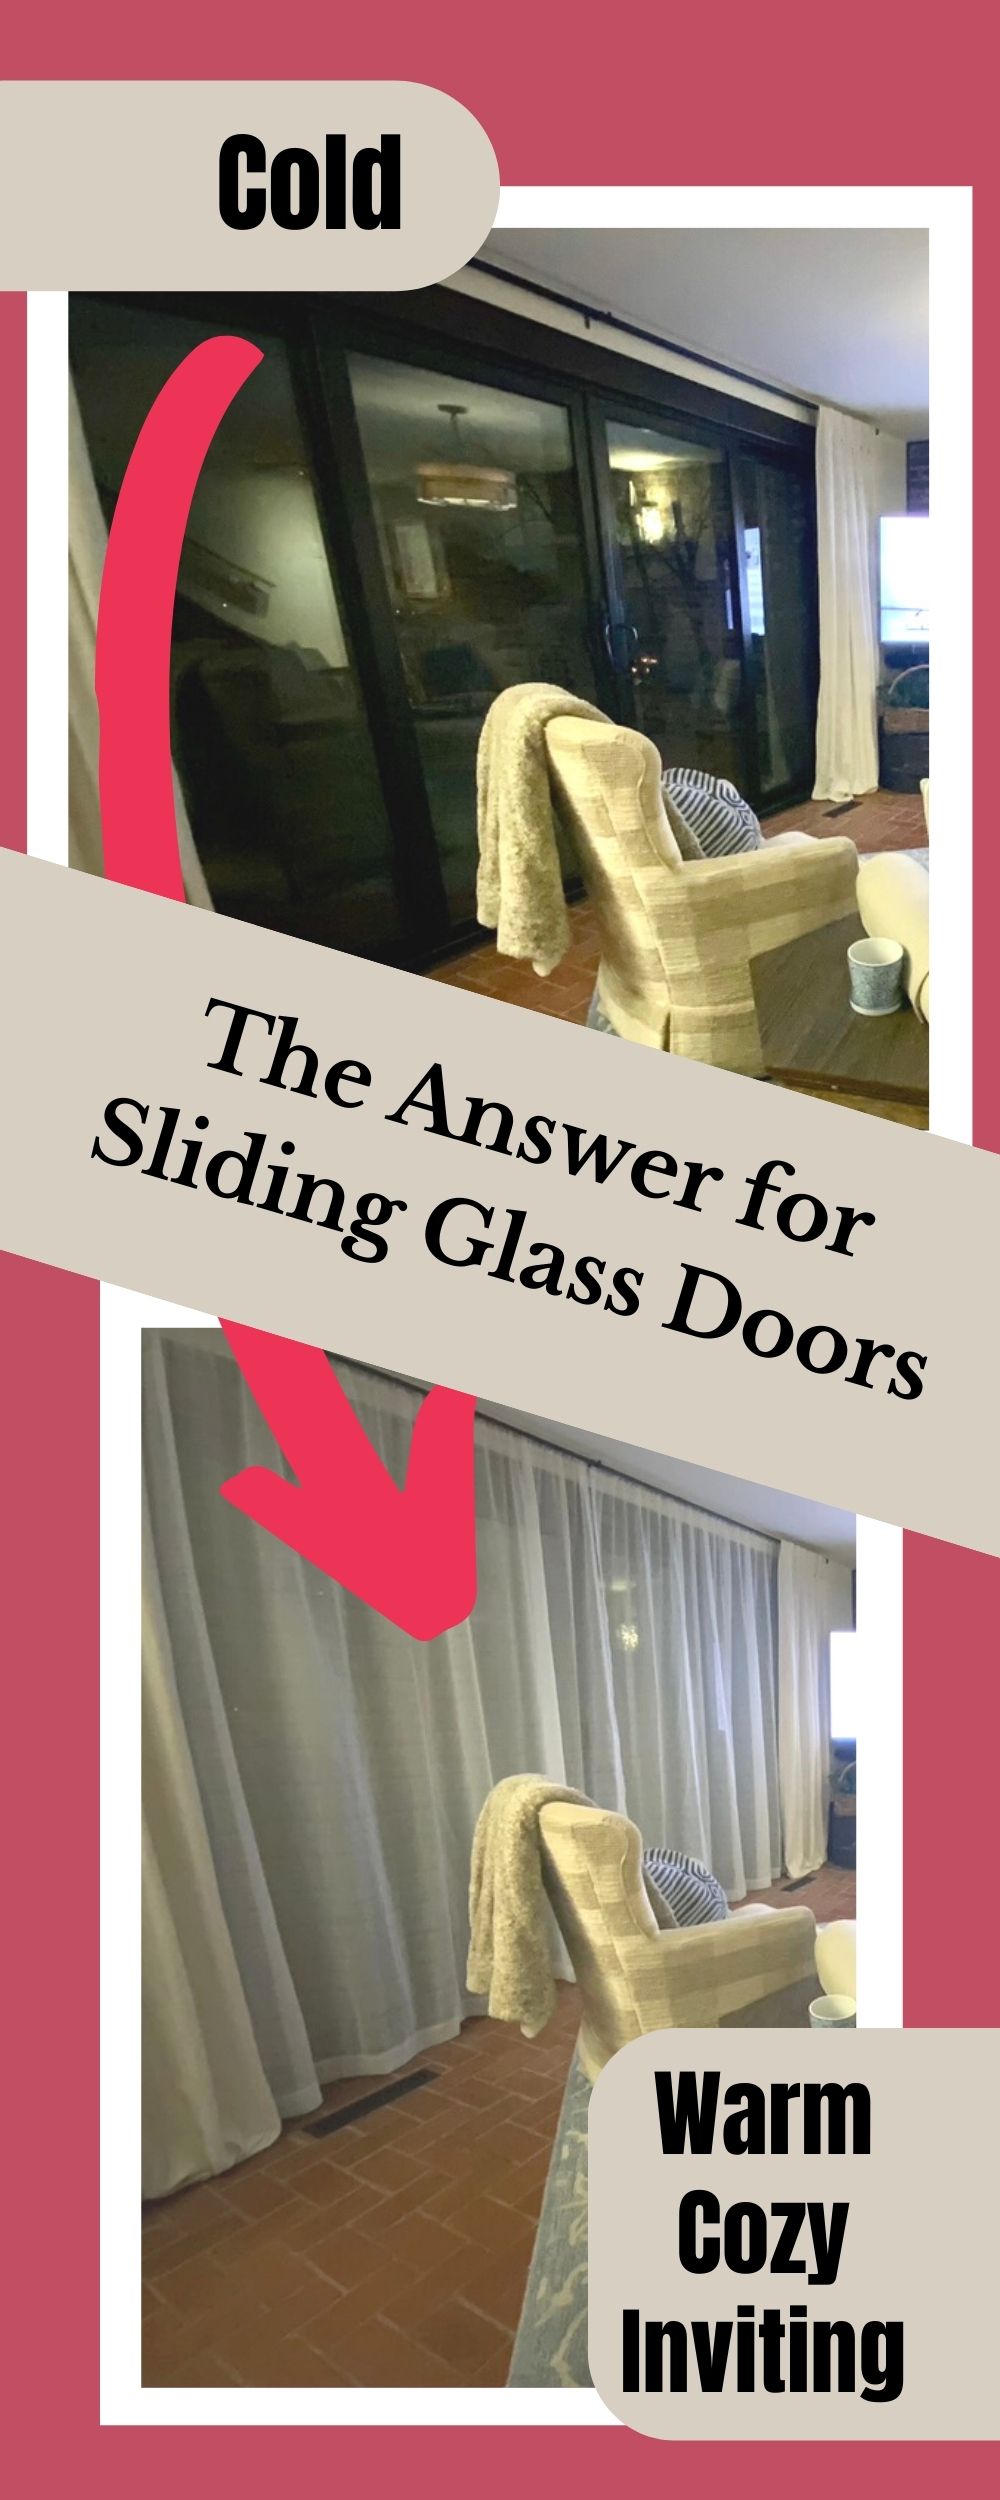
The negative? It’s how they turn into big black glass mirrors at night — particularly in the winter. When we want to get all warm and cozy, it’s hard when the wall is black glass — inviting? warm? cozy? NOT!!!
Even with all the layers of warm lighting on, a roaring fire going, and fuzzy throws everywhere, it it still rather uninviting.
But, If We Add Sheer Curtains to Our Sliding Glass Doors:
Look what happens with this one addition!
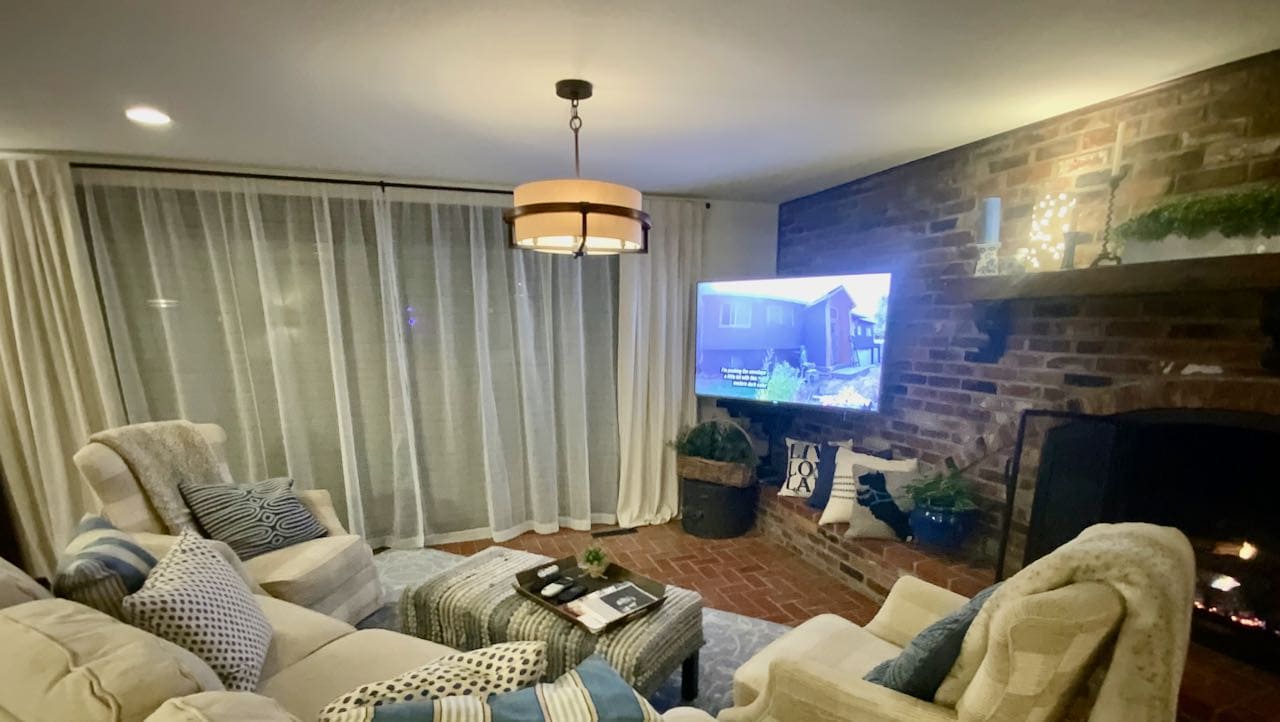
Now our family room is a warm hub where everyone wants to hangout.
Even with a brick floor and a brick wall, the room is very cozy and inviting once we soften that wall.
Before, we can talk curtains, we need to talk curtain rods. Check out the DIY that tackled the extra-long, custom length curtain rods and their finials.
And a TOTAL SIDENOTE: who wants to see what this wall of glass looked like last summer? Check it out!
How Do You Make Sheer Curtains Look Good?
Well, It’s all in the sheer panels you choose. Specifically, the fabric and the hems.
This choice will keep them from going all “Grandma-sheers”. Now don’t get me wrong. Most of our Grandma’s had great style, but they didn’t have the fabric choices we do today.
Personally, I steer away from anything shiny and certainly any flat weave. A flat weave is exactly that — flat (and boring). There is no texture, no pattern, no change in the weave. No change in the warp or weft threads that make the fabric. Not only is this rather boring, it also will show any speck of dirt, spills or snags.
I like a sheer that lets in plenty of light but has a bit of a linen type weave or something interesting in the thread being used, such as color or thickness variations.
Sheer curtains are still curtains, don’t consider them secondary. They should have the same hefty hem as heavier drapes do, 3-inches is typical. A thin rolled hem just doesn’t hang as nice and certainly is not substantial, Most people would know that the sheer curtains look good or look weak, but they probably can’t put their finger on why. It’s the fabric and the hems.
What Are the Widest Curtains You Can Buy?
Great question! Like all home decor decisions, it all comes down to what you want to spend. Custom drapes can be ordered in just about any size. But custom drapes cost . . . . like COST!!!
I did not want to shell out that much. So I only looked at standard panels. You can get some double-wide or oversized panels, typically 110-inches wide. That would have worked for me, but I just didn’t like any of the fabrics I could find.
I need to cover 14-ft of glass door. I can fudge that down to 13-ft if I don’t fill completely behind the stationary side panels. So I know I will have to buy two pair and sew each pair together for one side of the door.
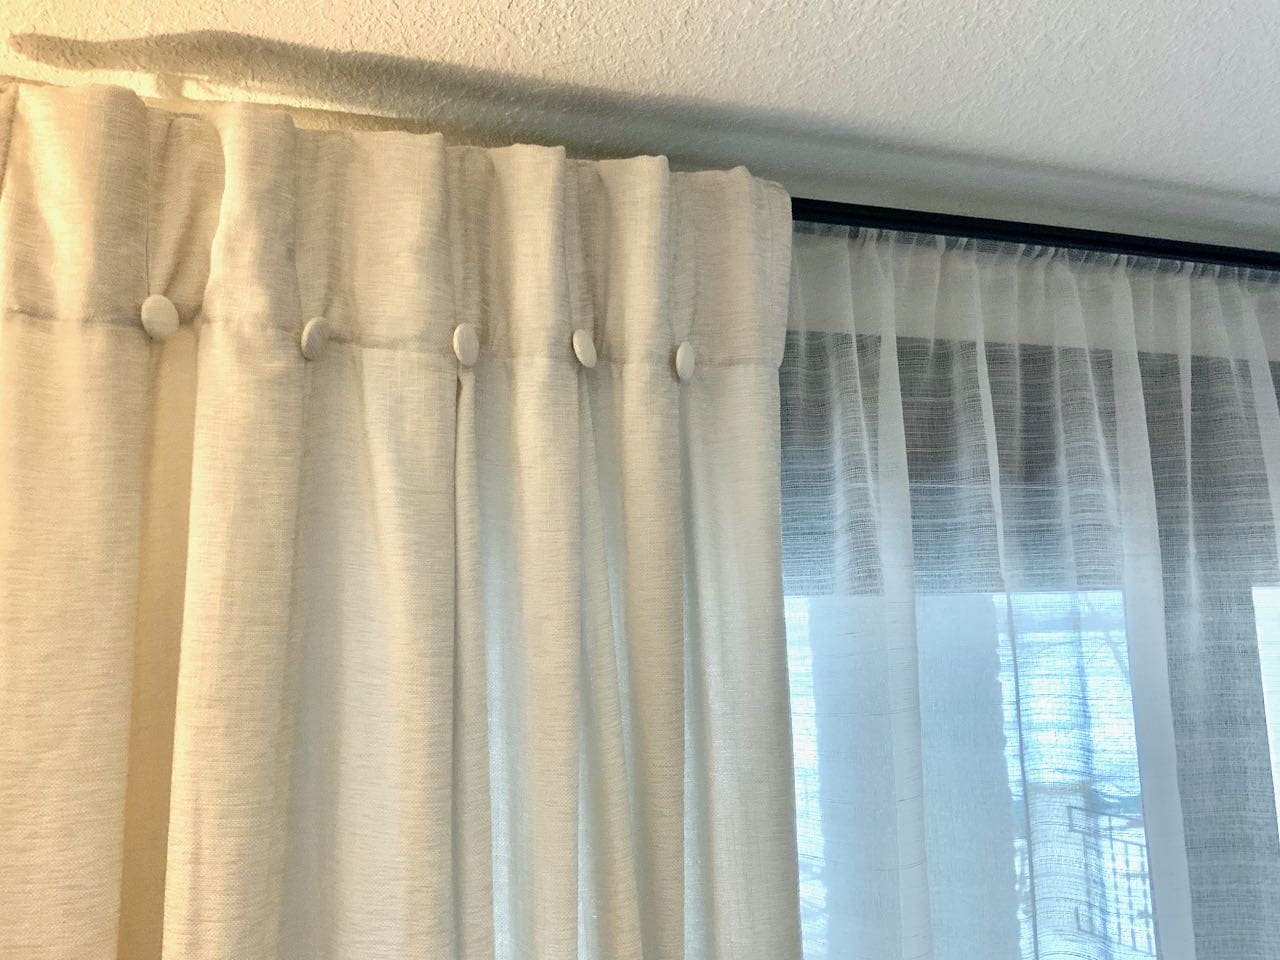
I have placed my curtain rods as close to the ceiling as I can and still get the rods in place. This will help raise our somewhat short ceiling. And we are using a double rod with the sheers installed behind our side panels. BONUS:for a cleaner look, the sheers can stack back behind the stationary panels when not needed and no one even knows they’re there.
There are several ways to hang sheer curtain panels:
- With a cased opening (basically a large hem at the top, open on each side) that you thread the rod through
- With large grommets that you thread the rod through
- With sew-on or clip on rings that thread on the rod
- With fabric ties on the top that thread on the rod
I knew I wanted the cased opening for our situation. Grommets do not work well with double rods. The clips, rings or fabric ties distract from my goal of elongating, minimizing the transition from sheer to ceiling.
With the rods up, I know my sheers need to be 89-inches long. Standard curtain panels are usually 84 or 96-inches long. So I will have to go with the 96 and hem them.
Armed with our particulars, I could go shopping for sheer curtain panels that:
- Have a cased opening (basically a wide hem with each side open) for threading the rod through
- Sheer neutral color with interesting texture
- Generous hem
- 96-inches long
And the winner is:
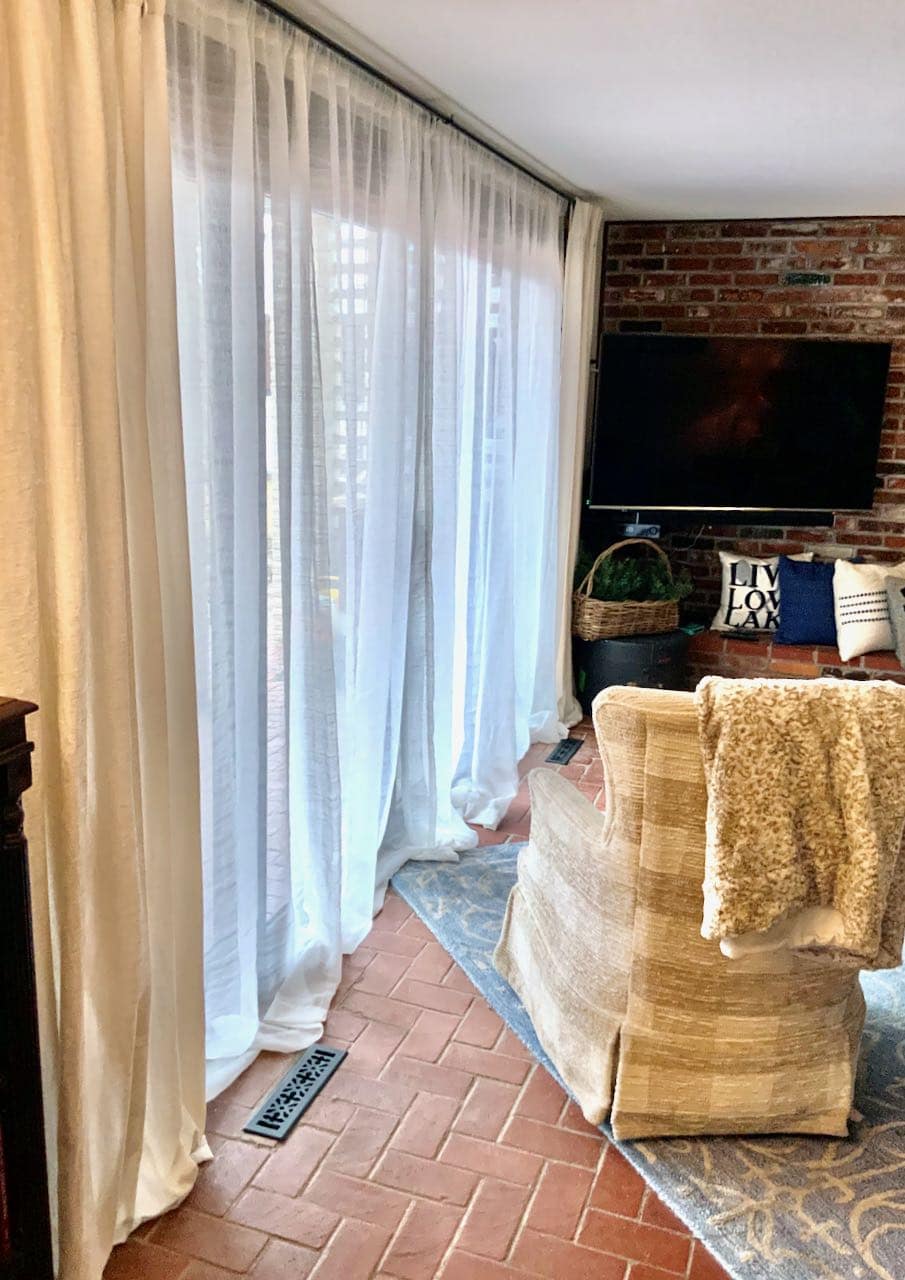
I brought home several contenders from Home Goods and these are the winners.
Honestly, they hung this way all through the holidays as my cutting table and sewing machine were consumed with Christmas stockings and tree skirts. Once all the holiday finery was packed away in their tubs, I set to work making these sheer curtain panels work like custom drapes for 1/10th the price.
I love a good panel puddling on the floor, but for the sheers, it just looked sloppy to me. It made me feel lazy, not cozy. Plus, we open and close them quite frequently and I was always fussing with how the puddled.
So here is a quick guide on how I modified ours.
Customize Your Store Bought Sheer Curtain Panels
This is not a beginner level project! Just stating that up front. If these were drop cloth panels, i’d say yes, but it is very different to work with this volume of sheer fabric.
Step 1) Pin the Hem and Label the Panels
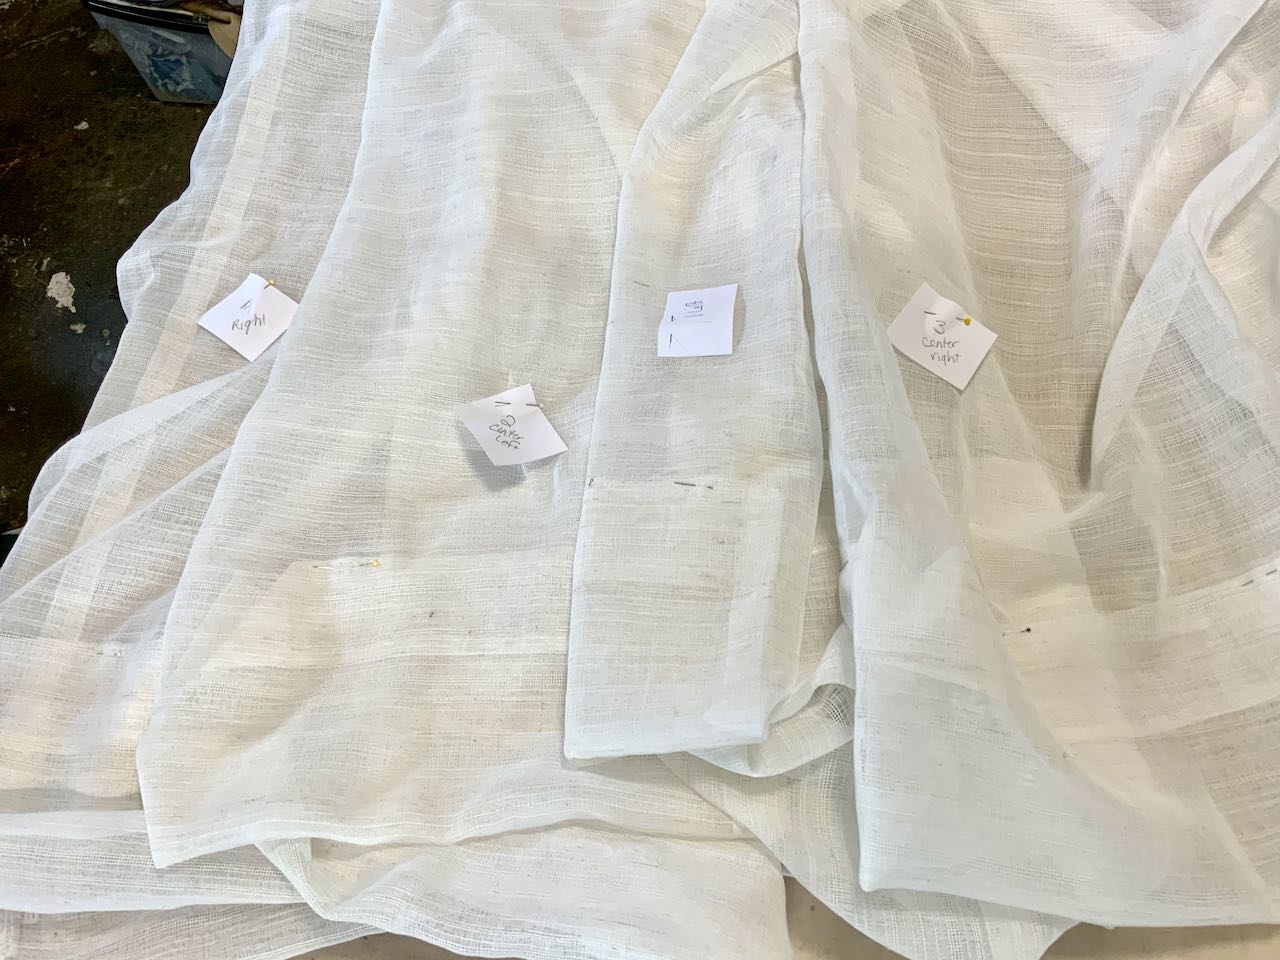
While your sheers are hanging in place, pin up the hems. We all know our ceilings, our walls, our floors are not perfectly straight, right? So it’s best to accommodate for all that “character” now.
Be sure to label the order of your panels. I pinned on a tag for left, left center, right center and right. Now I will know that I am sewing the left and left center together and the right and right center together.
Step 2) Take Out Side Hems & Sew Panels Together
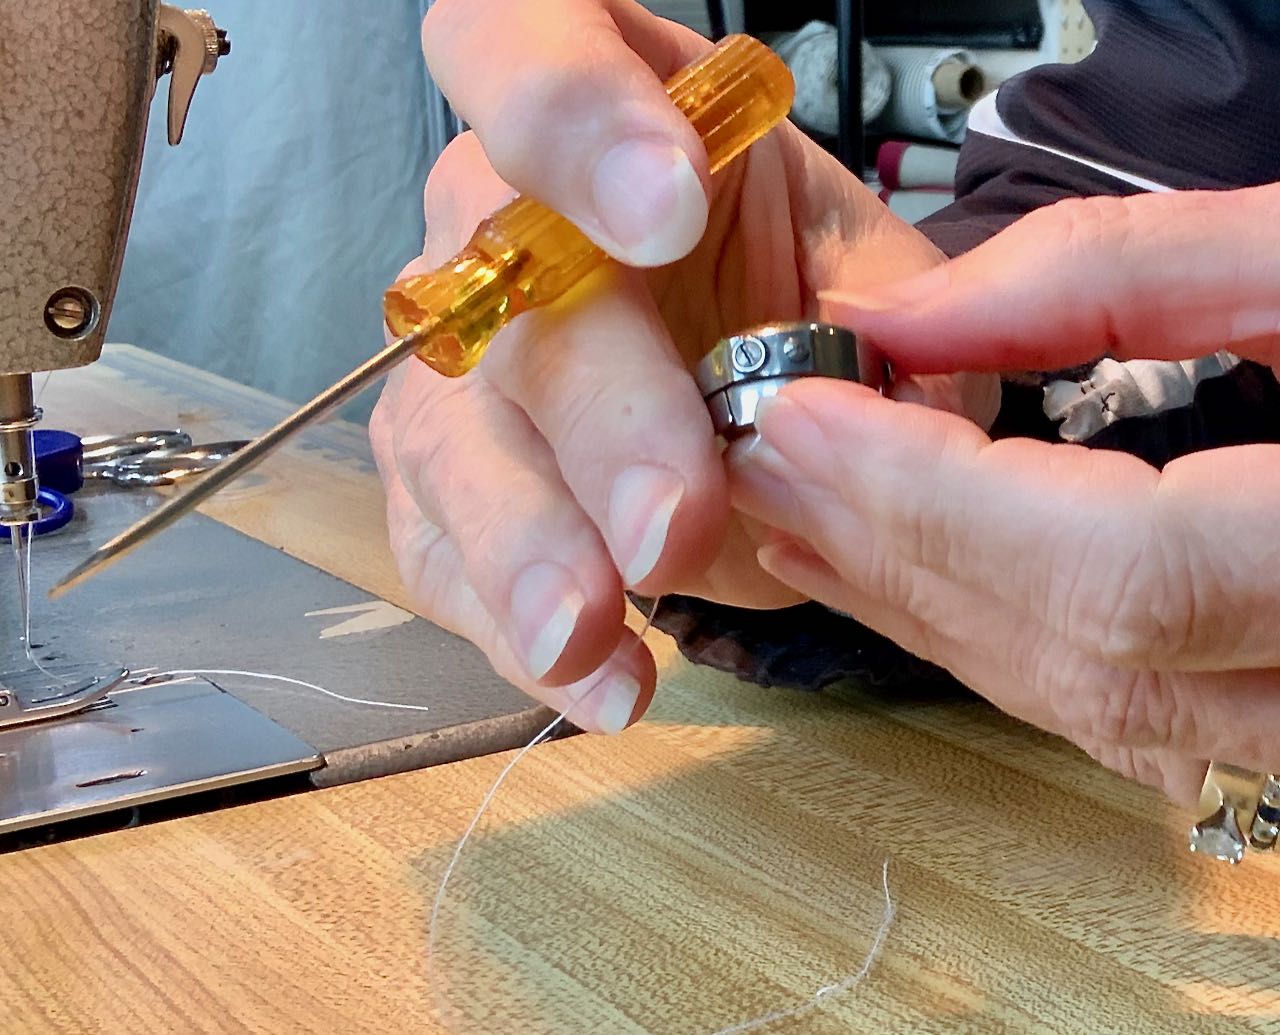
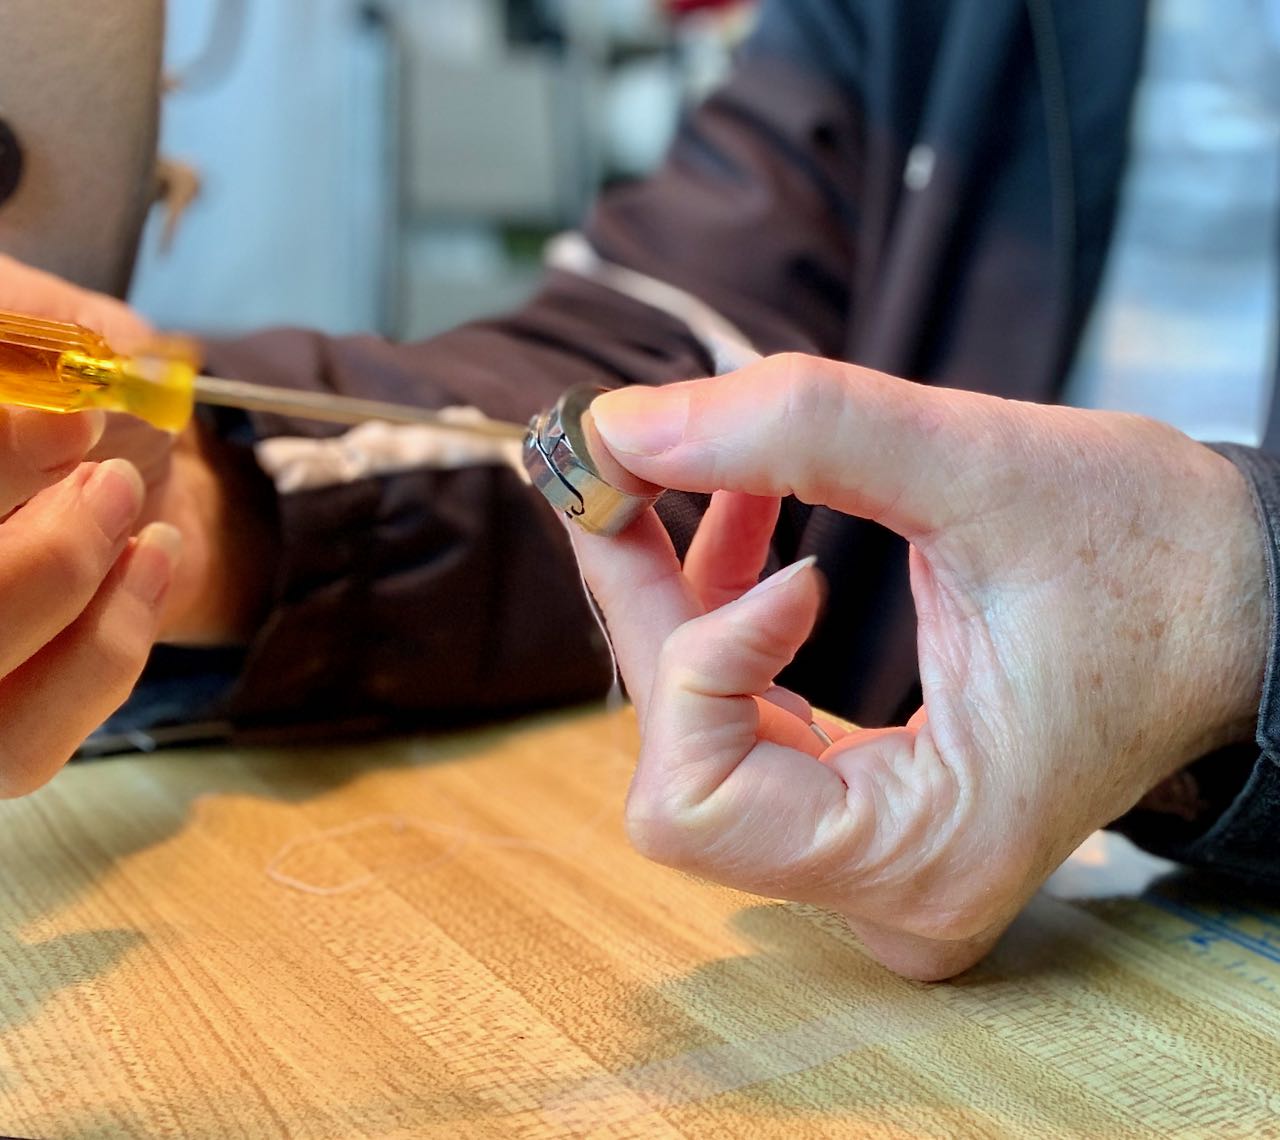
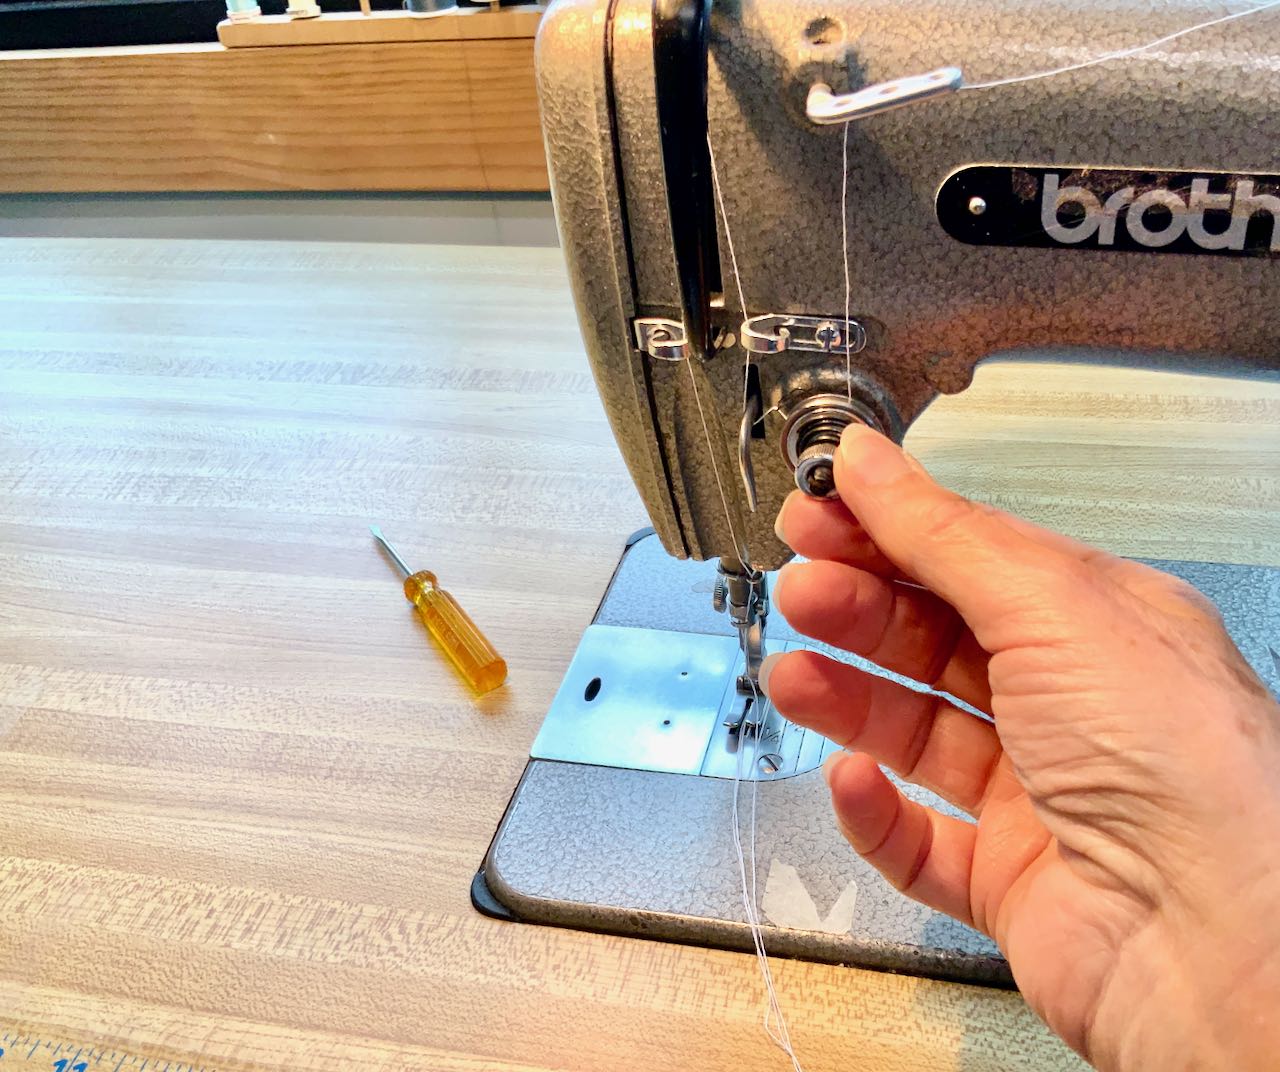
Once you have your side hems out and pressed flat, prepare the four long raw edges. Either serge them, adjusting all the thread tensions for that lightweight fabric, or use Fray Check, a liquid that dries clear and keeps a raw fabric edge from fraying.
Now you are ready to join each pair of panels.
Being such light fabric, you will need to adjust all your tensions on your machines. Don’t forget your bobbin. You should find a screw on the bobbin case, reduce the tension by turning counter clockwise (lefty-loosey, righty-tighty). And then of course there will be a tension knob on the front of your machine for your top thread.
Pin the matching panels together. This is completely contrary to how I usually sew, but in this case, use lots of pins.
Stitch a narrow seam. Mine is 3/8-inch.
Can’t hardly see the seams, right? I was totally worrying about nothing.
Step 3) Hem The Sheers
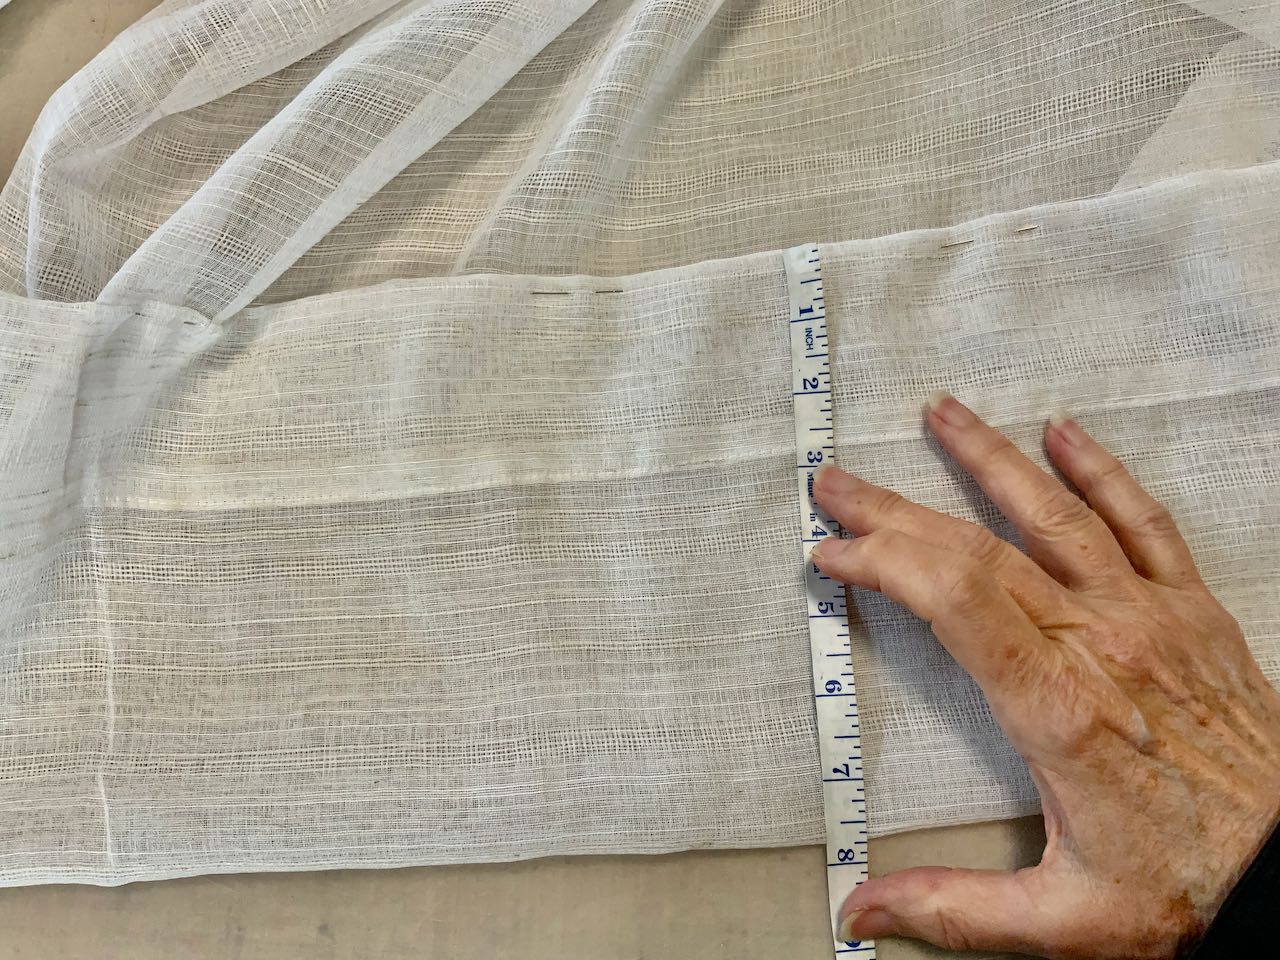
My pinned hem averaged 7 3/4-inches. Since I wanted a 3-inch hem with 1/2 foldover, I needed to cut off 4 1/4-inches.
- Move the pins to about a 1/2-inch from the new folded hem edge
- Open up the hem and cut off the calculated 4 1/4-inches
- Press under 1/2-inch, then stitch the 3-inch hem.
WORD OF WARNING: look closely at the length at the seams. Even with adjusting the tensions, you still might have some pull-up at the seams. Now is the time to accommodate for that.
Look at the Difference 4 1/4-Inches Makes!

BEFORE with sheers puddling all over the floor (making me kinda nuts!!!).
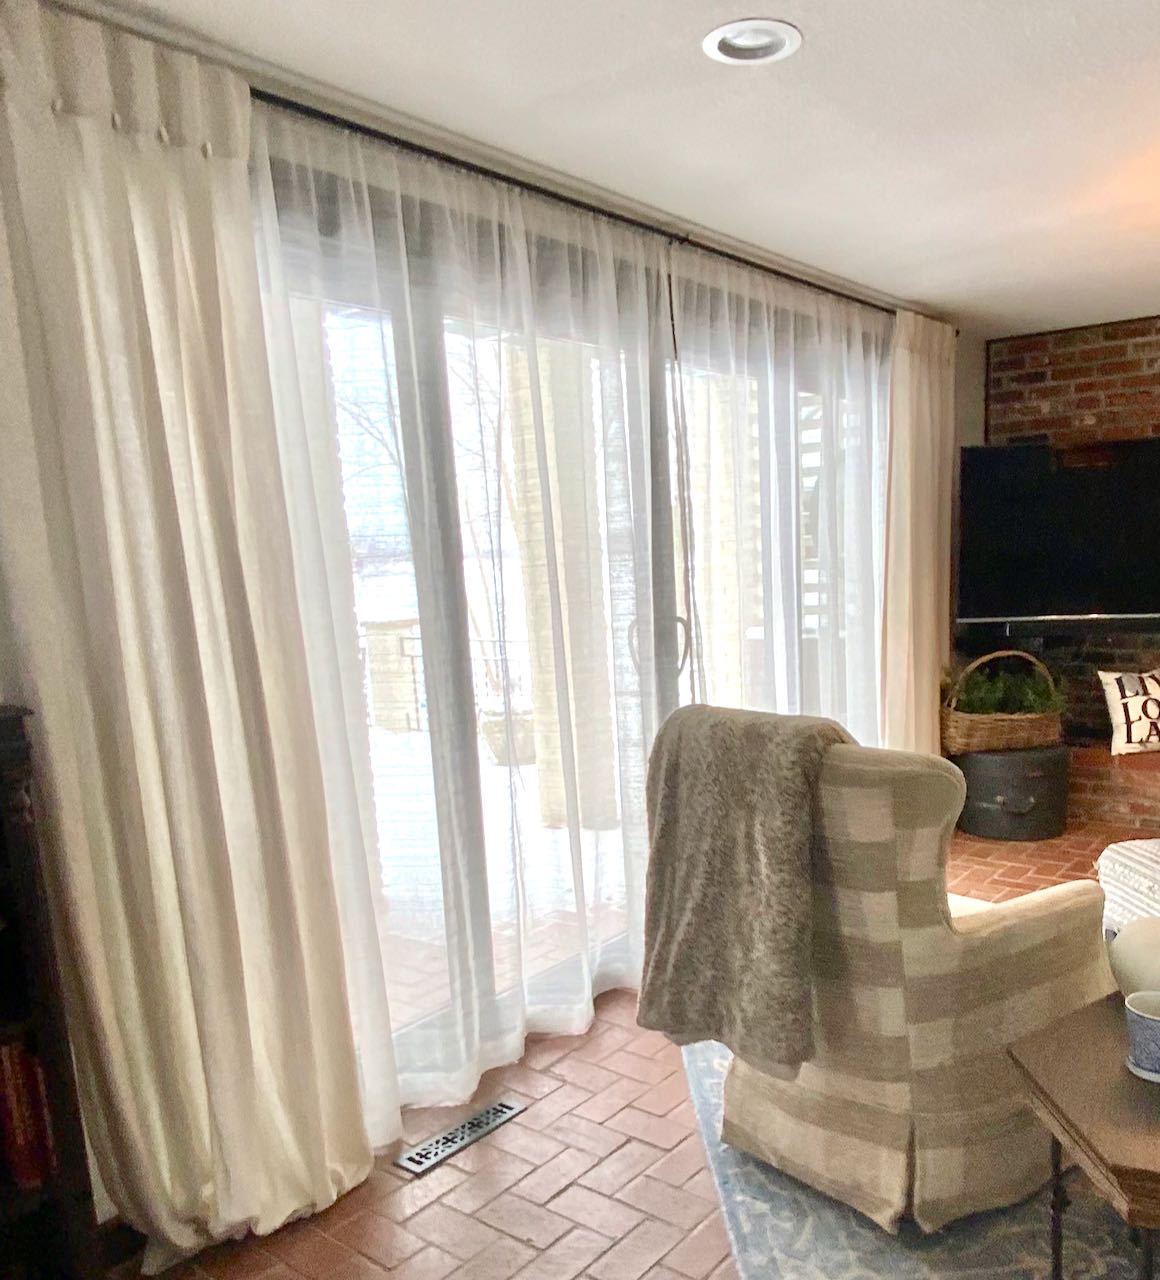
AFTER — with custom sheers made from standard sheers to just the right length and panels joined for custom oversized functionality. And I can hide the sheers completely out of sight behind the stationary side panels — it’s a win all the way around!
And at Night:
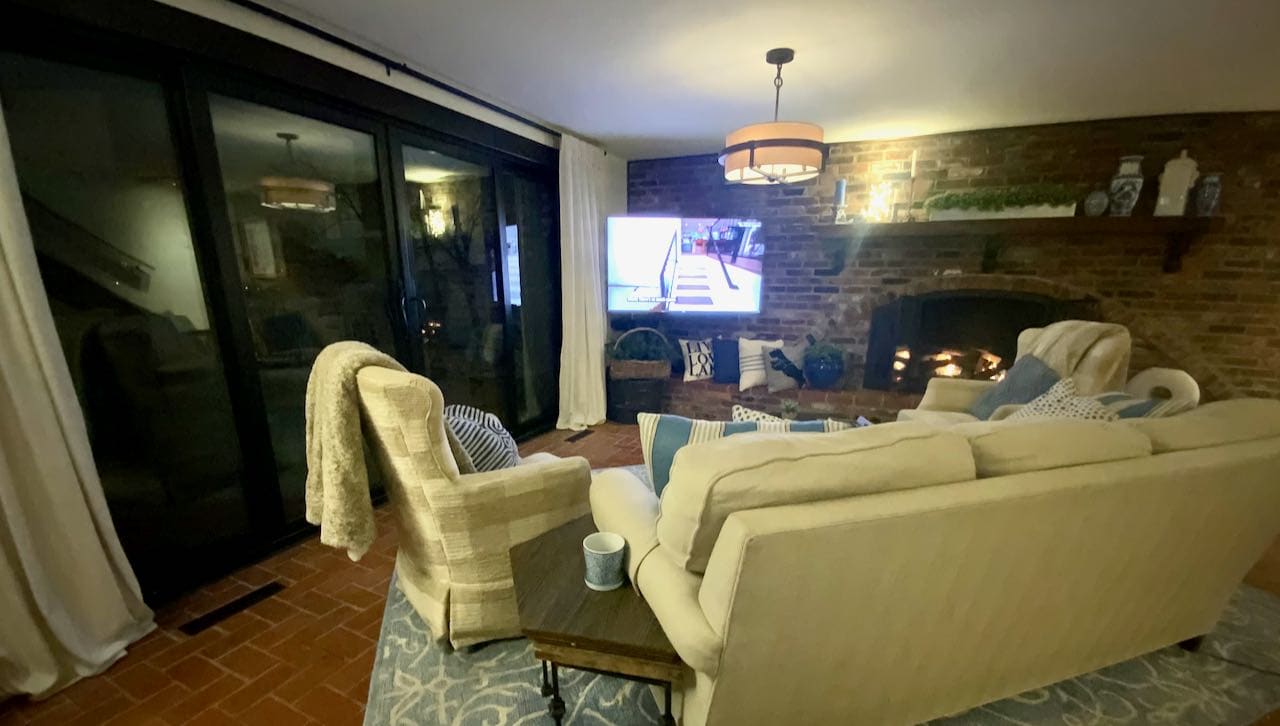
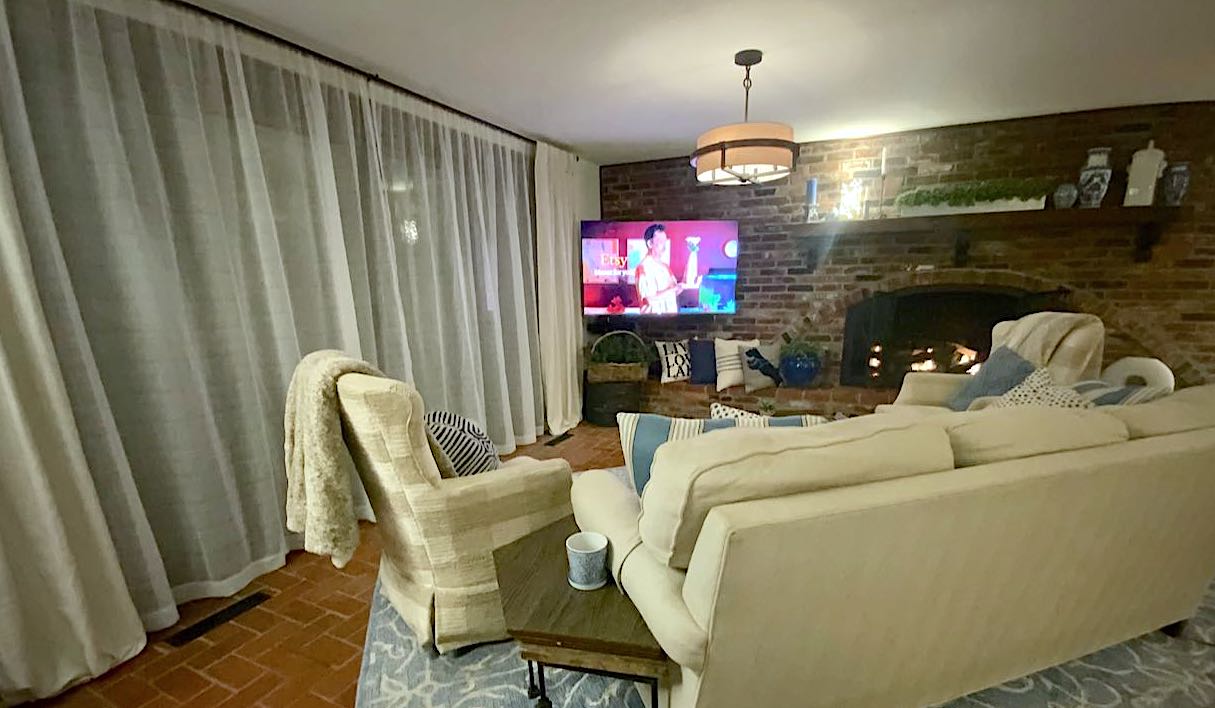
Casual, simple sheers can look great and tuck back behind the stationary side panels during the day.



Beautiful! What is the space between the bottom of the curtain? It is .25 inch or maybe .5 inch? We had custom curtains made and there is 2 inches between the bottom of the curtain and the floor!
Hi Laura, Thanks bunches. You guessed right. Our 60 year old brick floors are not completely level as most floors should be. I tried for 1/4-inch clearance at a couple of spots it’s closer to 1/2-inch and at one spot it actually touches. I keep telling myself I’m going to take them down and adjust at the top, but for now I have a hidden pin holding it up higher that no one can see, so sadly it remmains on the C-priority list.????♀️
Love this. Exactly the type of thing I’m looking for.
I’m so glad you found it and thrilled to know I may have helped you!!! Have a great weekend