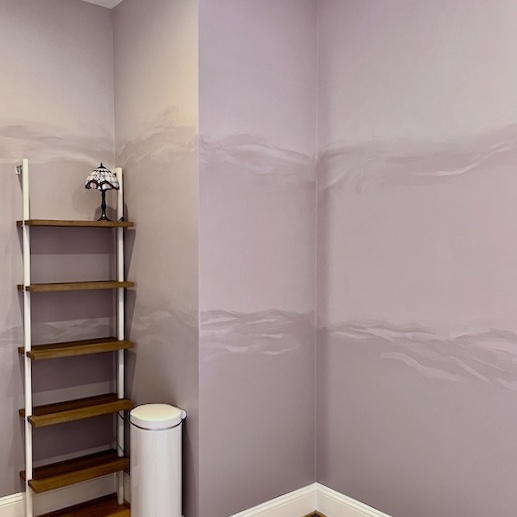
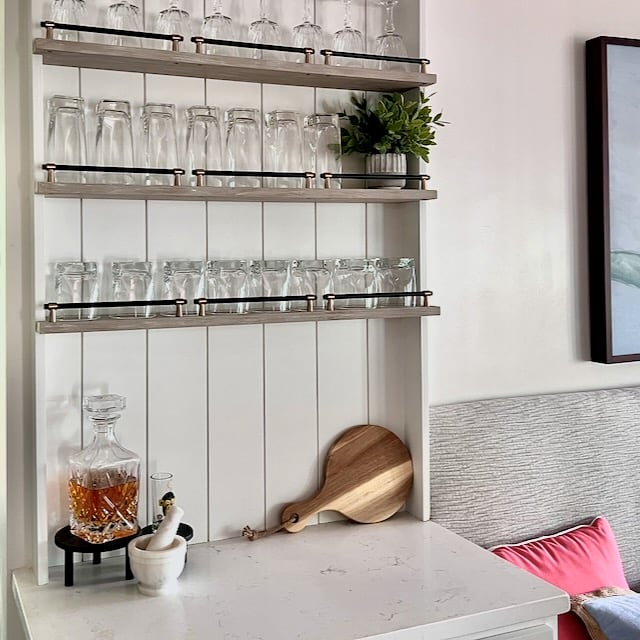
Storage Woes? Not Anymore. How We Built Closed Storage Above Our Built-In Pax Closets
We took the dead space above our built-in Pax wardrobes and turned it into the closed storage this young family desperately needed.
If you’ve been with me since Post 1, The Plan, you already know this family’s storage situation is… let’s call it “character building.” Historic DC row house, no basement, no attic, no garage — just a parking pad off the alley. This is basically the gold standard of urban living in DC.
Charming house, zero storage. It’s the trade-off you know about, but don’t really know it, until you’ve lived it. And now with two little ones and all the paraphernalia they come with.
So when we built the Pax closet wall in Post 2, we didn’t stop at the closets themselves. We looked up. Literally. There was a whole dead zone of air above those Pax units just begging to become storage.
And if this “mini attic” concept works as well we think it will, the guest room/office closet and the primary bedroom closet are next on the list.
But first things first: I’ve got a precious new granddaughter to get settled.
Home Gym to Sweet Nursery Series:
- The Plan — planning the transformation
- IKEA Pax Closet Wall — turning wasted closet space into real storage
- Mini Attic Storage Space — claiming the space most people leave empty (you are here)
- Decal + Paint Accent Wall — adding a playful “watercolor” touch to a simple decal
- MCM Dresser to Changing Table — a vintage dresser gets new purpose
- Peekaboo Stenciled Drawers — a surprise hiding inside the changing table
- X & O Drawer Pulls — oversized, playful, and made by hand
- Scalloped Roman Shades — solving light and privacy in style
- The Nursery Reveal — the whole room, start to finish
Let’s pick up right where Post 2 left off.
The links in this post may include affiliate links, which means if you purchase anything using these links, you pay no extra, but I may receive a small commission that helps keep this blog running. I truly appreciate you using affiliate links whenever possible. Please know that I will never recommend a product I do not believe in!
What You’ll Need
(Click + to Expand)
Building the Overhead Storage
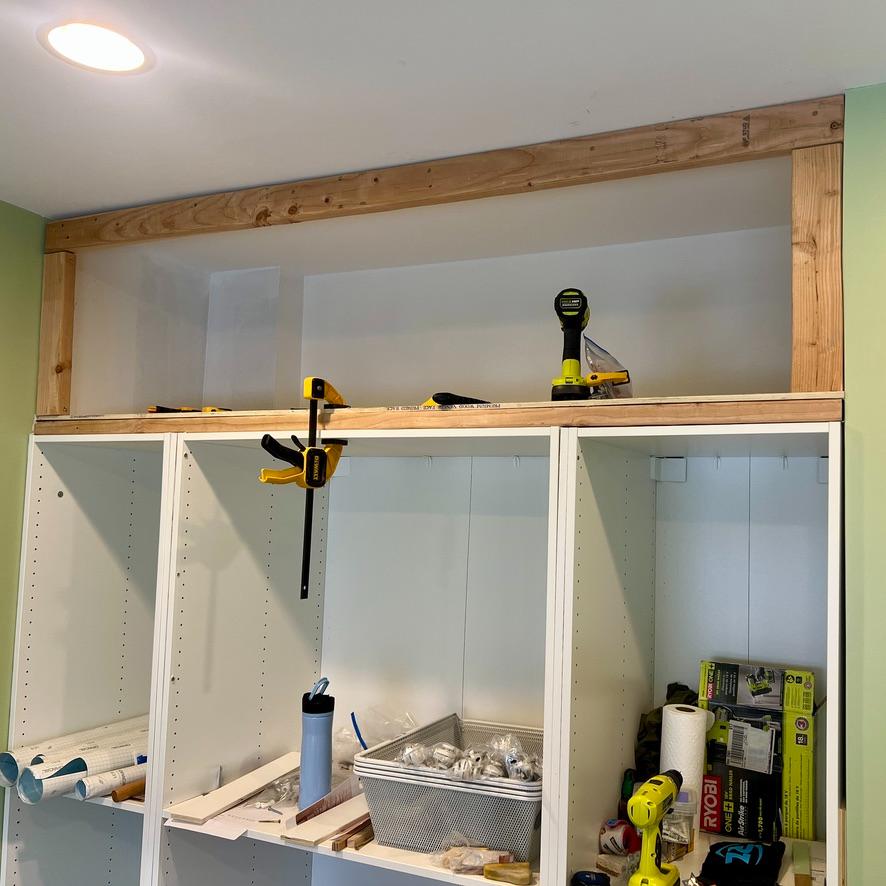
We left off with the ceiling portion of the 2×4 structural frame. Here we need to jump around just a bit. Because some of the “attic” steps needed to be done before we slid the center Pax unit in place and sealed up easy access to that space.
⚠️ Safety Tip: That frame is not resting its weight on the Pax units — and that’s non-negotiable!
IKEA didn’t engineer these wardrobes to bear that kind of load, so everything overhead needed its own independent structure, bolted into the actual walls and ceiling joists. If you’re tackling something similar, do NOT have your built-ins double as load-bearing supports.
Step 1) Install the 2 x 4 supports –
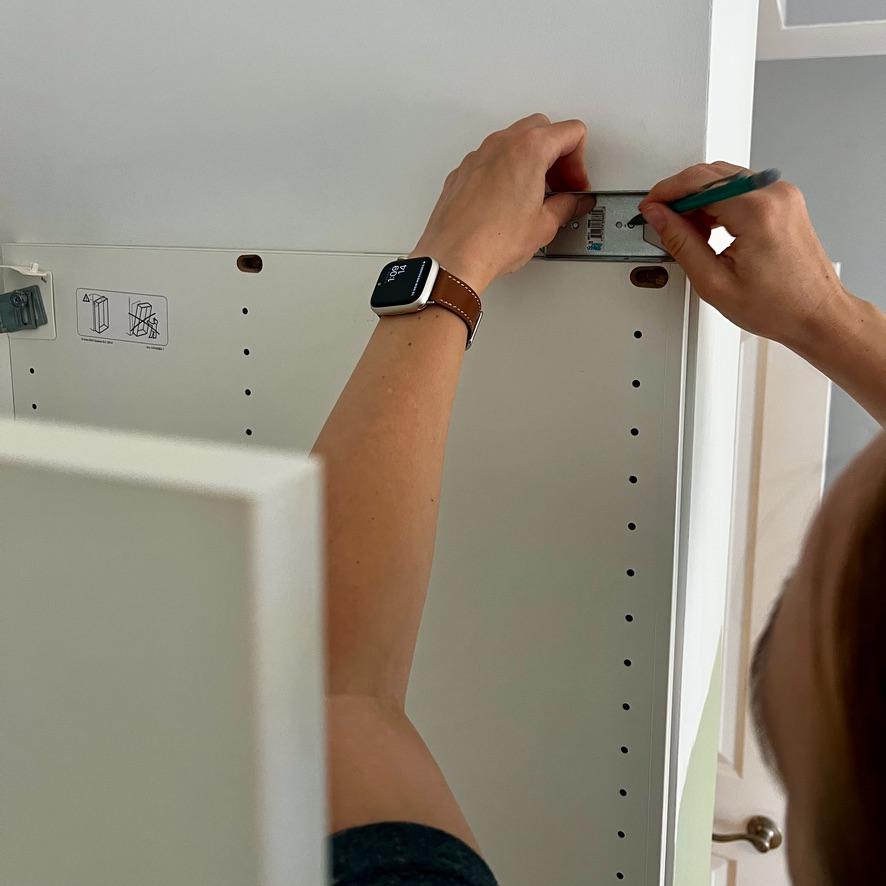
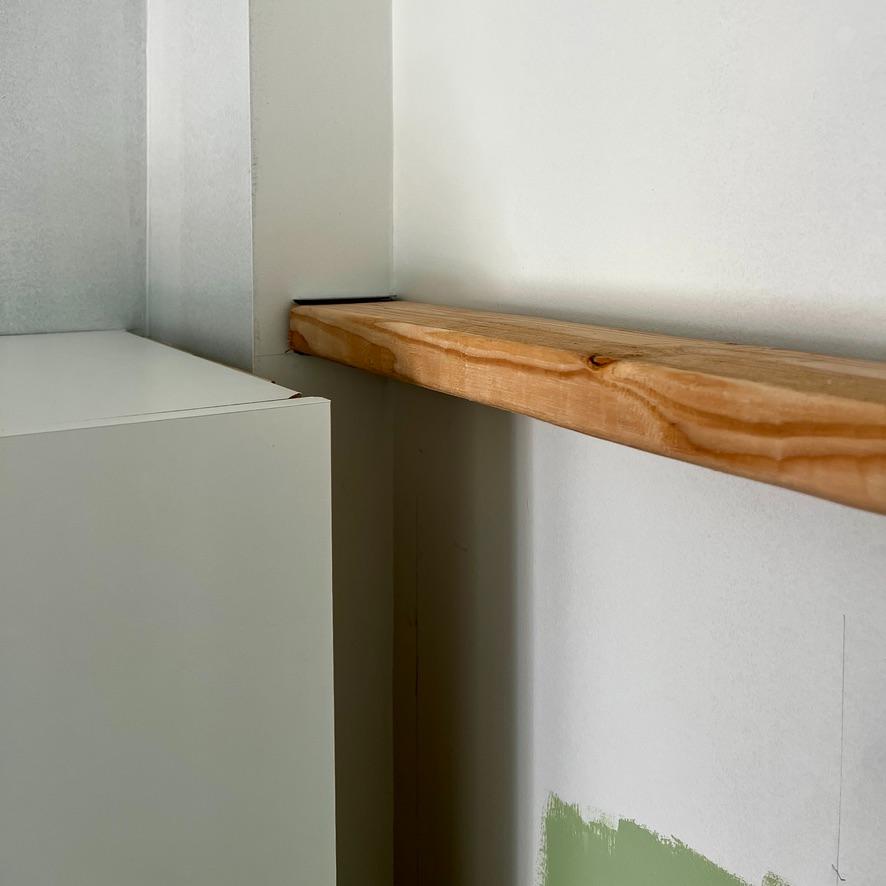
These are the 2x4s the platform will sit on, stretching across the opening from one side wall to the other.
To claw back a couple of precious inches of height, we laid them flat on their sides rather than standing them up, so they rise just 1½ inches instead of 3½. Each end sits in a metal joist hanger (a sturdy little bracket made for exactly this), bolted right into the studs in the side walls
Step 2) Add the platform –
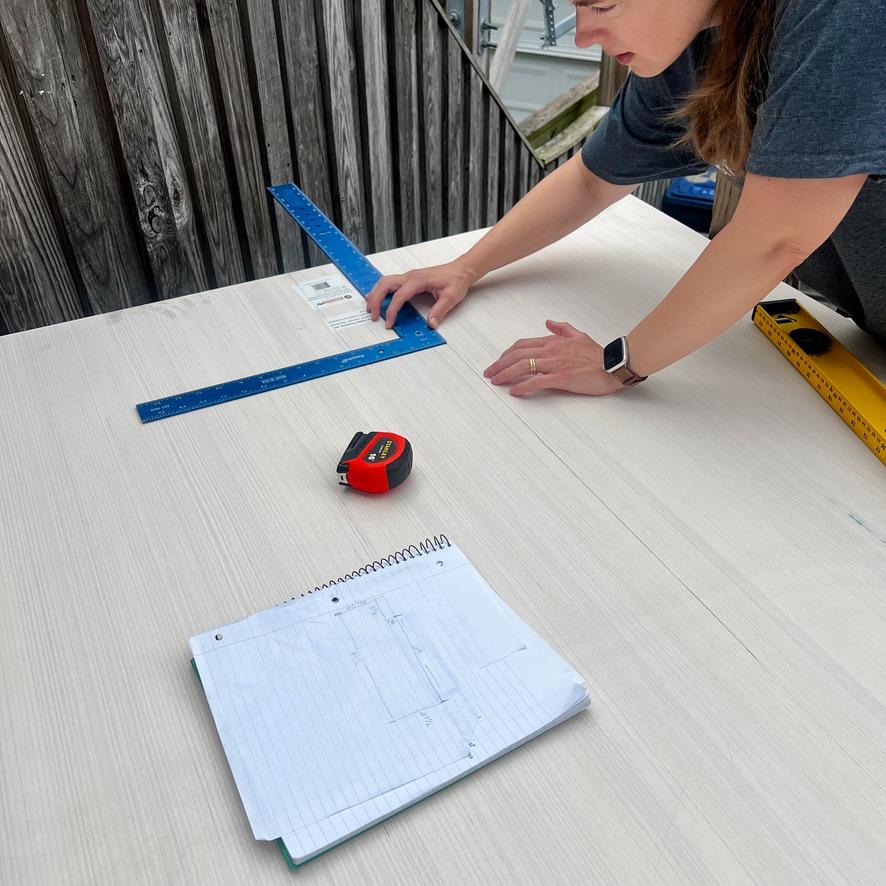
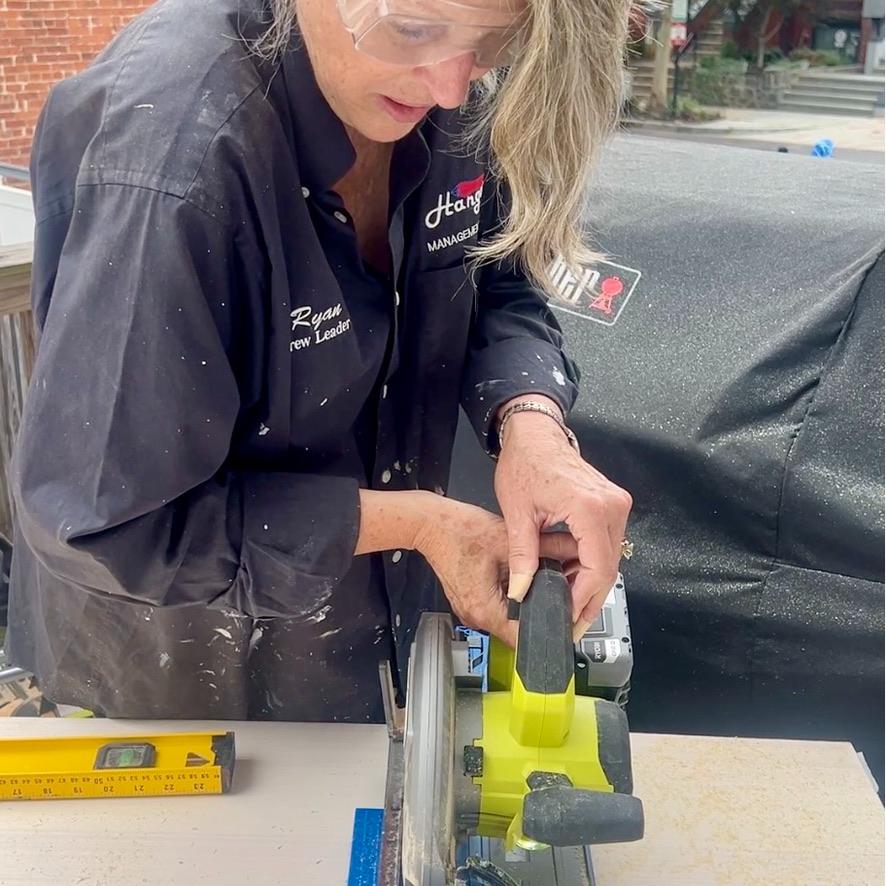
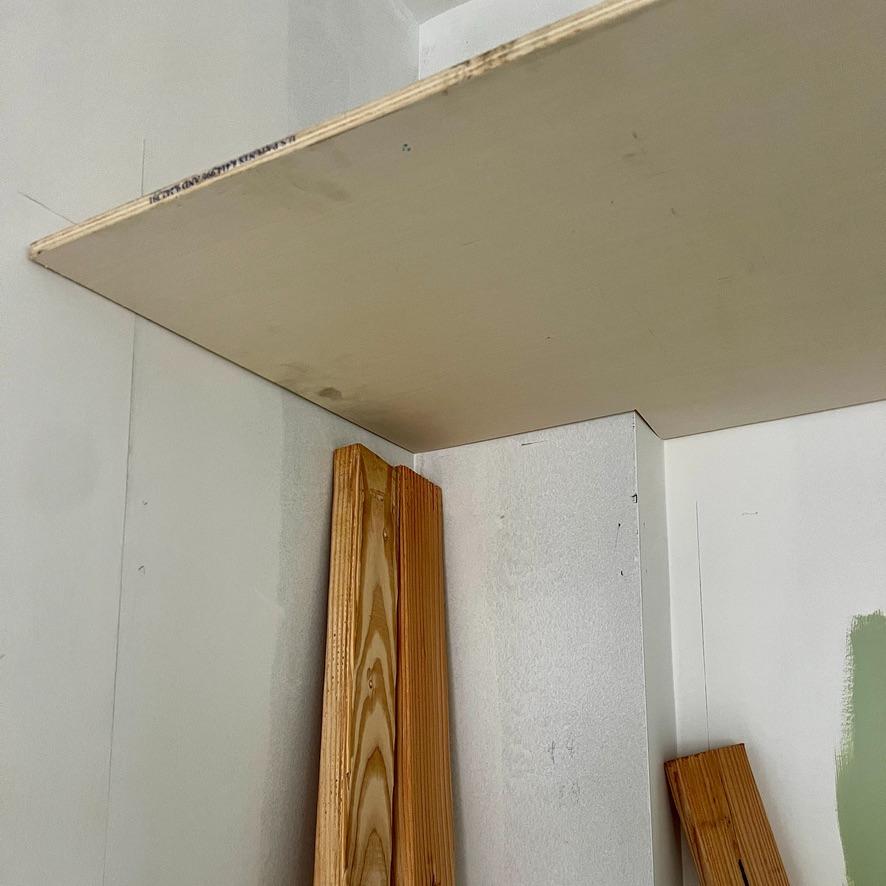
After Katie confirmed my measurements and their placement on the 4 x 8 plywood, I cut the platform for our mini-attic.
We test-fit the platform in the last post before we sealed up all the Pax closets. Just in case . . . Those corner, you know!
Step 3) Add the ceiling support –
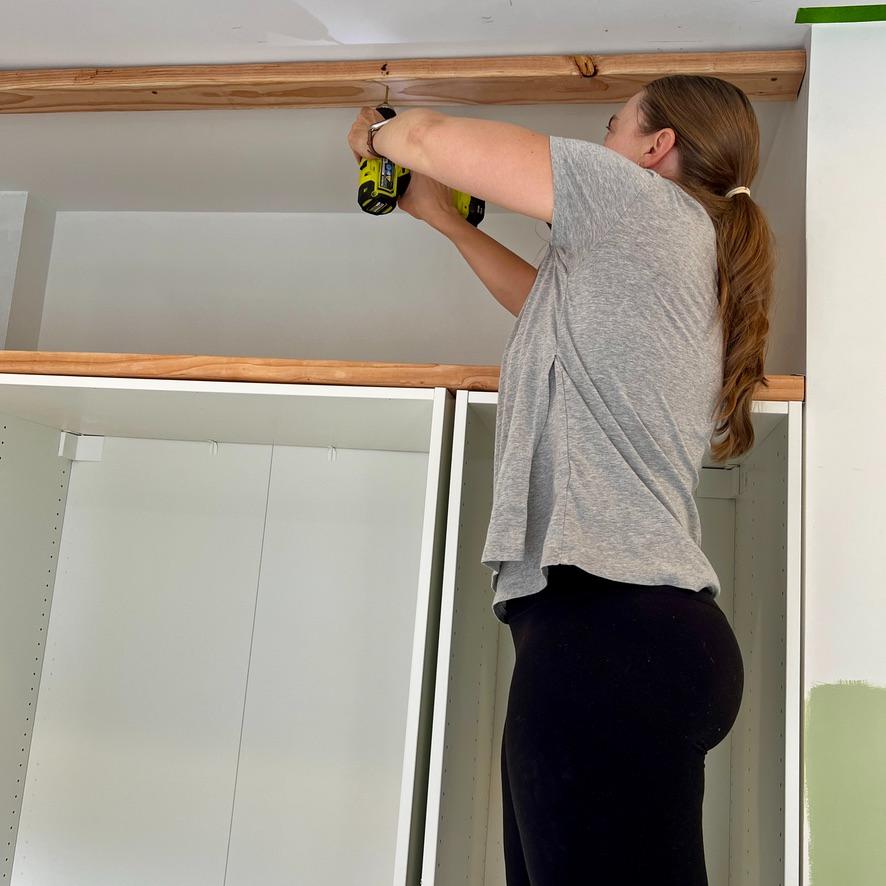
We bolted a 2×4 across the ceiling into an actual ceiling joist.
This one took Katie and me working together with a genuinely embarrassing number of false starts.
If you ever want to test a mother-daughter relationship, try locating a ceiling joist through drywall, with one ladder and a step stool, hoisting an almost seven foot 2 x 4 against a ceiling only one can actually touch. Let’s just say, when we need to be, we can be very inventive. .
Here’s where I’ll admit the setup was rather absurd.
We had just one rather short step ladder and one step stool between the two of us. I’m taller than Katie, but even standing on the step stool, I still couldn’t fully reach the ceiling, just buoy one end of the 2 x 4 leaving Katie to hold her end of a 2×4 flush against the ceiling with one hand — at one precise spot, no wiggle room — while driving a screw upside-down into it with the other.
If you’ve never tried driving a screw through a 2 x 4 into the ceiling one-handed while your other arm goes numb holding lumber overhead, count yourself lucky.
Honestly, this is a very “us” moment.
Katie has very little DIY experience going into these projects — just a house full of potential, a vision and determination — but neither of us has ever been the type to quit when something gets challenging.
Some of that grit comes from Katie’s eight years as a Marine Corps officer, and a trick she brought home from that world– “turning the map.”
In the Corps, it means seeing a situation from the enemy’s point of view. For us, the enemy was an unwieldy 2×4 — when your first approach isn’t working, you flip your perspective and look for the alternative you haven’t tried yet.
Neither of us gets attached to being “right” the first time, which might be the actual secret to how we survive these projects together — and look forward to the next one!
Here’s what actually worked:
- We set two blocks of wood on the floor to prop the 2×4 up to protect the wood floor
- With it propped, we drove seven long screws through the board, just until the tips poked about 1/8-inch out the other side
- We lifted the board into place along our marked line and gave it a firm whack with a rubber mallet — just enough for those screw tips to bite into the ceiling drywall and hold the board somewhat steady
- Starting with the center screw first meant we only had to keep one spot on the mark, instead of fussing over both ends at once
- Once that center screw was in and carrying some of the weight, the rest went in easily — we just alternated side to side, taking our time
PRO TIP: Pre-drive your screws partway through the board before you ever lift it overhead, then use those sharp tips to “stick” the board to the ceiling with a mallet tap. It holds the board steady on its own.
4) Attach the vertical face support –
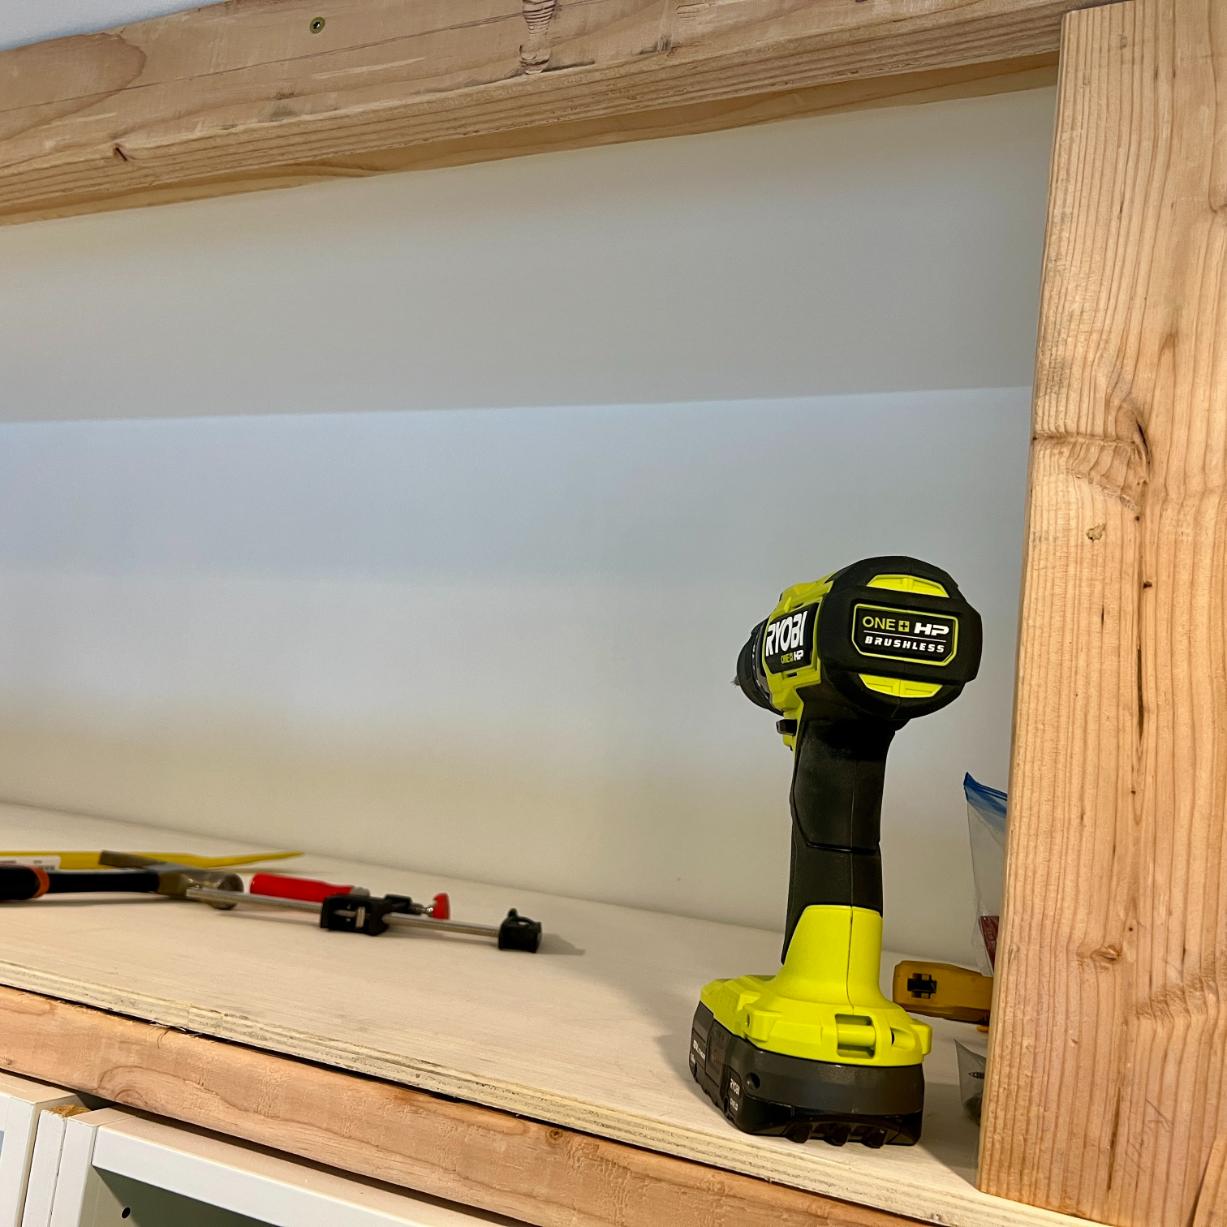
Next we needed to add a vertical 2 x 4 mounted against the short side of the 2 x 4 we had just hung. This second 2 x 4 will be the structure for the face frame, the door hinges and the pneumatic lifts that will hold the attic door open.
I was out of time for this visit, and I knew our two sons were coming soon to have some staycation time with their sister before her maternity leave was over. And spoil their nieces of course.
I was happy to pass off this next 2 x 4 holding task to my two 6’+ sons while Katie would drive the screws. Perfect timing, almost like I had planned it, right?
They knocked it out in 10 minutes between power uncle-ing their hearts out with our two little sweeties.
We (Katie and I) may be tenacious, but we’re not above delegating to superior wingspan when they’re going to be there and are more than willing to help.
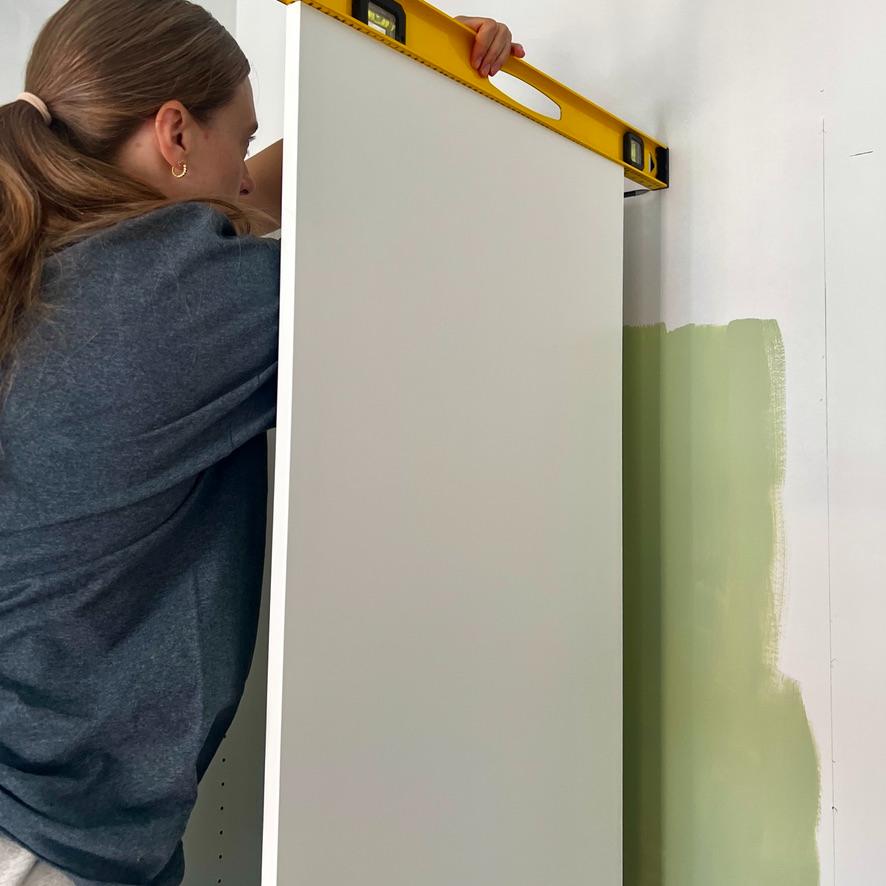
PRO TIP: The face of the vertically mounted ceiling 2 x 4 must be plumb with the face of the bottom 2 x 4 holding the platform. This is why the exact placement of the first ceiling 2 x 4 was so critical.
Step 5) Set the platform and frame the sides –
With the boys gone and me back in DC solo for a marathon week of “finish everything,” Katie and I slid the platform into its final position before she had to race off to the office and I walked the girls to day care.
I measured and cut vertical 2x4s for each side of the attic opening. Those side verticals are wedged in tightly and toe-nailed top and bottom.
Infrastructure? Complete.
6) Cut and install the face frame –
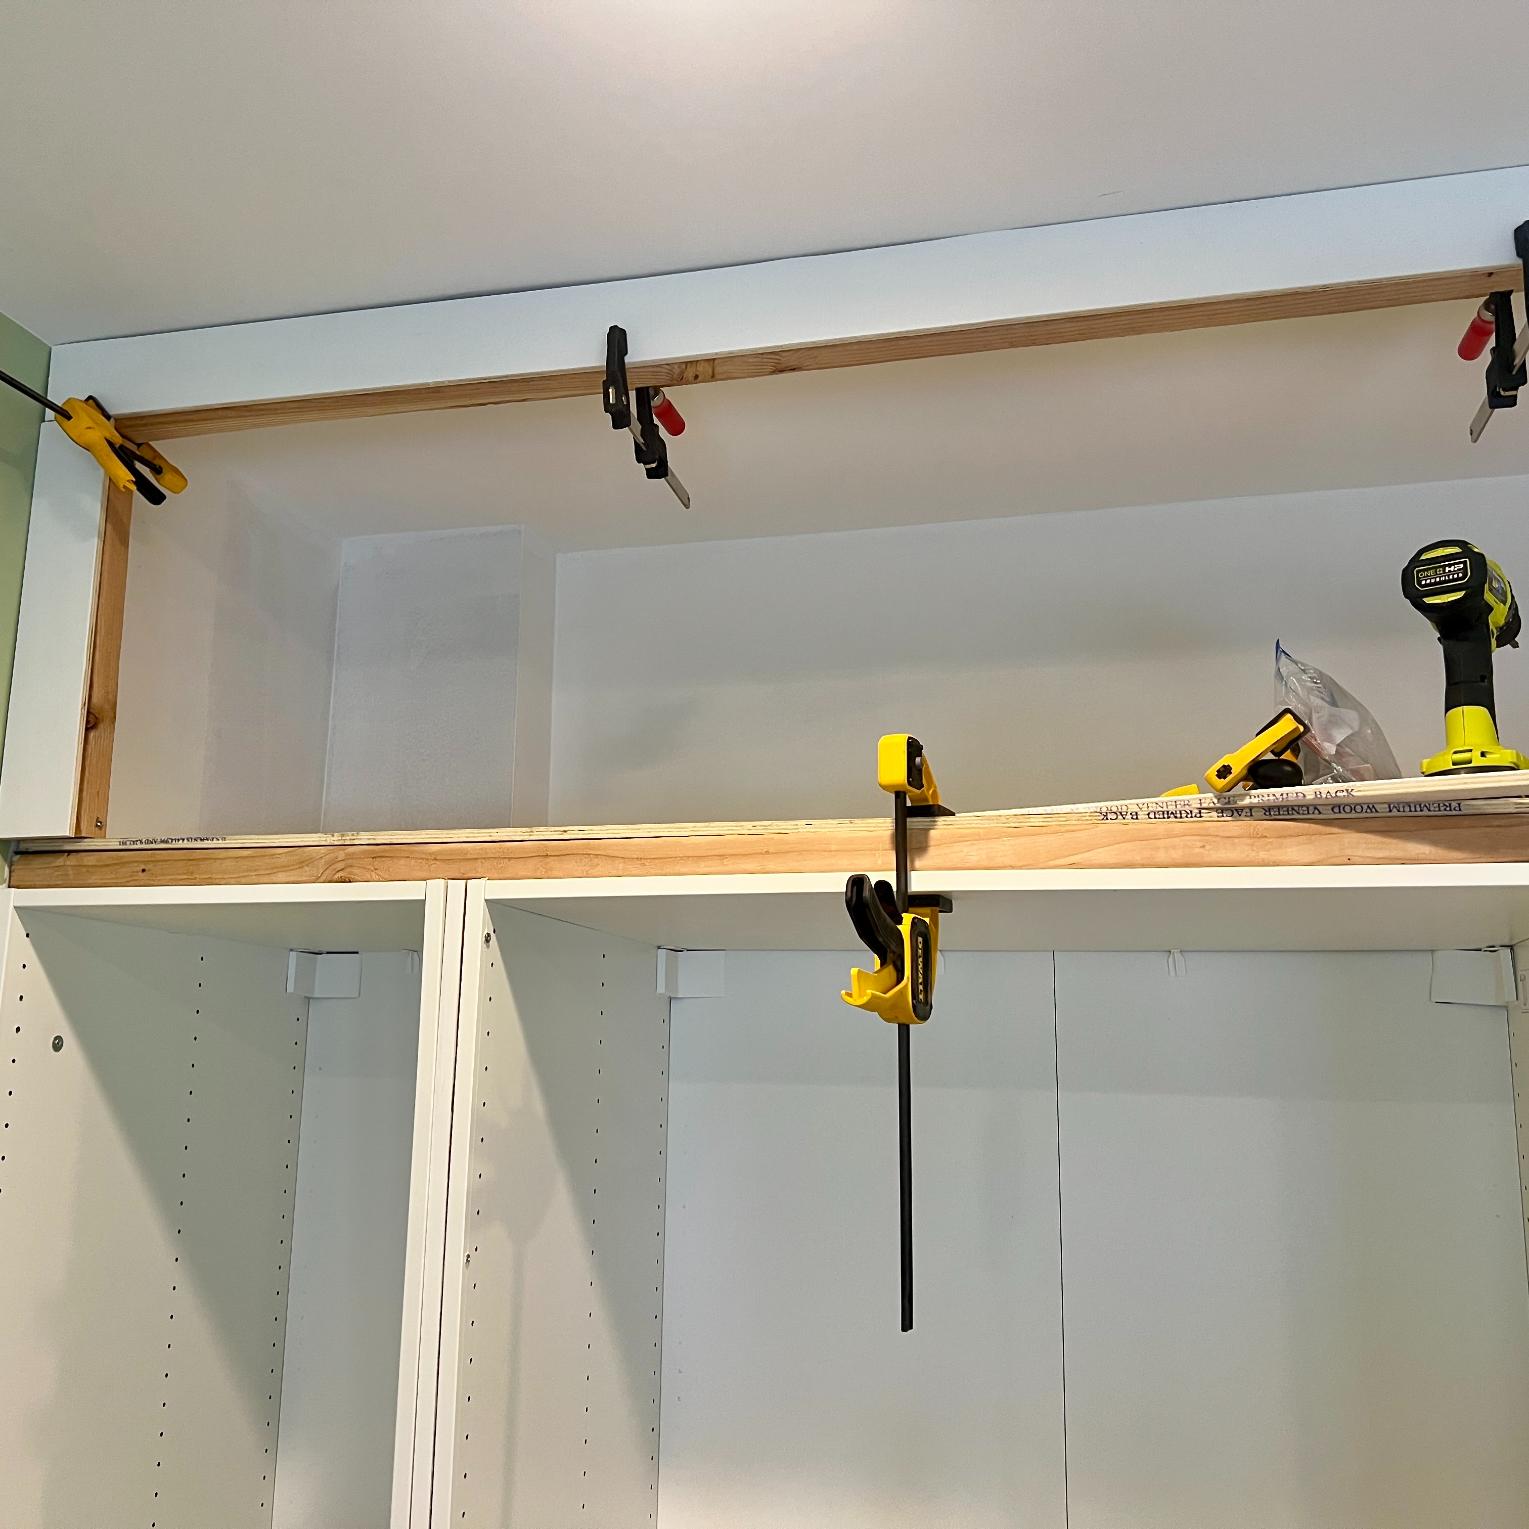
Now to give it a nice finish.
I cut face frame strips from the remainder of the ½-inch veneer plywood we used for the platform. Then I sanded the outer face side and the edges that are exposed.
Actually no edges will be exposed once we get the door installed. But I wanted them smooth and splinter free for attic access.
It was quick and easy with my brad nailer to attach these to the face of the supports we just added.
You Can Do This Too — No Workshop? No Problem.
Here’s the truth: none of this happened in a proper shop.
Our “workshop” is a small deck off the kitchen, home to a very large grill and the steps down to their parking pad and the alley.
Our workbench was a folding banquet table.
When we laid a full 4×8 sheet of plywood across it, we had to crawl underneath to reach cuts going both directions — very dignified.
We borrowed a Kreg track system and circular saw from a generous friend (that track system is officially on my wish list now — it’s a game changer), but with our friend out of town, I wasn’t comfortable adjusting the blade depth on a saw that wasn’t mine. So we left it at its shallow depth, made a first pass, and finished each cut with my jigsaw, that traveled to DC in my suitcase.
More steps, same result.
And when rain threatened — which it did, more than once — we hauled the circular saw, jigsaw, and a very large compound miter saw back inside every night.
Storing power tools in a home with zero storage and a toddler is its own puzzle.
Batteries out.
Safety locks engaged.
We tucked them under a moving blanket on the floor in a corner of the kitchen further camouflaged by a pile of family shoes stacked in front.
The circular saw and jigsaw rode out the week wedged in a box on top of the wine fridge.
Not glamorous. Fully effective.
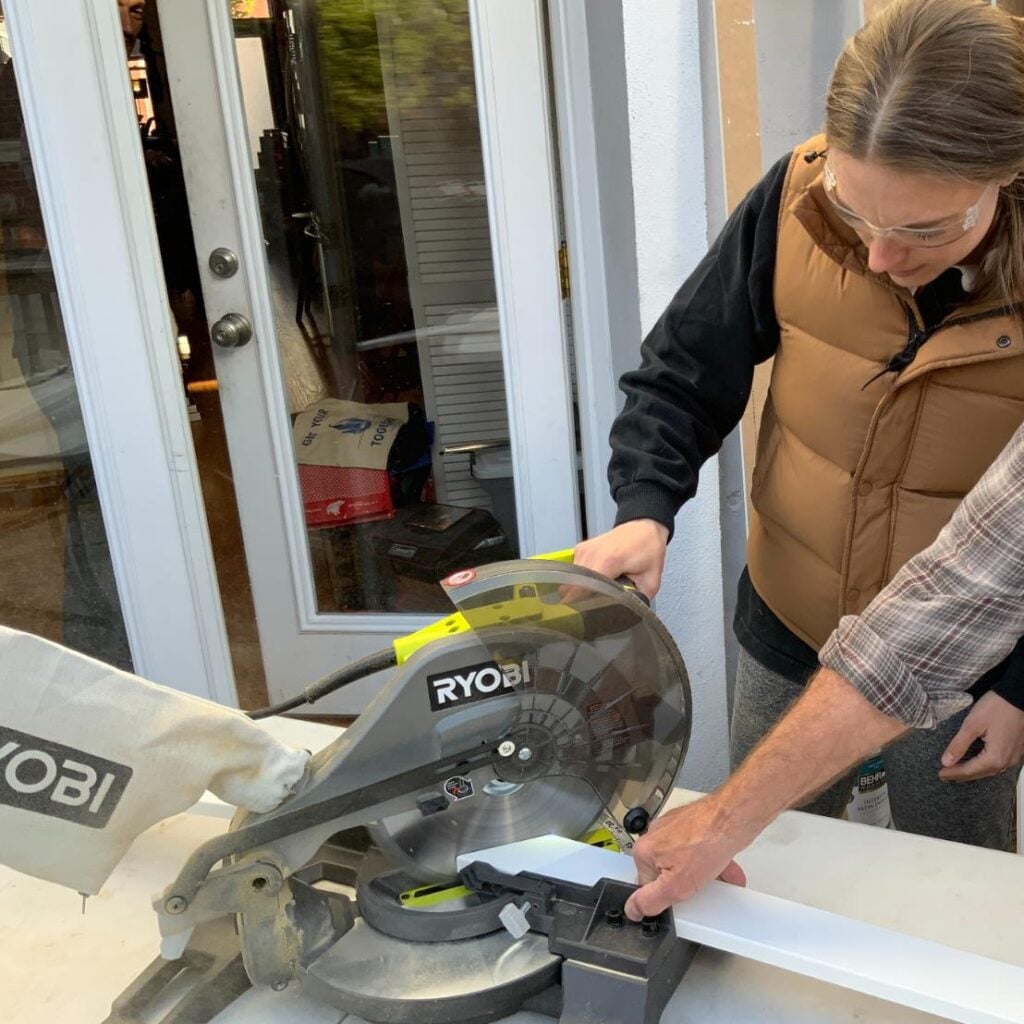

Over the last 5 years, we’ve learned and relearned these exact lesson sans the camouflaging (prior to kids) — same deck, same folding table, same shuffle. So if you’re eyeing a project like this and think you need a garage workshop to pull it off, I promise you don’t.
You need a friend with a saw, a flat surface, and a little bit of stubborn.
How are you enjoying this post? Don’t want to miss any? Subscribe to always be the first to know:
Thanks bunches! Now back to our mini-attic build.
7) Caulk, sand and paint –
Once the face frame was up — and it really was a cinch with my nail gun, which never stops feeling a little bit like a superpower — I caulked every seam, sanded, and painted it all to match.
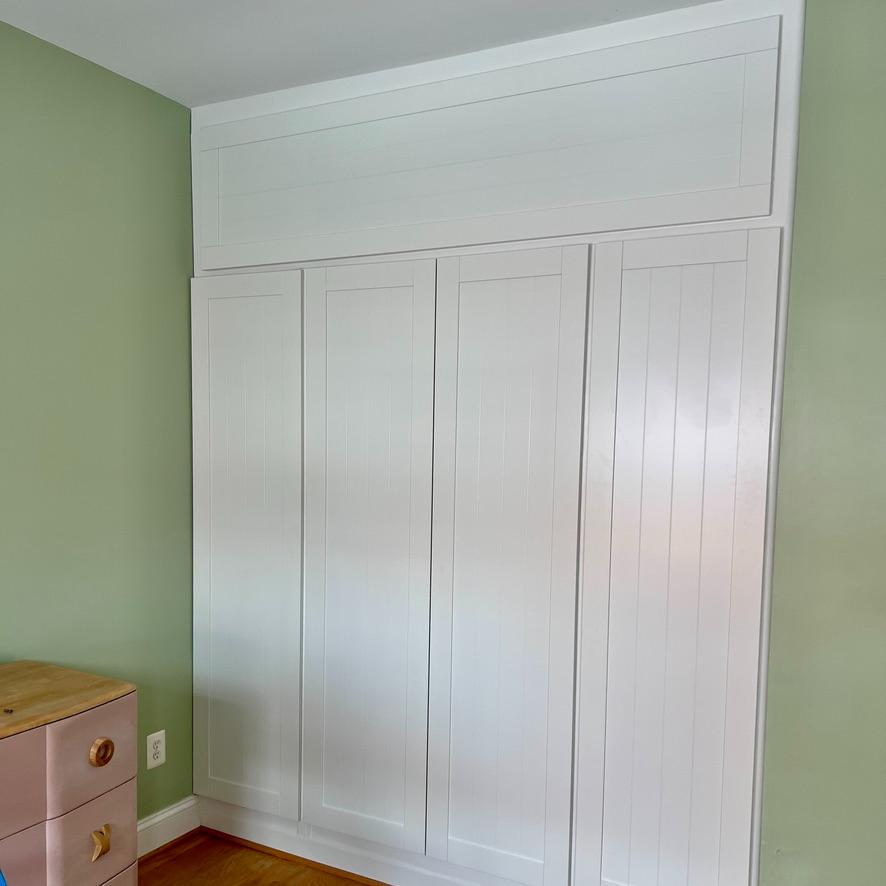
The goal was for the whole thing to read as one continuous built-in cabinet wall, not a patchwork of separate projects.
8) Hang the door –
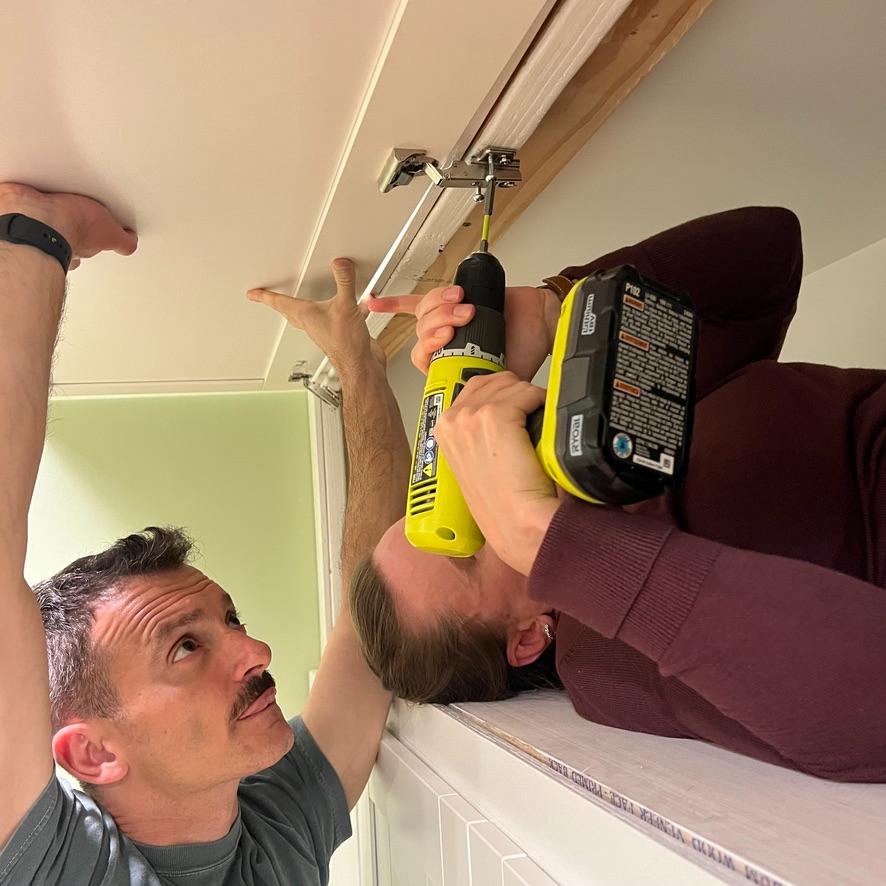
DIY Gymnastics
When you have one short ladder and one step stool for a ceiling job that needs three people, you get creative!
We added a fifth door to our order from IKEA, but mounted it horizontally, hinged at the top.
The same IKEA hinges worked perfectly for this — we just swapped the included IKEA screws for slightly longer wood screws, then centered the door and attached the hinges to the bottom edge of the front 2 x 4.
9) Add the lid lifts –

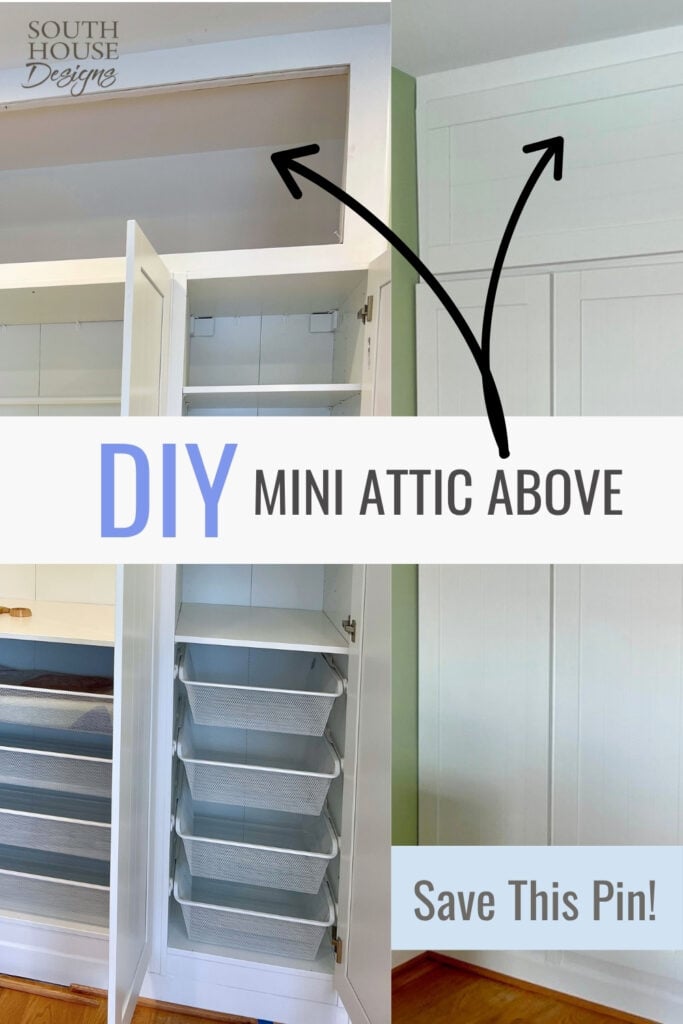
Last step! We added heavy-duty pneumatic lid lifts to hold the door open while you’re digging around for whatever’s stashed up there. Camping gear, out-of-season decor, the guest air mattress, guitar cases — no judgment.
We ordered one of this right-mount and one left-mount.

So… What IS Actually Up There Now?
I started by loading it up with all the items that came out of the gym closet. They had taken up residency in the hall during this renovation process.
- Hiking baby pack
- Folding corn hole boards
- Two guitar cases
- A large milk crate of painting supplies
- Remnant of wallpaper from the powder room
- with room to spare.
A few months from now, I’ll be curious to see how they have allocated the space beyond freeing up the hall.
I’ve toyed with the idea of doing a quick video tour of what’s tucked up there — no promises yet, but if it happens, you’ll see it here.
If you missed how we built the closet wall this storage sits above, go back to Post 2. And if you’re just joining the series, Post 1 has the full plan behind this whole nursery transformation.
This isn’t our first rodeo in this house, either — we tackled a dining room feature wall, a living room library wall, and a powder room makeover here before this nursery ever came together (yes, same deck, same folding table, those times too). And if you want to see how E’s side of this nursery story started, don’t miss E’s nursery post.
You don’t want to miss the next post! It’s truly an original way of turning any wall into a fabulous custom feature wall. Adapt this process to any room in your house.

More Projects to Enjoy