Easy DIY: From Thrifted Leather to High-End Napkin Rings
Learn how to turn old leather into high-end napkin rings with minimal tools. Beginner friendly. Luxury look alike for pennies.
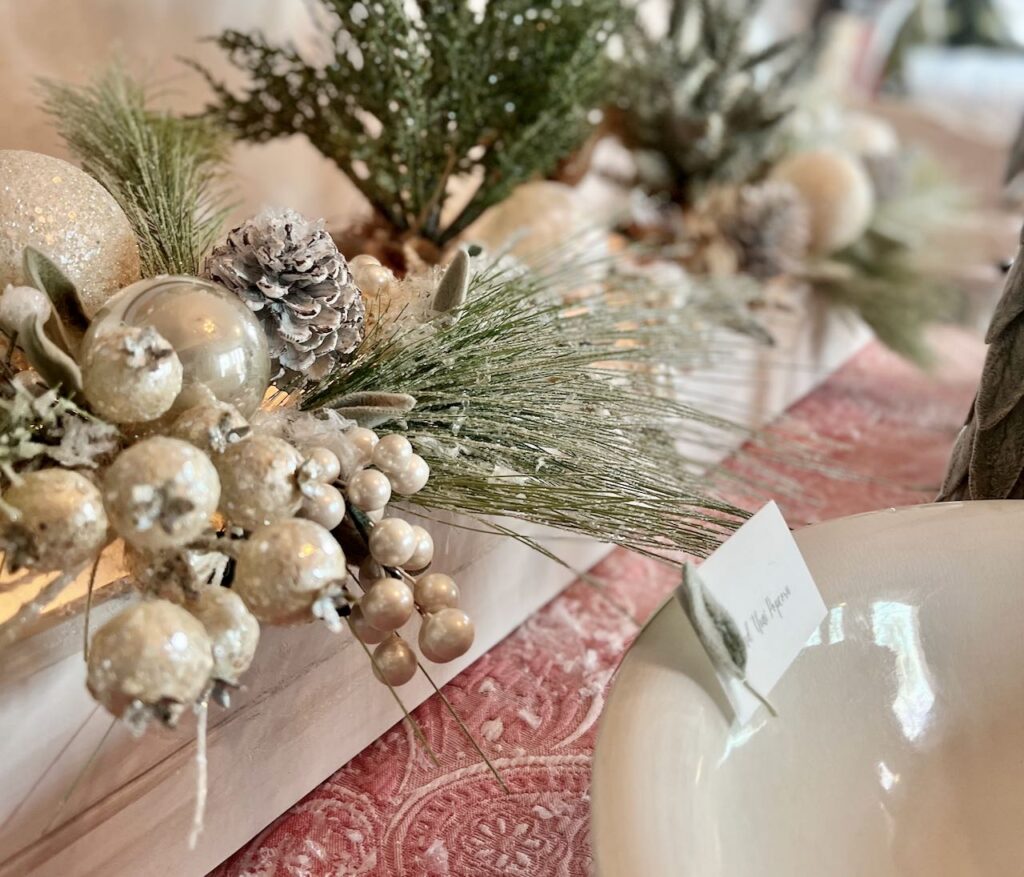
When I was sketching ideas for my Ralph-Lauren-inspired Christmas décor, I did what any good creative sleuth does — I went straight to the source: RalphLauren.com.
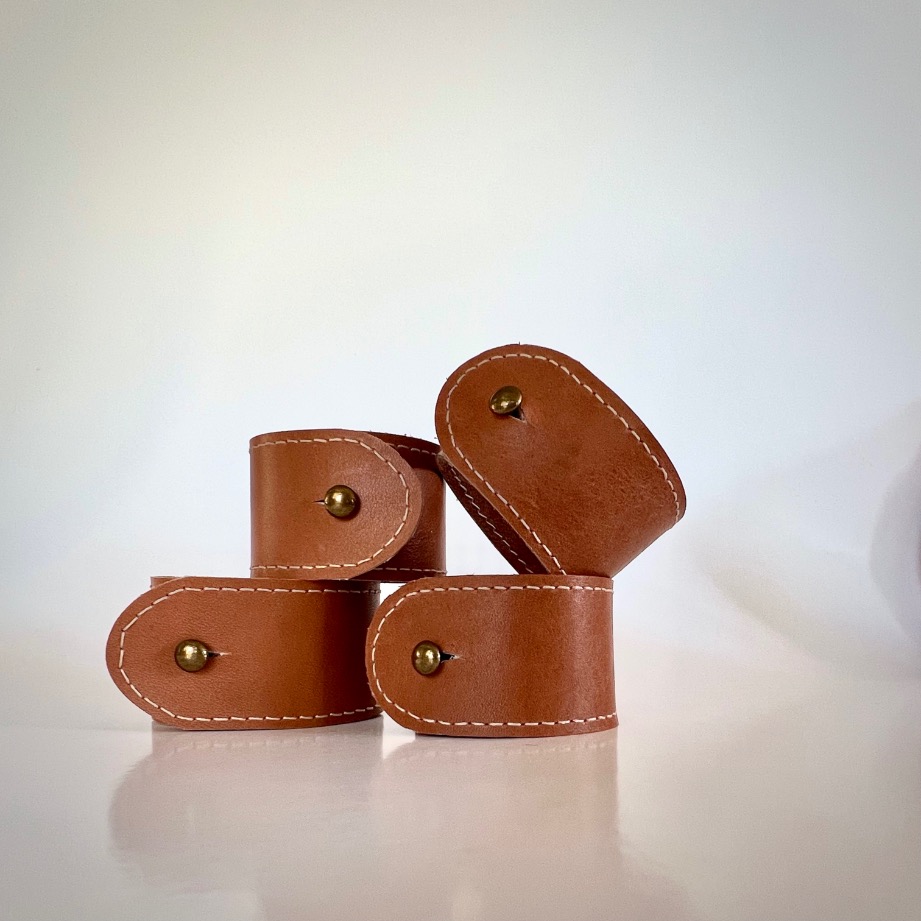
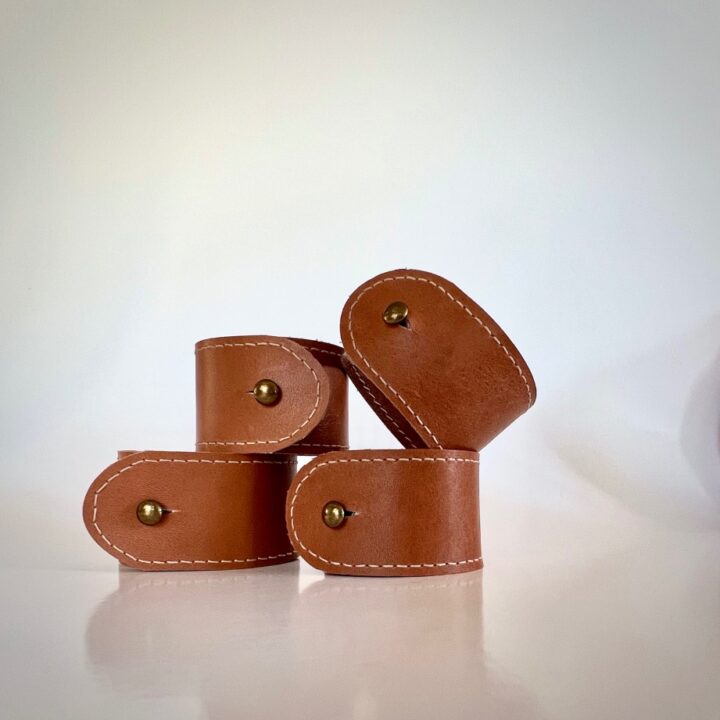
And there they were… the most gorgeous leather napkin rings. Polished on both sides, perfect saddle stitching, the iconic RL button rivet. Pure table-setting perfection.
And also $125 for a set of four.
Pottery Barn’s version? $52 for 4.
West Elm’s? $78 for 4.
So naturally, I thought: Let’s do a High–Low version.
And friend, we nailed it.

My DIY version is real leather, beautifully stitched (if you want), with similar raised-button hardware — all for just a few dollars.
I spent $6.95 on the hardware and pulled the leather from my craft stash. Even if you’re starting from scratch with a thrifted leather bag or old boots, you can still make twelve of these for around $30 at the most.
And the best part?
You can customize everything — from skipping the stitching to softening the rounded tip. These are approachable, beginner-friendly, and guaranteed to elevate your holiday table.

Let’s make the easiest, chicest upcycled napkin rings you’ll pull out again and again and again.
TABLE OF CONTENTS:
The links in this post may include affiliate links, which means if you purchase anything using these links, you pay no extra, but I may receive a small commission that helps keep this blog running. I truly appreciate you using affiliate links whenever possible. Please know that I will never recommend a product I do not believe in!
Does this sound like your kind of project? There’s plenty more. Be sure to subscribe so you don’t miss out:
Many thanks!!! Now on to our rings:
Quick How-To Card for the “Confident Crafter”
DIY High-End Leather Napkin Rings
Create stylish leather napkin rings using simple tools and upcycled materials. This quick DIY uses real leather, easy button rivets, and optional stitching to give your table a polished, high-end look.
Materials
- Leather (new, scrap, or upcycled bag/boots)
- FREE printable pattern (link)
- Button rivets (my hardware link)
Tools
- Scissors or rotary cutter and mat
- Leather hole punches
- Small craft knife or mini rotary cutter
- Optional: Sewing machine, leather needle, heavy thread, teflon foot
Instructions
- Print Pattern – Use my free printable or draw your own.
- Cut Strips – Add an extra inch so you can practice shaping the tip.
- Shape Tip – Snip, tweak, and smooth the rounded end.
- Trim + Round Corners – Final length: 8 inches.
- Optional Stitching – Long stitch length, leather needle, heavy thread.
- Punch Holes – Per pattern;for flex, add a tiny V-slit to the largest at the tip end.
- Add Rivet – Screw together — done!
Notes
Pro Tips:
Not a sewer? Skip the stitching — still gorgeous!
Trouble with the rounded tip? Round the corners instead (just like PB + West Elm).
Upcycling? Leather bags, jackets, boots, or thrift-store scraps work beautifully.
Patina is your friend — leather only gets better with age.
Full Details and Tips Below - keep scrolling
Step-by-Step Tutorial
Step 1) Print or Create Your Pattern
Download and print my free pattern, or sketch your own. The finished length is 8 inches with one rounded tip and rounded corners on the opposite end.
Step 2) Cut the Leather Strips

I cut my strips 1 3/8-inch wide. Then cut each strip one inch longer than needed — cut to 9-inches, initially.
This gives you room to experiment with shaping the rounded tip — trust me, this extra inch makes all the difference.
Household scissors work perfectly fine. I lean toward my rotary cutter because… well… muscle memory.
Step 3) Shape the Rounded Tip


This is the only slightly fussy part — and even then, it’s very doable.
Using the extra inch you left, practice shaping the rounded tip until you get one you love. You’ll get about three tries per strip.
My trick:
I use my ancient Creative Memories oval cutter set (truly vintage at this point!). I place the second-smallest oval template where I want the curve (making sure it is centered and level), scribe the line, then fold the leather back to finish the cut cleanly with scissors.
No, it’s not required:
If you don’t love curves, just round the very corners of the tip slightly and call it good — exactly what Pottery Barn and West Elm do on theirs.
Step 4) Trim to Final Length + Round Back Corners


Once you’ve perfected the rounded tip, trim the strip to its final 8-inch length.
Then round the two small corners on the back end. These corners won’t really show once the rivet is assembled, so no pressure here. I just eyeball them..
Step 5) Add Optional Stitching

You can skip the stitching (I’ll include photos of mine with and without), but the thread detail definitely adds that elevated, Ralph-Lauren-at-the-holidays vibe.
If you’re stitching:
- Use a leather needle
- Use button, upholstery, or outdoor thread
- Set your machine to its longest stitch
- A teflon foot helps to glide smoothly over the leather
PRO TIPS:
Start stitching at the straight end so your knots are hidden.
No reverse stitching. When you return to your starting point, try to place the needle in the starting stitch holes to overlap a few stitches. Trim your threads long and glue or knot + glue to secure.
For all curves — both the rounded tip and the small rounded corners — I hand-turn the handwheel for each stitch while slowly pivoting the leather. This gives that smooth, factory-clean curve.
Step 6) Punch the Holes


When punching the holes, I use a ruler and mark the center precisely. Then I hold the punch a an angle so I can see to center it over my mark. Moving to a vertical alignment I tap with a rubber mallet.
Punch the rounded-tip hole first (follow the pattern). The most critical piece, is that it be centered between the sides.

Then cut a tiny V-shaped slit pointing toward the strip’s length — this gives the rivet room to flex and “snap” into place cleanly.
Use the pattern, or measure 6¼ inches between the two holes for a standard 2-inch napkin ring.
Next, punch the second hole for the rivet at the tail end.
PRO TIP: For easy and consistent holes, fuss over the first ones and get the placement just right, then use it to mark all other holes.
Step 7) Add the Rivet
A small joy: these screw-together button rivets are incredibly easy.
Just slide the two parts in place and twist to tighten.
That’s it — your High–Low Ralph Lauren dupe napkin ring is complete!


And there you have it — ready for a party!

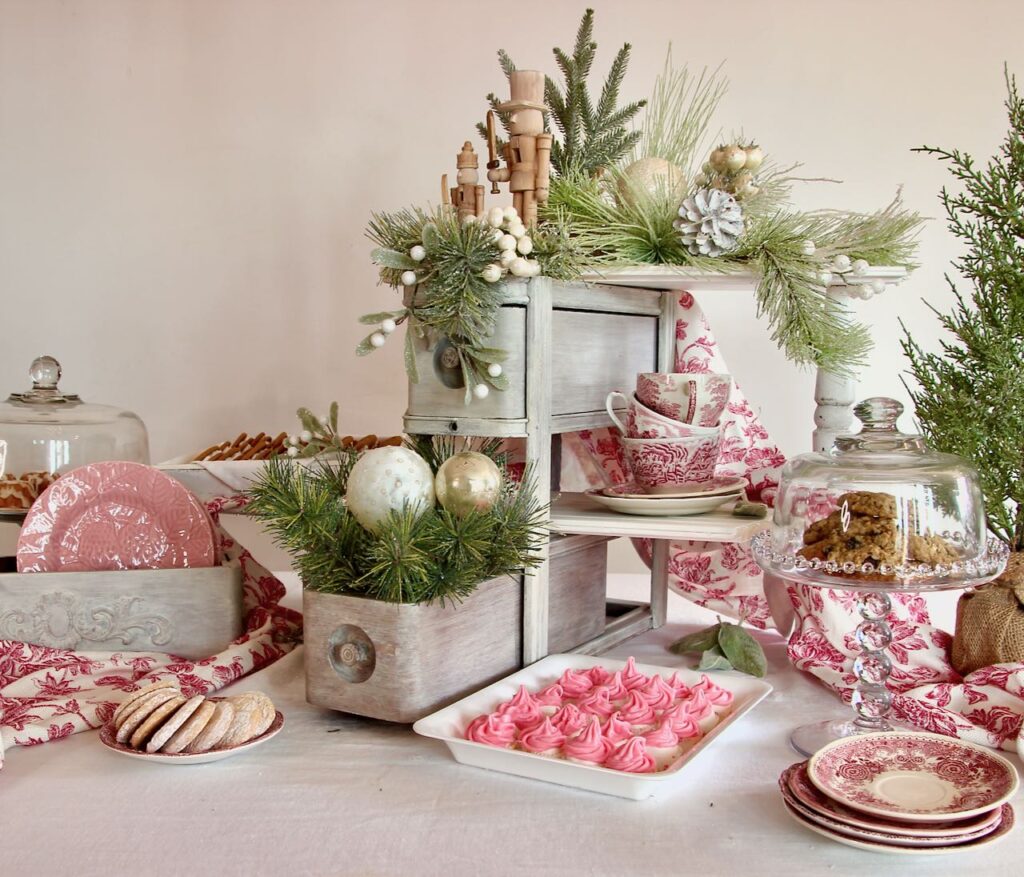
How to Style Your New Napkin Rings
These look good with everything, but here are some favorite combinations:

Classic Ralph Lauren style holiday dinner.

Spring gathering — perhaps a birthday or Mother’s Day!

A fun summer Concert-in-the-Park picnic.

Fall bounty dinner.
These also make fantastic hostess gifts!
Loving these? Be sure to pin it to remember it (while you’re out thrifting leather):

Troubleshooting & Tips
(You can include this at the end or tuck it into a callout box.)
My rounded tip looks lumpy.
Just trim again! That’s why we start with an extra inch. Or skip the curve and just round the corners instead.
My stitching keeps skipping.
Use a leather needle + heavy thread + a teflon presser foot + a long stitch length. Adjust upper and bobbin tensions and test on scraps. Isn’t that why we make scraps?
My leather is too thick.
Try removing any lining, or use only the thinnest portion of a bag or boot.
My leather is too soft or floppy.
Add stitching — it gives structure. Or use leather adhesive to bond two layers of leather together..
My rivet feels loose.
Give it an extra twist with a small screwdriver.
There’s just something about leather on a holiday table — classic, cozy, timeless — and now you can create that high-end look for a fraction of the cost. Whether you stitch yours or skip that step entirely, these leather napkin rings bring that Ralph Lauren cabin-chic style to any table, from Christmas dinner to summer concert in the park picnics..
Upcycled, budget-friendly, and simple enough to make in an afternoon — truly my favorite kind of High–Low DIY.
If you make these, please tag me! I’d love to see how they show up on your holiday table.
A Few More Holiday Entertaining Ideas For You
Beautiful & Functional
As always, do not hesitate with any questions or suggestions you have. I am always here for you!