The $15 Rope Wrapped Lamp That Passes for a $1,000 Designer Find
A thrifted lamp and a ball of twine slump into a craft room… and strut out radiating high-end style. Here’s every step, including the final detail that takes it from nice to WOW!
Flip over the price tag on a designer rope wrapped lamp and you may need to sit down. Conveniently, they’re usually displayed right next to a very expensive chair.
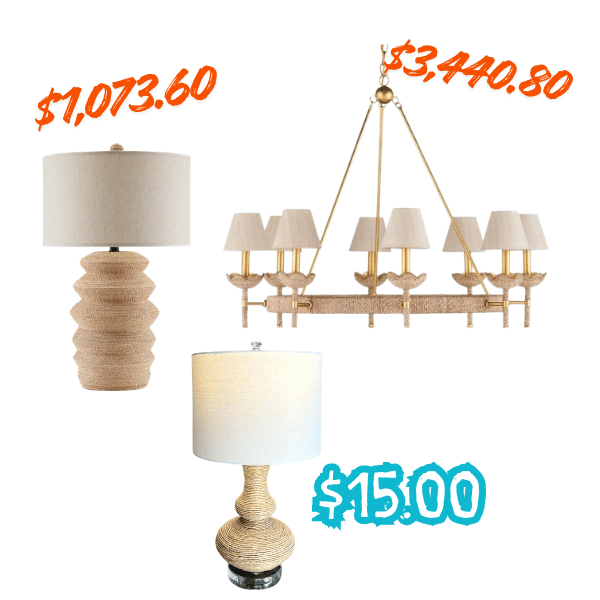
Two of them have been living rent-free in my head. A twine-wrapped chandelier at a local high-end decor shop, and a big, beautiful table lamp at a friend’s lake house.
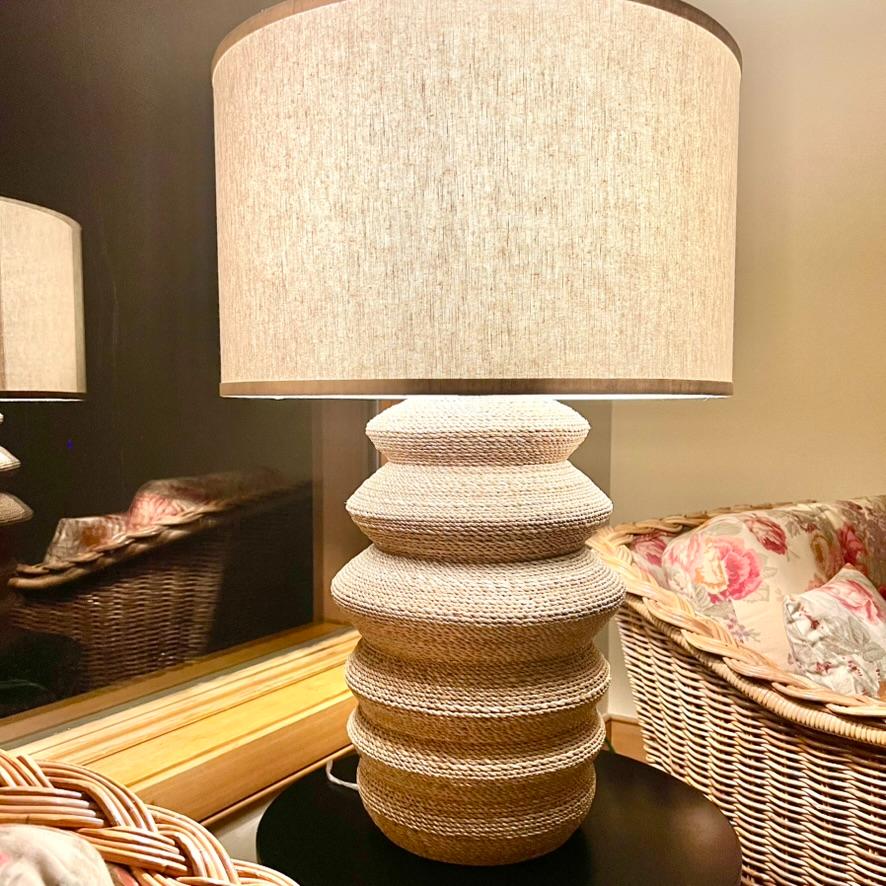
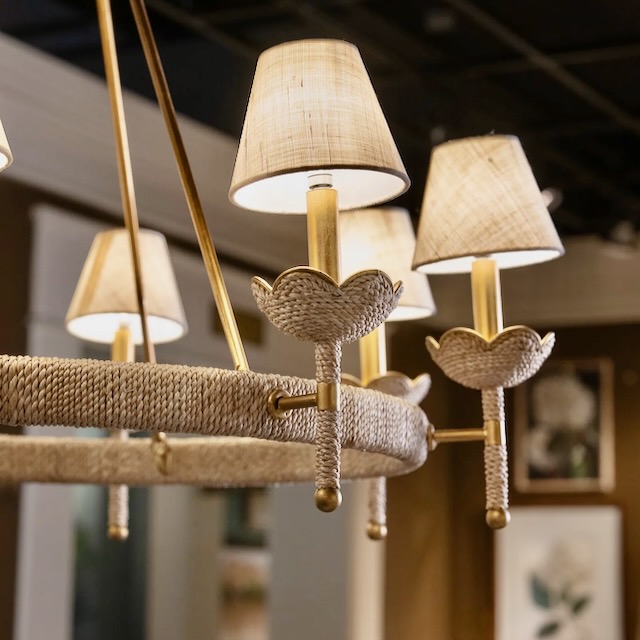
Lovely, both of them.
Their price tags, less so.
So when a ball of thin, pliable twine turned up at the thrift store for $2.50, it came home with me, earmarked for a lamp I hadn’t met yet.
A few visits later, there it was: curvy, with a great shade, clear acrylic details, and an interesting blue finish that (spoiler) doesn’t survive Step 2. $12.50.
Then the Handcrafted Society announced this month’s challenge: Knot & Fiber. Rope, twine, rich texture, cozy fall layers.
Woo Hoo! Hello lamp!
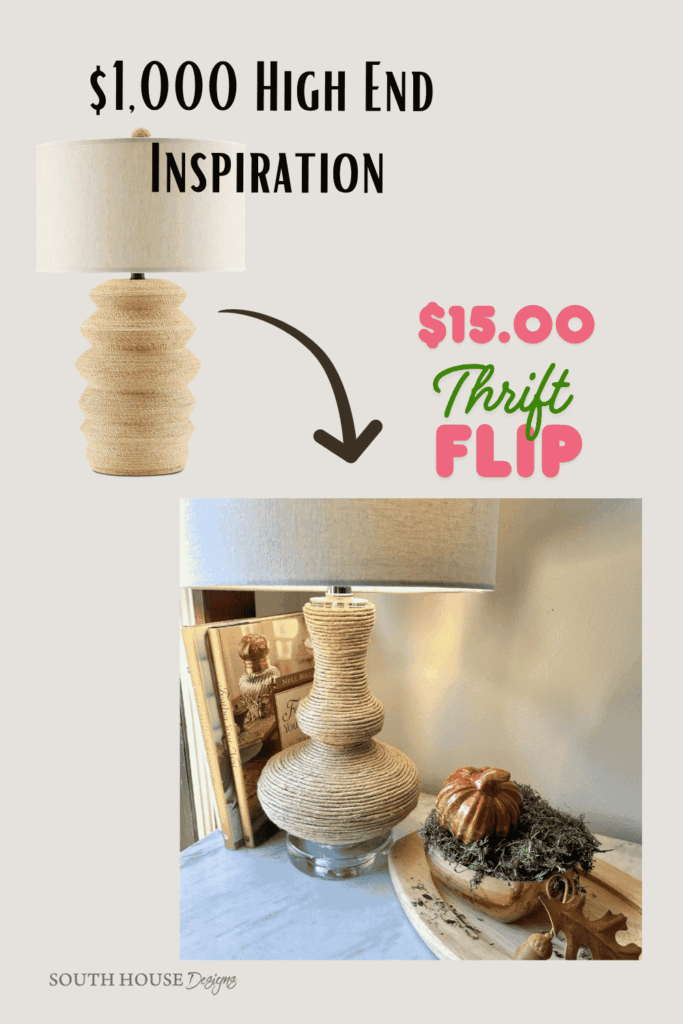
Fifteen dollars and a few glue sticks from my stash later, here’s my high-low answer to those designer lamps.
You’ll want need to visit each of the girls!!!
Let’s Make Some Fab Rope Wrapped Lights
The links in this post may include affiliate links, which means if you purchase anything using these links, you pay no extra, but I may receive a small commission that helps keep this blog running. I truly appreciate you using affiliate links whenever possible. Please know that I will never recommend a product I do not believe in!
Ready to jump right to it?
Here’s a Quick How-To Card for Confident Crafters
If you’d rather feel like I’m right by your side, stepping you through it — no problem, keep scrolling.
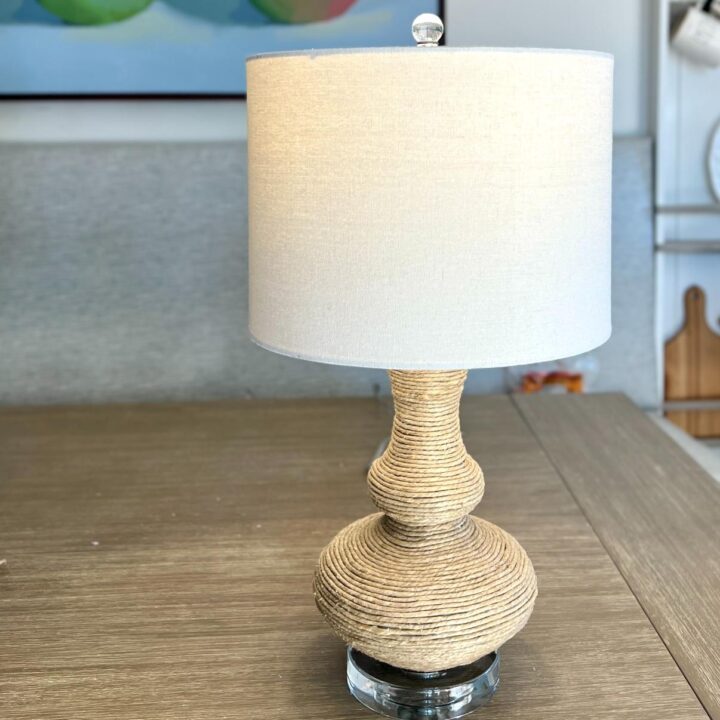
How to Wrap a Table Lamp in Twine (DIY Nautical Rope Lamp)
A thrift store lamp makeover with a modern nautical finish. This is aen easy, slow and therapeutic project. Enjoy your favorite music or podcast while you create away and rewind.
Materials
- Table lamp with a shade (mine was thrifted for $12.50)
- Rope or twine, more on this in the details below
- Spray paint in a color close to your twine (I used a cream chalk-finish spray)
- Hot glue sticks
- Painter’s tape
- LED bulb
Tools
- Hot glue gun with a low-temp setting
- Wrench
- Scissors
- Shipping box, extra cardboard, and a box cutter (for the spray stand)
- Tall vase, bowl or pot
- Large mug or bowl (to corral the ball of twine)
- Tweezers and a small sharp knife
- Paper towels
Instructions
- Take the lamp apart and mask. Unplug the lamp and remove the shade and harp. Loosen the lamp rod holding all the parts together. Mask anything you don't want painted and wrapped.
- Paint the lamp body. Spray or brush it a color close to your twine. Let it dry completely.
- Reassemble. Remove the masking, snug the hardware back onto the rod, and tighten the nut.
- Wrap the lamp body. Start at the narrowest, most visible end. Run a thin line of hot glue on the lamp an inch at a time, and press the twine snug against the previous row. Keep going to the other end.
- Clear the glue strings. Wipe the wrapped lamp with a paper towel to grab the strays.
- Add the harp and shade.
- Optional: wrap the shade’s support arms. With the shade on the lamp, wrap each support arm and the finial base in twine, gluing at the ends.
Notes
- Curvy lamps work. They just ask for a bit more patience.
- An LED bulb runs cooler, which is kinder to hot glue and twine near the socket.
- Photos, video, and all my tips for each step are in the detailed instructions below.
Rope, Twine, or Jute: What to Use for a Rope Wrapped Lamp
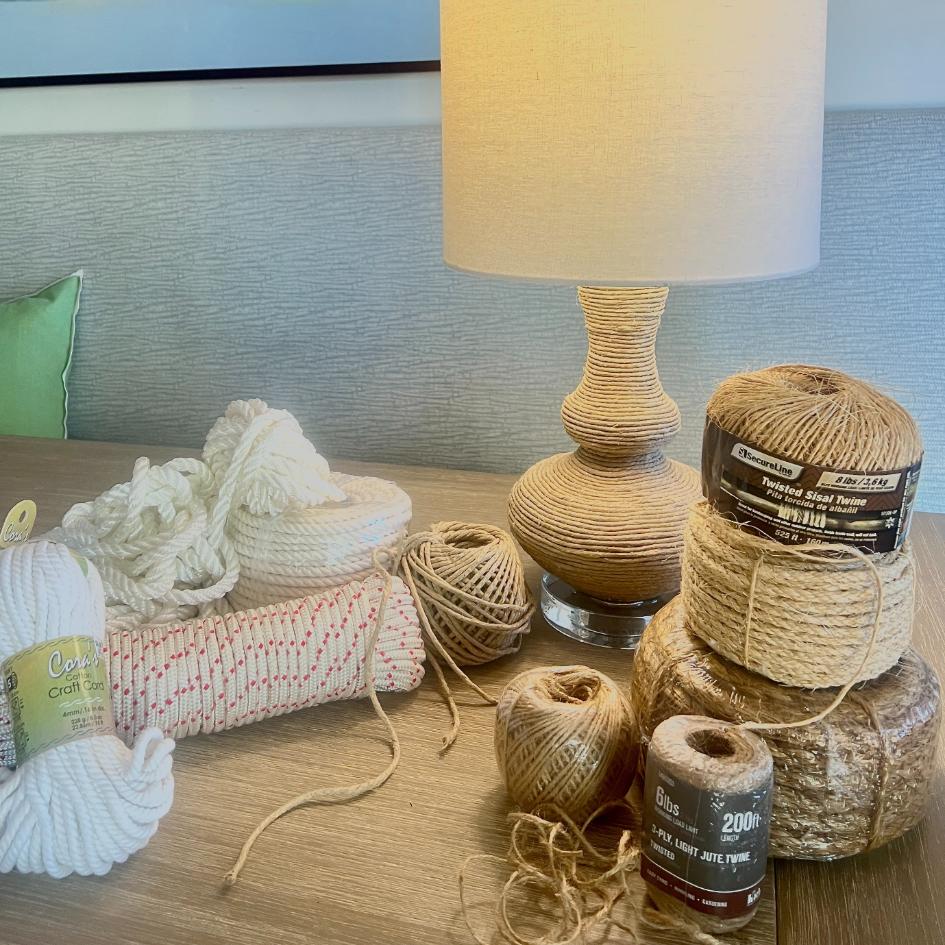
Here’s the secret: for this project, they’re all the same thing wearing different outfits. The wrapping method doesn’t change. The look does.
- Thin twine (what I used): fine, even rows that read tailored and modern. More trips around the lamp, so more patience.
- Jute: the classic. A little fuzzy, a lot of texture, more relaxed.
- Thicker rope or sisal: chunky and coastal, and it covers ground fast.
- Shiny white nylon rope: straight off the dock, for full-on nautical.
Pick your twine before you pick your paint. Step 2 is all about matching it.
A few more things to consider — It’s not just looks! Take you back to your early dating days?
Be sure to consider the rope’s flexibility. The more flexible it is, the easier it will be to work with. Thicker ropes (just like heads) can often be rather rigid and non-compliant.
Consistency is another admirable trait. Surprise quirks and kinks have to be worked around.
How fuzzy or hairy you want is totally personal preference.
How much do you need? The goal is no joinery in the lamp body. So try for one piece.
At it’s simplest, multiply the distance around the widest part by the height of the wrapped section, then by the number of rows that fit in one inch. That gives you inches, so divide by 12 for feet. It lands high, because those measurements assumed every row would be the thickest waistline.
For more accuracy, break down the height by it’s curves. Using my lamp as an example:
My lamp body is 10 inches tall. The largest bulb is 4-inches tall and 22-inches around at its waistline, The smaller bulb is 2-inches tall and 12-inches around at its widest, that leaves 4-inches of body that measures about 7-inches around. My twine took 7 rows around for 1 inch of height.
Running those numbers: 22 x 4 x 7 = 616. 12 x 2 x 7 = 168. 4 x 7 x 7 = 196
616 + 168 + 196 = 980. 980 / 12 = 81 ft 8 inches.
Using just the simplest method, the same lamp would have suggested needing 128 feet.
I think I actually used more like 70 feet.
How to Make a Rope Wrapped Lamp, Step by Step
This is the hand-holding version, with every tip picked up along the way.
Step 1) Take the Lamp Apart and Mask-
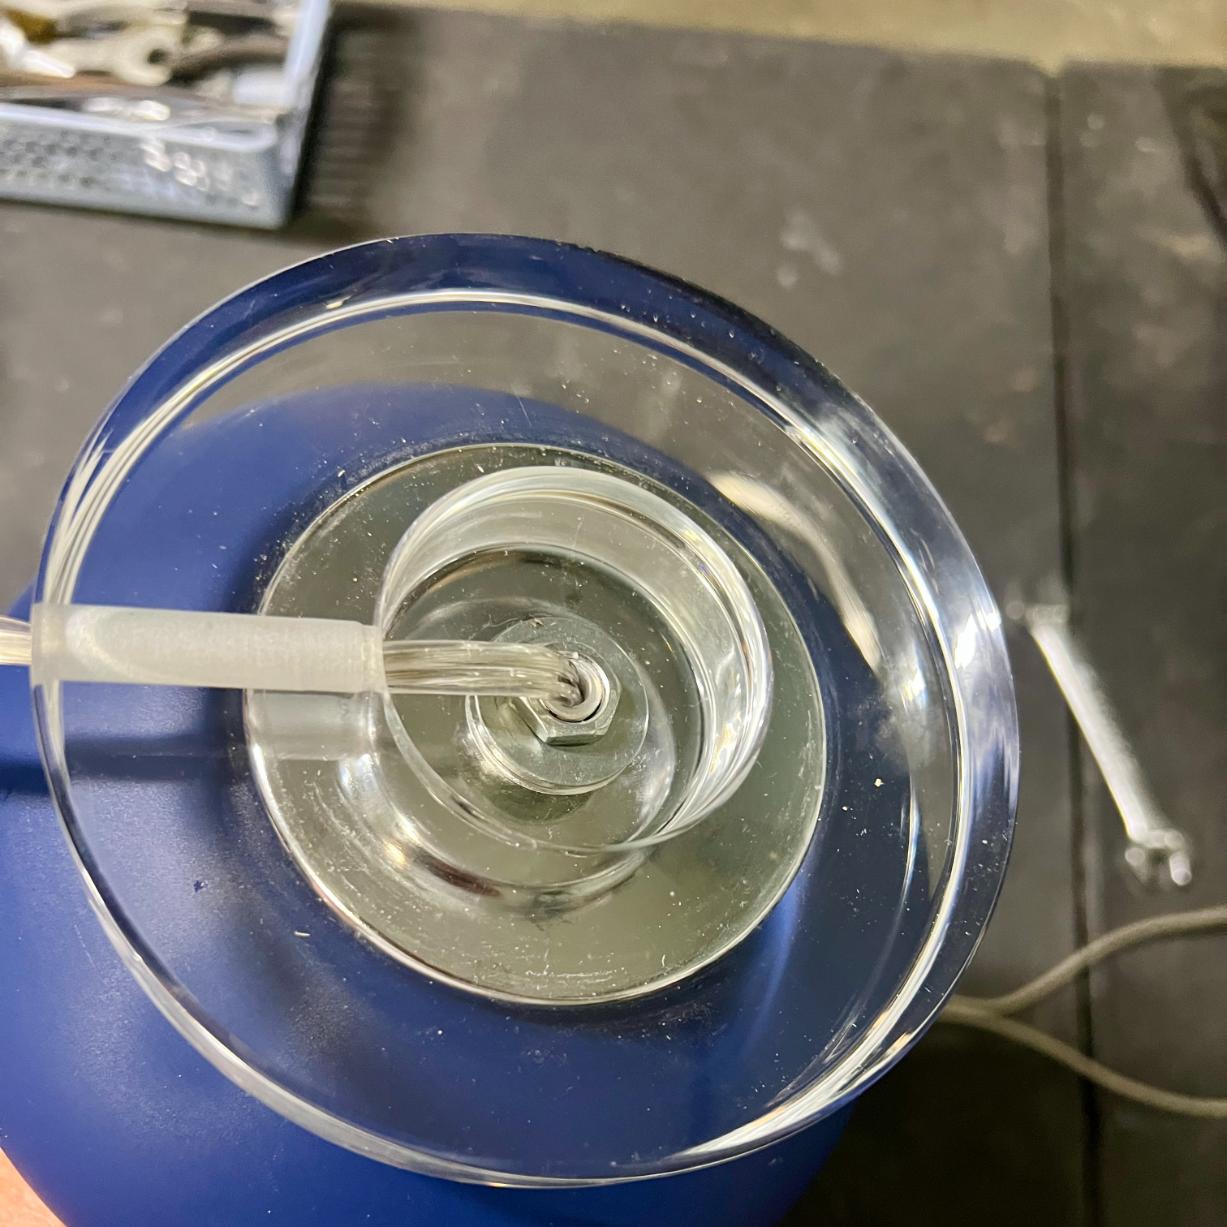
Stating the obvious: unplug the lamp. Okay, onward.
Decide what stays bare. For me, that was the clear acrylic base, topper, and finial. They’re what push this lamp toward modern nautical and away from rustic farmhouse. We live on a lake, after all.
A wrench loosened the nut under the base, which gave me just enough wiggle room to pull the lamp body away from the two acrylic discs and mask them.
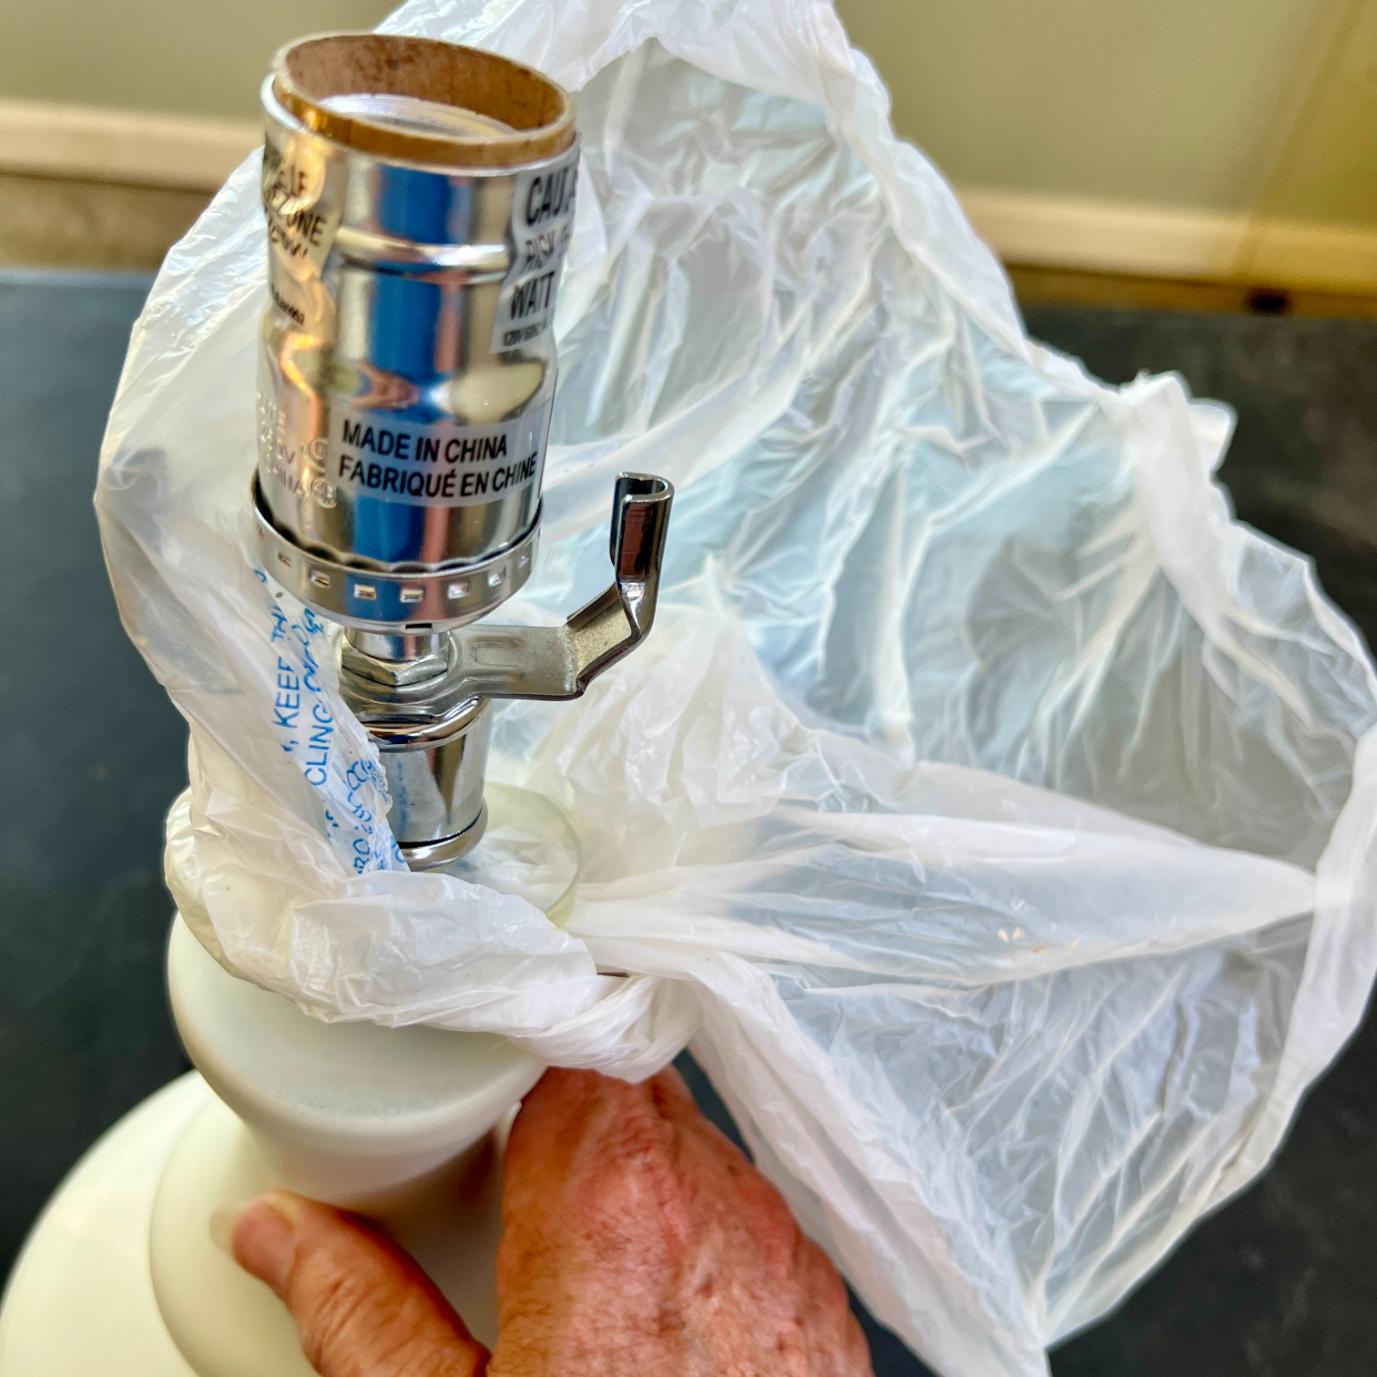
My finial is tightened onto the shade for life, so the shade and harp came off together as one unit. Then tape up the cord, the socket, and the bracket the harp sits in.
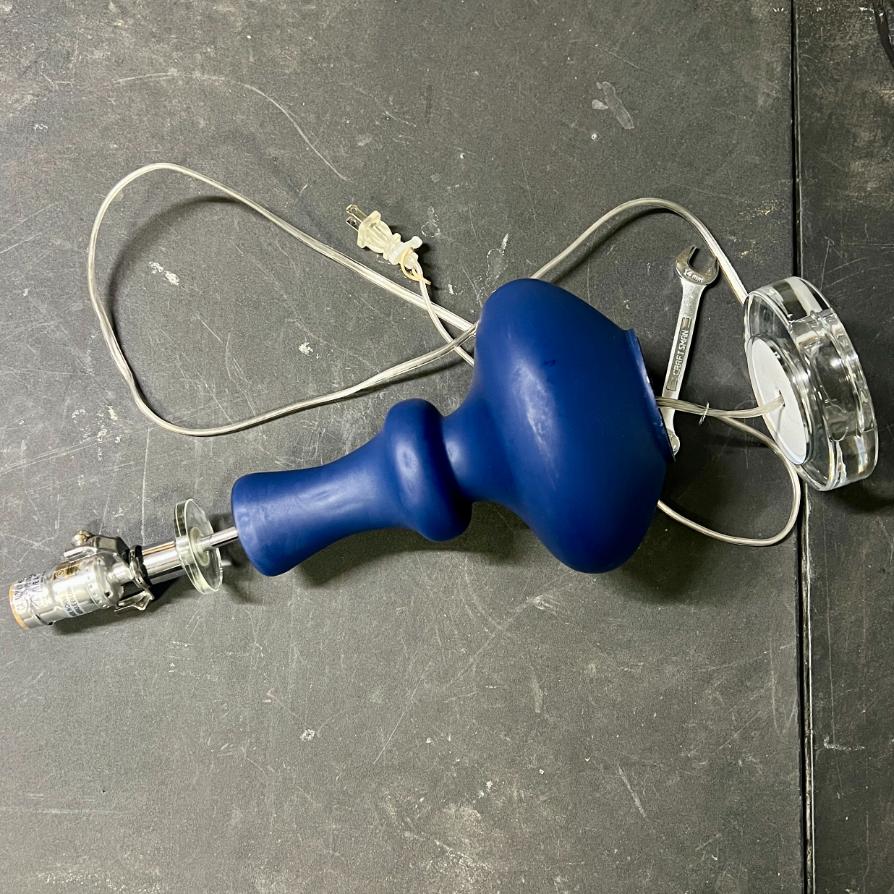
Your lamp will come apart a little differently than mine. The goal is the same: anything you don’t want painted or wrapped gets taped.
Step 2) Paint the Lamp Body-
Why paint something you’re about to cover? Because twine has gaps, and bright blue peeking through would be like a neon sign behind lace curtains. A color close to your twine simply disappears.
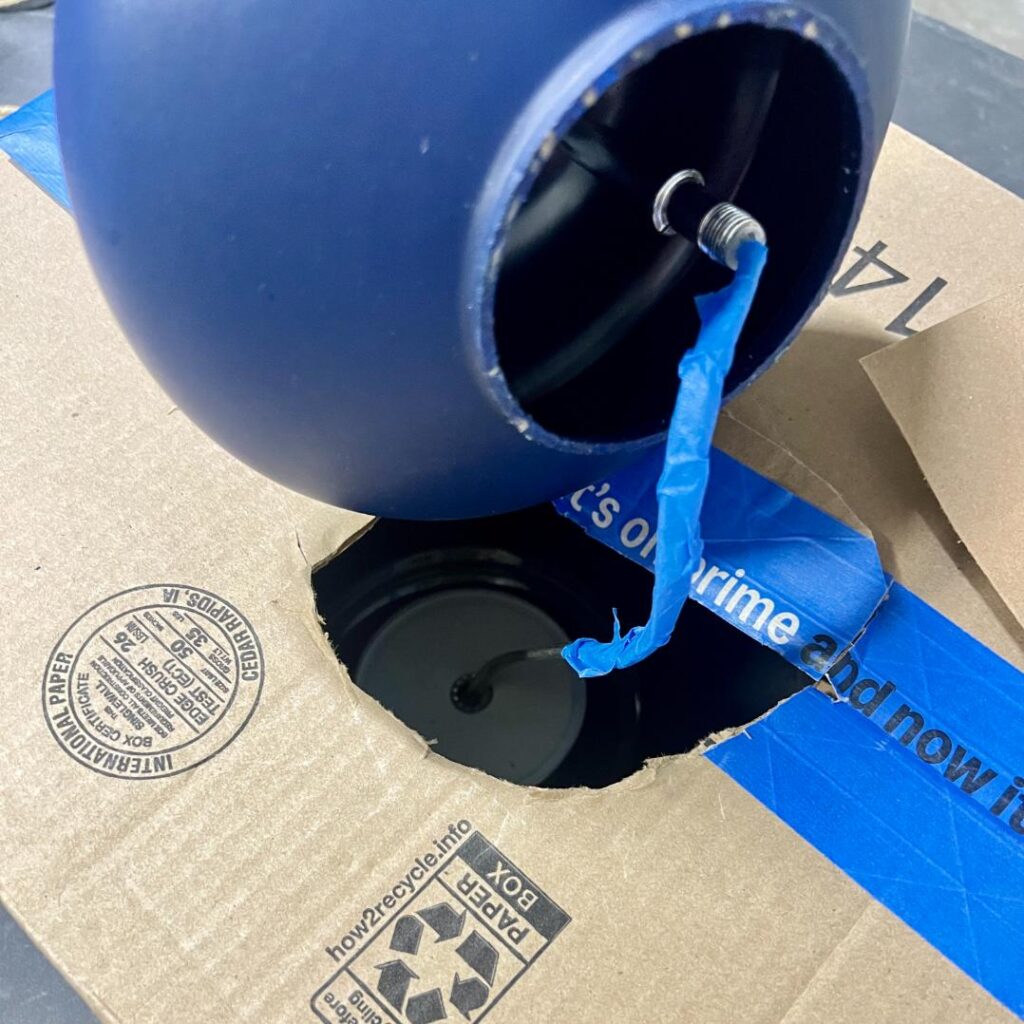
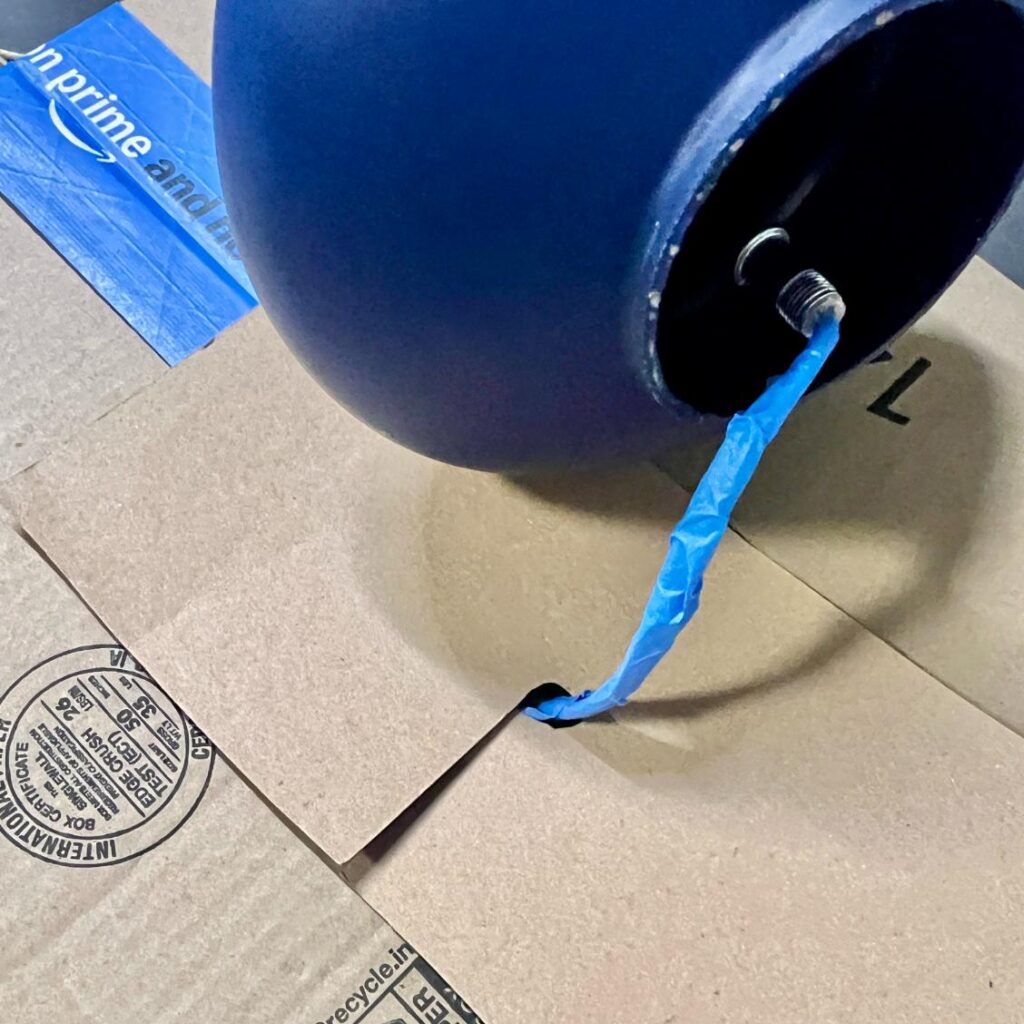
First, build a spray stand from the shipping box pile we all have. Cut a slit with flaps in the top of the box, feed the cord and base through, and tape the flaps closed around them. A small hole lets the cord out. (I cut a full hole instead of flaps and had to patch it with more cardboard. Learn from me.)
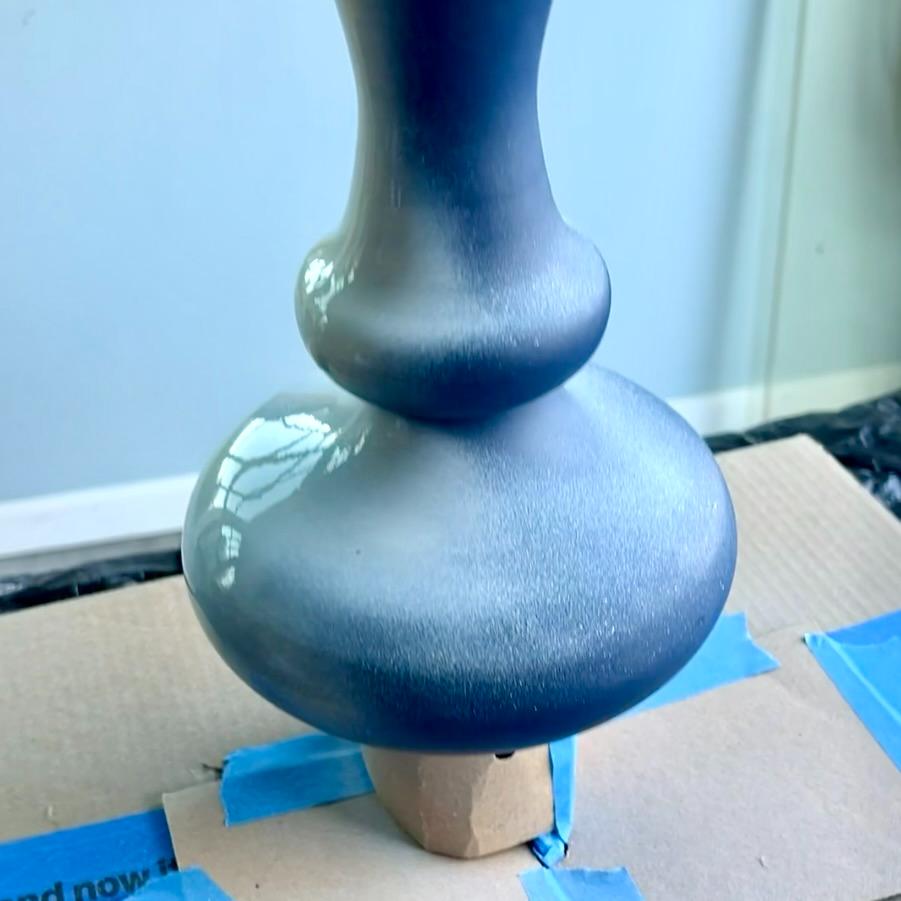
A ring of cardboard, just big enough to catch the lamp’s bottom lip, props it upright so you can spray the underside of the curves.
Now paint. It doesn’t take much, so use what you have. Mine was a cream spray chalk paint from Rust-Oleum, left over from another project.
PRO TIP: Torn between two colors? Go darker. It reads as shadow between the rows.
Looking back, taupe would have been a closer match than cream, but my twine is smooth and very little shows.
This lamp is about to put on a sweater. So don’t fuss over the finish.
While you’re waiting on paint to dry, it’s a great time to subscribe to not miss out on any inbox joy!
Thanks bunches! Now back to our twine!
Step 3) Reassemble-
Once the paint is completely dry, peel off the masking. Slide the hardware back onto the rod, snug everything up, and tighten the nut.
This can be a three-handed job. My third hand was a tall glass vase: the lamp stood upside down in it, steady as you please, while I tightened the nut.
Step 4) Wrap the Lamp Body-
Here’s the fun part, and it’s easier than it looks. If you can wind a garden hose, you can wrap a lamp.
Where to start. Mine started at the bottom, for no better reason than it felt natural.
However, next time I’ll start at the narrowest, most visible end, which on my lamp is the top.
The reasoning? Your first rows are your straightest, so put them where eyes land. The finish, and final rows that may have begun to wander a bit, can hide under a curve.
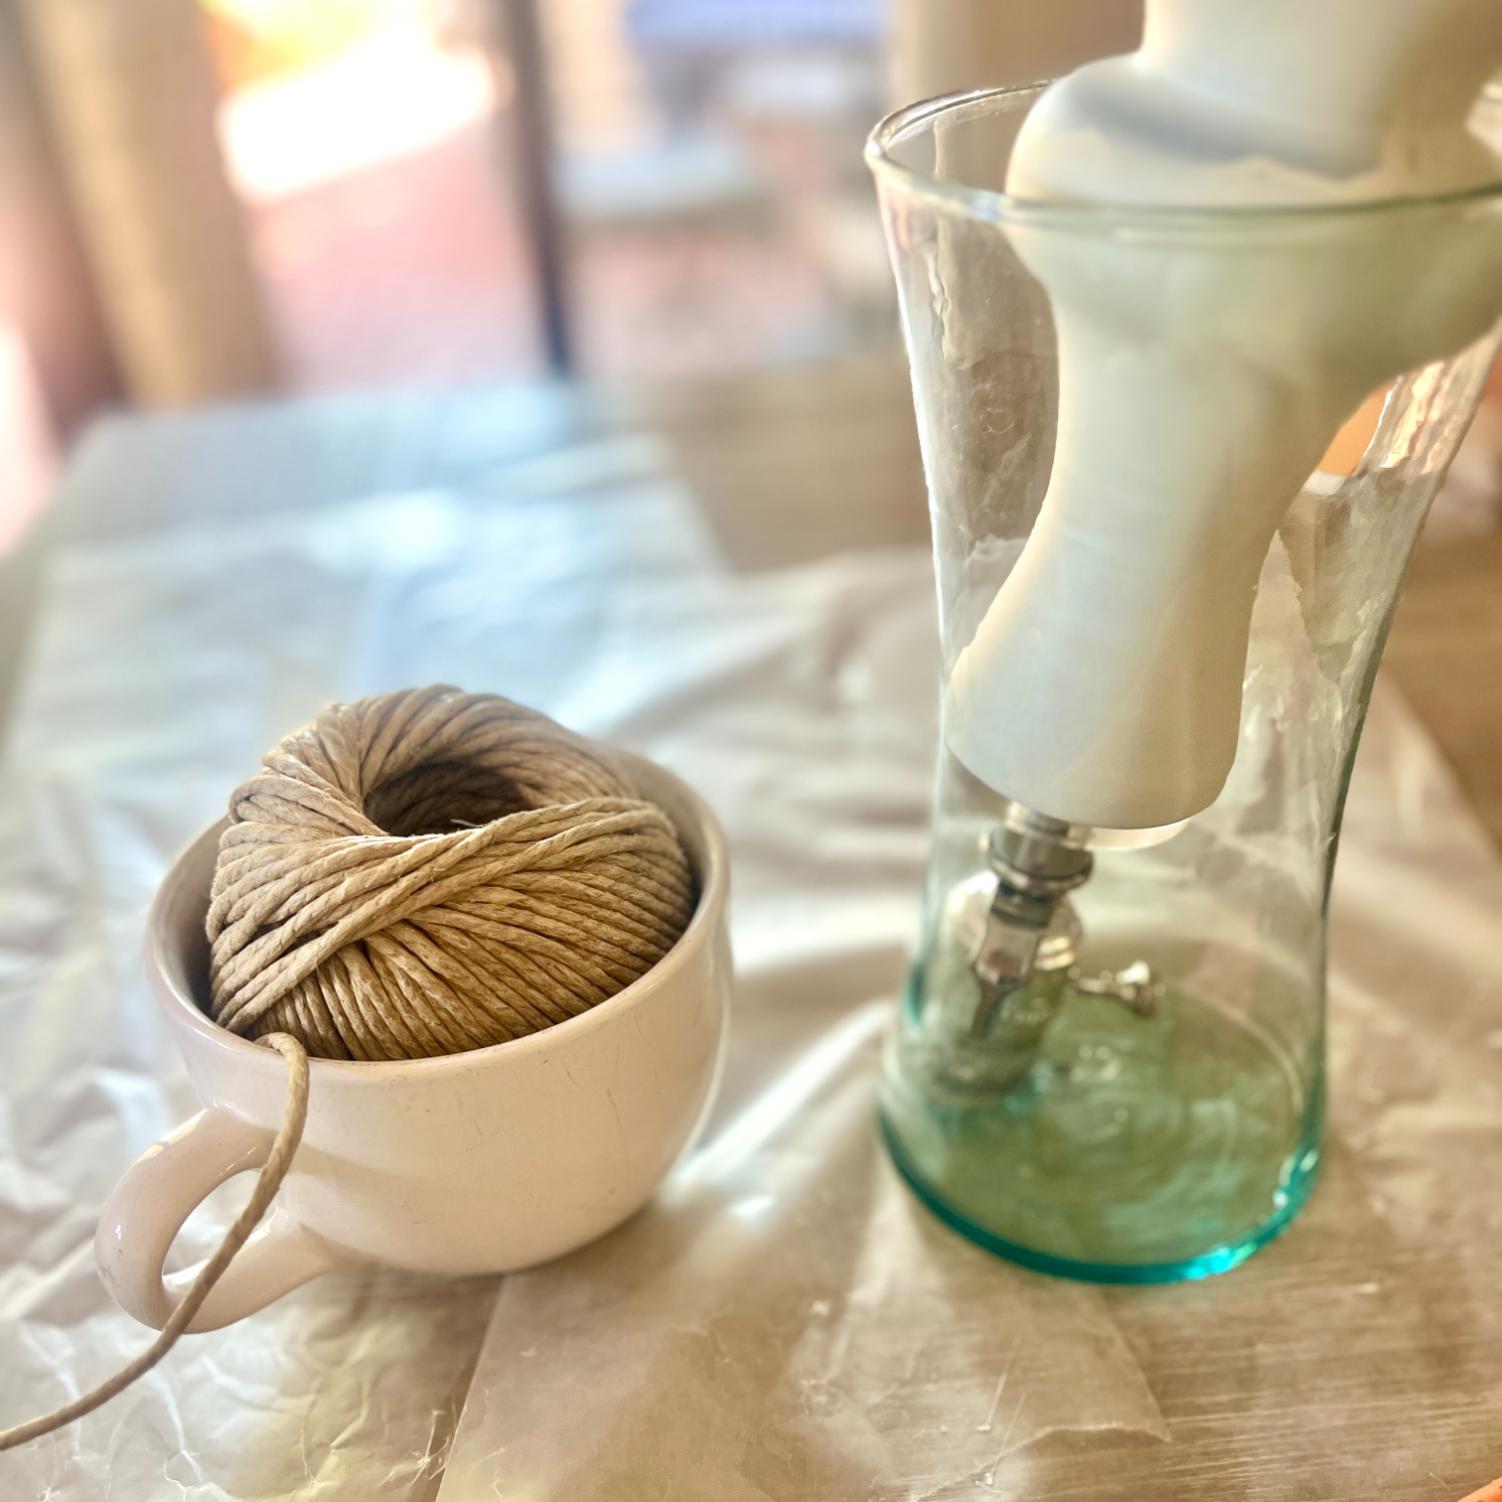
Set up. Drop the ball of twine into a big soup mug so it can spin without rolling across the room.
Set the glue gun to low: plenty strong for twine, far kinder to fingers.
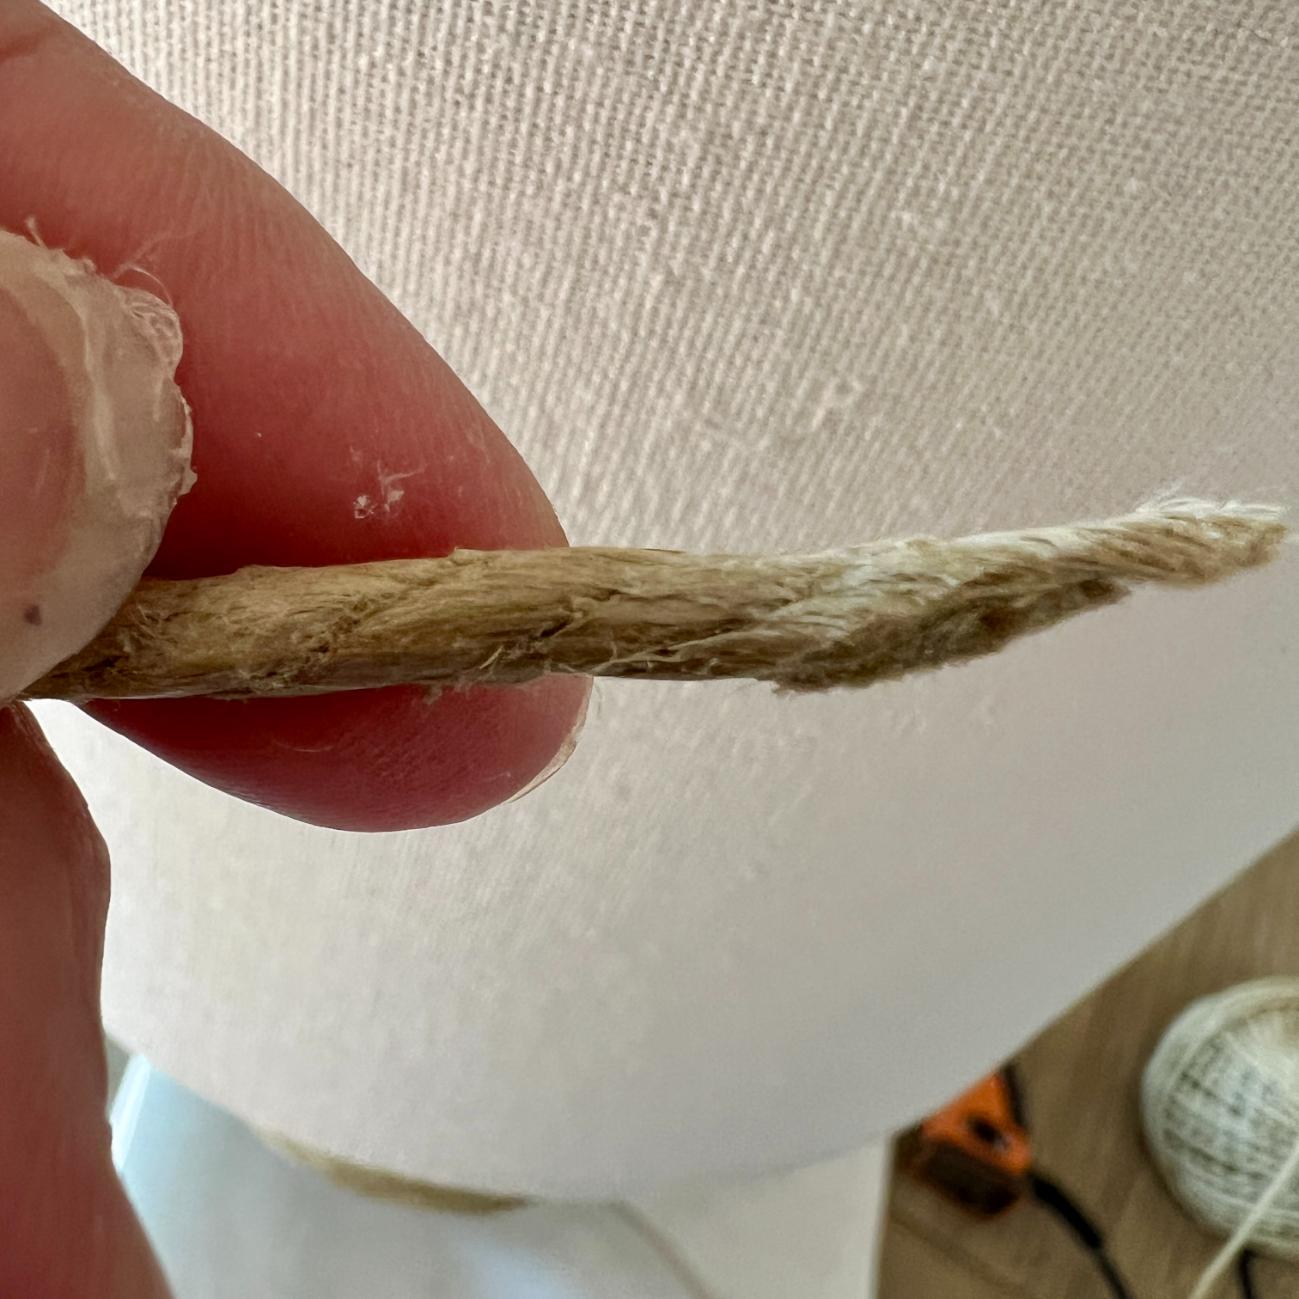
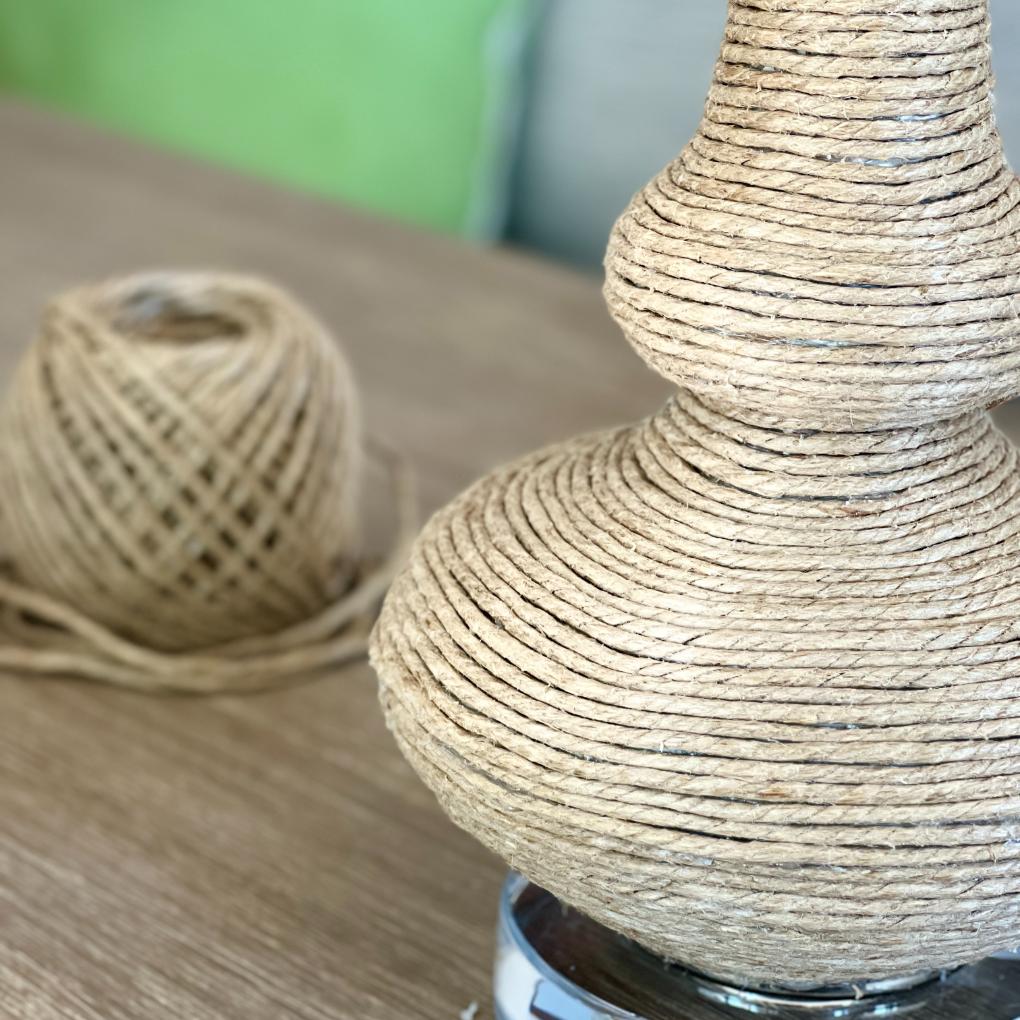
I prefer a smooth takeoff and landing, so I cut the end of my twine at a angle, lightly hot glued the inside of that angled cut and placed it tightly against the acrylic disc where I wanted my takeoff.
Find the rhythm. Run a thin line of glue about an inch long, skip an inch or two, then run another inch. Pull the twine tight and press it snug against the previous row. Glue, skip, glue, pull, press. Around you go.
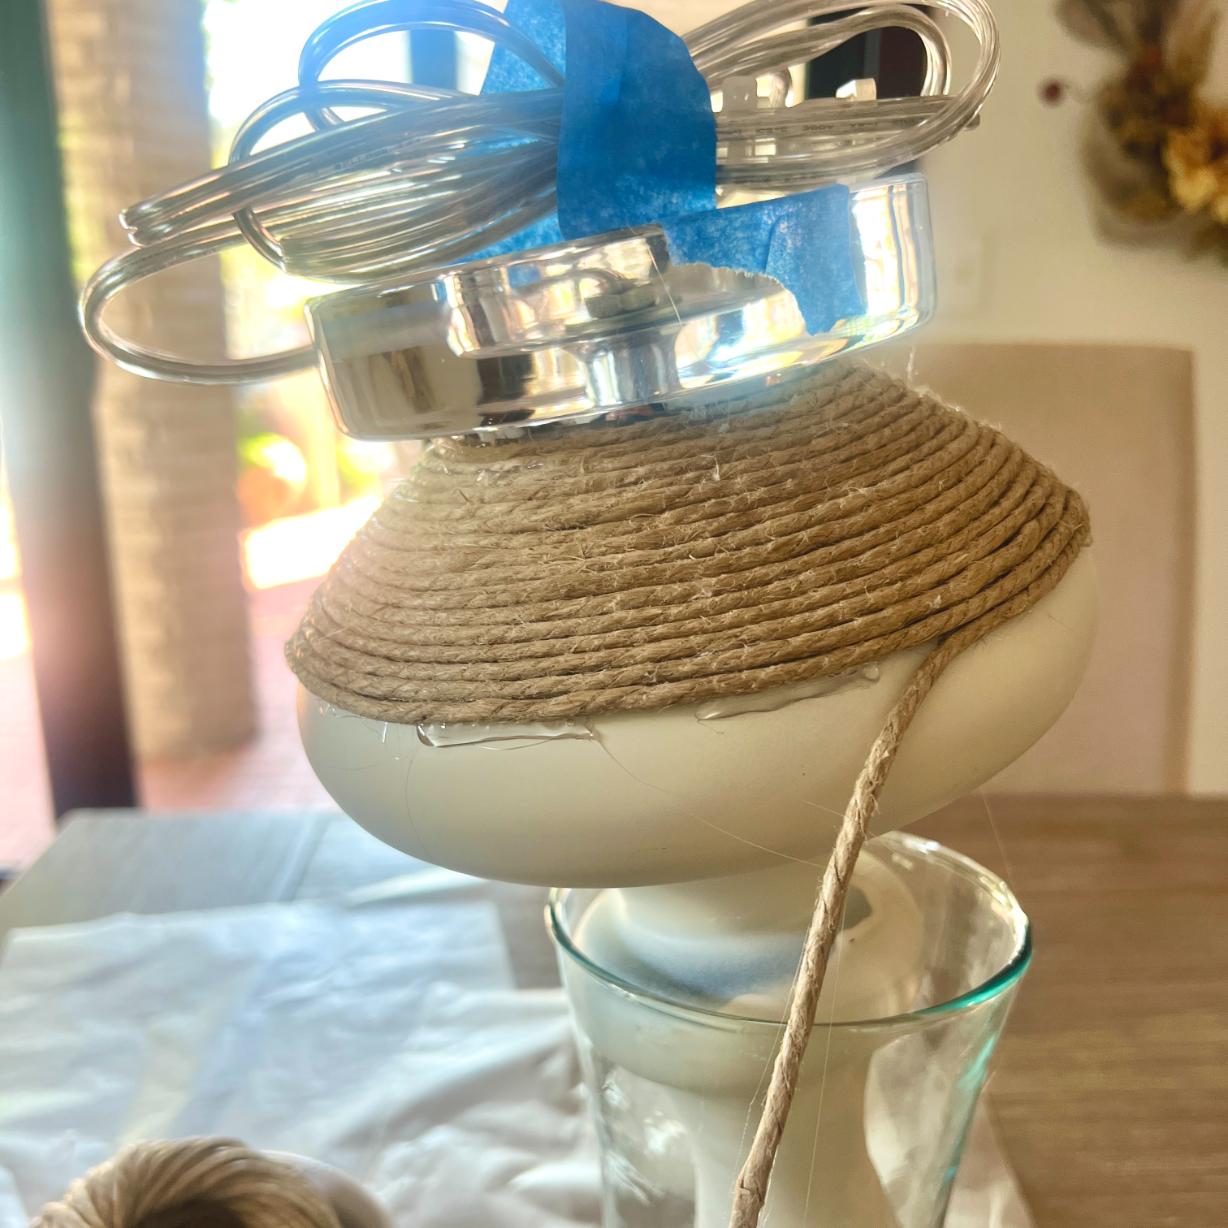
PRO TIP: Put the glue on the lamp body right beside the last row, never on the twine itself.
Think pencil line, not toothpaste. A thin line lets the twine sit flat and keeps glue from oozing up between rows.
When a blob appears as you press your twine flat (it will), rub it off the lamp with both thumbs while it’s still warm.
Already cool and hard? Slice through it with a small sharp knife and pluck it off with tweezers.
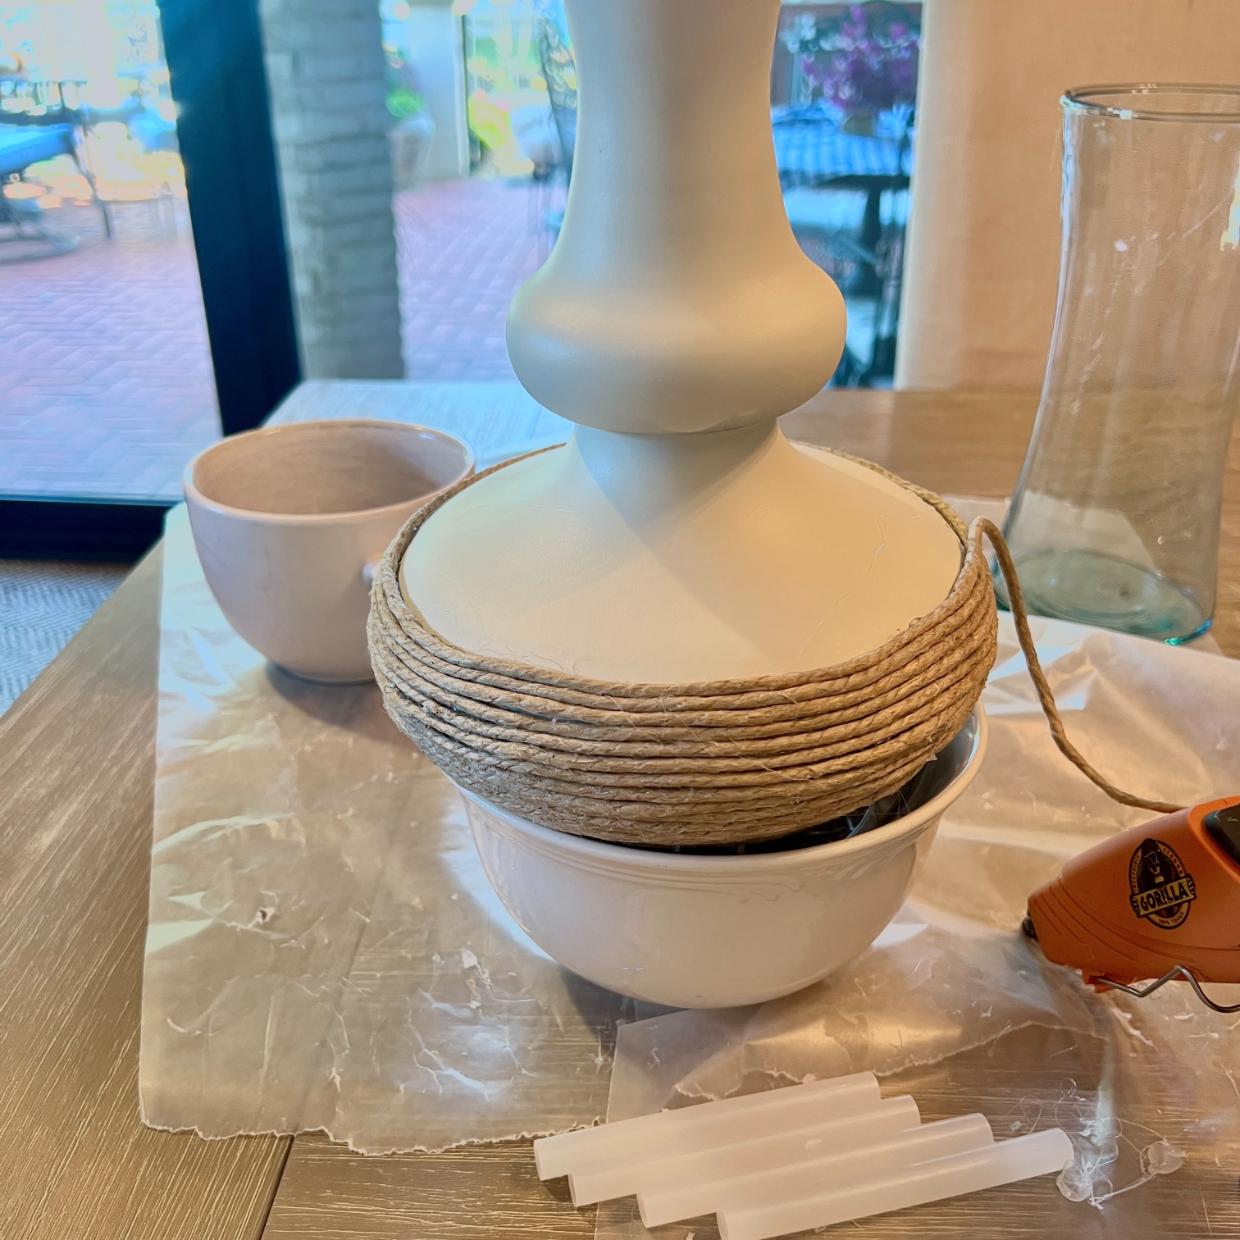
The undersides. When the rows head under a curve, flip the lamp upside down into a vase or pot. Suddenly you can see what you’re doing.
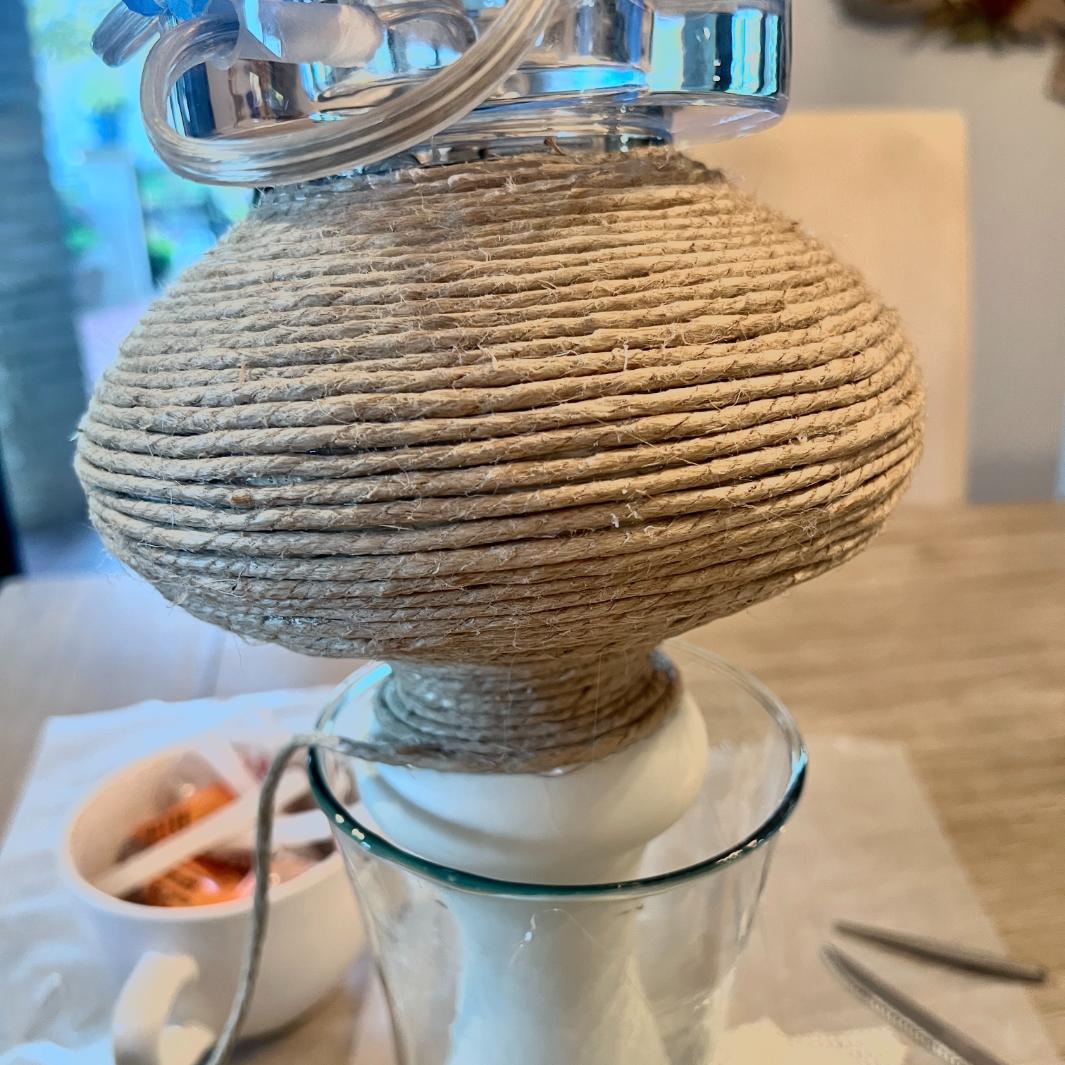
And then upside down again! Keep flipping the base to make it easy to see what you’re doing.
PRO TIP: Lean back every few rows and check that they’re still tight and level. A wiggle caught early straightens out over the next two trips around.
At the end, snip the twine, again at a low angle for a gentle landing. Apply a light amount of glue to the cut angle and pressed it down as tightly as possible into the previous row. You’re going for a gentle transition not an abrupt halt.
Step 5) Clear the Glue Strings-
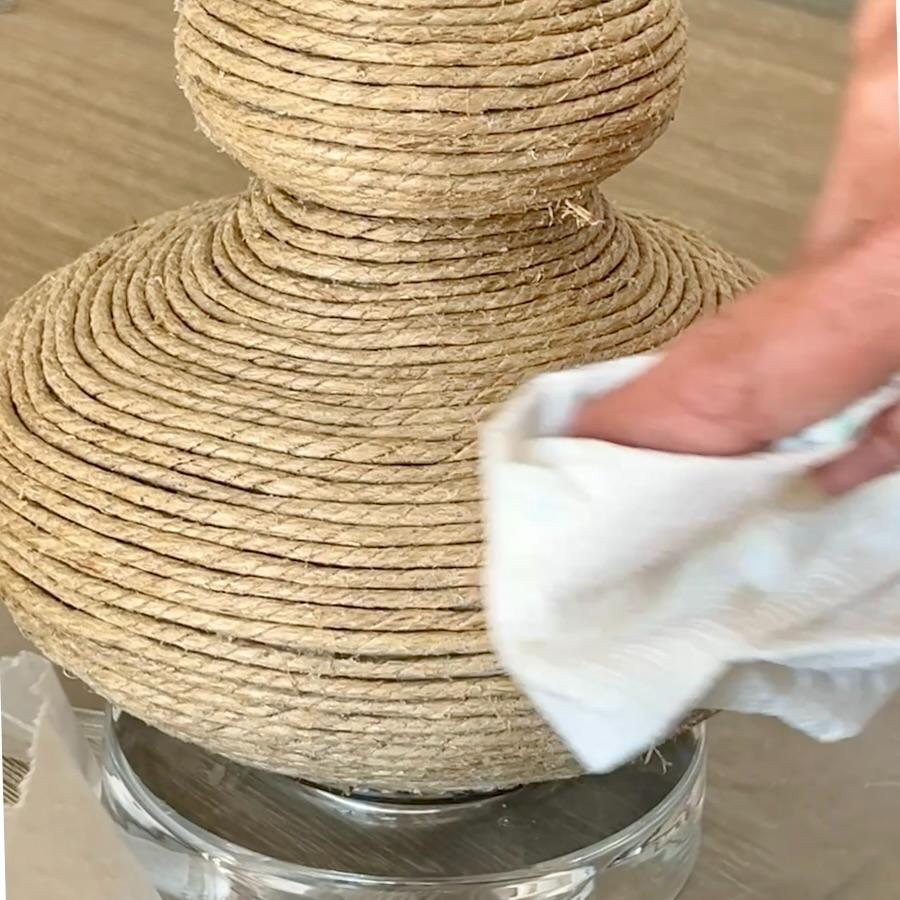
Your lamp now looks like it walked through a spider web. Totally normal.
The internet says a hair dryer on hot melts the strings away, so this seemed like the perfect time to test it. Verdict: not awful, but underwhelming.
What really worked: wiping the twine down with a paper towel. It grabs every last sparkly streamer.
Step 6) Add the Harp and Shade-
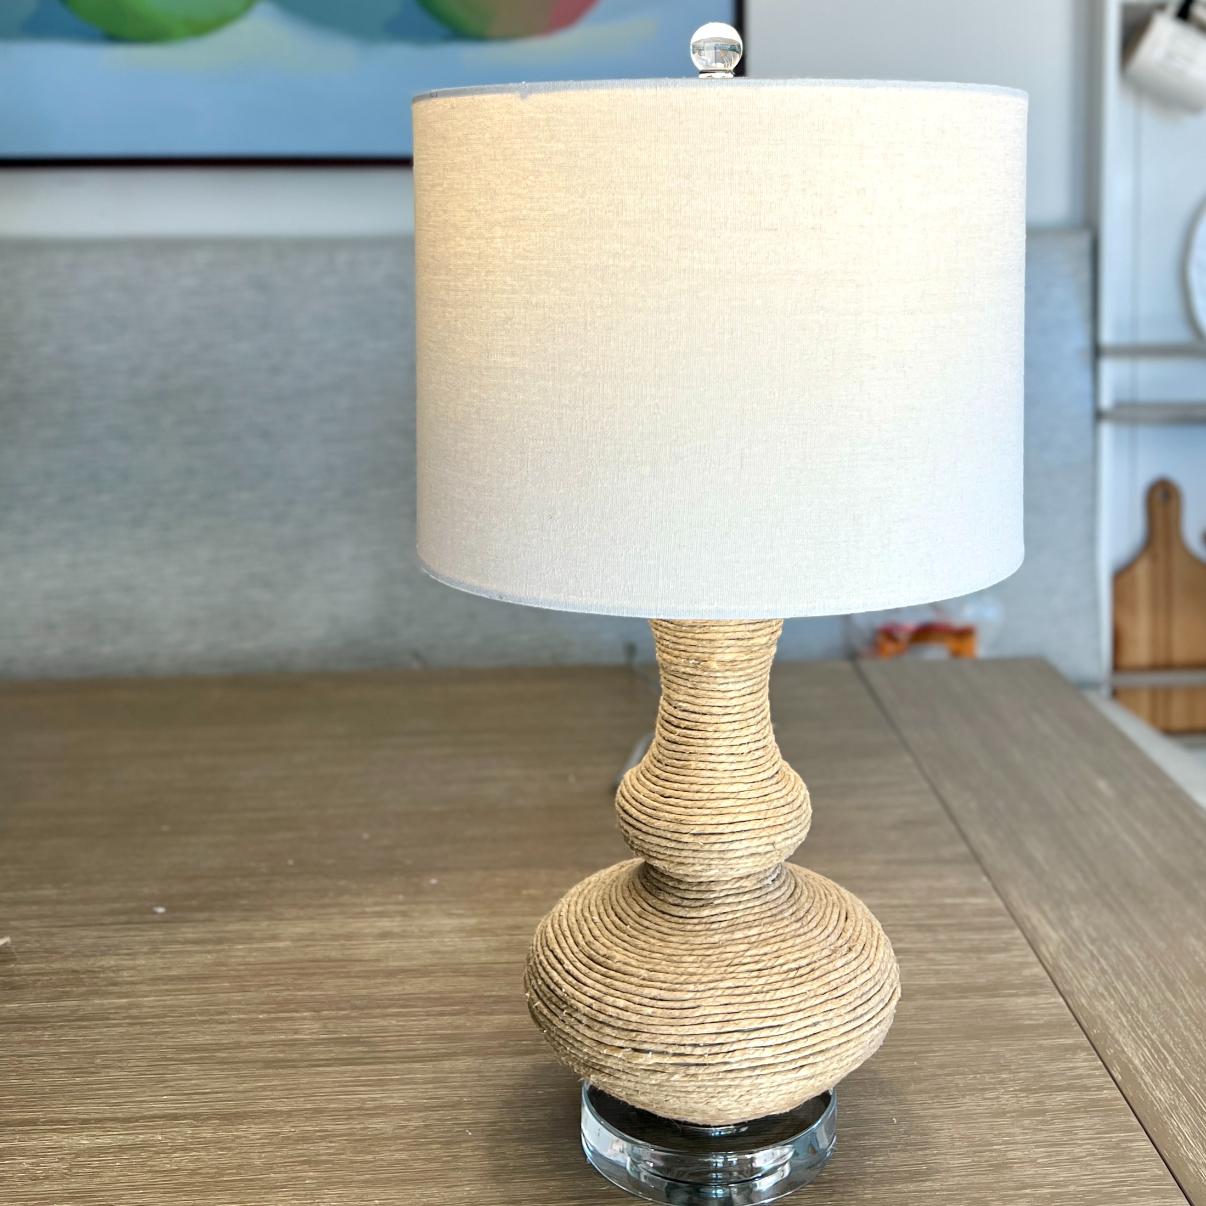
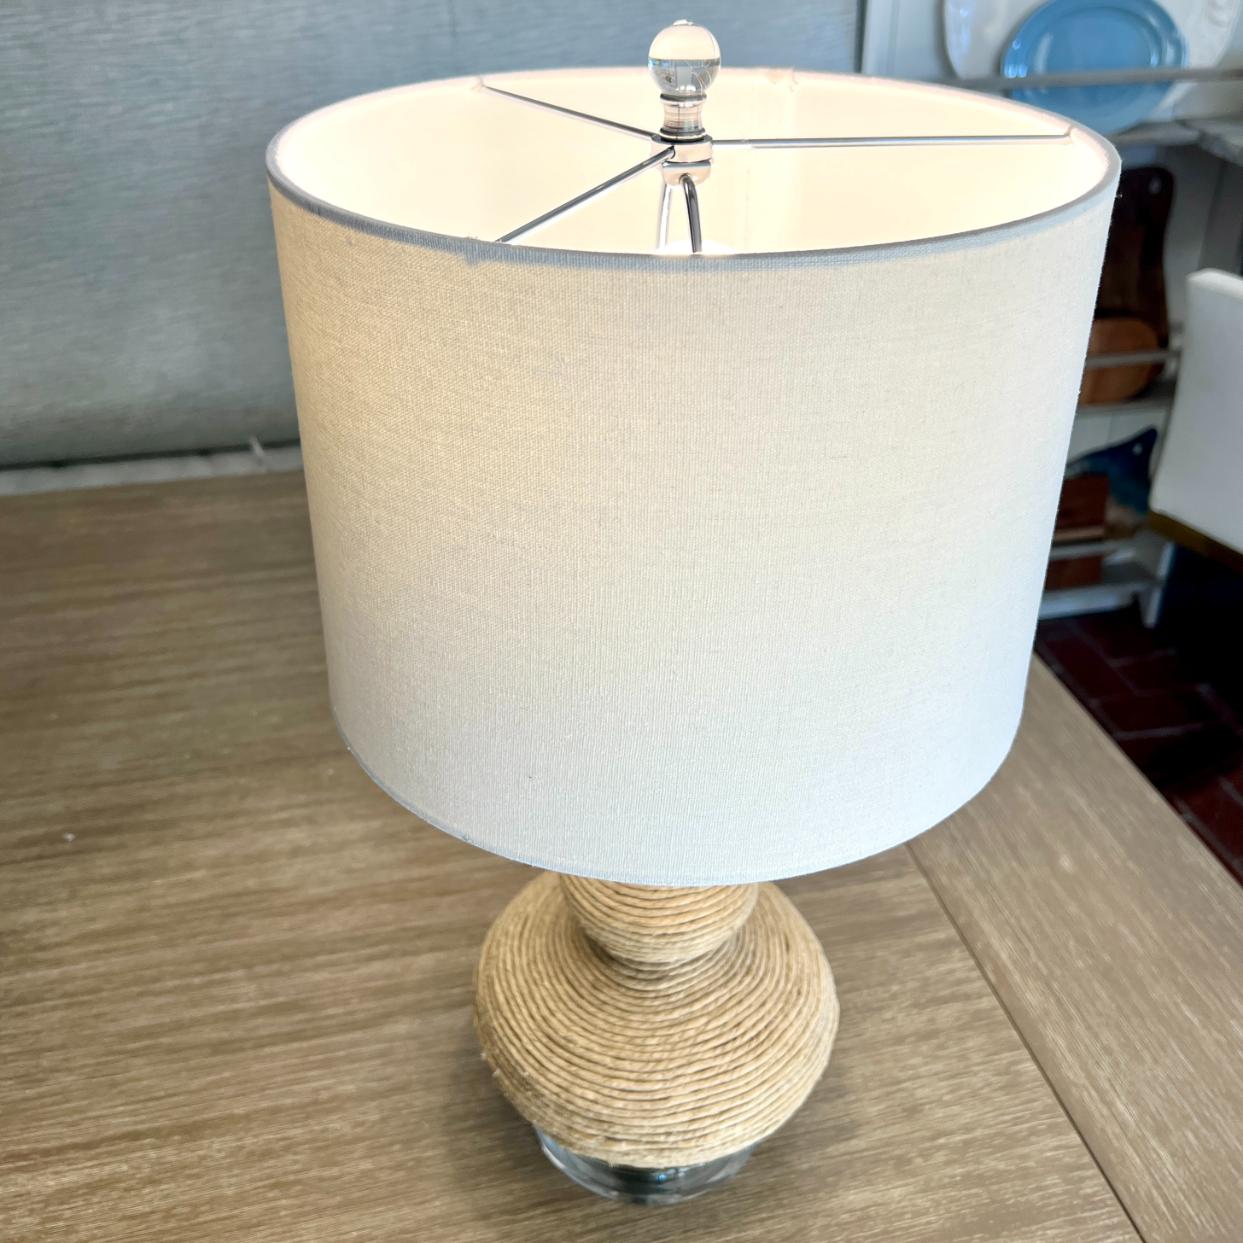
Pop in an LED bulb, then set the harp and shade back in place.
My harp and shade must be BFF’s. They refuse to be separated, so one move for me.
And that’s it!
Or at least, that’s what I planned to be it.
I really liked it. But it felt like passing up a golden opportunity.
Step 7) (Optional) Wrap the Shade’s Support Arms-
Nobody would miss this detail if it weren’t there.
Once they see it, though? Love.
This works on a shade that sits on top of a harp, with a spider fitter (three metal arms meeting at a center ring). Mine were shiny chrome, and so was the base of the finial. Next to all that twine, they looked like tube socks with a cocktail dress.
Leave the shade on the lamp. It’s your extra set of hands.
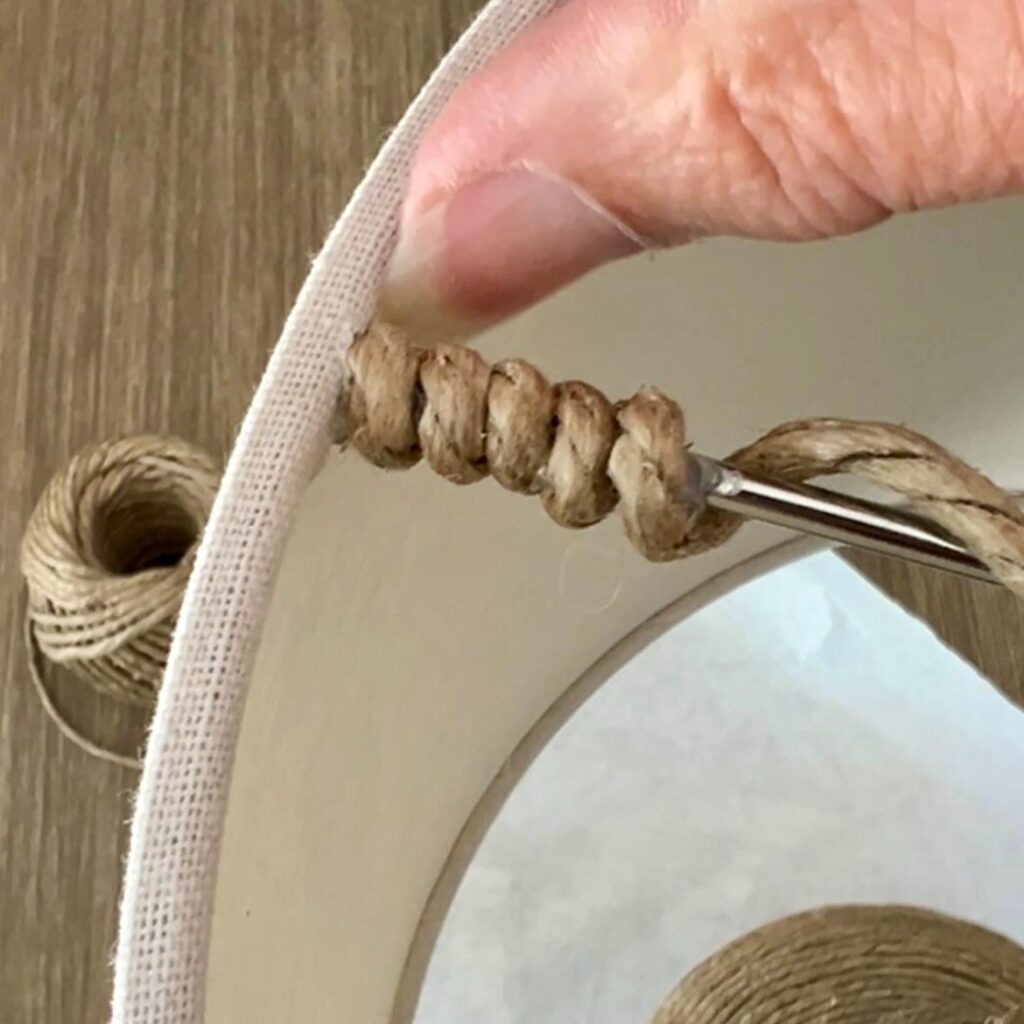
First arm. Start at the shade’s edge and wrap toward the center. At the center ring, bring the twine up under the arm and glue it around the underside of the ring.
Second arm. Without cutting, wrap from the center out to the shade. Cut the twine and glue the end down tight.
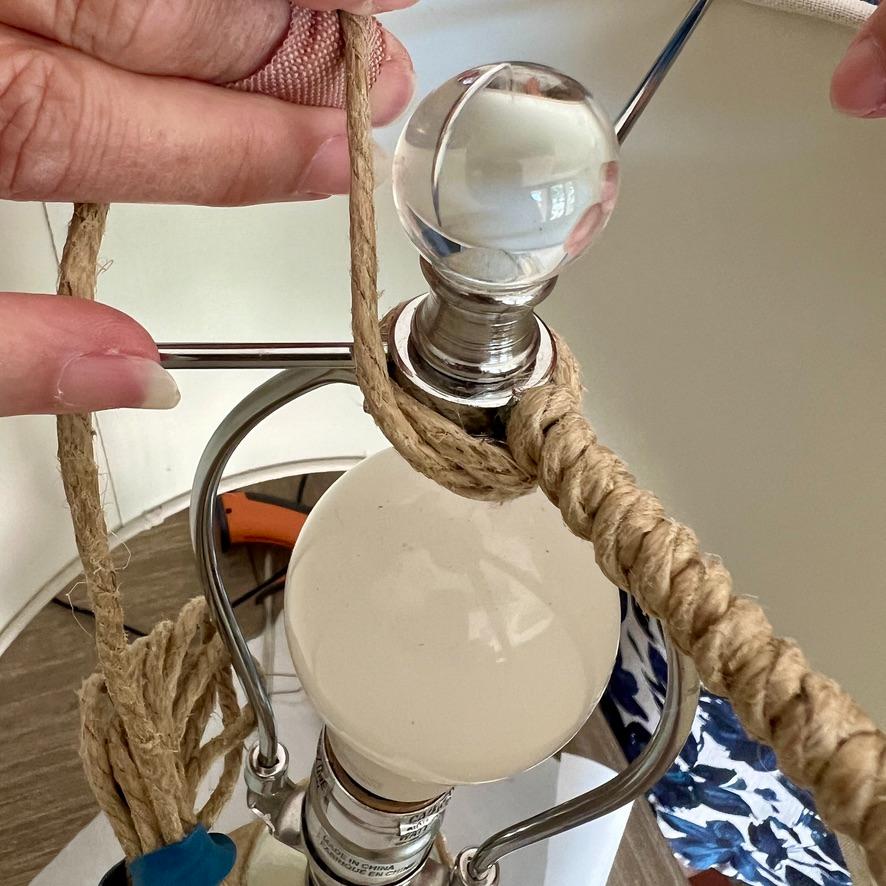
Third arm. Start a new piece at the center. Glue and wrap the finial base until every bit of chrome is covered, then continue down the arm to the shade. Cut and glue.
CAUTION: Twine and hot glue now sit right above the bulb, so make it an LED. They run cool.
What a difference that little detail makes!

The High-Low Tally:
Designer Rope Lamp vs. My $15 Version
Time for the receipts!
| Item | Cost |
|---|---|
| The High | |
| Kavala Table Lamp (at Wayfair) | $1,073.60 |
| Vichy chandelier (at Lightology) | $3,440.80 |
| The Low | |
| Thrifted lamp, shade included | $12.50 |
| Thrifted ball of twine | $2.50 |
| Glue sticks and leftover spray paint | $0 (the stash provides) |
| My total | $15 |
That designer table lamp costs about 71 times what mine did. Put it another way: $1,058.60 left over to help with that very expensive chair.
If your stash is bare, add a can of spray paint and a pack of glue sticks. You’re still nowhere near four figures.
Rather buy than wrap? No judgment. The originals are linked above.
Styling a Rope Wrapped Lamp for Cozy Fall Layers
Rope lamps get typecast as summer people. Beach house, striped towels, the works.
But remember the sweater this lamp put on back in Step 4?
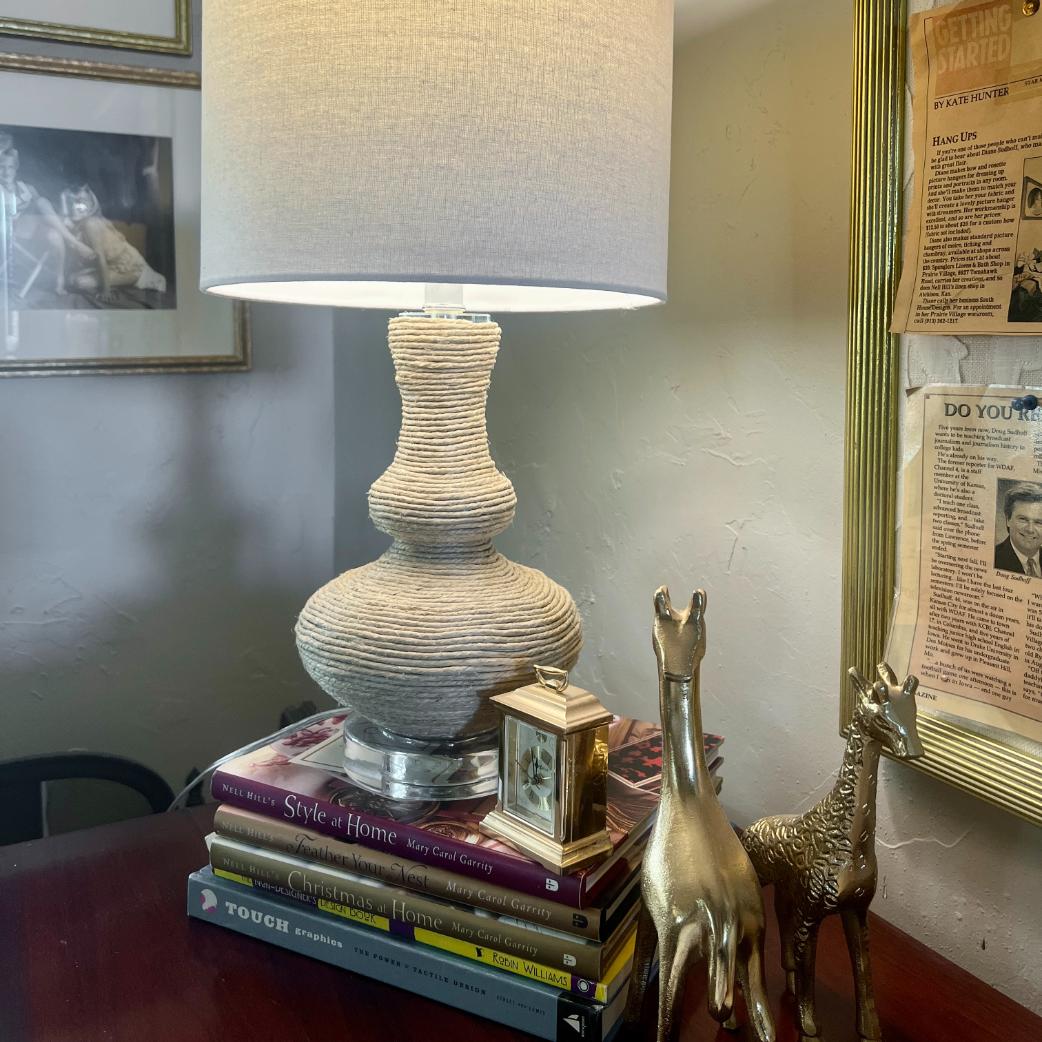
Fall is when it earns its keep. All that twine is texture, and texture is what makes a room feel cozy before the heat even kicks on.
A few easy ways to layer it in:
- Pile on more texture. A chunky knit throw, nubby linen, a wool pillow. Twine gets along with all of them.
- Add wood and warm metal. A stack of books, a wooden bowl, a little brass.
- Bring in something foraged. Dried hydrangeas or grasses in a vase beside it.
- Let the acrylic do its job. The clear base and finial keep all that warmth from feeling heavy.
- Put the fall color nearby, not on it. Rust, ochre, deep green. The lamp stays neutral, so it plays nicely with every one.
Come summer, swap the throw for blue and white stripes and it goes right back to the lake.
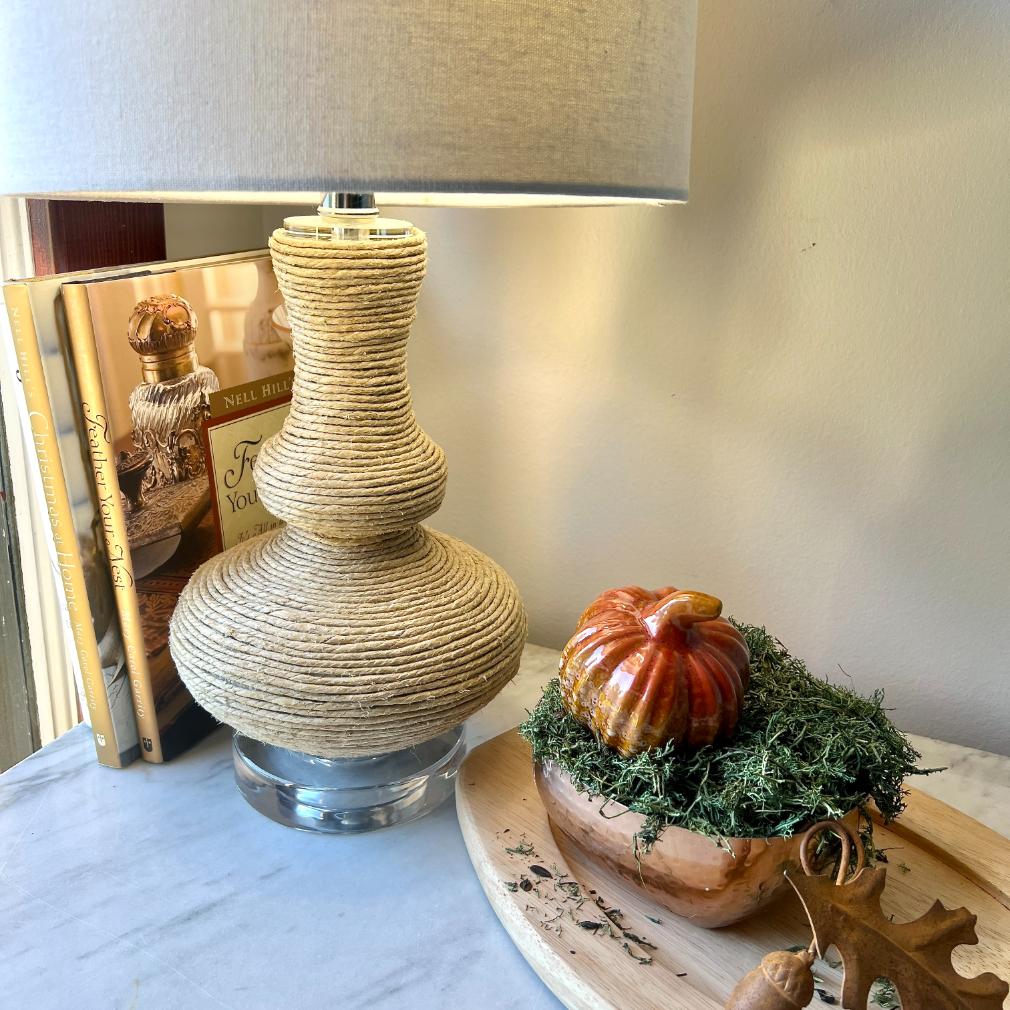
One decision left, and I’m handing it to you:
Should I leave the shade plain, or crochet a little scalloped edge from the leftover twine for the bottom rim? Tell me in the comments.
Pin this one for the next time a lonely lamp catches your eye at the thrift store.
More Knot & Fiber from the Handcrafted Society
My lamp isn’t the only thing tied up in knots this month.
The makers of the Handcrafted Society each took rope, twine, sisal, raffia or yarn in a completely different direction, and you’ll want to see where they landed.
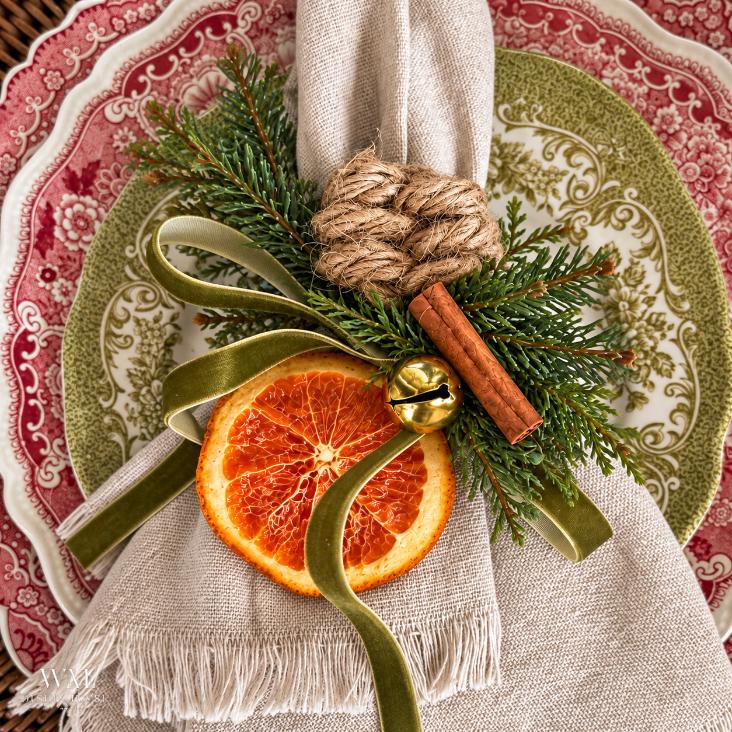
Wendy @ WM Design House
Knotted Rope Christmas Napkin Rings with Dried Orange Slices
f you love a natural Christmas table, do not miss these DIY Christmas napkin rings from Wendy at WM Design House. She wraps jute rope around a simple base, tops it with a chunky leaf knot, and finishes each one with a dried orange slice and a jingle bell.
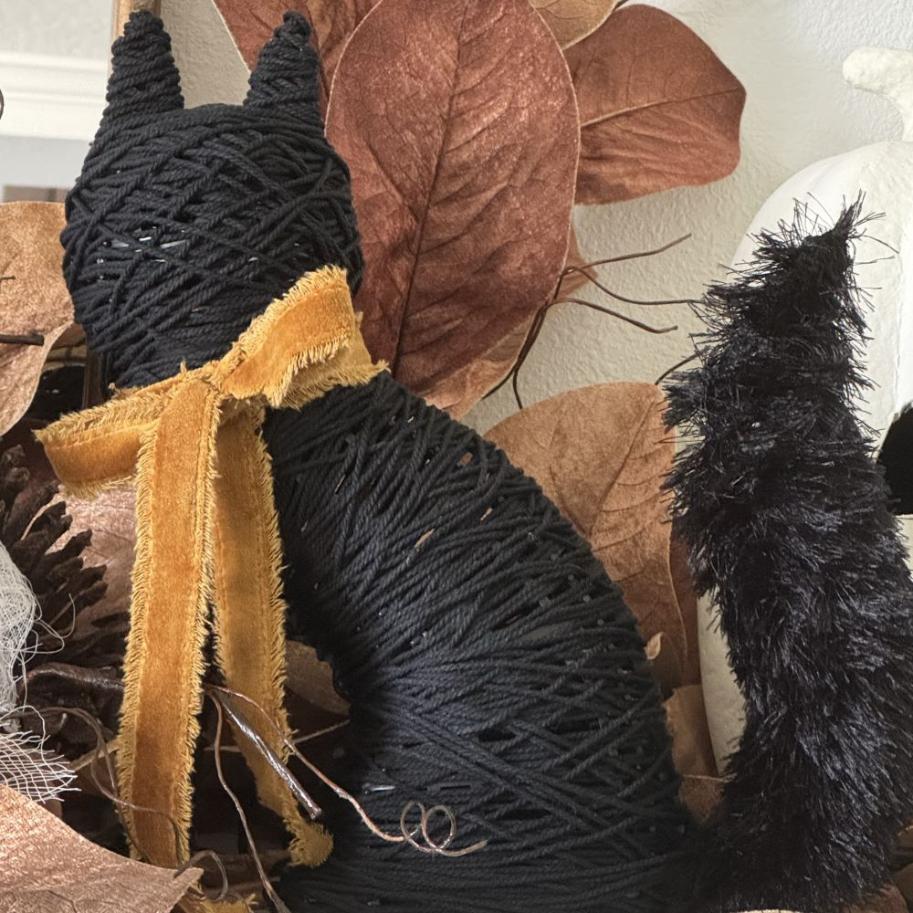
Donna @ An Organized Season
DIY Black Cat Halloween Upcycle
Donna shared how she transforms a Dollar Tree tinsel cat into festive Halloween decor with macrame cord and eyelash yarn.
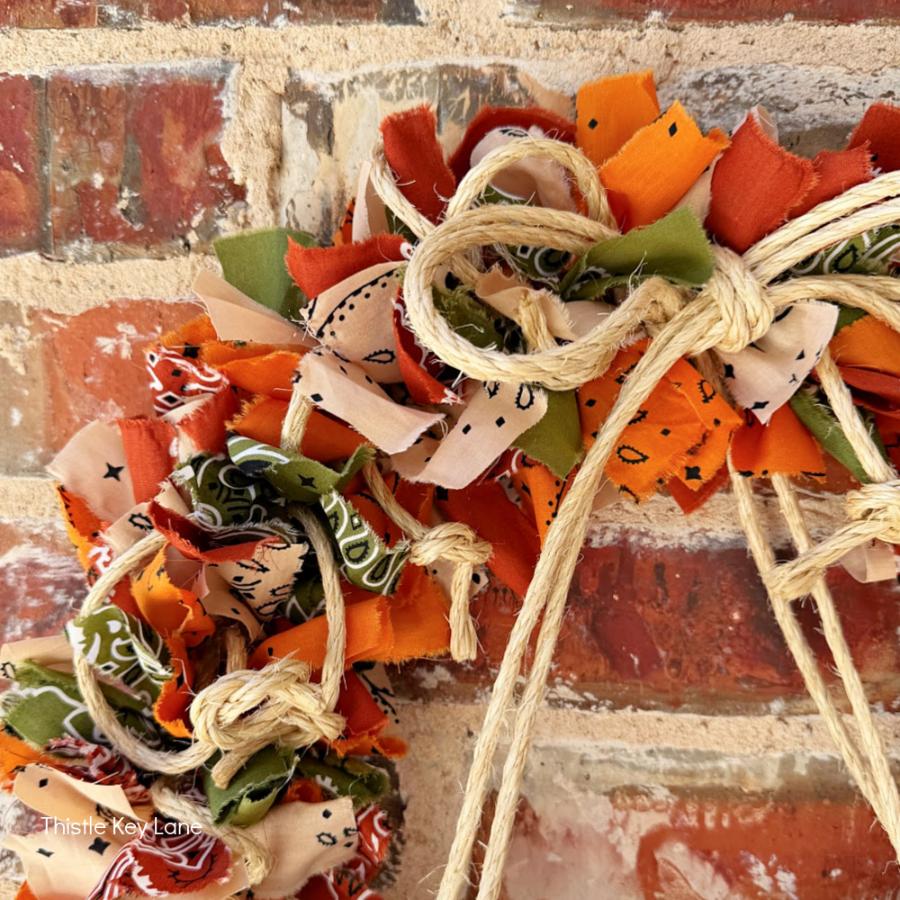
Michelle @ Thistle Key Lane
Create A Fall Bandana And Rope Wreath
See how to create a bandana fall rag wreath with a sisal rope accent. This is the perfect seasonal project when you want to add those delicious fall colors to your decor.
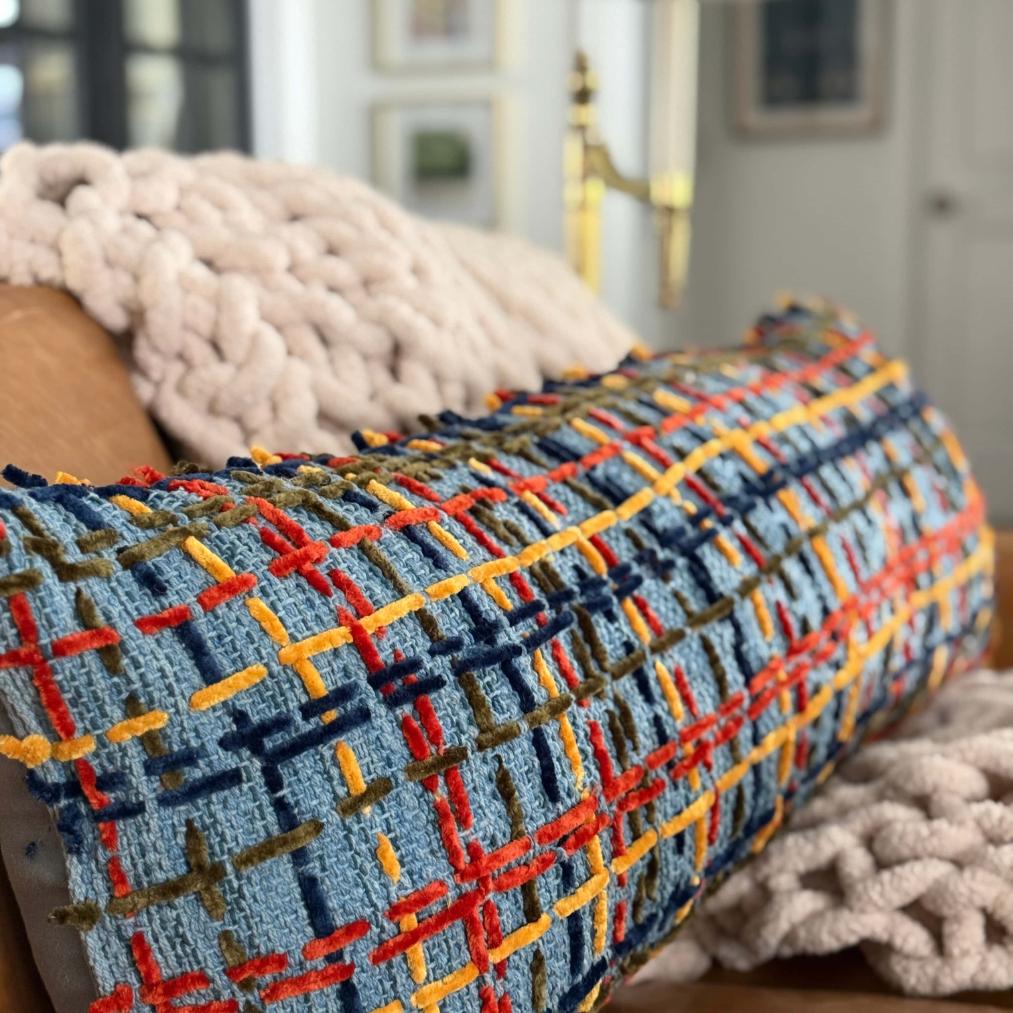
Missy @ Sonata Home Design
Decorating Throw Pillows with Yarn: A Woven Plaid Fall Makeover
Aren’t these amazing pillows? They’re from Missy so of course they are full of joyful color. I can’t wait to dig into her tutorial. You too? I’ll beat you there!
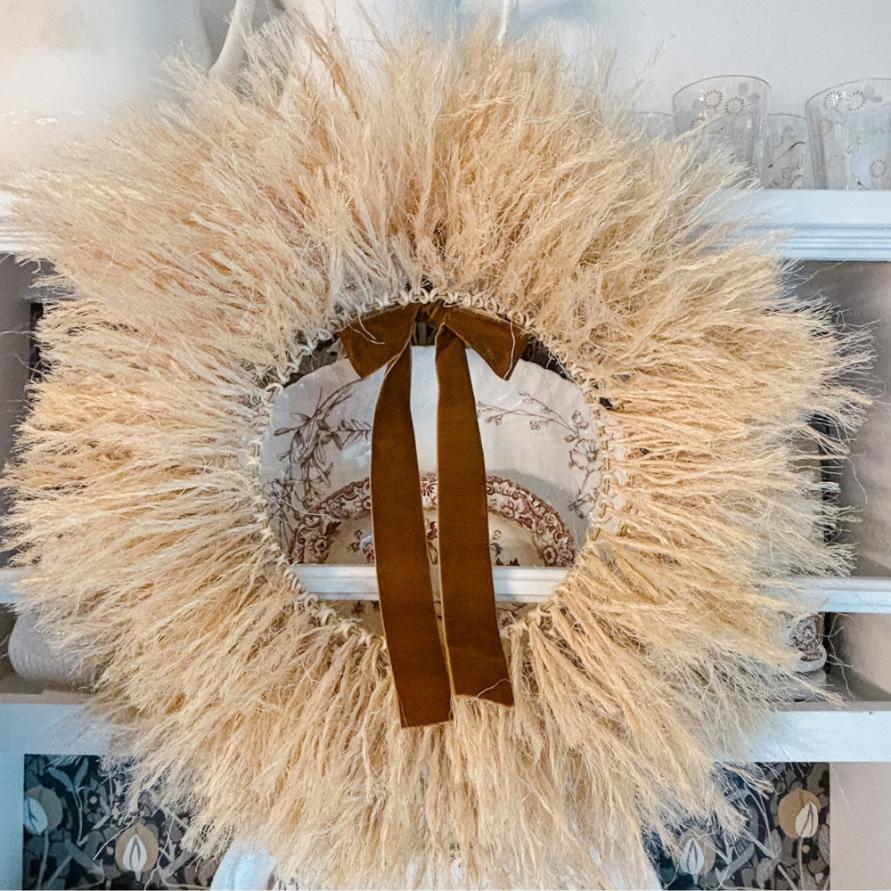
Anna @ Sky Lark House
Anna’s wreaths never fail in their simplicity and style! Twine never looked so light and ethereal! Plus it’s easy and super budget friendly.
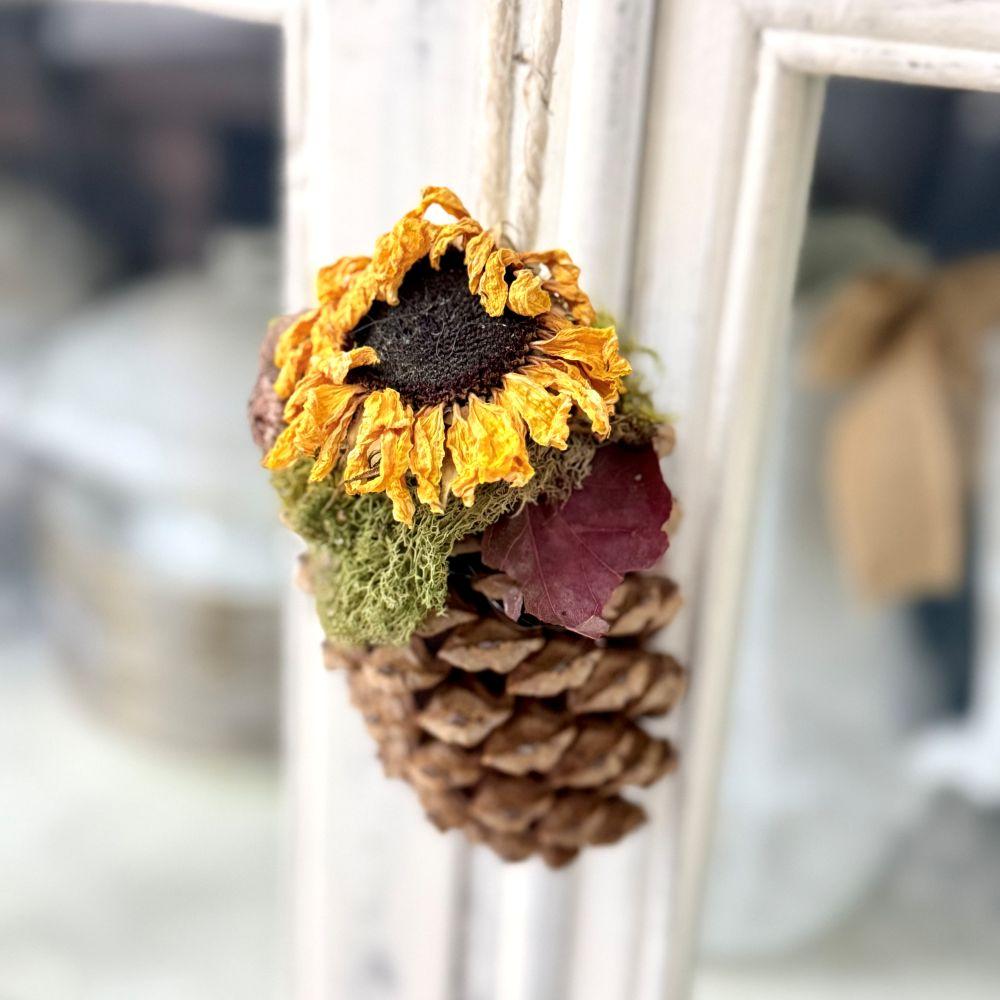
Tammy @ White Lilac Farmhouse
Fall Chair Decor: DIY Pinecone & Yarn Swag
This DIY chair swag hangs right on the back of a chair, so it’s perfect for your dining table, a front porch rocker, or even a few extra chairs at a fall get-together. Fast, budget friendly, and fuss free! I love this cozy farmhouse touch.
Thank you so much for hanging out with us today! I hope you’ve enjoyed the projects as much as we enjoyed creating them.

More Projects to Enjoy