
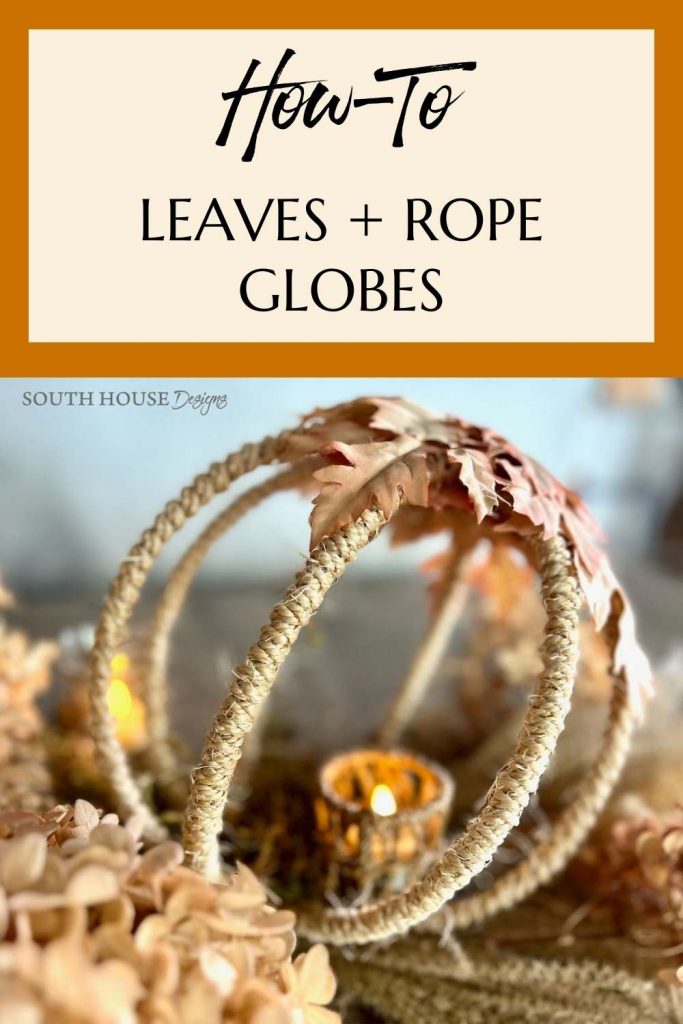
How to Make Amazing Fall Leaf Globes: Easy Guide
Whether boho, modern or transitional, these amazing rope and faux Fall leaf globes will add flair to your Fall decor, hanging or sitting.
Nothing welcomes the Fall season like decorating with leaves, real Fall leaves or faux leaves.
Okay, perhaps pumpkins.
I can’t argue with you on that one, especially when they come in so many cute shapes, sizes … AND colors!
I mean who can turn away from adorable pumpkins? My plastic tubs and shopping carts give me away.
But this year, I seem to be focusing more on leaves!
I love combining them with pumpkins, with acorns, with pine cones, and yes dried hydrangeas.
I love them as part of:
- a Fall leaf garland,
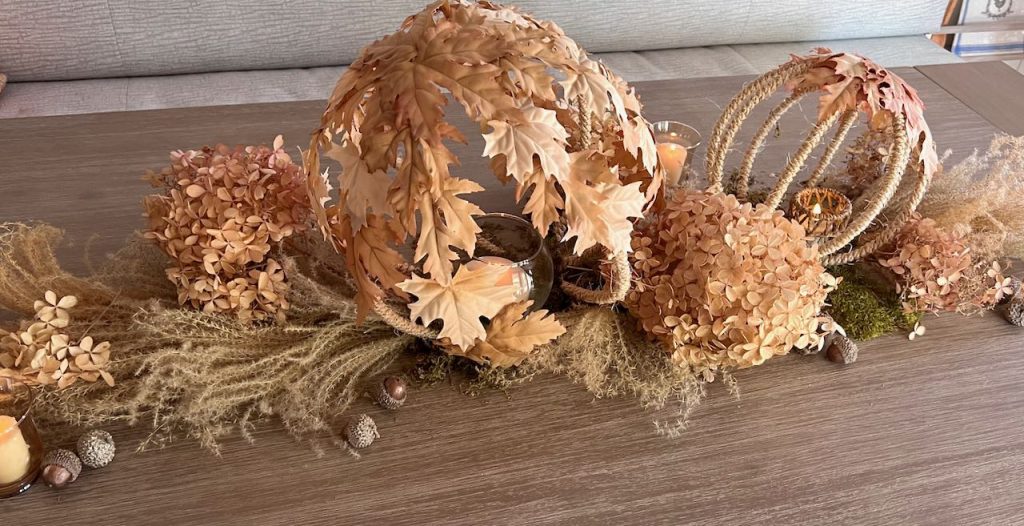
- in a display on the living room coffee table,
- embellishing Fall wreaths,
- or thankful trees,
- Fall-ifying open shelves, of course
- a Fall mantle display,
- and so many more spots throughout our home.
Earlier, I shared three craft projects using real leaves preserved with Mod Podge.
Then last week, I shared the most amazing way to add custom colors to faux leaves (and flowers).
But today, is a special day! Why?
Because I’m sharing a whole new Fall leaf craft idea!
I know! I wasn’t sure there was such a thing either!
But I couldn’t find one like it in the wonderful world of Pinterest — or Google! So let’s at least call it fairly unique.
All that being said, It is an alternative to the globe project I shared last week.
Did you see that post where I used real leaves, Mod Podge and a dollar store wire frame?
So technically it’s s two-of-a-kind, rather than one-of-a-kind fun craft.

A Whole New Fall Leaf Craft Idea!
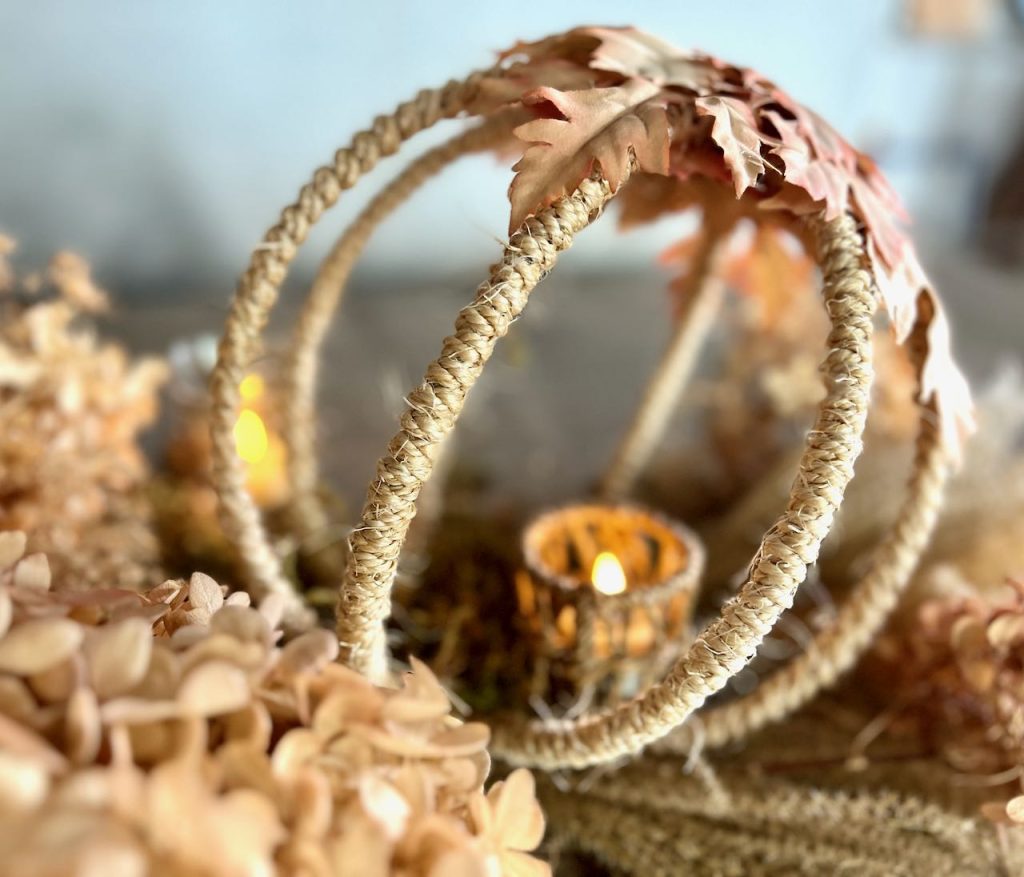
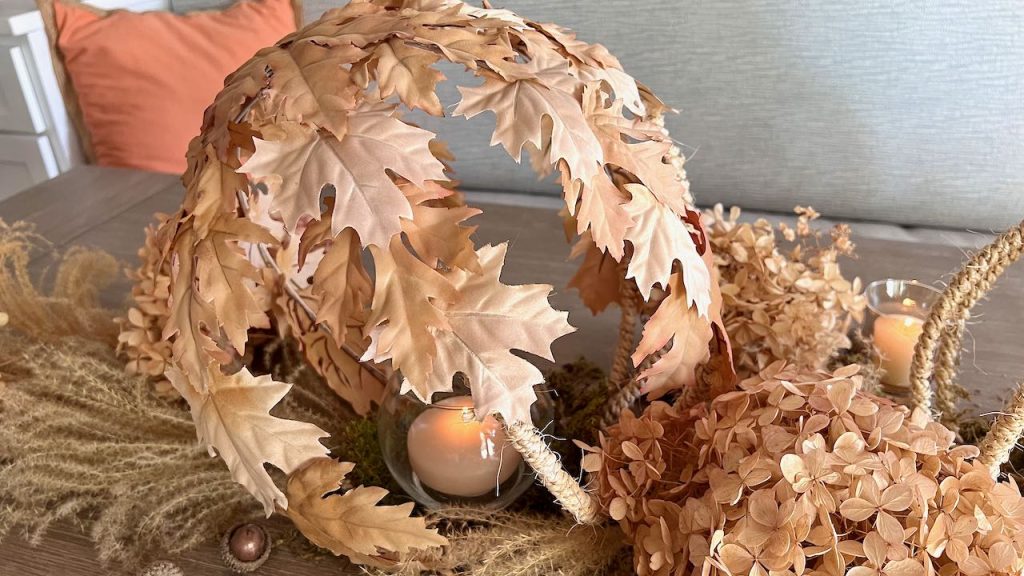
Isn’t that a fun Fall leaf globe, or would you call it a Fall leaf sphere?
Plus, it can hang out or just lounge around in all its Fall glory.
Many different ways to use it in your Fall decor. And, the frame comes in two different sizes.
You decide the color of the leaves. Do you want bright, colorful leaves, or neutral leaves, or maybe neutral leaves with just a touch of color on the leaf edge.
If you too have trouble finding leaves colored as you want, why not color them yourself as I did.
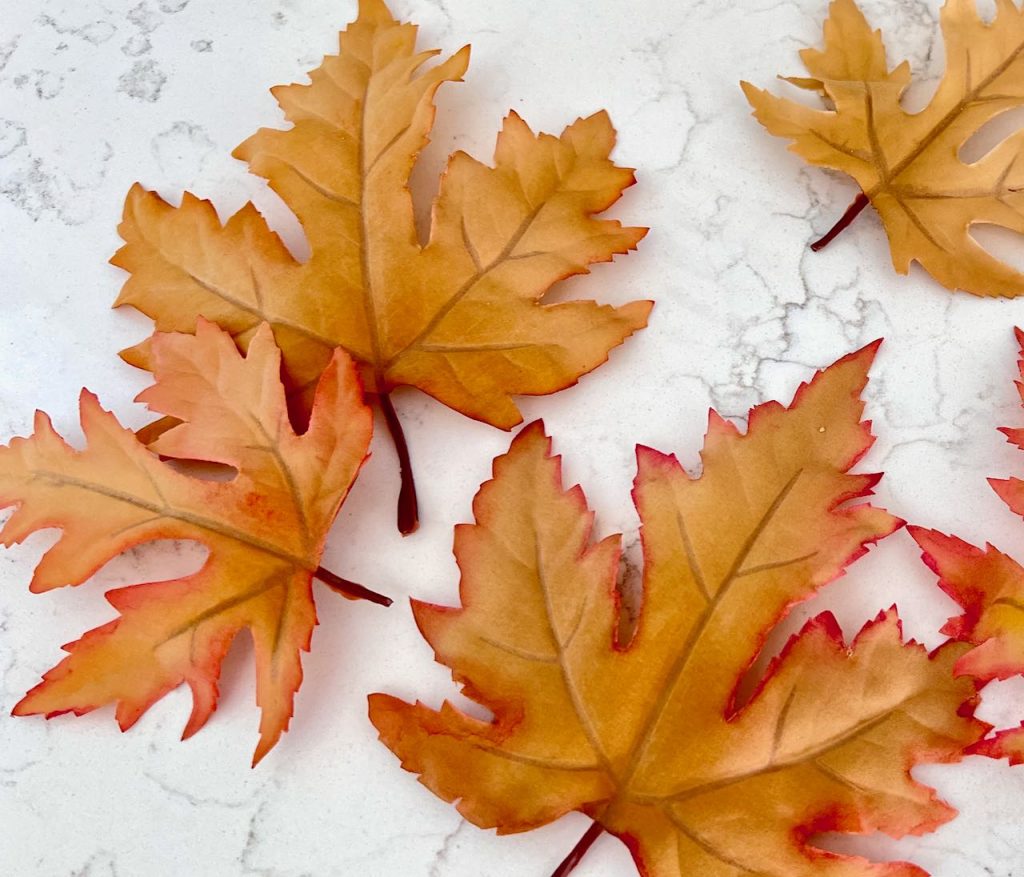
No, really, it’s easier than you’d think. Watercolor paints and a misting bottle made it so easy. Check out this post, or this video to see how I did that.
Let’s Make a Fall Leaf & Rope Sphere
Supplies and Materials-
- Wire frame, both 10- and 14-inch spheres
- Artificial leaves,
- Rope, twine, raffia of your choice
- Craft paint or chalk paint of your choice, optional
- Paint brush
- Hot glue gun, this is my new glue gun that I LOVE!
- Glue sticks, these are the only ones I’ll use!!!
- Pair of scissors
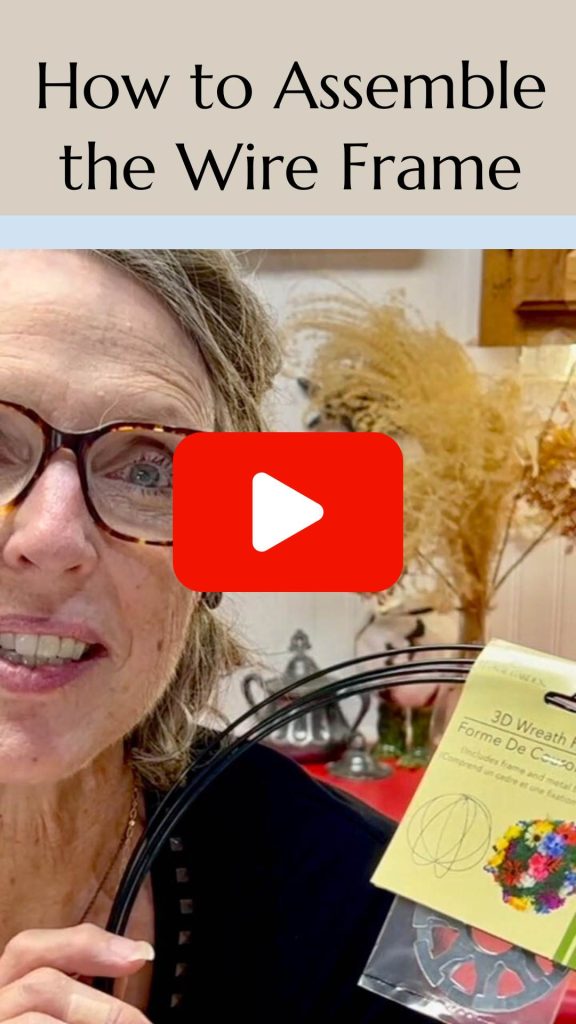
Step1) Assemble Your Frame-
It’s very easy to do. Quite honestly, I think the little silver discs that hold the arms of the sphere in place are really genius!
The frame comes with two if the silver discs. So far, for my projects, I have found that it works fine with just one.
Here is a quick video of how I assembled the frame. Click on the image below to jump to the video and then jump right back.
Step 2) Paint the Wire Frame, Optional–
This is optional. But you will see through the frame and see the wire against the back of your leaves. plus, your frame might also peak out between the rope.
Since I was using neutral leaves and lighter rope, I painted mine with a creamy chalk paint.
I tried spray paint first, while the frame was still flat. That did not work very well. I couldn’t get good coverage.
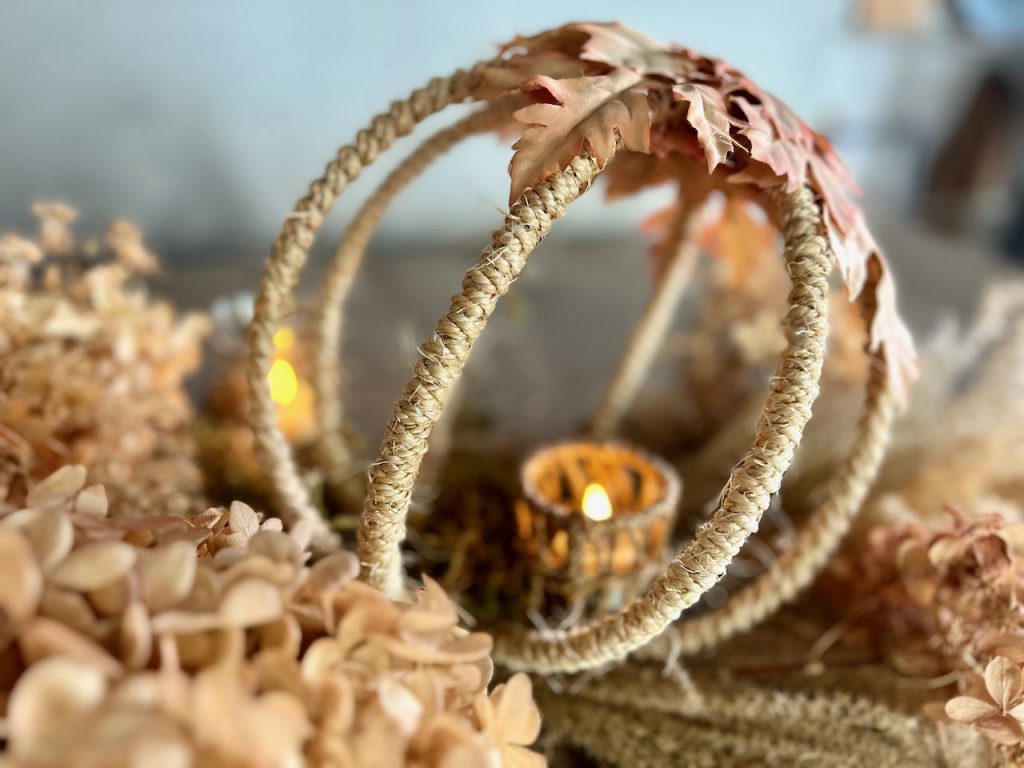
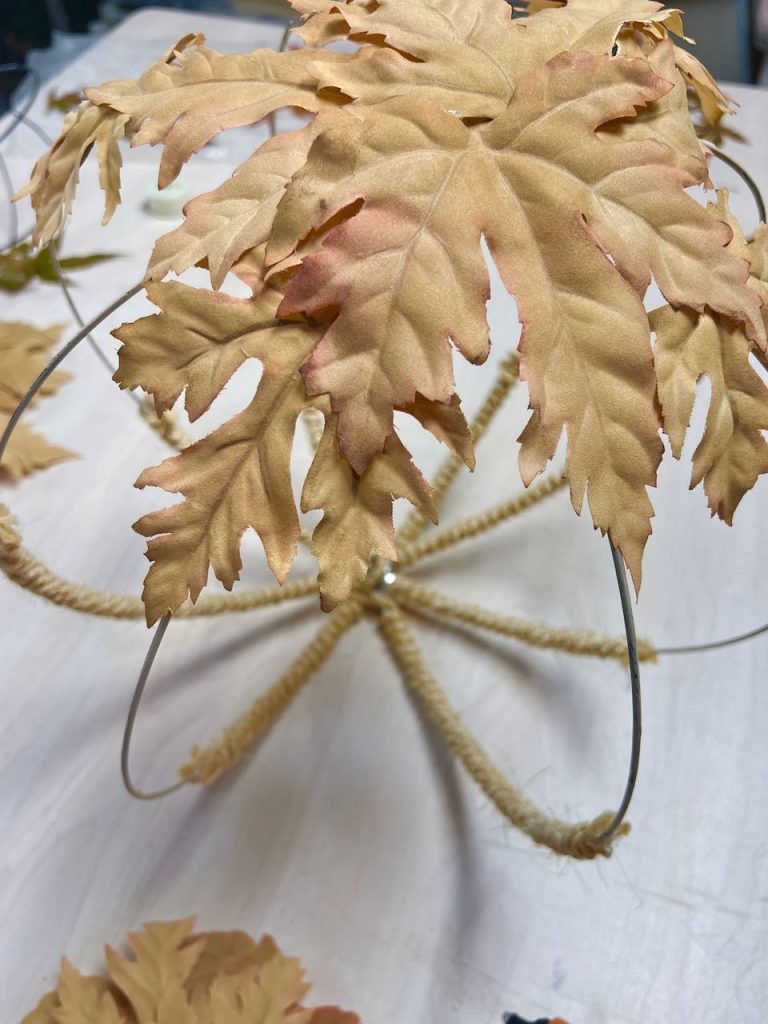
After I was done with the larger globe, I decided to try the smaller globe without paint and wrap the rope on all eight arm from pole to pole (this one, above).
Can you see the dark green between the rope?
I think I prefer the no paint route for this one.
Step 3) Apply Your Rope-
If you are painting and wrapping just part of the arms:
Determine how far up each arm you want your rope or twine to wrap. Mark it on your frame.
I started by cutting six feet of rope off the spool. This was enough to wrap down one arm, across the pole and up a second arm.

My rope was fairly stiff, so I need to untwist the end a little bit then hot glue all the strands to the ending point on one of the arms. I also ran hot glue up the arm for an inch or so as I wrapped.
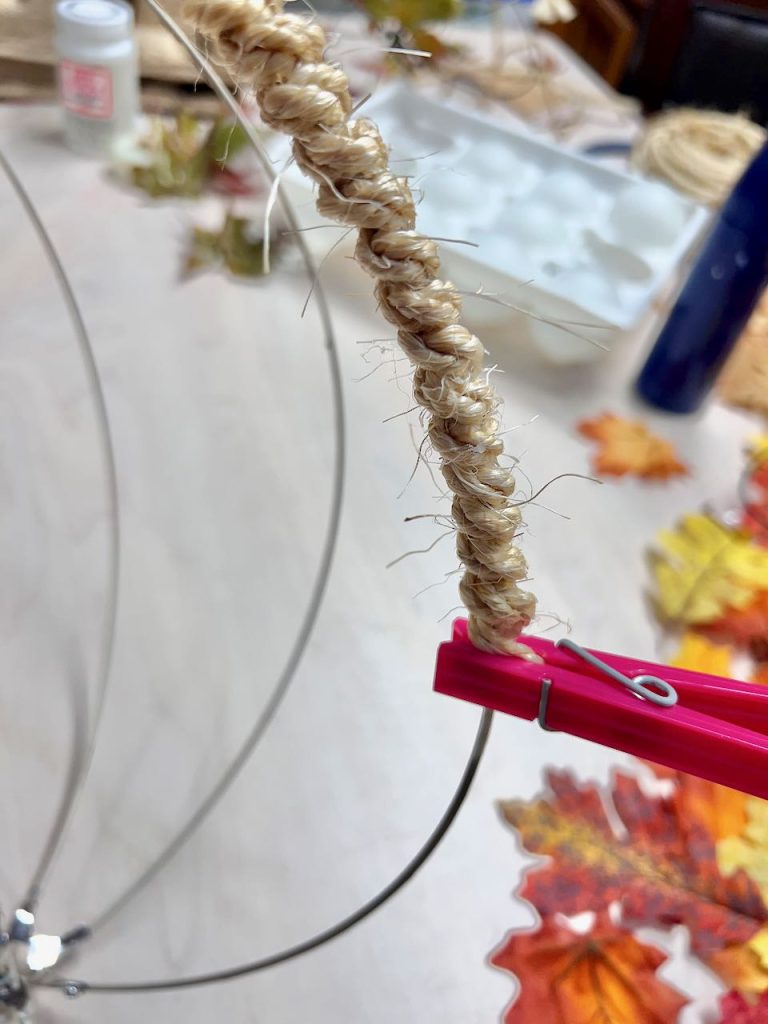
The end of your rope will be hidden under a leaf, so don’t sweat how the ends look too much. The priority here is that it holds tightly. I used clothespins to hold it tight while the glue was cooling and setting up.
For the smaller globe, and with the rope going around one whole orbit — starting and stopping at the same pole, I needed a generous 9-ft for each of the four orbits. This may vary for you as your rope will likely be thinner or thicker and maybe more pliable.
Use 9-ft as your starting point, cutting one length.
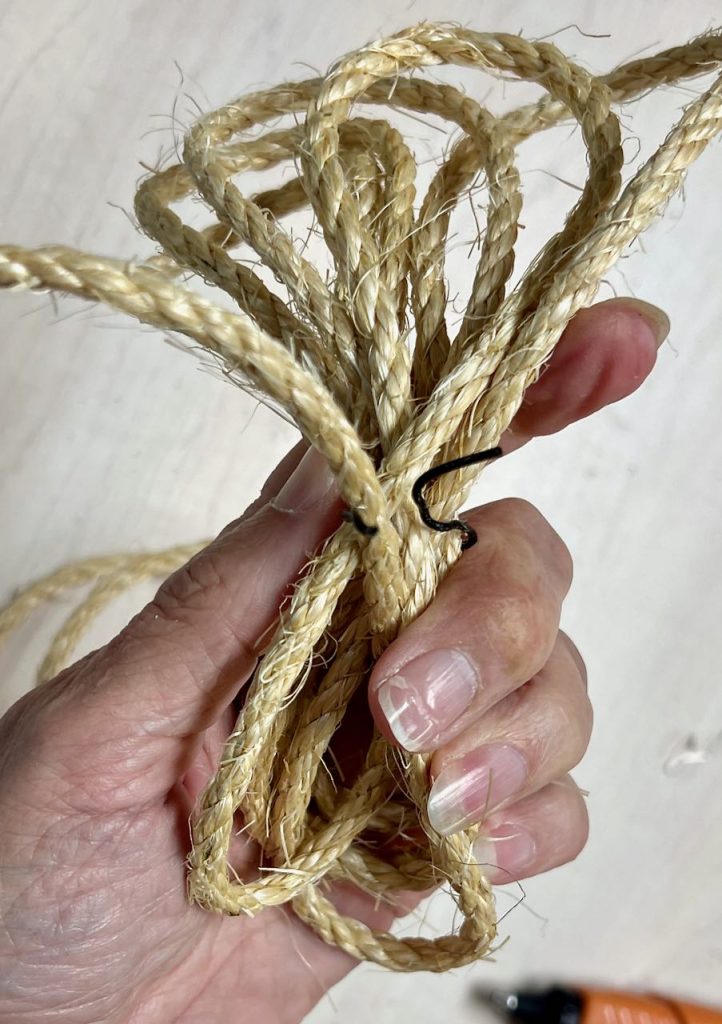
Bundle it like this and use a twist tie to hold it together. Splay the ends and hot glue to one pole. When you have made it all the way around once, You can now adjust your length and cut the remaining three lengths.
If you are enjoying this post, please consider joining us:
Thanks bunches! Now back to out leaves-
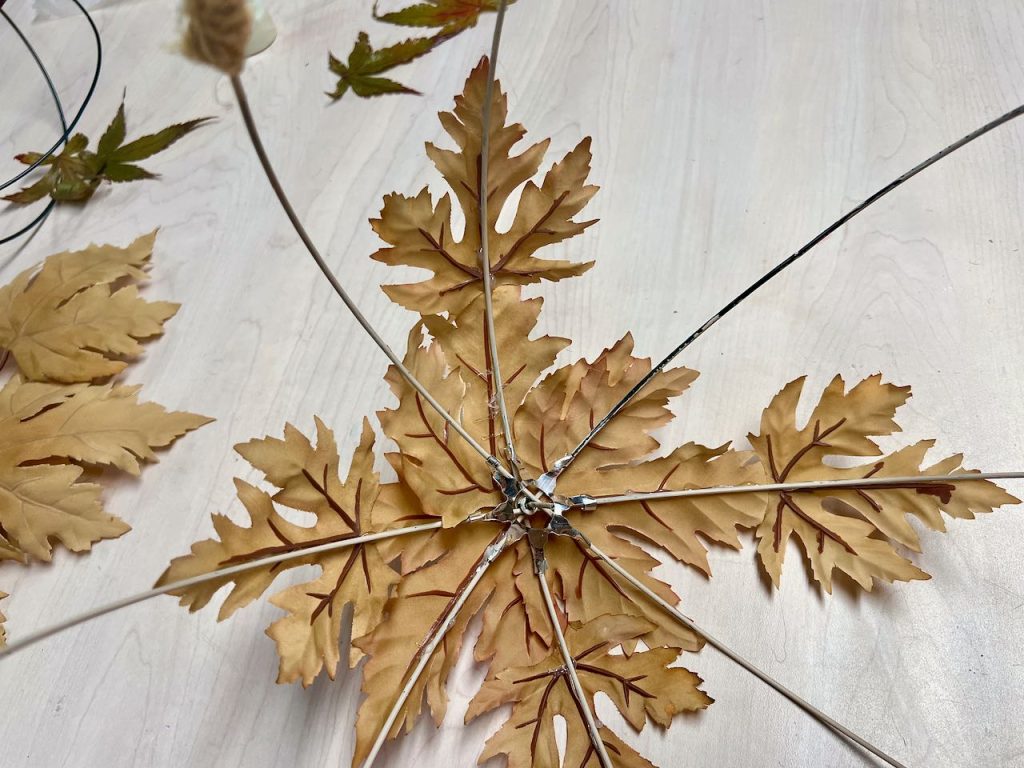
Step 4) Prepare and Plan Your Leaves-
I chose to cut the leaves’ stems off. The leaves I used had plastic stems that were really thick even under the center lowest part of the leaf, so I also cut part of the plastic spine off the back of my leaves so that it would make it easier to hot glue them smoothly to the frame.
Admittedly, I overthink things. I like plans!
So I laid out my leaves, starting with the smaller size leaves overlapping the rope ends, saving my larger leaves for the pole area.
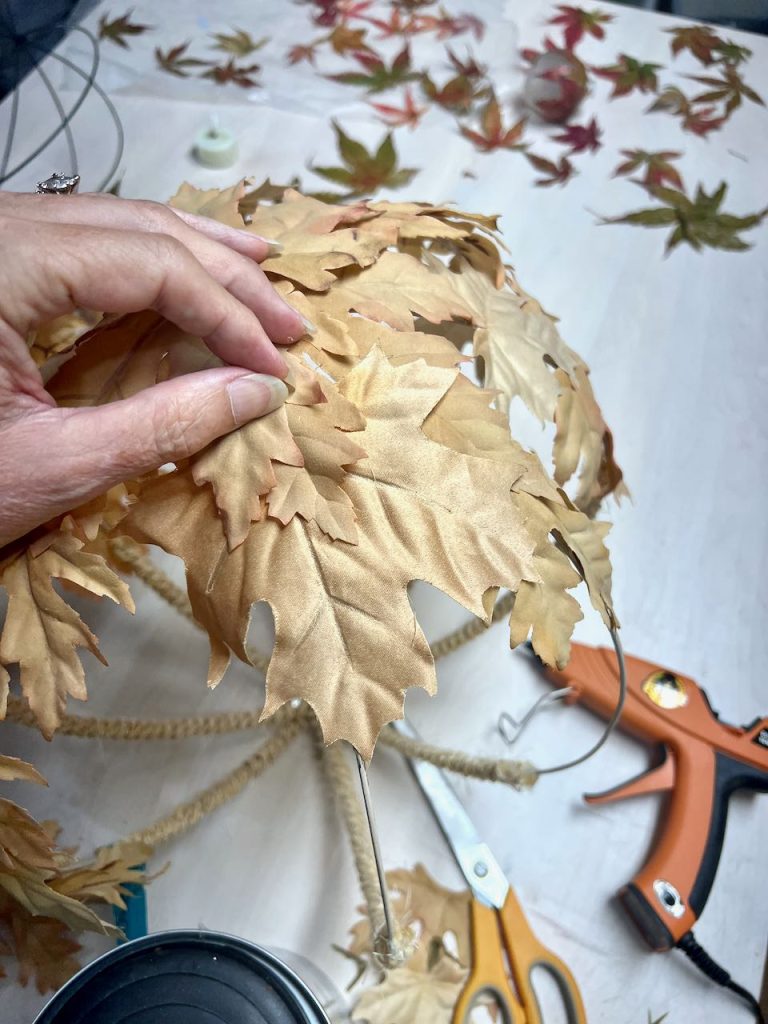
Step 5) Add Your Leaves-
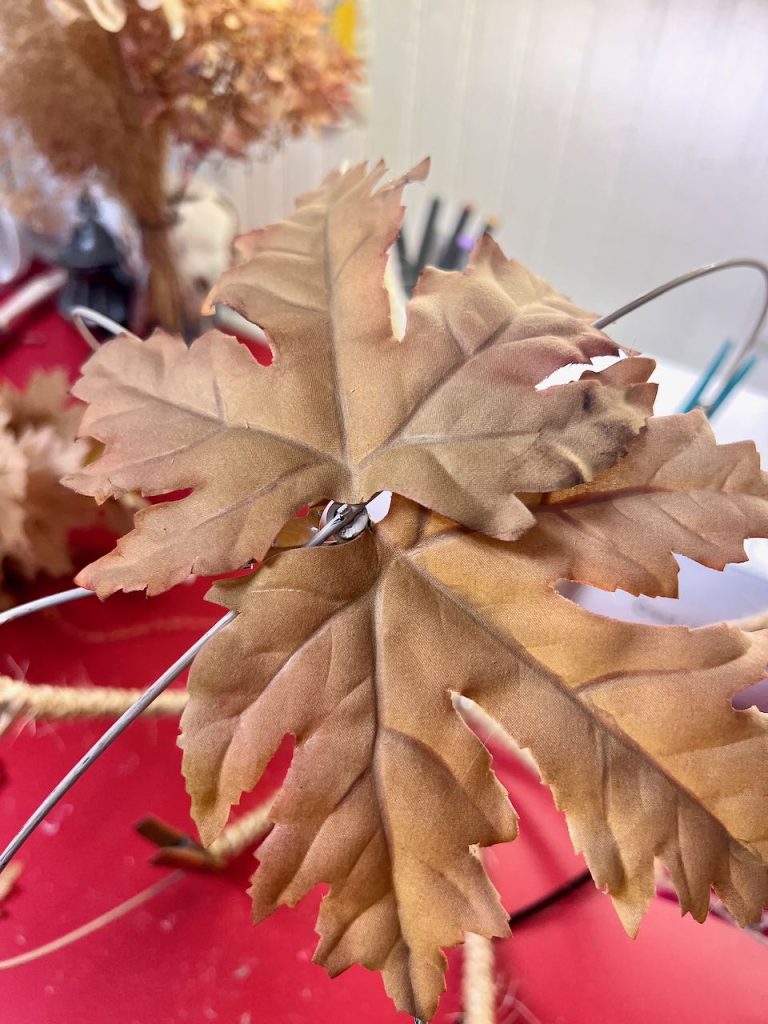
Being careful of your finger tips, apply hot glue to the back of your leaves, or to the frame and/or rope.
Leave the tip of your leaves without glue so you’ll be able to slip the next leaf under the tip of the previous leaf. Then go back and glue down the tips as needed.
I also chose to tilt my leaves to the sides here and there.
Once the eight arms were covered from pole to the rope, I went back and added a denser covering of leaves at the pole.
Don’t forget to also cover the pole inside the sphere. (Not shown here)
I chose to apply mine with the right side against the frame and top layer of leaves for a consistent look across the inside.
Ideas For How to Use Fall Leaf & Rope Globes
In Your Fall Decor
- Fall Mantels- Perch on the mantel with a Fall garland hanging below and a tall candleholder beside a few pine cones or acorns scattered about
- Coffee Table- Rest on some books or in a tray with other accents, like wood beads and a candle jar beside.
- Protected Porch- hang with some faux succulents or Fall ferns spilling out
- In a Large Dough Bowl- nestle a large and small one in a dough bowl with moss, pine cones, stones and votive candles
- Fireplace Hearth- Set beside a stone vase of dried grasses and a basket of pine cones
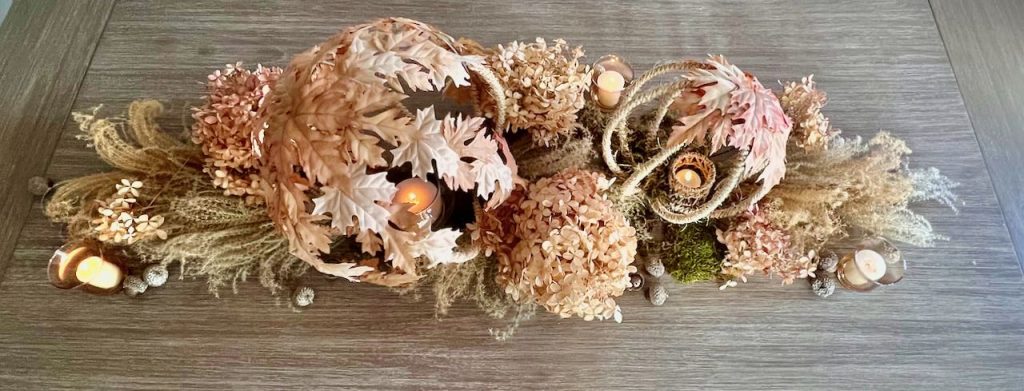
- Tablescape- on a table runner or long bread board, let one, two or three, rest with moss spilling out, other leaves and pods and casual candlesticks
I hope you have enjoyed this post and are inspired to create some new Fall decor for your home.
As always, I’d love your feedback and look forward to hearing about what you create.
You’ve heard me say it before: Creative living leads to joy-filled living. And really a joy-filled life the best I can wish for you!!

Simply beautiful, Diane! And stunning in the table display! Bravo!
You did such a good job of figuring this out and then easily explaining it. Thanks!
Awwww, thanks Pam! You just made my day! I love figuring things out — it’s the puzzle-holic in me. And then sharing it with other is where the real fun comes in.
Love these fall globes…so pretty! Sharing with our readers today.