
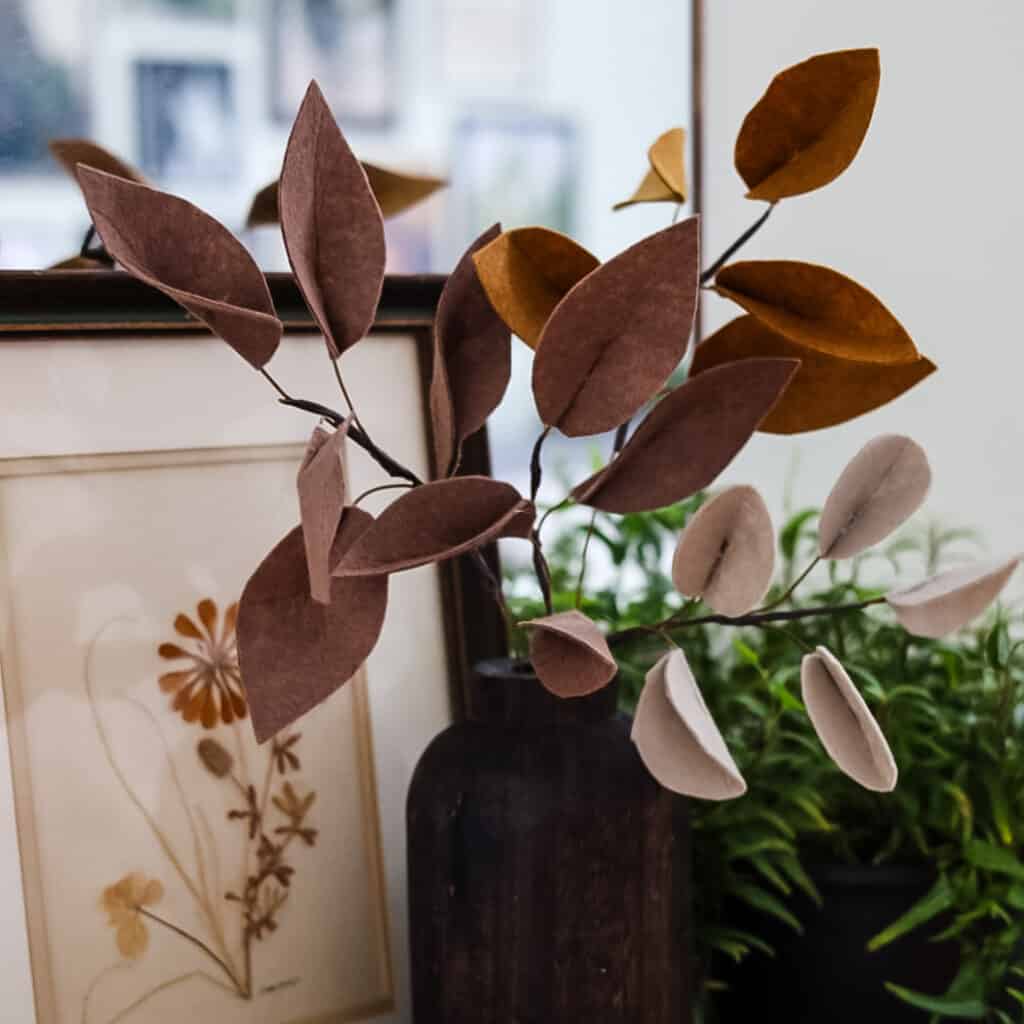
Fun, Easy Fall Decor Made With Leaves and Mod Podge
Make some fun and easy leaf decor for Fall accents all around you house. Gather leaves from your yard or from a craft store. Let’s get going!
The Fall season is the time of year we are all about colorful leaves and pumpkins! Okay, and boots, scarves and bonfires.
But today, here, we are all about leaves, beautiful autumn leaves — both real leaves and artificial leaves.
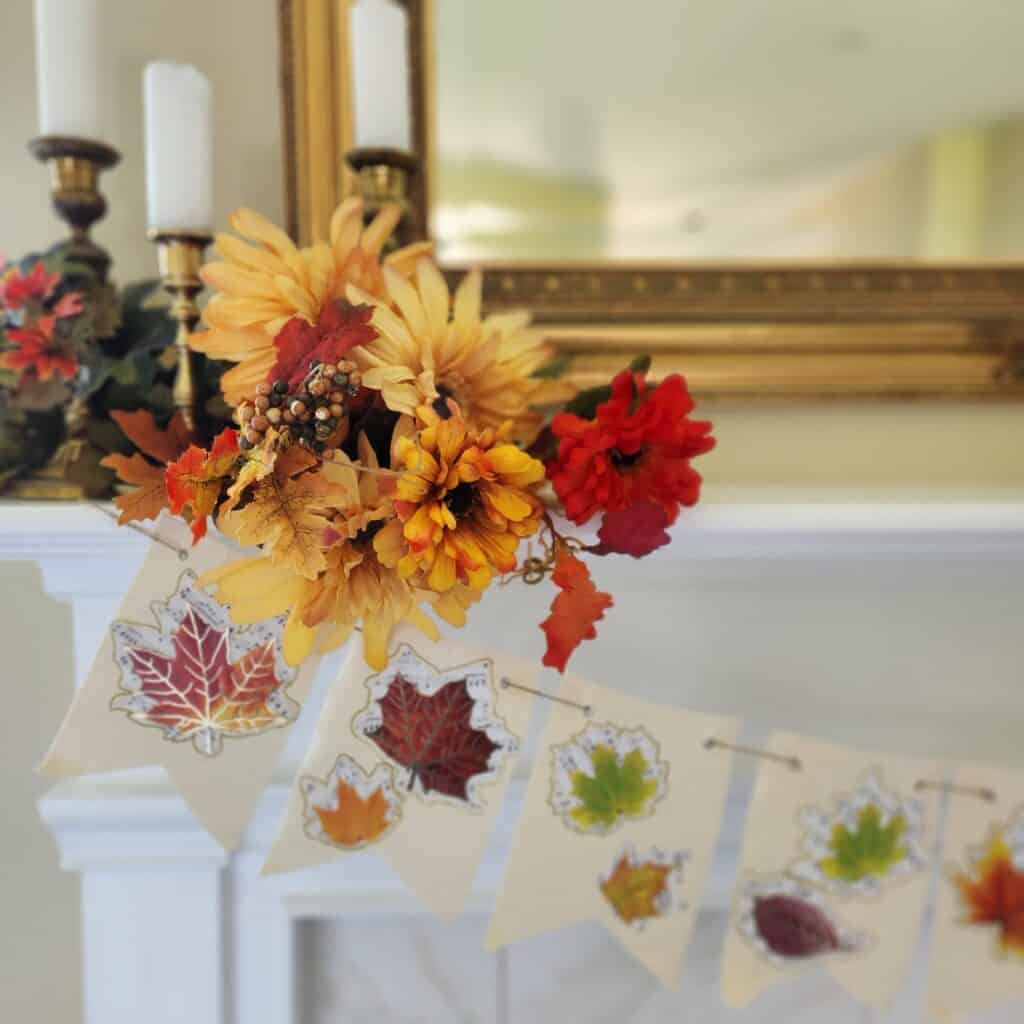
PLUS! this is the First Tuesday, which means it’s also the convening of the Handcrafted Society — a group of talented bloggers organized by Wendy of WM Design House. And we are all sharing great Fall Leaf crafts today.
Did you come from Missy [Sonata Home Design]? If you did, weren’t her leaves amazing. I love how Missy sees things through such a colorful lens. Plus, she’s just the sweetest thing ever.
Think Fall leaf crafts are just for kids? Think again! We are going to elevate Fall crafts to make some great Fall decor. Gather leaves from your yard or from a craft store. Let’s get going!
Let’s start with the Mod Podge
For Fall leaves, the star of my craft supplies is Mod Podge.
What is Mod Podge?
Mod Podge is a craft polymer that can perform three main functions:
- Adhesive or glue
- Sealer — as in preserving our real leaves
- Finish — adds a final finish to your project depending on the formula you are using (gloss, matte, glitter, etc)
NOTE: It doesn’t have to do all three, but it can!
You may be thinking:
Can You Use Mod Podge on Real Leaves?
Yes! Mod Podge is a great coating to put on real leaves.
Which leads you to:
Will Mod Podge Preserve Fall Leaves?
Yes, again! It’s the best way I have found to preserve the color of the leaves (not forever of course) and keep them pliable for crafting.
So this is the logical place to start. Let’s get our leaves coated with a layer of mod podge. Then we’ll be ready to start decorating with them.
Supplies and Materials:
- Leaves (stating the obvious here)
- Mod Podge, of your choice *
- Paint brush — I use a traditional artist’s brush, but many like a thin foam brush or sponge brush
- Wax paper or parchment paper
- Paper towels
- Iron, optional
* there are several options for Mod Podge, gloss, matte, glitter, satin, outdoor, dishwasher safe, and more. And one called Mod Podge Stiffy which is broadly intended as a fabric stiffener.
TIP: If your leaf craft needs extra support, I would suggest a layer of stiffy with a layer or two of standard Mod Podge over that.
NOTE: I used Super Matte, which it is not. I’d call it more satin, or eggshell finish, certainly not gloss, but also not matte.
Do You Prefer Video Tutorials?
No Worries! Just click on the link below:

How to Mod Podge Leaves
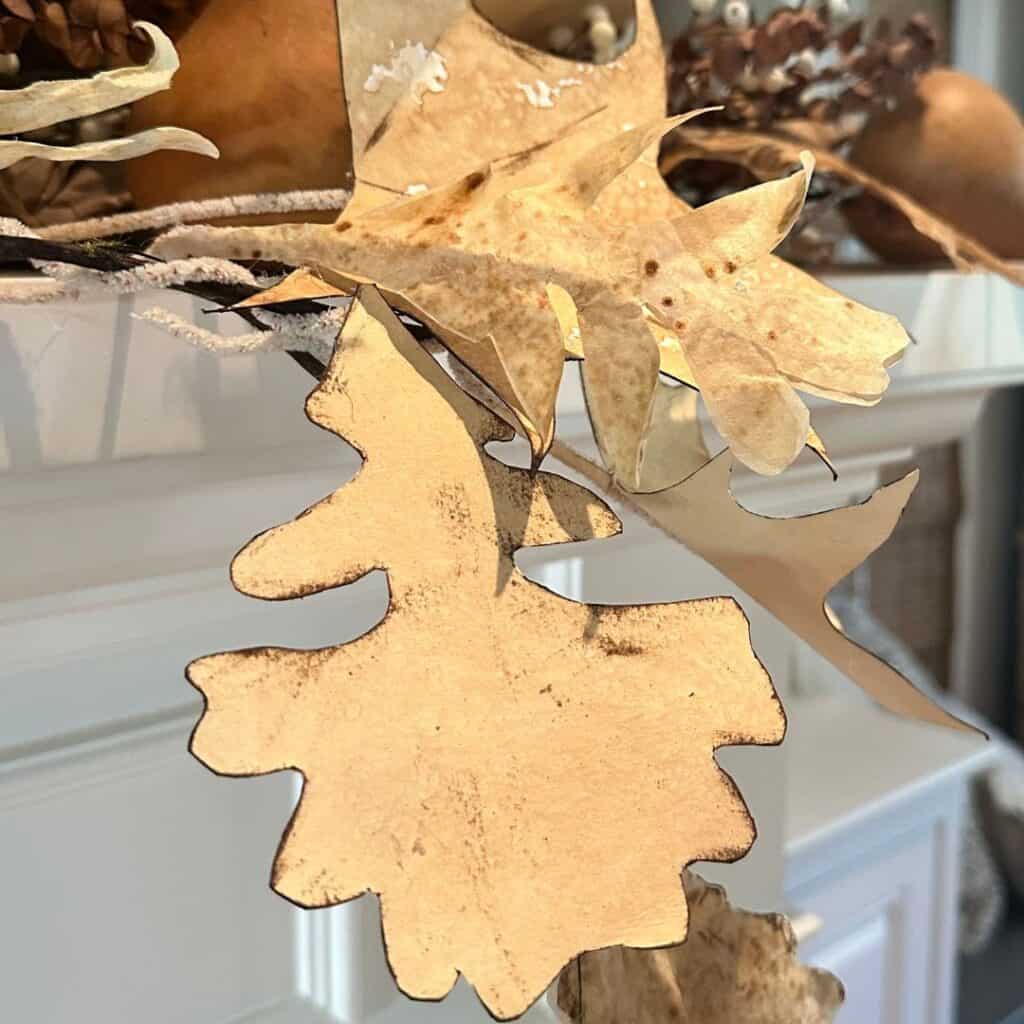
Like so many crafts, there are several different ways to mod podge leaves. The one you choose may be dependent on how much time you have and the intended end use for your leaves.
1) You Want Flat Leaves to Apply to a Surface-
Such as leaves to:
- mount inside a frame
- apply to a vase
- decoupage to an old window to hang
- apply to a candle jar, mason jars or any glass jars
- make a diy leaf bowl
- decoupage on a mirror or wood sign for Fall wall decor
The Mod Podge Process, version 1:
- Gather your leaves
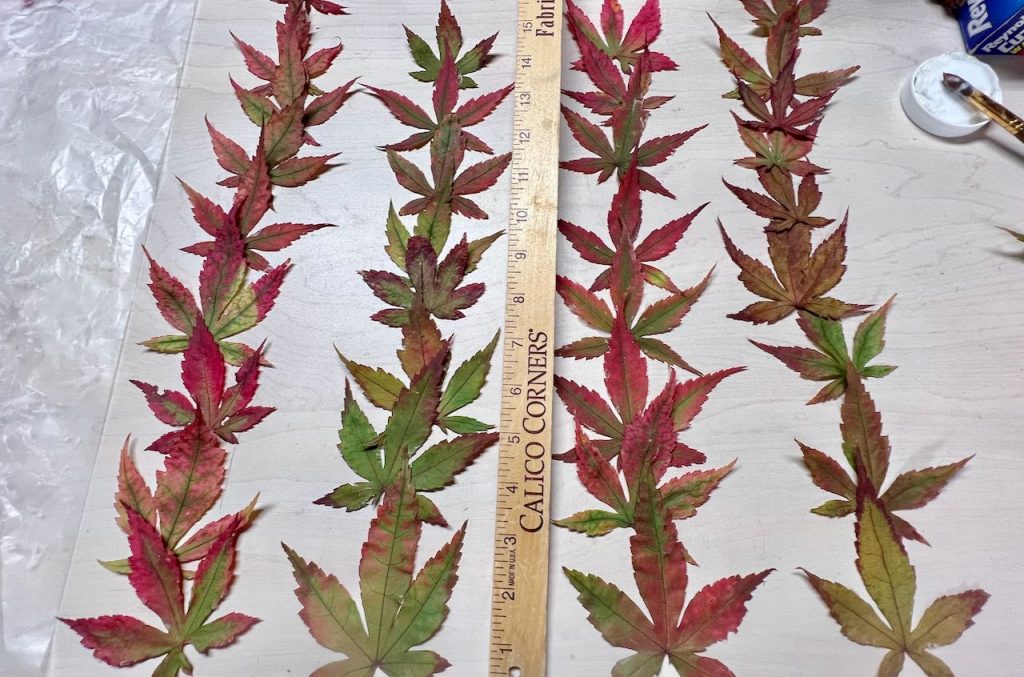
- Clean them as needed and trim any bulky stems
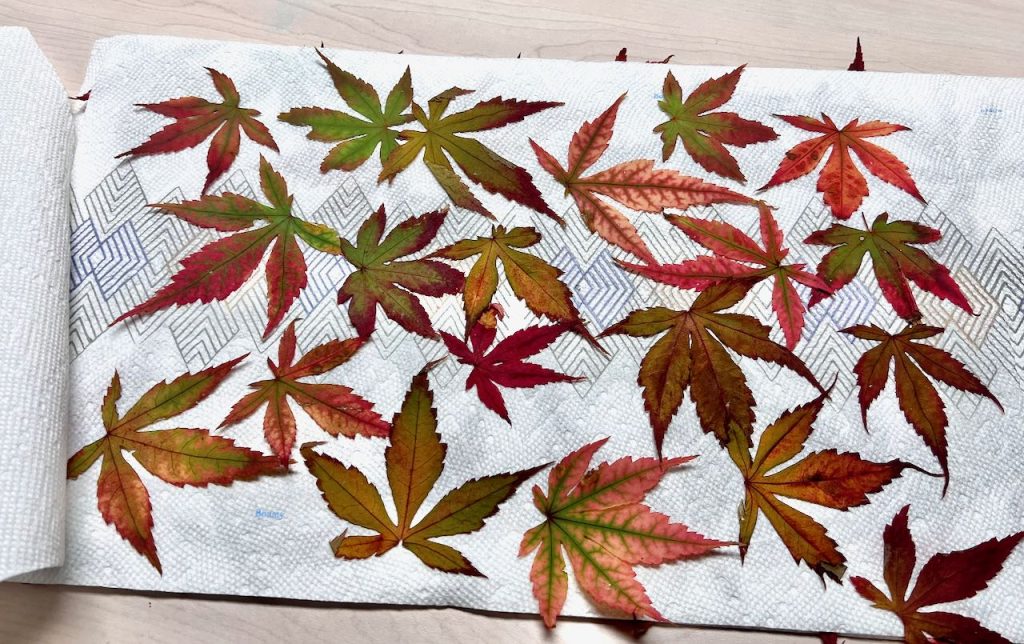
- On a flat surface roll out a paper towel or two, place your leaves flat on top not overlapping, add another layer of paper towels, then another layer of leaves. Repeat as often as needed, beginning and ending with a layer of paper towels on the bottom and the top.
- Place heavy weight books or boards on top and leave for 24 hours to a couple of days.
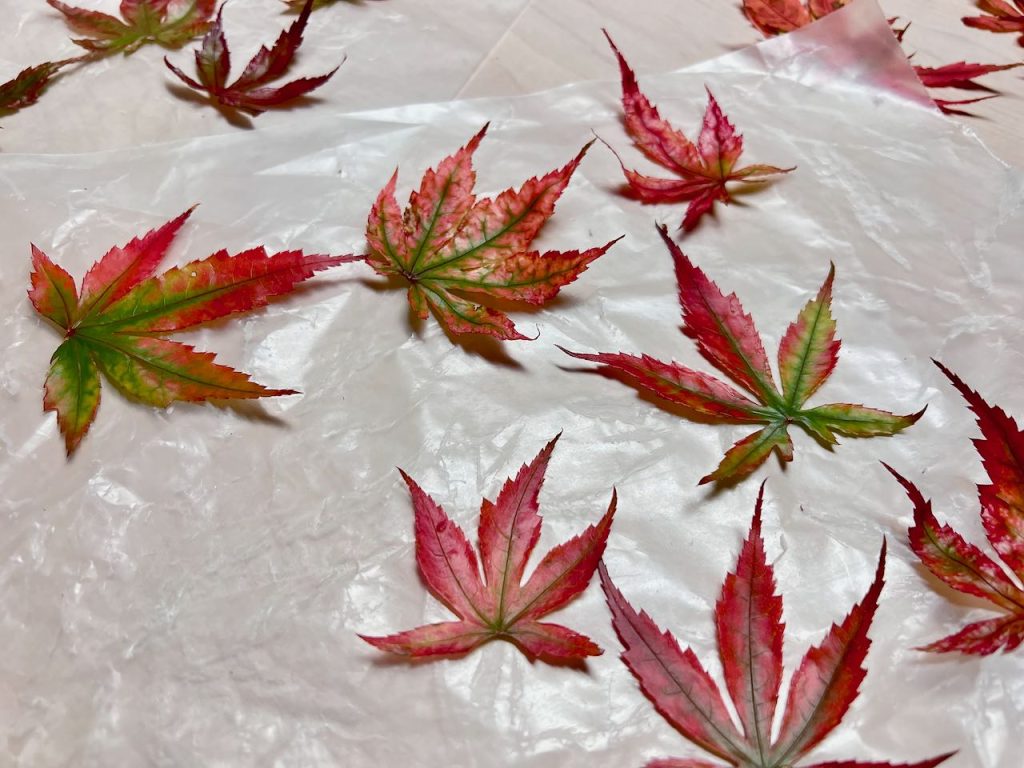
- When it’s time to Mod Podge your leaves, cover your work surface with wax paper or parchment paper.
- On the backside of each leaf, spread a layer of Mod Podge and leave to dry on wax or parchment paper.
- When the Mod Podge is clear, it is dry enough to do the other side. But in general, this time you want to add a layer of the Mod Podge to the surface you are adhering to, lay the back side of the leaf in place and spread Mod Podge on the top of the leaves.
There are some exceptions to step 7:
If you’re decoupaging the leaves onto a large piece of glass or mirror where you don’t want Mod Podge to be seen on the glass, you would put a second coat of Mod Podge directly on the back of the leaf and place it on the glass surface. Then once it dries, you should carefully brush a coat of Mod Podge one by one on the front of the leaves, avoiding having Mod Podge exposed on the glass. While it’s still wet, you can wipe off any excess Mod Podge with a damp cloth. If it’s dry, you can remove any with a razor blade or Exacto knife.
In the orb example I am sharing later in this post, after I applied Mod Podge to the front of the leaves and laid them out to dry. I used hot glue for my adhesive and Mod Podge just as a preservative, and sealer.
2) You Want Your Leaves to Have Some Natural Shape-
Such as leaves to:
- make or embellish a Fall wreath for your front door
- loose leaves to scatter along dried flowers and other natural elements for a Fall centerpiece or table display
- to make a leaf garland
- to make a wall hanging of falling leaves
- to wire and add to a Fall floral arrangement
The Mod Podge Process, version 2:
- Gather your leaves
- Clean them as needed and trim any bulky stems
- Cover your work surface with wax paper or parchment paper.
- Make sure your leaves are dry on the outside. On the backside of each leaf, spread a thin layer of Mod Podge and leave to dry on wax or parchment paper.
- When the Mod Podge is clear, it is dry enough to do the other side. Coat the topside with Mod Podge and set aside to dry.
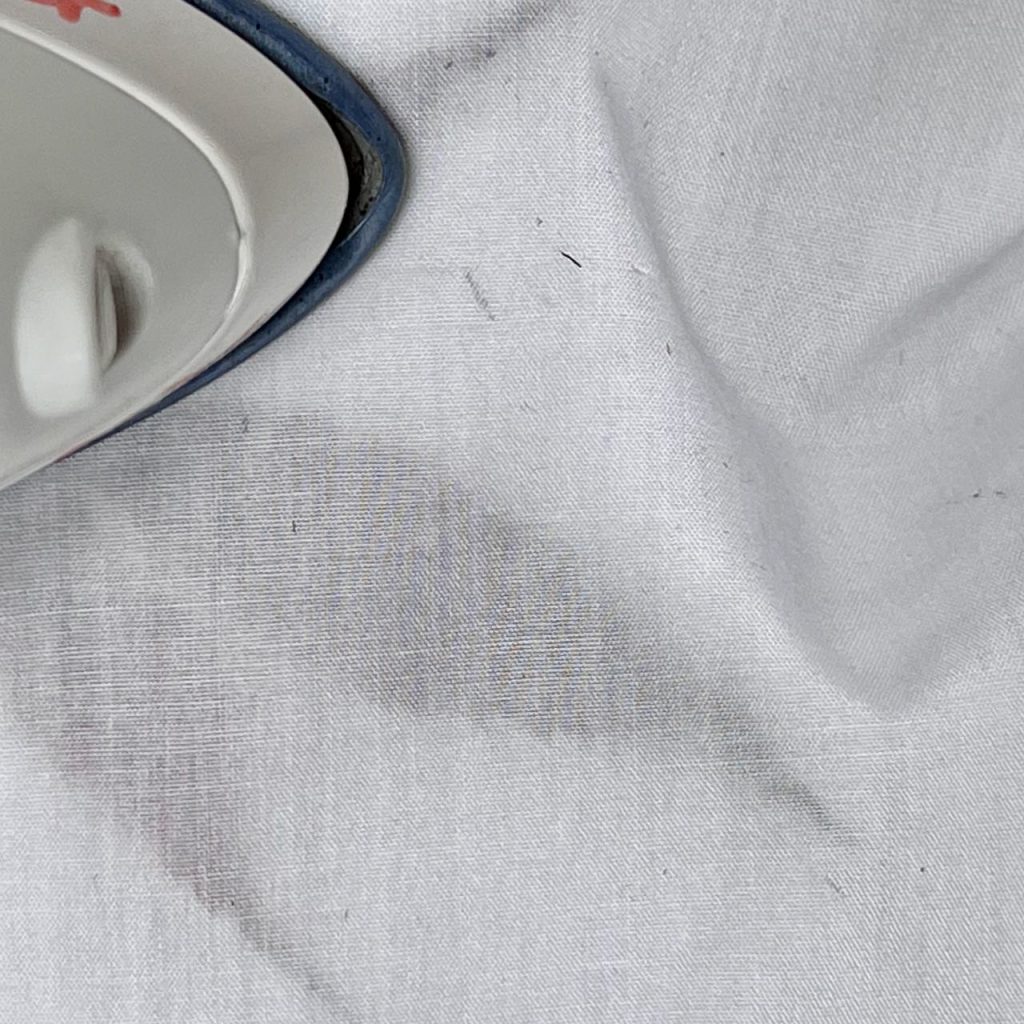
- Once the top coat of Mod Podge is dry, for the leaves that have curled more than you’d like, heat an iron to the lowest setting and turn off any steam. Lay the first leaf on a press cloth or thin piece of cotton fabric, fold the fabric over the top of the leaf and gently glide the iron over the leaf. Lift off the fabric cover while it is still warm and remove the leaf. Lay it flat to completely cool.
Before we move on to crafting with the leaves, may I ask if you are enjoying this post? If you’d like more, please consider subscribing:
Thanks bunches! Now back to our Fall decor-
Now For Some DIY Ideas For Our Colorful Fall Leaves
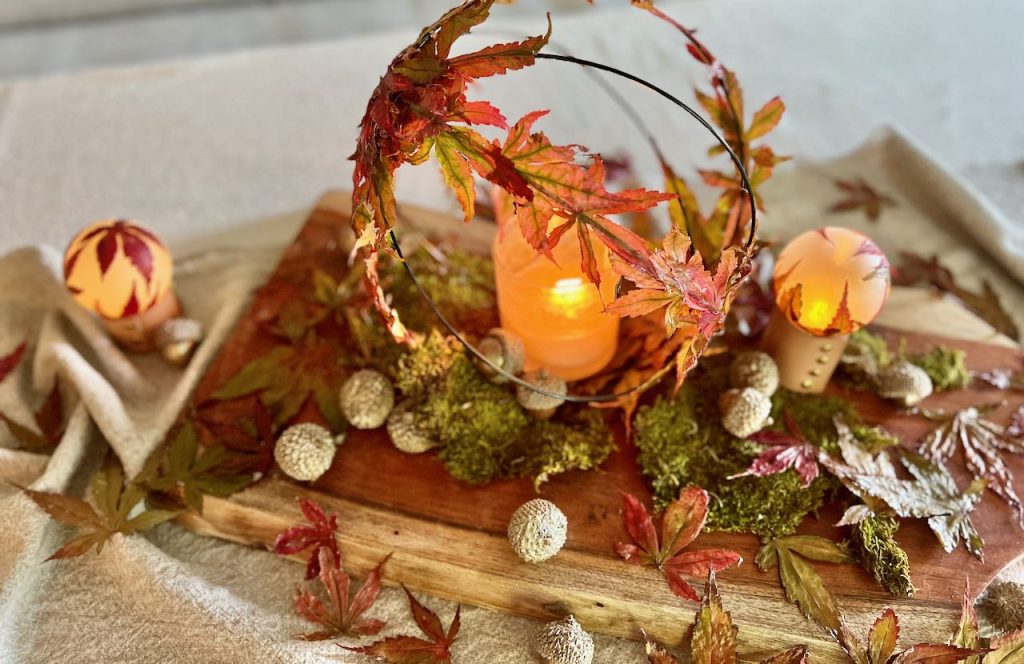
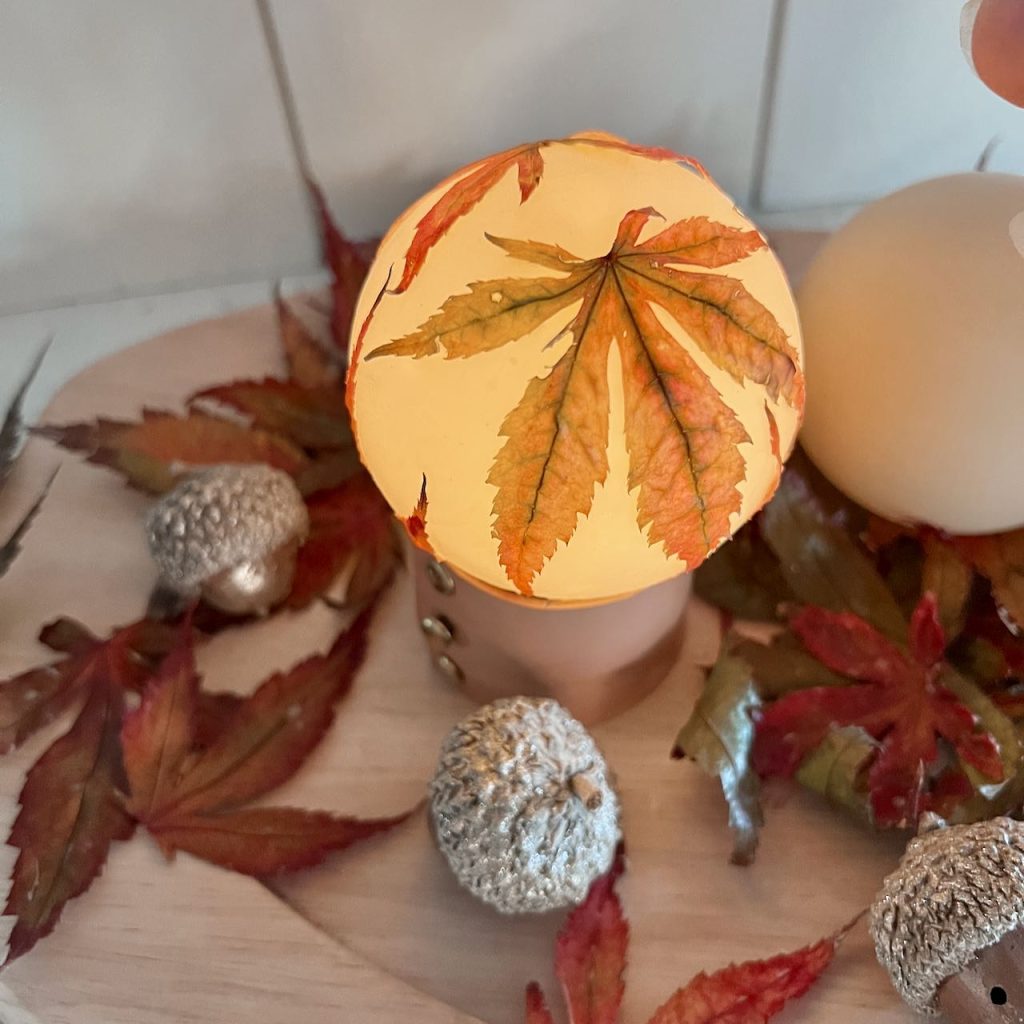
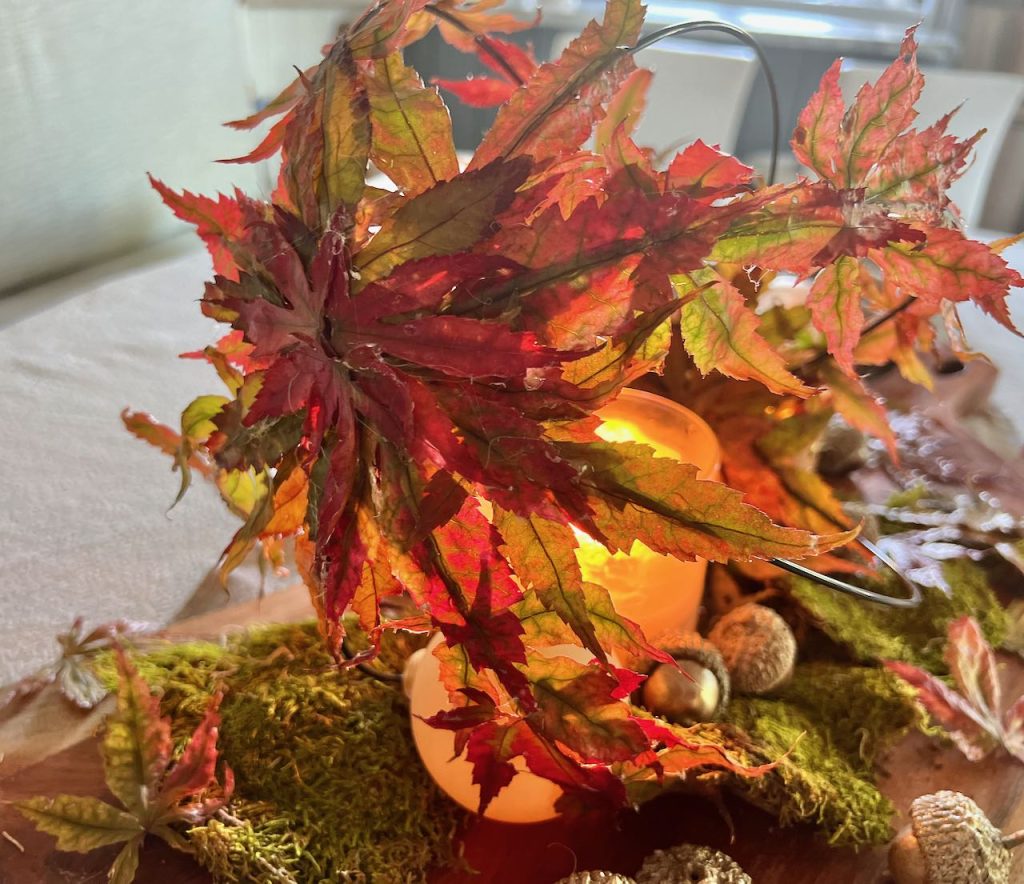
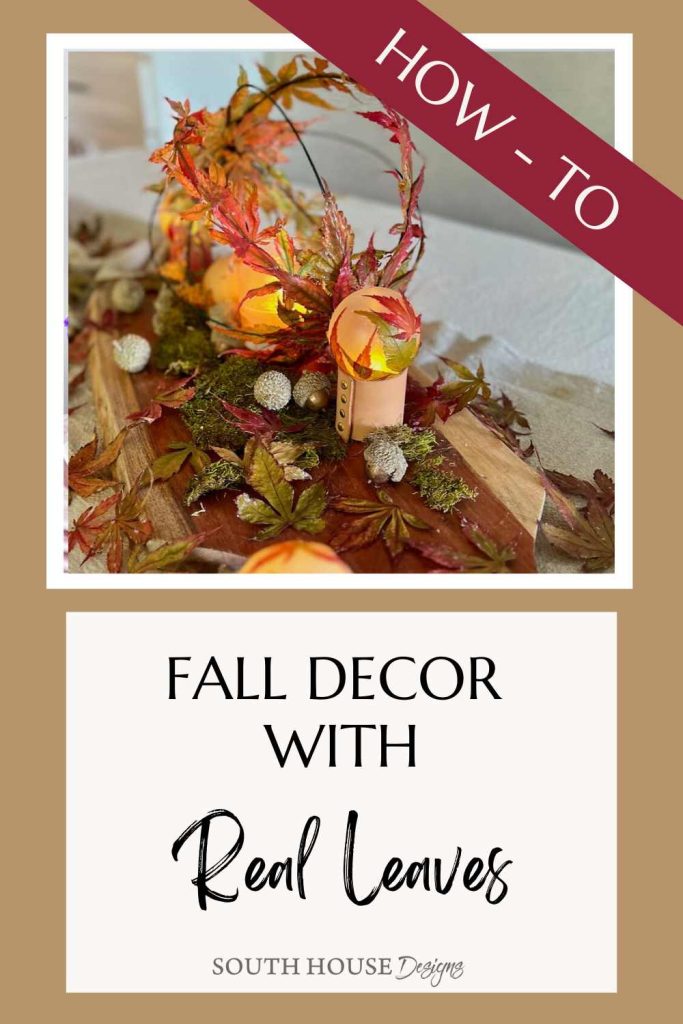
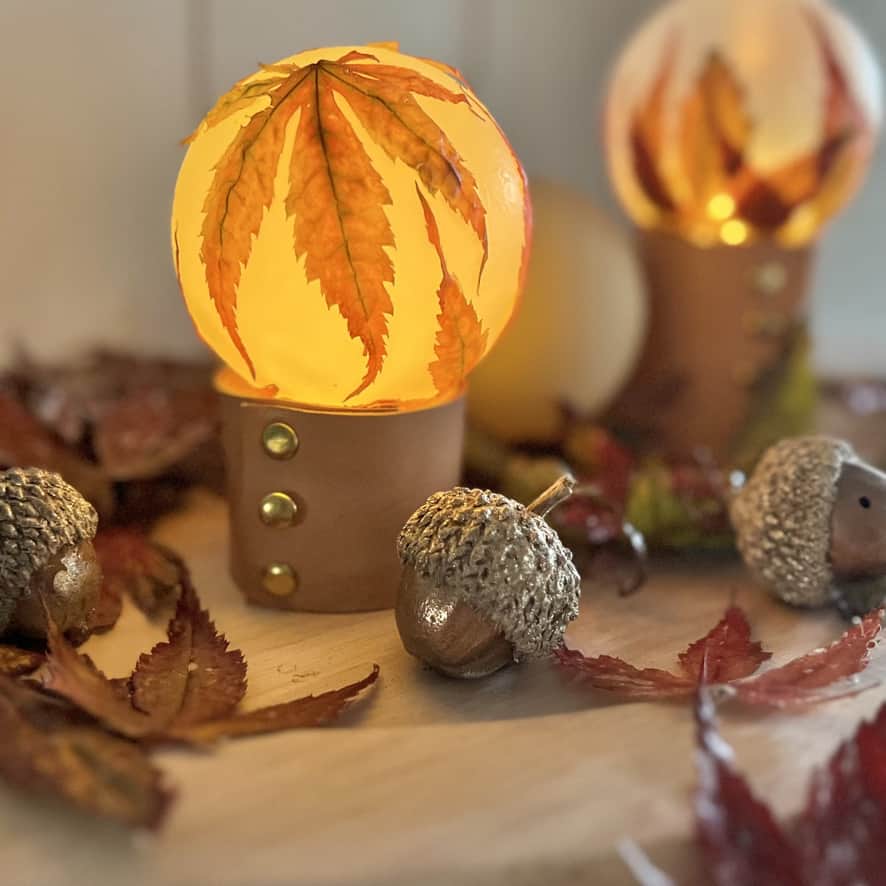
1) Glowing Orbs-
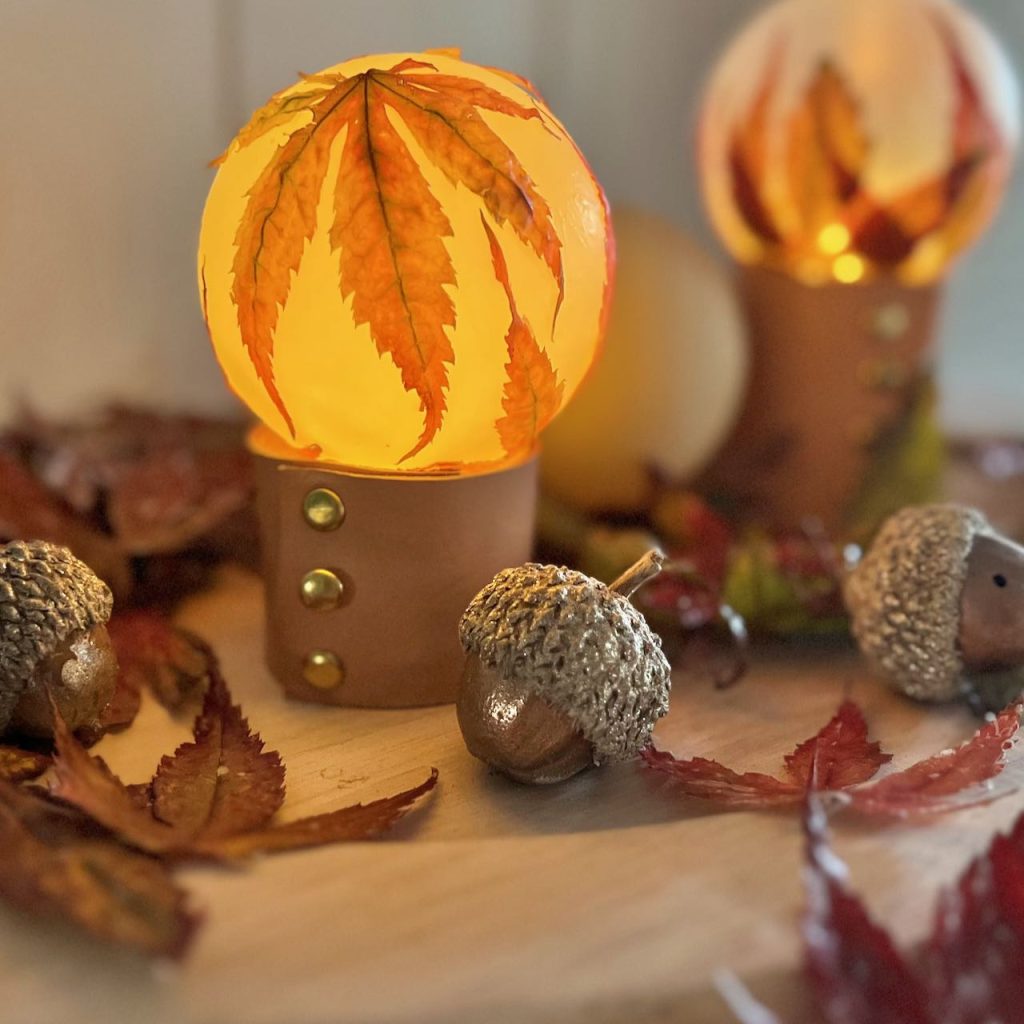
Psssst: Those cute acorns? They were part of a very special Friendsgiving dinner/Wedsgiving Rehearsal Dinner. You can see it all here.
Additional Supplies & Materials:
- Clear Ornaments or Bulbs, I used frosted ornaments for a matte almost suede look
- Craft paint and glaze compound, or transparent glass paint
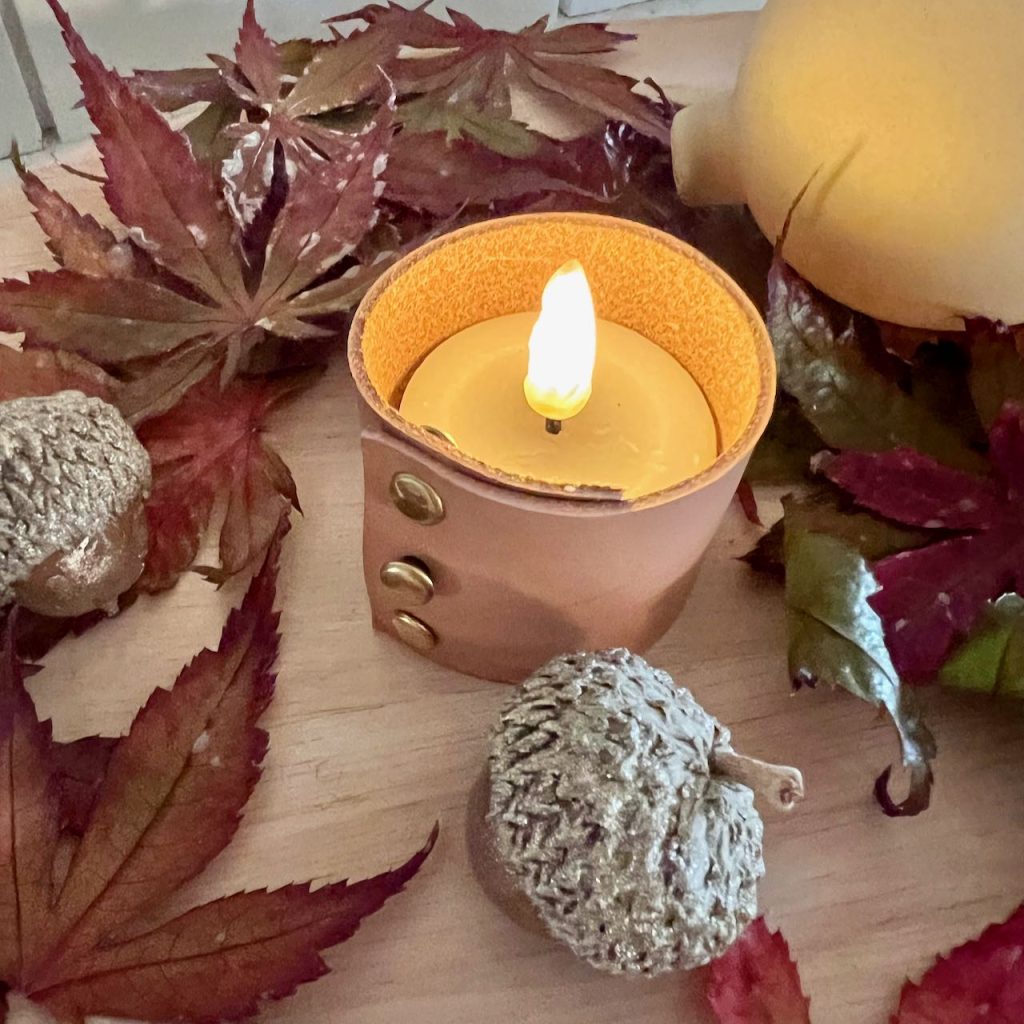
- Flameless votive candles
- Leather strip
- Rivets

The Glowing Orbs How-To Process:
- Remove the cap from the ornaments
- Optional. You can skip this step is you want your ornaments clear. Mix glaze compound and a smidge of paint.
- Pour your mixed glaze into ornament and slowly rotate and swirl it to completely coat the inside. Rest upside down in a disposable cup, like a Dixie cup overnight or longer. I also used a hairdryer to try make sure it was good and dry.
- Once the paint is dry inside, You can apply the leaves to the outside. Spread the back of the leaves with another coat of Mod Podge and position on the bulb as you like. You may need to add some Mod Podge directly to the bulb to get the leaves to fully adhere.
- Once all the leaves are in place, coat the fronts and the bulb with a coat of Mod Podge.
- Dry completely. I dried mine on pencils stuck in heavy cardboard box. (This is why you want the inside paint to be dry, so you don’t mar the finish resting on the eraser end of the pencil. To be safe, I learned to position a leaf over the very top where the potential smudge might happen.)
- I made leather sleeves for the votive candle to sit in by cutting a strip of leather to wrap around the votive base and used brass rivets to hold it. I made three heights and added a filler under the votives to raise the flame for the taller heights.
2) Garden Orb Frames-
Additional Supplies & Materials:
- Orb Frame from Dollar Tree
- Hot Glue Gun with low setting
- Glue sticks, these are. my favorites (yes, there is a difference)
Can you believe Dollar Tree has these amazing orb frames. I actually whooped in my local Dollar Tree when I spotted them, Two sizes are available. I grabbed a good supply of them, because I have plans!!!! Keep an eye out for more orbs to come.
NOTE: What I Would Do Differently: If I do this again with red maple tree leaves, I would use Mod Podge Stiffy first, to give the long fingers of the thin leaves more support, and then use the matte Mod Podge.
- Assemble the orb (10-inch, this is the smaller of the two sizes). They come with two metal frames for the two poles that hold the four circles at even spacing, I found I really only needed one at one pole.
- Organize the leaves in four rows 16-inches long. These will be the order for the leaves on the four arms that will be completely covered. I opted to cover every other arm of the orb completely. The alternating arms will each have a large leaf at the pole ends.
- Attach with hot glue, using the low heat setting. Overlapping and twisting to the left or right slightly as you like best.
- Once the outside is done, glue additional leaves inside at the poles covering the silver metal holding frame and the cluster of arms. HINT: these leaves glue the front side down, so they blend in with all the others.
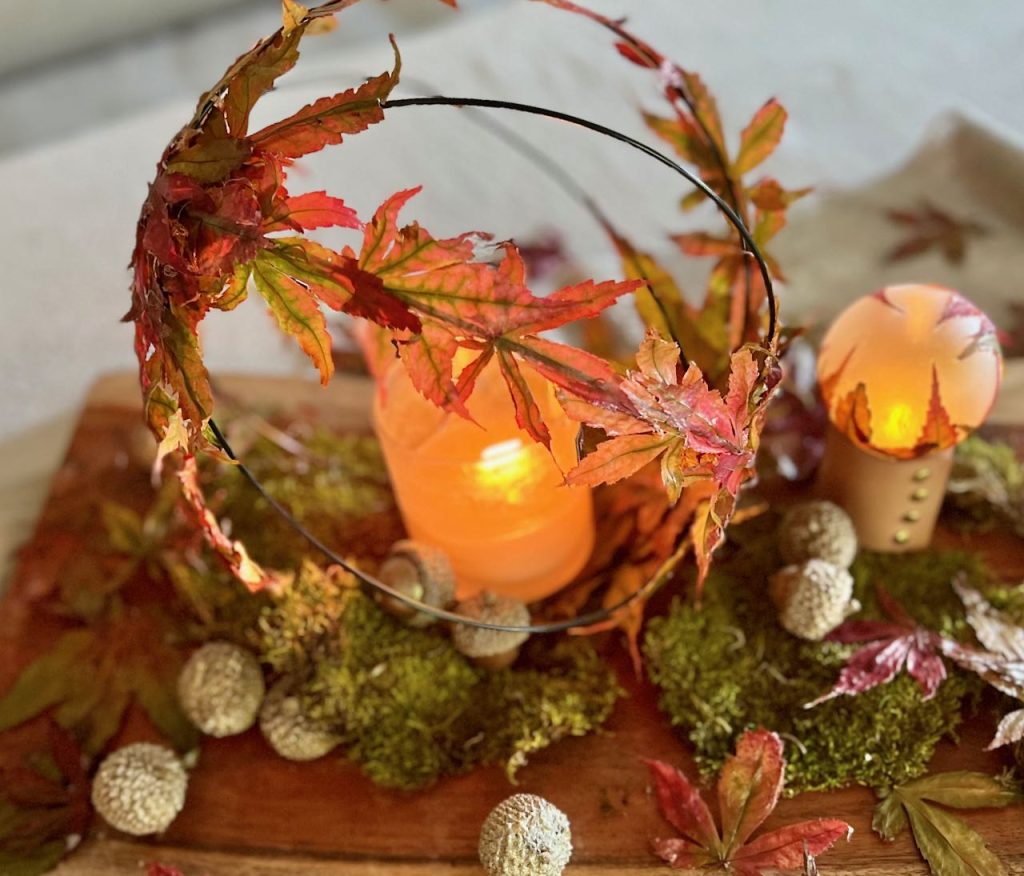
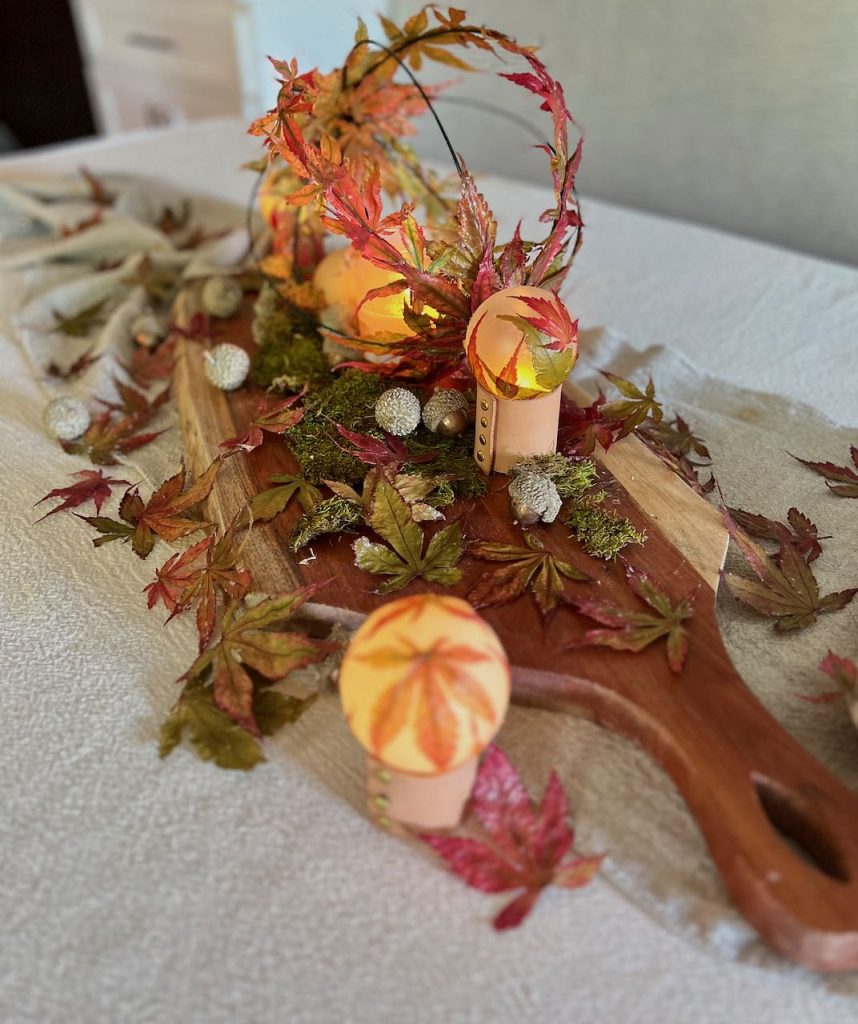
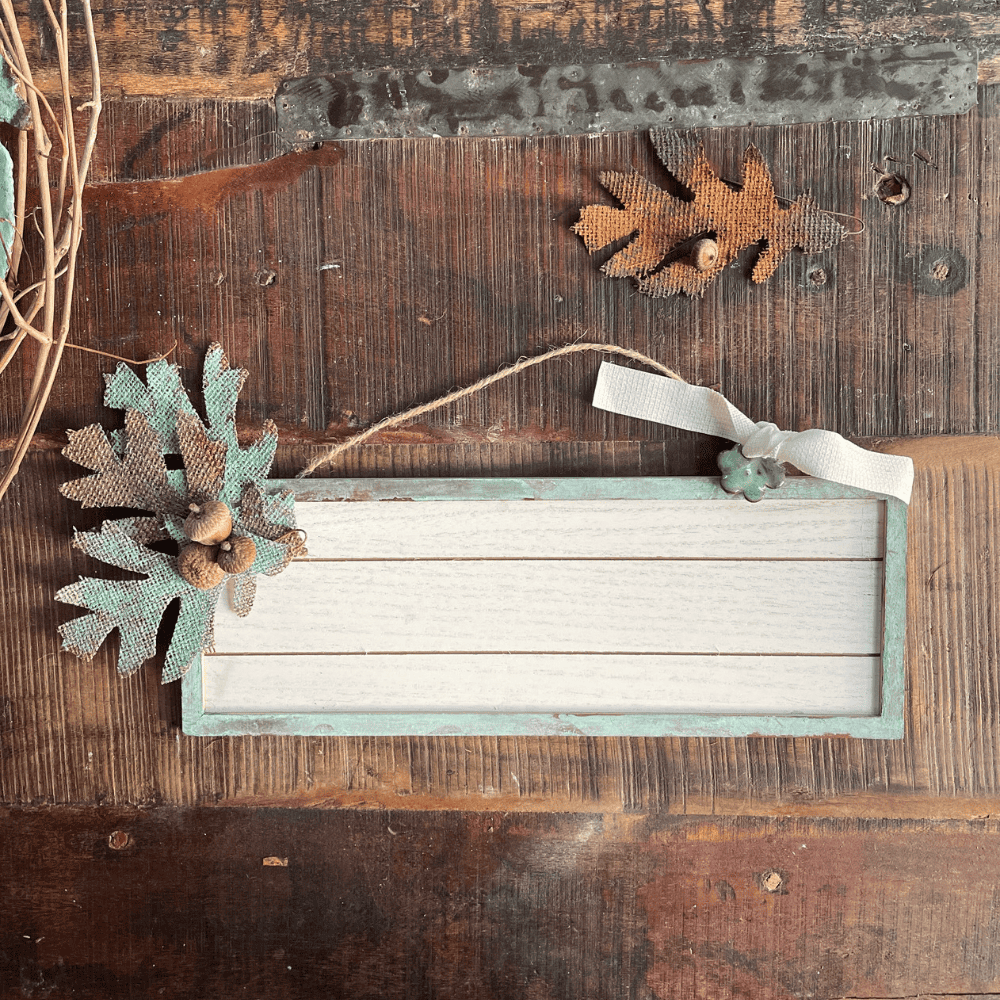
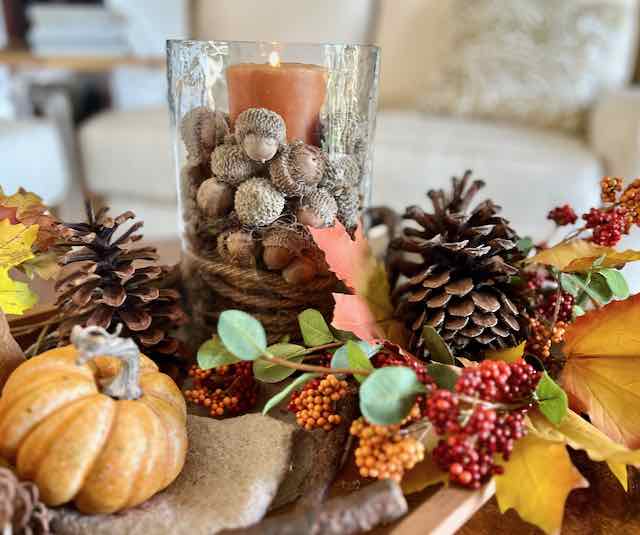
3) Display Fillers-
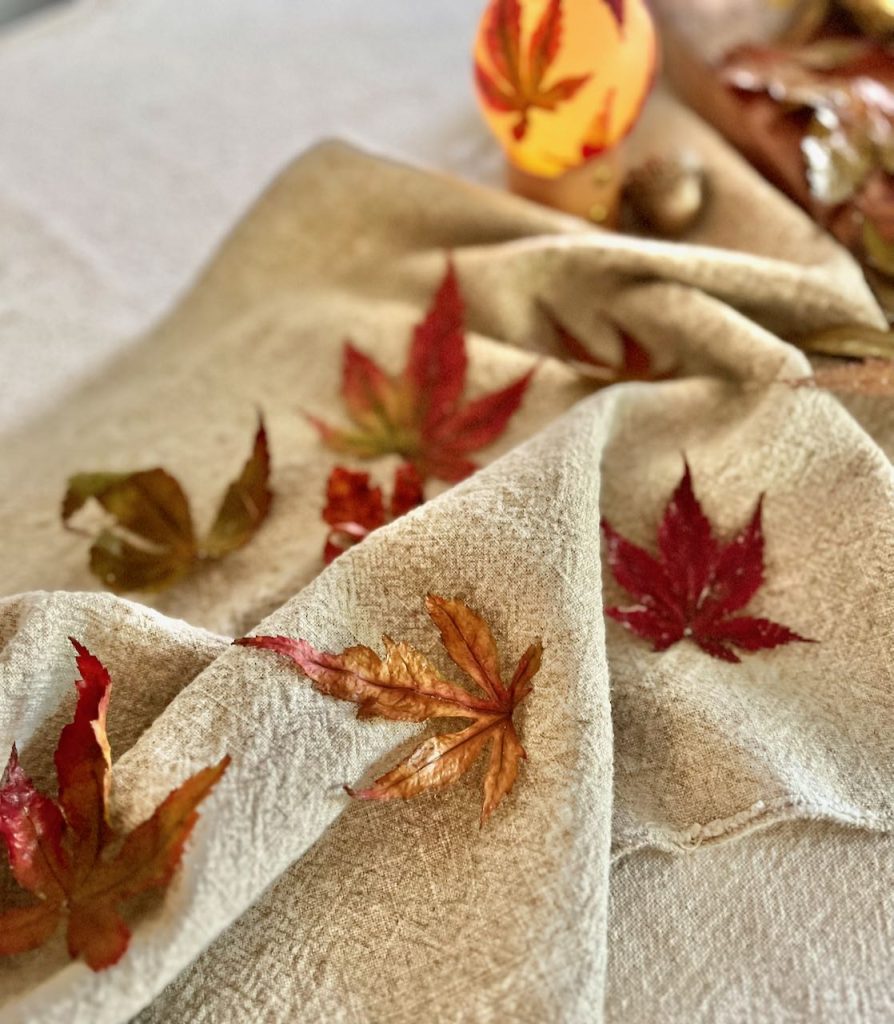
This is such an easy “project”!
Remember those leaves you made using version 2?
- Scatter them down the length of your dining table centerpiece.
- Add them to a Fall tray display.
- Lay some in and around a pumpkin grouping,
- Around a pillar or jar candle in a dough bowl, add with some pine cones, acorns or small gourds.
That’s just three craft projects to get you started! I can’t wait to see what you come up with — remember send me pics (I LOVE it when you do!!!).

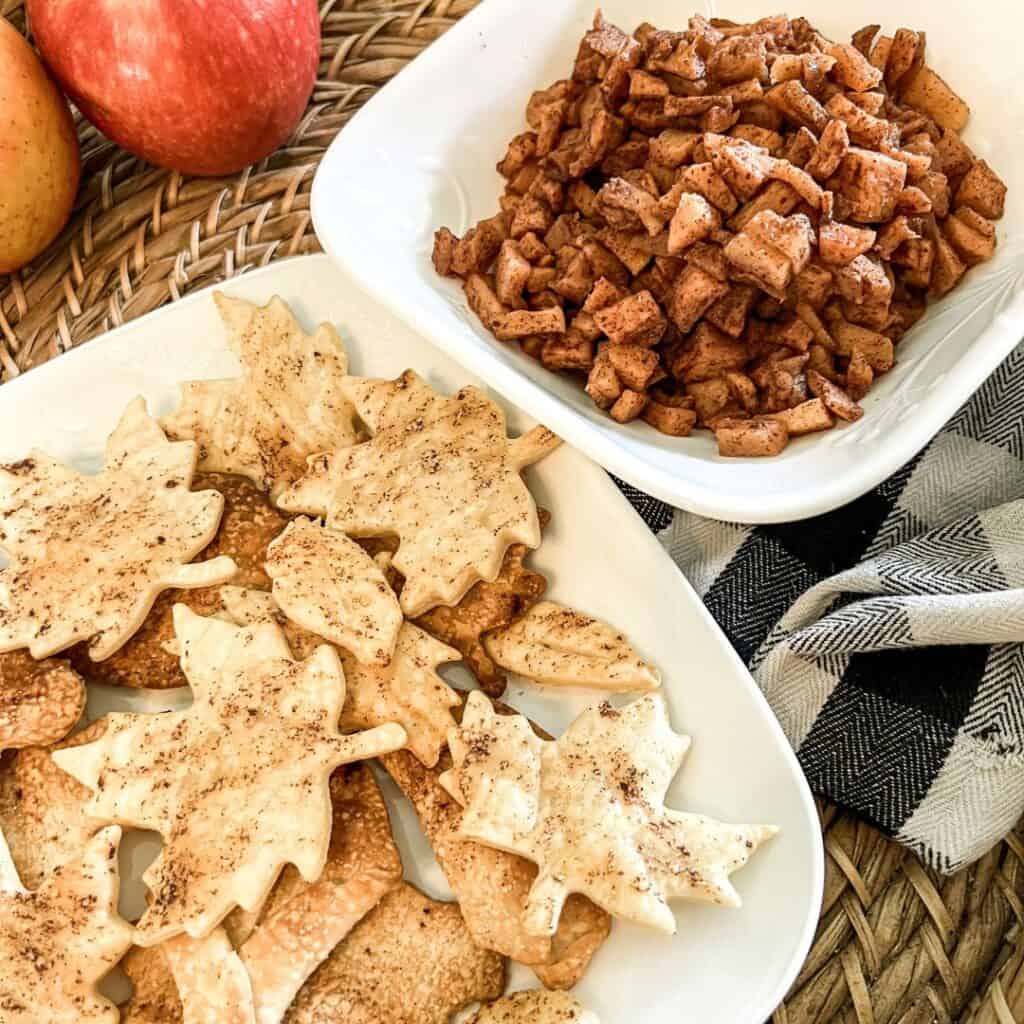
And now it’s time for me to send you over to Nicole (our guest contributor this month) who has taken the Leaf Challenge in a yummy direction you don’t want to miss! Be sure to tell Nicole “hi” from me.
And the rest of the Handcrafted Society ladies can be found by clicking on each below:

More Fall Posts You Might Enjoy:
Diane I love a good mod podge craft and these orbs are so pretty! Love them!
Thanks so much Nicolle! I’m so glad you joined us this month!
Such a fun idea. I need to try this.
I’ve got to give mod podge leaves a try. Your centerpiece orb frame is just lovely and what a conversation starter! Excellent tutorial Diane!
Awww, Michelle so kind of you to say so. Yes, break out the Mod Podge. I love how the leaves almost feel like leather.
Very creative! Mod Podge is magic in a bottle!
So true Jennifer! I’m finding myself going to it more and more.
Diane, this is so creative and you really thought outside of the box! way to go. Thanks for joining us today.
Thanks my friend! So glad to be part of this group.
So fun Diane. I love the creativity and addition of the orb! So fun and colorful!
Susan, it’s so great to have you along!!! Thanks so much. It was fun to put together
wow! SO gorgeous, Diane. I especially love the glowing leaf orbs. I’m going to feature your projects in my weekly recap today. I think my readers will enjoy seeing them too and feel inspired for the season ahead.
Happy weekend!
Diane, the orb is so pretty and delicate! I love this idea! Now, if I can just head up north to find some pretty fall leaves! I will be sharing this in my newsletter today!
Ohh Chloe! Thanks so very, very much for the share!
Yes, that’s why I had to clip leaves off myy Japanese maple tree. I’m in the KC area and there are just a few trees starting to turn.