
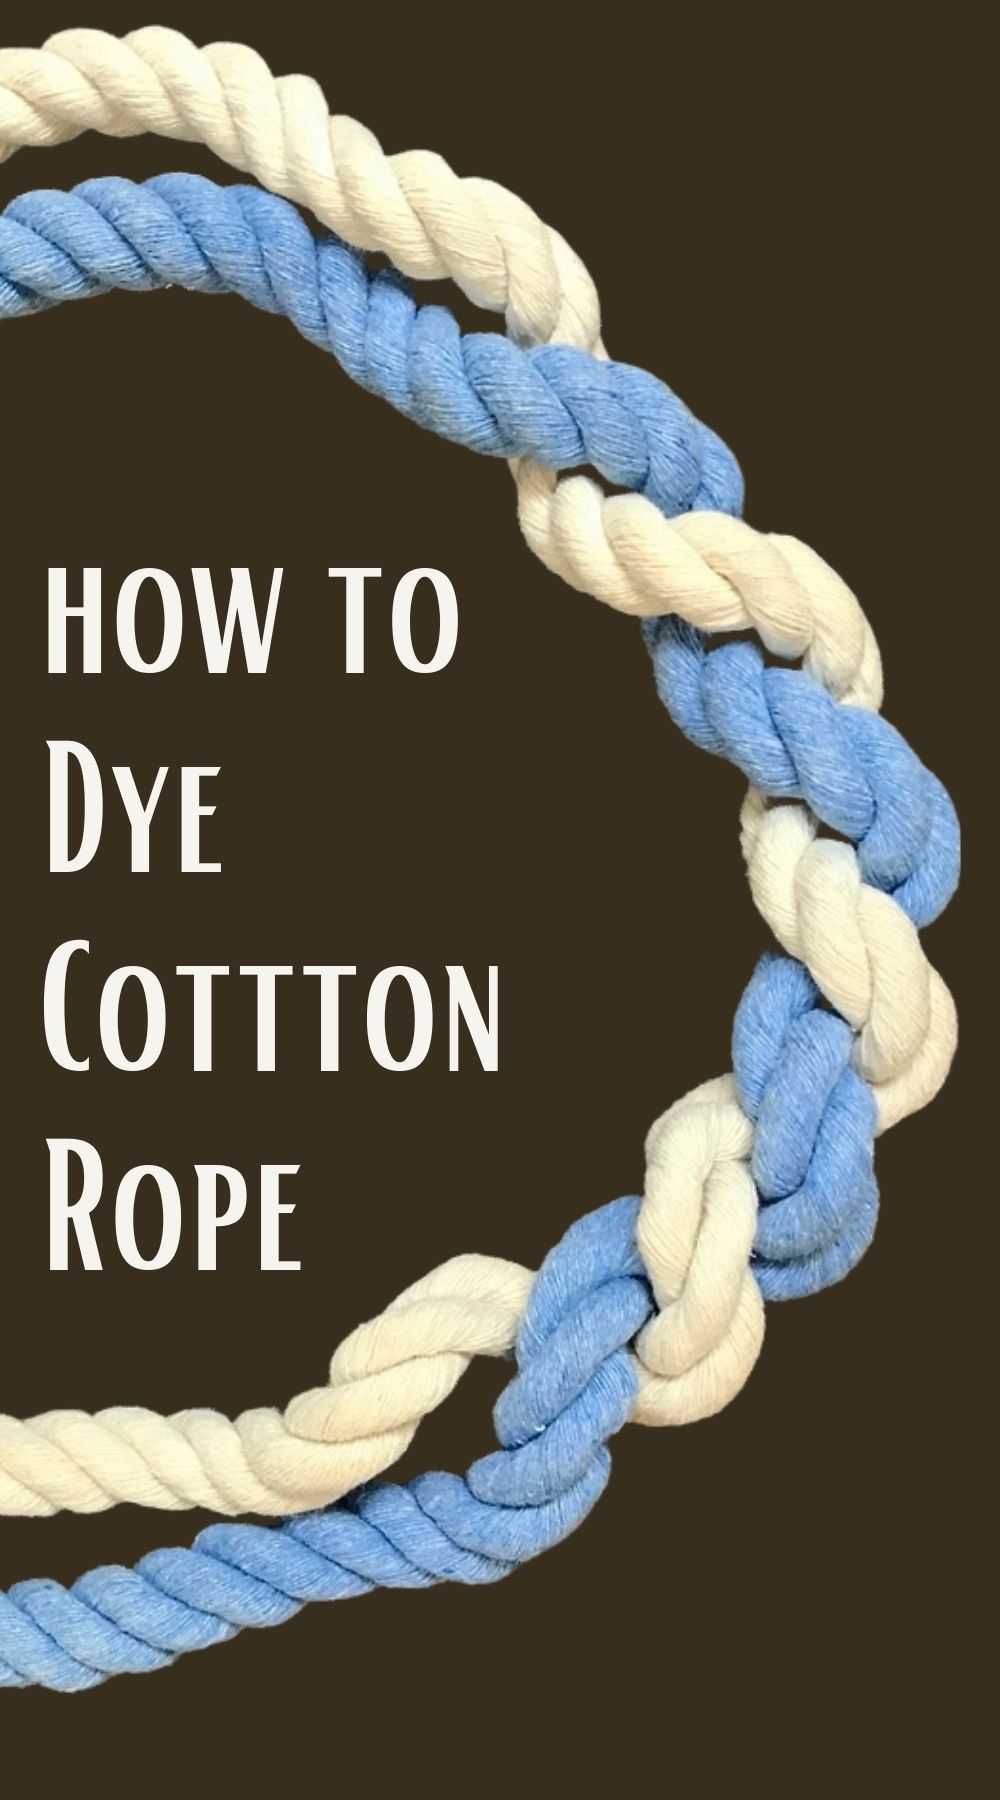
How to Dye Cotton Rope
Why was I intimidated? Dying cotton rope is very easy . . . . IF you follow these steps.
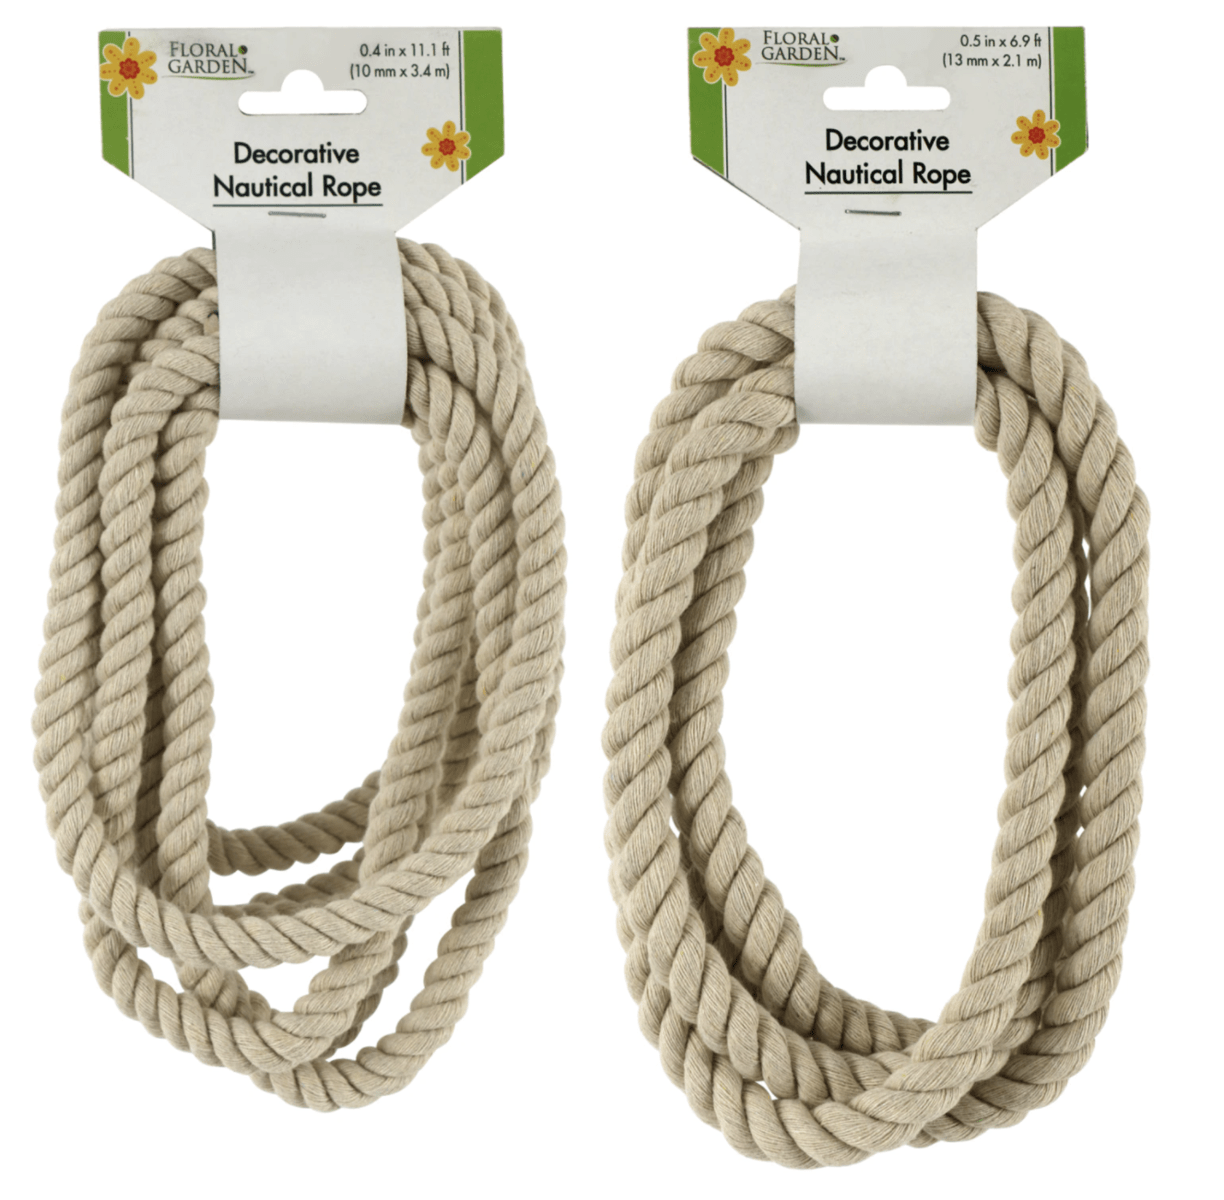
I found the most wonderful cotton rope at Dollar Tree. Yes, you read that right, Dollar Tree!
3 yards for $1! Soft and supple, easy to maneuver.
Great neutral color. Great, provided you want all neutrals.
But what if you want to spice up your decor a bit? No worries, cotton rope is super easy to dye! Here’s the proof.
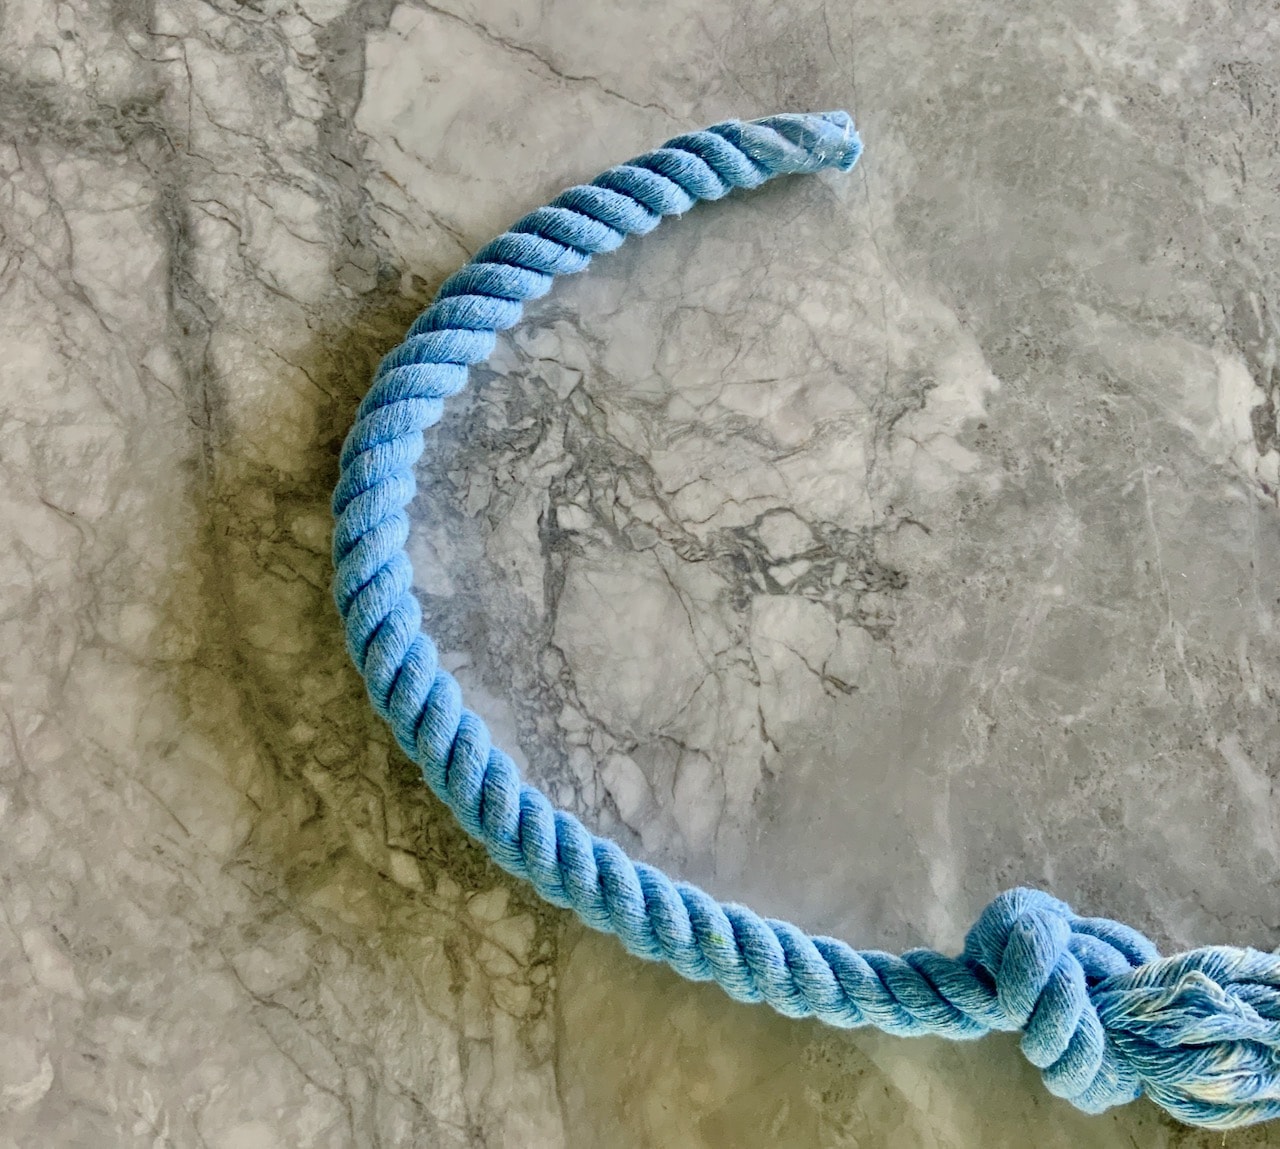
I wanted to keep one length neutral, but I wanted the other a mid blue color for some patio decor — specifically, patio curtain tiebacks.
So after investing $2 in rope, I went out on the limb and invested a whopping $3 on Permanent Fabric Dye from Tulip.
Supplies To Dye Cotton Rope:
- Dollar Tree Rope — or similar
- Permanent Fabric Dye — Tulip brand or similar
- Protective gloves — These are the ones I like
- Paint stir or substitute
- old bucket
- another clean bucket, large bowl or basin
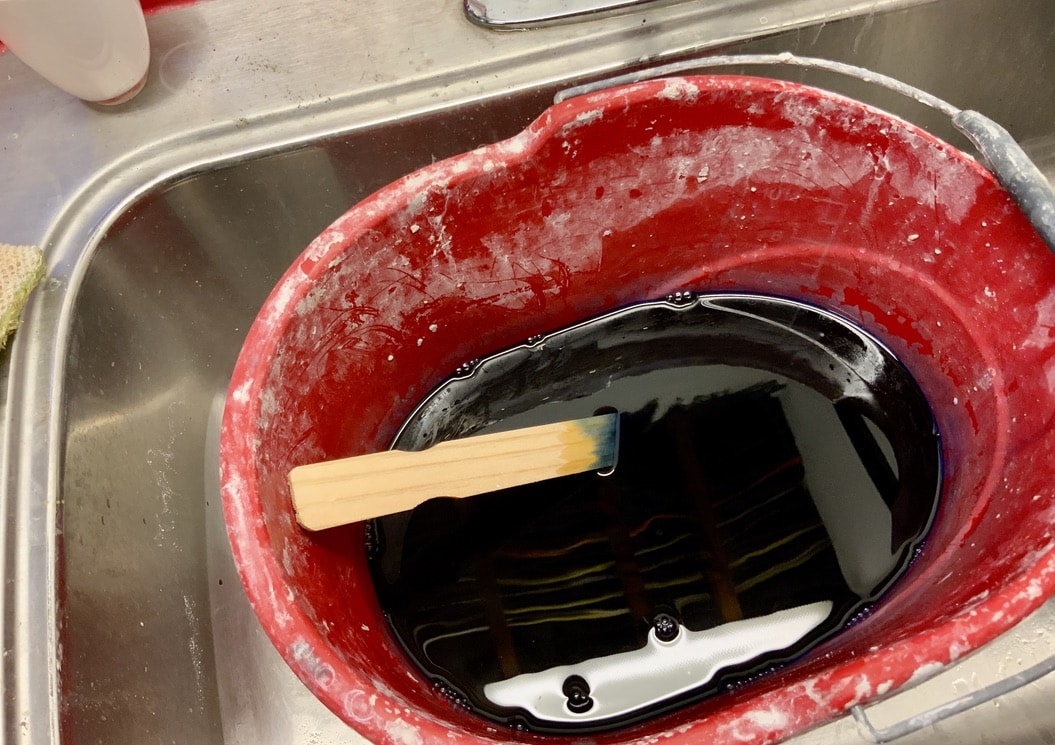
Step 1) Prepare the Dye
Fill bucket with water as prescribed on your dye packet. Then with gloves on, very carefully open your packet of dye and slowly add it to the water. Stir to make sure it is completely dissolved.
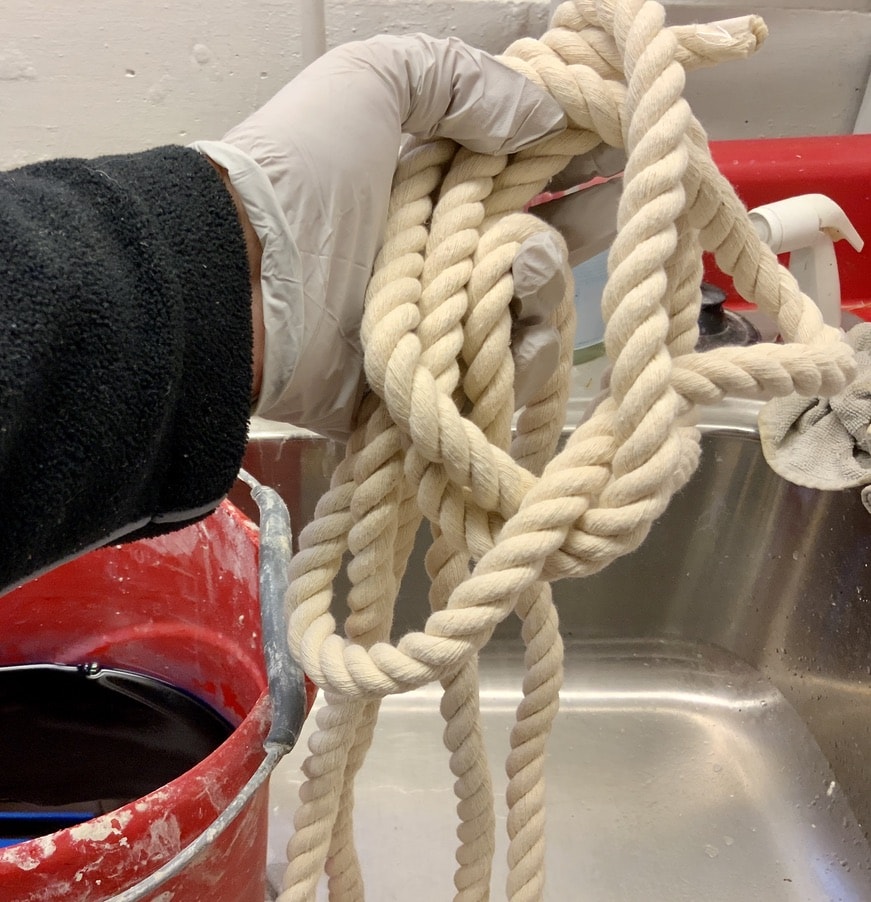
Step 2) Prepare Your Rope
Make sure the ends are ready. The factory applied tape on my rope did not hold through the dying process. I strongly suggest you tie a knot in each end of the rope.
And yes, you still want those gloves on.
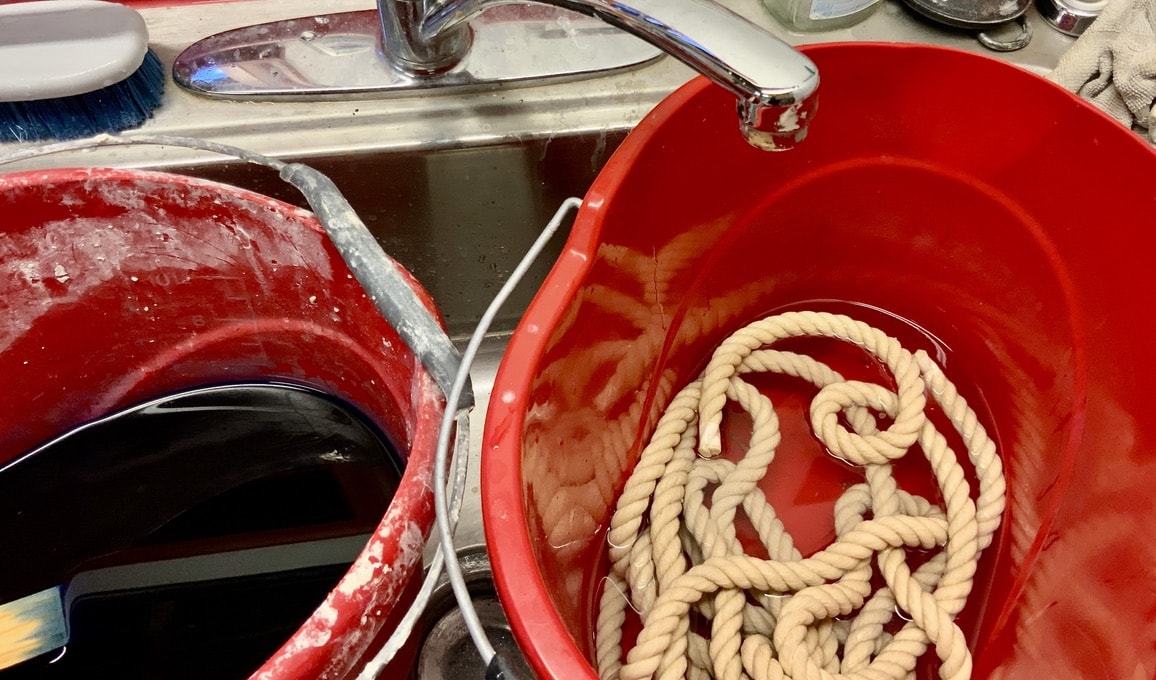
Step 3) Pre-soak Your Rope
This step is particularly important to make sure the dye reaches all the fibers deep in the twists of the rope.
Fill your second bucket with plenty of water. Submerge your rope and let it soak up as much water as possible, stir it around with your hands. Don’t rush this step. The wet fibers helps to draw in the dye in the next step.
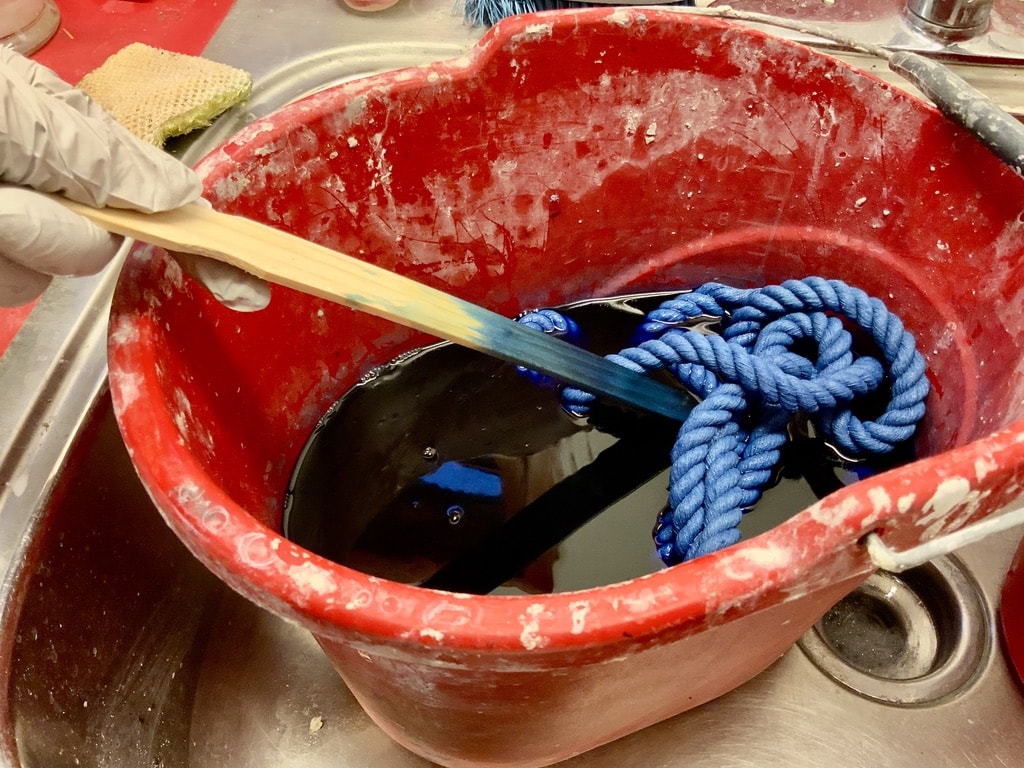
Step 4) Dye
Still have those gloves on right? Good job!
Add the rope to the dye bath being careful not to splash. With my dye, I stirred it gently, but continuously for 15 minutes and then fairly regularly for another 30 minutes.
The longer it’s in the dye bath the deeper the color. Keep in mind the color wet is darker than when it dries. See the picture below.
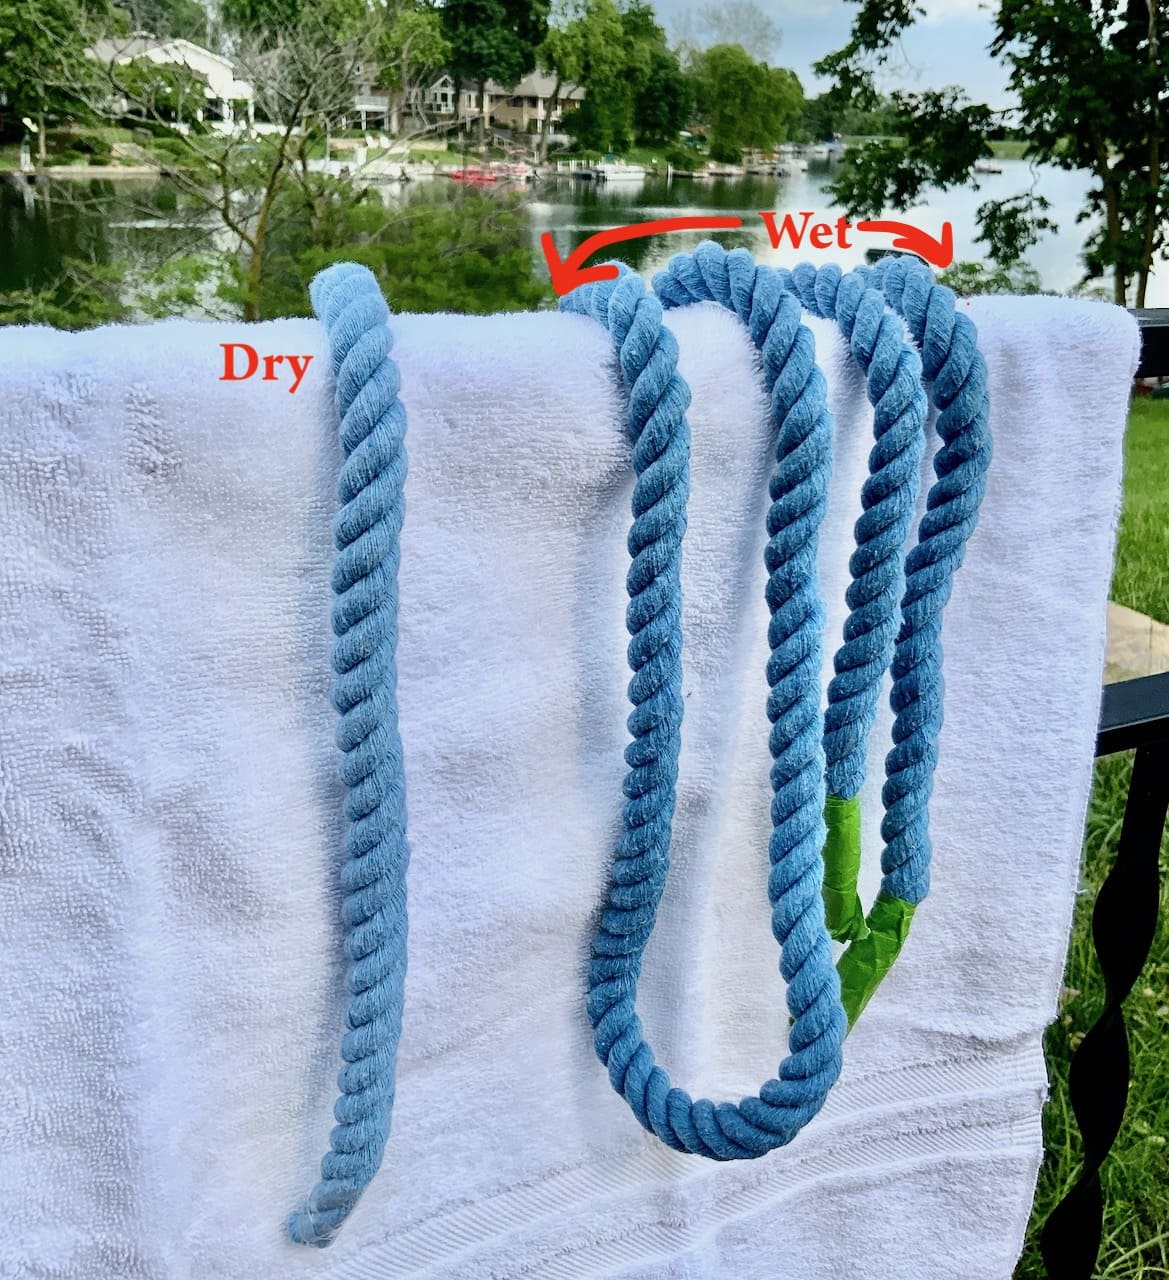
Step 5) Rinse & Dry Your Dyed Cotton Rope
Rinse the dyed rope thoroughly and then wash on warm (per my packet instructions) and dry.
I hung my rope to dry.
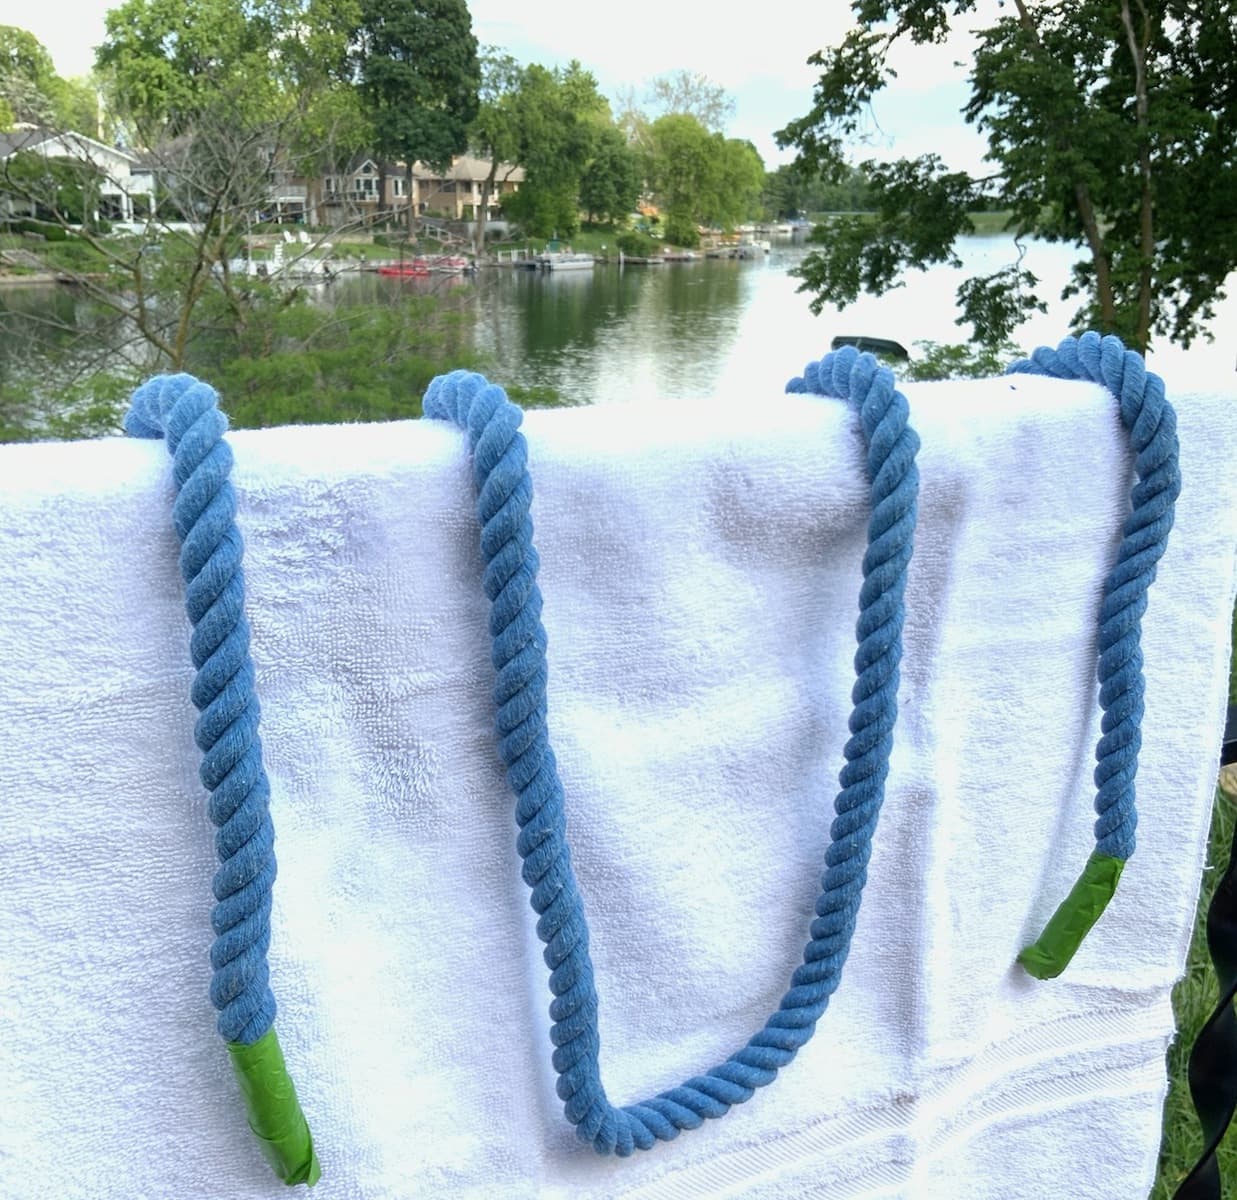
Step 6) Extra Precaution
And then just to be extra sure, I completely saturated my dried, dyed rope and laid it on an old white towel to dry again.
Maybe I’m a skeptic, or just overly cautious. But I’m going to use these to make curtain tie backs for my outside sheer panels. They will be exposed to the rain repeatedly. I don’t want them to bleed onto my white panels.
Yippee! They appear to be permanent.
Now I am off the have fun twisting and weaving some wonderful new tie backs. In the meantime be sure to pin this little how-to for your future projects.
UPDATE: Tie backs are done and perfect for our casual, laid back patio style. You can find them right here.

As always, I truly appreciate each and every one on you. Please share this with a friend and I love hearing from you. Leave me a note in the comments below ⬇️ or you can always use the contact form.


Hi!
What is the best way to dispose of the dye? Is it safe to put down the drain in an urban environment?
Hi Peggy, I so appreciate you being aware and concerned about the environment. I should have noted this in the post, but all of my research says that Rit dye is sewer friendly. And for those who might be on a septic system, it is also septic friendly. You can flush it down the toilet or the bathtub or a utility sink like I do. You do want to follow up immediately with clean water so you do not leave and puddles that might stain. Also I suggest not disposing of it in the lawn. Although it is non-toxic, it can be tough on grass.