
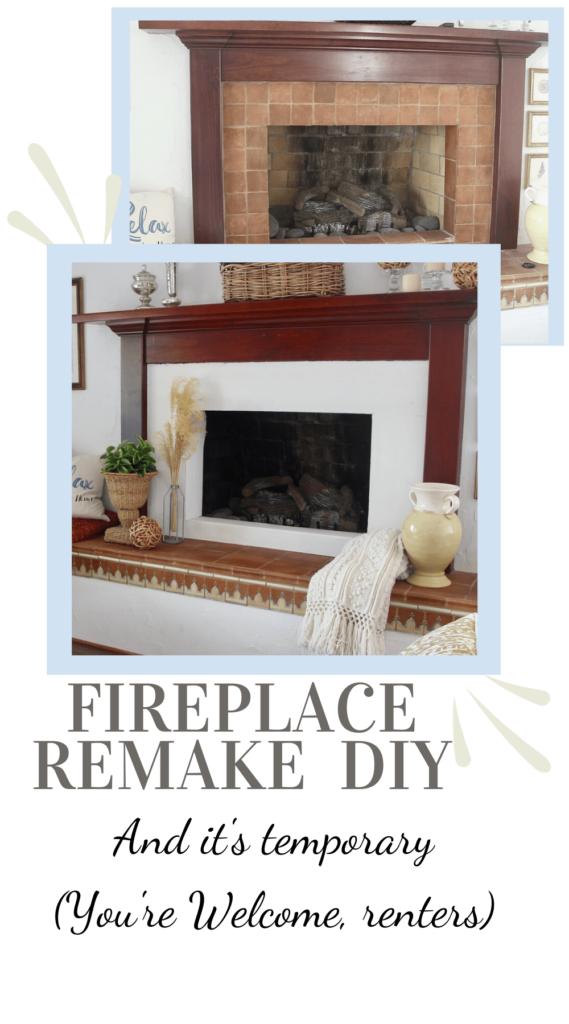
Fireplace Makeover DIY — Easy and Inexpensive
A “Slipcover” For Your Fireplace Surround
and It’s Temporary!!!
Fireplaces are focal points. And as a focal point, we want to really love their look and style. …. or at the least, we want to not hate it. If your fireplace is not your dream piece, here is a great inexpensive, fireplace makeover DIY. And it’s also temporary.
Can I hear a round of “Hallelujahs” from all you renters? And indecisive new homeowners? And those who can’t quite afford their dream makeover … yet?
Yes, re-facing a fireplace can be expensive, intimidating and a mess! So if you’re not ready for a full do-over, I’ve got you!
This is a TEMPORARY fix to help you decide the look you really want and it buys you time to save up for your dream makeover or until it moves up your priority list.
Or if you are renting and stuck with an eyesore, this could be your answer!
Keep in mind, this is NOT to be used when you have a fire burning. Remove it if you are burning a fire!!!
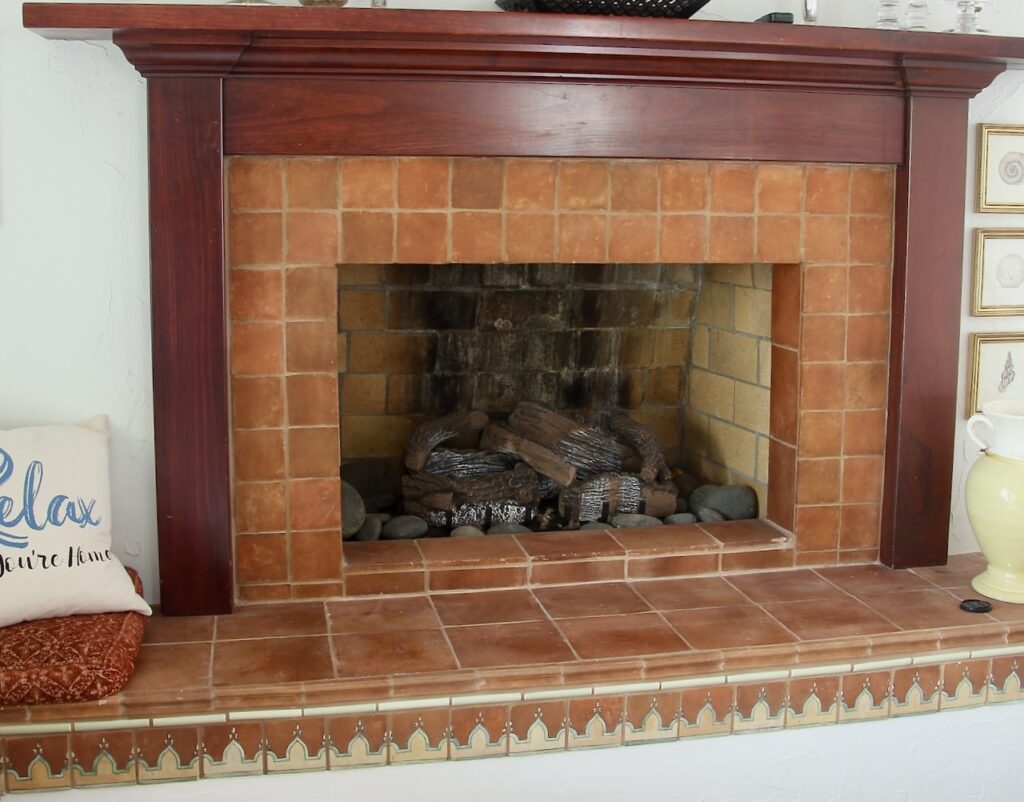
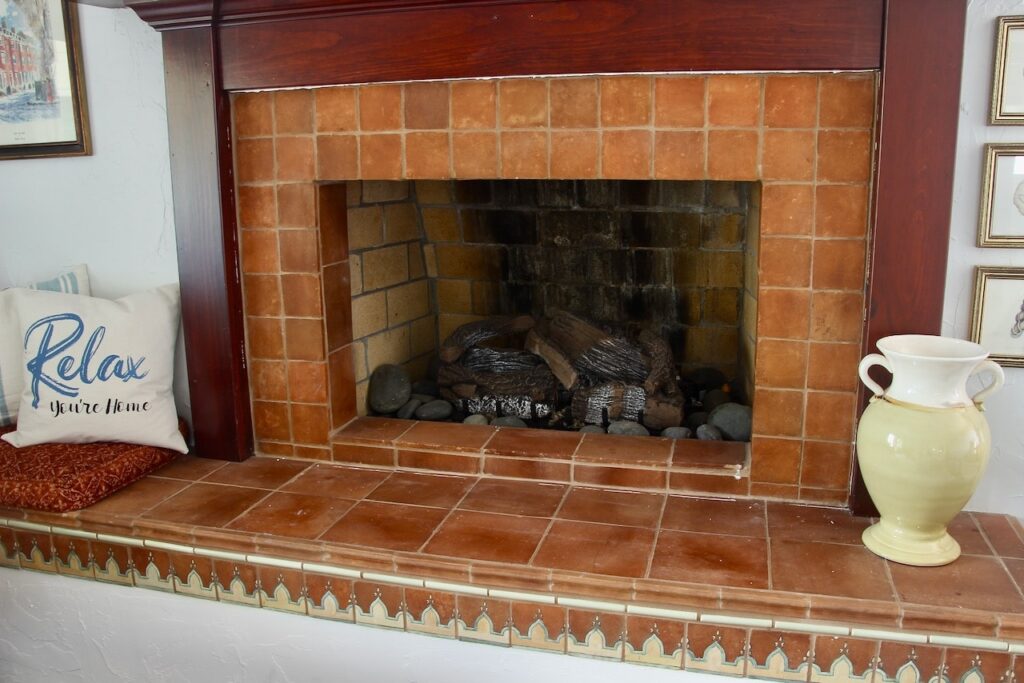
I love our quirky 60’s bungilla (bungalow + Mediterranean villa). It’s blessed with two very large fireplaces. However, the upstairs fireplace is NOT our style. Add to this, I need a neutral fireplace for photographing my Christmas stockings. We have been renovating like crazy and we’re just not quite ready to tackle this fireplace and hopefully add some built-ins.
So I had to come up with a DIY temporary solution. And I had a list of requirements:
- Inexpensive
- Light weight (to store during “fire” season)
- Neutral backdrop
- More current in style
Your Fireplace Makeover DIY:

This is what my version looks like. Yours will be different depending on your existing fireplace and surround.
Materials:
- Sheet of insulation Board
- Joint Compound
- Latex Paint (optional)
Supplies:
- Tape measure
- Sharp knife
- Poster putty or temp adhesive (optional)
- Packing Tape
- Stir stick
- Wide Foam Brush
- Drop Cloth or equivalent to protect hearth
- Damp rag
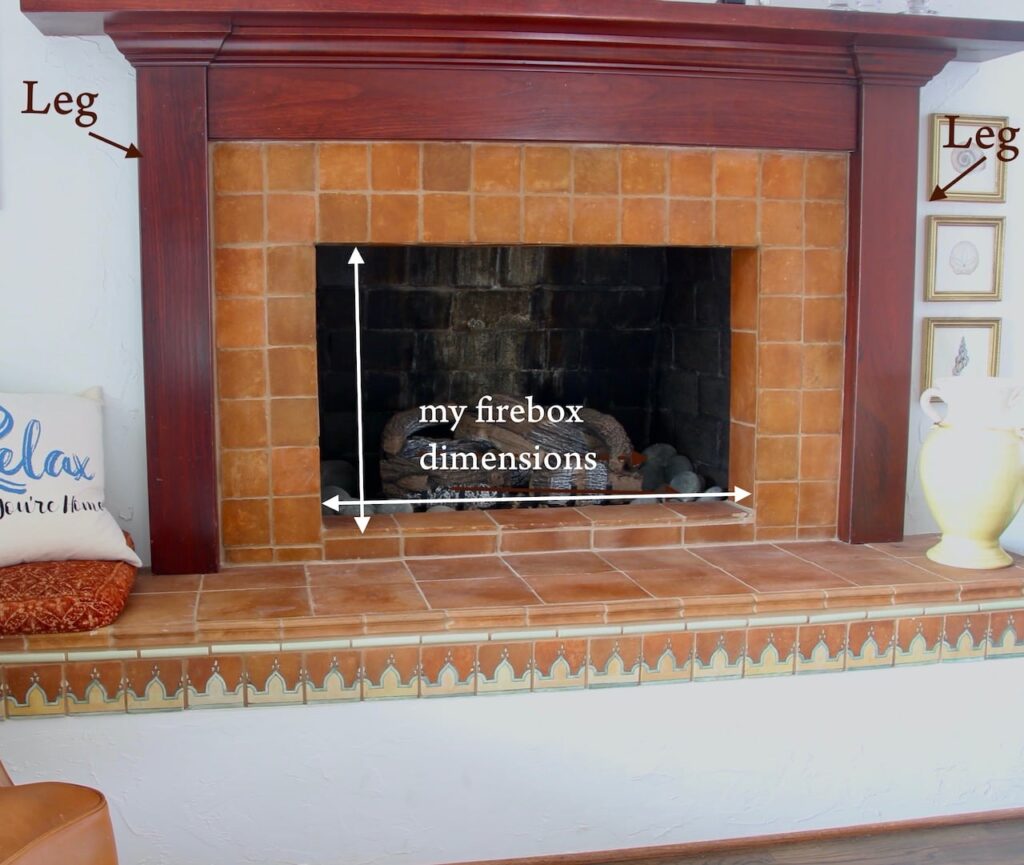
Step 1: Measure & Cut Exterior
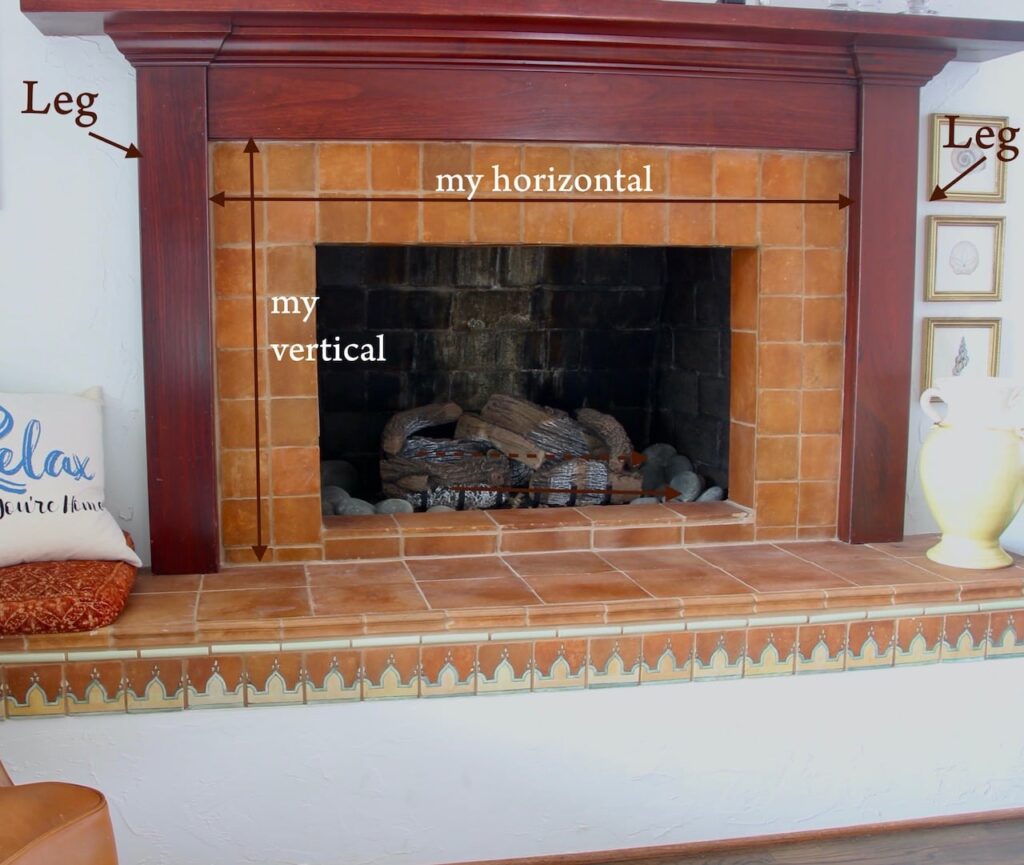
Measure the dimension of your surround. For me that is easy since my fireplace has legs (the vertical elements that support the mantel) to define the transitions. Measure exactly and transfer these measurements to your insulation board. Cut with a serrating motion.
If you do not have a clear stopping point, cut to your desired height and width. Then with a sharp knife bevel the edges of your surround.
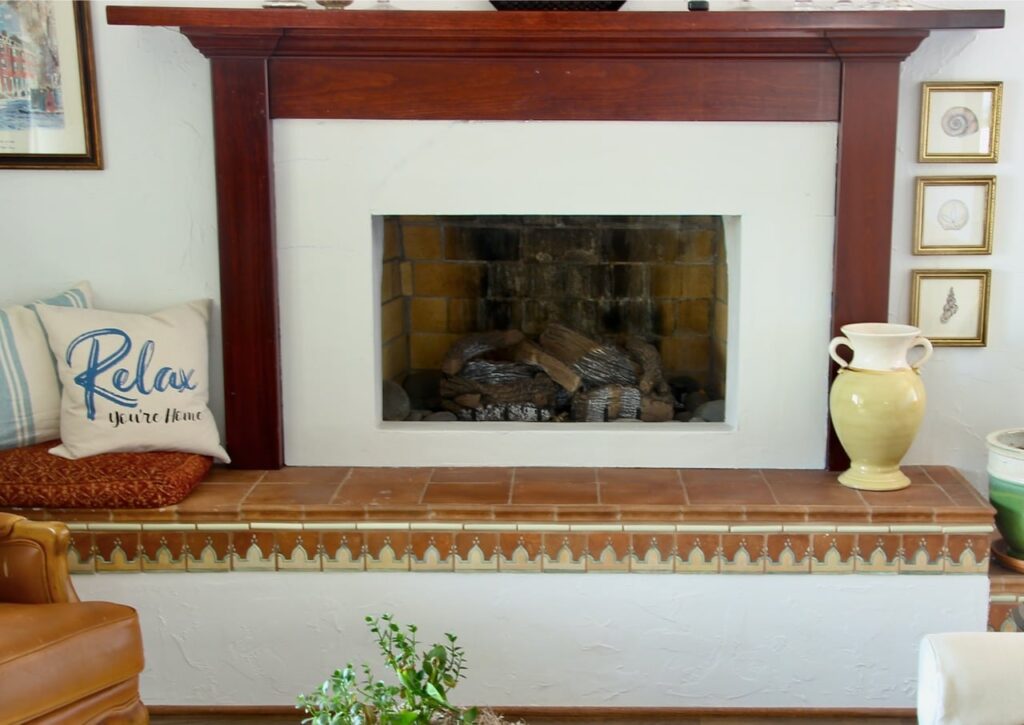
Sidenote: Did you notice the change in the firebox, too? Yep, you can paint the inside of your firebox. Check it out here.
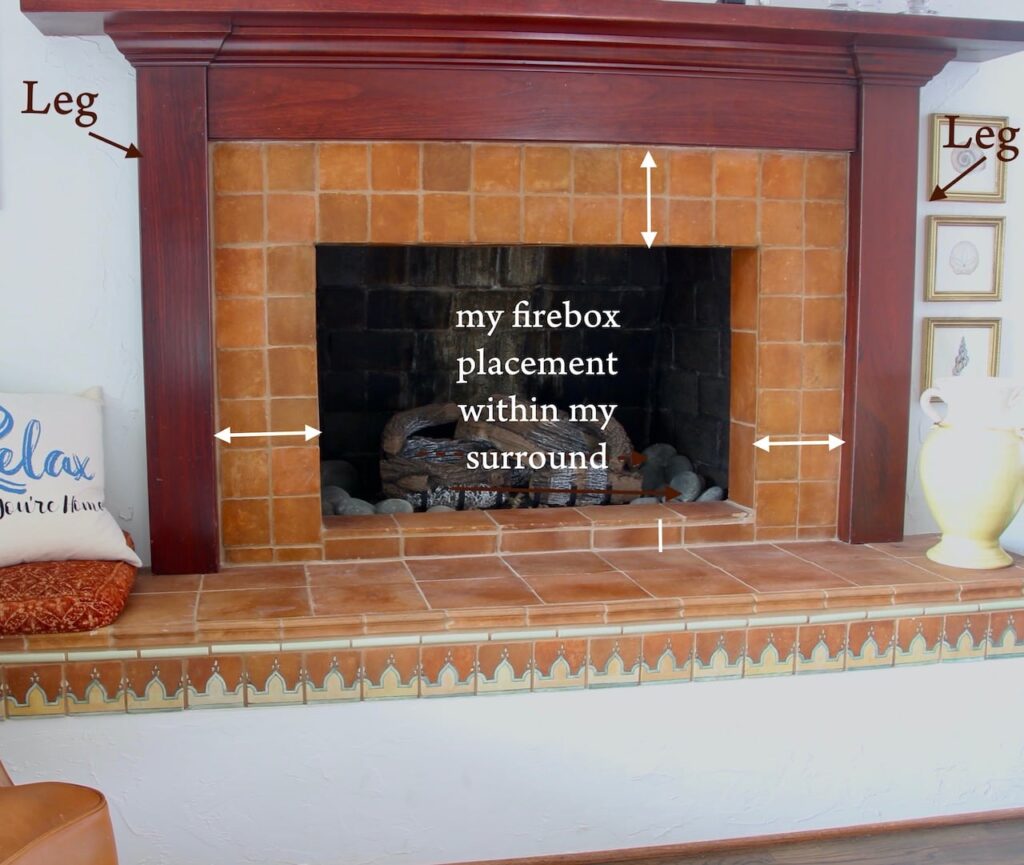
Step 2: Measure and Cut the Firebox Opening
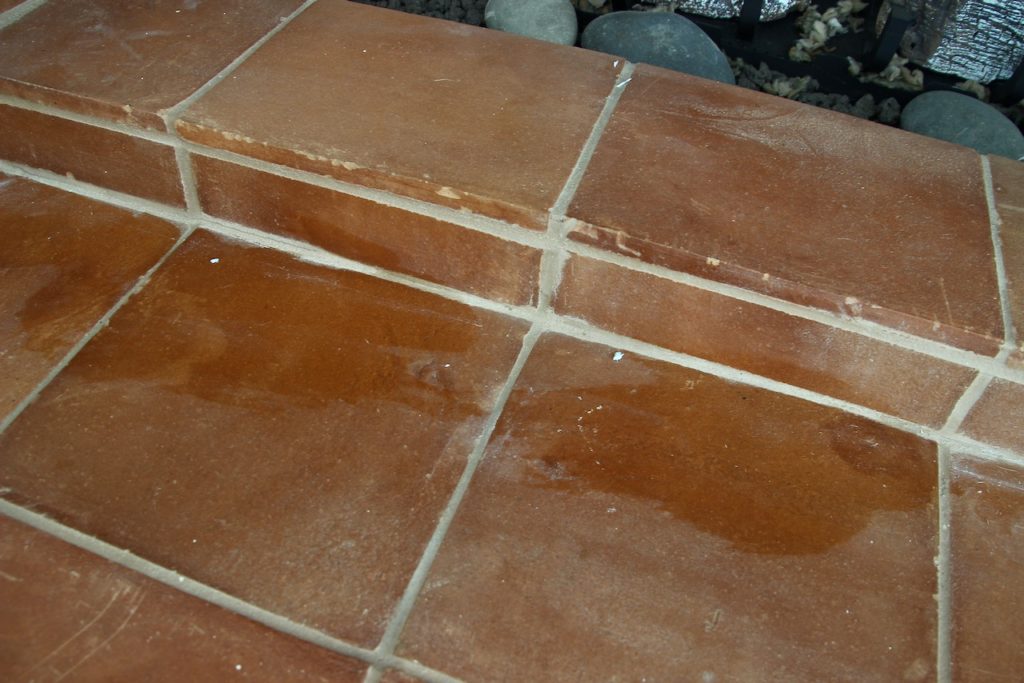
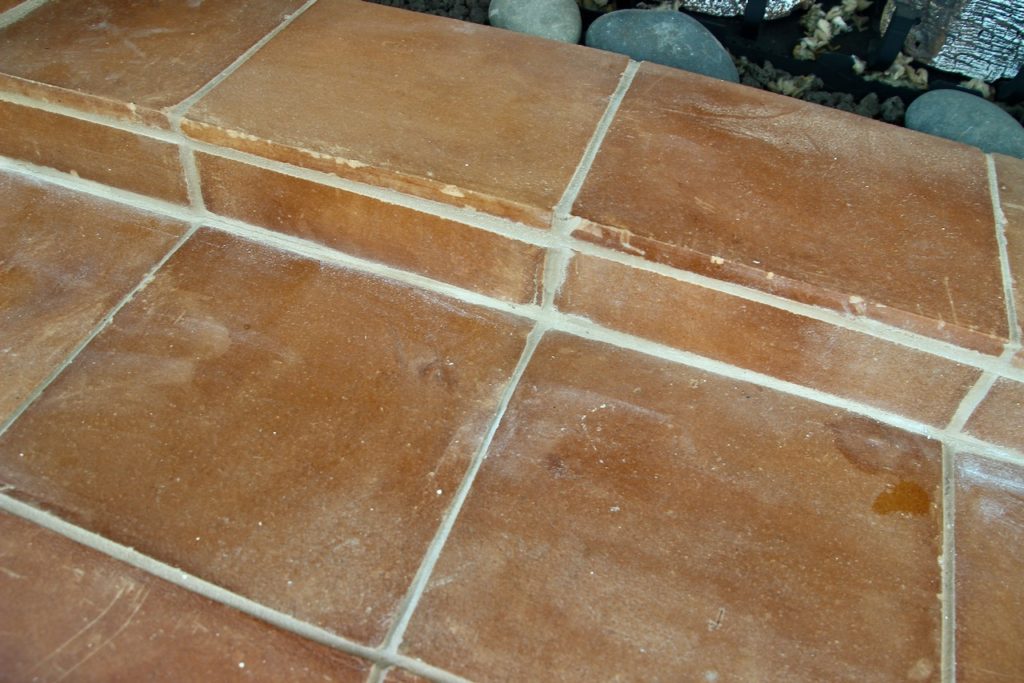
For my firebox, I needed to cover all the tile that covers the depth of the opening — the terra-cotta tiles that are perpendicular to the face of the surround leading into the firebox. You may or may not have anything that needs covering.
VERSION 1) If you do need to cover tiles leading into the firebox:
Measure the exact opening of the firebox and its placement with the surround. Draw this on your insulation board, but do NOT cut yet.
The side and bottom panels will sit inside this opening. So draw lines inside the bottom edge and the side edges matching the thickness of your insulation board.
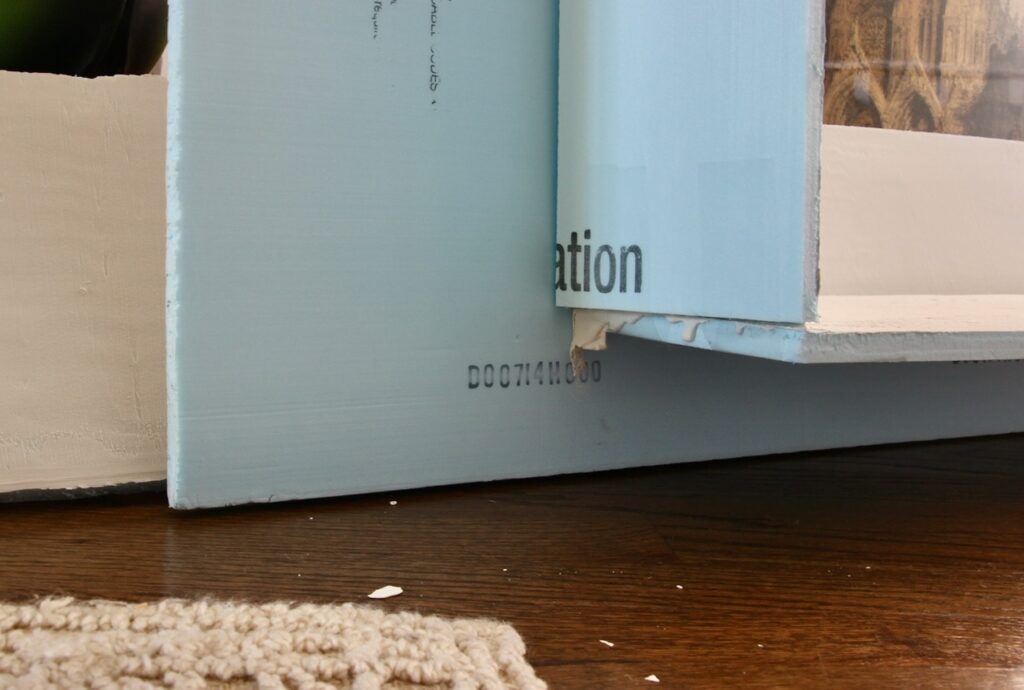
My board is 5/8-inch thick. So I drew new lines 5/8-inches inside my firebox marking on three sides, making this opening smaller. The panels will sit inside this opening.
Version 2) If you do NOT have any depth of opening into the firebox that needs to be covered:
Easy peasy for you! Measure the exact size and placement of your firebox opening within the fireplace surround. Draw this within the exterior surround you cut in Step 1.
Double check those numbers. Always, measure twice, cut once!
And You get to skip Steps 3 & 4!
Step 3: Cut Panels to Cover Depth of Opening
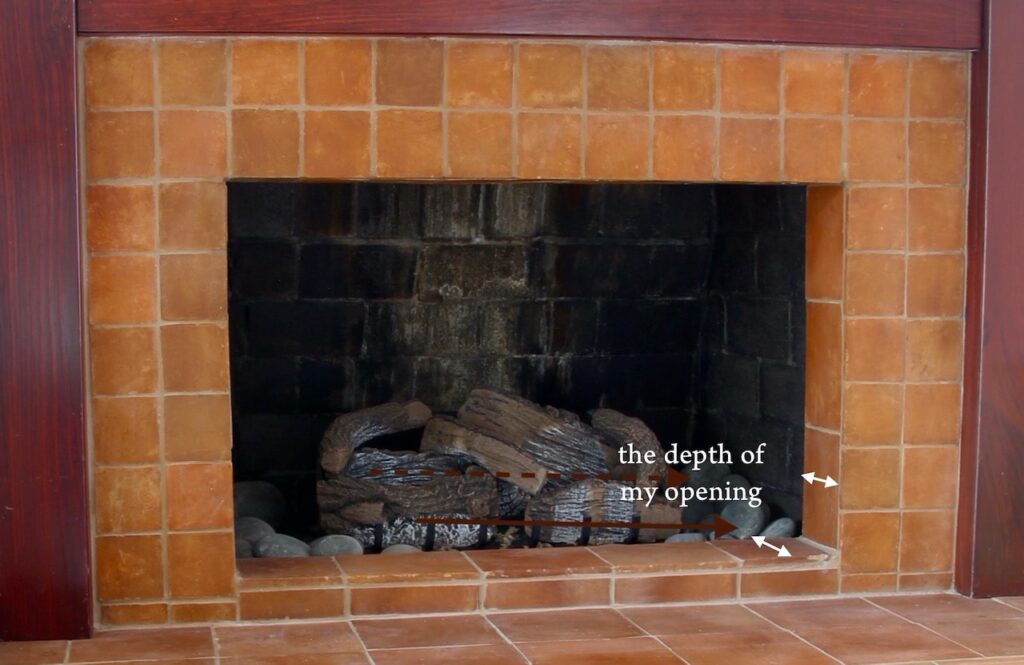
Measure the depth of the tile you want to cover that leads into the firebox.
From the remaining pieces of insulation board, mark and cut one panel for the base that is the width of the full firebox opening X the depth of the tile.
Now mark and cut two side panels: the height of the opening less the thickness of the insulation board X the depth of the tile.
Step 4: Temporary Fireplace Surround Assembly:
Start by setting your surround in place. Now place the panels one at a time inside the firebox opening. Start with the bottom panel. it should sit right behind the surround, resting on the tile. When you have them snugged up next to each other, run a long piece of packing tape along the edge to hold them together.
Now insert each side panel behind the vertical edges of the opening resting on top of the bottom panel. Tape in place. Repeat with the second.
Step 5: Cover
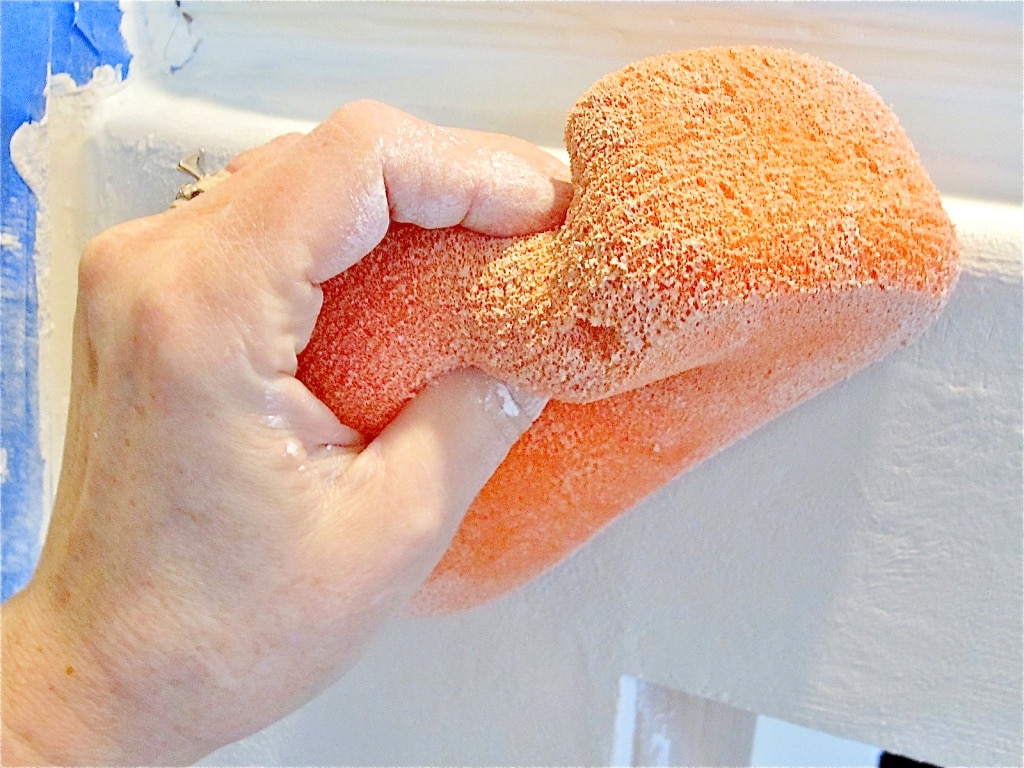
Break open your tub of joint compound. Stir it well and probably thin it just a bit with water to make it easier to smooth on, but not dripping.
fIf you want to alter the color, use latex paint as your thinner. I love double duty — checking off two to-do’s at once!
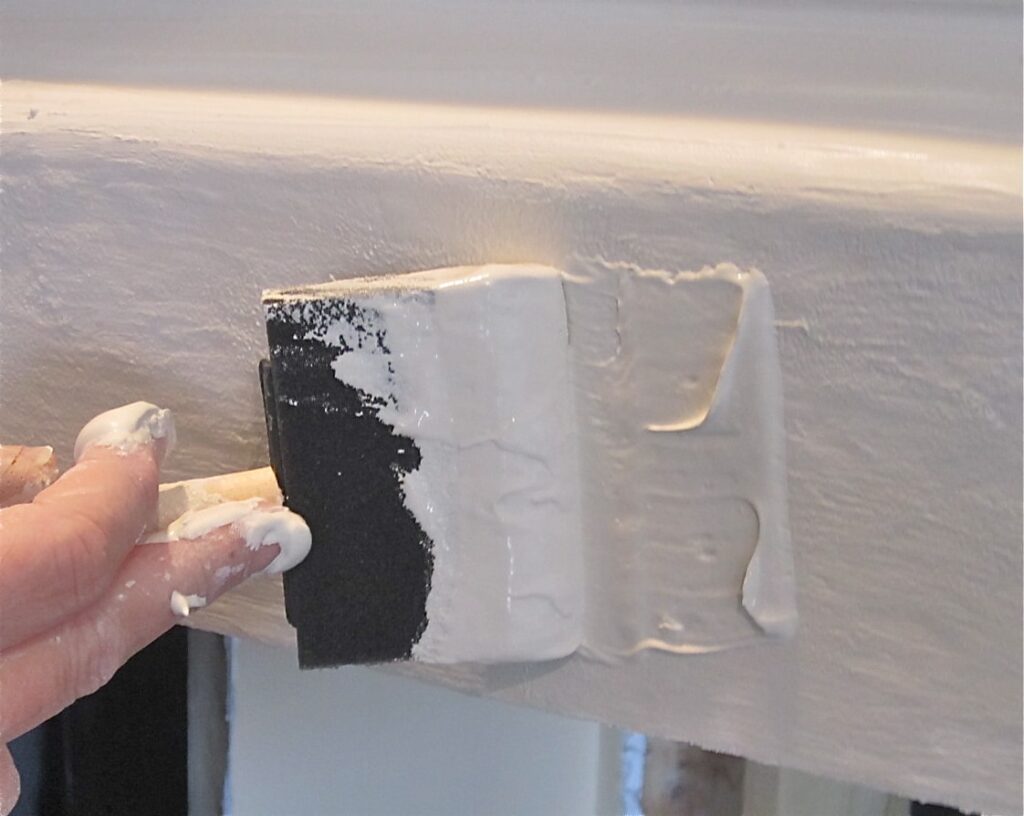
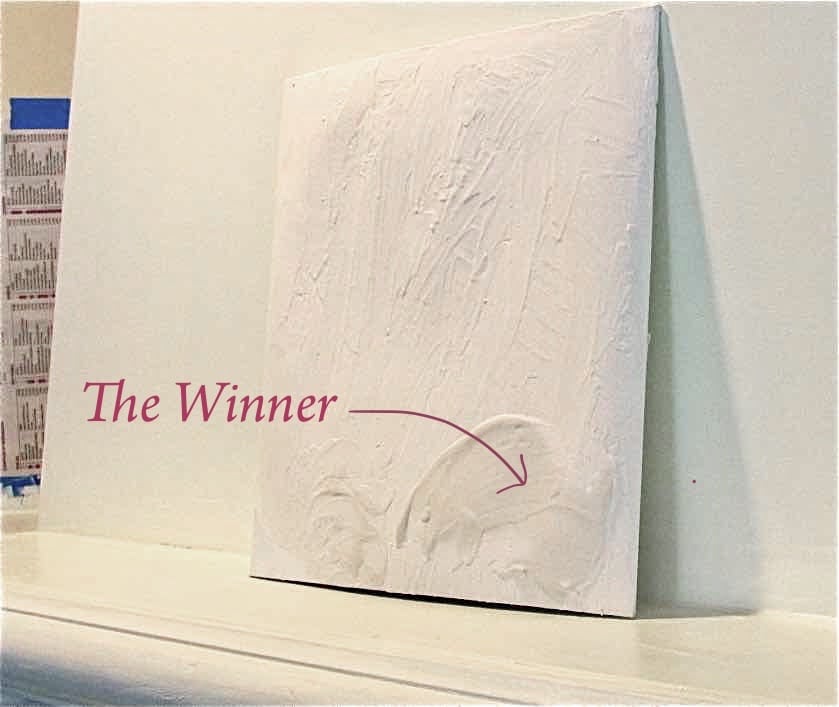
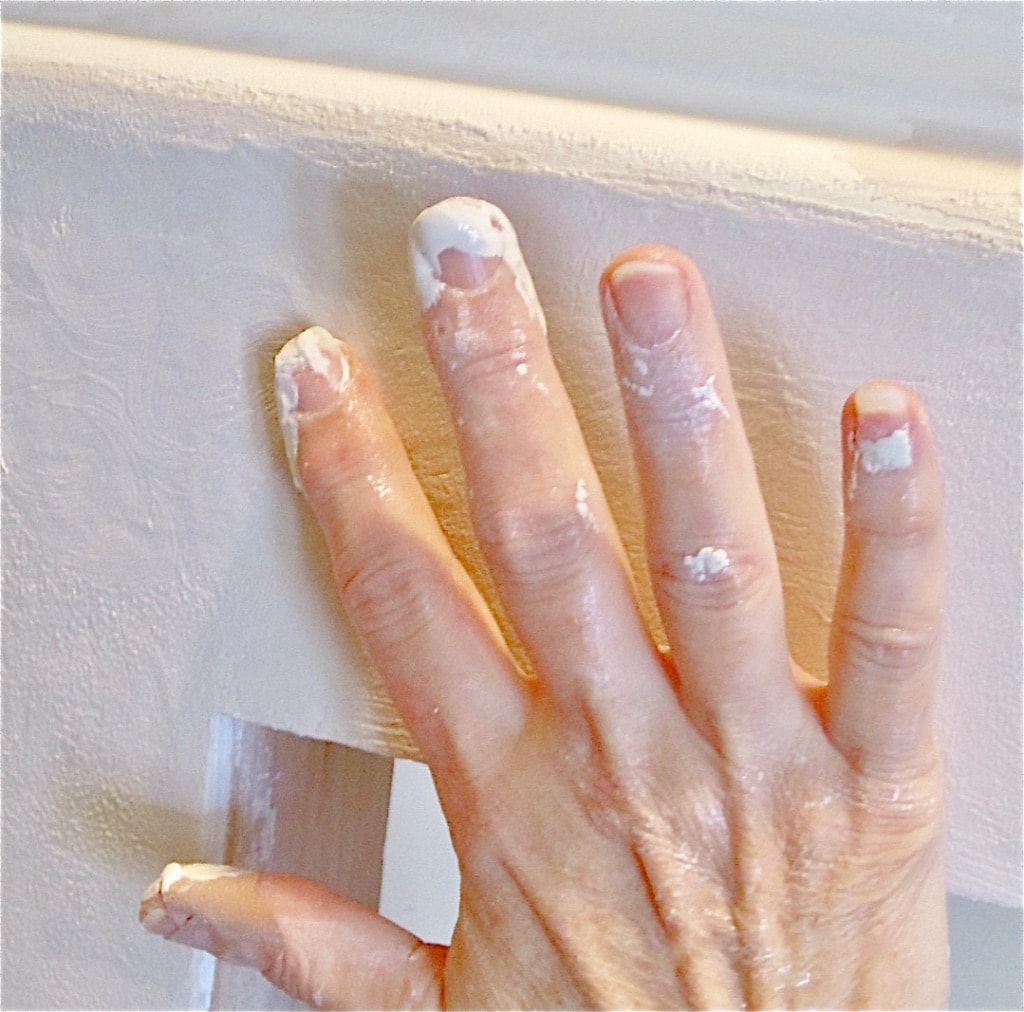
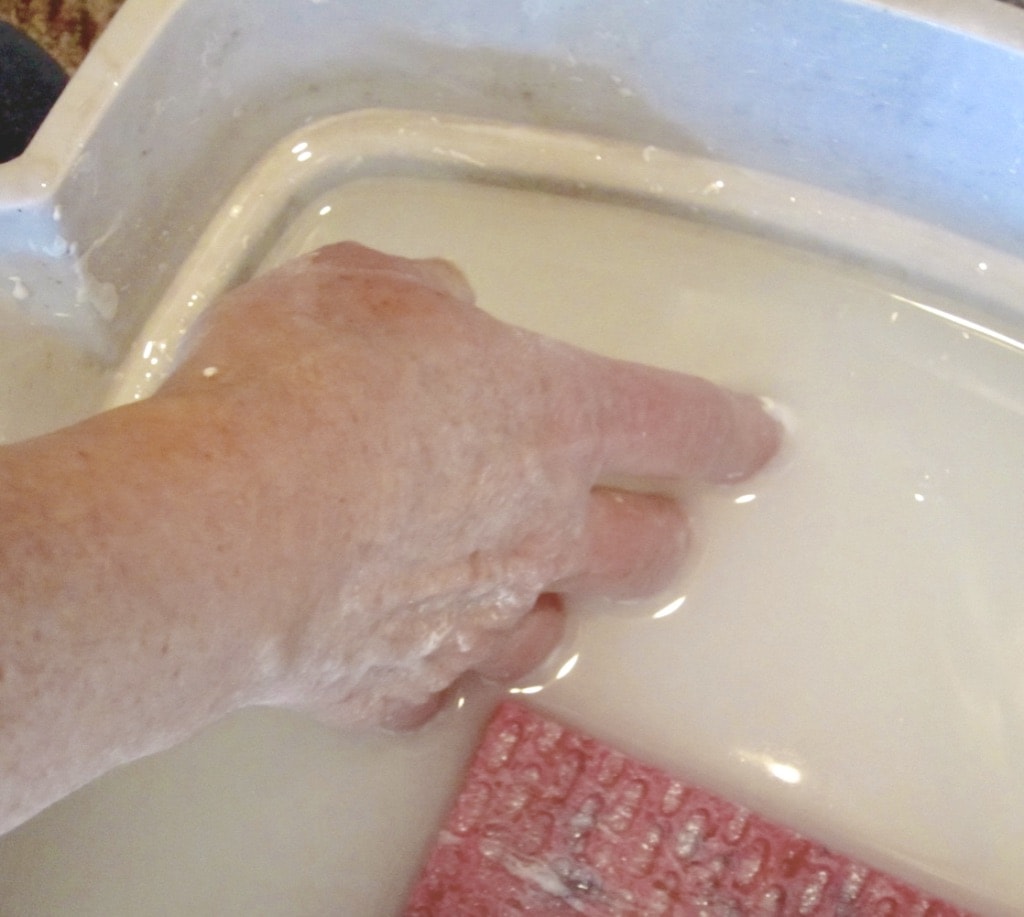
Put a drop cloth down and keep a bowl of water and rag handy. This is where it gets fun. Smear on two thin coats of your colored, slightly thinned joint compound. It’s like icing a cake! And like painting, two thin coats are better than one heavy coat. You can texture this as much as you want, or you can work it to be very smooth.
For inspiration, check out the permanent faux cast stone fireplace I did with joint compound in our last house.
If you are going for smooth, I recommend applying the first thin coat, you may still barely see the insulation board, but you’ll get full coverage on the second, and then after it has set for a bit (20 minutes-ish), but is not dry, you can come back overt with a damp cloth or sponge to rub it smooth.
If you are going for more textured, do that before it has any time to dry.

Ta Da! Your Fireplace Makeover DIY is done!
I have not tried it, but I would think you could use peel and stick tiles over the insulation board instead of joint compound if you want to try out that look.
And Now for the Temporary Bit:
When cold weather arrives and you want to have a fire. You can easily remove and store your faux surround out of harms way. It doesn’t weight much at all.

NOTE: When I pulled mine out to burn fires, there was bit of joint compound left behind.
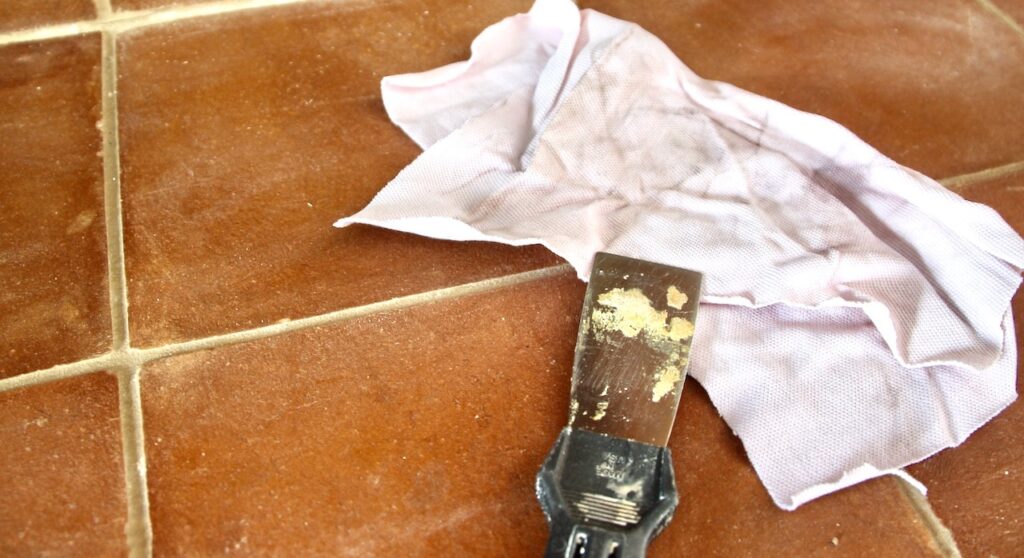
It’s super easy to clean up with a soft damp rag and a paint scraper.
You can see above and in the following pictures, it doesn’t take much!
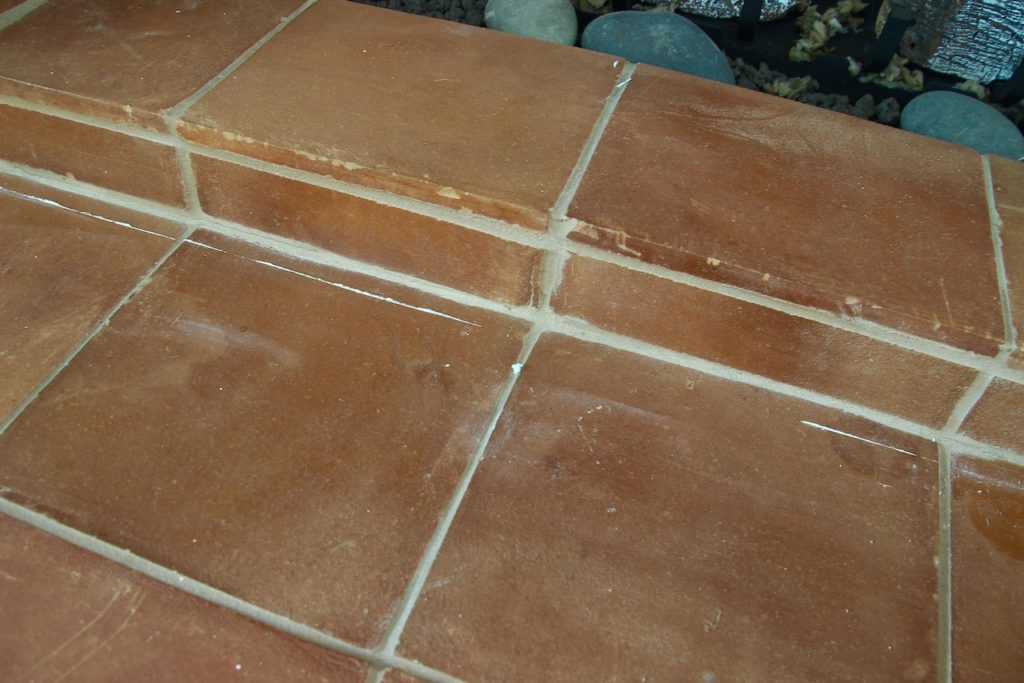
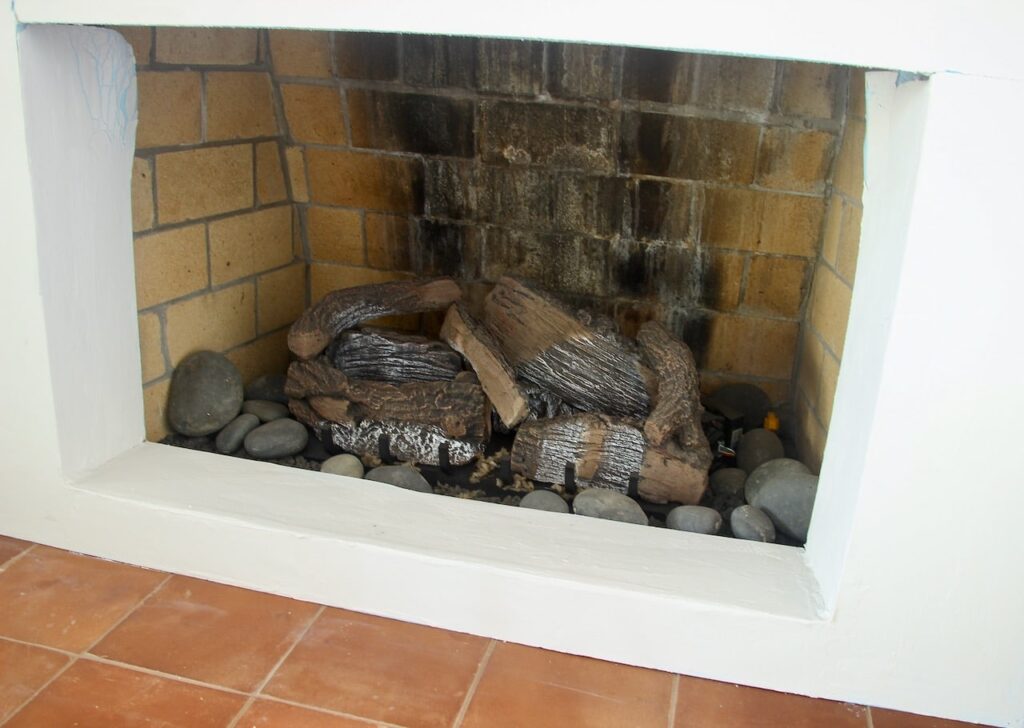
You can also see what happens to the insulation with the heat of a fire. I do turn on the flames when I am ready to shoot a picture. It is maybe on for 5 – 10 minutes at a time. And that is enough to disfigure and warp the upper inner corners.
Next up, that yellow brick interior has to go. And maybe next year we’ll have a new fireplace wall with new built-ins, mantel and tile. We can dream, right?
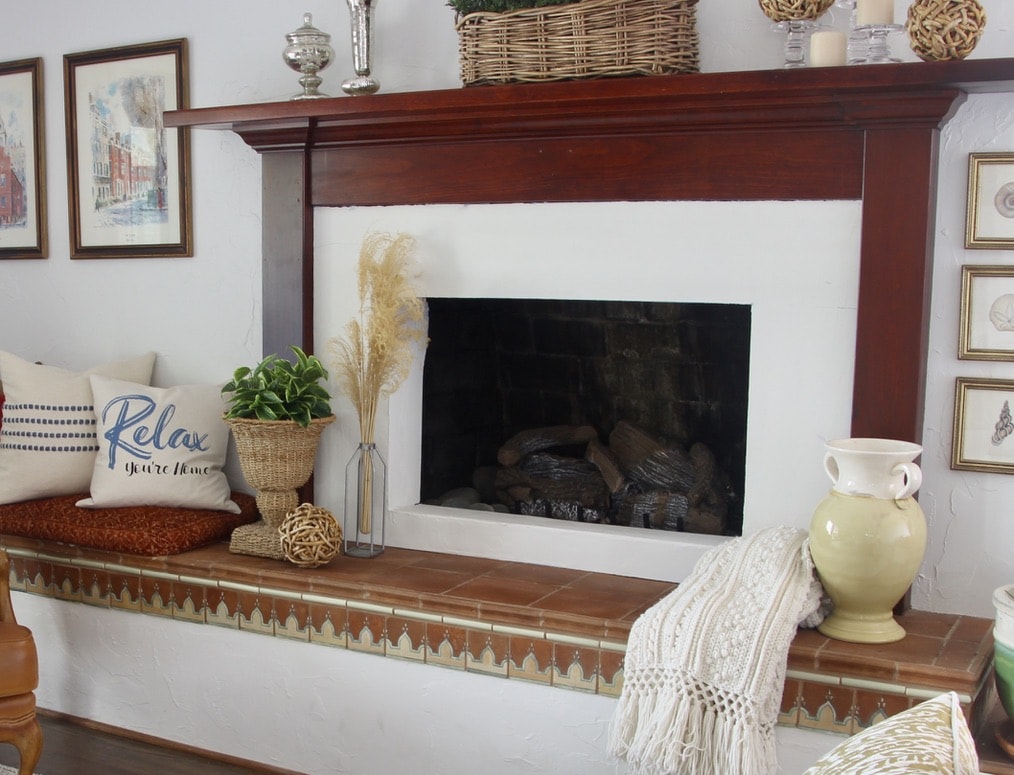
Doesn’t she look great, minus the yellow brick? Read all about painting the interior of the firebox here. So easy and it makes such a difference!!!

One Comment