Fireplace Upgrade: Complete Guide to Painting the Inside
Easiest path to loving your fireplace may be as simple as a bit of paint
“It’s what’s on the inside that matters”
We’ve all heard it, . . . . many times. And usually from our mothers. Who, now looking back as adults, we realize how bright they really were!
And YES it’s true even for a fireplace — the inside of a fireplace matters!
Let’s back up a moment. First thing, can we all agree that fireplaces are wonderful additions to our homes?
They’re focal points!
They’re our homes beckoning, “Cozy!”, “Welcome.”, “Come sit.”, “Slow down and savor.” All the good things we want our homes to say.
But sometimes. Sometimes, their beckoning can be a bit screechy, or a bit off key.
Perhaps, an easy tuning is all they need to be pitch perfect, or at least much closer to pitch perfect.
A full fireplace makeover can be quite expensive, and quite messy.
So why not start with the inside and make one impactful update? And such an easy update! It may be all you need, or it may buy you a bit of time before a full blown makeover.
Did you know you can paint the inside of your fireplace, the firebox?
The trick is using the right paint.
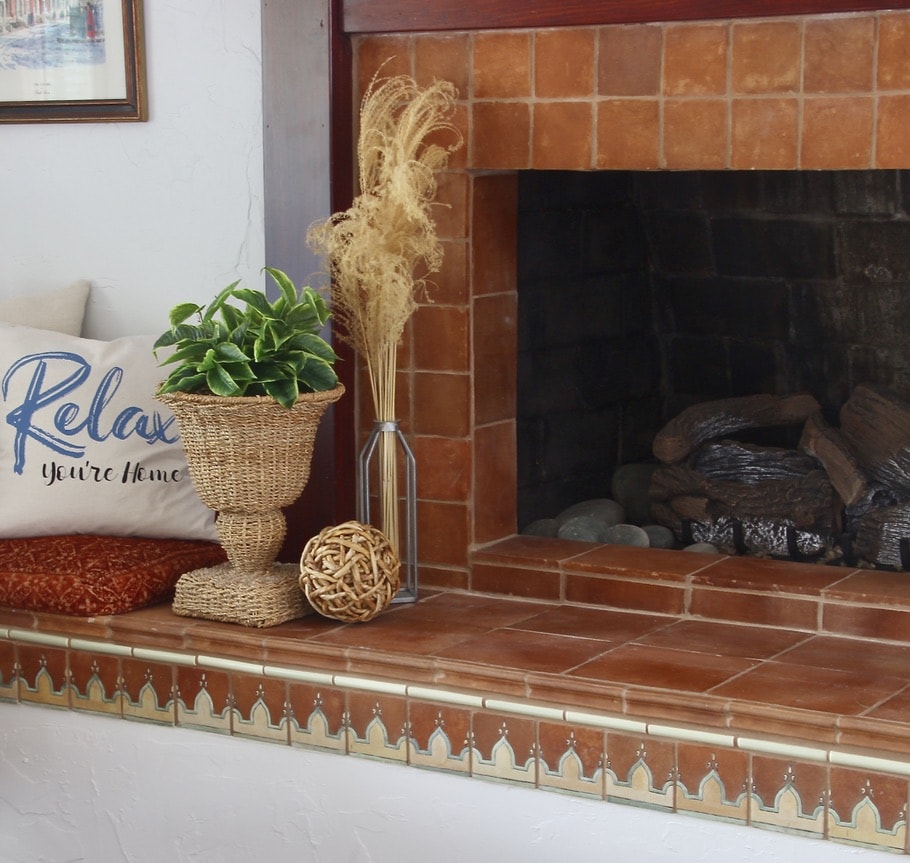
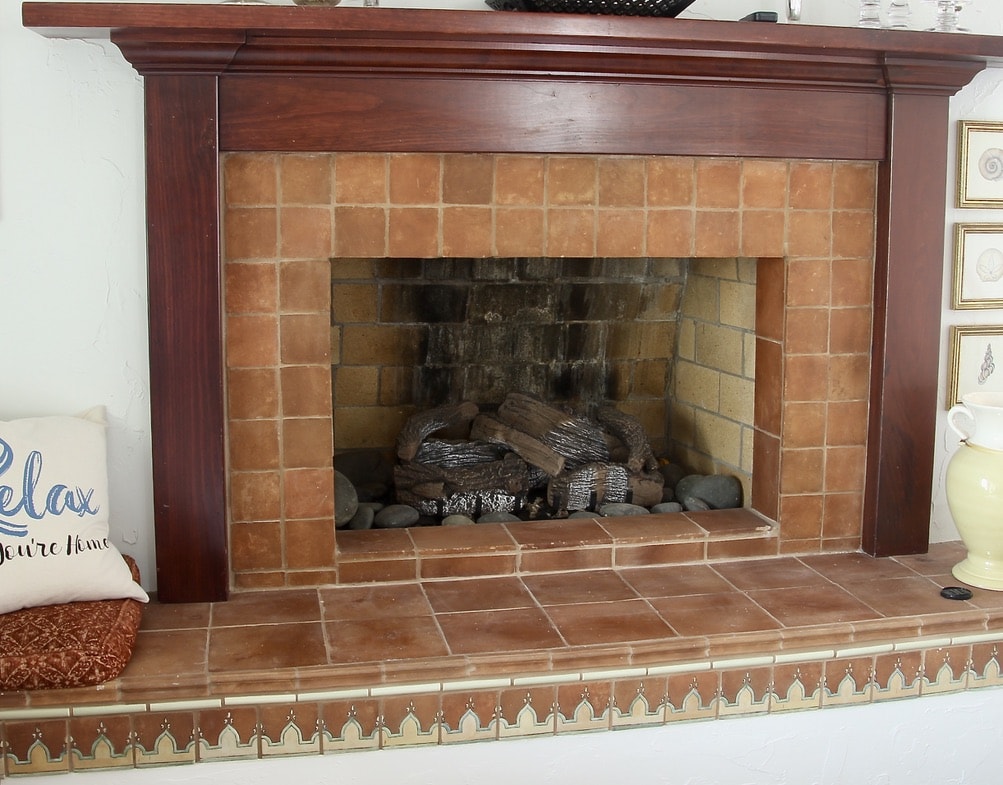
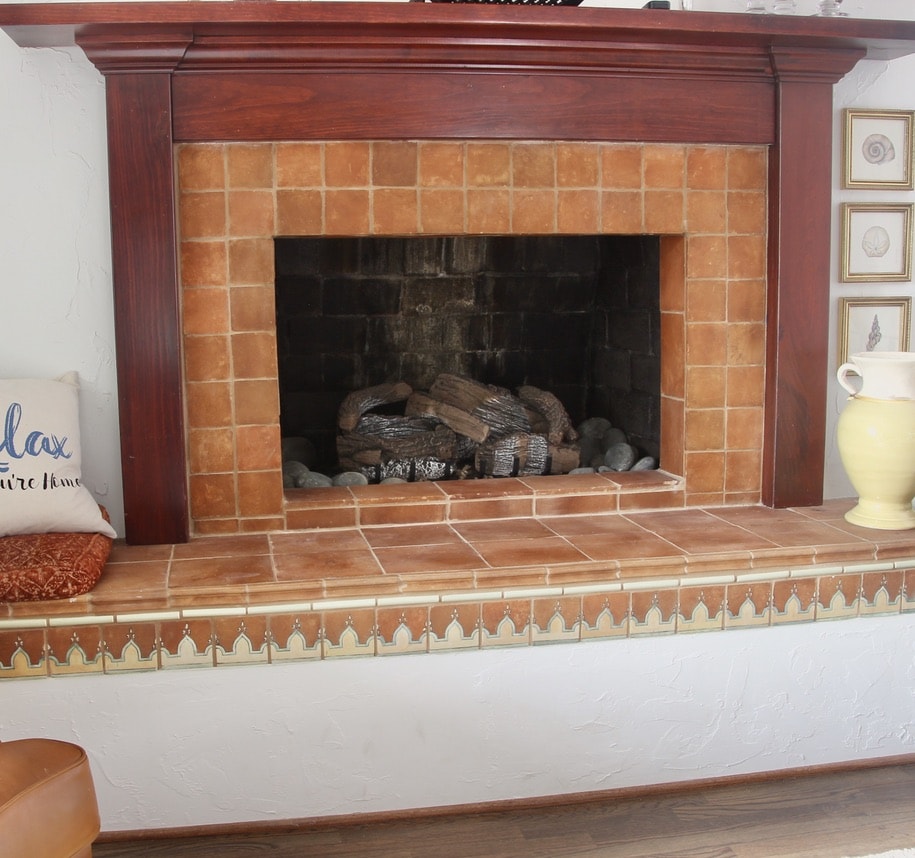
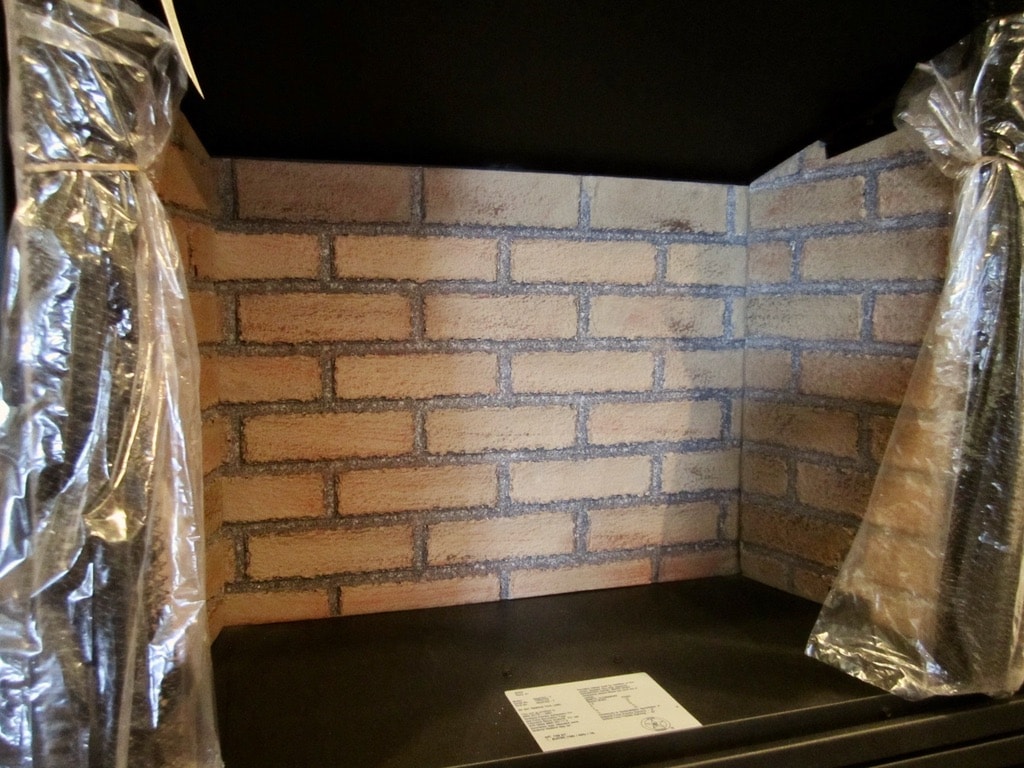
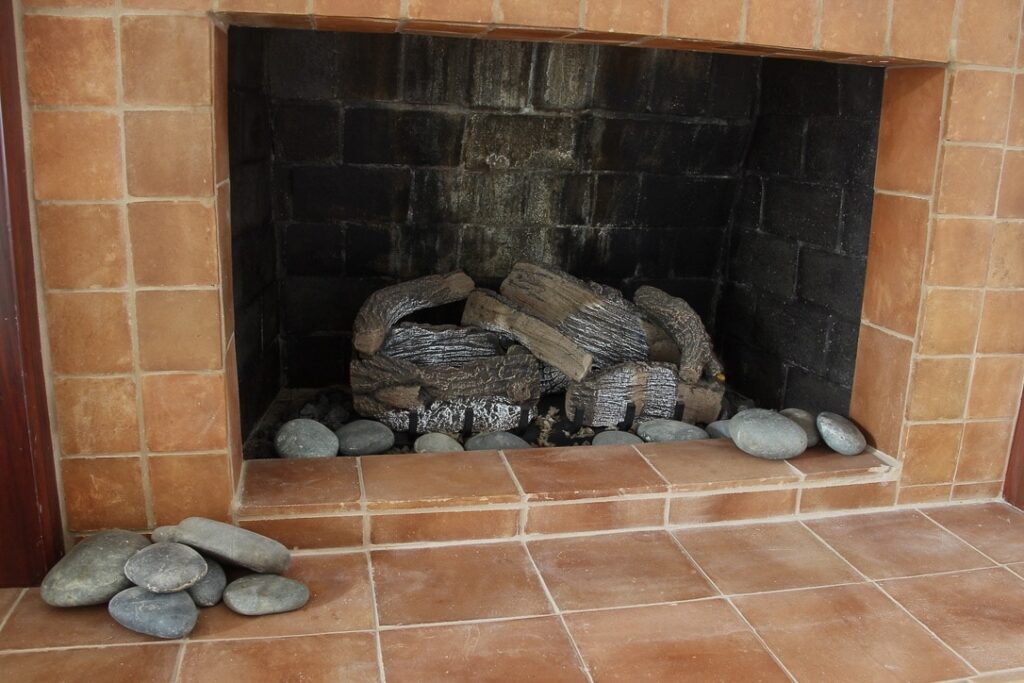
The inside of my fireplace had old 60’s yellow fireplace brick!
I took our fireplace from that (ugh!)
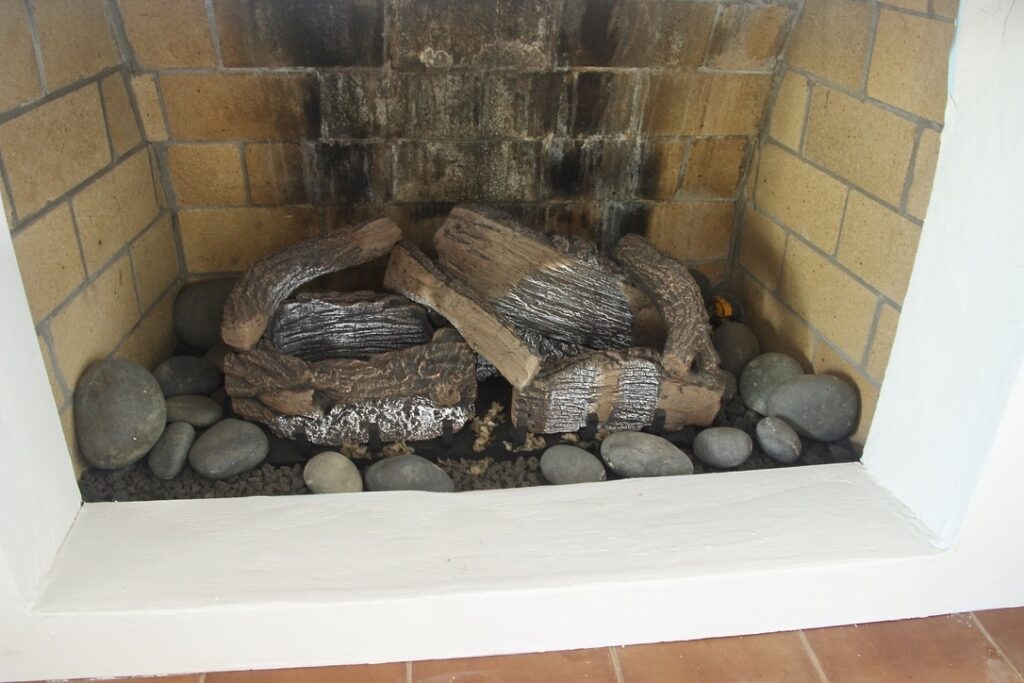
To This!
..
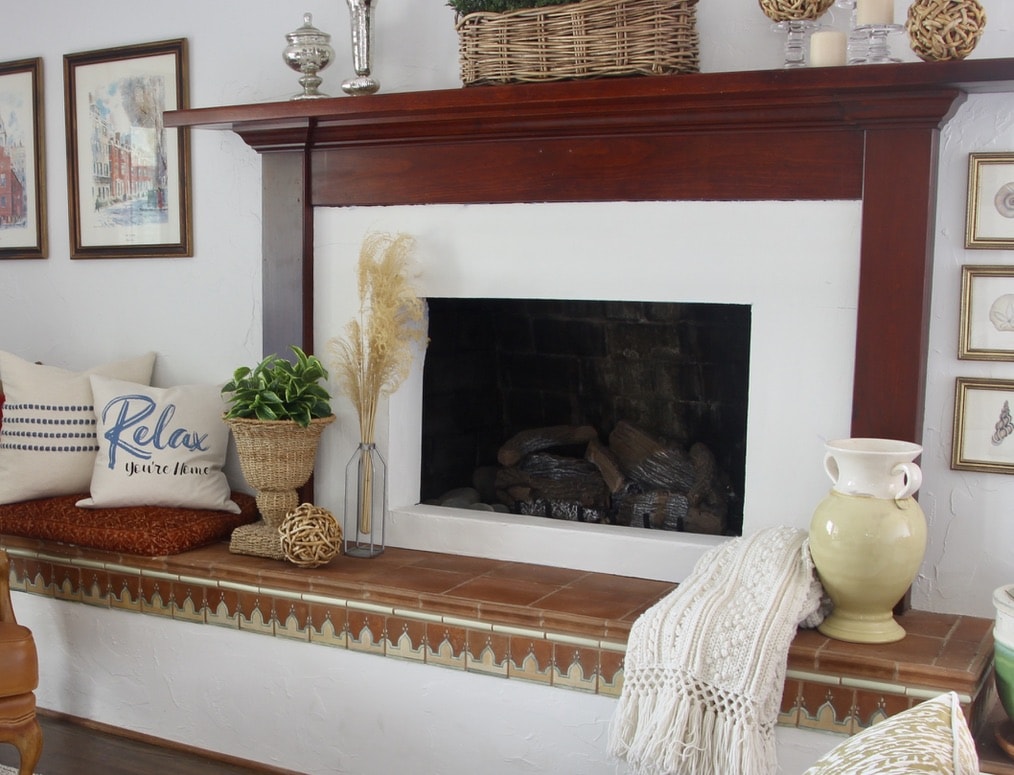
Or better yet, to this—
In ONE day!
How did I makeover the tile too? All this in ONE day? Can’t be true!!!
Oh but it is! Check out how I made the tile surround makeover — and it’s temporary. Like a slipcover for your fireplace.
The perfect solution for renters, for new homeowners still formulating their plans … and their reno funds.
Flash back
In our previous home, we installed a vent-free gas fireplace in our basement — and DIY-ed a faux cast concrete surround and flue.
With that new fireplace, the brand new firebox was pristine! I knew gas logs did not produce the ash and soot stains that would naturally age it. Since the goal was to make it look authentic, I aged the interior before we installed it.

Sadly, I only have a few, rather poor quality pics. But hopefully this will give you the idea.
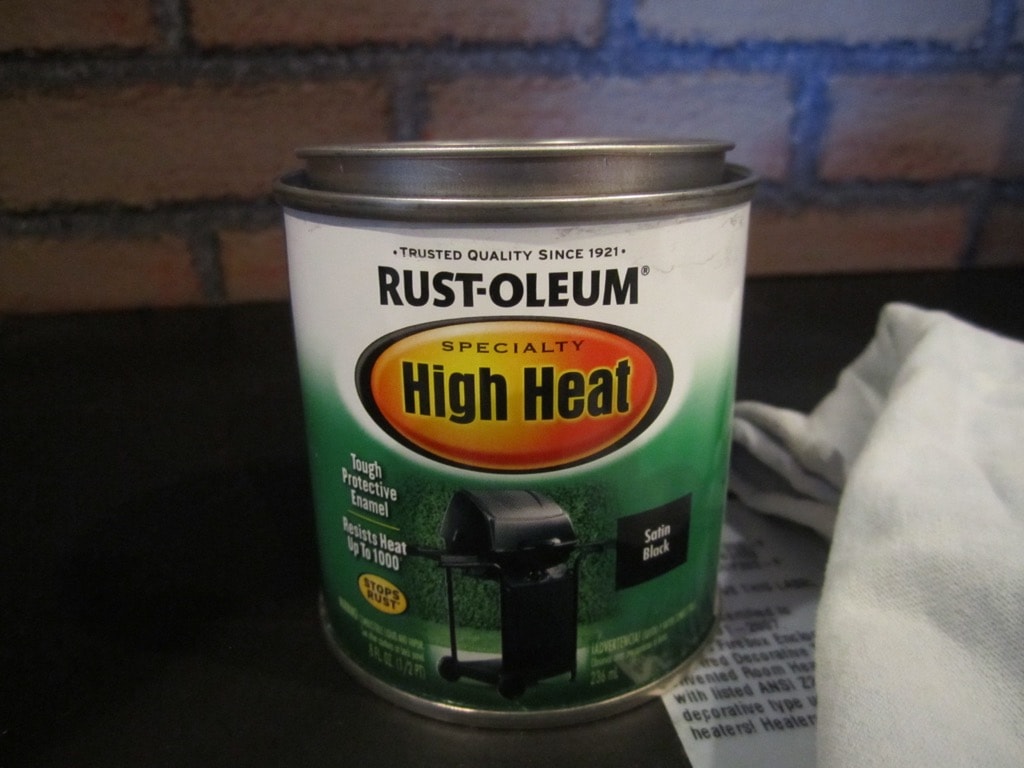
Not knowing better at the time, I used Rust Oleum High Heat enamel in satin black.
With an old rag dipped in the paint, I smudged it on the interior to age it a bit. Not a full coat, just enough to emulate the effects of soot and ash from a real fire.
In our new reno, the upstairs wood-burning fireplace is quite large and the previous owner used it in its original wood-burning mode enough to have a beautiful patina on the back center panel, but the remainder was still the original yellow brick.
During the stage 1 renovations, we had it converted to gas with a beautiful log set and embers, but I still couldn’t get past that yellow brick!
So I drew on what had worked at our old house.
In this case, I already had the patina of years of smoke and ash, what I needed was to lose the yellow. So this time around, I brushed on the same High Heat Rust Oleum paint, from the same can even, to cover the yellow brick.
It’s All About the Paint
I want you to be fully informed when you choose your paint.
The key is to not use normal paint, or what you might think of as “regular” paint, like interior latex paint!
You must use high-heat paint. The kind of paint that is formulated to handle high temperatures.
And don’t use oil-based paint — most are considered flammable! This is a new discovery for me and the main reason for updating this post.
WARNING: Read the entire label! Many of the paints labeled for High Heat, are NOT intended for flames. Yes, there is a difference!
For instance, the Rust Oleum High Heat Paint, both spray and the brush-on that I used are not recommended by Rust Oleum to be used inside the fireplace where it will be exposed to flames.
Have I had issue? No. And I know a lot of people have used this exact same paint. But when Rust Oleum says they do NOT recommend it for inside a fireplace, grill or fire pit, I pay attention.
Their support department said this and the labels are beginning to reflect this too. So, I will not use that product again on the inside of any these, .
The good news: after a very lengthy deep dive into flame retardancy, heat-resistant paint and even VOC’s, and after speaking with numerous paint company technical support departments, I have new a paint recommendation!
The paint I would now go with is from Rutland.
Rutland’s support department verified that once the paint dries it is no longer flammable.
BONUS: They even have a new version for up to 1400 degrees F with low VOC’s made specifically to comply with California’s requirements. It’s #81V. It is only available in flat black. And it’s available as a high heat spray paint. And it works on almost any metal surface as well as masonry.
Rutland’s paint, brush-on 1200-degree, brush-on 1400-degree low VOC, and spray, can be ordered from Amazon anytime, and is seasonally available at Ace Hardware and Home Depot.
Now that we have the paint crisis solved, let’s move on to the simple steps of actually painting the fire box.
The Process of Painting the Inside of the Fireplace
Supplies & Materials-
- Wire Brush or scrub brush
- Warm soapy water
- TSP or de-greaser
- Rubber gloves
- Heat Resistant Paint of choice
- Drop Cloth or other covering
- Painter’s tape
- Paint brush an/or roller for your surface
Earlier, I showed you how I used the black paint to “age” the new pristine look of the fireplace we added to our basement in our previous home.
Now let’s talk about how I used paint to modernize the look of our fireplace, yet maintain the beautiful (to my eyes) patina of years of gathering around a fire.
Step 1) Clean and Prep-
As in any painting and staining project, the prep can be the most time consuming, but also can be the most critical.
Wipe, vacuum, and the scrub away any loose dirt, ash and debris. It’s also a good idea to add some TSP to warm water and waring rubber gloves, wipe away any grease that might be present.
Now use painter’s tape and a drop cloth or cardboard to cover any areas to be protected from the paint.
The gas set was already installed, so I had to work around it. And the log set and accompanying rocks fill the floor of the firebox, so I only had to do the walls.
If your fireplace is empty, then you’ll probably will also want to paint the floor of the firebox.
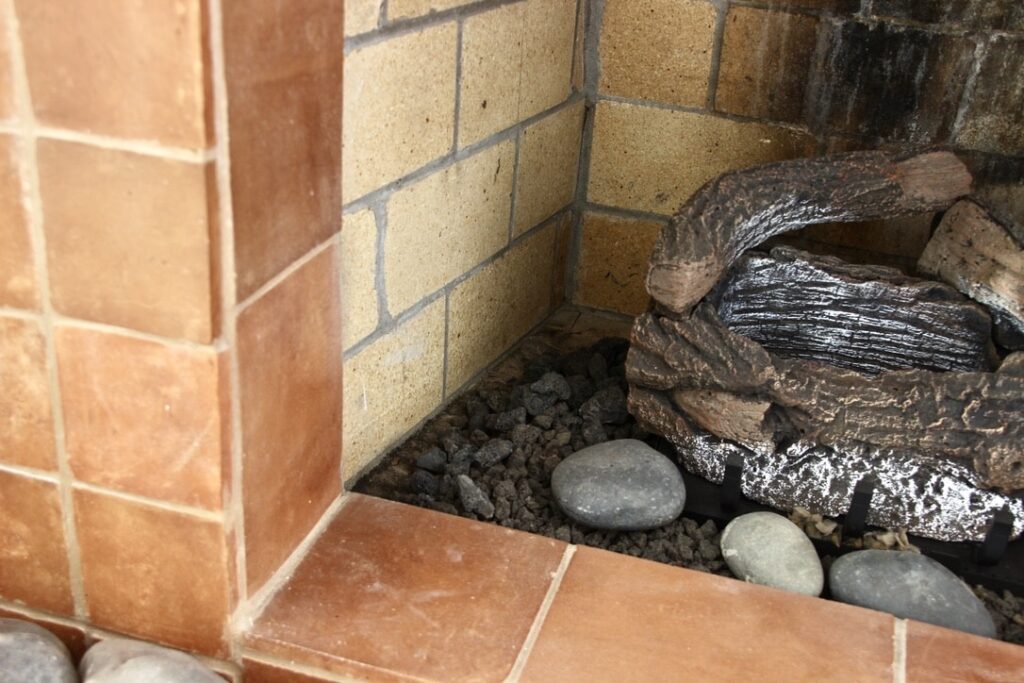
I started by moving the small lava rocks that cover the bottom in from the edge and used a sheet of cardboard to protect them from any drips. And I pulled out the majority of the larger smooth stones that we had added to fill the large area.
REMINDER: If you have a gas log set, be sure to turn off the pilot light BEFORE covering with a drop cloth or opening your paint can!
(I know, stating the obvious, but sometimes when you are all excited about a project . . . . well, I just don’t want anyone missing that step!)
Step 2) Paint –
Make sure all surfaces are dry before proceeding with painting.
No primer is required with the Rutland paint. But check your paint to see if you need a coat of primer first.
If you are giving the entire inside of your fireplace a fresh coat of paint, I’d follow this order:
- paint the back wall towards both corners
- cut in the two corners
- cut in the floor
- paint the two sides
- paint the floor
I was trying to preserve the “usage patina” in the center back and did not paint the floor. So, with a brush, I worked from the front painting each side and then worked from the back corners towards the center back.
As I got closer to the aged area, I converted more to dry brushing (removing most of the paint from your brush before applying to the brick). This worked to preserve the aged quality of the back and have them merge into one.
This gives the illusion that it was a black interior with the smoke and ash over that.
This easy diy, a fresh coat of paint, is just the first step to loving our fireplace wall. After the temporary surround facade — our fireplace surround slipcover, I took a more permanent step of painting over the terra cotta tiles surround.
Painting the tile was a quick, inexpensive solution until we do a full makeover next year. We are working towards a new mantel, surround and bookshelves and storage.
The fireplace opening is not centered and a few other obstacles are throwing us curve balls to get the look we want. It’s all a process, right?
Gotta love the process! Hope you’re finding successes along your reno or decorating road too.


[/et_pb_text][/et_pb_column][/et_pb_row][/et_pb_section]
This is something that SO many fireplaces need! Great post, Diane!
You’re right Missy! What a differencr and sooo simple!
It looks good and has withstood the test of time!
Wow – I would never have thought! Great work, Diane, and thanks for all the fireplace-fixing info! Hope you have a great weekend!
Really appreciate you talking about what paints to avoid and firebox safety! This is so important!
There are DOZENS of blogs online irresponsibly recommending products where the manufacturer explicity tells you not to use it, not least because of the health and fire hazard but because it can also damage masonry which needs to breathe and can turn mouldy.
These bloggers are oeddling something dangerous to themselves and their homes. Thanks for researching this! 🌟
Thanks so very much! When I am writing a post, I write as though I am talking to my best friends, so of course I strive for safety in all I recommend. And I truly appreciate you recognizing this!!!
Thanks Barbara! Just choose the right paint. Hope you have a beautiful weekend too!
Hello – A paint person at Home Depot recommended the Rust- Oleum High Heat 2000 for inside my fireplace, so I bought a can and was going to do some research because I couldn’t read the writing on the can, but the painter accidentally thought he was supposed to start using it.
Anywho, online says it’s oil based so now I think I need to remove the paint and use your recommended brand, Rutland. .
My question is, how do I safely remove the rust-oleum so I can apply the new one?
Thank you so much!!!
Hi Colleen, that High Heat from Rust-Oleum is very confusing. I wish they would be more specific in their labeling. I don’t thin you can effectively remove it. I’d feel safest encasing it with the Rutland. Understand I am not a Paint chemist, I am just going off all the information I gleaned from many, many conversations with the paint company’s support departments.