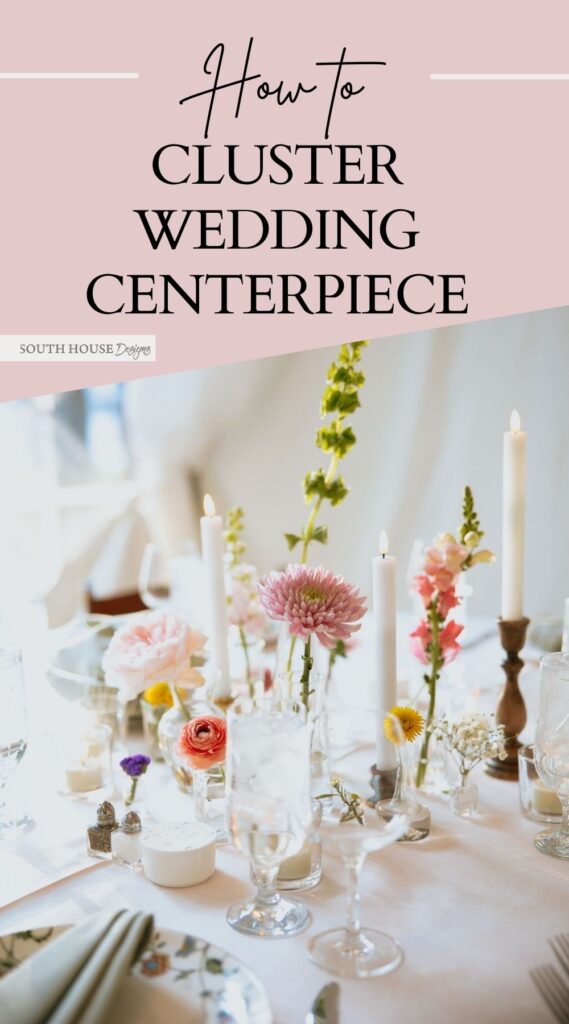
Floral Cluster Wedding Centerpieces – Prepping How To
Newest Floral Trend: Cluster Wedding Centerpieces. Come see how beautifully, quickly & easily you can pull them together on any budget!
I love the planning for a wedding.
Let me rephrase that: When the bride knows what she wants, I love planning for a wedding.
Recently, I had the great joy and privilege of helping a bit with our daughter’s best friend’s wedding. Here is what I did for a mantel by the dance floor.
But today, let’s talk centerpieces!
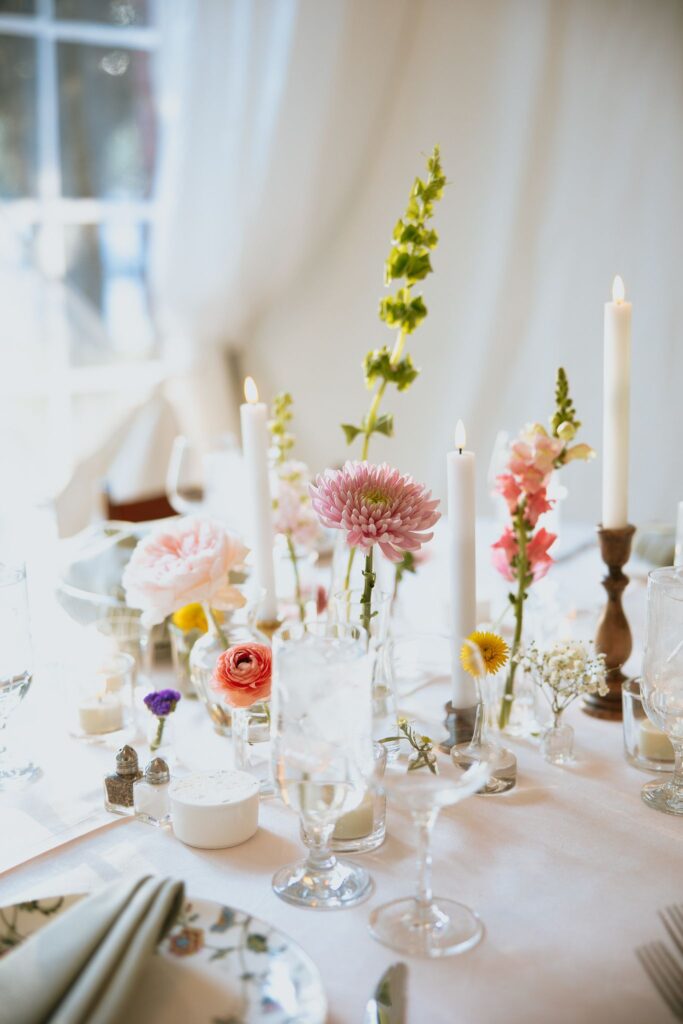
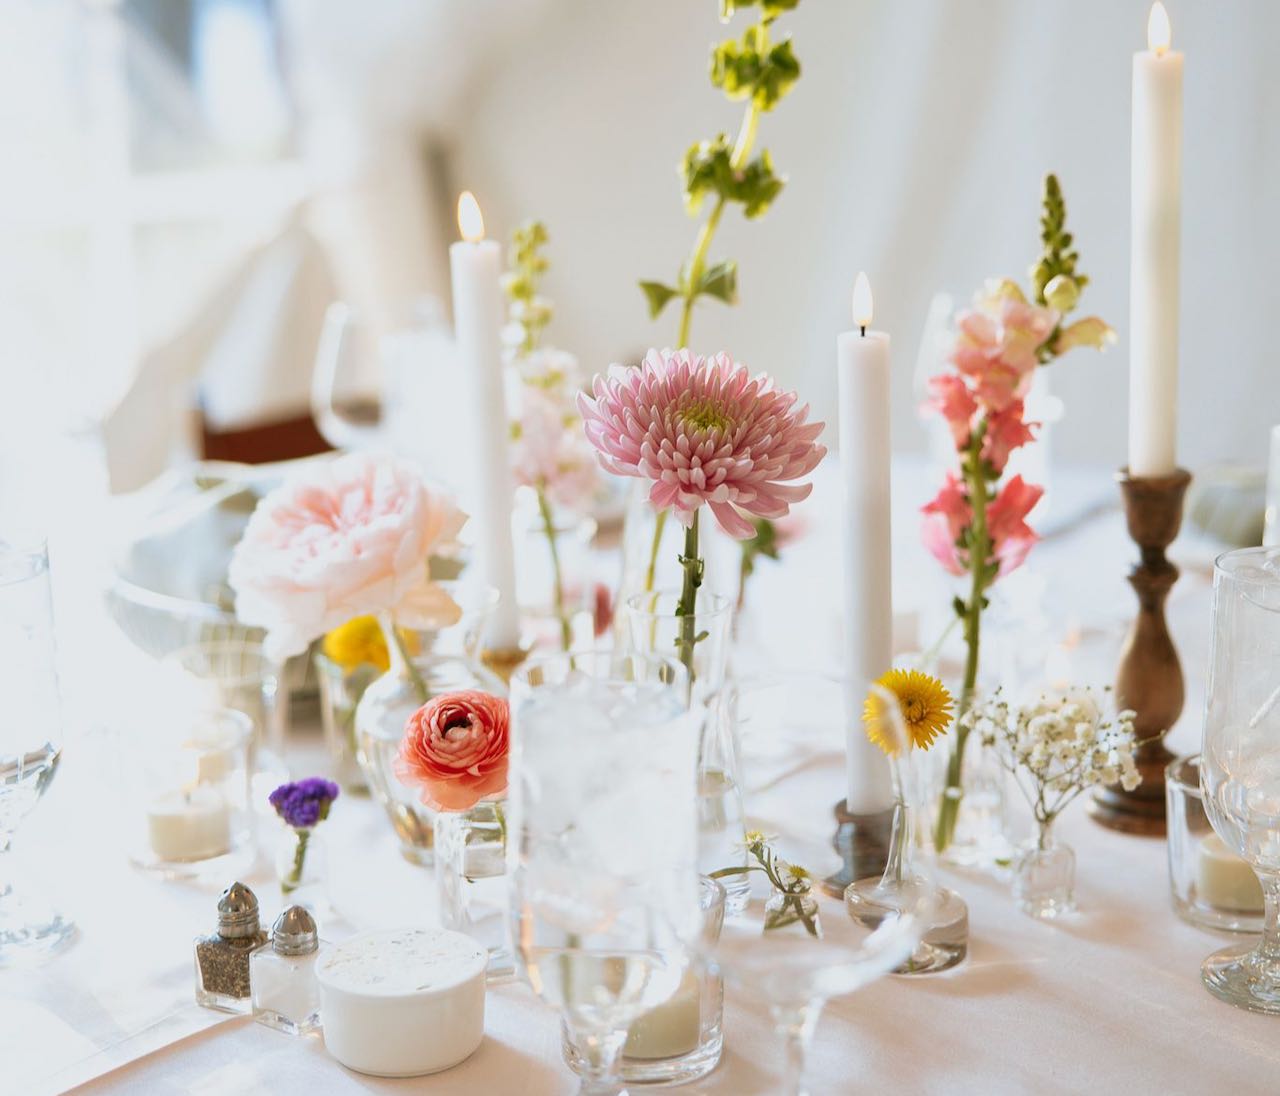
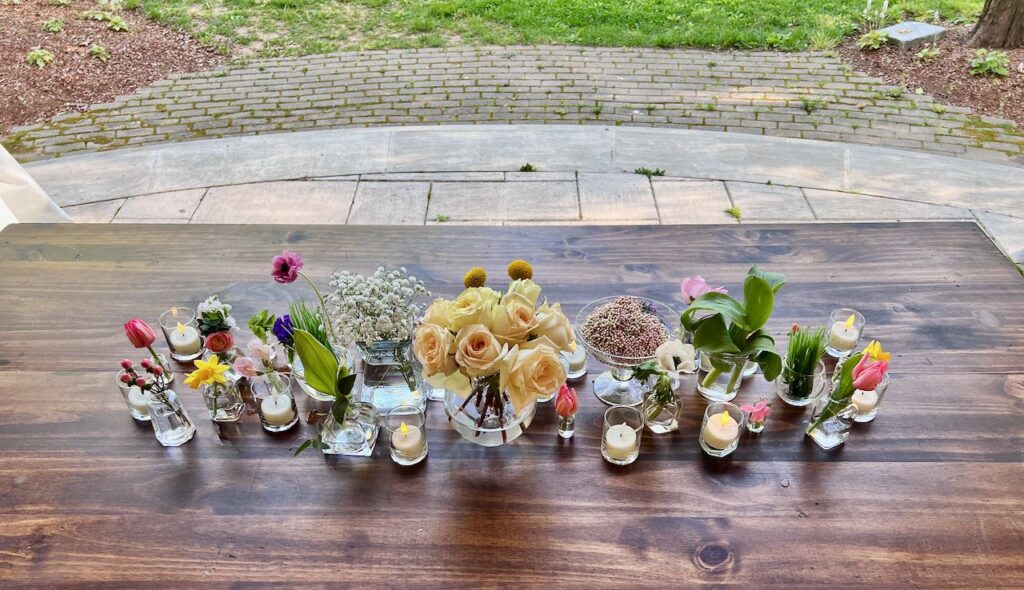
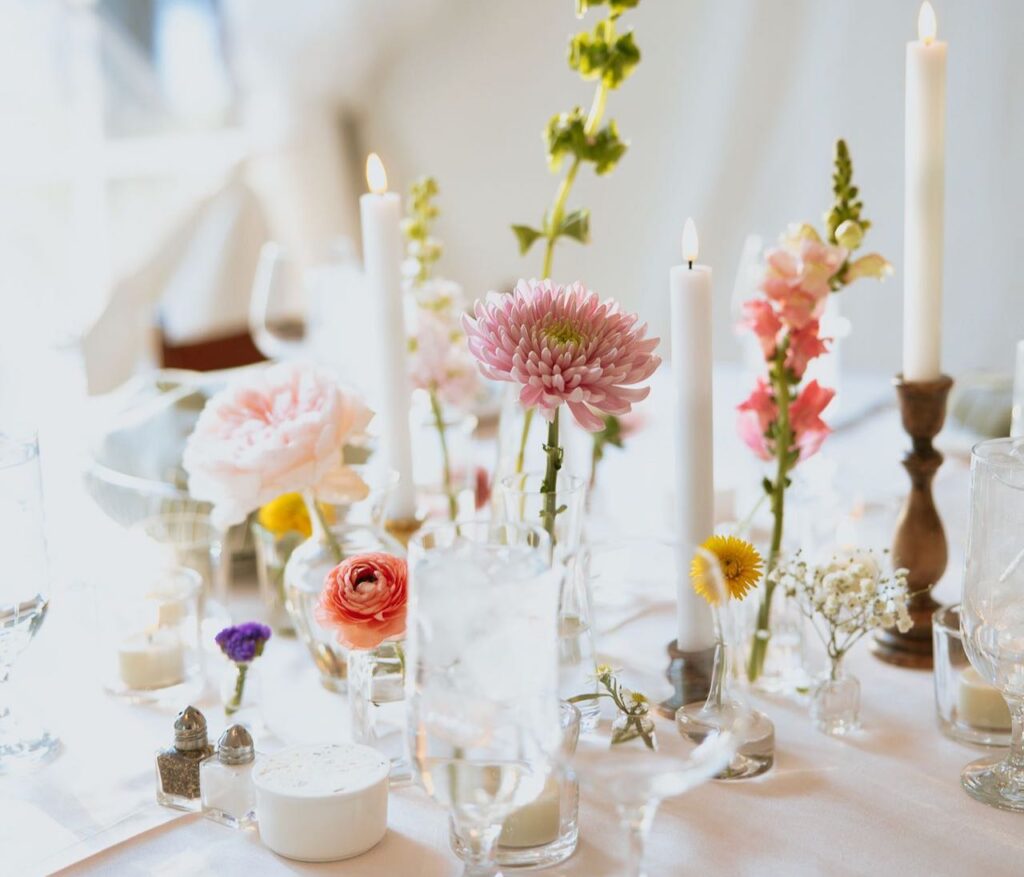
Aren’t these tables, the sweetest, most charming tables, and still very beautiful?
That photo is from their wedding photographer, Justin Kunimonto. Stunning right? Thank goodness he captured this one “artsy” image. Because sadly, the rest of us that were all involved, did not have our cameras snapping.
This is what is being termed a Cluster Wedding Centerpiece!
What is a Cluster Wedding Centerpiece?
From a foremost authority:
“There’s a new floral trend we’re loving:
Cluster centerpieces, which are made up of several different floral arrangements in a variety of different shapes and sizes, are popping up at wedding after wedding.
As far as centerpieces go, clusters of different blooms in tons of different vessels is about as versatile as you can get.”
–Martha Stewart Weddings
Looks like one of those “things” that appears so simple but actually takes quite a bit to pull off, right? Well, I’m here to testify that with plenty of planning, you too can pull this off.
And Martha’s team is right with the versatility!!!
Libby knew she wanted lots of color in clear vases.However, you can create a monotone look just as easily.
Libby ordered 12 – 15 different blooms from a wholesale florist in DC. You can limit the variety. of blooms if that’s more your style.
Her parents and sister collected small clear vases. I. brought my collection of brass candleholders and the girls stained wood candle holders ordered online.
The planning by Christie, the MOB, was amazing! Follow along and take notes for your own wedding or event you will be planning.
The Preparation & Organization For Cluster Wedding Centerpieces:
Four Days Out:
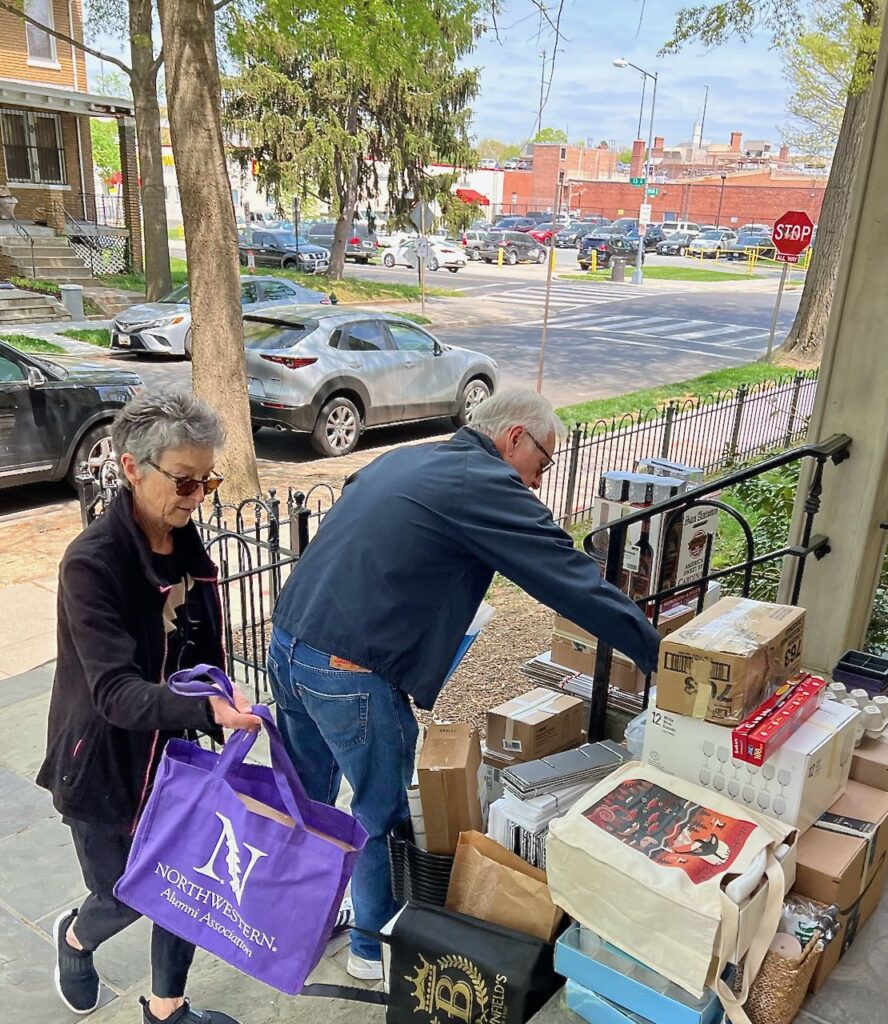
Several days prior to the wedding, the incredibly organized mother and father of the bride, MOB and FOB, arrived from their three day drive loaded with a mountain of supplies.
The roughly 150 assorted, intentionally mis-matched bud vases that Libby’s parents had collected during their months long thrift store treasure hunt were unpacked and arranged by height.
These were supplemented with tiny bottles ordered on line. For a total of 250 vases.
Oh, and did I mention, that the caterers warned us that we would have about 20 minutes to set everything up. YIKES! That’s certainly incentive to be organized.
Two Days Out:
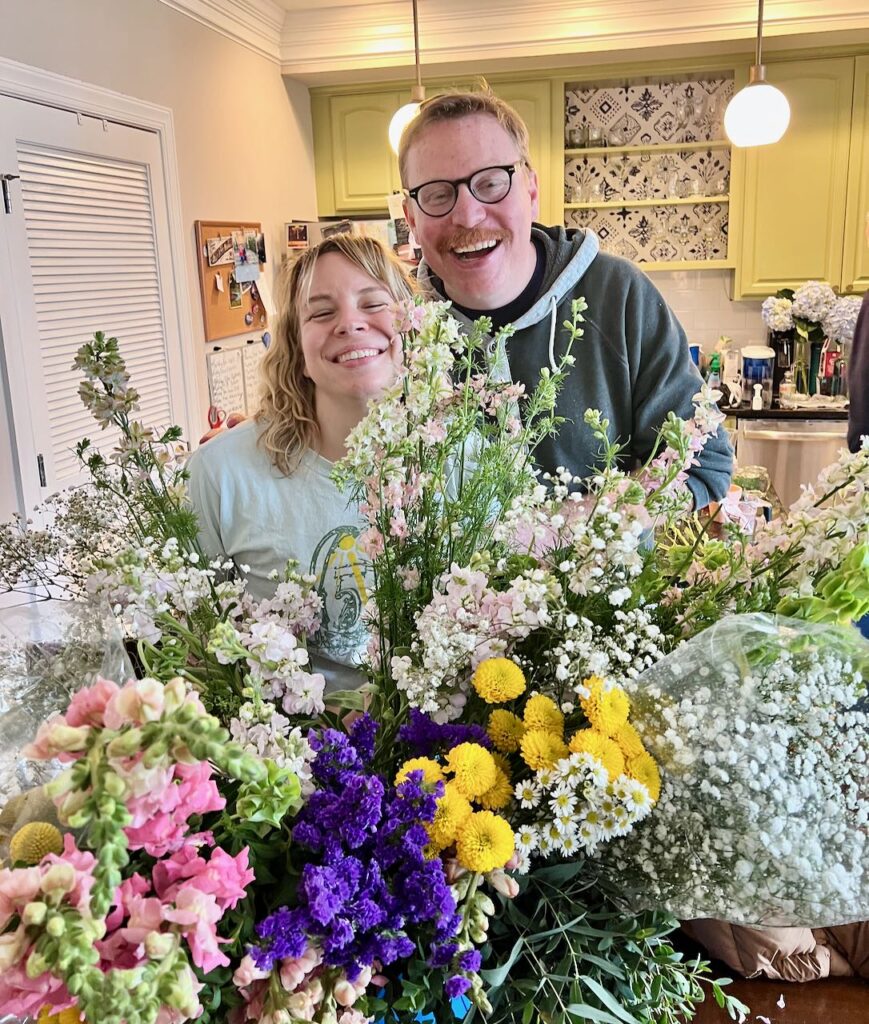
The flowers that had been ordered from a wholesale source had arrived!
And, that’s our sweet, charming, colorful bride and groom.
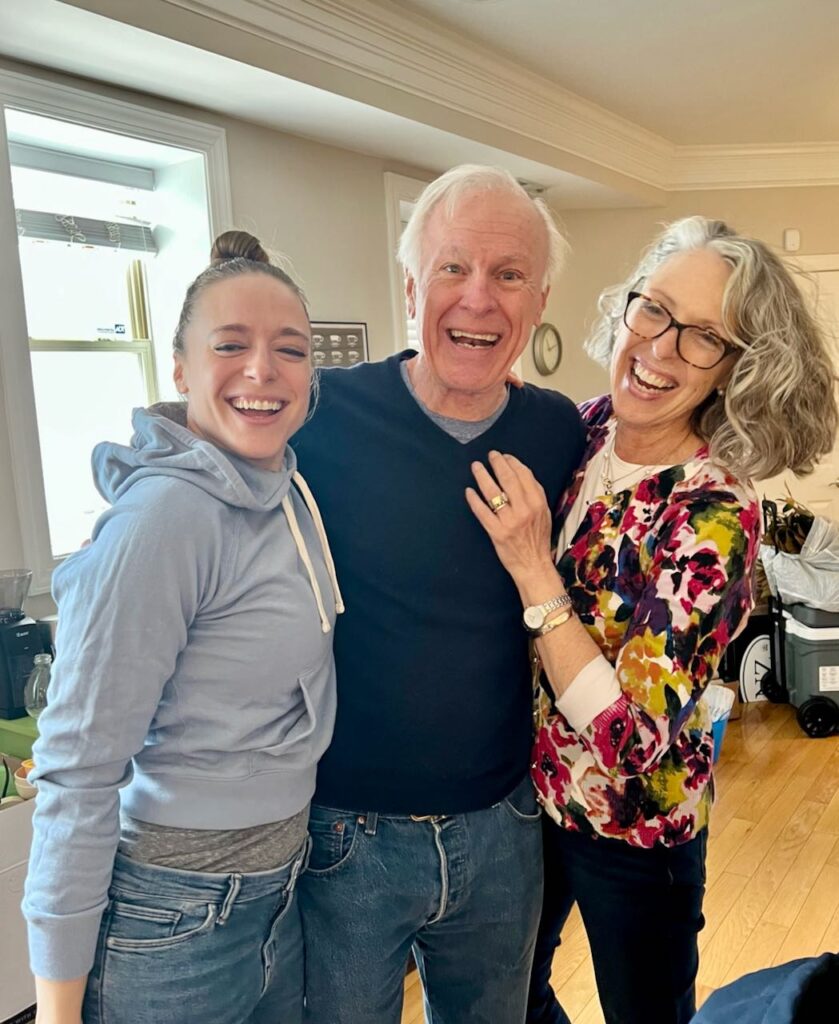
The Hubs, our daughter and I joined Libby and her parents and sister along with Alex and his parents at Alex and Libby’s home. Our mission was to prep and arrange all the centerpieces.
And probably share quite a few laughs throughout the day. This was a work day, but also a day to celebrate and enjoy our shared friendship of two decades.
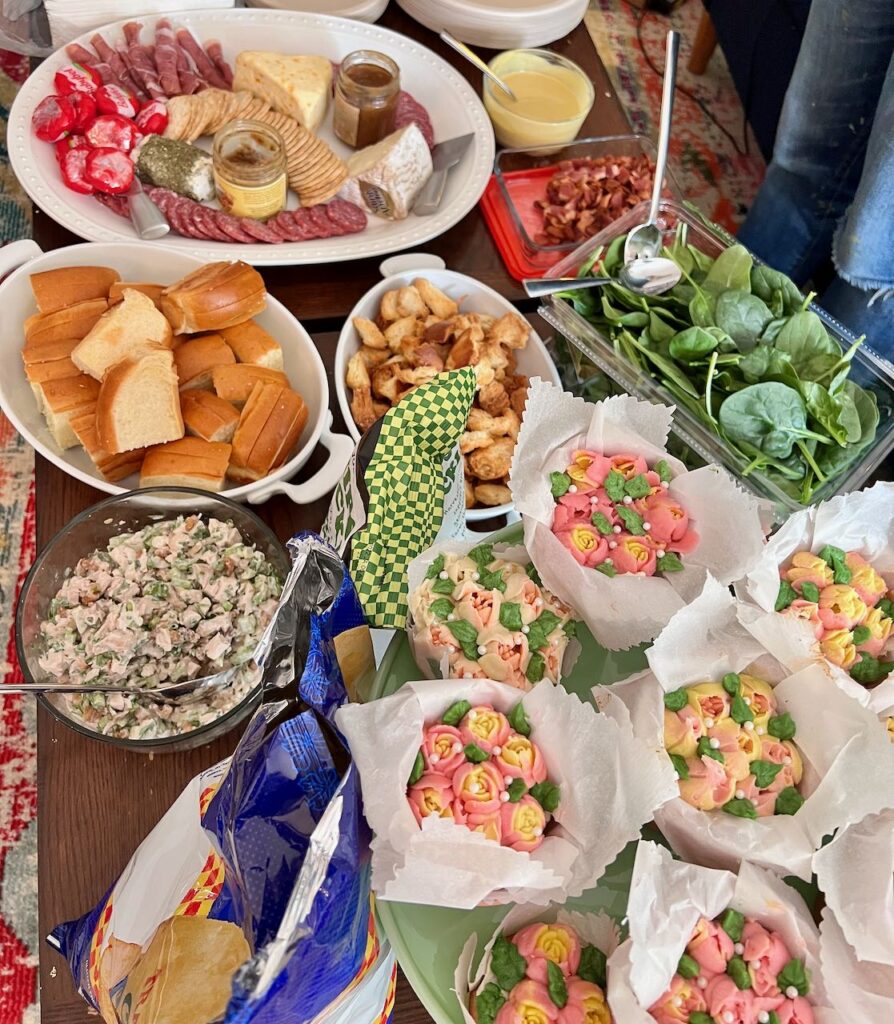
So of course a celebratory spread was in order. See those cupcakes. Aren’t they fabulous? I’ll be sharing a post soon on how I made them. So be sure to keep an eye out for that!!!
Back to Those Centerpieces We Are All About Today–
Collecting Ideas? Be sure to pin this to:
Your Wedding board, or
your Rehearsal Dinner Decor board, or
your Centerpiece board, or
your Flower Arranging board
or wherever you know you’ll be able to find it again.
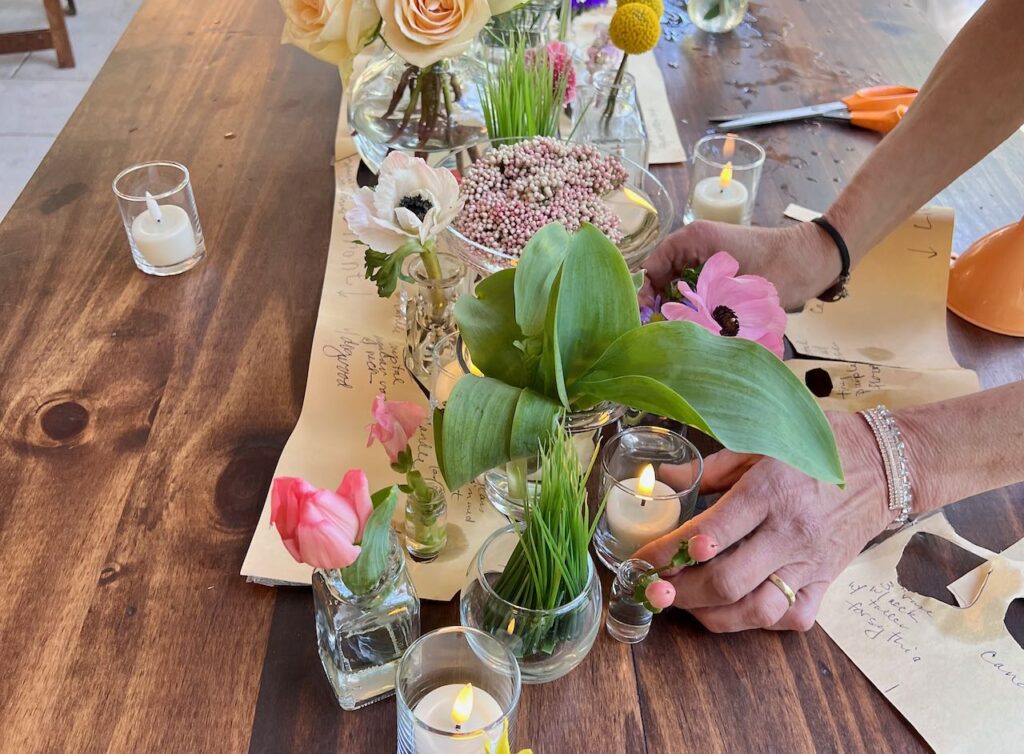
Prepping the Cluster Wedding Centerpieces-
We started by grouping the vases. Each table received one of the tallest, then three or four from the next two tallest groups, then four or five from the group of “squatty” vases and then four or five from the tiny vases. For a total of fourteen or fifteen per table.
We made sure each cluster of vases included an assortment of fluted, square-based, cylindrical, etc. The goal was variety within each cluster.
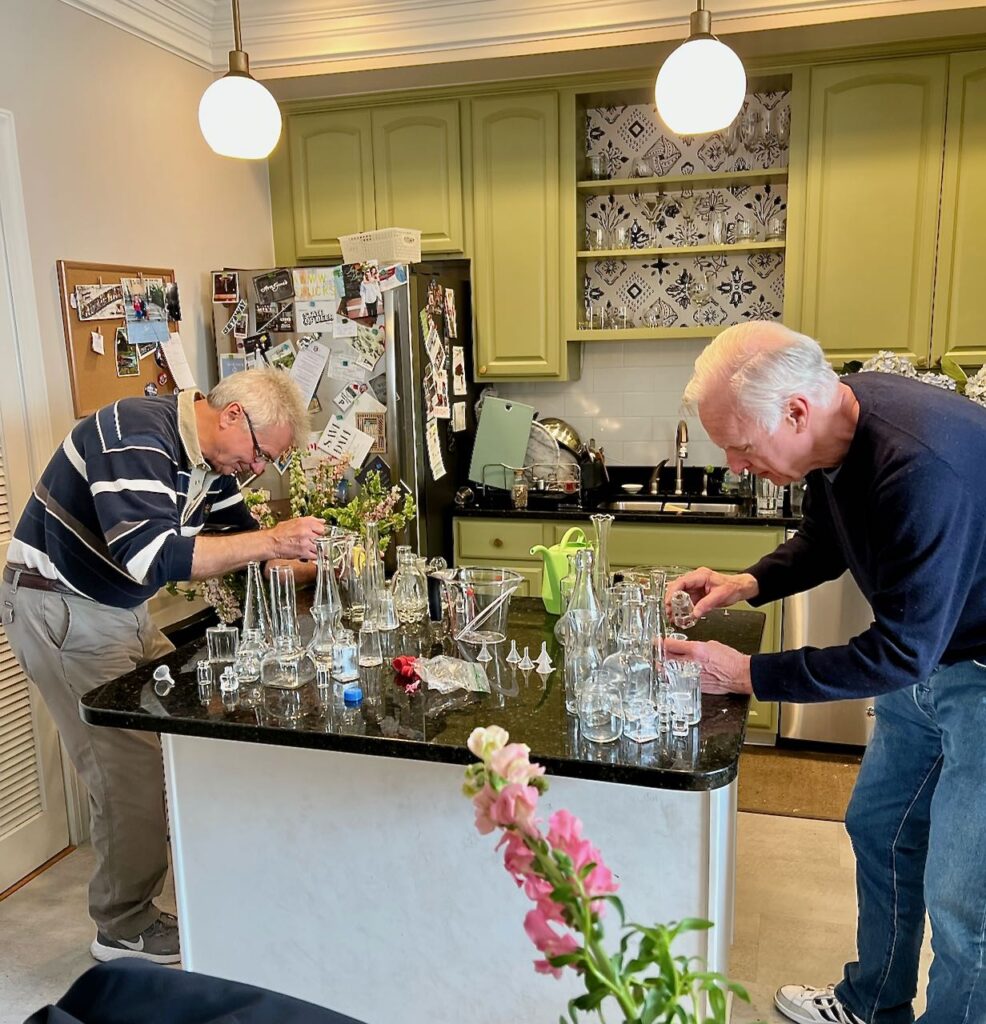
The Hubs and FOB were charged with filling each cluster assortment of vases with water.
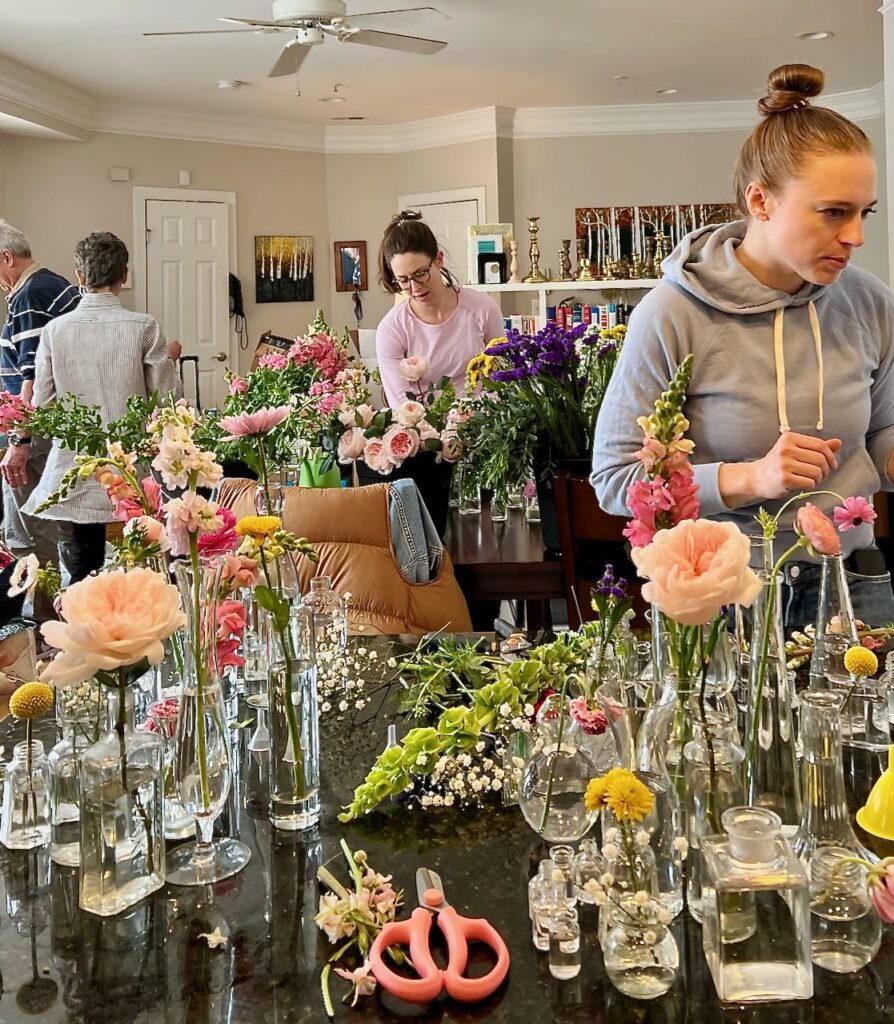
Libby, her sister Laura, and our Katie selected the blooms, prepped and clipped them for each vase.
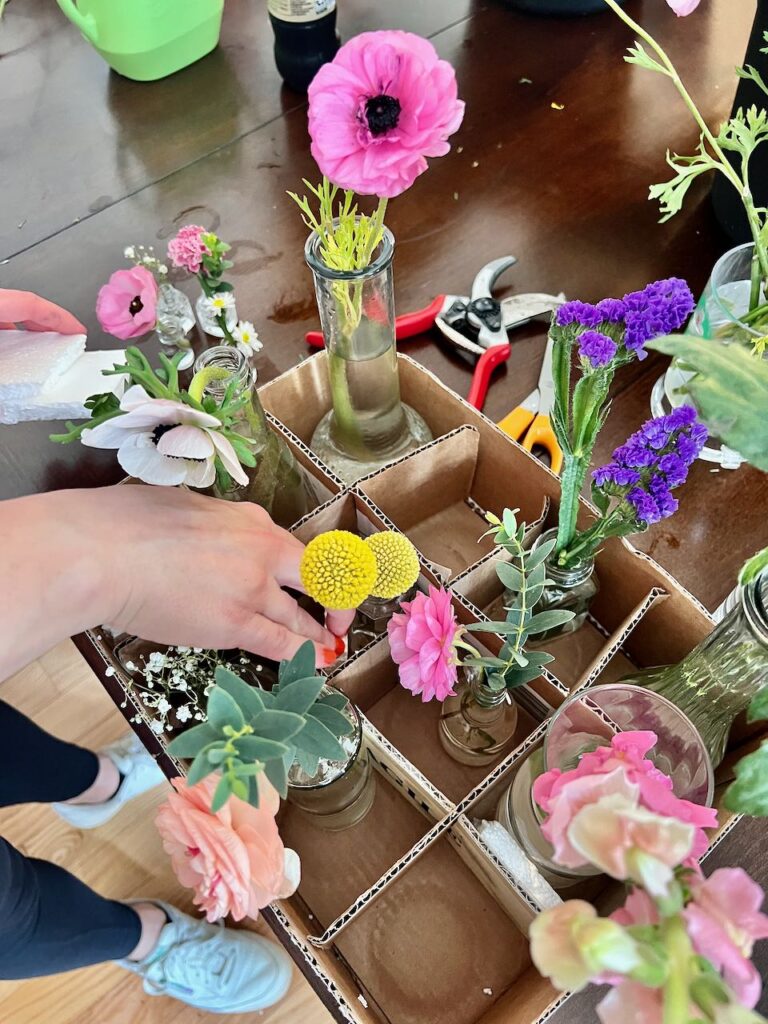
Once each cluster was finalized and checked, it was packed neatly into boxes that had hand-cut corrugated cardboard dividers. Pieces of styrofoam were also used to keep everything upright and safe.

The micro, teeny tiny vases rode in sections of egg cartons.

And that little egg carton section tucked securely into one of the dividers.
I tell you, this MOB thought of everything!!! And even fully tested it out ahead of time.
She actually did a test run in Nebraska, driving around for several days with a box of assorted vases filled with water and proxy blooms. She reported minimal evaporation and the blooms stayed happy — and you get used to the clinking in stop-and-go city driving.
Special Bridal Table Floral Cluster Arrangement-
The bride and groom sat at a special bridal table for the reception (and roasting).
We all know, a special bridal table needs a special bridal arrangement!
A long assortment and a low assortment.
So our super organized MOB came up with a plan to make sure our rushed setup did not have rushed looking results.
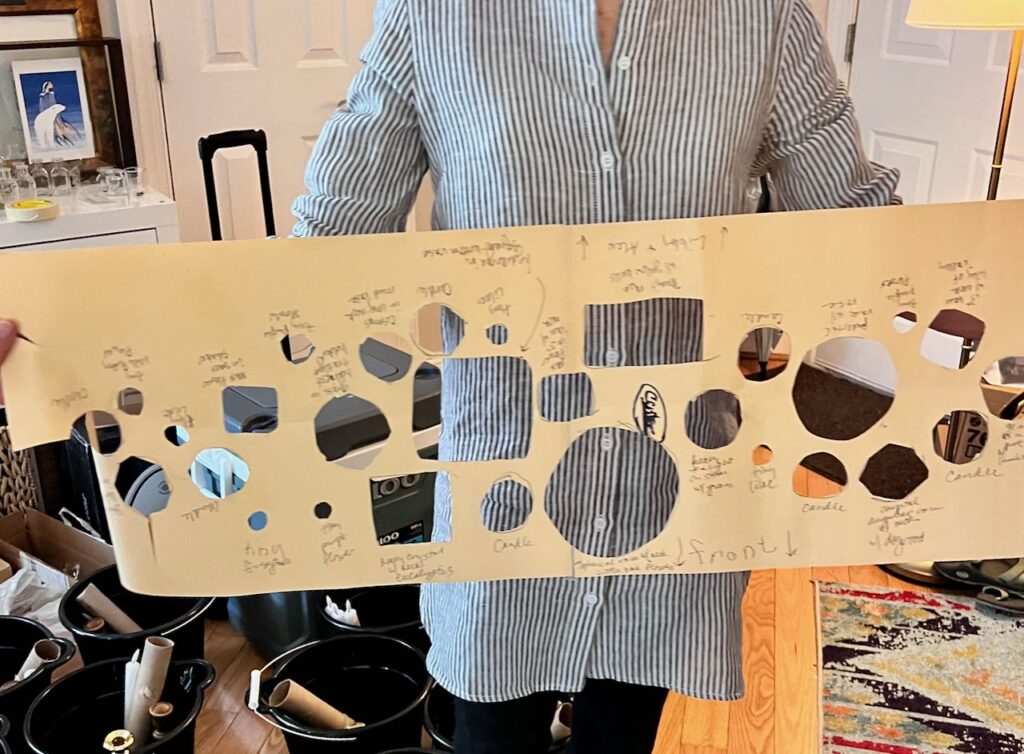
This is Christie holding her Bridal Centerpiece Map. On this long length of paper, she laid out the desired arrangement. Yes, every vase, every votive candle and every flower or appropriate proxy.
Once she and the bride (via FaceTime) were satisfied, she drew around each and noted a description of each. Most of us would have stopped there. But not Christie!
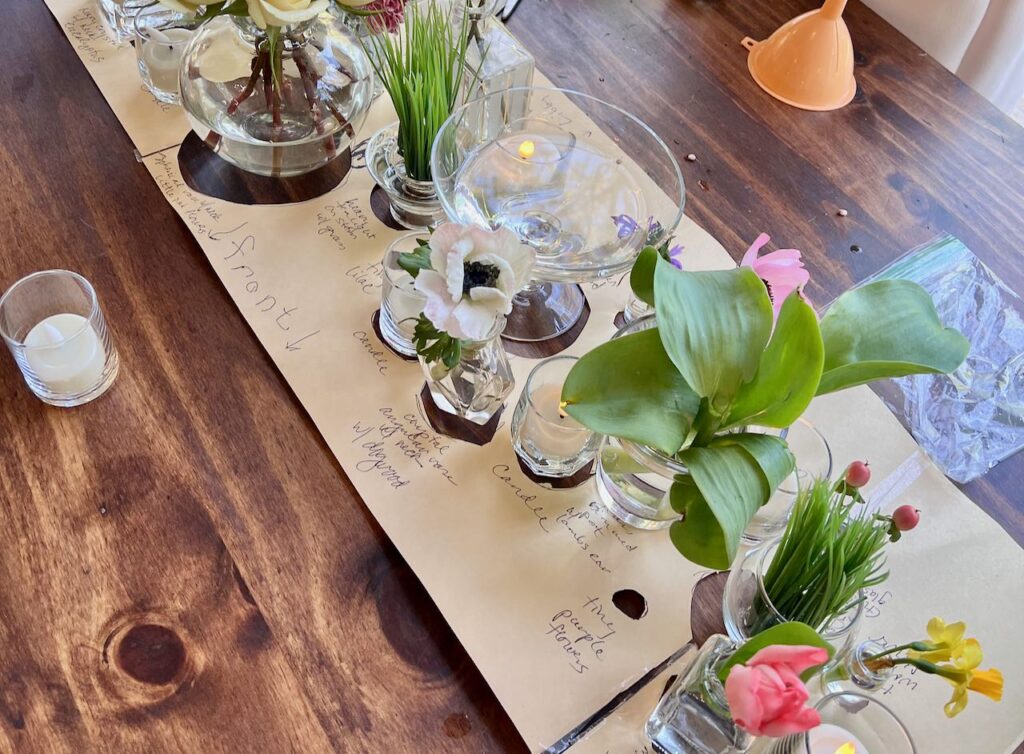
She cut out the center of each one. So once the vases and candles are all set in place, we could cut away the map and everything would stay right where it was supposed to be.
Happy to report it worked perfectly!
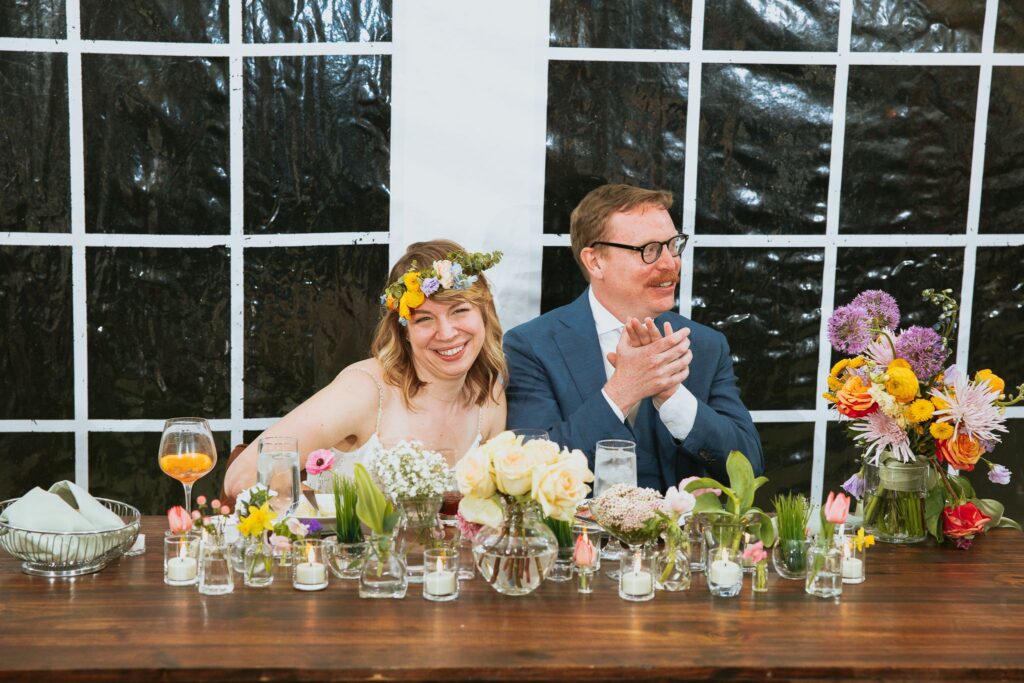
What a charming, sweet table! Just like this couple!
And Candles Too-
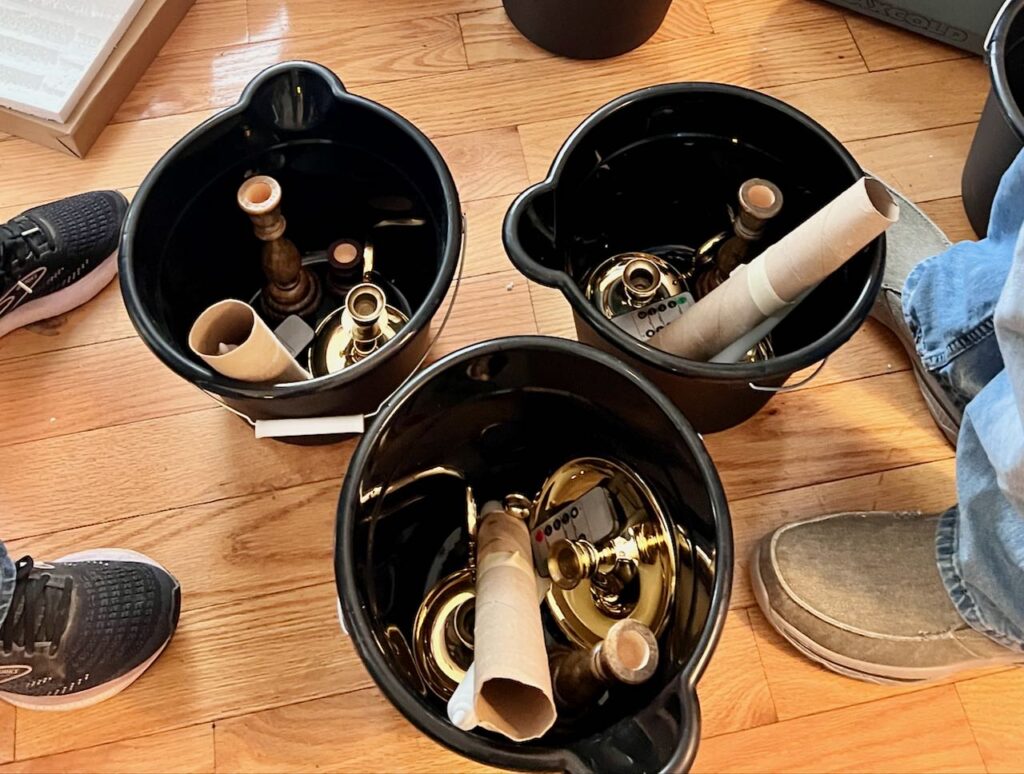
There was also a bucket for each table. The buckets held the three flameless taper candles, three different height candlesticks in a combination of brass and wood and the candle remote control.
The tapers are actually wax, so we wanted to handle them delicately. Two tapers fit perfectly in a paper towel tube and the third taper was taped to the outside.
This too, this worked just as planned!
Cluster Wedding Centerpieces: The Setup-
Friends of the couple who were coming early for a special photo shoot were asked to help with table setup. Each picked up a box and a bucket and headed to their table.
Remember the MOB who thinks of everything?
Well, each tables’ box contained the vases and flowers, along with five flameless votives, AND ALSO a piece of ribbon and a sheet of instructions.
Ribbons and instructions? I know! But this worked better than I could have dreamt.
Here are the instructions:
THANK YOU FOR HELPING!!
You should have:
–one box filled with vases and flowers, a ribbon, and votives
–one black bucket with taper candles, candlesticks and a remote control in it
If you have a box with side flaps, fold down the flaps before you start so you can reach the vases more easily.
THEN….
1. Take out the ribbon and stretch it out in the center of the table. This is the rough diameter of the grouping of vases and candles. Don’t set anything directly on the ribbon, as you’re going to remove it when you’re done setting up.
2. Imagine the ribbon running from 9 p.m. to 3 p.m. on a clock face. Now imagine the clock face superimposed on a bulls-eye target.
3. Place the tallest wood candlestick at 12:00 on the clock face, the second-tallest candlestick at 8:00 and the shortest at 4:00. Put the three taper candles in the candlesticks, making sure they’re straight. You might have to move these out slightly as you fill in with vases, keeping the candles to the outside.
4. Take the tallest vase and put it in the center of the clock face—also the center of the imaginary bulls-eye. All the other vases will be arranged in the rings around that bulls-eye.
5. Take the next three tallest vases and place them in the next imaginary ring around the center—at roughly 10:00, 2:00 and 6:00.
6. Take the next four vases (they’re all getting pretty short by now) and place them in the next imaginary ring around the center—at about 9:00, 1:00, 5:00 and 7:00.
7. Take the smallest vases and place them roughly evenly around the outside. There should be 12-15 vases total by now.
8. Place the five votive candles evenly around the outside , all the way around.
9. Find the remote control for the candles in the box. Click the green button to make sure all the candles light up. If they don’t, lift the votives out carefully and press on the bottom until the candle lights. Put it gently back in the glass cup. If a taper fails to light, push the flame end down till it clicks and it should come on. THEN CLICK THE RED BUTTON ON THE REMOTE TO TURN OFF THE CANDLES. Put the remote back in the box.
10. Pick up the ribbon and put it back in the box. Put the black bucket underneath the table, in the center.
11. Take the box back to the staging area. Yippee! You’re done! Thank you!!!!
I wish I had a picture of one of the tables that two “dudes” were to setup. They were a bit confused, and then a bit distraught, when the realization hit that it wasn’t a table setup but a centerpiece setup!
But they quickly rallied, one reading the instructions aloud to the other. (With running commentary between them) Before long they were making adjustments; i. e. so that the two vases with purple flowers weren’t next to each other,
They were quite proud, deservedly so, of their final arrangement. It took about ten minutes and was quite beautiful!
All that prep made for such a beautiful, relaxed and totally enjoyable celebration!
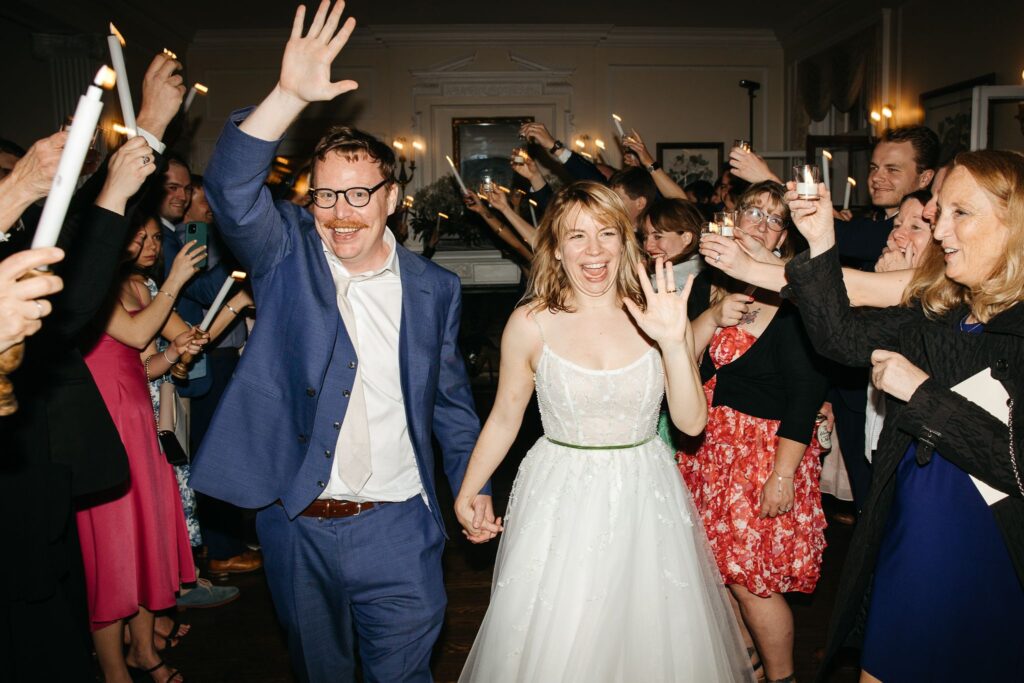
Way too soon, we were sending the happy couple off
Dismantling Details-
When it was time, the DJ asked the guests to grab the candles off the tables and escort the bride and groom out, and then the aunt and cousin of the bride came along with two large baskets for guests to put the candles in. It was Libby’s idea to get the candles off the table that way.
Oh, why put the bucket under the table? It made for a super quick take down. All the vases and flowers went into the bucket and quickly to the holding area.
If You have a special event on the horizon, or know someone who does, I hope this helps you enjoy a relaxed and beautiful day also. Intrigued, but would like to see more versions? Check these out from Martha’s team.
And please share this with a friend who may be planning a special day.

This is exactly what I’m doing for Annie’s Wedding #2. I had no idea it had a name. I wish I had a Diane and crew to help me out. 😉
But at least you have an amazingly organized, and tested, plan to put into action! I wish I was there! Can’t wait to see your pics. You’ll be better about that, than I was.
MOB was one organized gal…she must have gone thru every step imagining every scenario! Kudos! She could probably run the US!
You know it! Every single scenario!!!
Our daughter is getting married next April and we’re in the process of planning. She wants something very similar so this comes in very handy! Thanks for sharing your tips and organization. Love it so much I’m featuring this on Farmhouse Friday tomorrow. Everything looked so pretty – including the bride. Hope you link up again soon. pinned
Thanks so much Cindy! I truly appreciate the feature and pin! Congrats to the MOB. I’m sure the wedding will be beautiful!
What a labor of love for love! I couldn’t help but smile as I looked at all those happy people. What a beautiful gift you gave them.
The prettiest weddings I have designed were the ones the bride had a vision and worked with me with all of the details
You’re so right Susan! When the bride has a clear vision, can communicate it and then trusts you to make it happen — it’s just the best!