
Update Old Christmas Ornaments With This Incredibly Easy Hack
Don’t replace those tired string ornaments. A little paint, a few minutes and an ombre swipe will make them look brand new..
We all have them: a box of old Christmas ornaments that are perfectly fine, serviceable, just quietly begging to be updated.
But is that what we dream of for our holidays — fine and serviceable? Definitely not my dream. And since you’re here with me, I’m guessing it’s not yours either.
So if you’re with me on that, are you also with me on not spending a load of money when it’s not necessary?
Great minds think alike.
Enter chalk paint, a paintbrush, and about ten minutes of dragging color down a ball ornament. That’s genuinely the whole trick.
Cue the harps and angels singing — game on, this is going to be fun.
I know you’ve seen these ornaments over and over — at thrift stores, yard sales, estate sales, maybe even in your lovely mother-in-law’s closet (thank you, Mago).
They’re fine. Very yawn-worthy, very uninspiring, but in great shape.
So let’s do a little altering to their super-fancy, but dated, prom-dress attire.
They deserve to party this season looking trendy and pulled together.
HINT: I have a collection of vintage glass ornaments I’d never alter. These aren’t those. These were mass-produced, everywhere — the kind you can paint with zero guilt.

But first, you might be thinking:
What Can I Do With Vintage Christmas Ornaments?
There are so many fun options. Use them as you would modern ornaments, of course picking the option based on whether they are breakable or not:
- to embellish a table scape centerpiece
- to deck out a wreath
- massed in glass apothecary jars
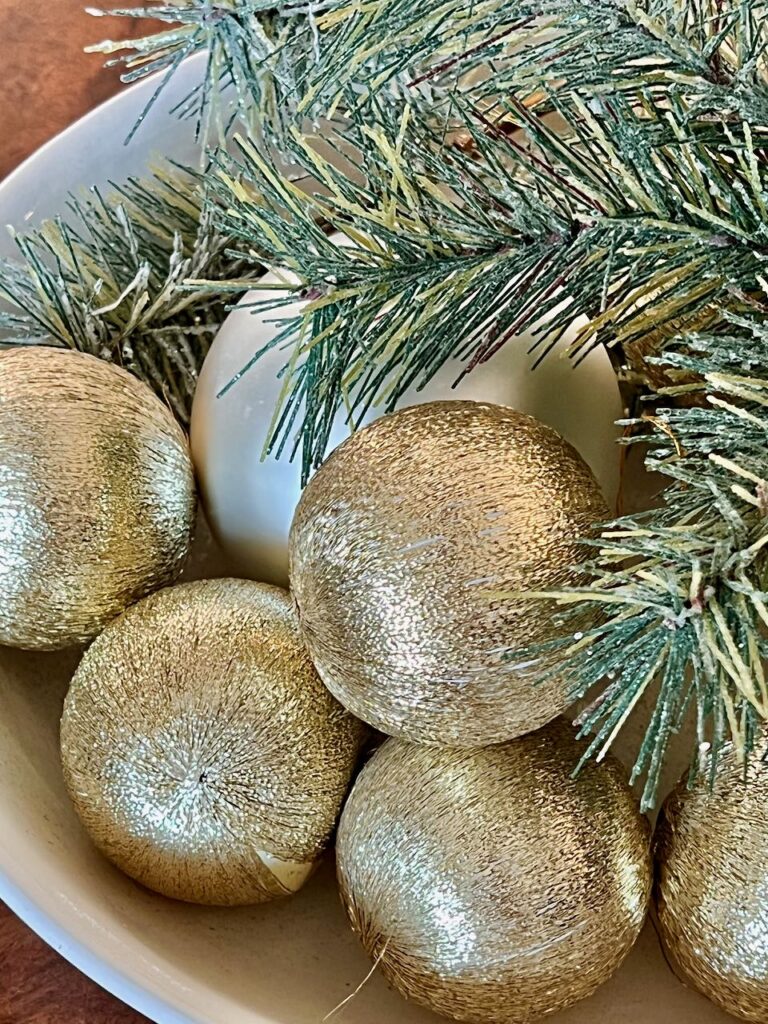
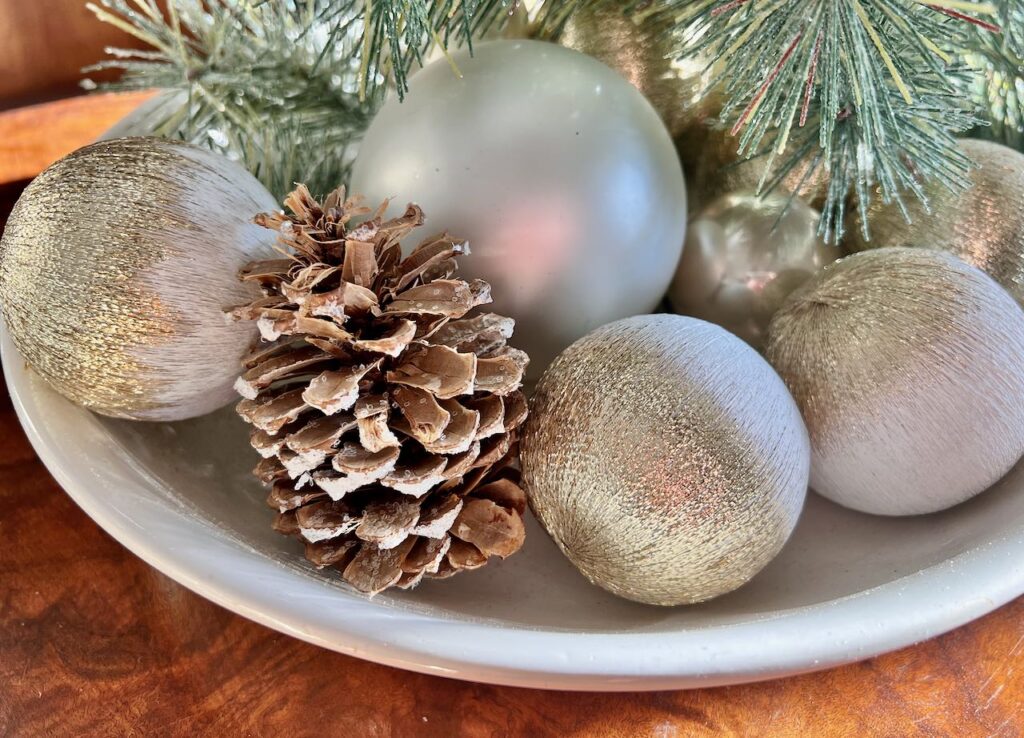
- in a bowl with some greenery on the coffee table
- scattered along greenery on a mantel
- at each placesetting for a festive holiday meal
- tucked into a hutch or built-ins
- tied onto canisters on kitchen counter
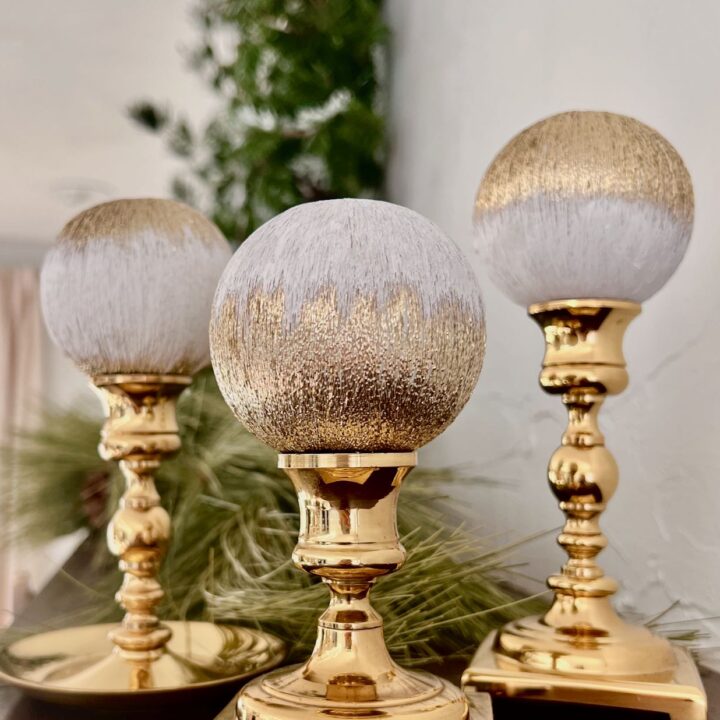
- replacing candles on top of candlesticks
- hang from lengths of ribbons in a window or from a chandelier
Can You Paint Over Ornaments?
Oh, you bet you can! But just like all painting, you need to be careful that the paint you use works with the surface you’re painting.
Outdated Christmas ornaments can often be saved just by changing their color. And the spray paints available will cover almost any surface. And oh the colors and textures available now are amazing!
Alcohol ink does not work well on old ornaments that already have color on the outside of the glass, like most do. If that’s more your speed, I’ve got a full alcohol ink Christmas ornament tutorial — stunning results, but they need different treatment than what we’re doing here.
Ready to jump right to it?
Here’s a Quick How-To Card for Confident Crafters
If you’d rather feel like I’m right by your side, stepping you through it — no problem, keep scrolling.
Update Update Old String Christmas Ornaments With Chalk Paint
Give those dated old string ornaments the easiest paint update -- without even getting your fingers messy!
Materials
- Old string-style Christmas ornaments
- Chalk paint (any color)
Tools
- Flat craft paintbrush
- Protective surface cover
- Dowel or rod or small cups for drying
- Small mixing container
Instructions
- Paint it — pick your ombre style (top-down, bottom-up, or middle band) and drag the color on with one-way brush strokes
- Let it dry — hang on a dowel or rod
- Enjoy — hang, style, or gift
Notes
Keep scrolling for all the details and tips!
If You Prefer Video Tutorial, This is For You!
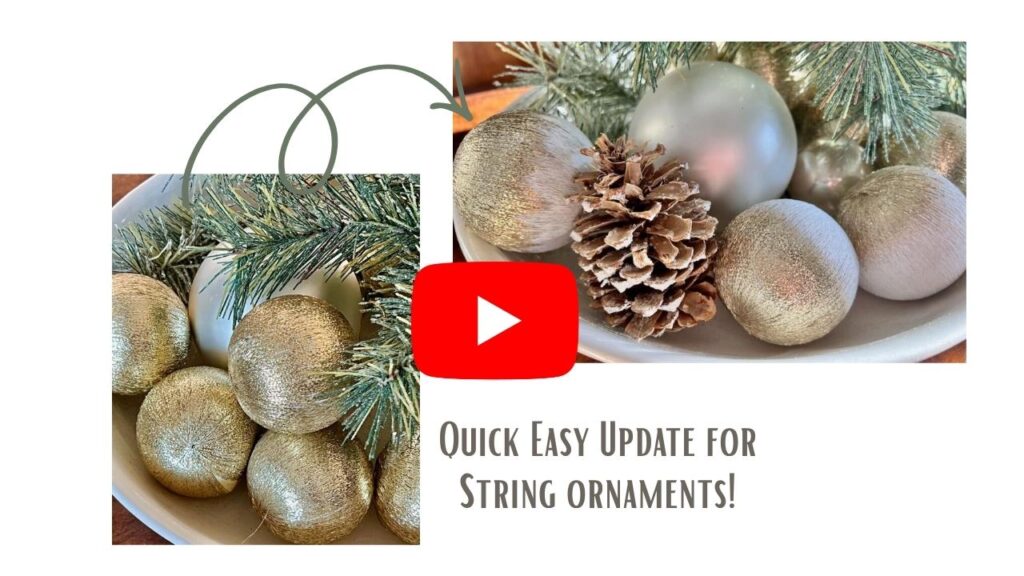
CLICK Anywhere on the picture to start the video — less than 3 minutes!
Let’s Get Started On Our Old Christmas Ornament Makeover
Step 1) Paint the Ornaments-
It feels silly calling this “Step 1” when it’s honestly the only real step.
I used Chalk Paint because:
- it’s insanely easy to work with
- bonds beautifully with just about any surface
- of it’s modern matte finish to contrast with the super metallic shine
- I had some on hand
Actually, the can I had on hand was pure white, so I toned it down with a small squirt of basic taupe craft paint.
PRO TIP: Yes, you can alter (not completely change) the color of chalk paint with basic craft paints. Skip the specialty paints — glossy, iridescent, or glitter types don’t mix well with chalk paint.
Think about mixing complementary colors across a set, or different shades of the same color to really play up the ombre effect.
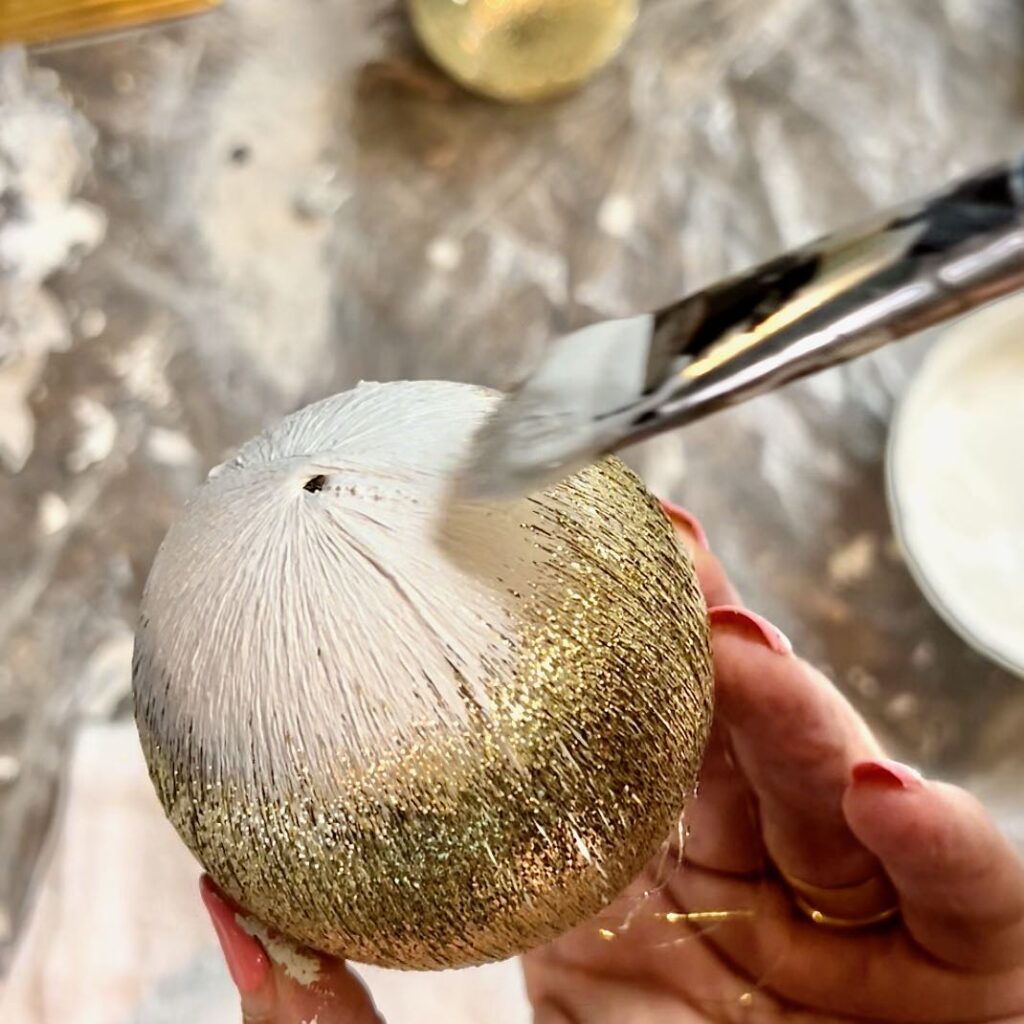
Option 1: Top-Down Ombre–
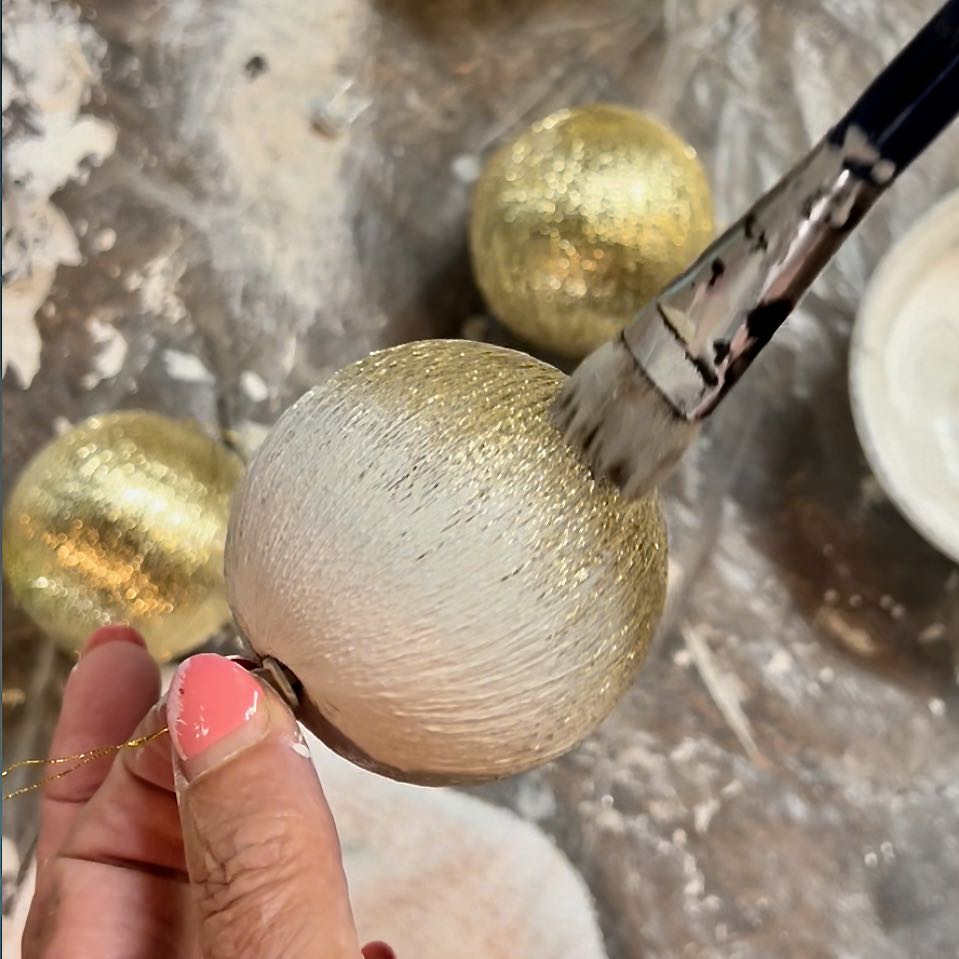
Start at the top with a light touch, swiping your brush downward and lifting off the ball where you want the blend to end. Always use one-way strokes — down and off, down and off, never back and forth. That’s what gives you the soft blending.
You may need a second pass at the top for full coverage. Chalk paint soaks in and dries fast, so if a spot needs more color, just go back over it right away — no need to wait.
HINT: Don’t overthink this. The goal is an ombre effect where matte paint and glittery string mesh together organically — it almost looks like icicles forming down the ball.
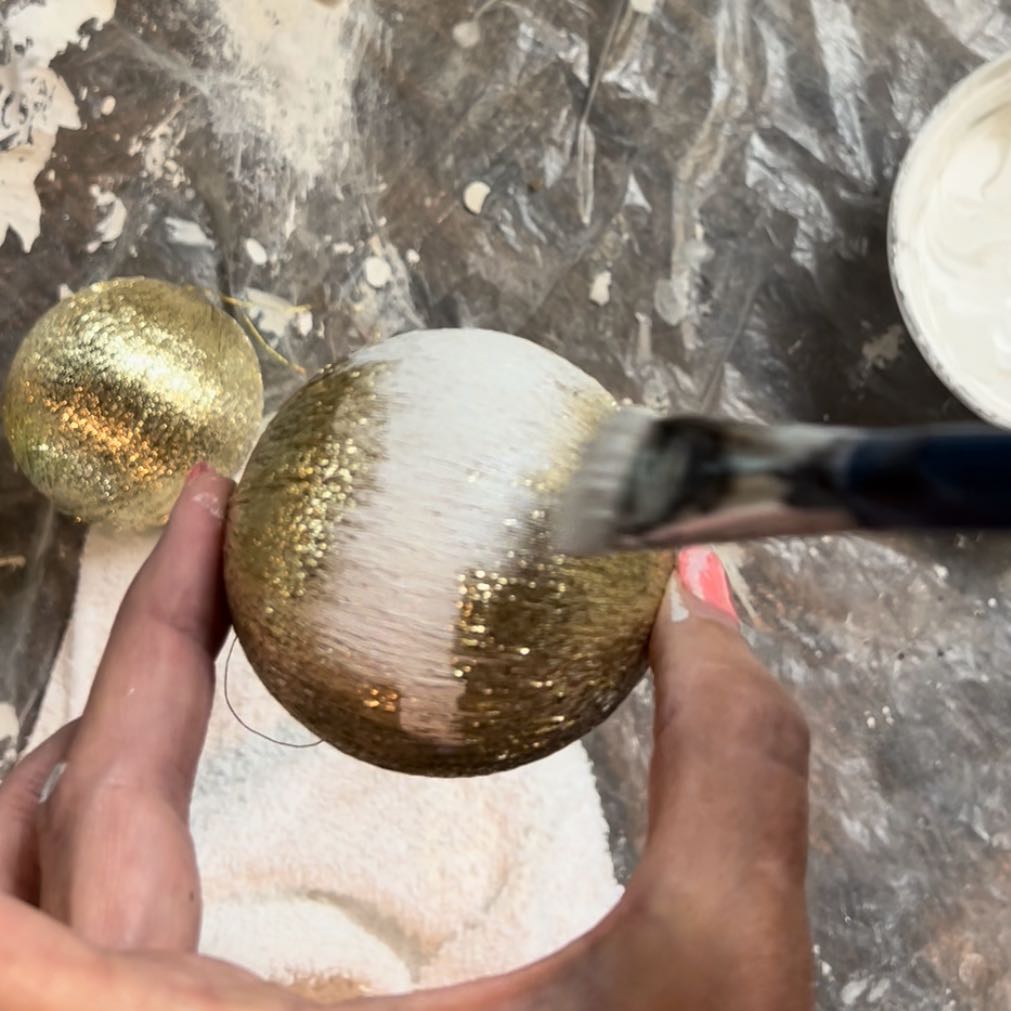
Option 2: Bottom-Up Ombre–
Same technique, opposite direction. I like the visual variety this adds when you’re doing a whole set.
Option 3: Middle Ombre (Belly Band)–
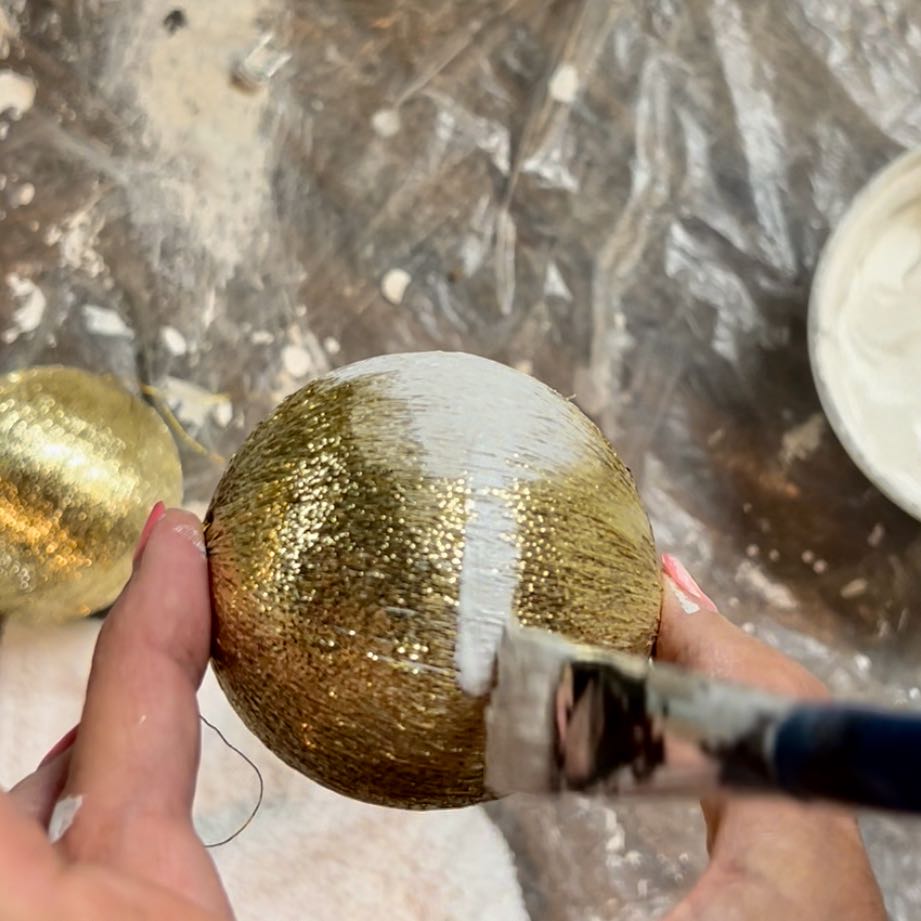
Paint a short horizontal line with a fully loaded brush, then — without reloading — wipe from the line downward, and separately from the line upward. Two distinct strokes, never up-and-down in one motion.
This is the one I fell hardest for.
Step 2) Let Them Dry-
Hang them on a dowel suspended across a box opening or bucket rim while they set.
Step 3) Enjoy-
I didn’t lie in the title — this really is an incredibly easy hack.
If you’re on the fence about painting anything, this is the low-stakes project to build your confidence on.
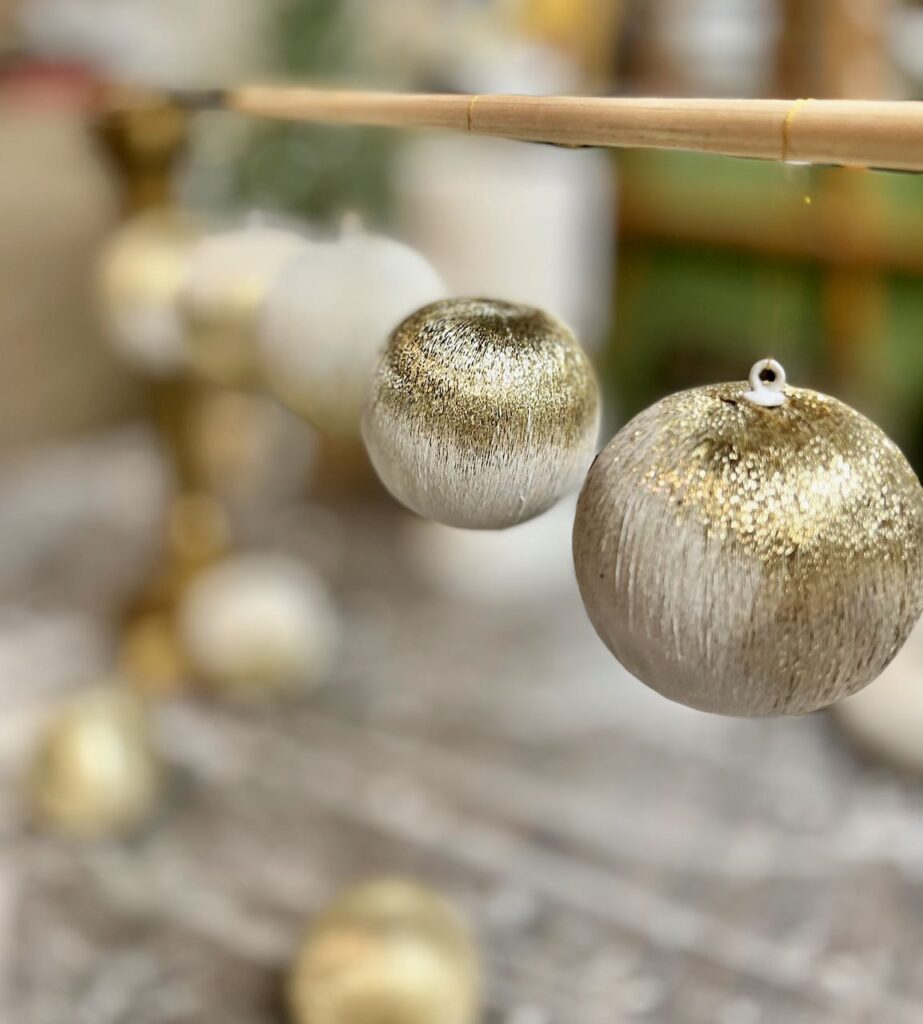
The Final Results
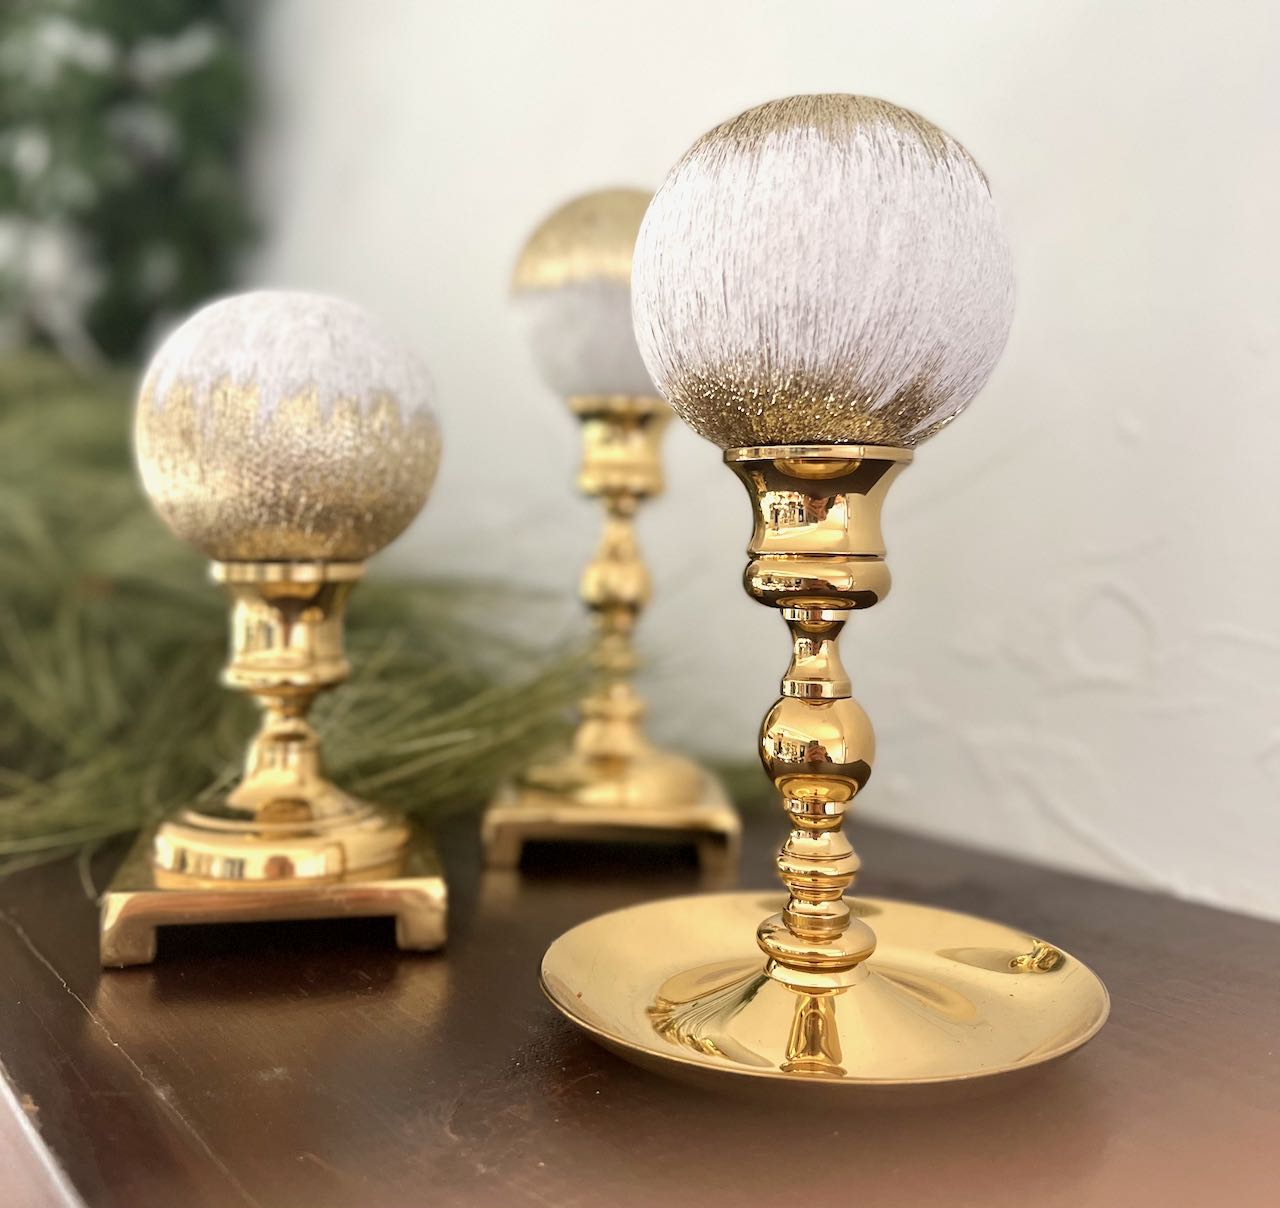
What a difference, right? I just love the matte with the glittery.
Notice the ornament on the left has more variation in the blend, the middle one has a cleaner line, and the one on the right has just a thin belly band — next time I’d go even thinner. There’s no right or wrong here. It’s whatever pleases your eye.
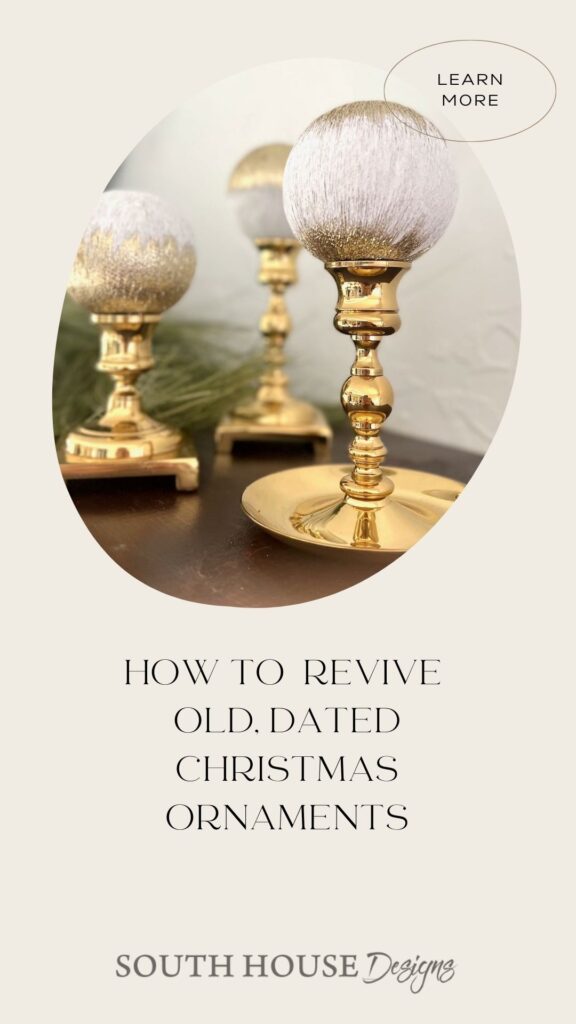
Pin this now so you remember it next time you’re at a thrift store or digging through last year’s ornament box — and while you’re there, check out the thrifting list for what else is worth grabbing. Or browse 11 more ornament ideas if this one’s got you in the mood to make a whole set.
The Final Results!
What a difference, right?
I just love the matte with the metallic.

Notice how the ornament on the left in both “After” pics has more variation in the blending, vs. the one in the middle has a more solid line. The one on the right in both pictures has just a belly band of white, but it’s kind of hard to tell. Next time, I’m going with a bit thinner band.
There are no right or wrong here. It’s whatever is pleasing to your eye.
I so very much appreciate you being here and sticking through to the very end!
I hope this inspires you. Keep an eye out for these old string wrapped ornaments!

Love this idea, Diane! Placing the painted ornaments on candlesticks is so pretty and I am going to do this in our home this year! Pinned 😊
Thanks Cindy! It’s so simple and really effective with a mass of candlesticks! So appreciate you — and your pinning.
This is so pretty Diane. The ornaments look fabulous on the candlesticks!
Oh, thanks bunches. Always experimenting — keeps things fun, right?
This is such a pretty transformation, Diane!! I love the ornaments on the candlesticks!
These are so pretty Diane! What a great idea!
These are lovely. Can you tell me what type/brand the gold paint is? Maybe I missed it.
What a great idea Diane! I used to have some ornaments exactly like that but they unraveled and I threw them away. Wish I had seen your blog before.
Hang onto the idea! You know you’ll see them a garage sales and thrift stores before long
Diane – this is such a great idea! I come across these ornaments frequently and now I can repurpose them!
Now to hunt some down, now that you want some! Hopefully they appear for you.
This is something I definitely need to try out. Thanks for sharing the inspiration. This post will be a feature this week. #HomeMattersParty
I’m thrilled Donna!!! Thanks so very much for the feature and for hosting every week.