How a Wallpaper Scrap Turned My Basket Tray into a Patio Favorite
A basket tray is pretty — but that uneven woven floor is anything but practical. Here’s all it takes to give it the solid base it needs, including the mistake I made and exactly how to avoid it.
This month’s Handcrafted Society challenge theme is wallpaper! Are you familiar with The Handcrafted Society? We’re a band of ardent crafters organized by Wendy at WM Design House. Every month we challenge ourselves with a shared medium or theme. It is always such fun to see the variety of projects everyone comes up with.
Honestly, this wallpaper challenge was exactly the nudge I needed.
I had several ideas bouncing around in my head, and a good guess that at least two of my fellow challengers would be doing something wonderful with trays. I was tempted to explore my other ideas, but I had a basket tray with a real job to do, and a wallpaper remnant practically begging to be part of it.
Sometimes the project chooses you.

The tray itself is a fabulous large rectangular basket tray I brought home from Round Top market four years ago. Its first life was as Boho-inspired Christmas wall art — I hung it as an alternative to a traditional wreath.
That was a one time use Christmas decor piece (for styling pics of one of my Christmas stocking groupings), so I removed the trees. I always wanted that great tray to pull double duty as a functioning patio tray.
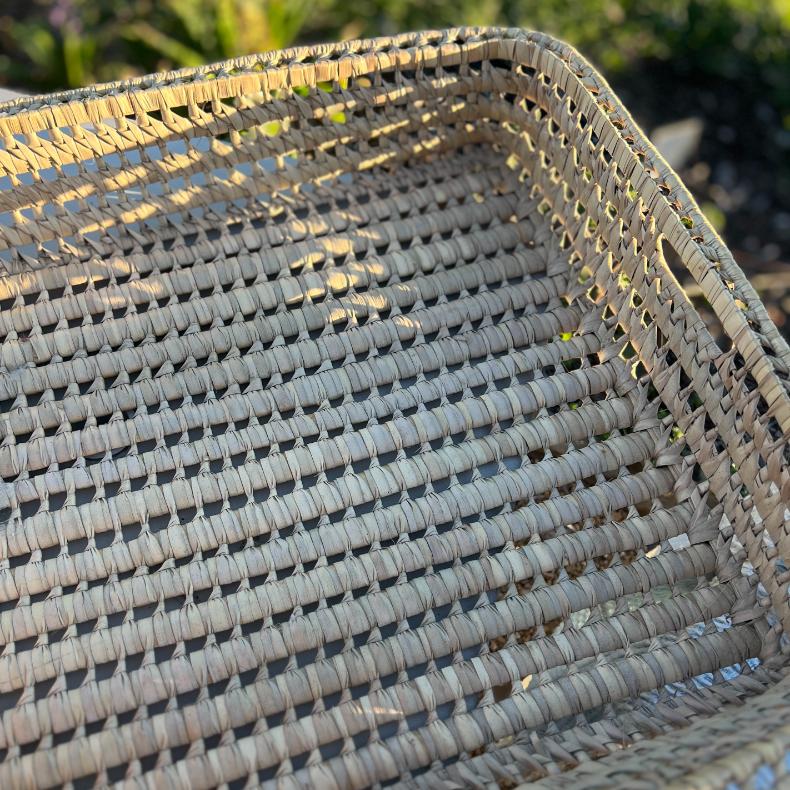
The problem? The uneven woven floor is no friend to tall, tippy things — think glasses, candlesticks, anything that needs a fighting chance at staying upright.
I also wanted a solution I could remove on a whim, because at its scale, this tray still turns heads as wall art. So whatever I did needed to be temporary-ish. No permanent modifications.
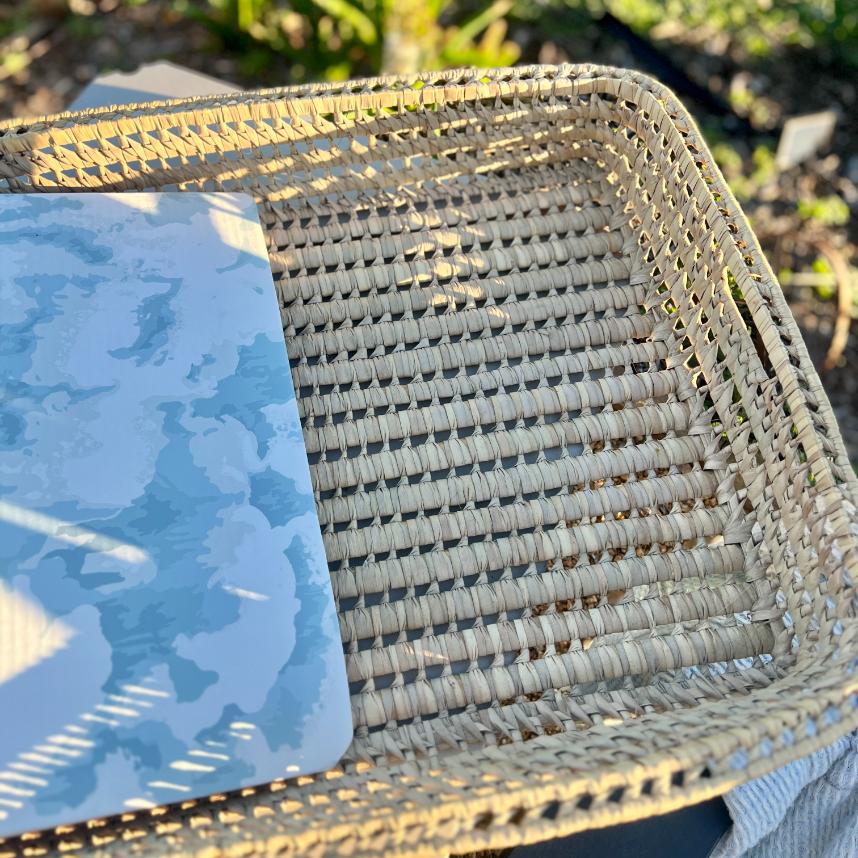
My solution: a cardboard liner covered in wallpaper. Simple, removable, and pretty. Let’s do this.
The links in this post may include affiliate links, which means if you purchase anything using these links, you pay no extra, but I may receive a small commission that helps keep this blog running. I truly appreciate you using affiliate links whenever possible. Please know that I will never recommend a product I do not believe in!
Choosing the Right Wallpaper Pattern
Before you dig through your remnant stash, a few pattern thoughts worth considering — because not every wallpaper plays nicely with a basket tray.
First, unless your tray has perfectly straight sides (and most baskets don’t), skip linear or geometric patterns. The slight curve of basket sides will make a straight-line pattern look off, and it will drive you (and your guests) quietly crazy.
Second, pay attention to scale. Your basket weave already has a strong repeating pattern — choose a wallpaper that is either noticeably smaller or larger in scale, not one that competes at the same size.
And third, a random or abstract pattern is your friend here. It balances the highly repetitive structure of the weave without fighting it.
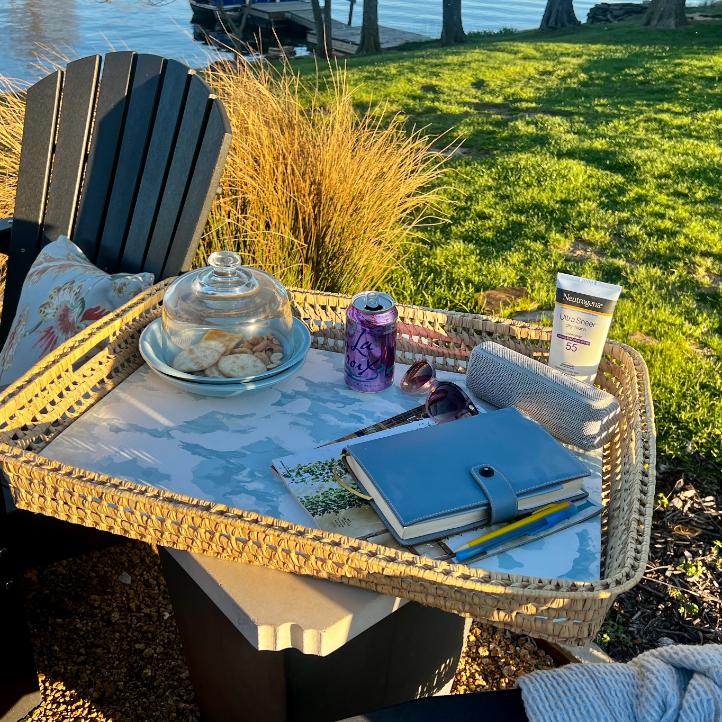
My remnant is a blue and white abstract pattern — part water, part sky — and it was basically made for our lakeside patio. Sometimes things just work out.
Ready to jump right to it?
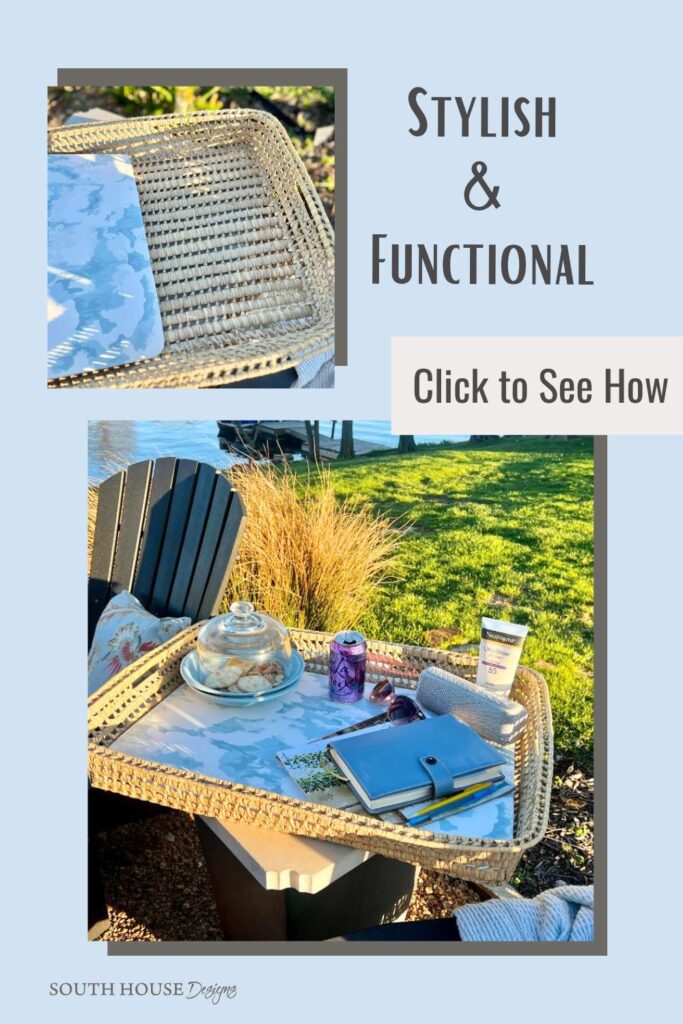
Here’s a Quick How-To Card for Confident Crafters
If you’d rather feel like I’m right by your side, stepping you through it — no problem, keep scrolling.
Adding Function That's Pretty to a Basket Tray
The uneven surface of a basket tray can thwart its functionality. Let's change that -- and make it stylish too!
Materials
- -Wallpaper remnant — peel-and-stick or traditional; must be large enough to cover tray floor plus 2 inches on all sides
- -Spray adhesive such as Gorilla brand — for traditional wallpaper only
Tools
- Large cardboard sheet, heavy chipboard, fiberboard, or mat board — smooth side up, no fold lines (see note in post)
- Pencil
- Hand saw or craft knife
- Scissors
- Ruler or measuring tape
- Heavy weights (books work great)
- Kitchen plastic wrap
Instructions
- Cut cardboard to fit tray floor, rounding corners to fit
- Cut wallpaper 2 inches larger than cardboard on all sides
- Adhere wallpaper to cardboard, wrap and glue edges, weight corners to dry
- Set liner in tray and enjoy
Notes
Important: Keep water away from this project entirely. No water bath, no water-activated paste, no water-based white glue. Cardboard and moisture are not friends — ask me how I know.
Detailed How-To With All my Basket Tray Liner Hints and Tips:
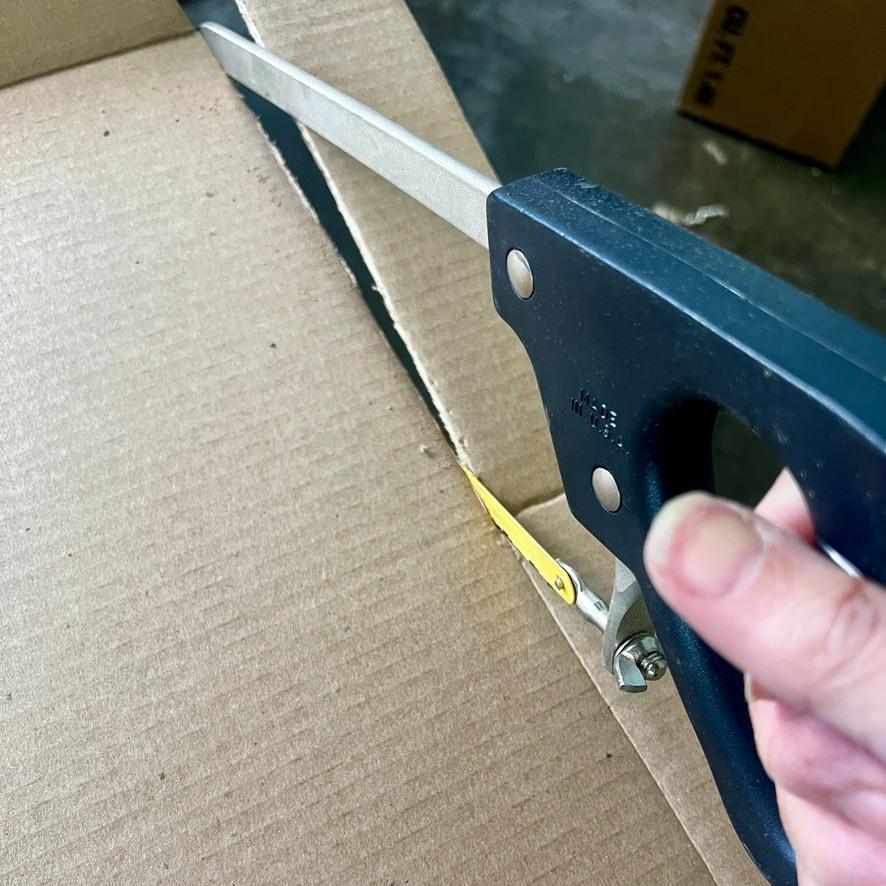
I went to our woodshop — better known as the garage — and dug around for something flat and sturdy. I thought about fiberboard, but didn’t have a piece large enough. A wood base crossed my mind too, but that felt like more expense and effort than this project deserved. Then I spotted a stack of cardboard shipping boxes. One was large enough to yield a piece without a fold line running through it. Perfect.
A quick note on cardboard before we dive in: most corrugated cardboard will show a slight fluting texture through your wallpaper because of the ridges in the corrugation. I used it anyway and honestly it doesn’t bother me at all — you can see in the photos.
But if smooth is important to you, look for heavy chipboard, fiberboard, or mat board instead. Art supply stores and framing shops carry it, and large framed artwork at the thrift store will often have a heavy backing board worth repurposing.
May I take a quick pause to ask if you are enjoy this post? Would you like my free Creative’s Tool Kit?
Thanks bunches! Now on to our tray liner:
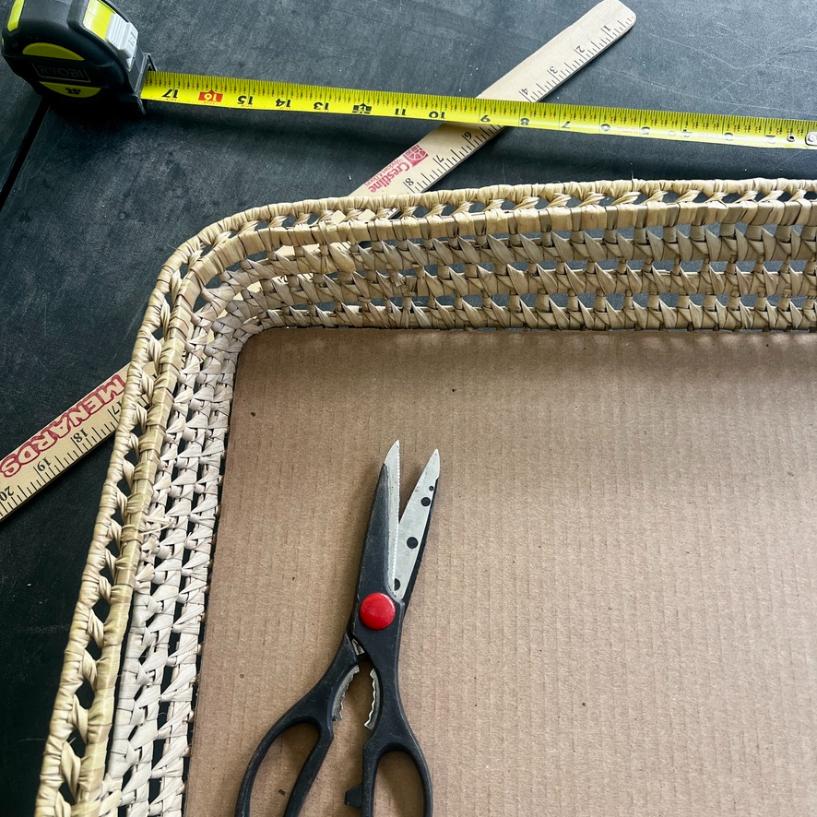
Step 1) Measure and Mark the Cardboard —
Measure the floor of your tray and mark your cutting lines on the cardboard with a pencil. Remember your tray sides are probably not square, adjust your cutting lines for this.
For a straight cut on anything thick and stiff, use a hand saw or craft knife — not scissors.
Once you have your rectangle cut, you’ll likely need to round the corners to fit the corners of your basket.
Here’s where you resist the urge to get aggressive. Trim a little at a time, test fitting as you go. You can always take more off — you can’t put it back.
I just eyeballed it in small increments. Worked fine. But if you’re a measure-twice kind of person, you can always trace each corner onto paper first and use that as your cutting guide.
Step 2) Cut the Wallpaper —
Cut your wallpaper so it’s at least 2 inches larger than your cardboard base on all sides. That overhang is what you’ll wrap and adhere to the back.
Step 3) Cover Tray Insert With Wallpaper —

Water warning — and my mistake. My wallpaper was traditional pre-pasted, and out of pure muscle memory I rolled it up and submerged it in a water bath to activate the glue. Nope. Way too much moisture for cardboard. I fished it out, dried it off with an old towel, and pivoted.
Then, in a hurry — deadlines, you know — I grabbed white glue and brushed it onto the cardboard. White glue. Which is, of course, mostly water. My flat, solid base warped.
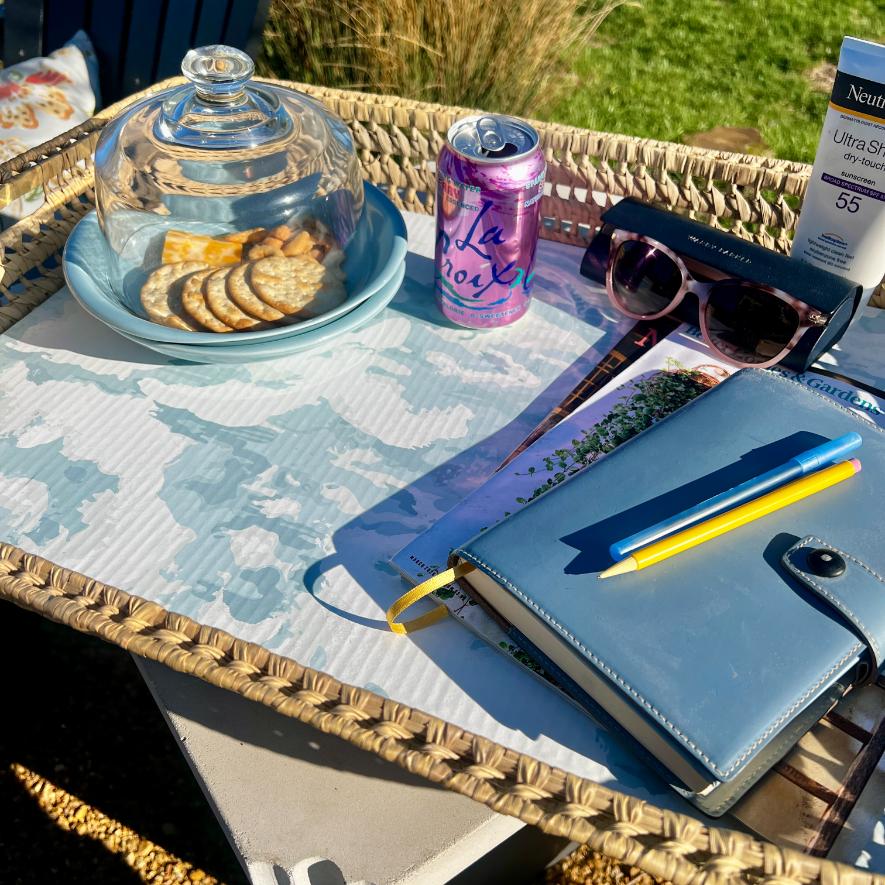
The items sitting in the tray hold it flat and you’d never know from the photos, but I’m telling you anyway because that’s the deal here. We learn together.
The right adhesive: Use spray adhesive (Gorilla brand is a reliable go-to) for traditional wallpaper. Or skip the glue question entirely with peel-and-stick wallpaper — no moisture, no warping, no drama.
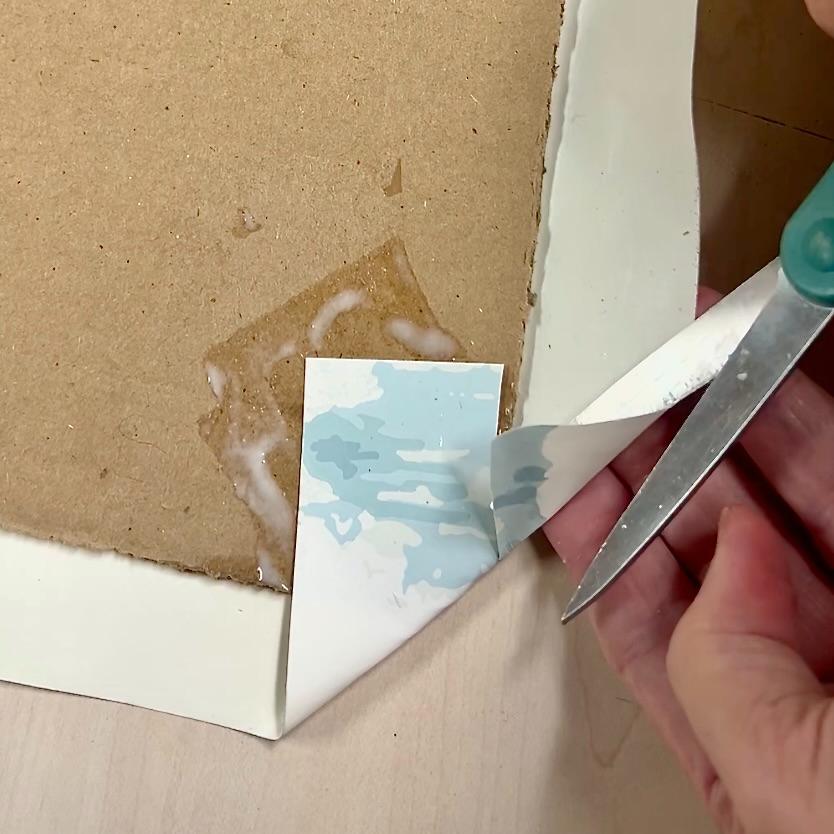
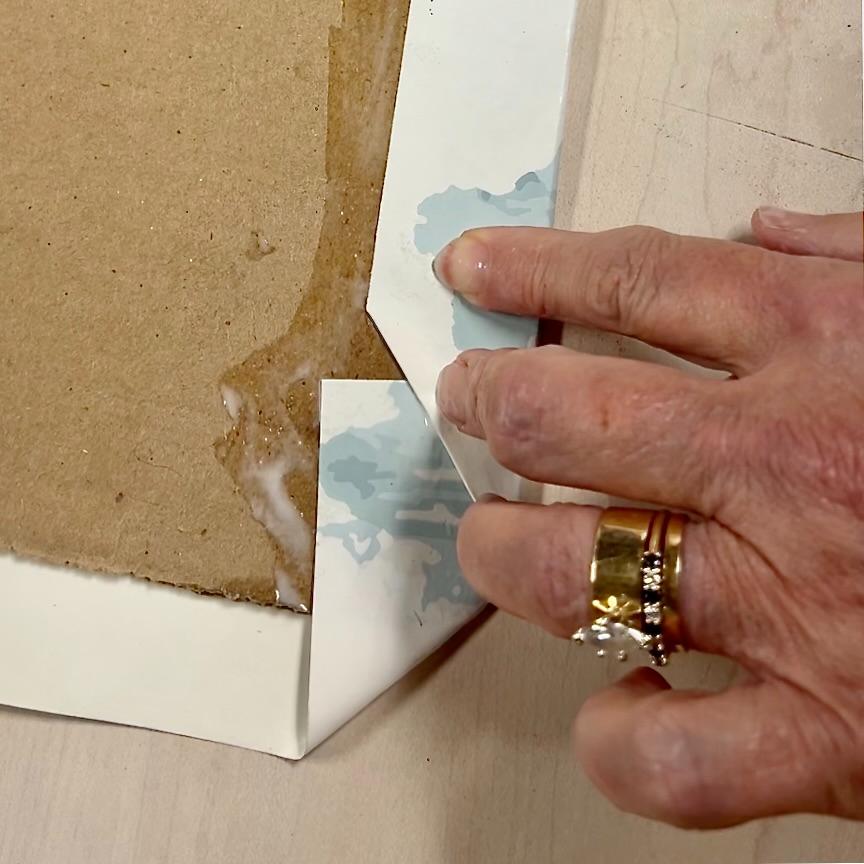
Adhere the face of the wallpaper to the cardboard, then flip it over to work the edges. At the rounded corners, you have two options. You can make straight cuts from the wallpaper edge toward the corner, stopping just shy of the cardboard edge — this creates small flaps you overlap and glue down. Or do what I did: fold the corner point up first, then fold each side over it, cutting out a small triangle of excess wallpaper so everything lays flat. Either works. The goal is a tidy, tight wrap.
While the glue is still tacky, fold and smooth the remaining side edges, working out any bubbles as you go. Then set a heavy weight — books are great — on each corner while everything dries.
PRO TIP: Slip a piece of kitchen plastic wrap between the books and the project to protect them from any glue.
Yep, experience taught me that one years ago!
Step 4) Set the Liner in the Tray and Enjoy It —

I told you this is a simple one. That’s really the last step. Set it in, load it up, and go enjoy your patio. You earned it.

Styling and Usage Notes
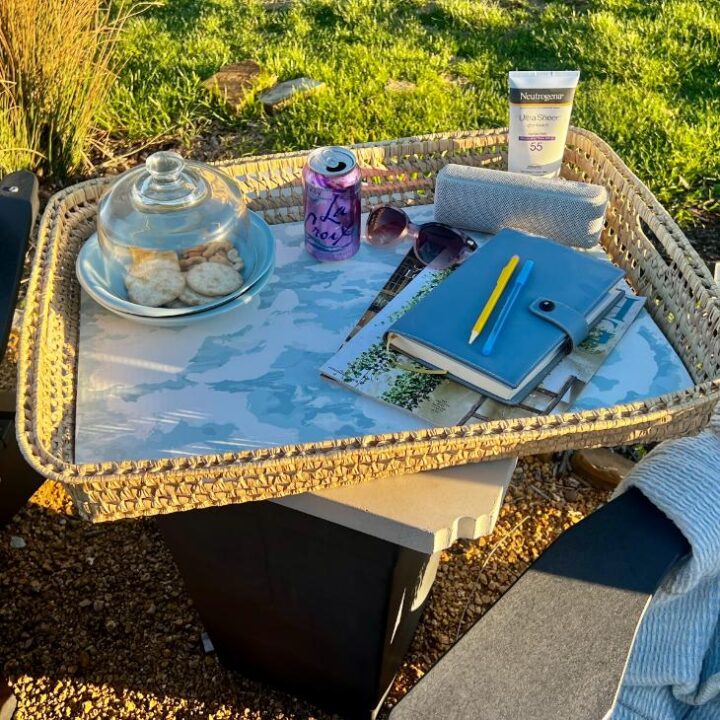
A tray this size earns its keep in a lot of ways. Mine lives on our patio bar, which has a stone top that never quite feels clean enough for presenting snacks and drinks. Cloth napkins just flap around in the breeze. This tray solves that completely.

One practical note if you’re working with a large tray: even thick cardboard or fiberboard has its limits. When carrying a loaded tray, distribute the weight toward the edges where the basket frame can help support it — otherwise the center of your base may start to bow under the load.
For a quiet afternoon outside, I love loading mine with:
- Portable speaker
- Magazines or a book
- Journal, pencil, and pen
- Sunglasses and sunscreen
- A cold drink and snacks
And when I move my desk outside for the day, I swap the magazines and journal for my laptop, iPad, and notepad. Honestly, life is good.
Key Takeaways
A flat, solid liner makes any basket tray significantly more functional — and a wallpaper remnant makes it pretty while you’re at it.
Cardboard works in a pinch, but keep moisture off of the cardboard. Use spray adhesive or peel-and-stick wallpaper, full stop. But don’t worry about dribbles and splashes on the wallpaper — those will wipe right up.
And if you’d like your tray to still occasionally moonlights as wall art, a removable liner means you never have to choose.
Before you skip off to see the other gals wallpaper creations, be sure to save this pin for when you find a basket tray that needs a punch of functionality and style:
Now go see what the rest of the Handcrafted Society crew did with their wallpaper this month!
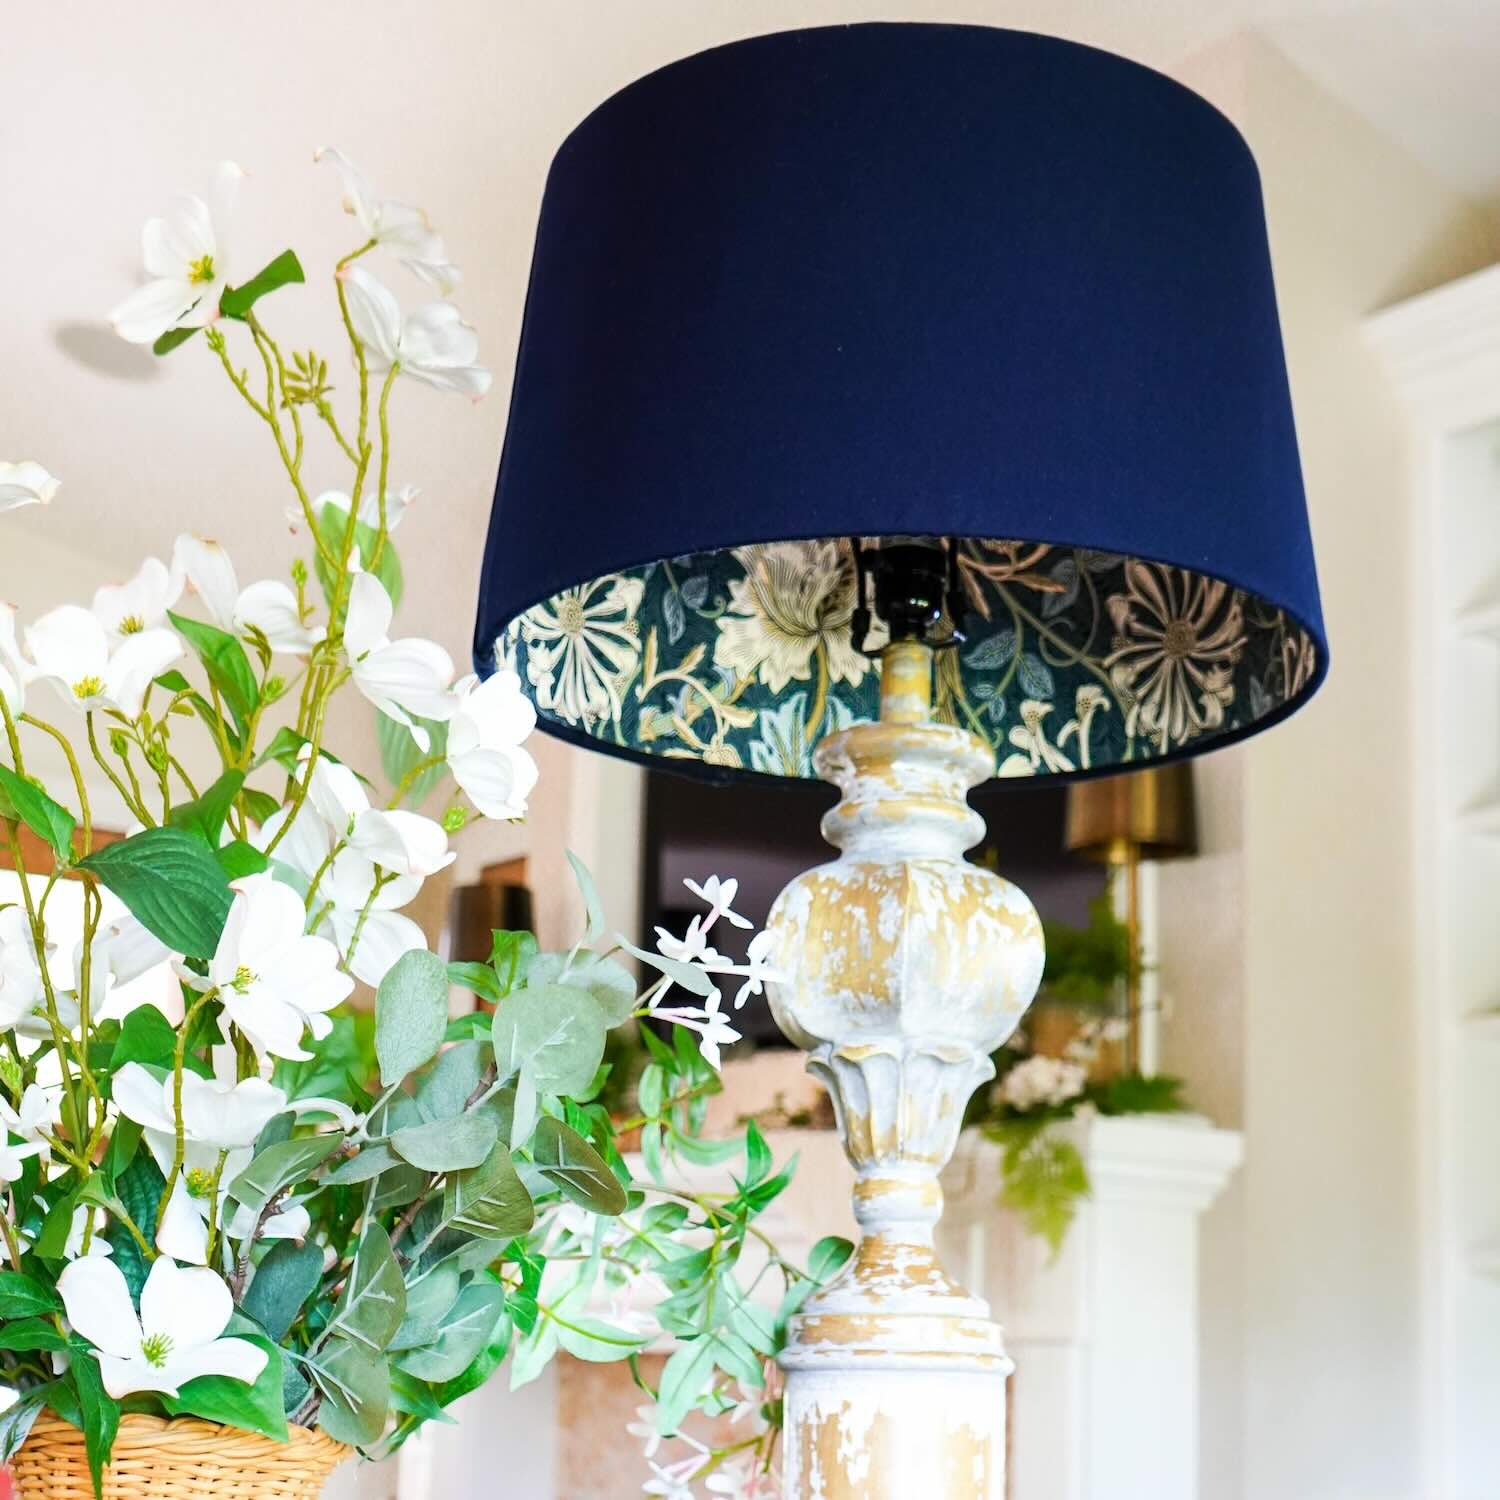
Wendy @ WM Design House
Wendy is known for her great sense of style.
Just look at what she does with a simple scrap of wallpaper!
Wendy shares how lining the inside of a lampshade can be one of the easiest and most beautiful ways to use up those remnants — and the result looks like something straight out of an interior design magazine.
Donna @ An Organized Season
Isn’t this tray with it’s sweet scallops adorable? You have to check out how she diy’d this tray from just a piece of scallop trim.
And with the wallpaper floor, Donna’s vision came through yet again. Jump over for all the details.
Michelle at Thistle Key Lane
Always so light, bright and tastefully done.
Michelle’s artist’s eye is evident in everything she does and this highly functional and stylish tray is no exception!
Missy @ Sonata Home Design
Can you believe it?!?
Has a Dollar Tree bowl ever looked so good?
Jump over to see how Missy created this high end designer look bowl.

I hope you have enjoyed these projects — as much as we all enjoyed making them.


Hi Diane! I’ve had this problem too so I’m loving your quick fix idea! Thanks for sharing what worked and what didn’t, it’s so helpful!!! Now you’ll be able to enjoy your fabulous tray in more ways than one!
Isn’t it frustrating when what looks great doesn’t really perform great? But I love working out a solution where I can have both. (guess I’m just a bit greedy, huh?).
I always love how you are able to solve a problem…both in the idea itself and in the creation! This is such a creative and versatile idea. I have several trays for which this would be perfect. Thanks again for your amazing creativity! Pinned!
Thanks Missy. I love the look of basket trays, but so often . . . Well, you well know I’m a big function-first kinda gal.
I learn something new on every project too, and would have gone down the same path that you started Diane. Thank goodness for spray adhesive and all your useful tips! Your tray is just adorable! Give yourself a pat on the back!
Thanks Michelle, it’s good to know I’m not alone in rushing down the wrong crafting path from time to time. Any time we can help each other is a great blessing.