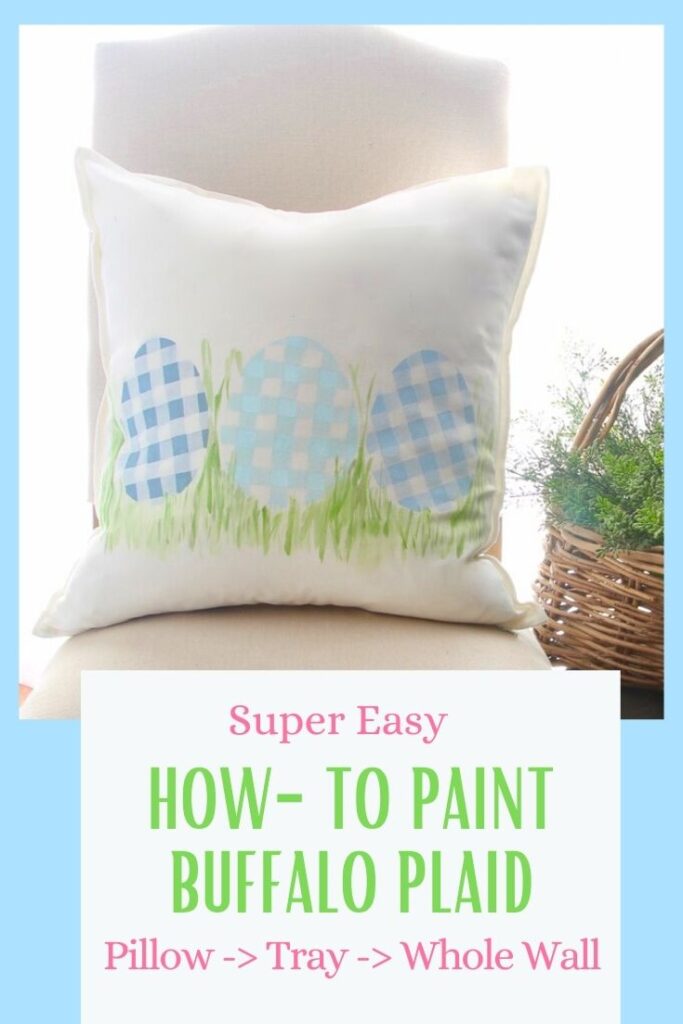
The Easy Way to Paint Gingham Check or Buffalo Plaid
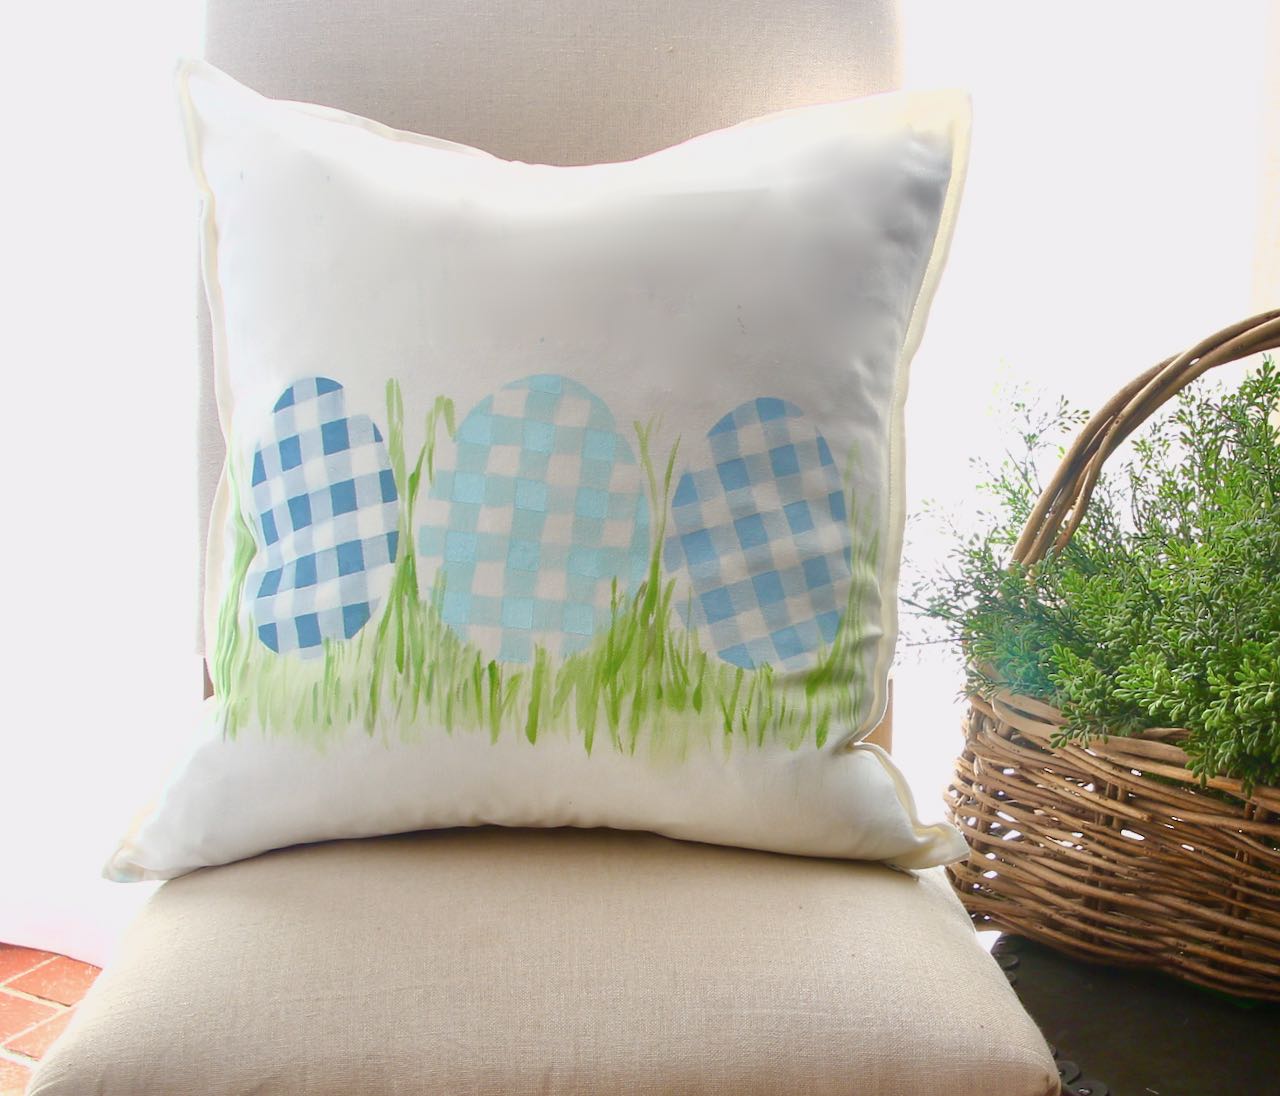
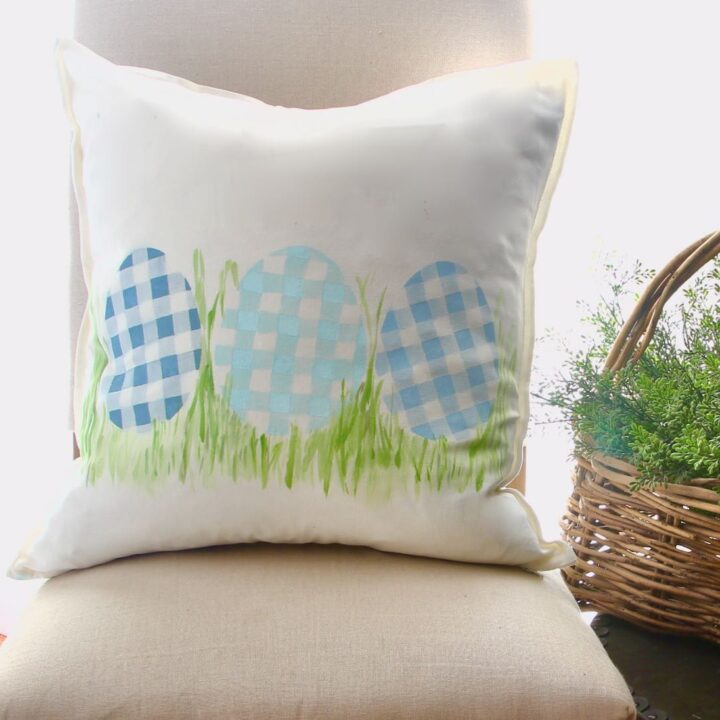
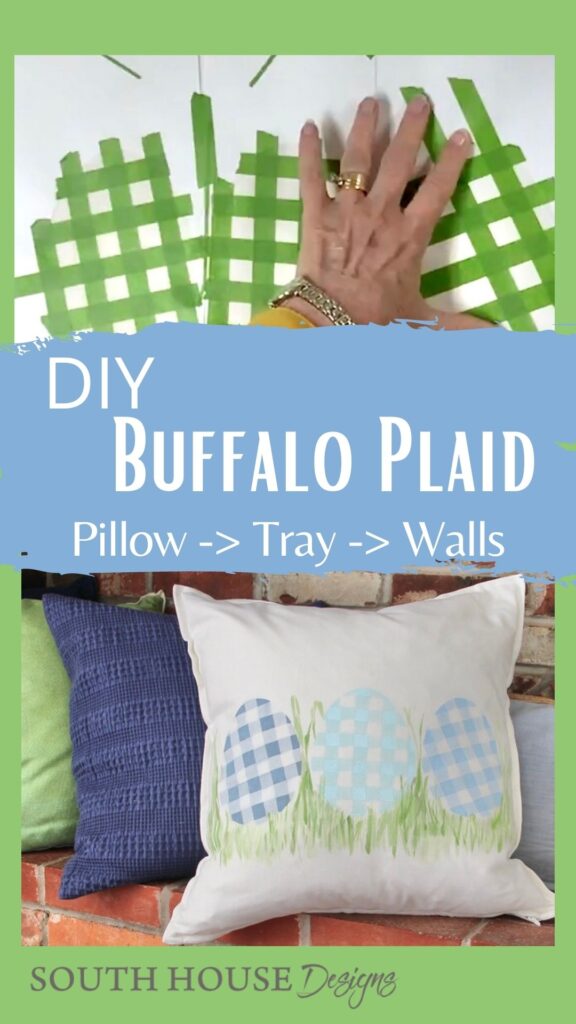
EASIEST how to paint buffalo plaid – or gingham – for any decorating or crafting need. Demonstrated here on large eggs on a Spring pillow.
I’m so excited to teach you how to paint buffalo plaid (or gingham check) — the absolute easiest way. And today we’re painting buffalo plaid on pillows. Because, well, why not?
I wanted . . . make that needed . . . a bit of Spring. And of course, I love making pillows. Remember this recent set?
I wanted to keep it simple. And I love geometric patterns.
And there really isn’t any easier geometric than buffalo plaid — or gingham check.
The links in this post may include affiliate links, which means if you purchase anything using these links, you pay no extra, but I may receive a small commission that helps keep this blog running. I truly appreciate you using affiliate links whenever possible. Please know that I will never recommend a product I do not believe in!
Why is it Called Buffalo Plaid?
The term “Buffalo Plaid” came from the Woolrich Woolen Mills, in the 1850’s. You read that right, over 170 years ago. The original, and iconic Buffalo plaid is the red and black we all know. Lore has us believe that the weaver that originated this plaid had a buffalo herd. He named it after his herd. Supposedly.
What’s the Difference Between Buffalo Plaid and Gingham Check?
They both originate from the textile world.
The difference? Basically scale and color! Buffalo plaid is typically bigger, and uses black filler with a color. Gingham is typically smaller and uses white fill with a color. Other than that, they are the same weaving process.
And with these two, the terms plaid and check are used interchangeably
So what is a black and white, mid-size version called? Whatever you want! (Buffaham? Gingalo? … both, pretty awful)
I get it!
You’re busy right now.
But you want to paint a buffalo plaid or gingham pillow, tray or wall sometime.
So pin this to your Crafts board,
Or to your Spring board,
Or to your Fancy Walls board (if you have one of those),
Or to whatever board makes sense for you, so you have it handy when you’re ready to get started.
If you’re a confident crafter and want to just jump right in, Here’s a Quick Create Card for you.
But if you’d rather have all the details and my tips and hints, I’ve got you too. Just keep scrolling.
How-to Paint Buffalo Plaid or Gingham Check
How-to use painter's tape and craft paint to paint buffalo plaid or gingham check on wood, fabric, canvas, and more.
Materials
- Surface to be painted
- Primary color paint
- Background color paint if different than surface you're painting
- Painter's tape
Tools
- Rotary cutter, ruler and cutting mat, optional
- Stencil Brush
- Flat paint brush width of strips or narrower
- Small cups for mixing
Instructions
- Paint your surface the background color, if needed. Let dry completely.
- Cut tape to your desired check width.
- Tape a grid using the spacer-strip method.
- Paint exposed squares your primary color using a pouncing motion. Let dry.
- Remove tape grid.
- Mix your mid-tone (1:1 background color + primary color). With flat brush, paint the connecting squares between each solid square. Let dry.
- Seal or heat-set per your surface.
Notes
Keep scrolling for full details, tips, and all my hints for getting this right.
How To Paint Buffalo Plaid or Gingham Check
Your Supplies & Materials-
For my pillow, you’ll need (adjust for whatever you might be painting::
- Pillow Slip or Cover
- 3 Frames cut out from around an egg shape
- Painter’s Tape
- Craft Paints
- Paint brushes
- Newsprint, cardboard or scrap paper
- Water
Step 1) Line Your Pillow Slip-
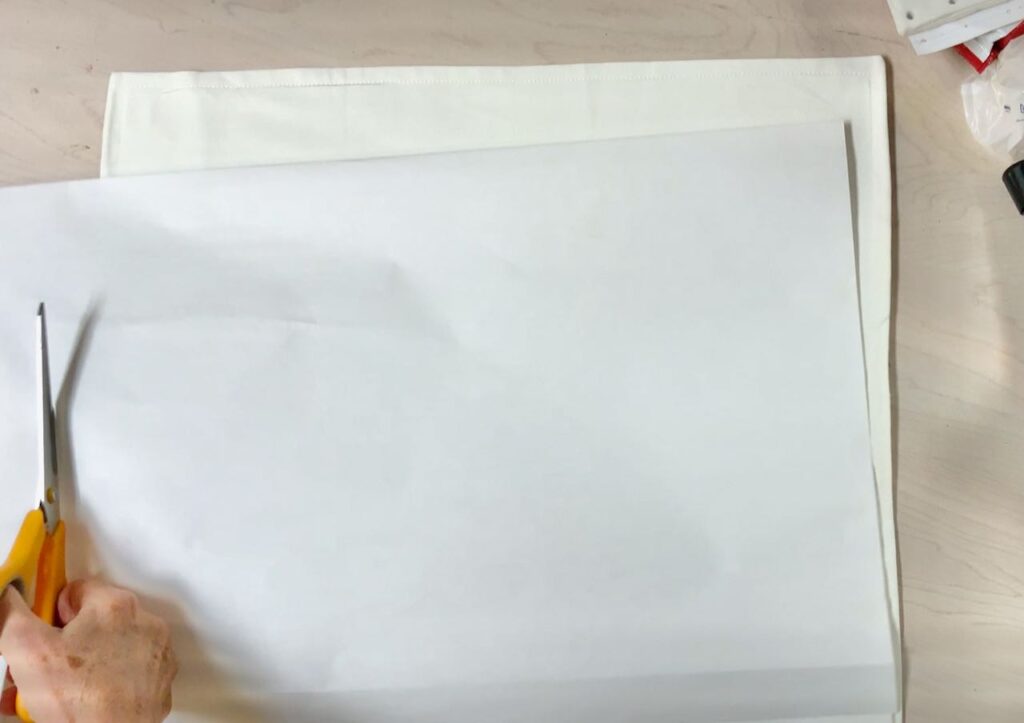
SOOOOO Important. Do Not skip this or you will have paint seeping through on to the back of your pillow. And then you’ll have mascara seeping down your face. We do NOT want that!
Step 2) Print Your Egg Shape and Cut Them Out-
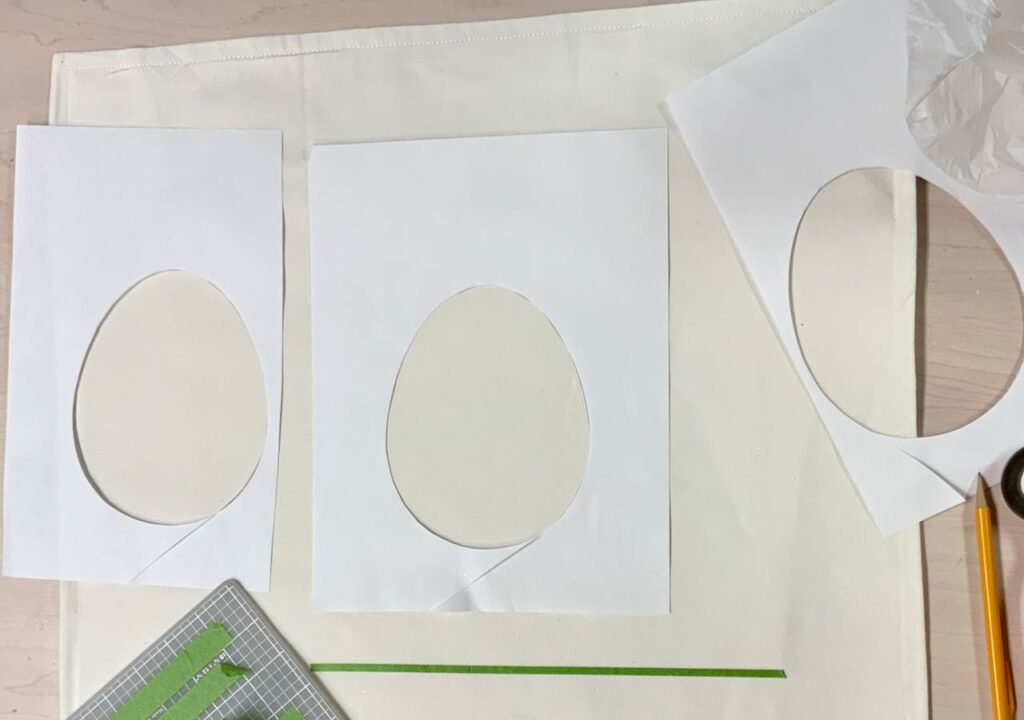
My eggs are 5-inches wide at their widest and just a tad over 6-inches tall.
Cut them out. Hang onto the frame, that’s the part we’ll be using. I used standard printer paper and it worked, but I did have to be extra careful pulling off the painter’s tape. If you have something a bit heavier, it might be easier.
Step 3) Arrange Stencils and Tape in Place-
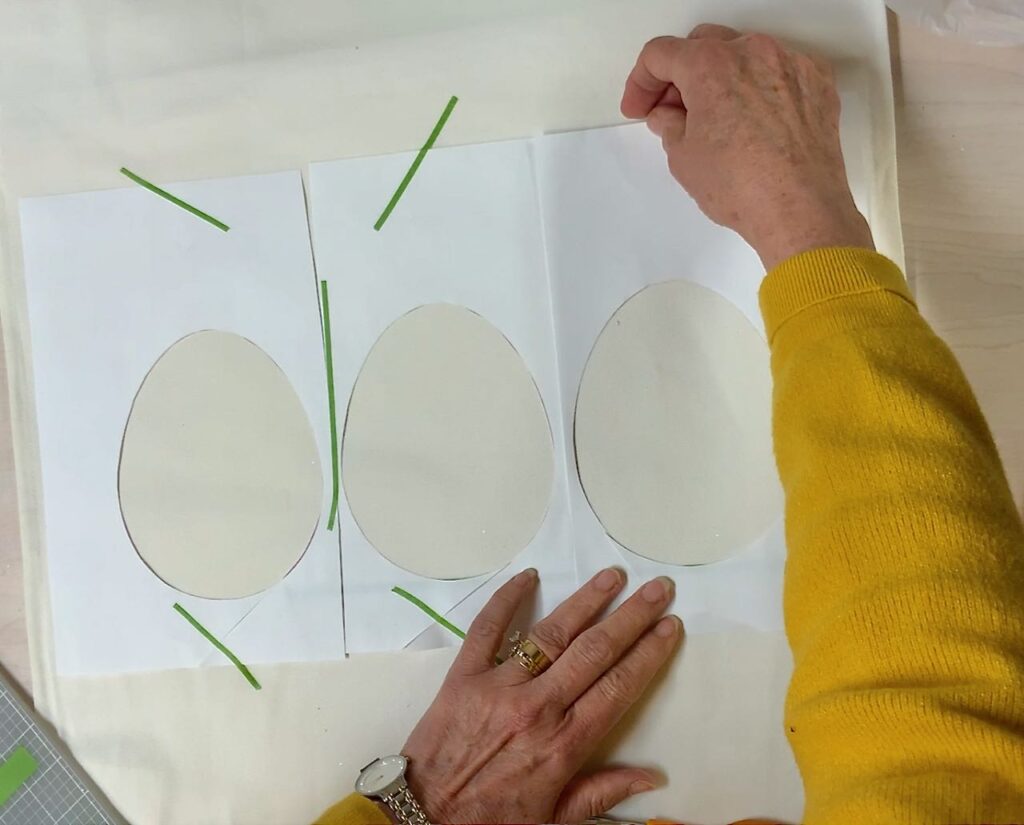
Place the opening of your pillow on the bottom, arrange your egg frames, trimming as necessary. Now be sure to tape these all in place.
I started by placing a thin tape line where I wanted the base of my eggs and then I marked the center.
Step 4) Cut tape — Optional-
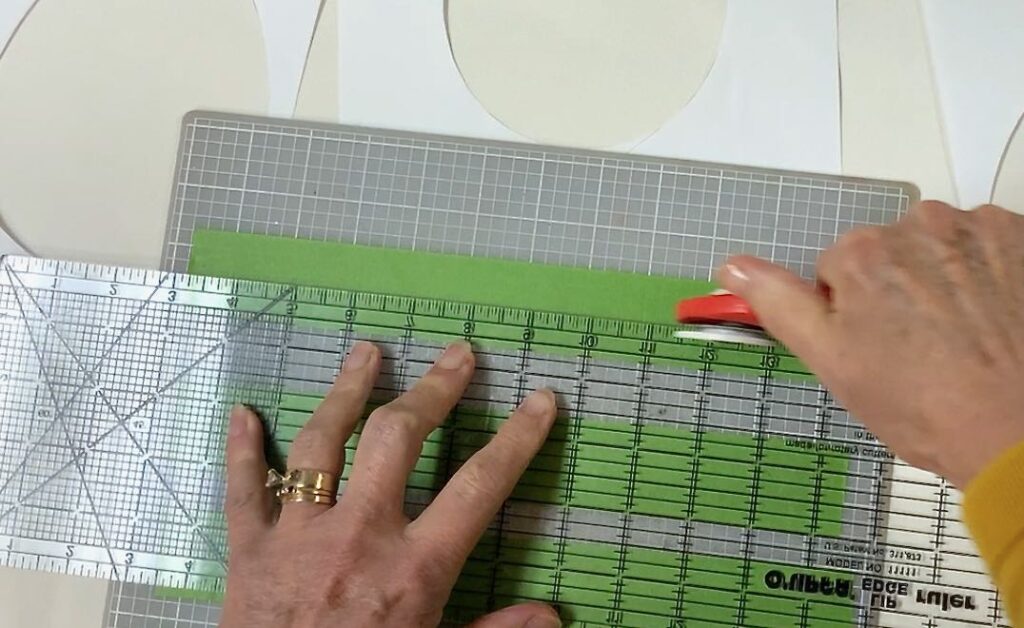
I decided I wanted a 5/8-inch check, so I needed to trim my painter’s tape.
The easiest way:
- Lay out several strips on a cutting mat.
- With a clear ruler and a rotary cutter cut 5/8″ from one edge
- Rotate mat
- Cut 5/8″ from the other edge
Step 5) Tape Off Grid-
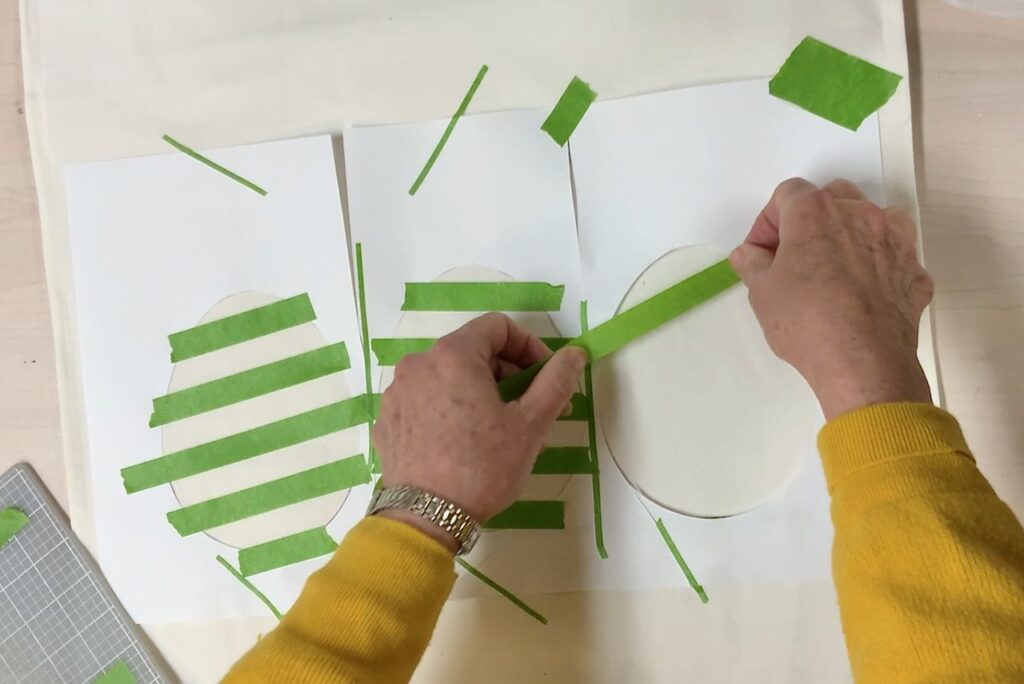
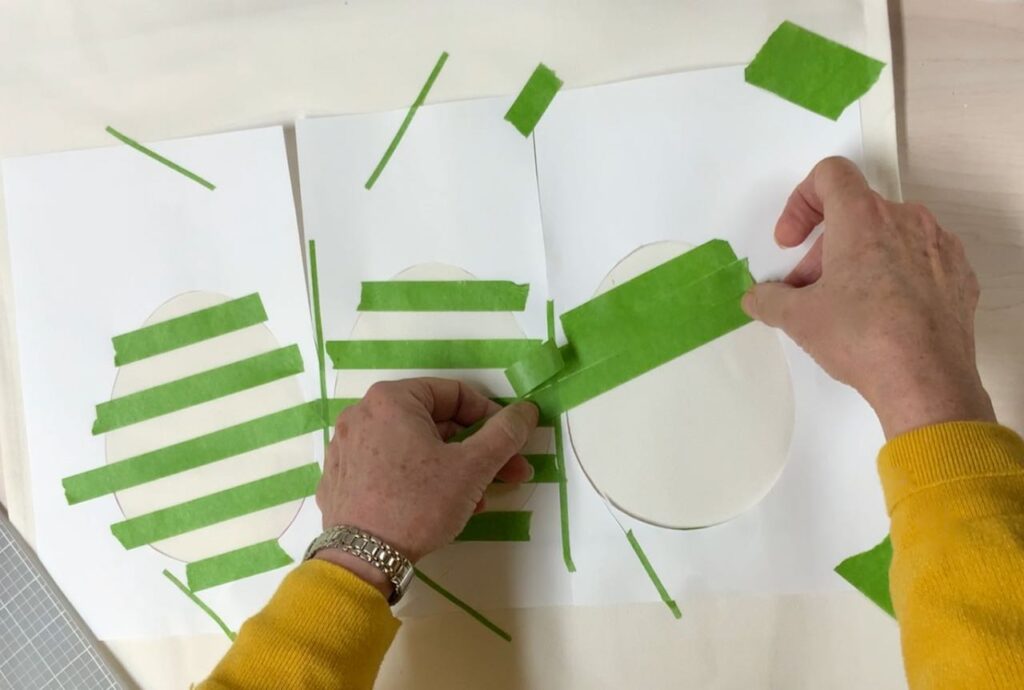
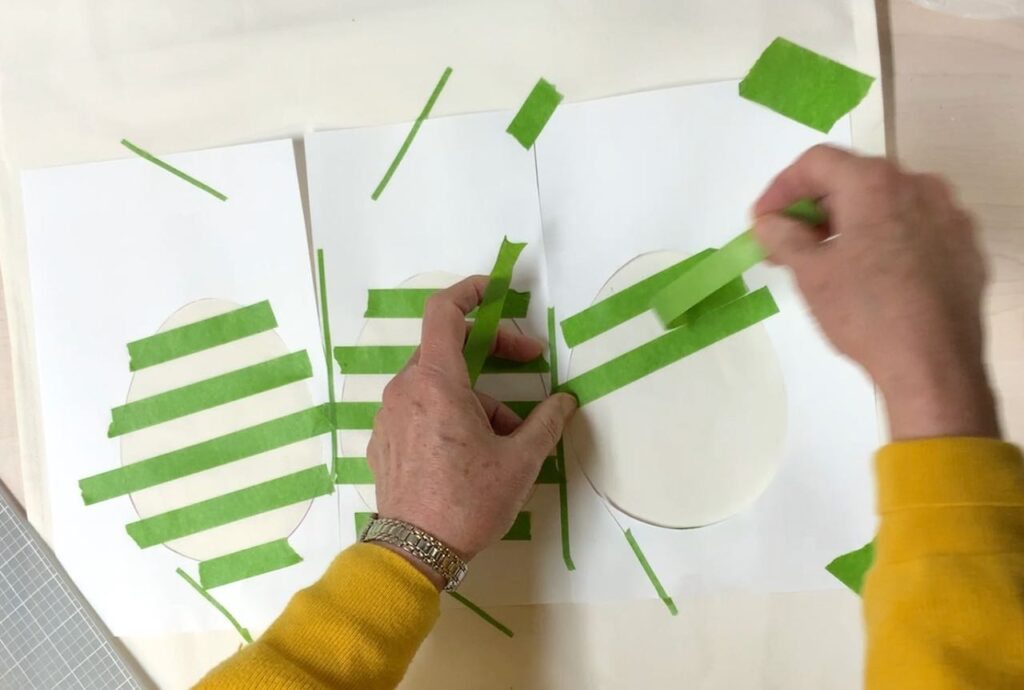
Place one strip of tape more or less horizontally. Place another strip next to it to act as a guide. Place a third strip right next to the second. Now pull up the second and use it as the next guide (or fourth strip). Place the fifth strip. Pull up the guide strip again. Rinse and repeat. Rinse and repeat, three eggs worth.
I intentionally changed up the angle of my tape for each egg. The important think is to keep using the same width tape and guide tape.
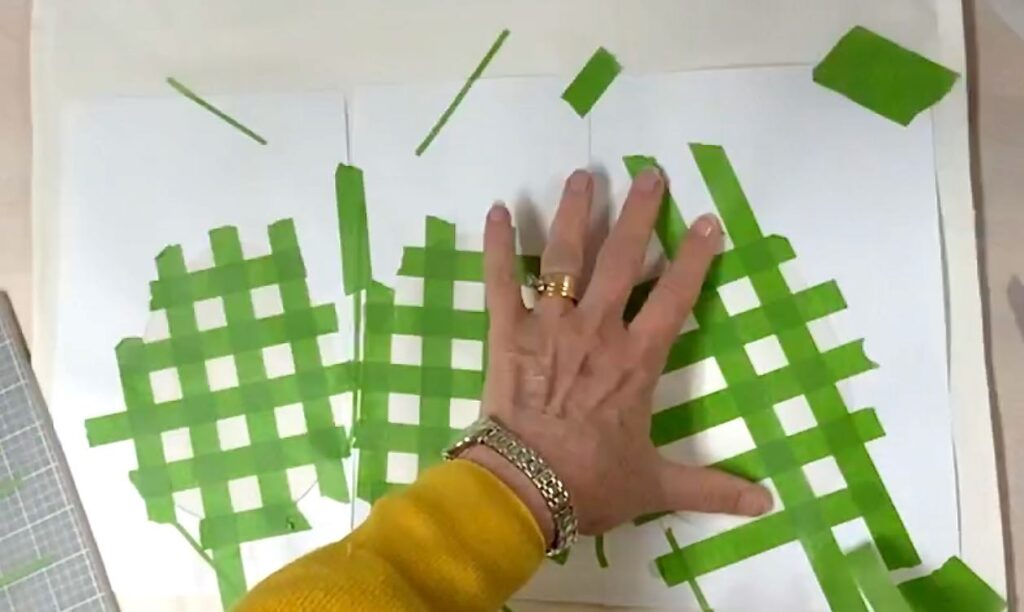
Do the vertical-ish tape with the same process, just be certain to place these strips at a 90-degree angle, a right angle to the more horizontal strips.
Step 6) Paint the Initial Squares-
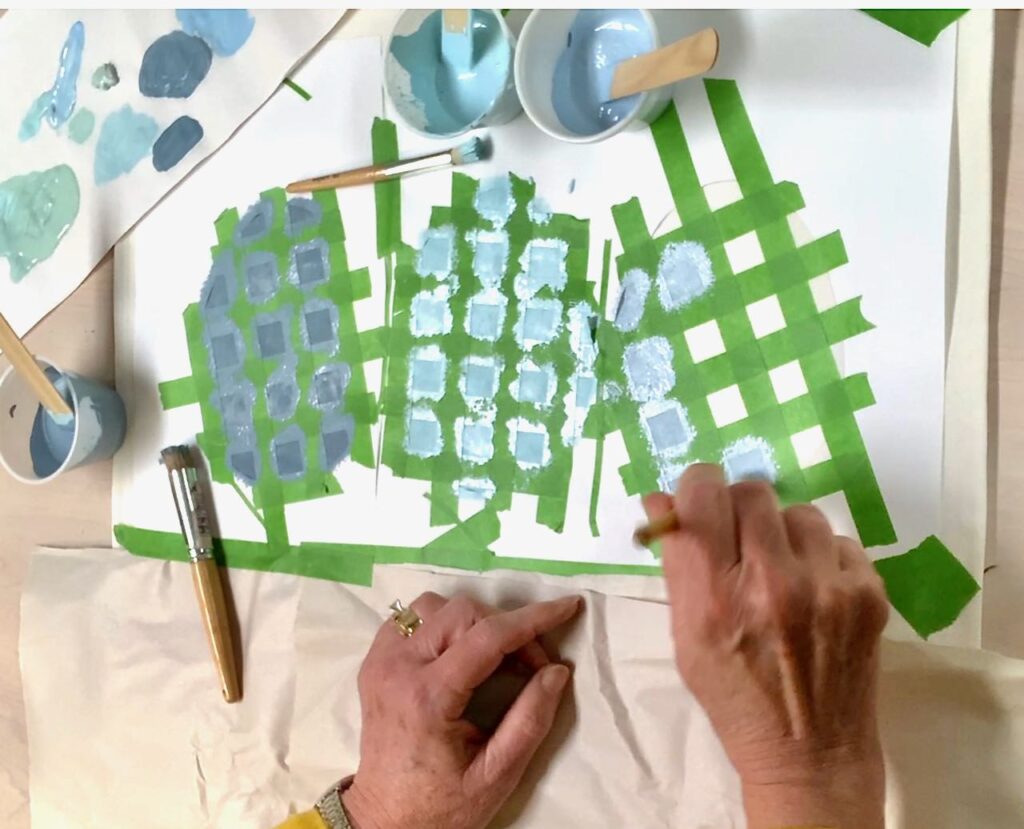
After the hard part of deciding on your colors, it’s time to paint. Best if you have a stenciling brush, but not absolutely necessary.
Use a pouncing motion. Along the outside edge, be gentle to avoid smooshing paint under the frame. if you are using a regular paint brush, be sure to wipe from frame inward, and gently.
Craft paints dry quickly, so you should be able to see if you need to touch up anywhere or add a second coat before removing the tape.
Step 7) Remove Tape Grid-
Carefully remove the tape grid. Because my frame was just light printer paper, I had to go slowly and repair my frame just a bit even with that..
Once the tape is all off, I used some of the thin middle strips to tape the outside frame down. I had these small bits of tape adhere to the painted squares as I knew that would not interfere with the next stage of painting (see the picture below).
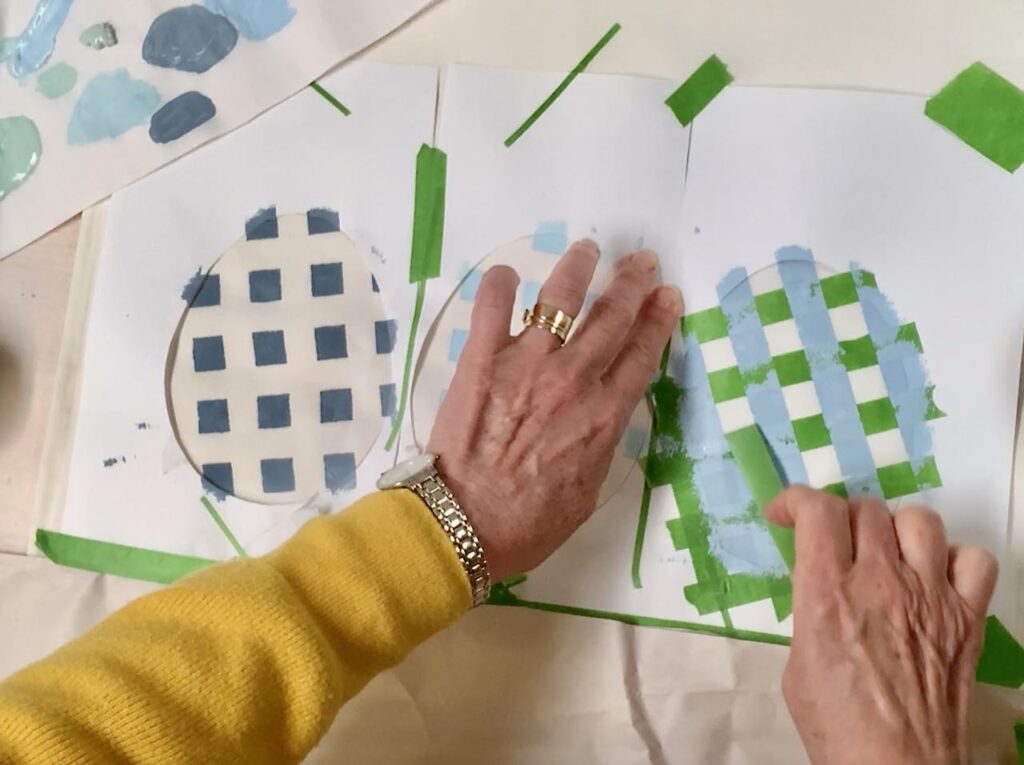
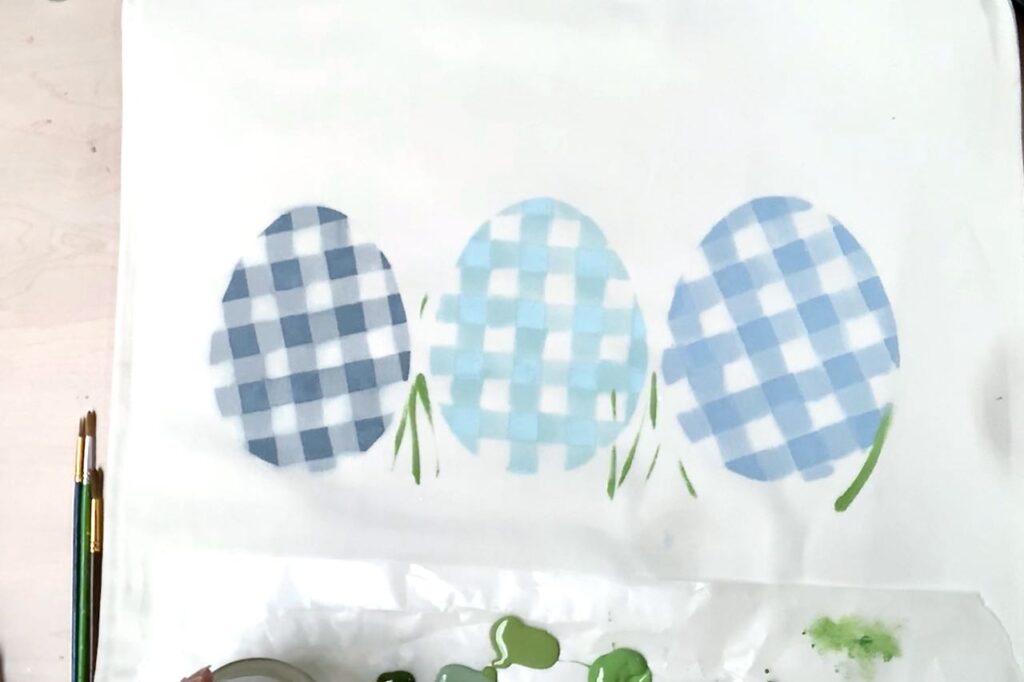
Step 8) Paint the Connecting Light Squares-
This is when the magic happens, where it all comes together.
Take your original colors and water them down, approximately 1/2 and 1/2, or 1:1.
I had mixed my colors in small condiment cups and had way too much of each. Never wanting to “waste” craft supplies, I squeezed each cup making a bit of a spout and poured them back into the somewhat equivalent craft paint bottle. Then what was left in the cup is what I watered down.
With a flat paint brush as close to my 5/8-inch square width as I had, I painted in the square between each painted square’s flat side. This will have a bit of a watercolor feel, and even more so on fabric than if you are doing this on wood.
The egg on the left, that paint must have been more watered, as it spread more, but I think I actually like it best. Basically, there is no right or wrong.
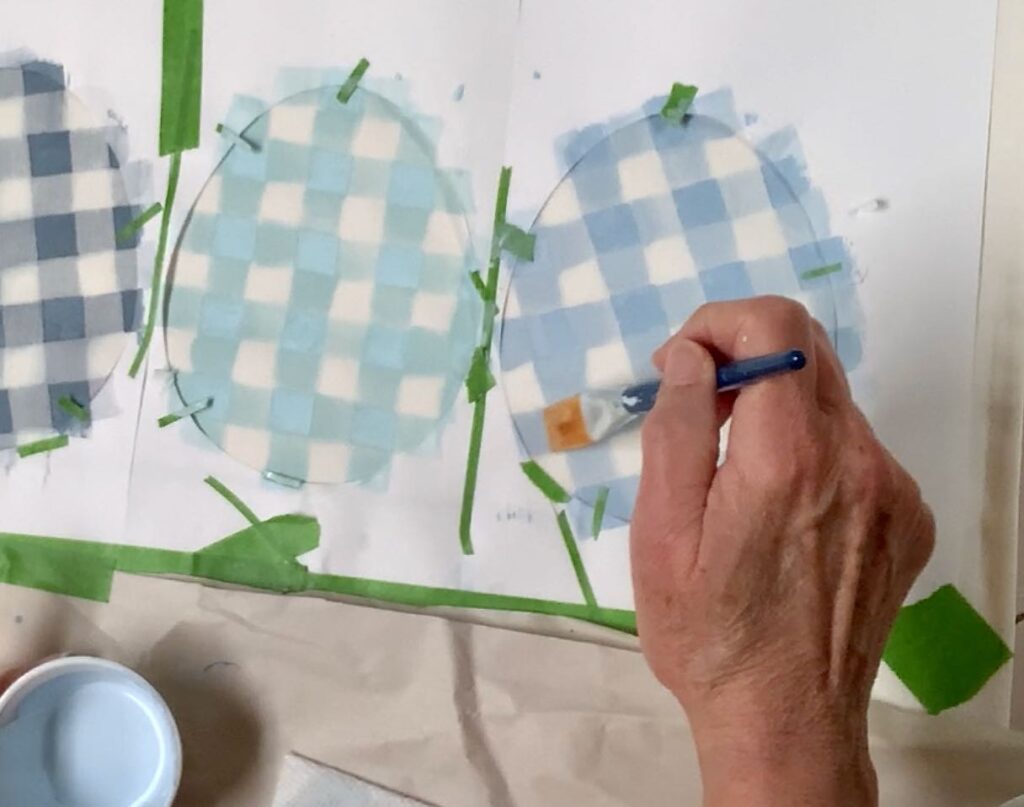
Step 9) Remove Frames-
It’s time for the big reveal! Remove your frames — be extra careful if you were not able to wait for all the paint to dry. No smears please!
Step 10) Add Grass — somewhat optional-
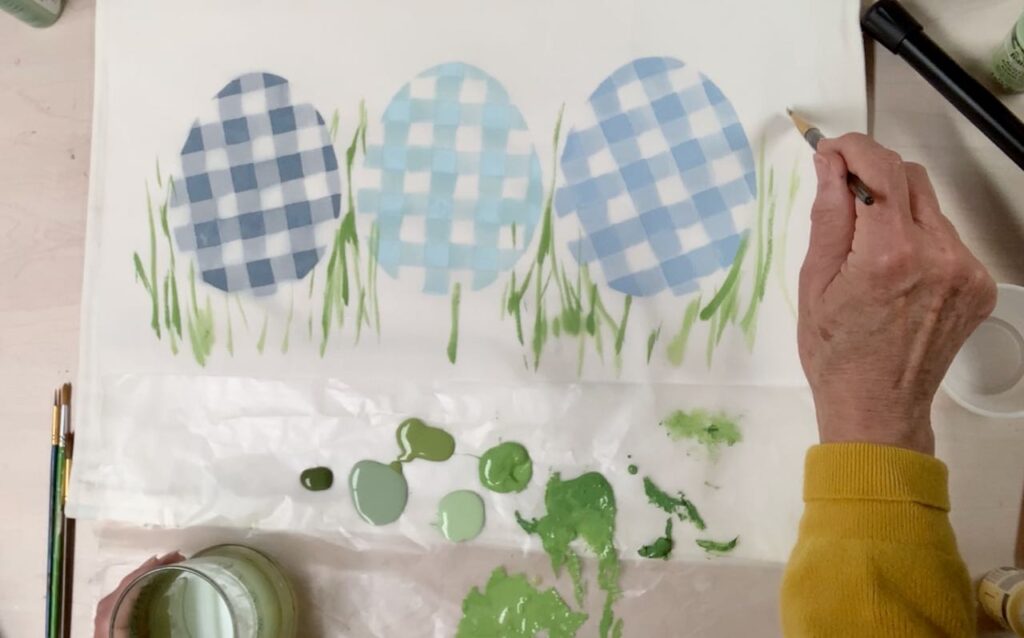
On a sheet of waxed paper (or a paper plate) gather small squirts of a variety of green craft paints. Add a glass of clear water.
Working with a thin round paint brush and/or the narrow edge of a flat paint brush, lightly add wisps of grass, mixing with water as you go. Sometimes I added water to the fabric first, sometimes, I added water to the paint and sometimes I added more water after on the fabric. The key is a soft touch and water and as many shades of spring greens as you can mix.
Most of mine stop at the base of an egg, but a few grasses overlapped in front of an egg, and of course tall stalks between the eggs two. And typically, those tall stalks would be bent over, right?
Step 11) Heat Set-
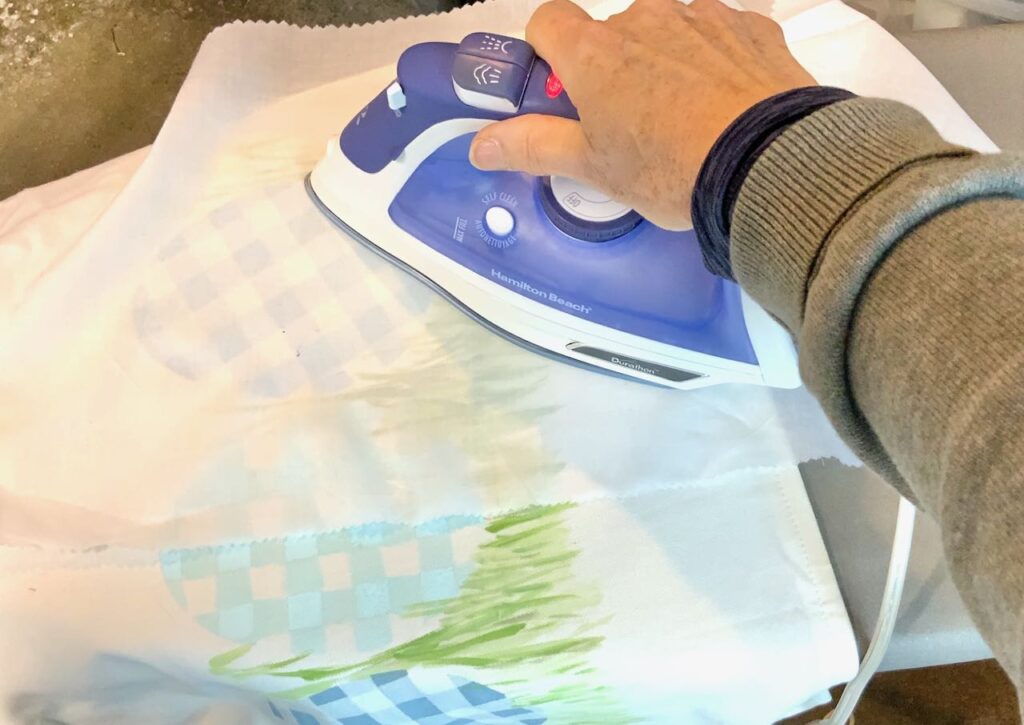
Once everything is good and dry — no rushing this, please (well, a hair dryer can if you want), it is time to heat set your masterpiece. That’s a fancy way of saying press it. A good hot press with a press cloth (a thin layer of cotton fabric) between the iron and the pillow front.
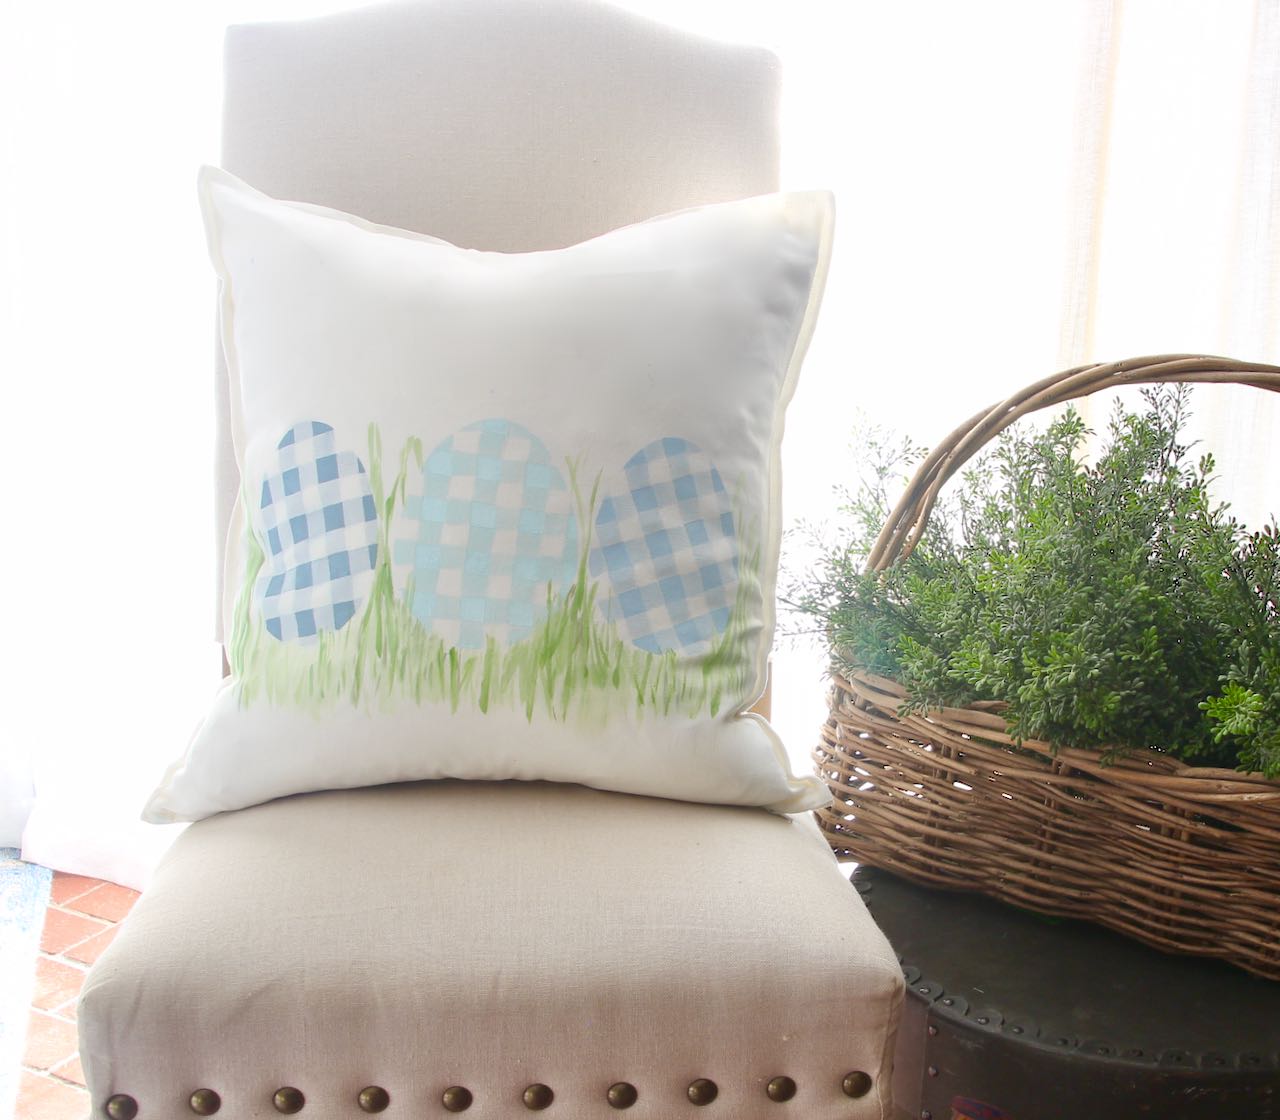
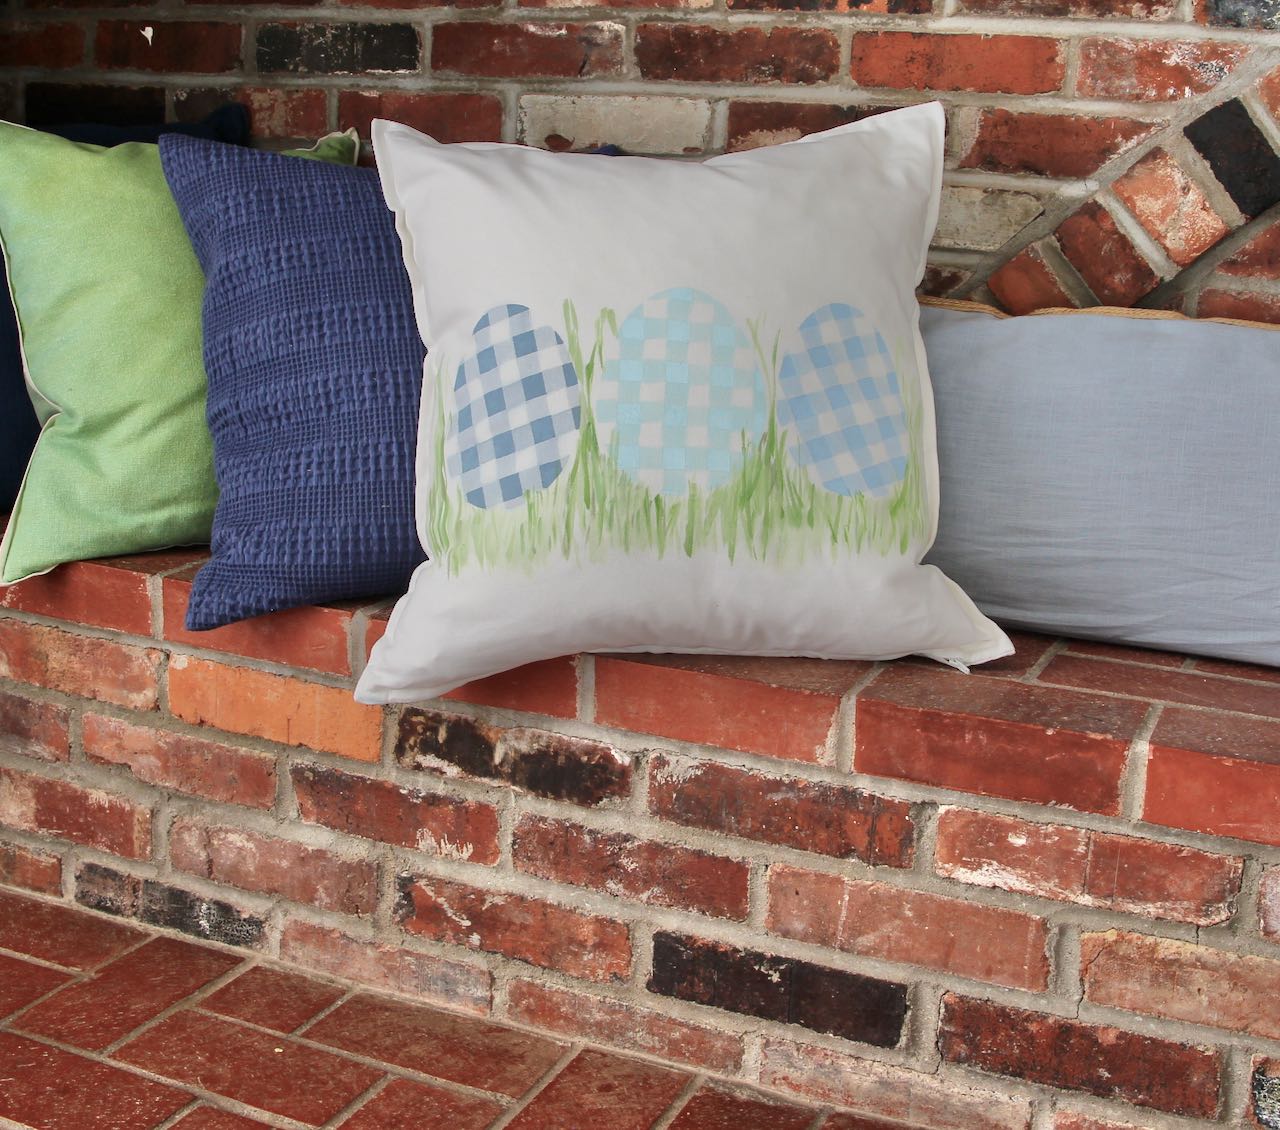
And now it’s time for the best step of all! The step where you stuff your pillow . . .
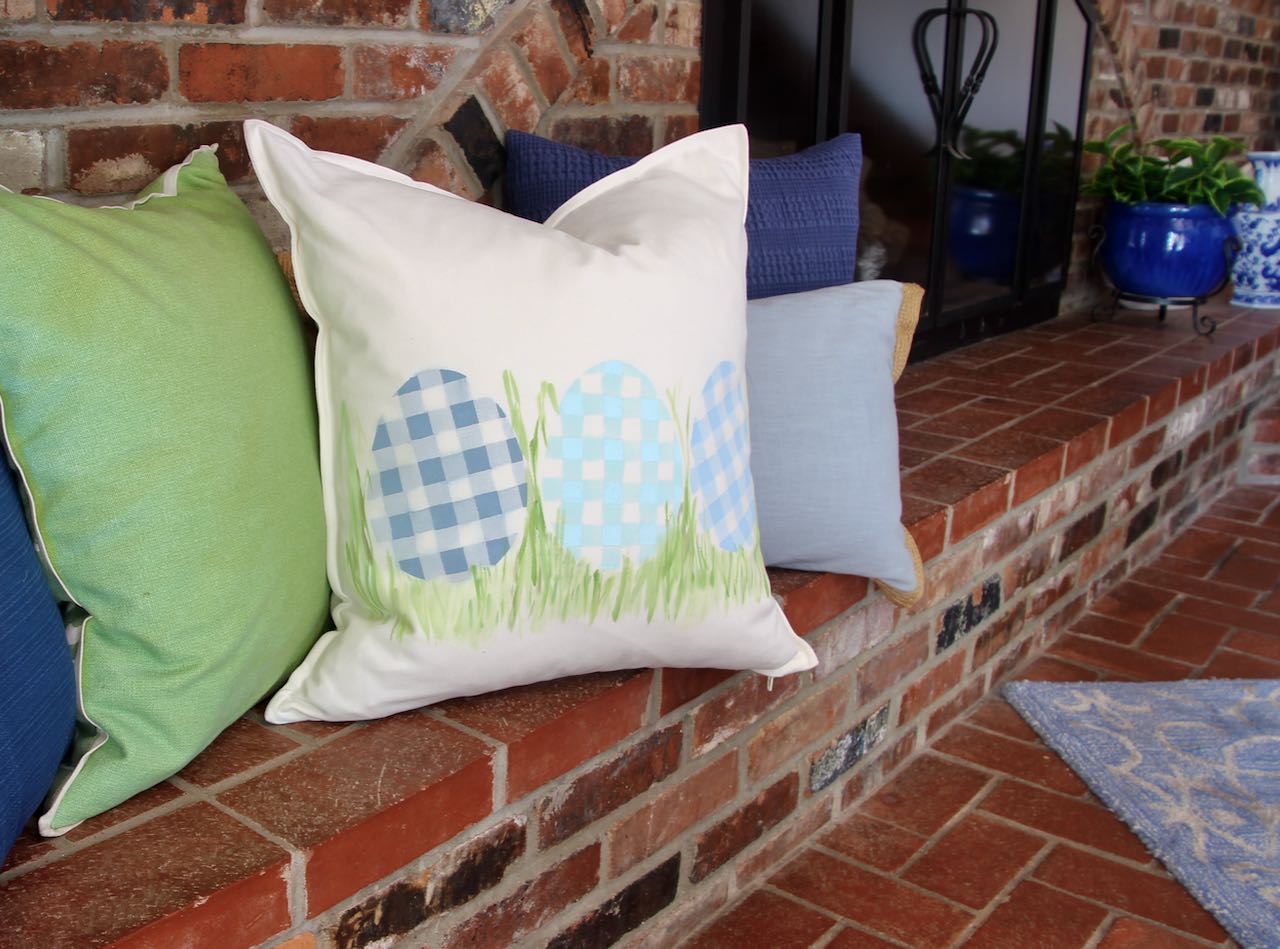
. . .and then try to decide where it best sits . . .
. . . and you try to resist excitedly declaring to everyone who steps foot in your home, or even on the front porch, or maybe the dog walkers out on the sidewalk “See that! I made it! Yes, I know, but really, I did!”
And now that you’ve got the bug, what else do you want to paint.
Plaid crafts used this very same technique on a wood bunny in blue. Isn’t he adorable? You know I’m a sucker for all the plaid paint products and more. They’re also the company behind Mod Podge. And just this week they announced Mod Podge resin. So fun. Hopefully I can get my hands on some of that soon.
As always, please don’t hesitate with any questions you might have on this project or anything else. Or if there is something specific you’d like for me to share, I’m all ears. I truly appreciate each and every one of you being here with me.

Adorable!