
Customized
Party Favor Bags
Be THE host! Treat your guests with personalized party favor bags that perfectly match the occasion — Custom styled, yet so quick and easy!
Party Favor Bags In Linen With Customizable Style!
When you’re planning a gathering, streamlining is your friend! But not at the expense of style and making it personal. With these 6 easy steps, you will confidently personalize your party favor bags and add some great custom style too.
Step 1: Gather Your Supplies
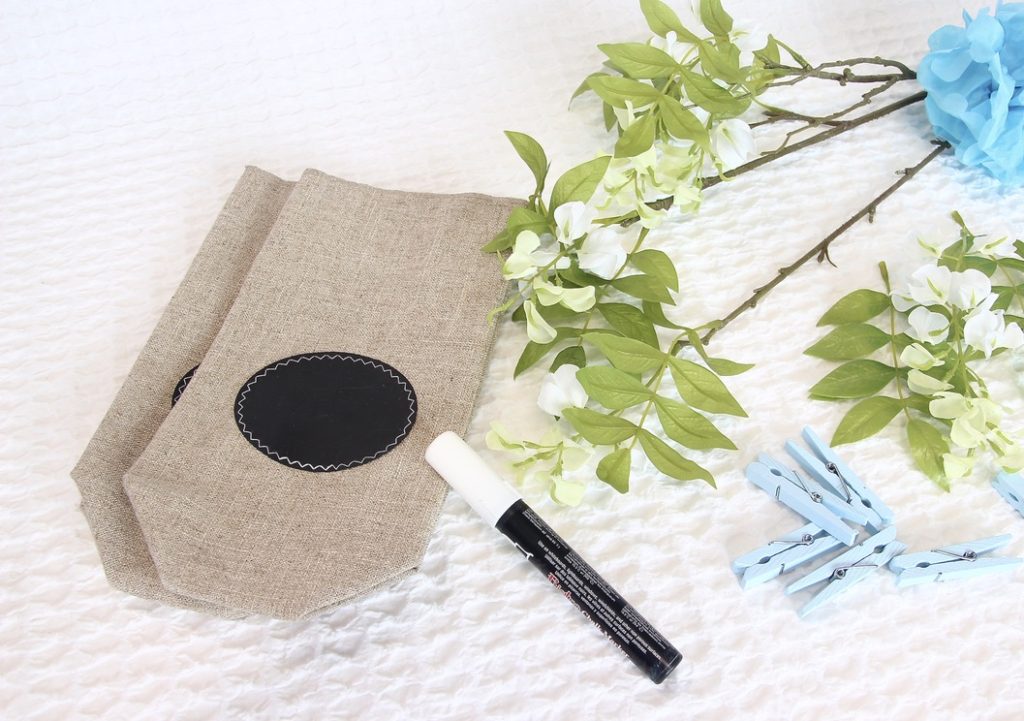
- Your Party Favor Bags — they will arrive folded flat like you see here. Available here.
- Chalk or a chalk marker — to personalize your bags with each recipient name or maybe a fun message. I always use chalk markers in my photos — it’s more vivid, stays put until you take to it with a damp cloth and no dust! [NOTE: the best one I have tested, and I have tested soooo many, is the one I sell as a convenience to my customers].
- Clips — of whatever variety to hold your bags closed, OR if your goodies overflow the bag, such as a small plant, just roll down the edge and optionally add a ribbon.
- Embellishments — Optionally you can add something to the clip depending on your party theme. Here I am adding a sprig of weeping Spring flowers
Step 2: Personalize Your Party Favor Bags
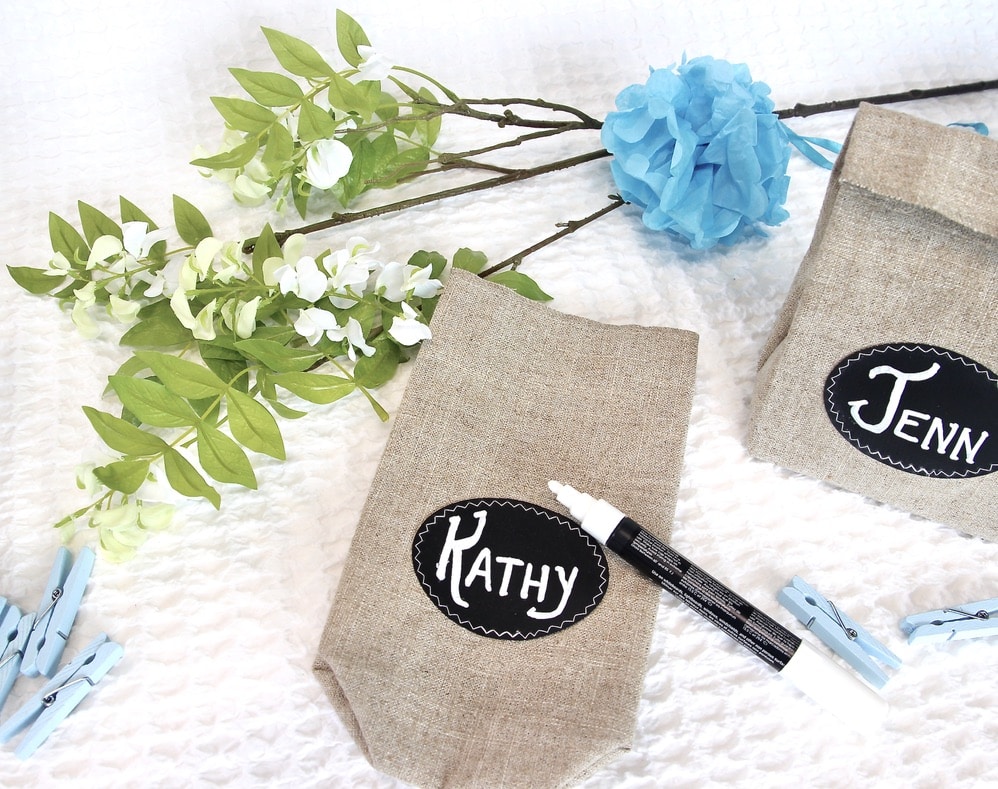
Start with personalizing that charming chalk cloth label.
Easiest while they are flat.
Personalize with names or monograms, or maybe a fun motto or short message, or sweet drawing — you’re in charge here!
Step 3: Finger Press the Front Base
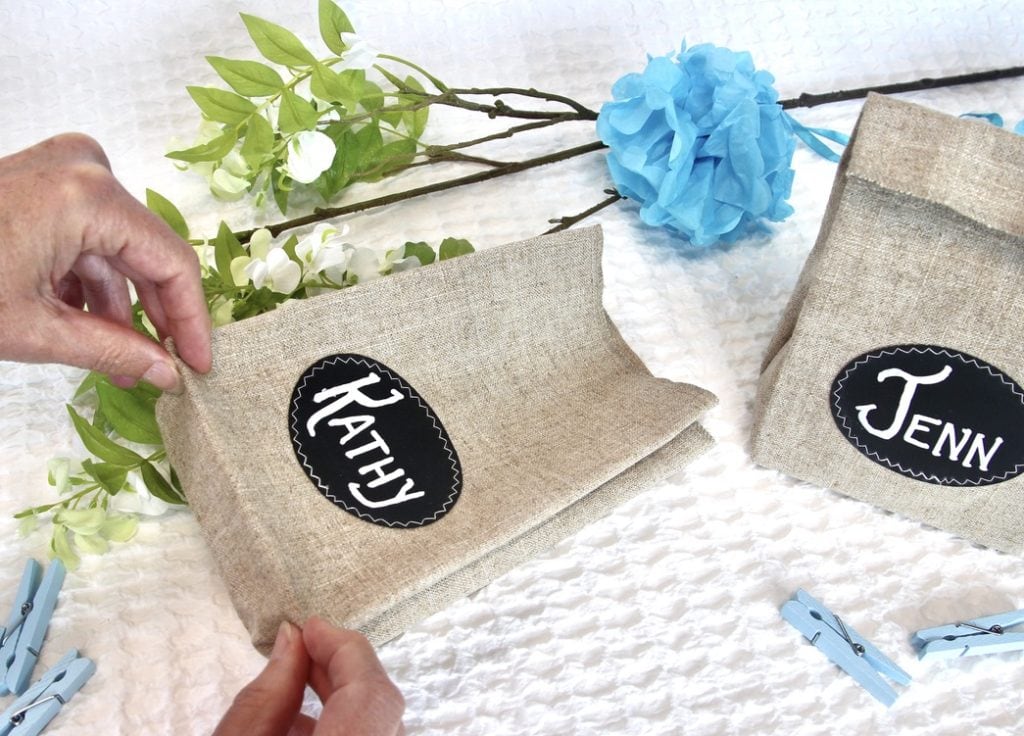
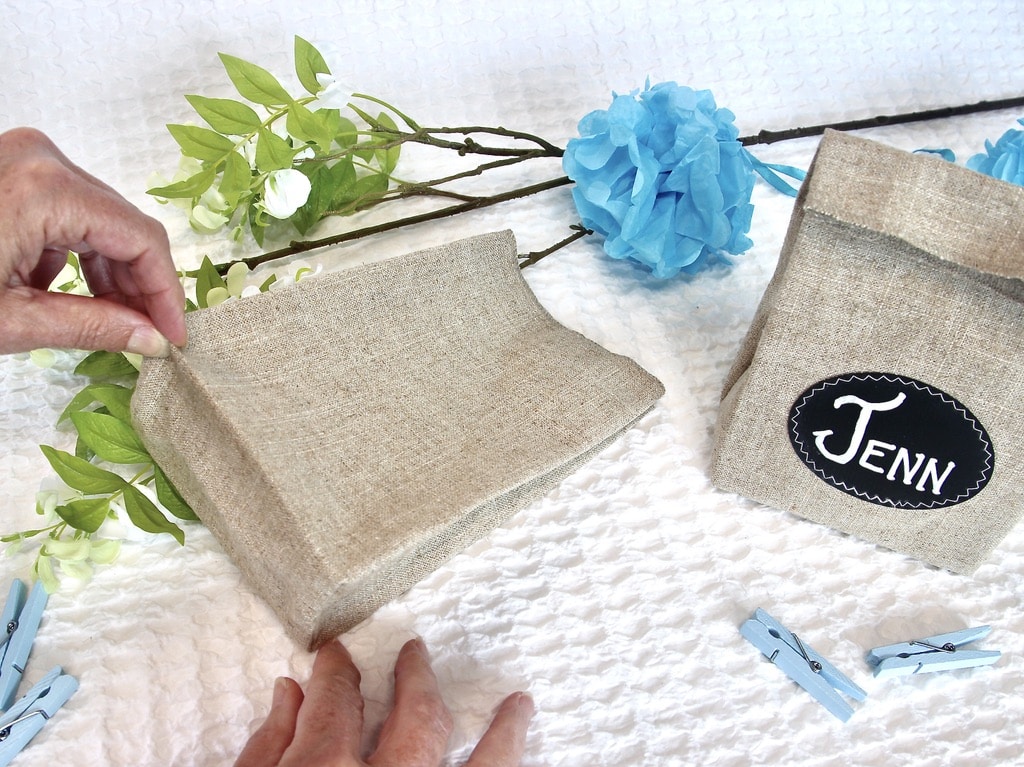
These bags have gussets so they’ll stand tall, proud and pretty. But let’s help them get there.
Finger press across the front base from corner to corner.
Step 4: Finger Press the Back Base
Repeat for the back! Finger press across the back base from corner to corner.
Step 5: Fill & Fold
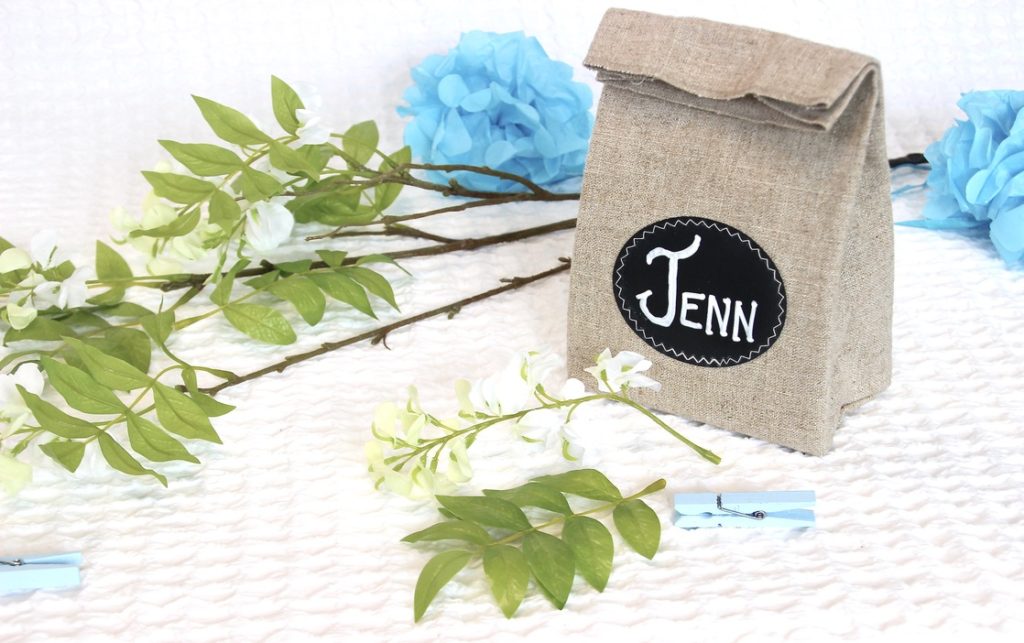
Fill your bag with all the goodies. For planning purposes, they are roughly the size of a traditional brown paper lunch bag.
Fold over the top, or if your goodies overflow the bag, this is where you could roll down the neck and optionally cinch it in a bit with a ribbon.
Step 6: It’s a Wrap!
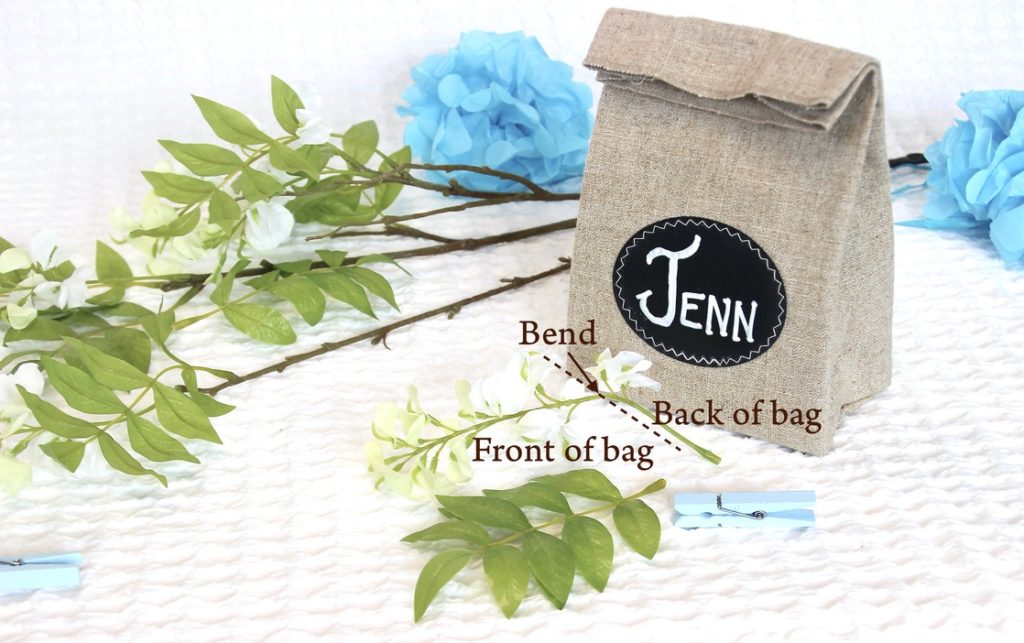
For this one, I plucked a small sprig of leaves and stem of wisteria blossoms from the large branch.
It’s really very simple to get the blossoms to spill over the top of the bag.
Just bend the stem a bit towards the end where it came off larger stem. That bend will lay over the top fold of the bag with the stem nodule and a blossom or two on the back side.
Layer this over a stem of leaves and add a cute mini clothespin to hold it all together.
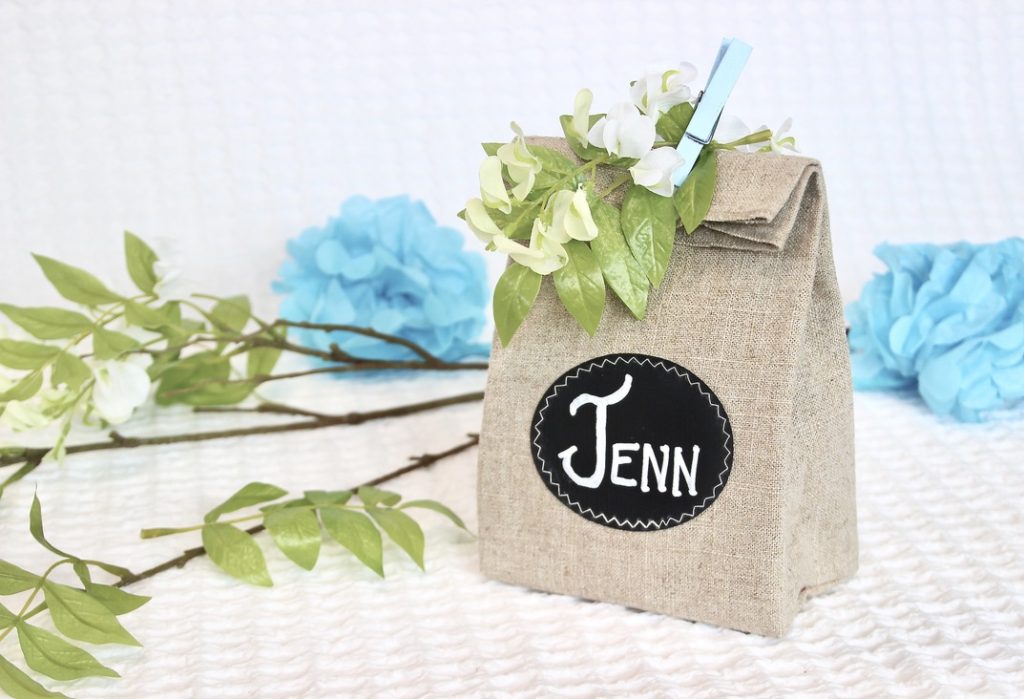
Sooo easy and so festive — and personal! It’s an entertaining trifecta!
And here’s another option for personalized party favor bags — this time in burlap.
As for the supplies for your personalized linen party favor bags:
- The bags- you can order them right below here or through my Etsy shop by clicking here.
- The chalk marker- you can order right below here or through my Etsy shop by clicking here.
- The wisteria flowers and clothespins- both from Target. Wisteria stem here and the mini clothespins from their famed Dollar Spot.





0 Comments