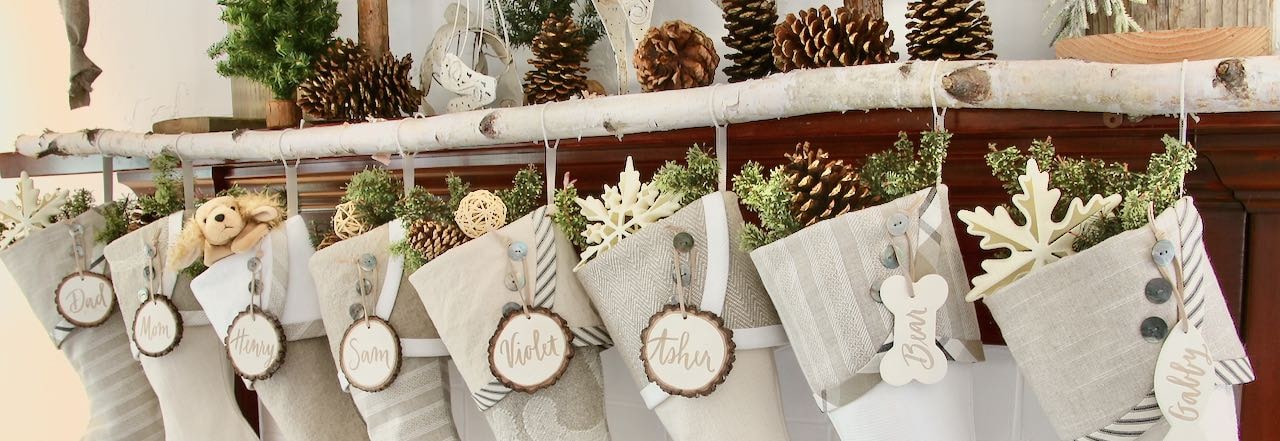
How To Hang Christmas Stockings
From a Birch Branch – Updated!
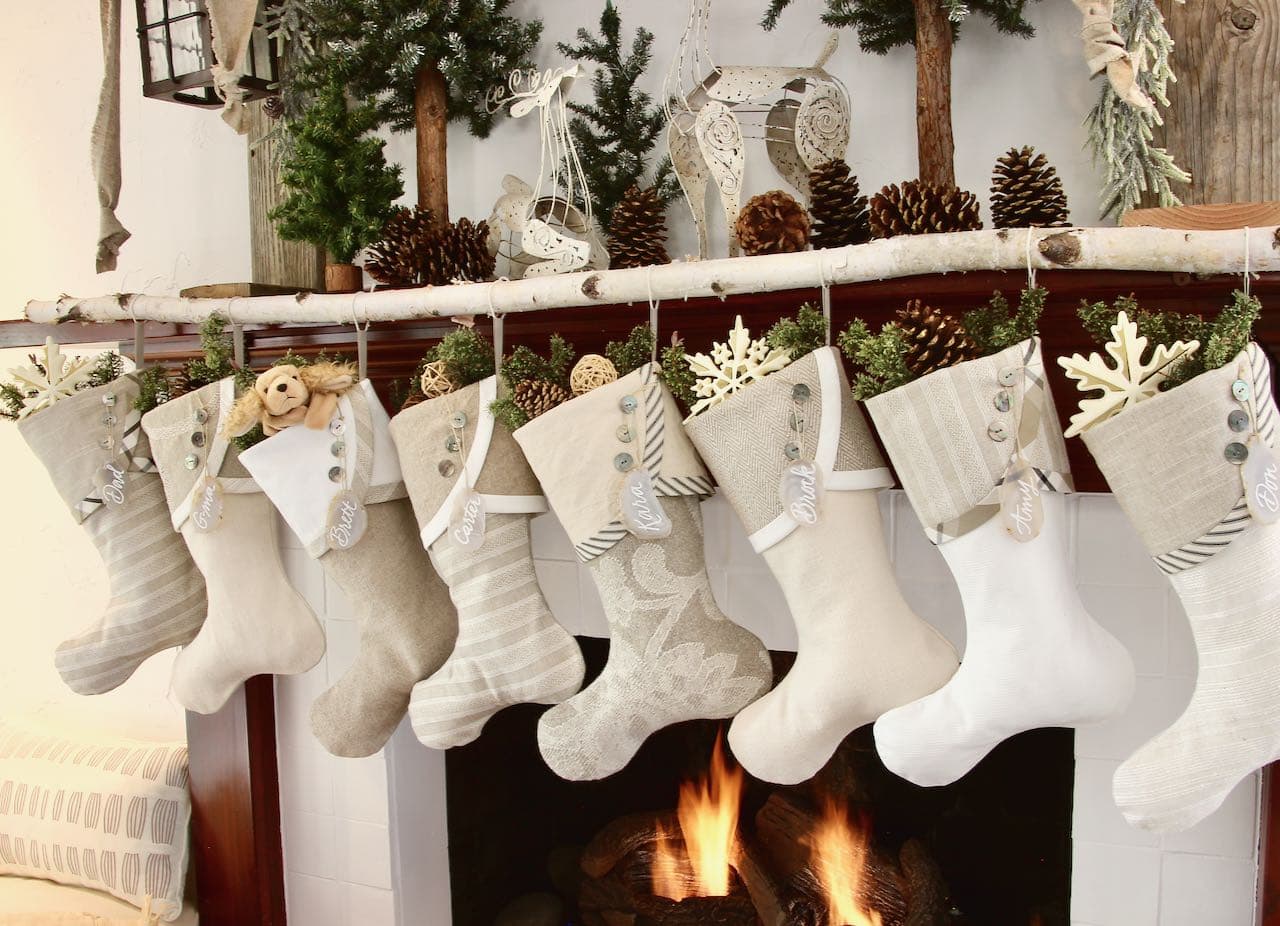
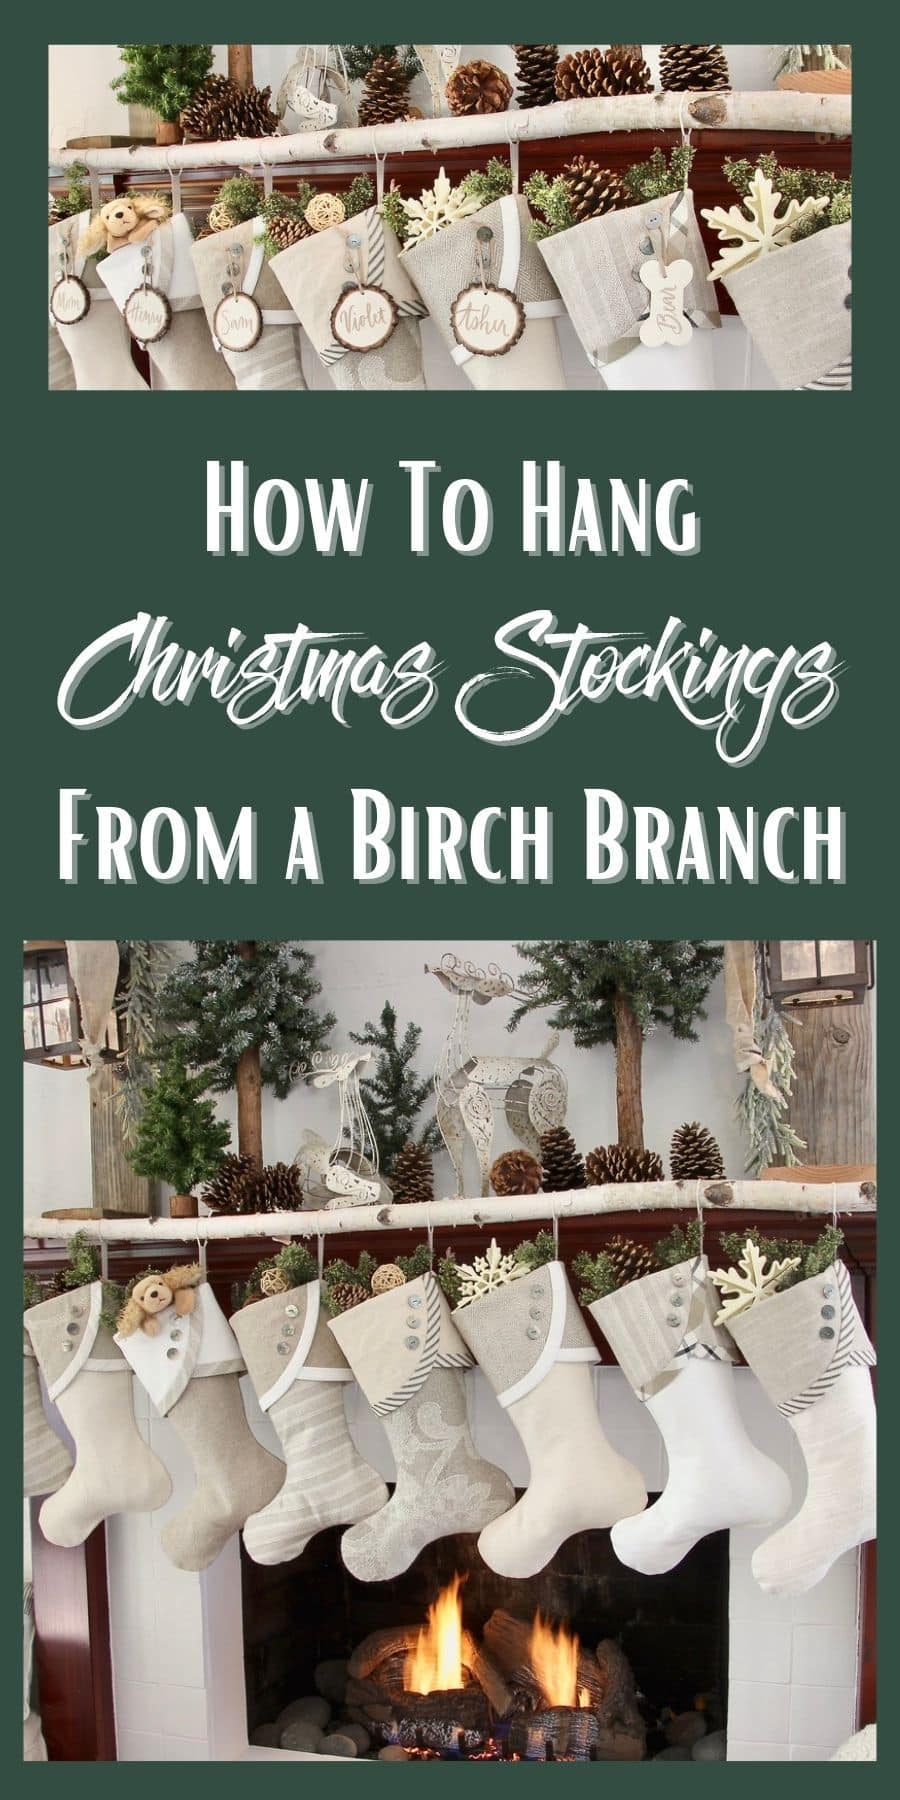
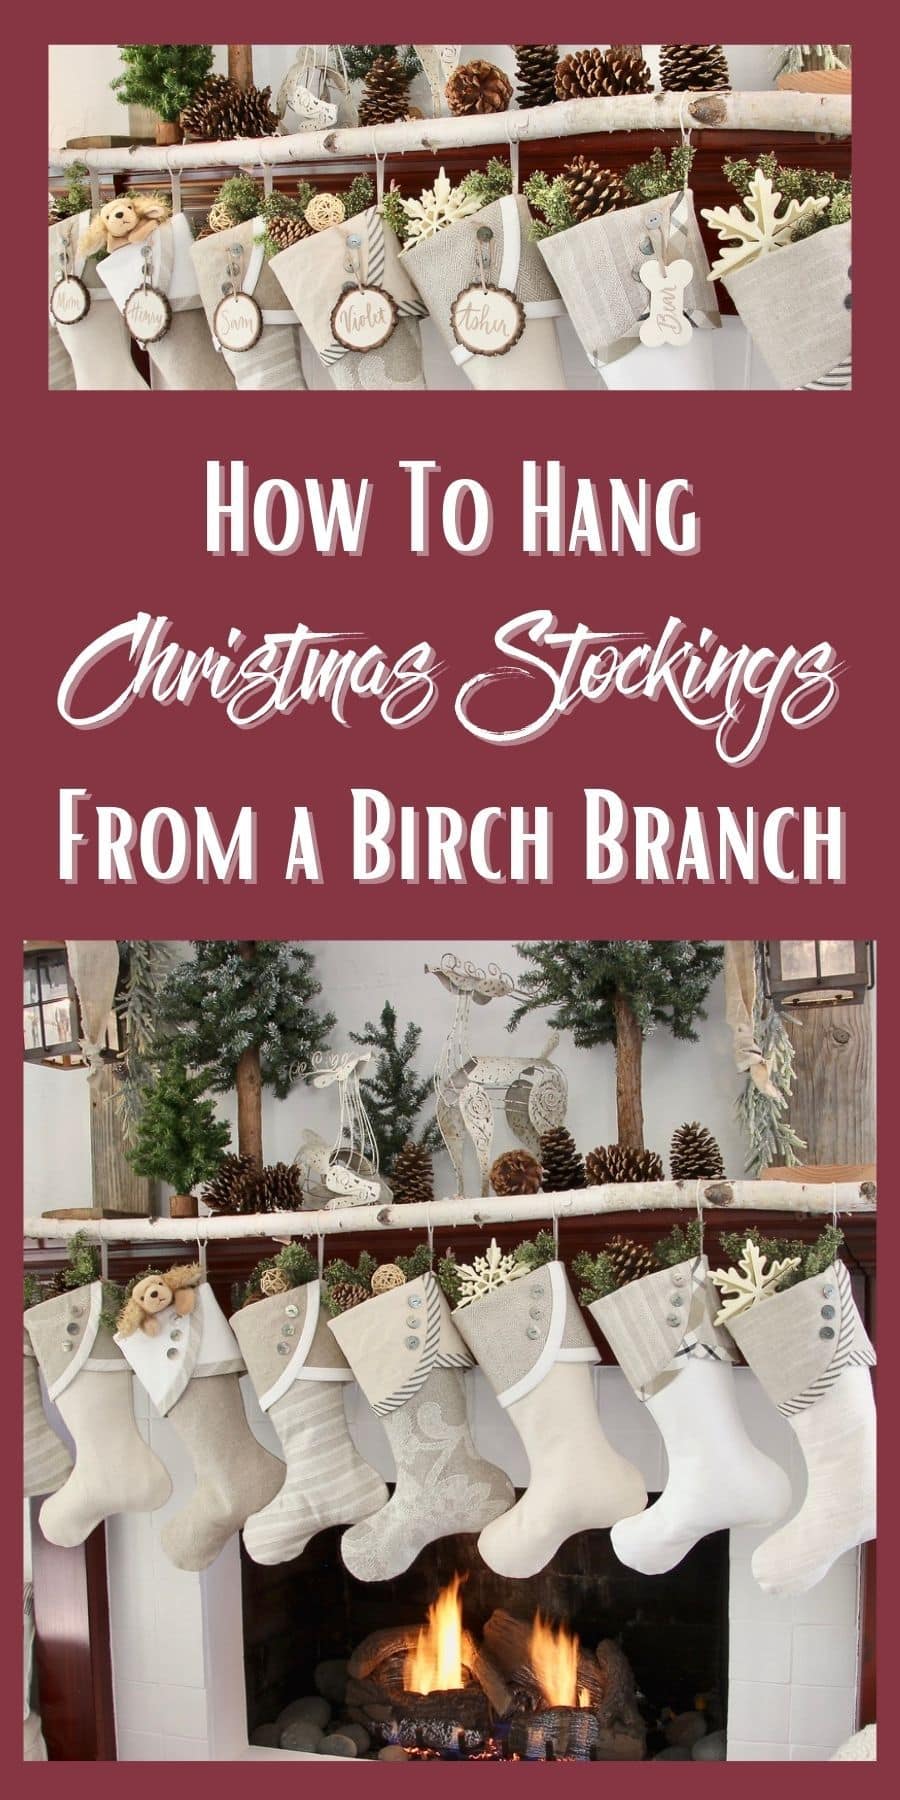
Such an easy and stylish way to hang lots of Christmas stockings with a birch branch on a fireplace, without damaging the mantel, without nails!
Let’s talk about elevating one of your holiday focal points. The place of many family traditions and so much memory-making.
You guessed it.
Let’s talk about where we hang the Christmas stockings.
Do you struggle with how to make a wonderful festive focal point in your style with that long line of individual stocking holders in the way?
And then when your family grows you have to find another stocking holder to match. Or worse you have to start completely over investing in al those holders you wish you didn’t have anyway.
And many of those stocking holders are simply not safe!!!
I know! I was right there with you!!
We received two gorgeous stocking hangers as a wedding gift. I loved them! But when we started our family, I needed more and they were no longer available. Any that I liked, I couldn’t afford.
I was desperate, so I innovated. I used those two hangers for years suspending a single curtain rod to hold any number of stockings.
You can read all about basic stocking rods here.
And more stocking rod goodness here.
Today, take that stocking rod a style step further. Let’s use a birch branch as our stocking rod!!!
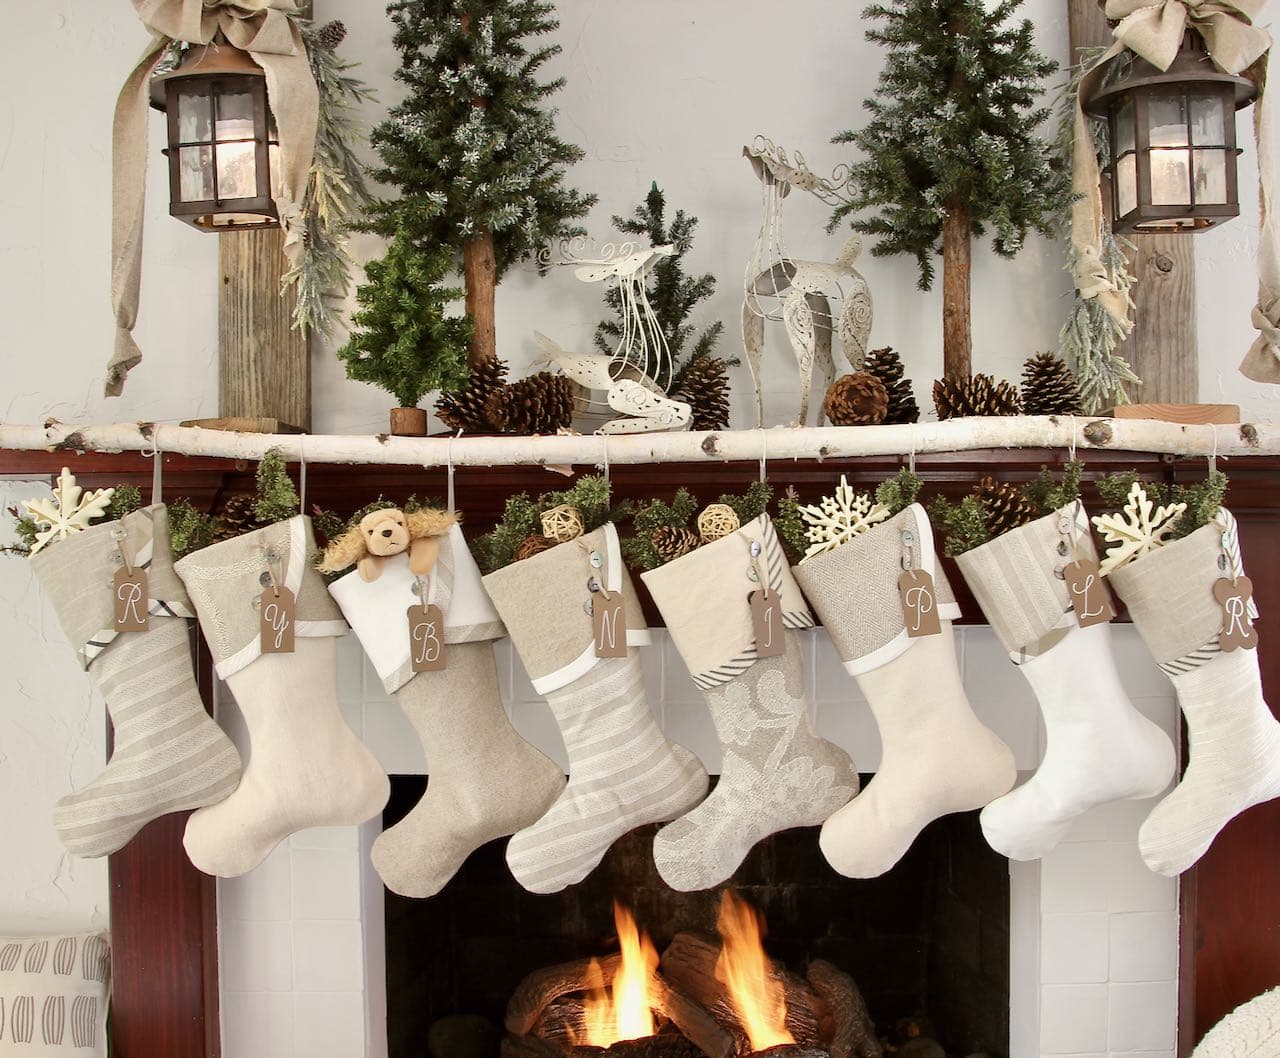
Fabulous, right? Well, don’ t be intimidated!
It’s a really rather easy mantel to put together. But we can keep that between us. Go ahead and let your guests and family swoon in amazement. I’m good with secrets.
The mantel above starts with those fun rustic lamp posts. And guess what — you don’t even need a power source! That’s great, right?
So if you haven’t already read about them, jump over to that post first. Then hit your back arrow and we’ll be waiting right here for you.
Now let’s take it a step further and add the birch branch rod for hanging your Christmas stockings.
I get it!
You’re busy right now.
And you need to gather supplies.
So maybe pin this to your Christmas board
Or to your Farmhouse Christmas board,
Or to your Cottage Core Christmas board,
Or maybe your Christmas Mantel board,
Or to whatever board makes sense for you, so you have it handy when you’re ready to get started.
So Let’s Use a Birch Branch for Your Christmas Stocking Rod

Supplies & Materials Needed:
- Birch branch
- Pair of 2-piece Curtain Rod Brackets
- Drill
- Thin drill bit
- Screwdriver bit (or a screwdriver if you must)
- wood screw
The following links are affiliate links, which means if you purchase anything using these links, you pay NOTHING extra, but I may receive a small commission. Please know that I will never recommend a product I do not believe in! And I truly appreciate you supporting my blog and enabling me to continue making content for you.
Sets of 3. Good if you can share a pack with friends or use some in a large arrangement and one for hanging stockings.
Now that you have all your supplies,
Let’s Get Started Making a Birch Branch Christmas Stocking Rod:
Step 1) Placement
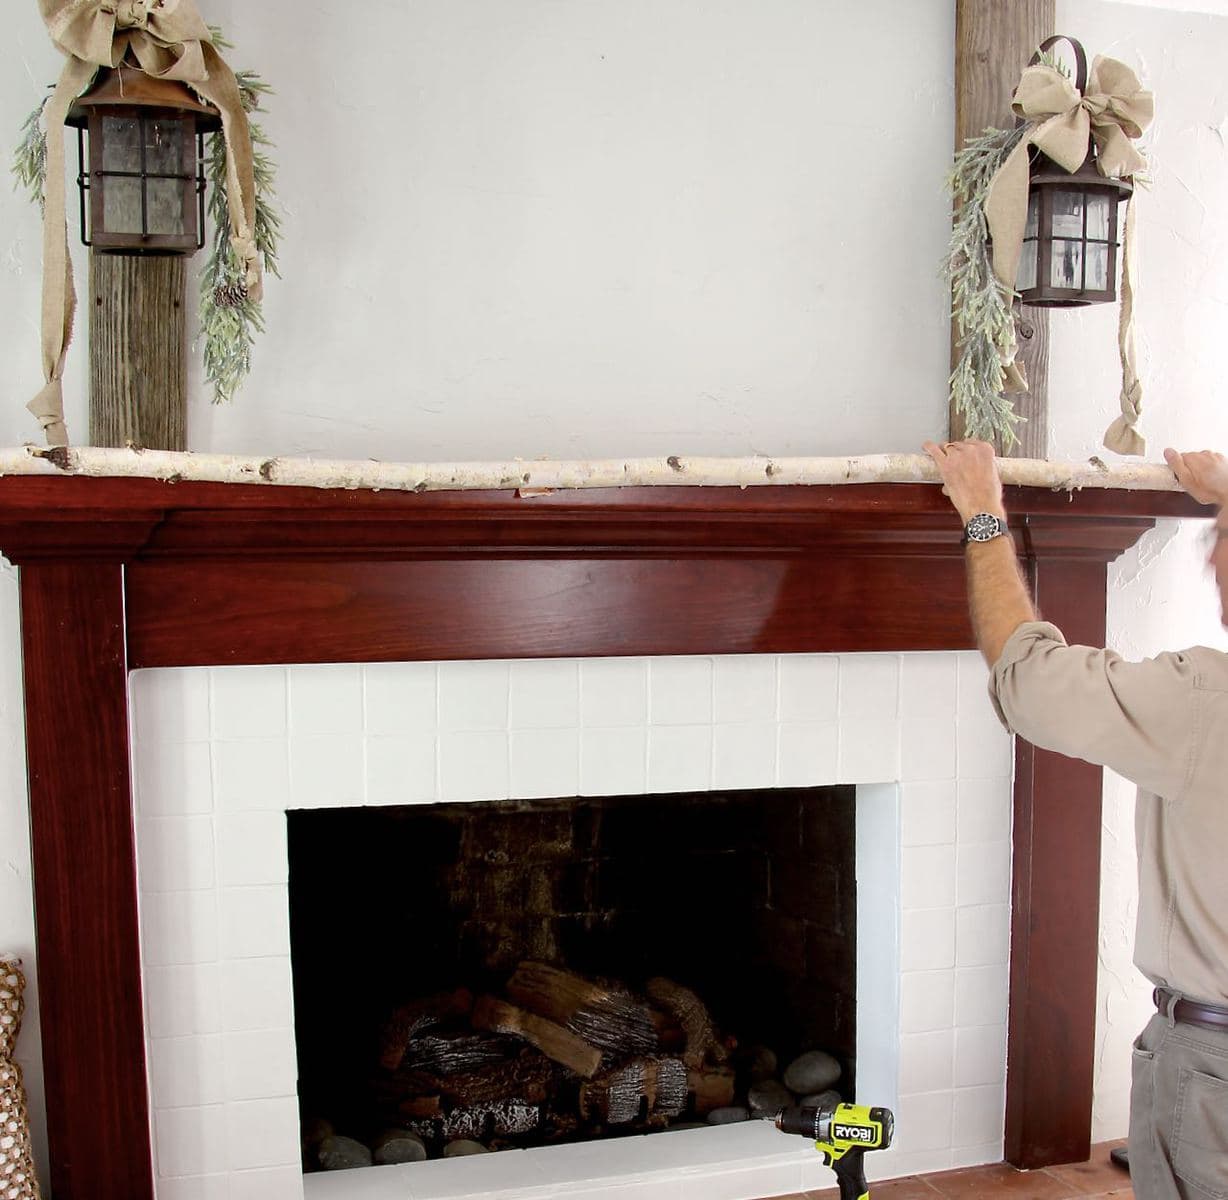
Pretty straight forward here. Place your birch branch so it’s spaced as you’d like it and rotate to find the most level or most desired side.
Mark the placement of the brackets where it will attach on either side of the lamp post feet.
Mark where the brackets need to line up.
Step 2) Attach Brackets to Birch Branch
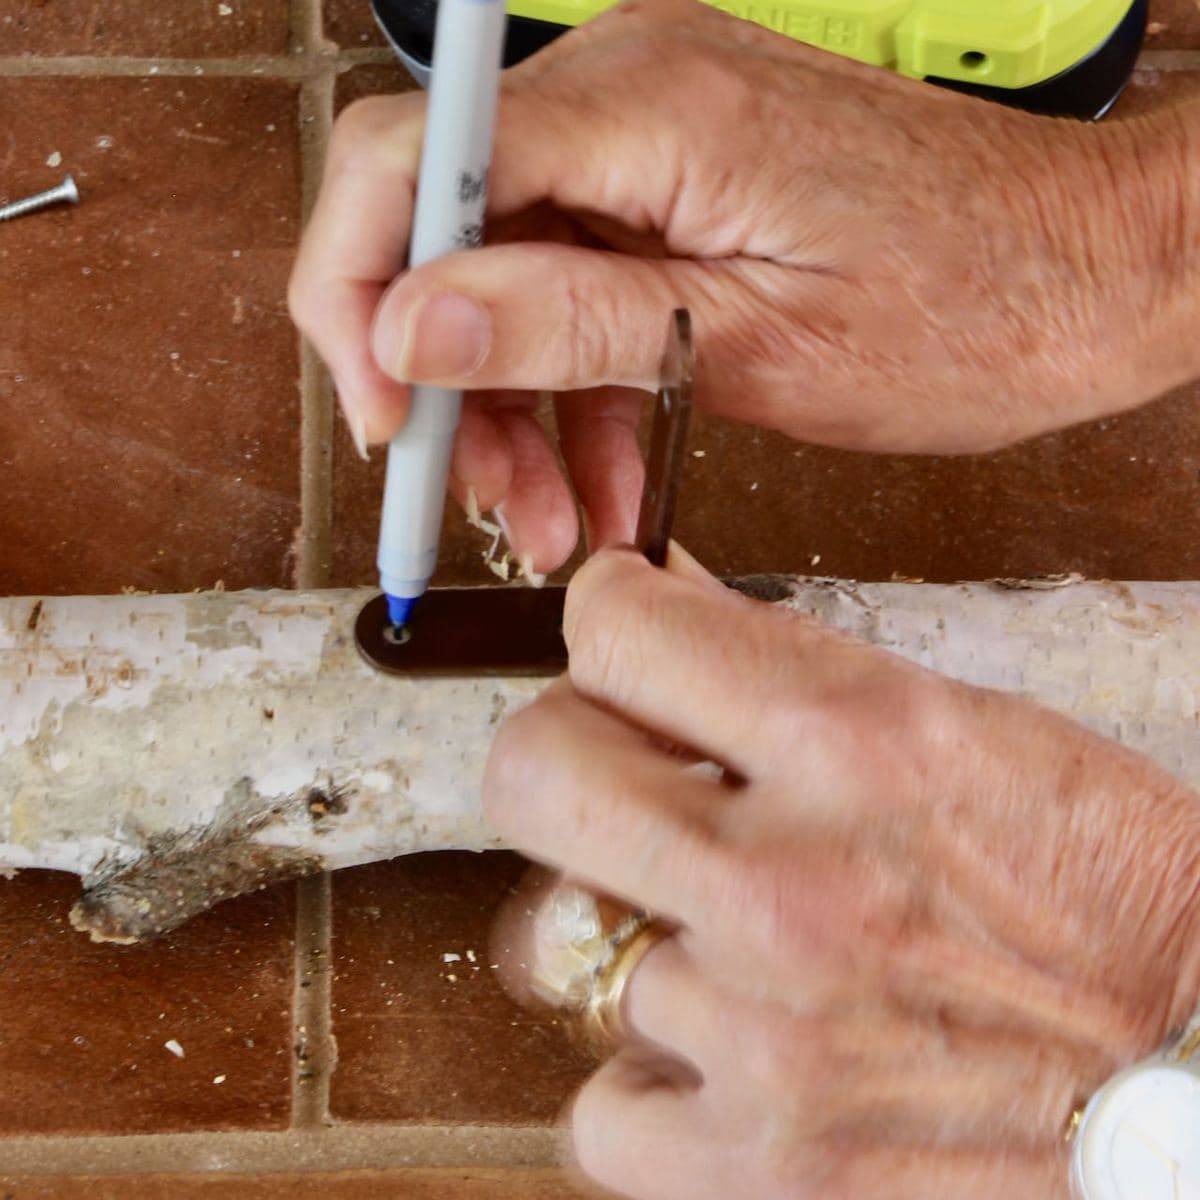
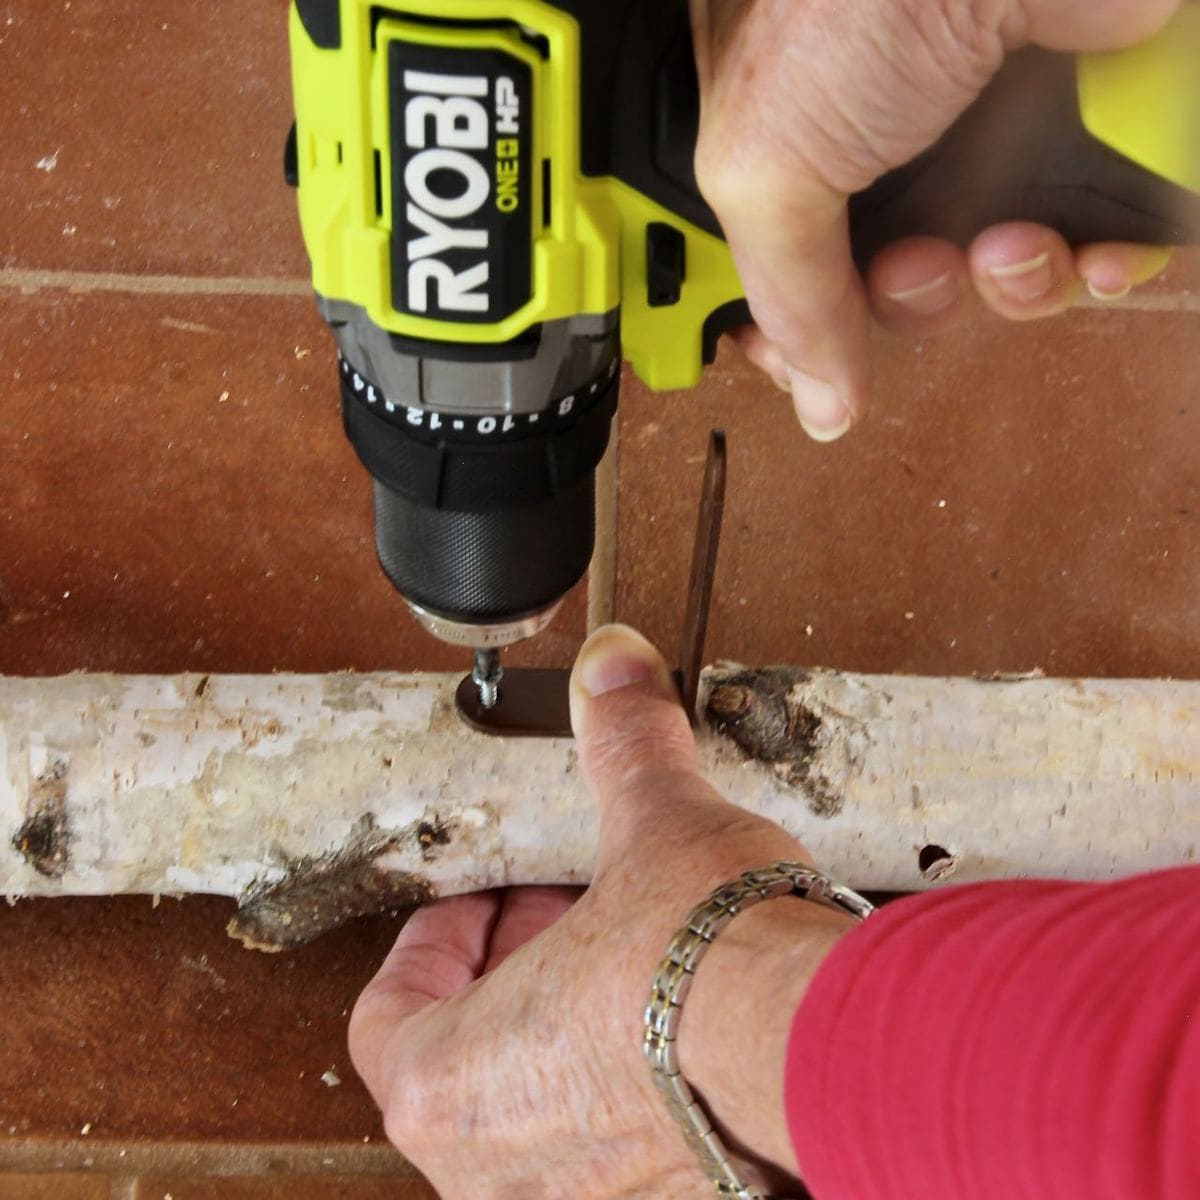
Start by separating the two pieces of your curtain rod bracket. You are only going to use the L-shaped bracket. Stash the “hook” side in your jumk drawer. Maybe, just maybe you’ll have a use for it down the road. You never know, right?
Nothing fancy here:
With your birch branch on the hearth or a table, mark your wood screw placement. Keep the two brackets level with each other.
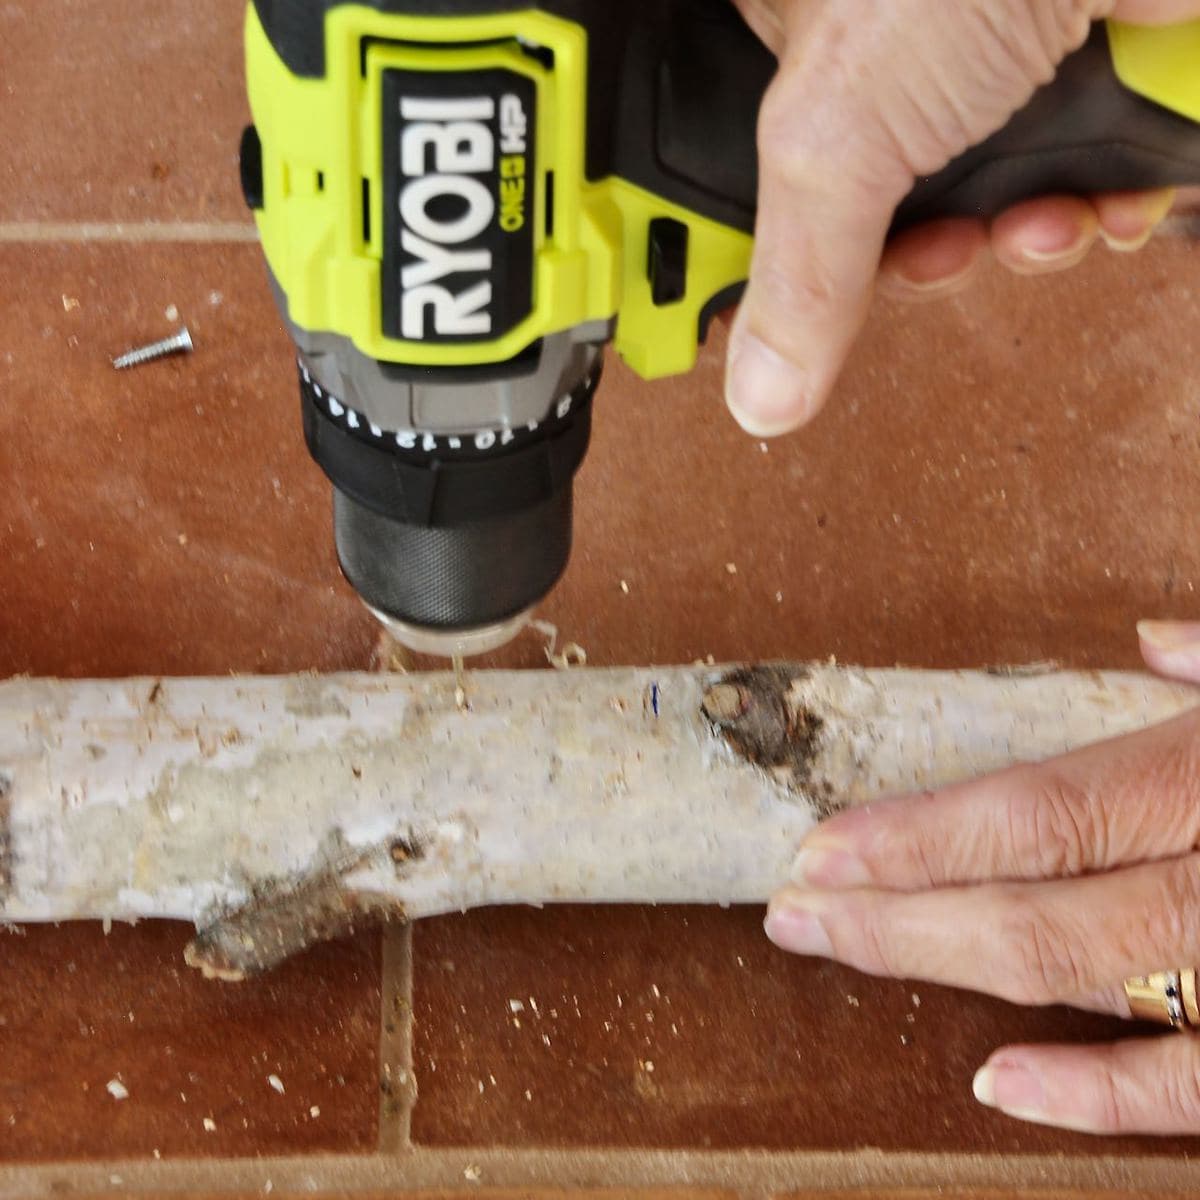
Drill pilot holes in the birch branch with a thin drill bit. You may be tempted to skip this step because you aren’t worried about wood splitting. But it is still a good idea to use pilot holes because the round shape of the branch makes it just a bit trickier to hold still. A pilot hole keeps your screw from slipping.
Drive two wood screws on each bracket into the birch branch.
Step 3) Attach brackets to the Lamp Post Feet
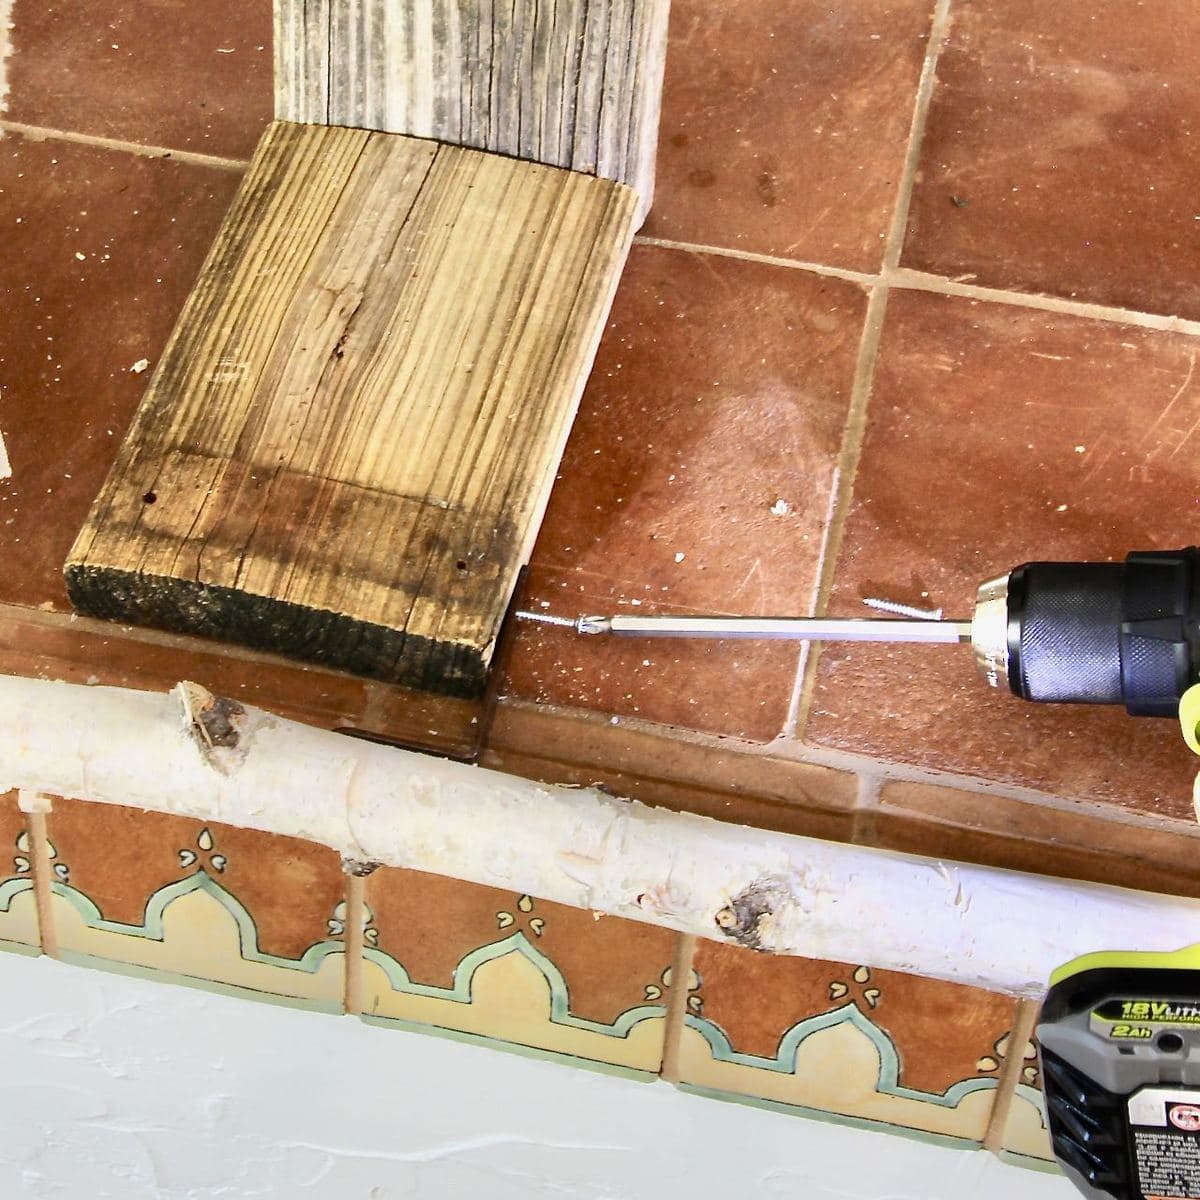
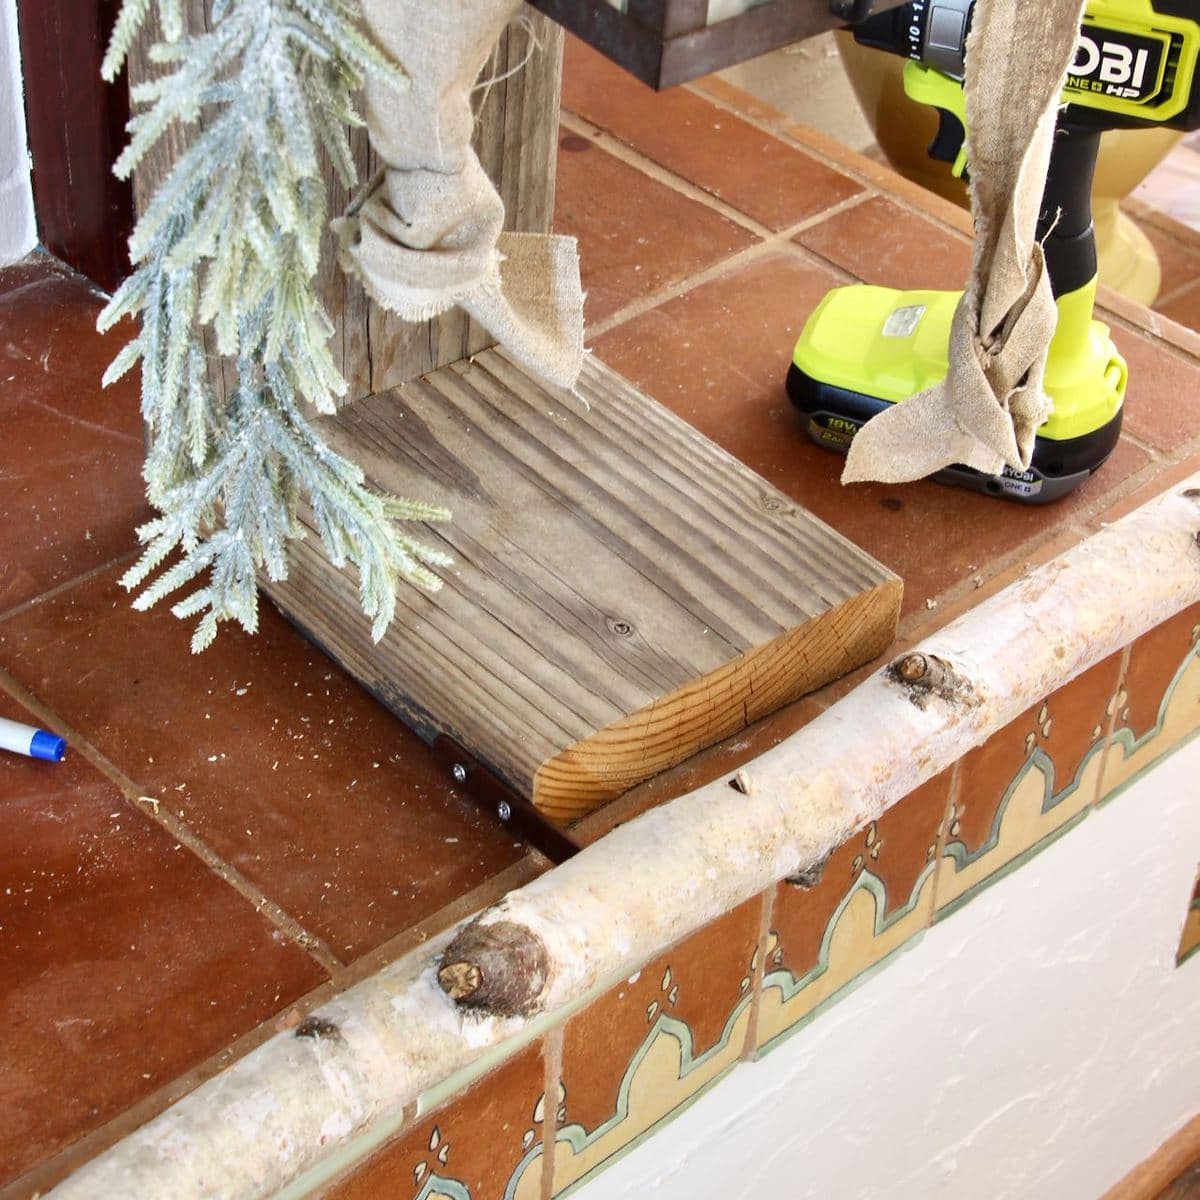
Just like in Step 2, on the hearth or a sturdy table, mark two screwhole placements on each post foot, then drill pilot holes, then drive the two screws on each bracket.
Note: you want the bracket to extend as far in front of the mantel edge as possible, ideally 1/2-inch or more.
Step 4) Set in Place on Mantel
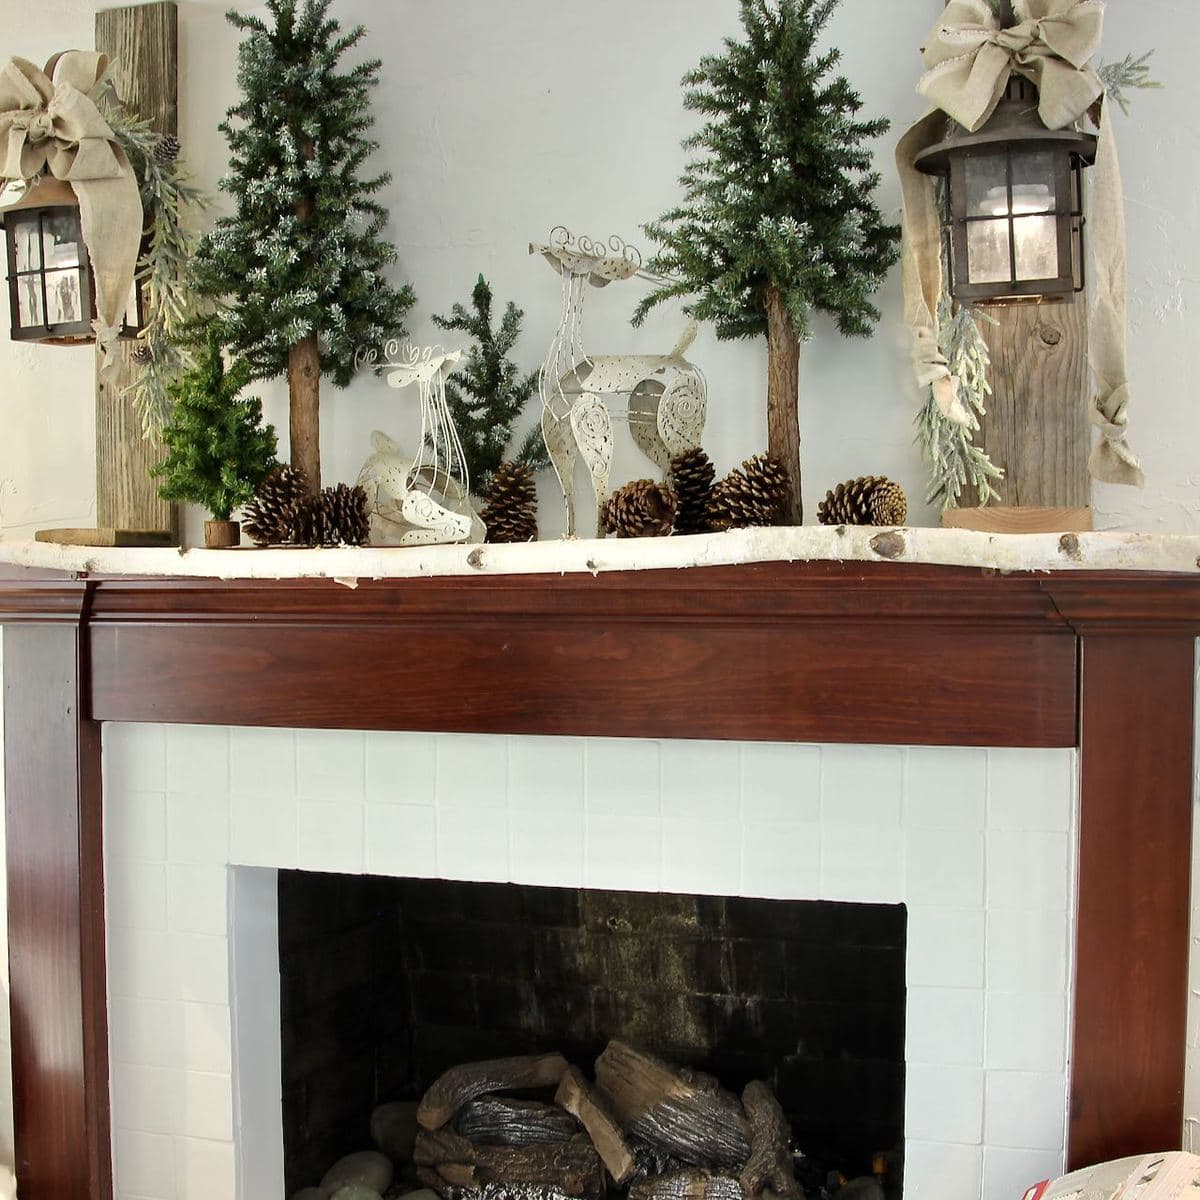
And that’s all there is to it!
It is a two person job to lift the two lamp post into place with the rod attached.
But honestly, that’s the toughest part.
So Why Use a Stocking Rod?
- Style — Individual stocking hangers or stocking holders restrict your mantel display. Here the birch branch is part of the display and extends beyond the mantel.
- Safety — Individual stocking hangers often do not sit back far enough on the mantel to prevent the heavy “block” from tumbling off when a stocking is pulled on
- Versatility — When your family grows, it can be hard to find more of the same individual stocking hanger. And expensive to start over with a new style. With a rod, you can add and shrink the number of stockings you hang very simply. A new piece of ribbon and hang them a bit closer is all it takes.
- Storage — Ten individual stocking holders can fill a lot of space in a tub, and be quite heavy. But one rod – or in this case branch – can lay across the Christmas tubs, stand in a corner behind the tubs, or even hang between the storage room rafters. No tub required.
EXTRA TIP:
If you have out-of-town guests spending the holidays with you,
ask them to bring their stockings with them.
They are one of the easiest decorations to pack in a suitcase.
Their first night, make a ceremony of hanging theirs with yours.
It’s a great way to make them feel genuinely welcomed.
And it’s easy to do when using a stocking rod.
Are you enjoying where we’re headed? Would you like to be the first with new posts, exclusives and more? Please consider subscribing. You control how much is right for you!
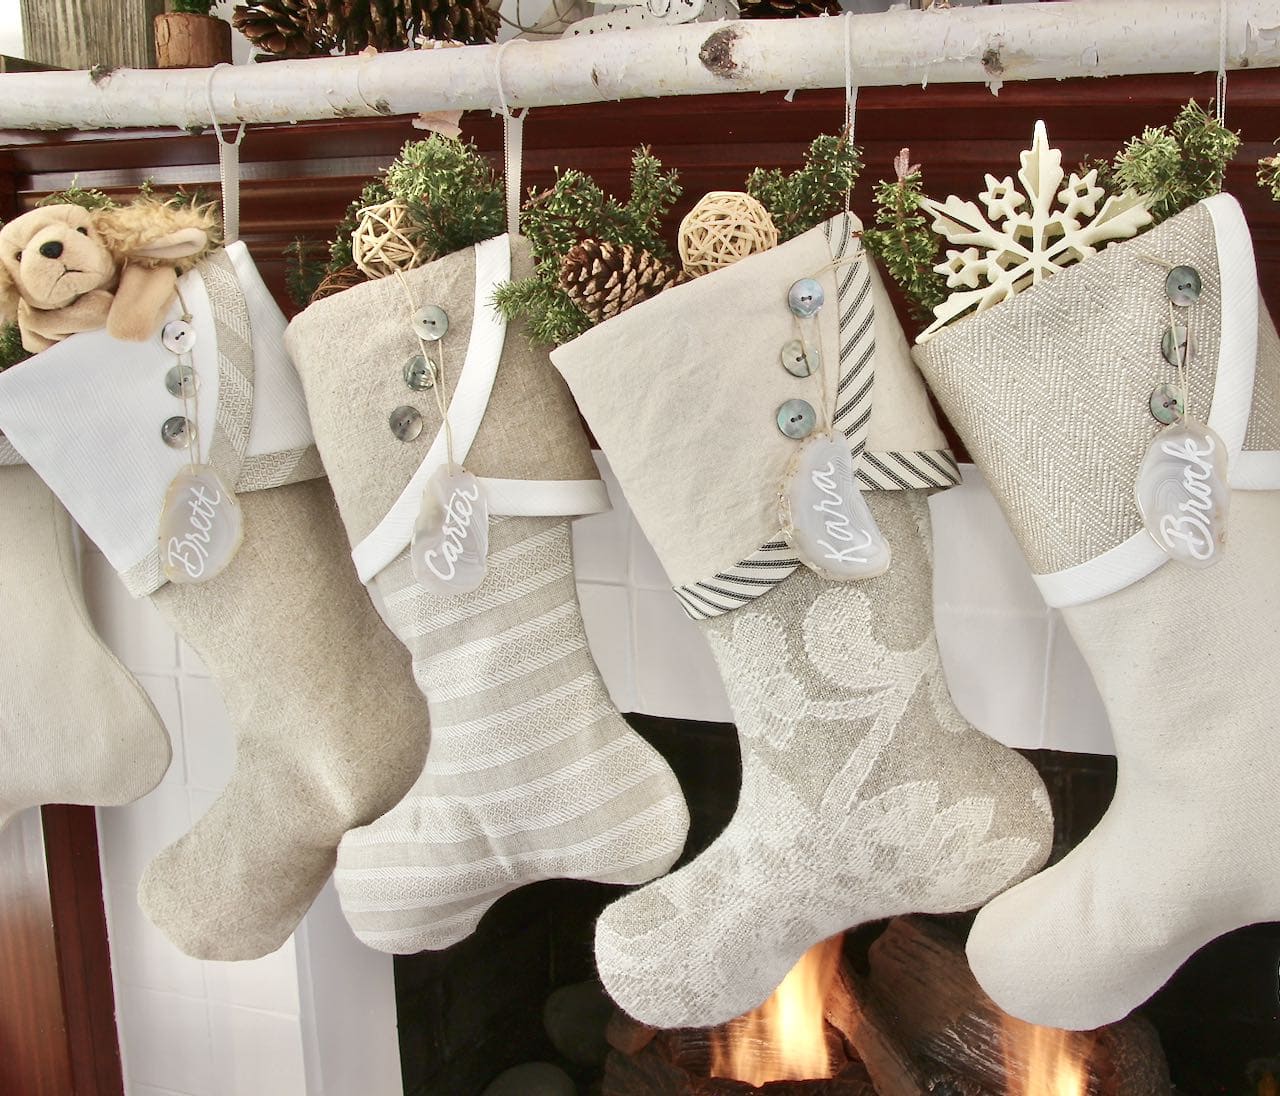
How Do You Hang the Stockings on the Rod?
Keep it simple — with ribbon, twine or whatever fits your mantel style.
Really one rule: do not use anything that will stretch, like yarn.
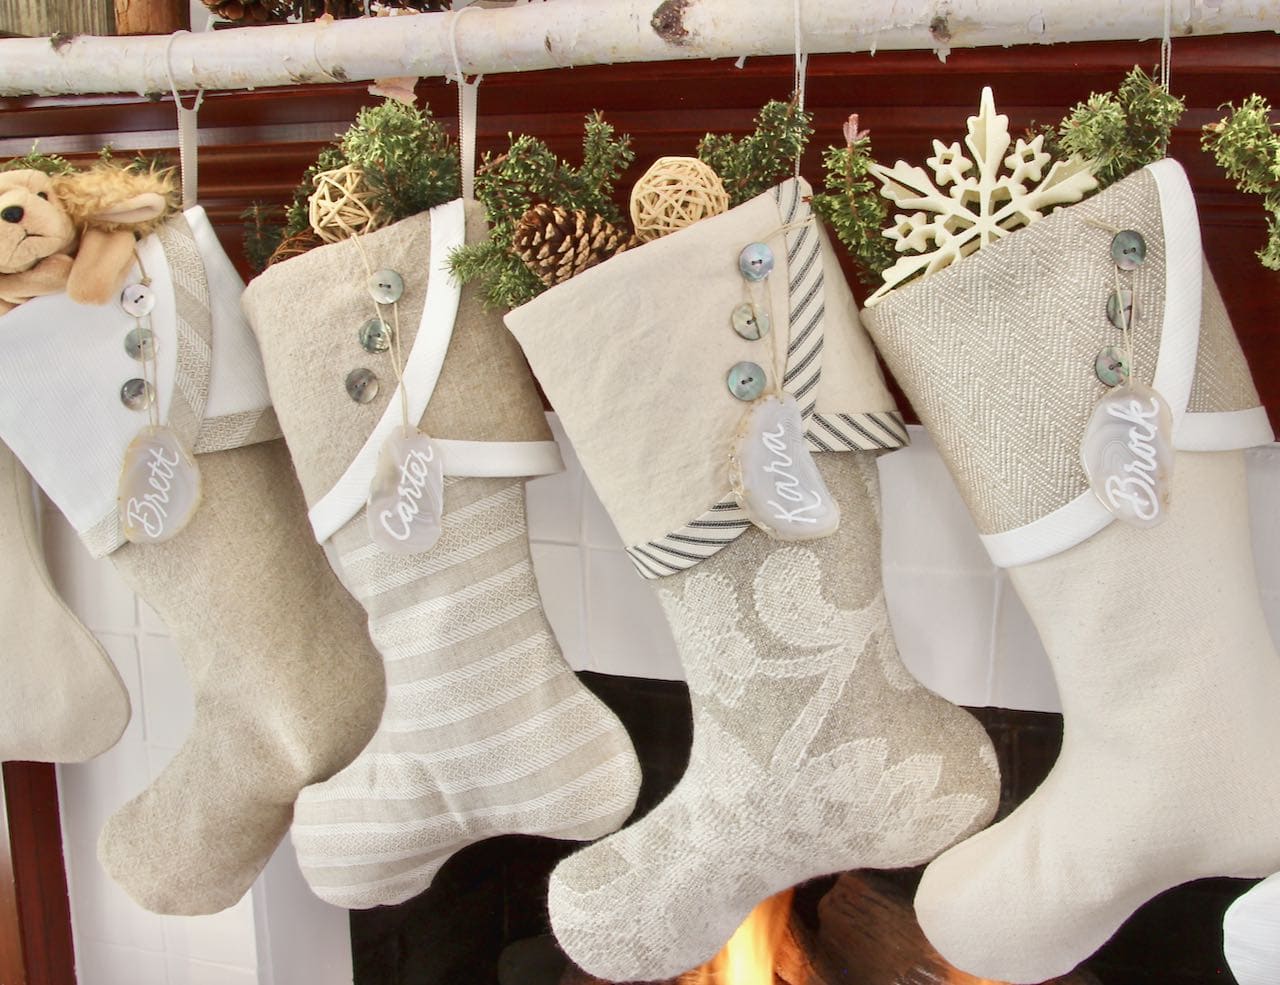
Here, I was building a focal point or display based on our neutral farmhouse stockings, Farm Charm. So I knew I wanted to keep it neutral. There’s a lot already going on between the stockings, the name tags, and all the mantel decor (the trees, reindeer and pinecones), so I wanted to keep it simple. I used 10 – 12-inches of clothesline per stocking.
Slip one end of your clothesline or ribbon through the stocking hanging loop and then tie in a bow around the stocking rod. It is truely that simple.
To keep it visually simple, after tying each bow, I rotated the clothesline so that the bow was behind the stocking rod.
Then Christmas morning, the stockings are released by just pulling one end of the bow.
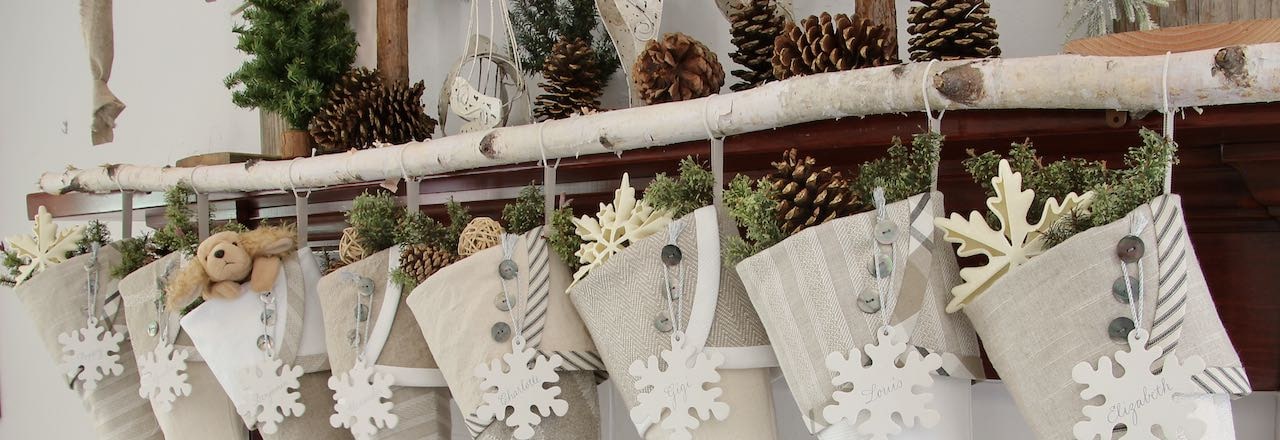
Just couldn’t help it, here’s one more parting shot of how this worked out!
Isn’t she the greatest? Have you ever seen something like this before?
UPDATE:
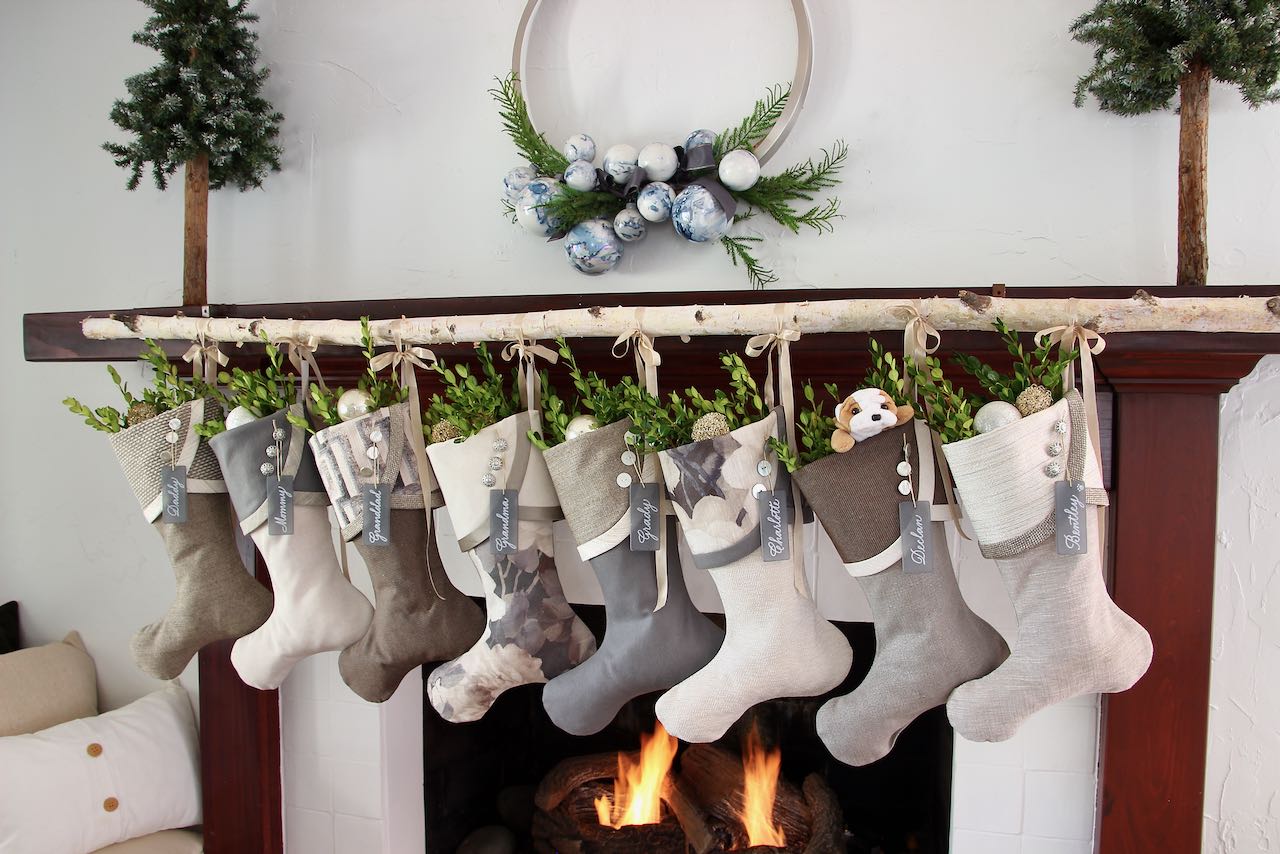
I love my birch branch stocking rod. But with some styles, I wanted the birch branch, but not the rustic lamp posts. Like above, where I wanted a more minimalistic, contemporary look.
So I dreamt up with the idea of a mantel slipcover.
It is the best of all stocking hanging worlds. And also for other holidays where I want to add some involved seasonal decor to my mantel, but not damage the mantel.
I can use my mantle slipcover again — and again.
My Mantel Slipcover was a game changer for this “stocking season” when I needed to redesign and restyle my mantel 10 times in less than 30 days.
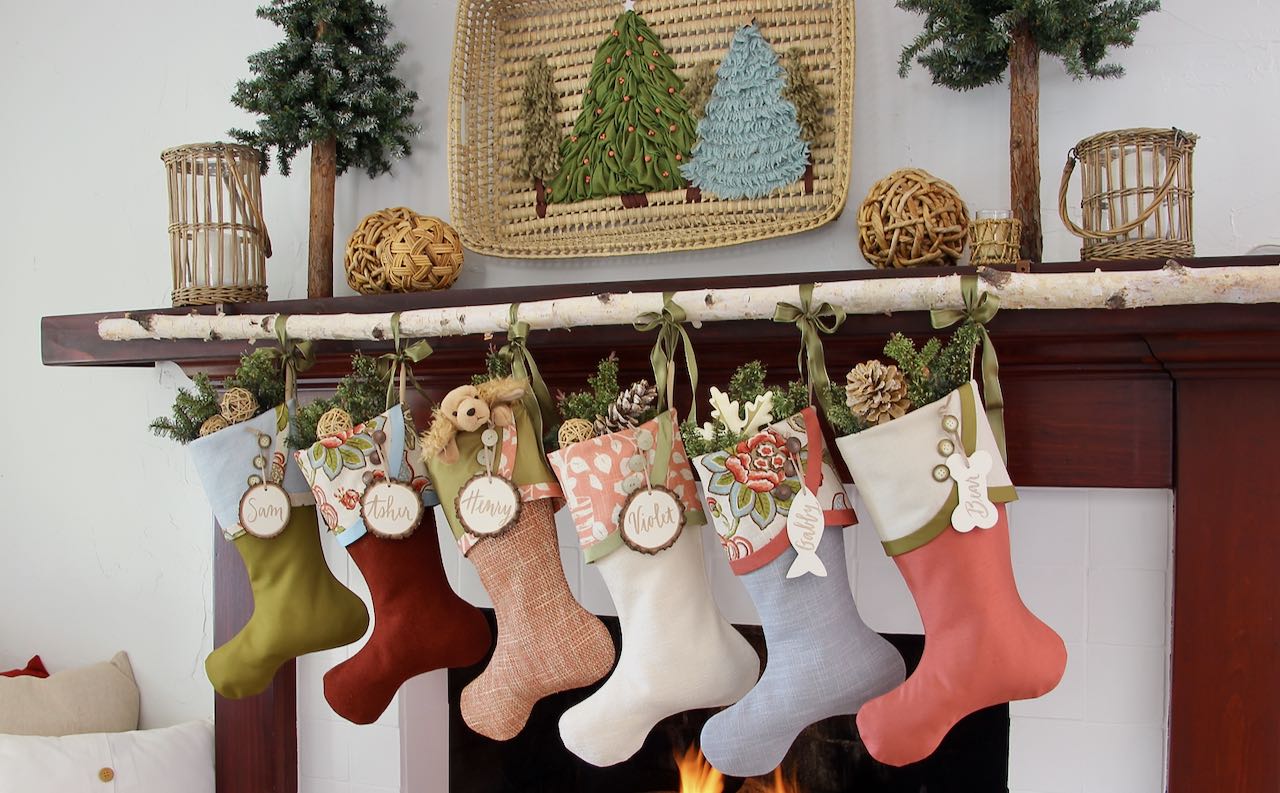
Here I wanted more of colorful cottage chic, a bit boho, look.
In both cases, the birch branch is held in place with the same part of a curtain rod holder we used with the lamp posts. One end is screwed into the back of the branch the other end is screwed into the top of the mantel slipcover.
Simple, and now there is nothing to obstruct my mantel displays. Nothing I need to work around or hide!

YES, I admit I’m a bit obsessed with Christmas stockings and focal points. I think it’s such a memorable part of the holidays for me. Hanging the stockings and having them watch over the weeks of gatherings and celebrations is such a fond tradition for me — and for so many others, too.
If you’d like more help hanging and styling your Christmas stockings from a pro, you’re in luck, I just wrote an eBook sharing all the tips and how-to’s that I’ve developed over 25 years of being a Christmas stocking professional. There’s a reason BHG Publications has come to me three times to help with stockings.
Check out the eBook here.
As always, please know that I truly appreciate you following along with me. I love every comment, every share, every picture you share. They mean more than you can imagine! So thank you! Thank you!


Great idea, my friend.
Thanks so much Renae! Really appreciate you stopping in.
Oh, I love this! Anything to showcase those gorgeous stockings. Beautiful ❤️
Such a great idea Diane! I love birch branches and this is a great way to use them! Your stockings are so gorgeous!! Pinned!
That’s so sweet of you to say — and to pin. Thanks bunches!!!
This is just gorgeous! We’ll be sharing it in our weekly roundup tomorrow! <3
Oh thanks so much you lovely ladies!
I love this idea so much!
Such a cute Idea. I’d love to share a link on my Dirt Road Adventures next Sunday. Thanks for your inspiration.
Such a beautiful display! Absolutely gorgeous!
Thanks so much Marieza! Really appreciate you stopping in and letting me know. Wishing you a glorious Christmas season.
Please do a post on making the stockings. They are wonderful!
I love this idea. We don’t have a fireplace, so I will be mounting the birch pole using heavy duty picture hanging hooks to the wall. I have purchased antique forged nails to use as hooks to hang the stockings. We have a hodge podge of stockings- one day I will make new coordinating ones for the whole family like yours! (I probably won’t- let’s be honest.) Lovely idea!
A beautiful way to display Christmas stockings! And your stockings are so pretty. I like the neutral colors you used.
Would love it if you would share this idea at my Friday with Friends link party.
Thanks,
Rachelle
Such a great idea to use a branch instead of a curtain rod! I also love the stockings and the name tags add a special touch!! Merry Christmas, Donna
Thanks so much Donna! You made my day. Hope you’re having a great one too.