5 Game-Changing Tips For BEFORE the Christmas Tree Set Up
Decorating the Christmas tree just got easier. Don’t skip these 5 easy things to do before your tree ever hits the tree stand!
I get it. Decorating the Christmas tree is the shiny ball (figuratively, and many shiny balls literally) of our holiday decorating.
I certainly don’t want to take away from that.
But there are 5 simple steps to take BEFORE the decorating begins — actually before the tree ever hits the stand.
Following these steps will make your decorating experience easier and the end-results even better!
And who wants to turn their back on easier, especially during the busy holidays?
In a nutshell, Before you setup your tree to decorate it, you want to:
- Make it Moveable — furniture slide or thick socks
- Elevate it
- Stuff the stand
- Add the skirt
- Smart plugs or foot activated power
And when the tree is up, jump over to my step-by-step guide for decorating it.
TABLE OF CONTENTS:
So Let’s Jump Right To It
Tip 1: Use Furniture Slides or Thick Socks Under the Tree
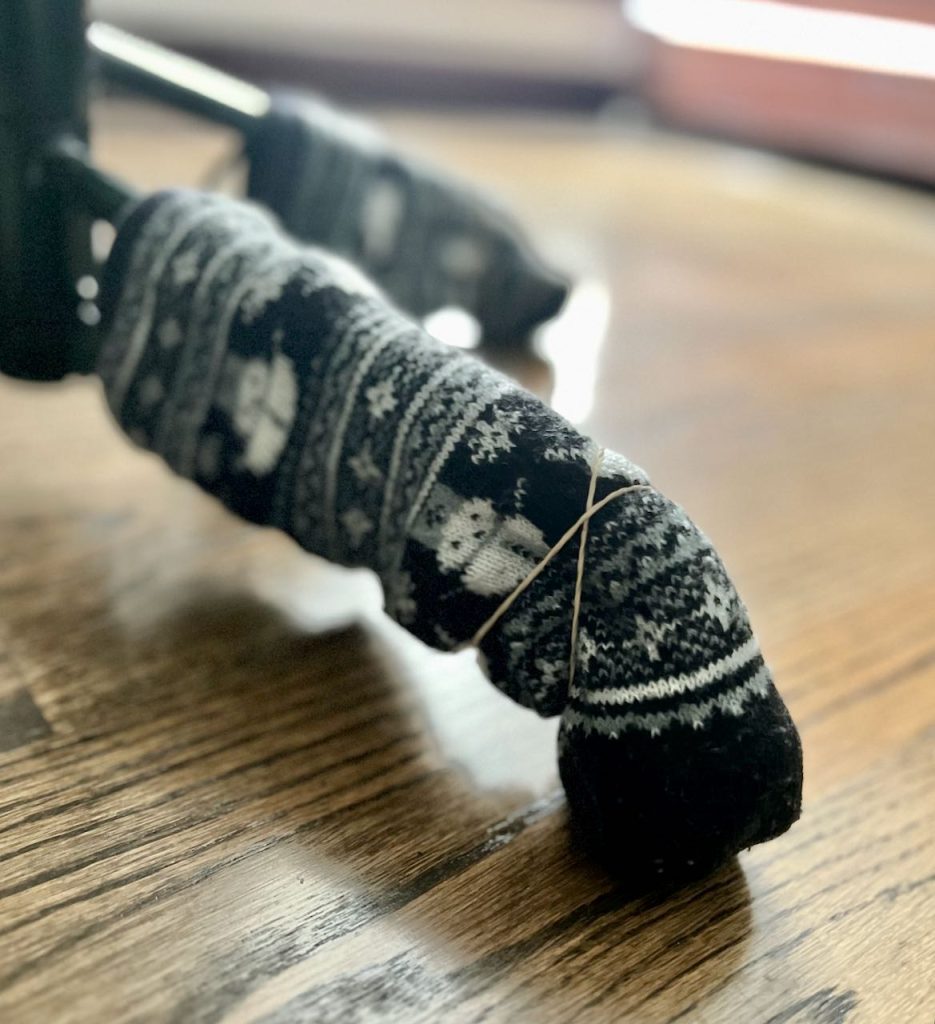
Yes, strange as it sounds, this is absolutely the best trick!!!
On hard surface floors, hardwood, vinyl, tile, etc. slip a heavy sock, like a slipper sock over, each foot of the tree stand and then hold in place with a rubber band. Painter’s tape or masking tape can sub for the rubber band.
If your tree will be on carpeting, use furniture slides.
WHY? So many reasons:
- You to pull your tree out from the wall to decorate it and then slide it in place.
- Turn it around to find the best side.
- You don’t have to ask for help or endure the eye rolls when you “need the tree to be two feet over this way”.
- When the cat throws up in the corner, you can pull the tree out to clean it up
- Because life happens, and being moveable is a good thing.
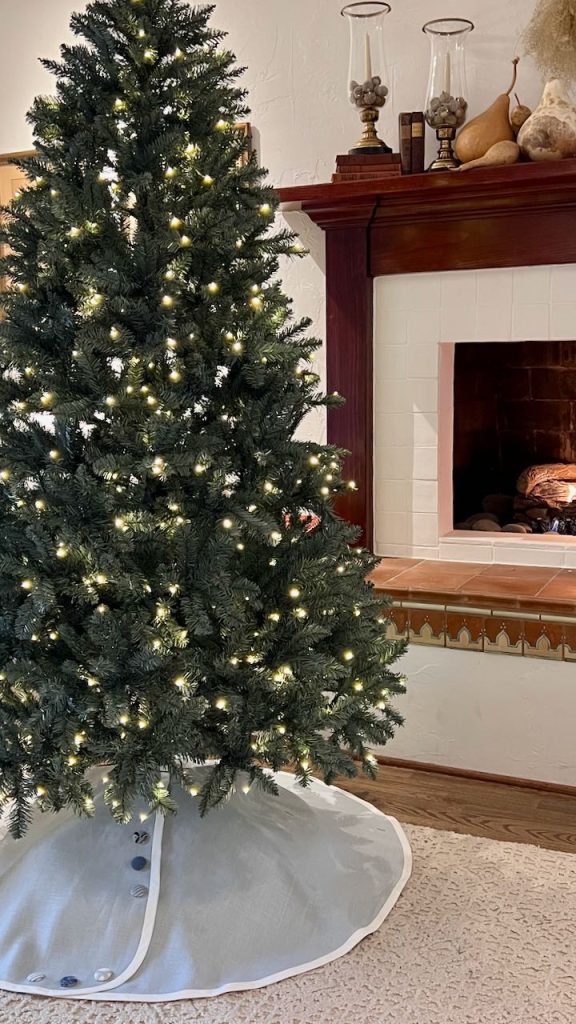
Tip 2: Elevate Your Tree
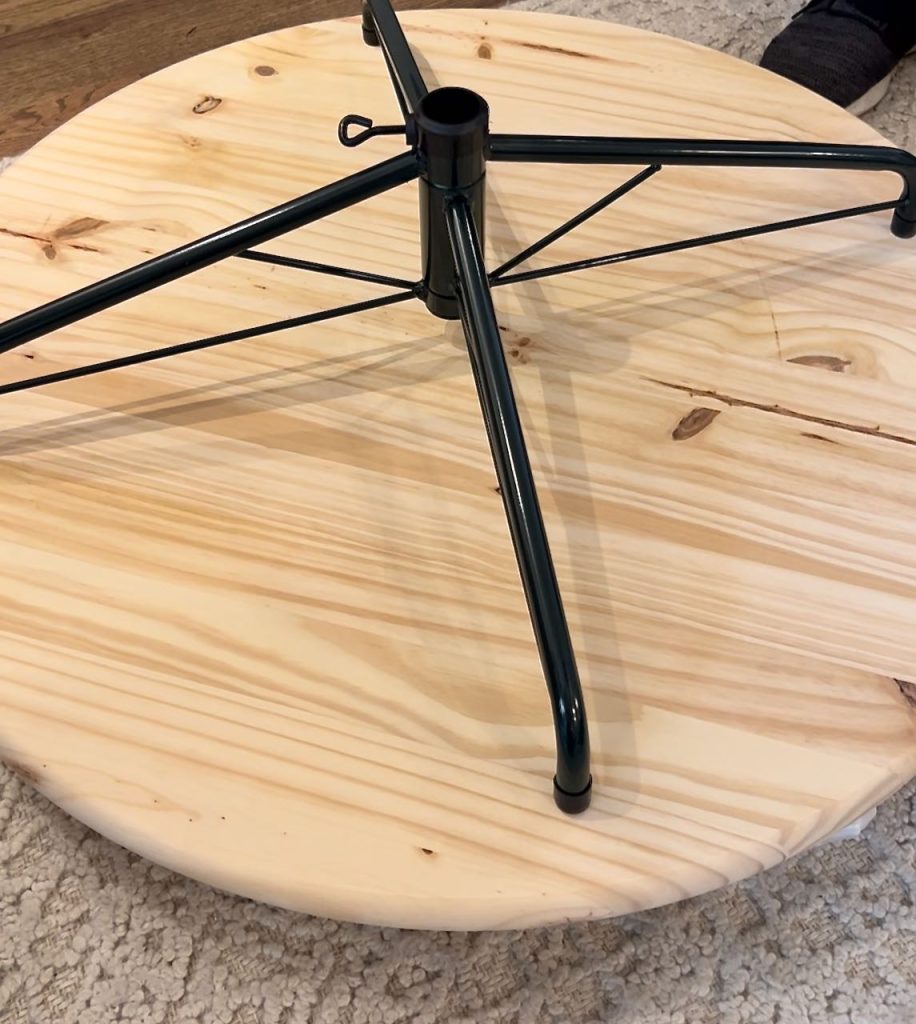
Not required, But elevating your tree even 4 – 5 inches gives your tree more presence, and makes more room for presents!
Make sure your elevation is sturdy. An upside down box is NOT the answer!!!
I use landscape bricks with a round wood table top. You can also cut a circle out of plywood or find an old table top at a thrift store.
Home improvement stores carry unfinished wood tabletops. Mine is 30-inches from Menards’ for $40. I had an old $2 garage sale table top for years. I guess it didn’t make the down-sizing cut.
If you elevate your tree, the socks or furniture slides from Tip 1 should go on or under the landscape stones, blocks of wood or whatever you use to elevate your tree.
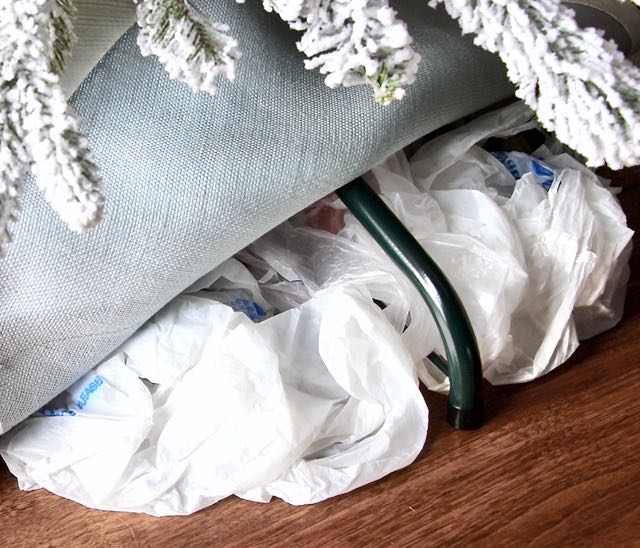
Tip 3: Stuff the Stand

Christmas tree stands have three or four legs that jut out from the trunk.
If you are using a traditional fabric (or textile based) tree skirt, then often times the legs will be very prominent under the tree skirt fabric showing the silhouette of the frame.
I like to stuff the area between the tree stand legs. I have found batting, bubble wrap and wadded up plastic grocery bags will all work great.
Tip 4: Skirt First
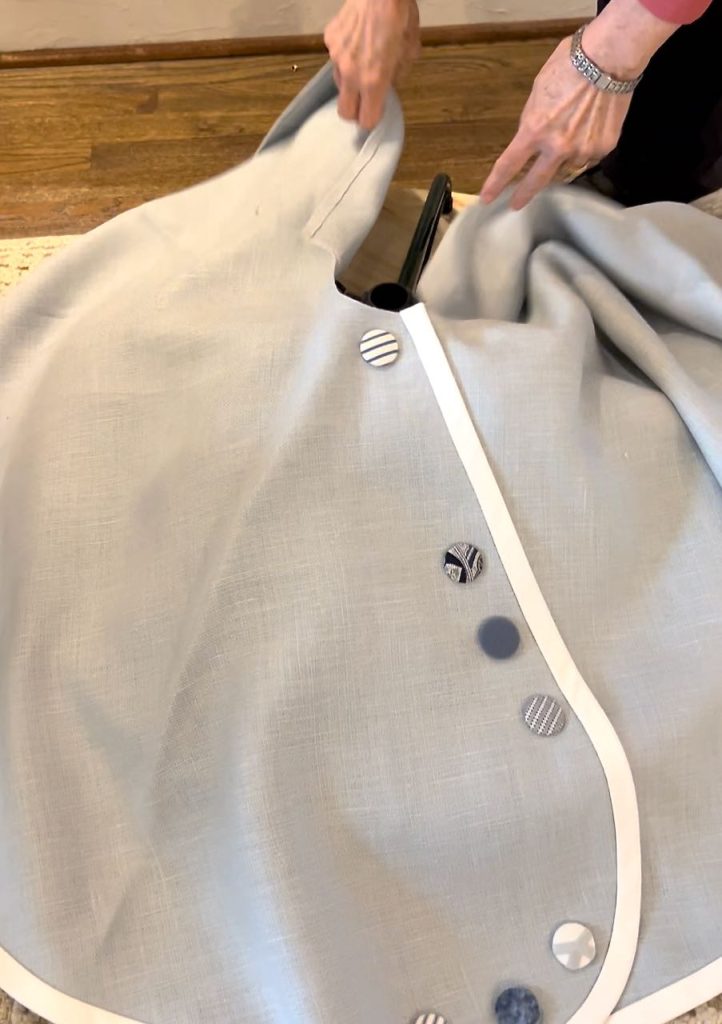
Place the skirt around the stand BEFORE you add the tree.
This is so much easier if you have the skirt in place. Then fold up the outside edges a bit so you aren’t stepping on the edge of the skirt while assembling and decorating.
Once the decorating is done, just flip down the edges of the skirt and brush off any needles that fell off the tree and you are set to go.
No more lying on your belly trying to pull the skirt in and up around the trunk and have the back lay closed. No more tree needles stabbing you in the eye when you’re trying to adjust the tree skirt.
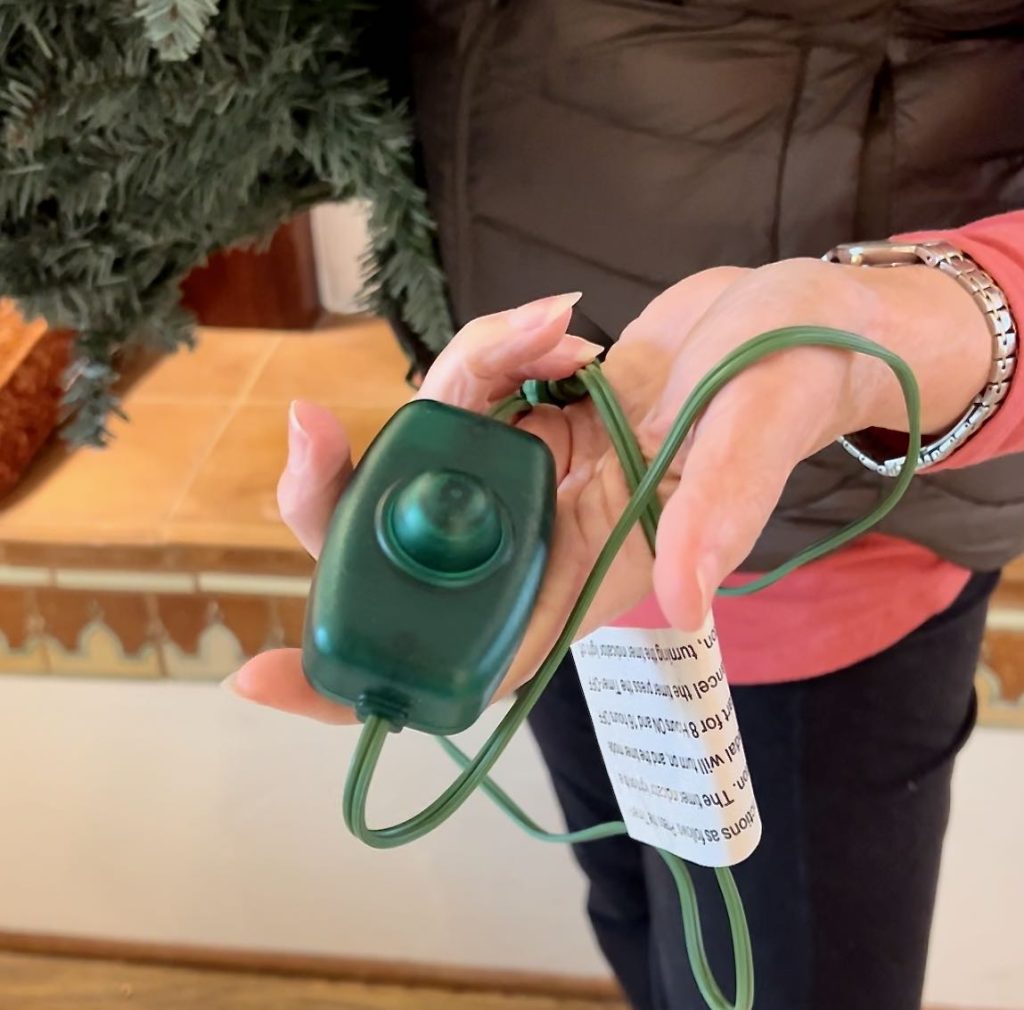
Tip 5: Foot-Activated Extension Cord
Of course, get power accessible to your tree.
You’ll want to plug in each layer of tree as you go to check the lights.
It seems like most outlet are not where they are easy to get to.
So save your back!!! Get an extension cord with a foot activated on/off or even better, use smart outlets that you control from an app or through Alexa or Google Home.
All King of Christmas prelit Christmas trees have a power cord with a foot-activated on off switch.
Love it!
That’s it! Super simple little tips, but they sure add up to easier tree decorating with great results.
Now on to the decorating. Jump over to my step-by-step guide for just that.
Some product links in my blog posts may be affiliate links, meaning thhat if you use one of my links to purchase items, I may receive a small commission at no expense to you. I truly appreciate you using my links when possible.
Let me know if I forgot anything. I’d love to add any additional tips you may know of. What have you found helpful when setting up your Christmas tree?


One Comment