How to Repair your Christmas Decorations
[et_pb_section fb_built=”1″ _builder_version=”3.22″][et_pb_row _builder_version=”4.5.3″ custom_margin=”0px||||false|false” custom_padding=”0px||||false|false”][et_pb_column type=”4_4″ _builder_version=”4.4.9″][et_pb_image src=”https://southhousedesigns.com/wp-content/uploads/2021/01/Packed-Holly-Jolly.jpeg” alt=”Stacks of packed Christmas decorations” title_text=”Packed Holly Jolly” force_fullwidth=”on” _builder_version=”4.7.7″ min_height=”350px” height=”359px” max_height=”372px”][/et_pb_image][/et_pb_column][/et_pb_row][et_pb_row _builder_version=”4.5.6″ _module_preset=”default”][et_pb_column type=”4_4″ _builder_version=”4.5.6″ _module_preset=”default”][et_pb_code _builder_version=”4.6.1″ _module_preset=”default”][/et_pb_code][et_pb_text admin_label=”Blog Post Title” _builder_version=”4.7.7″ header_font=”Crimson Pro|300|||||||” background_color=”#f1edeb” text_orientation=”center” width=”70%” module_alignment=”center” max_height=”1000px” custom_margin=”-125px||||false|false” custom_padding=”30px||30px||false|false”]
How to Repair Your Christmas Decor
— All Those Red Berries!
[/et_pb_text][/et_pb_column][/et_pb_row][et_pb_row _builder_version=”3.25″ background_size=”initial” background_position=”top_left” background_repeat=”repeat”][et_pb_column type=”4_4″ _builder_version=”3.25″ custom_padding=”|||” custom_padding__hover=”|||”][et_pb_text _builder_version=”4.7.7″ background_size=”initial” background_position=”top_left” background_repeat=”repeat” hover_enabled=”0″ sticky_enabled=”0″]
Here’s how to repair Christmas decorations, quickly & easily. Get more seasons of joy out of all those red berries. And save money too!
Pack Away all That Christmas . . . . . But Only in Good Condition
Christmas is behind us.
We’ve clinked the sparkly.
We’ve pronounced our goals for the new year.
And now? Now we are soooo ready to organize, clear space to breathe, start this new year with a clean slate.
When I start packing away the Holly Jolly, I just want to get it done! You, too?
But this year I am making myself slow down. I’m evaluating what gets packed away, preserved for next year. If I won’t use it just as it is, it does NOT get packed in its usual tub. It goes into one of three other spots:
- ReStyle Pile — If it has great restyling potential. I am a crafting, home decor blogger afterall. I need to save some for makeovers that will awe you next year. Plus as a Christmas stocking designer, I reset my mantel at least 8 times in August to style each stocking group for a September debut. I need a wide inventory of goodies to pull from! And there is very little to choose from in the stores in August!
- Donation Box — If I’m just over it.
- ReFresh and Repair Box(es). You know those sentimental ornaments — the ones where the Elmer’s is no longer holding, where the ribbon hanger’s knot came out. Or the reindeer’s leg needs glueing back on, etc. etc. And other holiday items.
I hope to tackle this ReFresh and Repair box throughout January when things aren’t as hectic as November. When cleaning and organizing is what we’re all about.
And I’m starting with all the red berries!!! Including the swag over the front door. Those berries were so realistic, I think they even fooled some birds, (but how smart are these birds when they insist on nesting where we come in and out all day long).
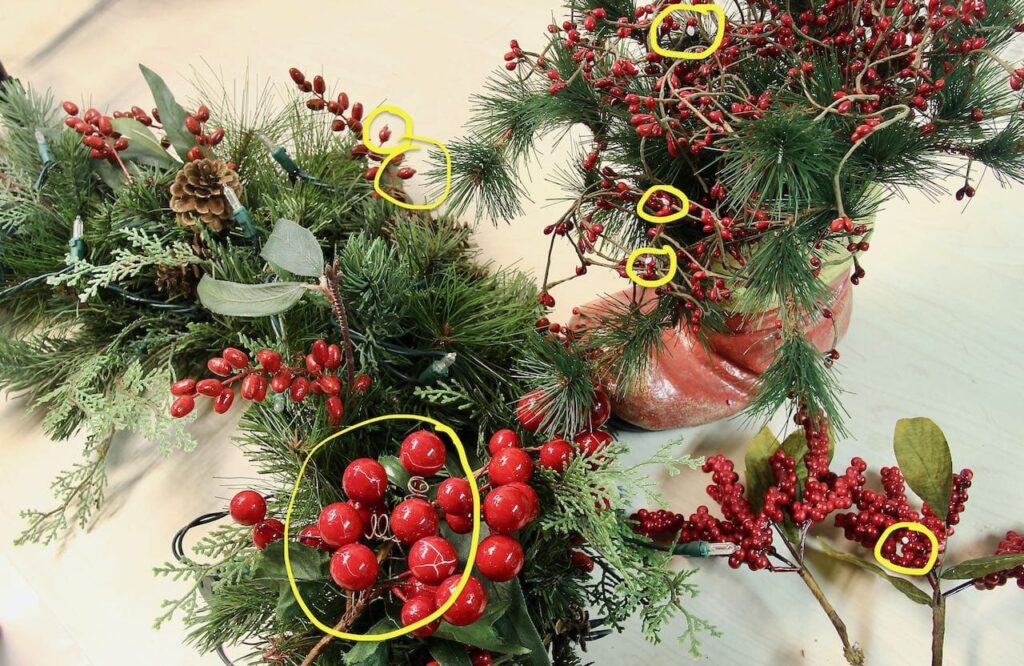
The same basic technique is used on all four different varieties of berries. The large glossy berries (center, bottom) are the trickiest so they are featured in this video followed by the technique I used on the other three berry styles.
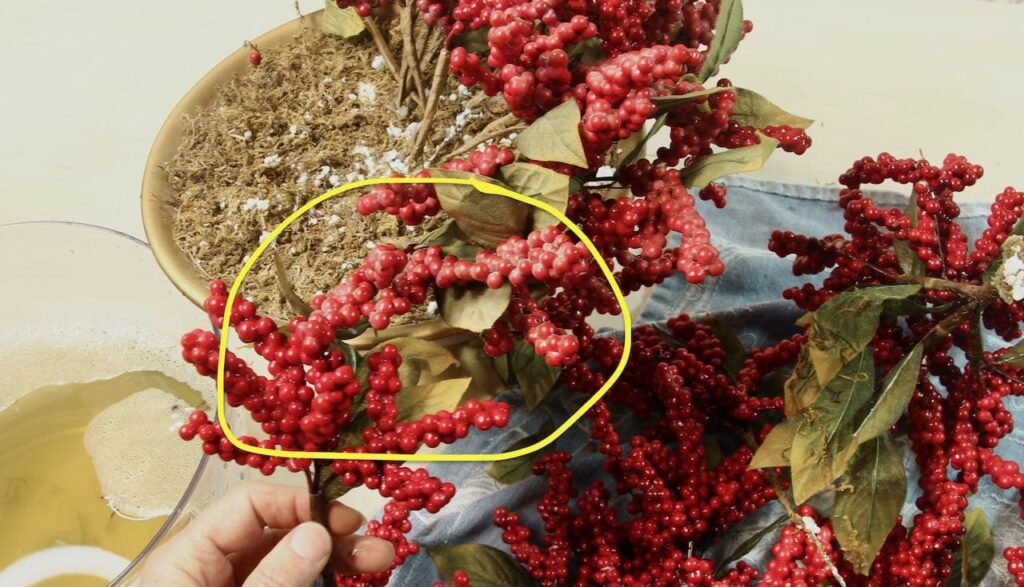
But if you prefer to scan a pictorial instead, let’s start with those two stems in the bottom right corner. Again, the same technique is used on the berries except the large glossy round ones.
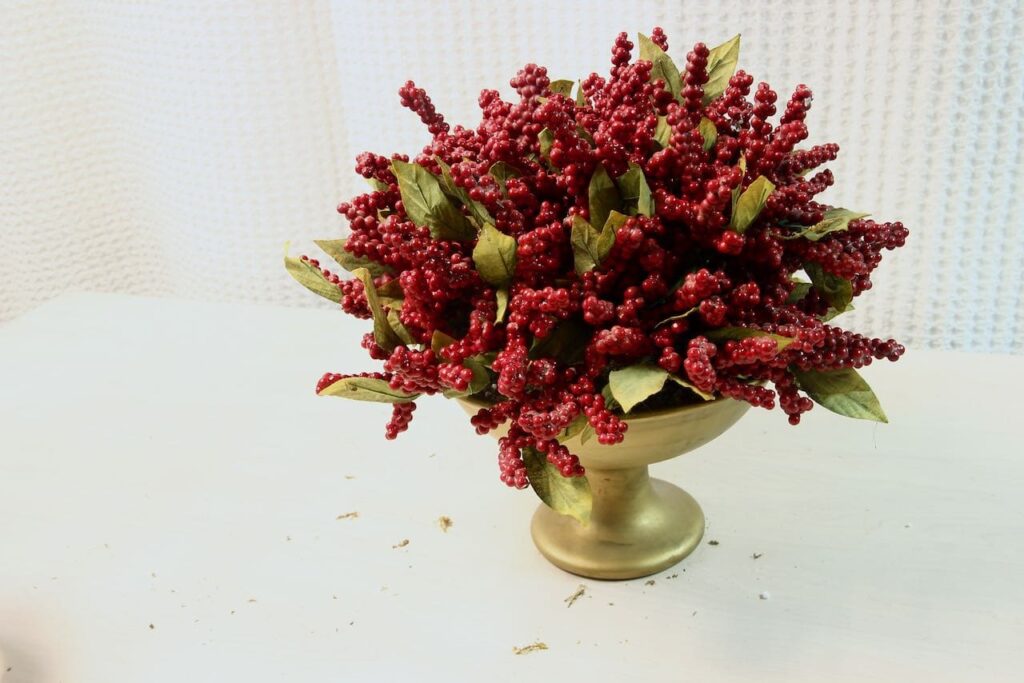
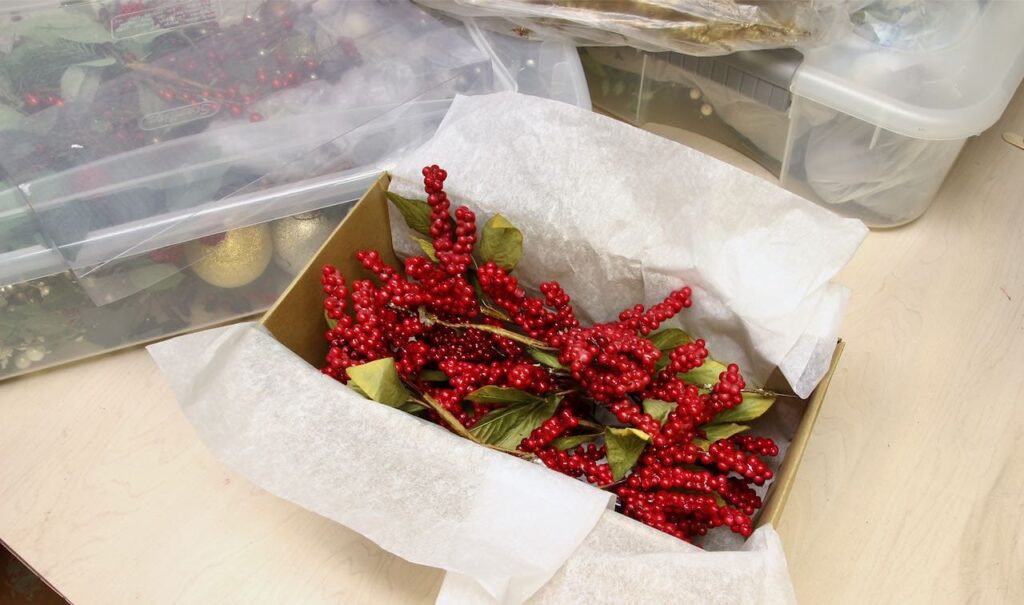
This is how they came to me. Very dusty, and I thought faded. But the bowl was $2 at a neighbors garage sale. That many red berries for $2!!! Score!
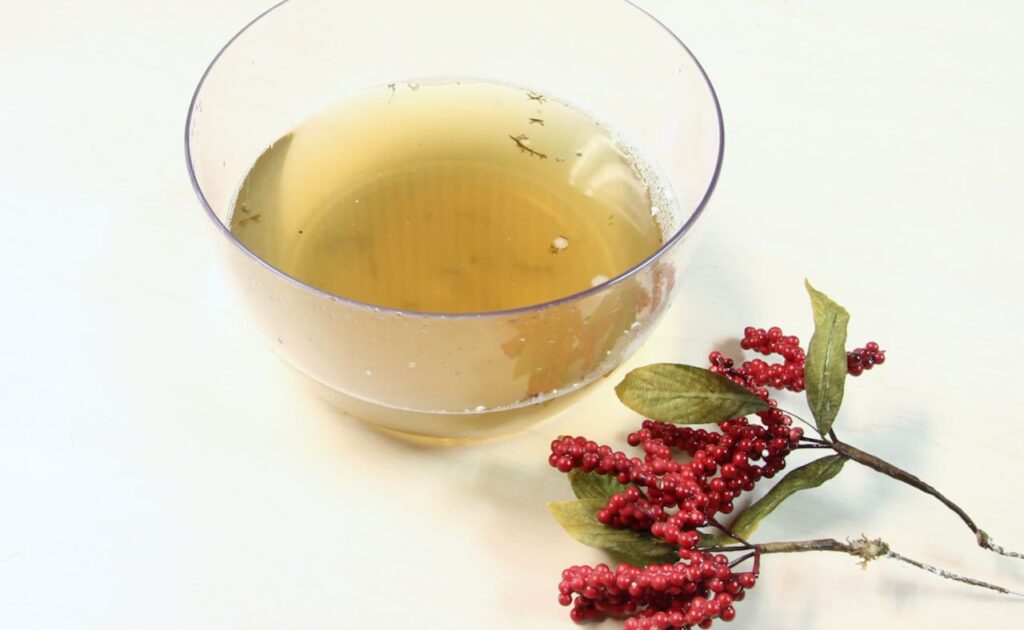
That bowl was full of clear, clean warm water! This picture is from about halfway through the 42 stems that came in the arrangement. I simply pulled them out one at a time and swished them several good times in the water and then laid them out on a dish towel to air dry.
Look at the difference! With very little time and effort!!!
I could stop there, but in some places, there was a break in the coating of the berries where I stem had been twisted or bent. The white core was showing, so while I am refreshing them, I ought to repair them too.
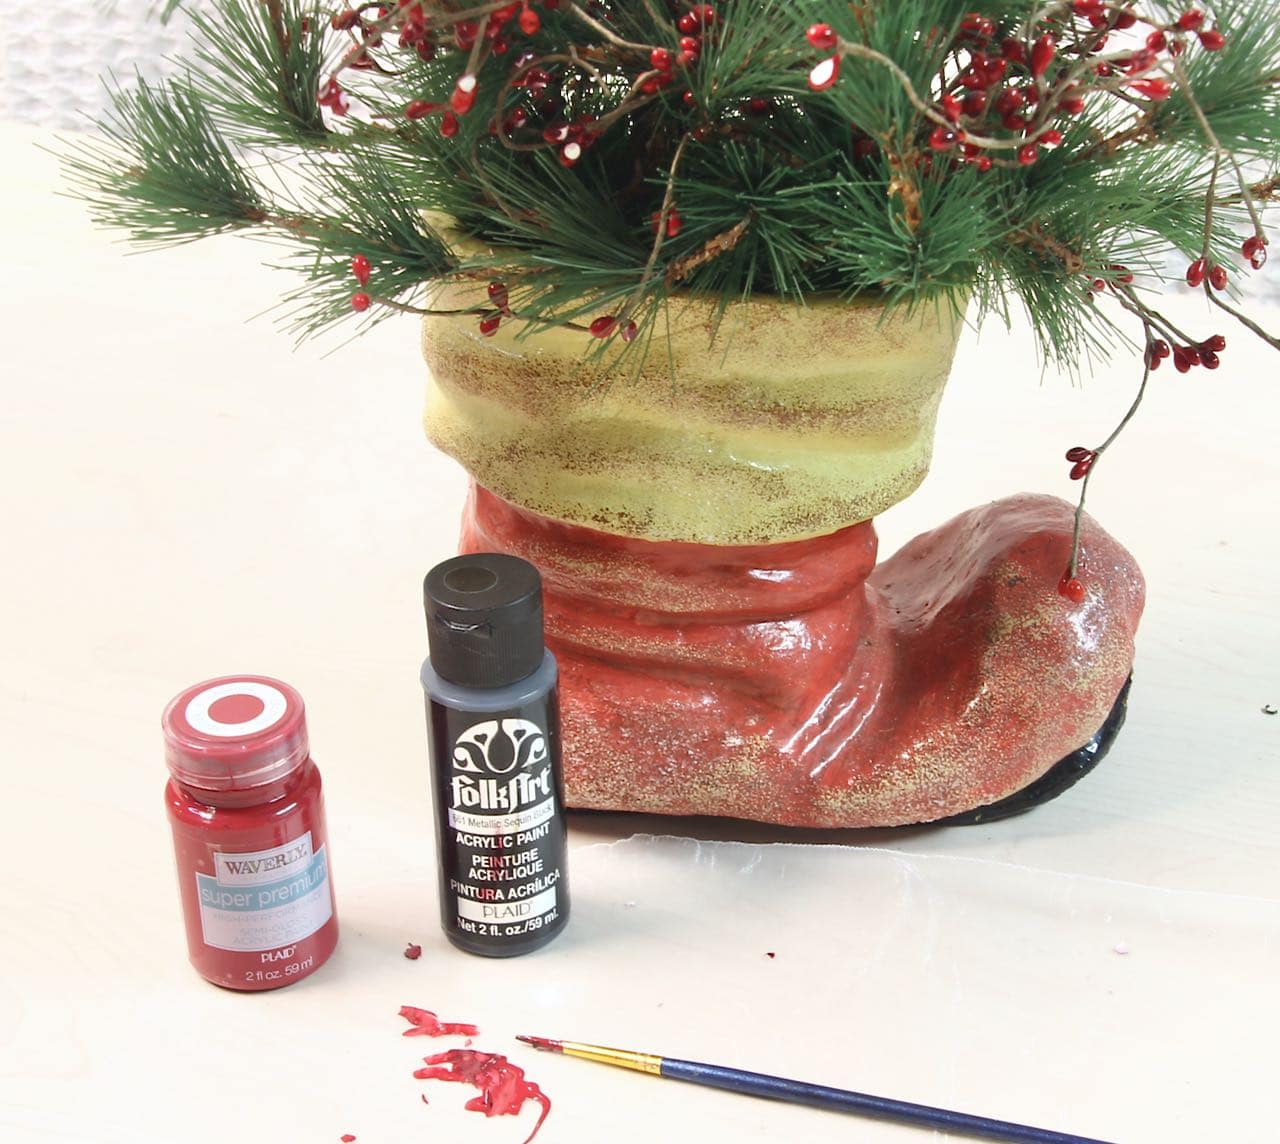
There is an example of my touching up these berries at the end of the video. But really it’s the same procedure I used on the berries in the Santa boot I’ll show you now.
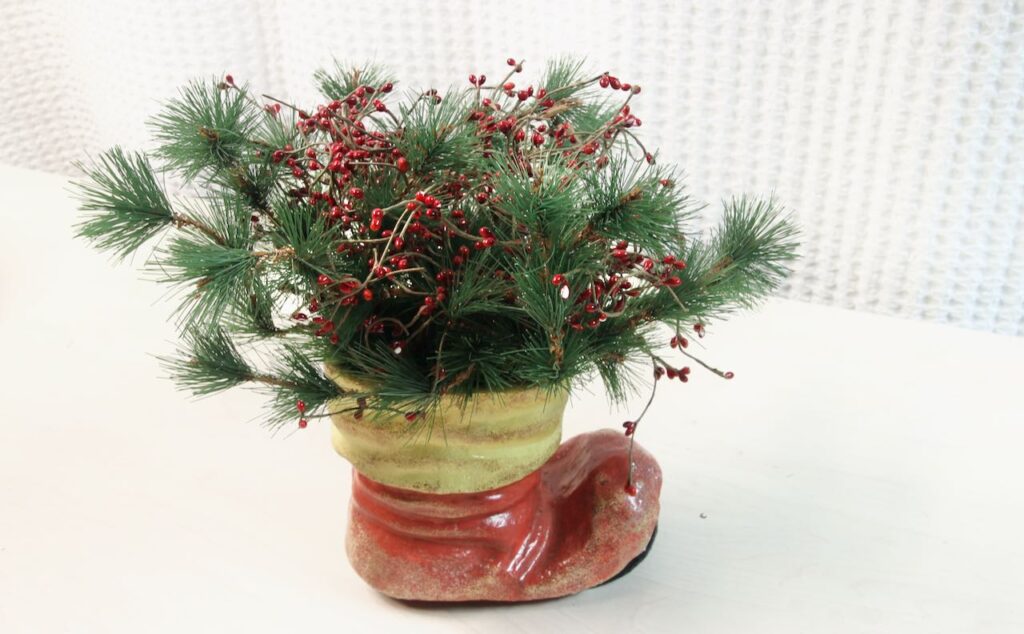
I still love this boot! I may be blind to it possibly being dated, because it has great sentimental value. The last year that my mother and I went for our annual day-after-Christmas-50%-off-holiday-decor-shopping-adventure, we found these and each bought one. Mine sat on a large round coffee table with children still in the “Ruckus” age . . . and, yea . . . well, you know. So when my mother was downsizing into a retirement community, she passed her boot to us. And now that we’ve lost her, I love this boot all the more.
But a berry touch-up is required.

Have some damp paper towels at hand.
I always use wax paper as my palette:
- cheap and always on hand
- no seepage through
- paint glides for easy blending
- Little friction, so gentler on delicate brushes
For this berry project, I found these in my craft paint stash. Waverly Super Premium in color Lacquer and Folk Art Metallic Sequin Black both from Plaid Enterprises. I Love Plaid products!!! You just can’t go wrong. This is not a sponsored post — just sharing products I love and trust!
These two were my choices not just for the color, but also because they have more shine than most craft paints. They are satin finish, not quite high gloss as the large berries in the video. But the finish matches that of all the little berries quite well.
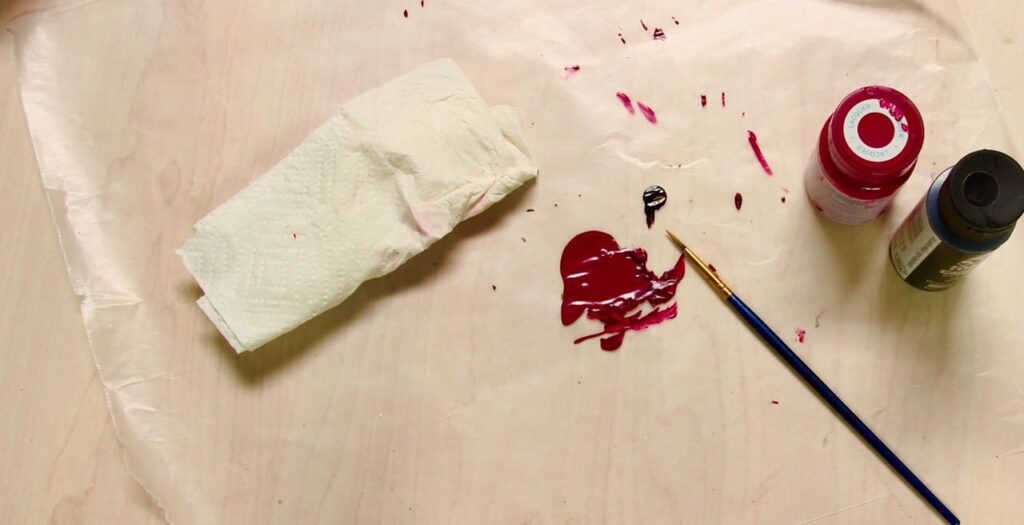
Start with a small splotch of red and then off to the side a tiny squirt of black.
Dip the tip of your brush in the black and then swirl in one corner of the red. It doesn’t take much, just w bit to knock down the pinkish tone of the red.
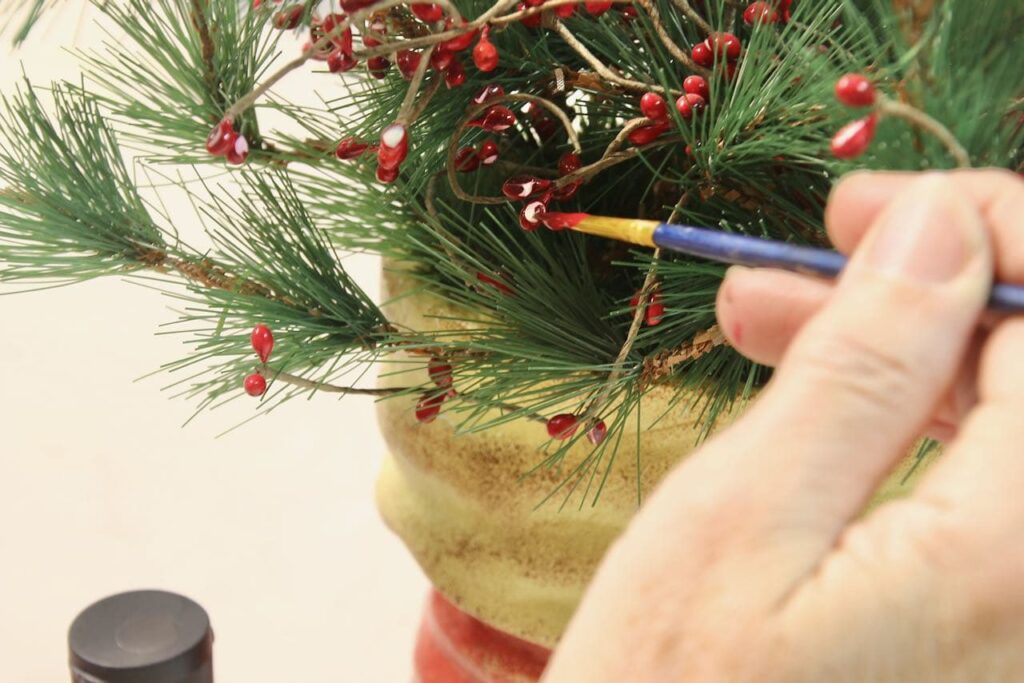
It just takes a quick swipe on any berries that have their inner white bellies exposed.
The closer you can match the red berry color, the better, and if not exactly, err on the side of darker — then it looks like shadow, or at least it doesn’t catch your eye as much. Remember, dark colors recede.
Some berries will have some variation in color with perhaps some glaze that adds darker edges. Experiment with your paint. Really, all you want is to get rid of the white!
Keep those damp paper towels handy and wipe any particularly large berries as needed to keep most of the original shell paint free. Little itty bitty berries can handle just anything. Again, it’s really all about covering any exposed white bellies.
This is so easy. Actually a bit therapeutic. So treat yourself to a couple of episodes of Judge Judy — or in my case, Schitt’s Creek surrounded by berries. You’ll thank yourself come November when you open the tubs to fresh berries for decorating.

 .
.
[/et_pb_text][/et_pb_column][/et_pb_row][/et_pb_section]
Have you ever tried nail polish to cover the white “bellies” of the berries on your Christmas decorations? Thank you, Sara
So funny you should suggest that. A good friend just told me she swears by that. My only issue is good nail polish is more expensive that craft paint, even the glossy craft paint and it is harder to mix colors with nail polish. But I do think it would hold up really well.
Thanks so much for sharing that suggestion!!!
I bought the perfect color nail polish at Walmart for $1.98 and it worked perfectly on my candle wreath to cover the white bellies.
That’s great to know! Thanks for sharing for everyone.
I tried nail polish earlier today, which is why I’m here! I found it actually soaked into the foam, rather than sit on top of it and dry, and just looked like light red foam, without a glossy finish. I didn’t love the result. I bet the acrylic paint will dry much better, giving that a try tomorrow!
Great to know that Sharon. Be sure to get a glossy craft paint. Most craft paints are matte. Just a tip!
For the small berries this year I used a red Sharpie. They weren’t shinny berries.
That’s so great that a sharpie matched for you!!! Thanks for sharing. It might work for others too.
I have had my berries to start blistering. Like the clear coat is popping off. I have 9 wreaths that I have to repair for a customer. She only used them from Thanksgiving thru Christmas and I got the Hobby Lobby berries. Do you know have I can fix them without replacing them all
Hmmm. Were they used outside Suzanne? Or maybe stored in a really hot attic or storage shed? I don’t know what would cause.
Some of mine, the coating split and came off a bit. Yours sound like a much more extreme version of mine.
I would try some nail polish or thick enamel that you can dip them in. But I’m guessing it will still show. If that is not satisfactory, then I would try taking the berries back to Hobby Lobby and seeing if they willl replace them. I’m so sorry I don’t have a better answer for you.