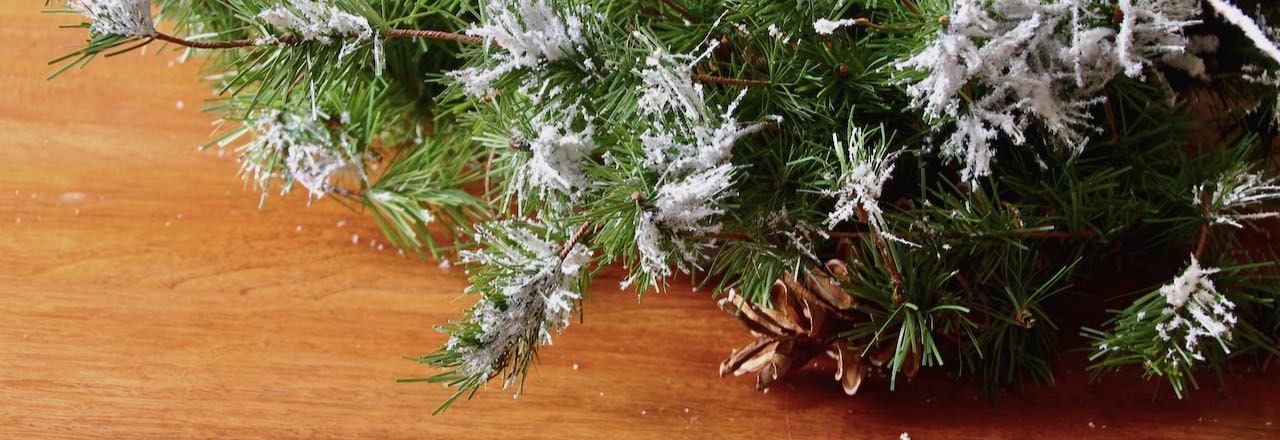
The BEST Way to Add Fake Snow
to Revive Your Tired Greenery
Fake snow decor to revive tired greenery. The BEST way to add drifts of faux snow to branches, berries, wreaths and more. PS: It’s addictive.

Today, Day 5, I’m sharing a little secret of mine. I love faux snow for decor revitalization [total aside: I so prefer “faux snow” over “fake snow”. It’s so much more fun, even elegant, to say. But Google prefers fake snow, so there you have it. I’m stuck titling this post Fake Snow.].
Sometimes you just need to employ a new technique or product to get the new look you’re after. Today’s that day.
Foreshadowing: we may or may not be using today’s trick on Day 7 as part of a larger Christmas focal point decoration. Trust me, you’ll want to be back for that.
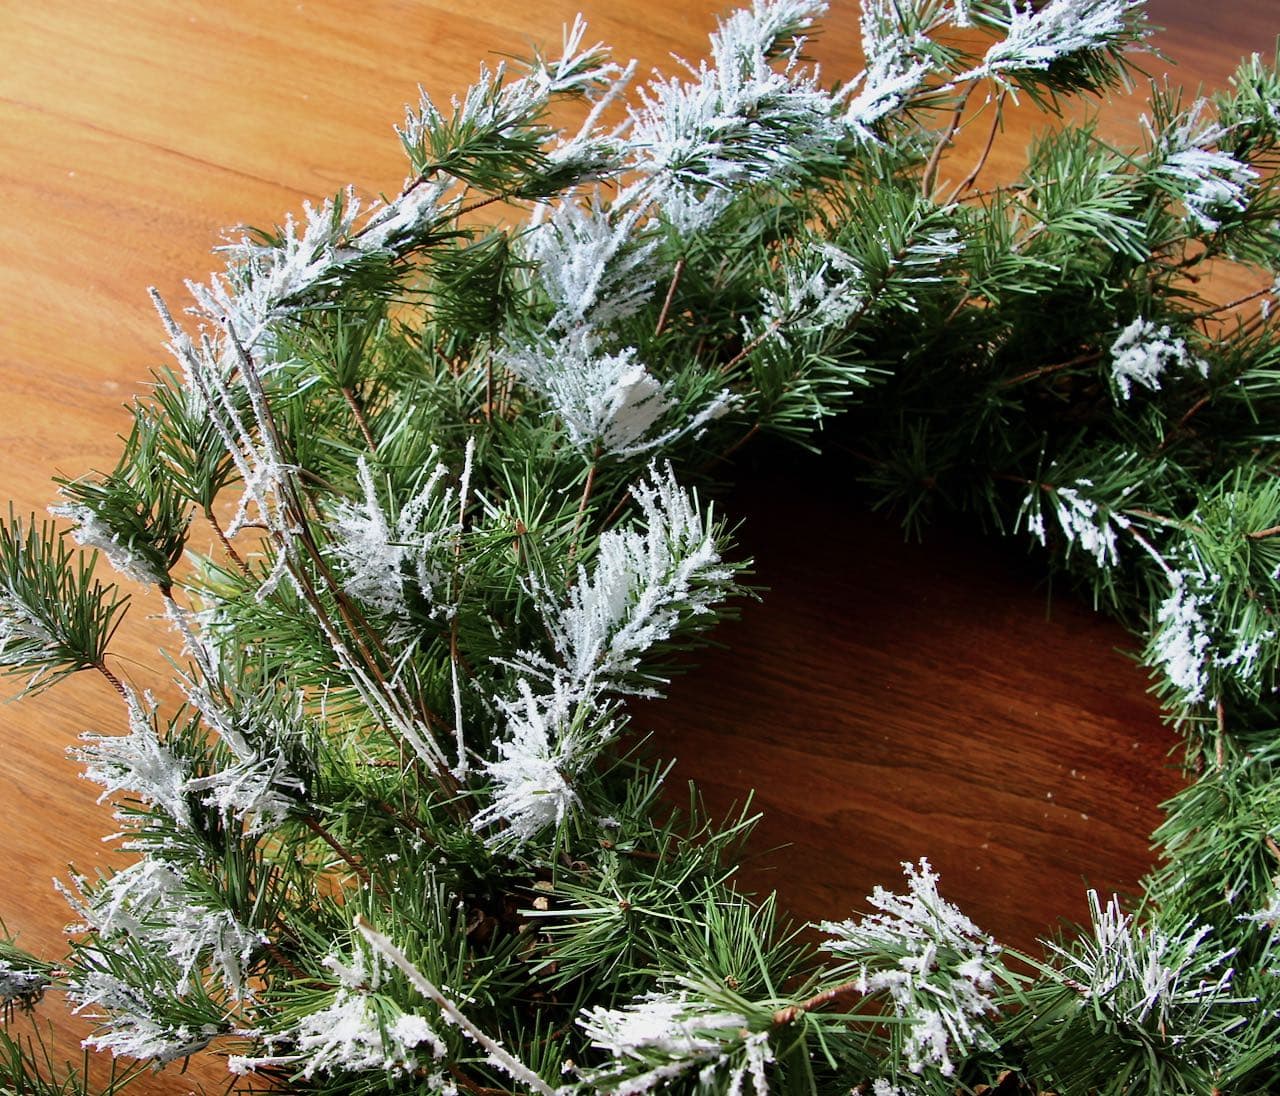
Back on topic: Do you hang onto your Christmas decor year after year, probably well past its prime?
Me: Guilty as charged!
But I’ve been perfecting some ways to brighten, refresh, even revitalize my tired decor greenery. I shared last January how I restore the stems of berries before they get stored away for the next 10 months. It’s such an easy process, just need to do it when we have time, like during the snowy, lazy days of Winter.
And then I shared how I bleach and then “frost” pinecones for just a bit of sparkle.
But today I am excited to share how I build up layers of snow, or flocking, on just about anything, but mostly my Christmas and Winter greens that are tired and sad. This is not your typical spray can of snow.
It’s amazing how adding some fresh white snow, and optionally some sparkling snow, takes years off these harbingers of Christmas.
Hmmm, maybe I should add some to my neck and chin.
I get it!
You’re busy right now.
So maybe pin this to your Crafts board
Or to your Christmas board,
Or to your Christmas decor board,
Or to your Christmas Crafts board.
Or to whatever board makes sense for you, so you have it handy when you’re ready to get started.

But First, A Quick What NOT to Do:
Another chance. to learn from my trials and errors. You’re welcome.
This is with gel medium and snow only!
Looks like a cheap version of just frost.
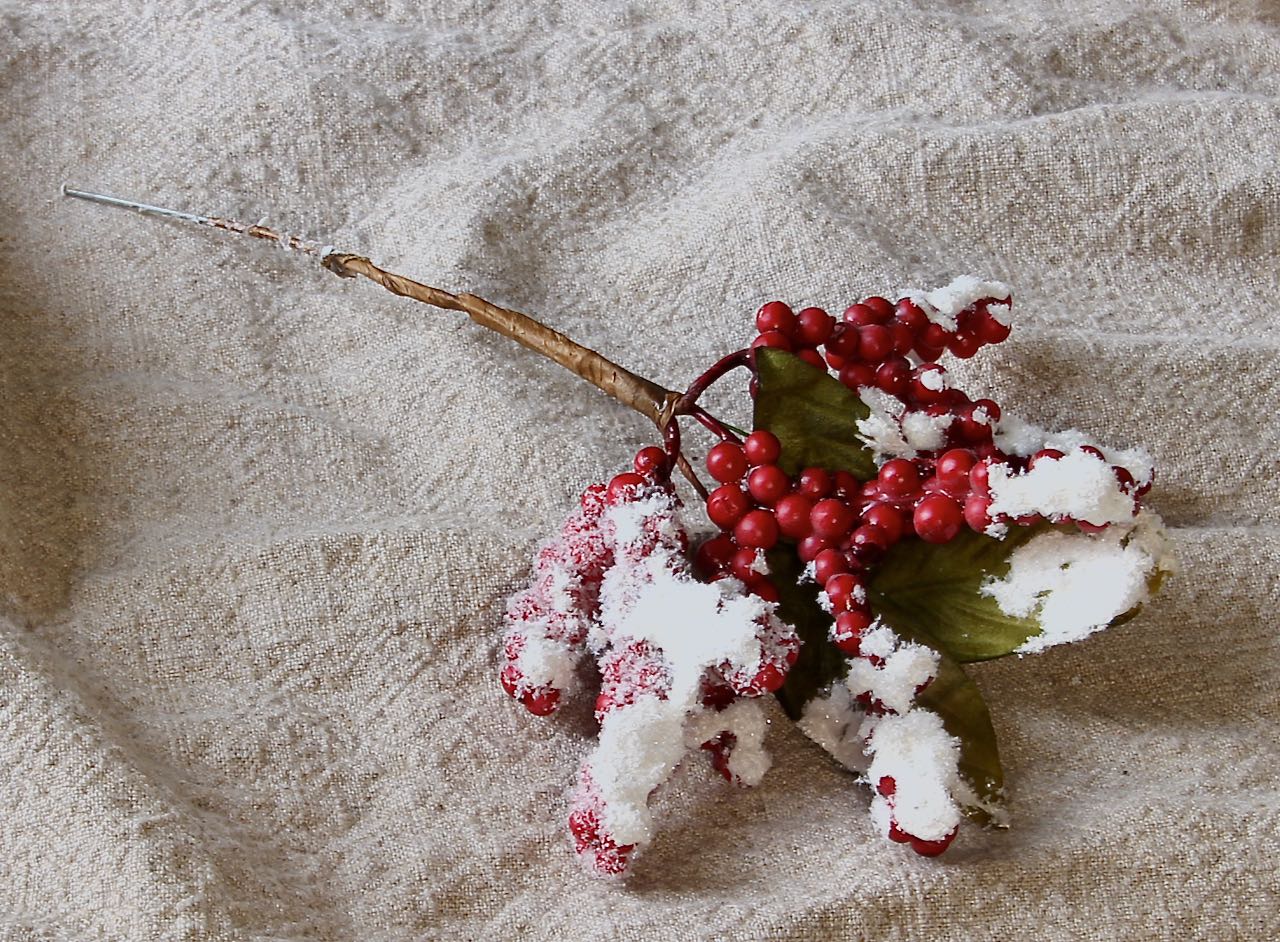
So I tried with the paint over the top. UGH! One big hot mess!
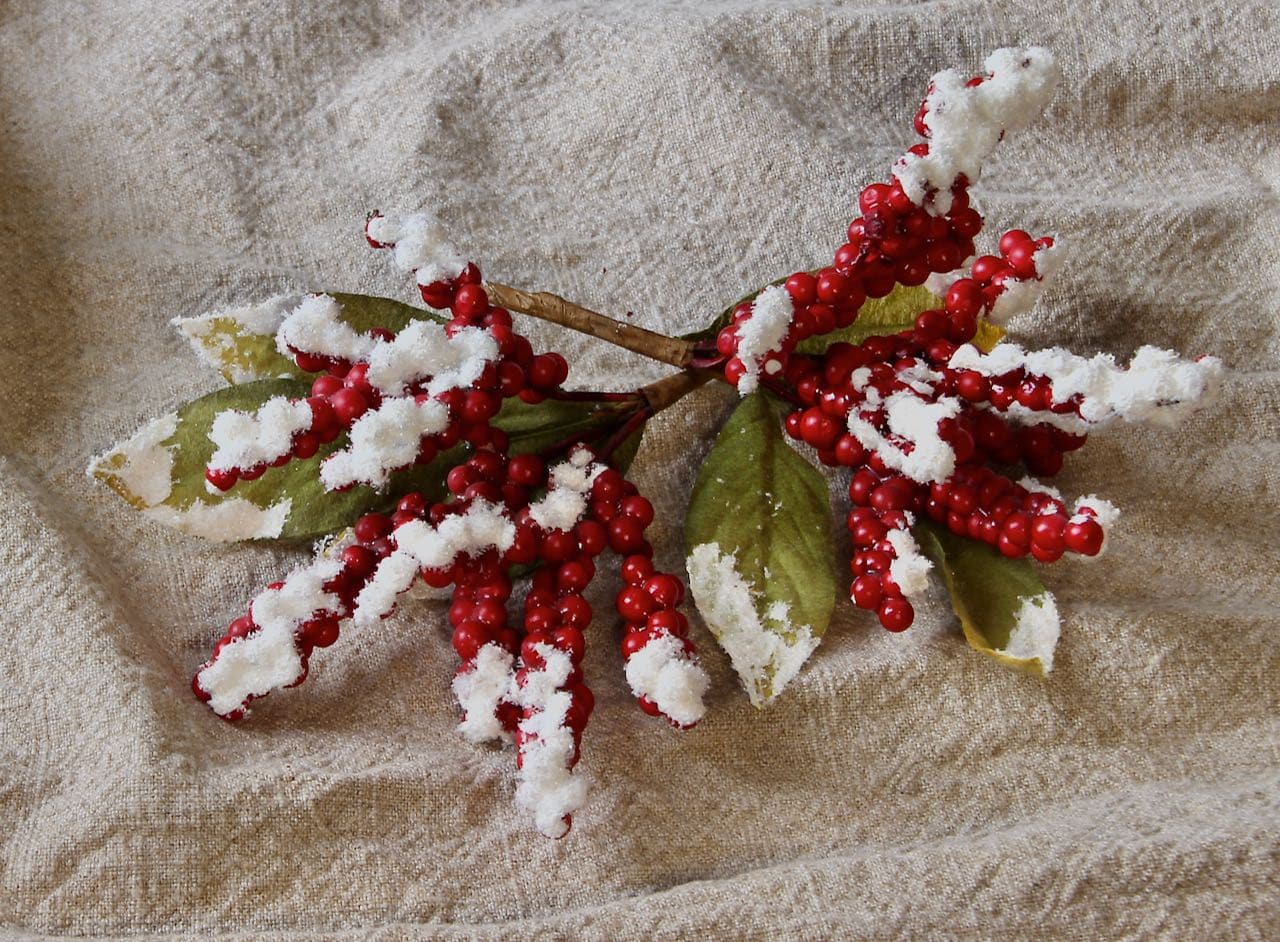
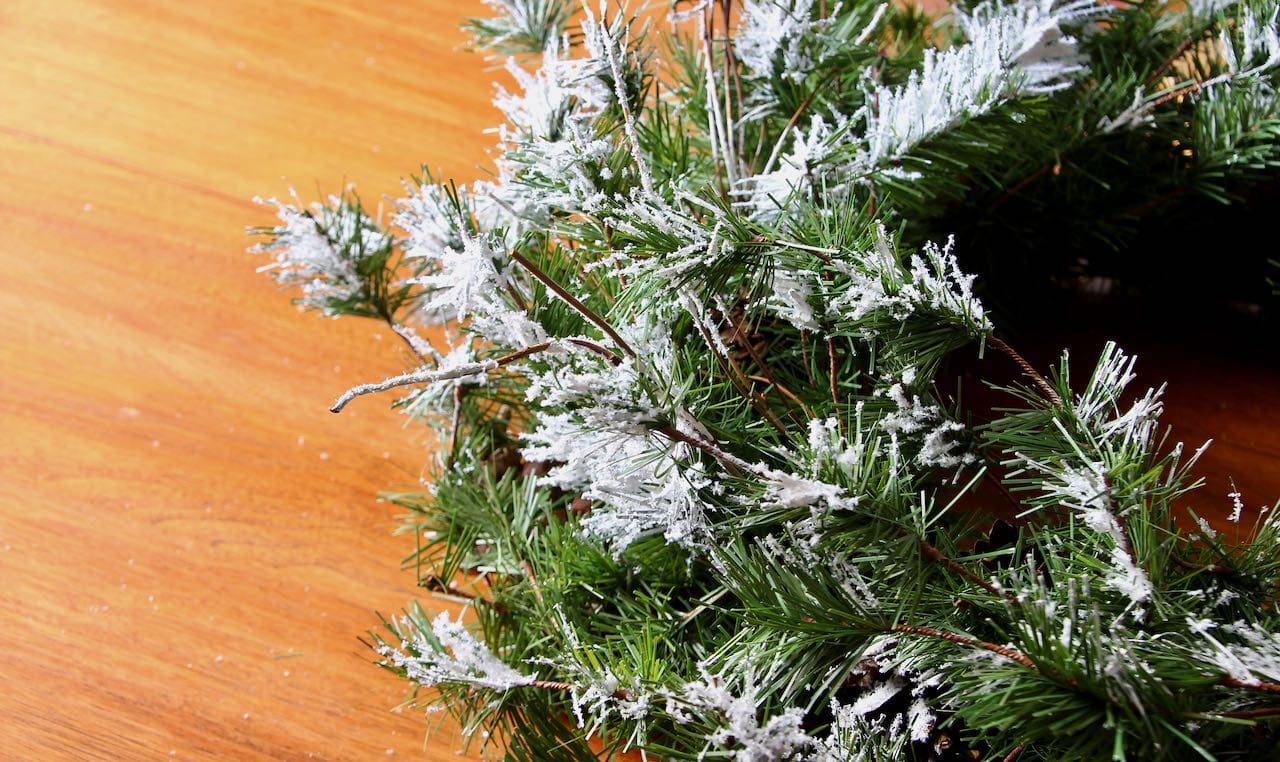
This is what I wanted. And what you’ll get with the steps below.
How to Flock a Wreath and other Christmas Greenery — The Right Way:
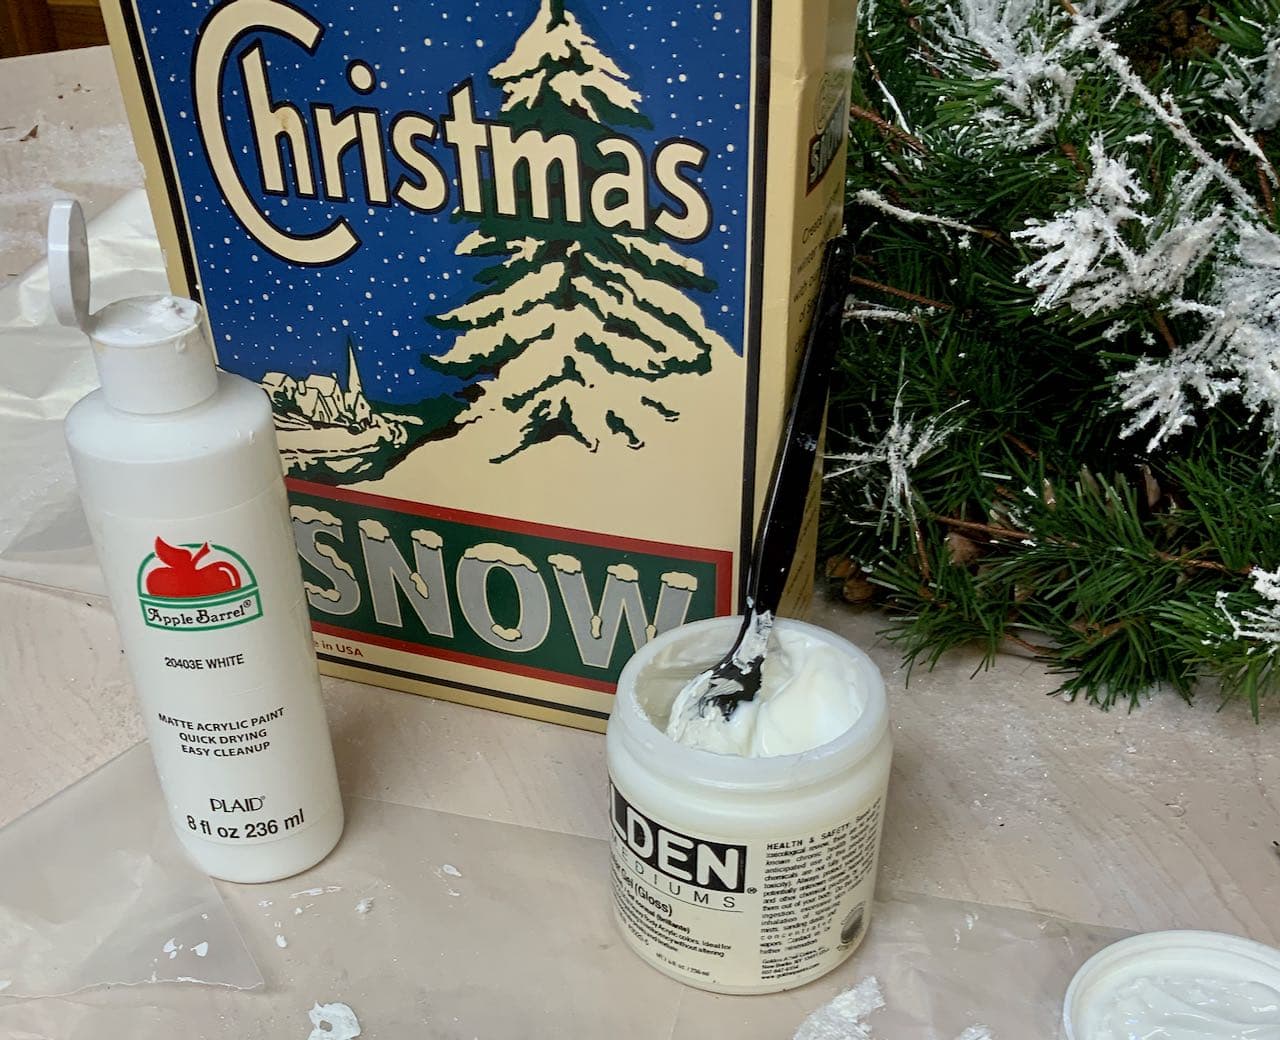
Materials & Supplies:
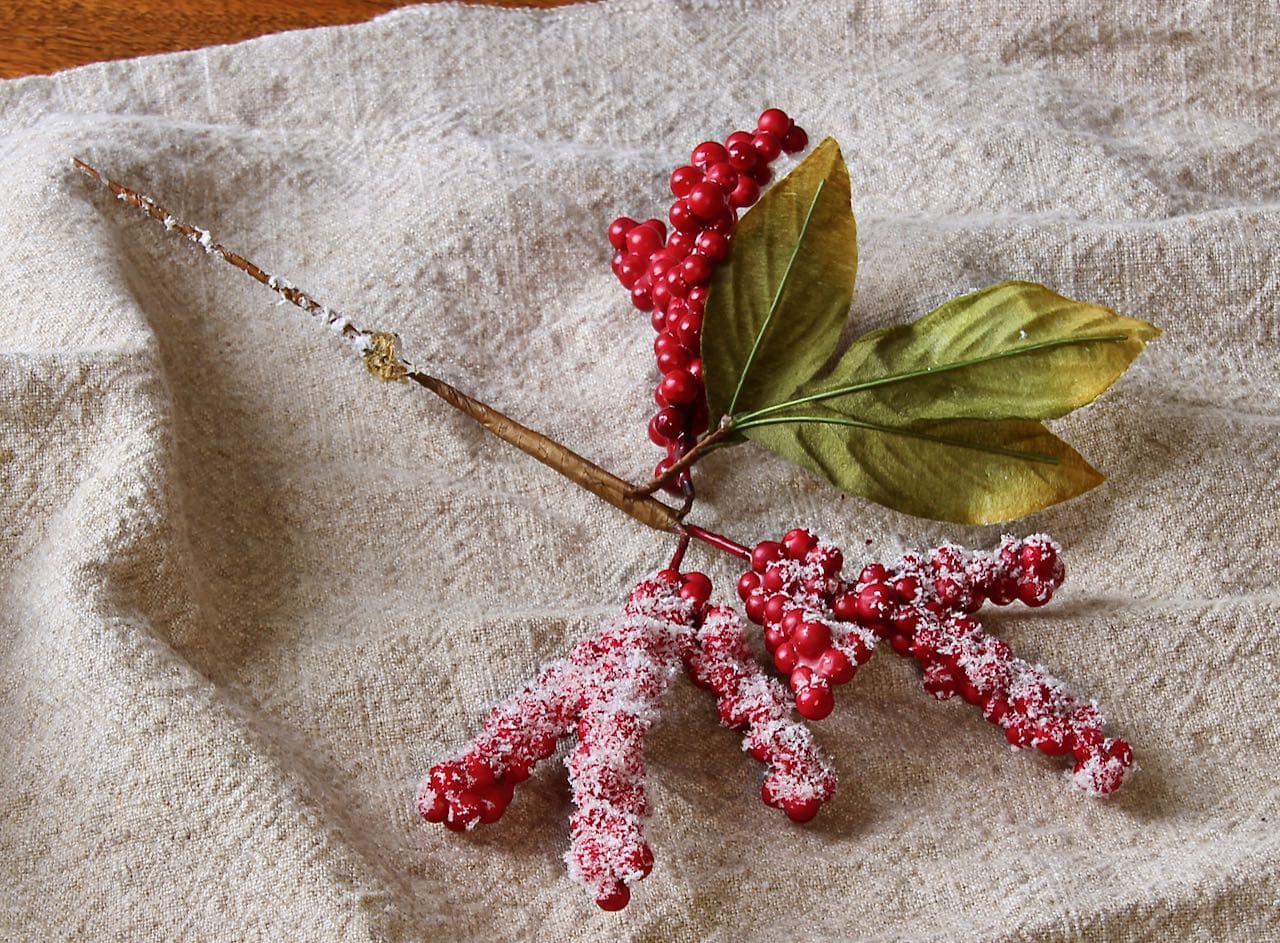
- Your decor items that need brightening — here I’m showing a nice, but boring wreath and my old red berry picks
- White craft paint, any brand will do
- Gel Medium — I LOVE this stuff and always have a jar on hand in my supply stash!
- Artifical snow for the sparkle and texture
- Covering for your work surface
- Wax paper for collecting overflow of snow
- Small disposable container for mixing
- Craft paint brush (nothing nice and fancy here)
- plastic utensil or craft stick for mixing
SNOW NOTE: the one below looks as close as I could find to what I used. You want a fine powder type, not the larger shredded cellophane type
The following links are affiliate links, which means if you purchase anything using these links, you pay NOTHING extra, but I may receive a small commission. Please know that I will never recommend a product I do not believe in!
Now that you have all your supplies,
Let's get started Making It Fake Snow:

Step 1) Mix Your Paint and Gel Medium
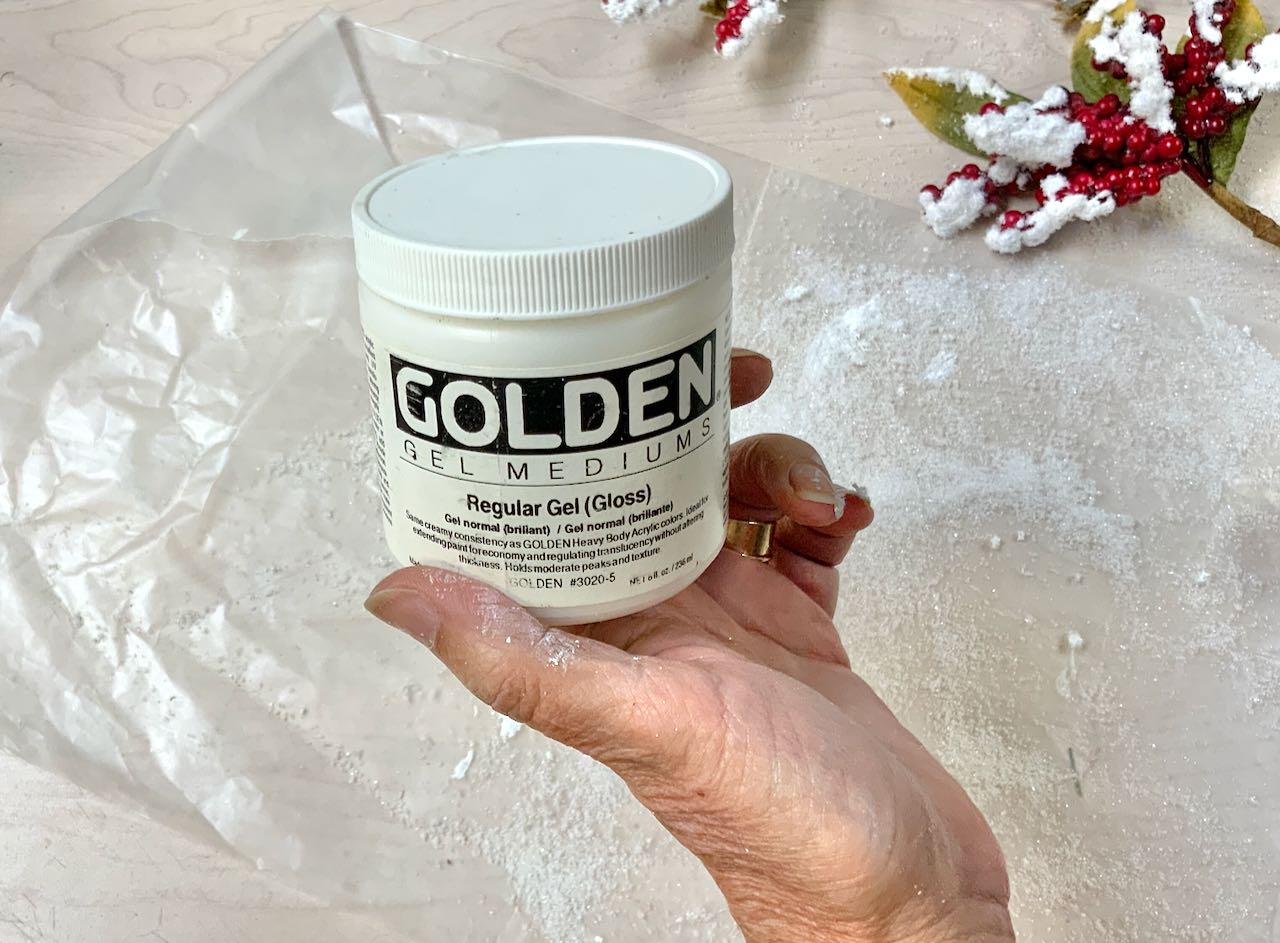
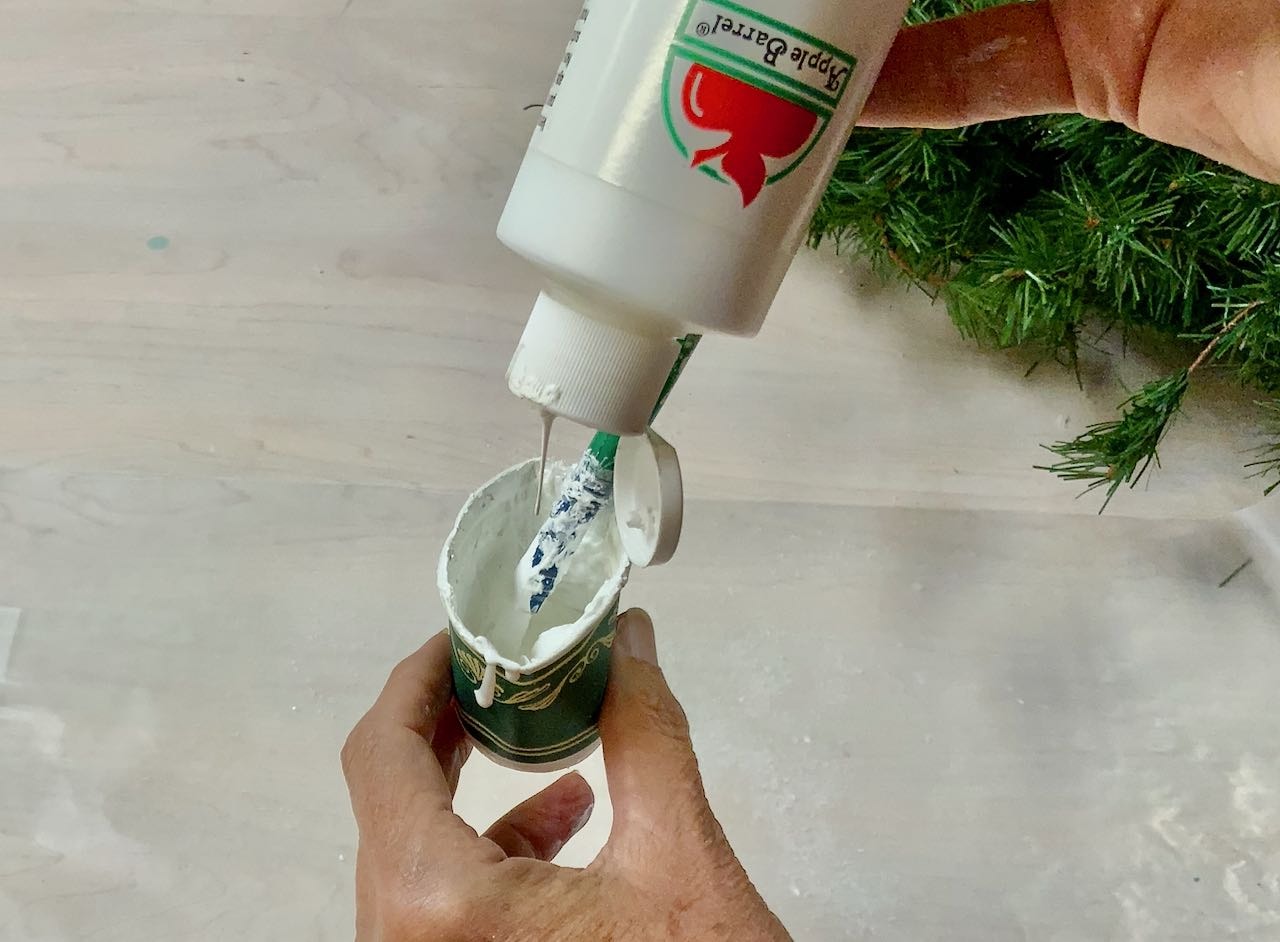
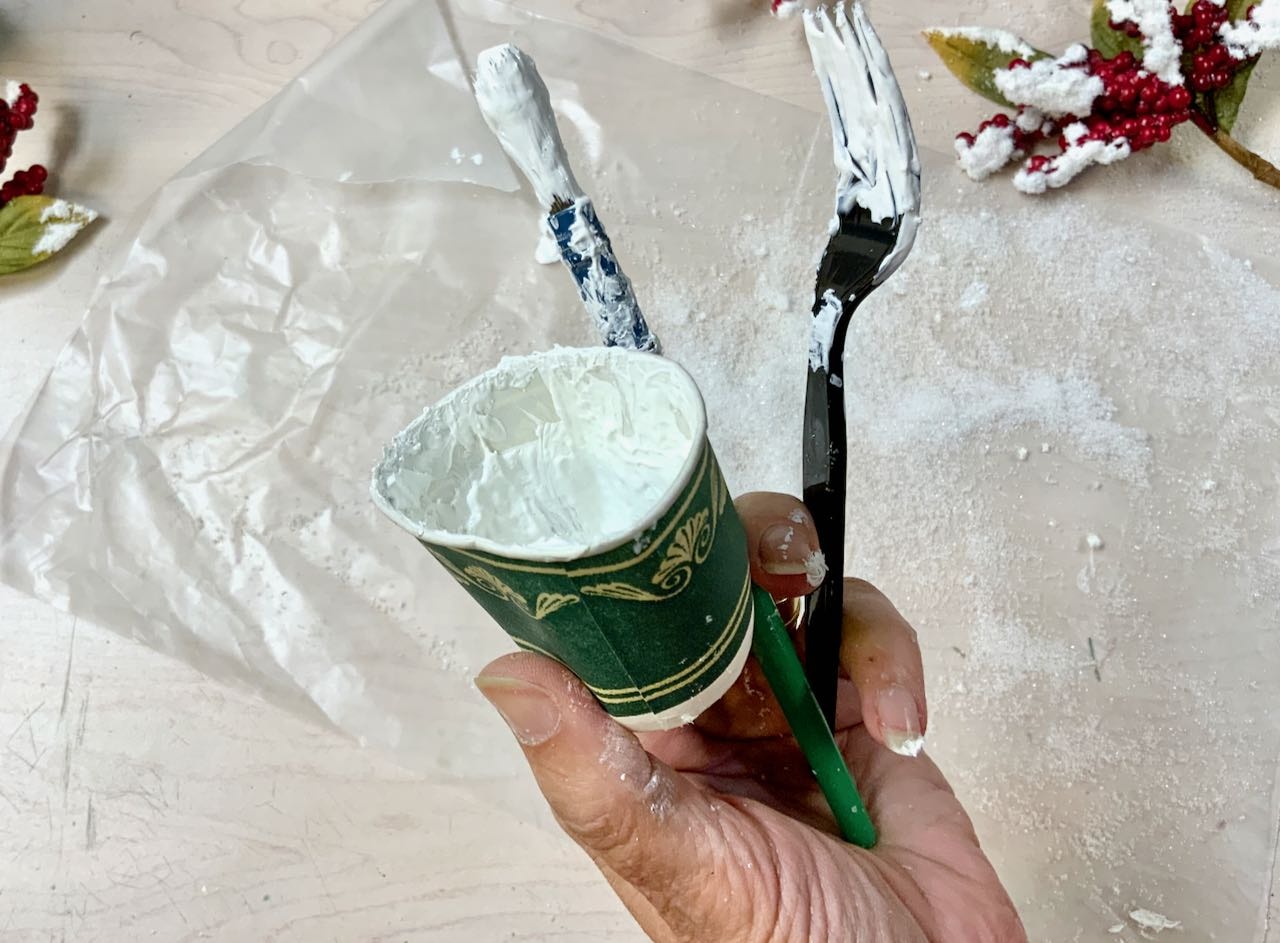
Add a generous dollop of gel medium to your disposable mixing cup.
Add a good squirt of white paint. You might be tempted to skip the paint, but don't. Remember the "What NOT To Do" earlier, the gel medium will dry clear and no one wants clear snow.
Mix thoroughly.
HINT: You want to work fairly quickly between steps 2 & 3. So if you are doing a large project, break it into several areas. Step 2 then 3, step 2 then 3, step 2 then 3, until the whole area is finished.
Step 2) Apply the Thickened Paint
I found a pouncing motion with the craft brush worked for me on the berries. Snow tends to mound in little peaks on a smooth surface like berries and branches.
Then on the wreath, I used more of a sweeping motion mimicking how blowing snow gets caught in the fir needles.
HINT: Keep in mind the top of the wreath when it is hanging and try to focus all the snow as it woud falling form the sky. Do not put any snow on the underside of the bottom or the undeside of the top
Step 3) Add the Fake Snow
HINT: Remember, work quickly between Step 2 and 3
With the paint fresh and wet, over a generous piece of wax paper, sprinkle the fake snow over the paint. Don't skimp here! Anything extra will land on your wax paper. Then carefully lift your wax paper from opposite sides and fold and tilt gently so all the beautiful unused snow can go back in the bag or box to sprinkle again and again.
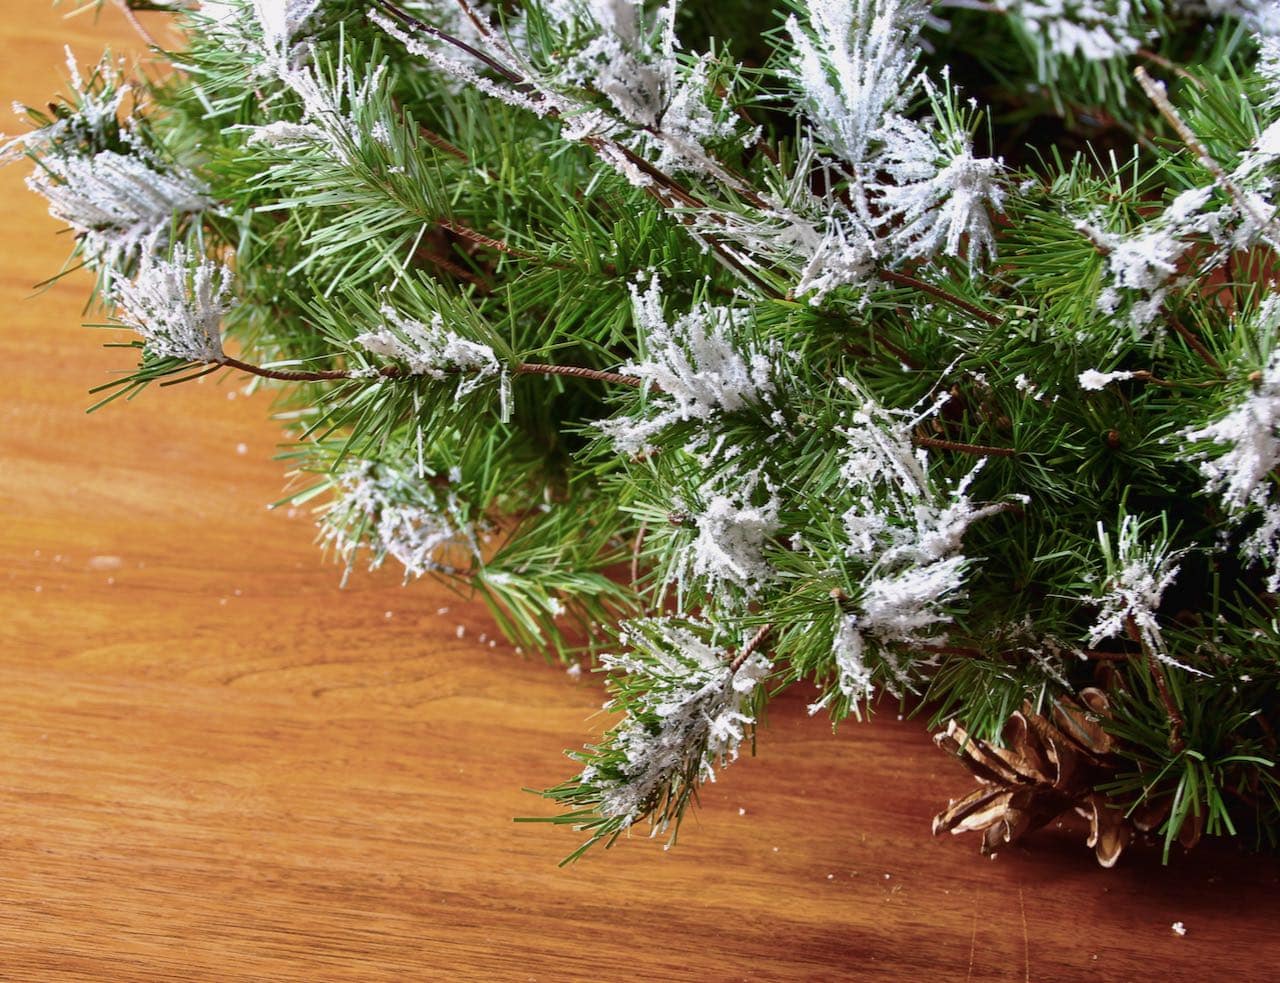
Step 4) Now Wait
I know, it's hard. But since you're using acrylic paints, it doesn't take very long.
Treat yourself to an indulgent cup of something or other and your Christmas greenery will be ready to debut fresh and renewed.

Doesn't that make such a difference? You get to control how much snow and where.
Don't forget about the tips of the leaves if your berries have leaves.
If you are adding a bow or ribbon to your wreath, do that first and then add some snow to it just as it would in nature.

So glad you are along on this fun ride getting ready for the holiday season to come.
Happy weekend. And speaking of weekends, perfect time to try out the blog post Lynn has in store for us tomorrow morning, Day 6. Anyone ready to perfect a Christmas cocktail for your upcoming entertaining --- whether it's an Ugly Sweater competition for 50 or a quiet evening by the fire for 2? I know I am!


Oh my goodness! I am so doing this! I’m putting the items in my cart now.
Oh good, Renae! Just promise me you’ll send pics I can share.
I just love this Duane and can’t wait to try it. You are a genius.
Just promise me pics when you try it! Everything you touch turns magical!
I’ve actually flocked a whole Christmas tree so this seems like something I can handle. Love it!
That’s on the docket for me this year!
It’s so fun, forgiving — and addictive!