
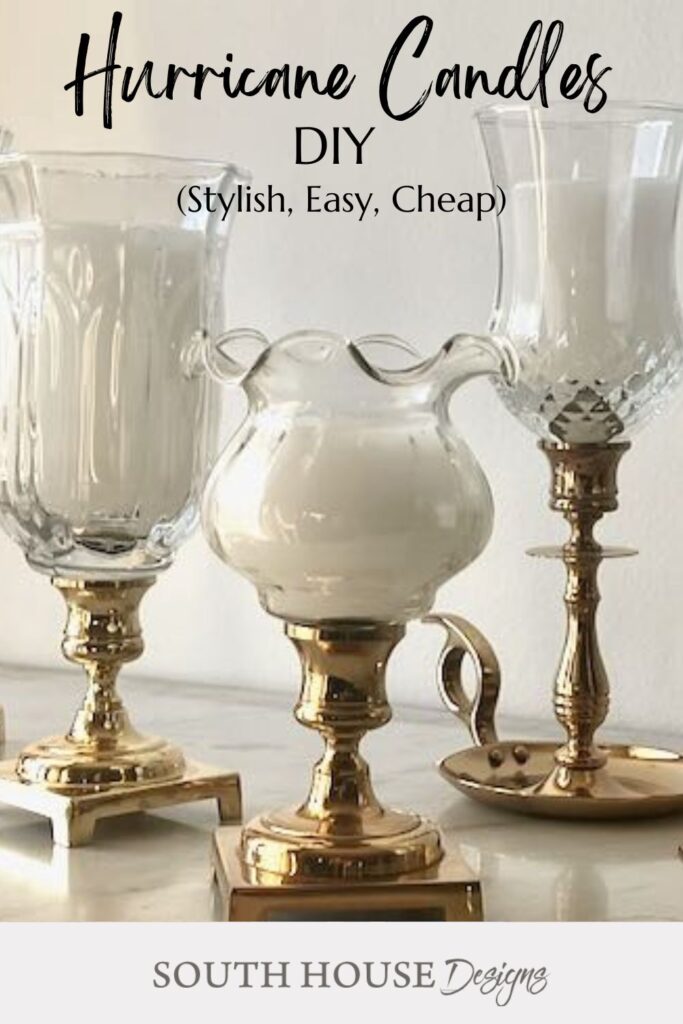
Reuse Vintage Hurricane Candle Holders To Make New Candles
Thrifted or hand-me-down glass hurricane candle holders can make the prettiest “jar” style candles. Here’s how to create a lovely grouping!
It’s pretty easy to find the candelabra style glass hurricane candle holder at thrift stores, garage sales and Grandma’s attic. Today, I’m focusing on the ones that have a peg base that sits in a candlestick. You should be able to find these at a super reasonable price.
The same principle can be used for empty candle jars or old candle jars with a little remaining wax in them. Almost any glass vessels will work as long as they have a solid base with no drainage holes.
Why Fill the Hurricane Instead of Just Using a Votive?
I am so often disappointed by votives and tea lights, the wicks don’t stay lit, or they don’t give off enough light or they don’t last long enough.
This way, the candles burn for hours and hours!
I can control the scent and color if I want any.
It’s a great way to use up all the scraps of leftover wax, discolored and damaged candles that I have mysteriously accumulated and turn them into an entirely new candle.
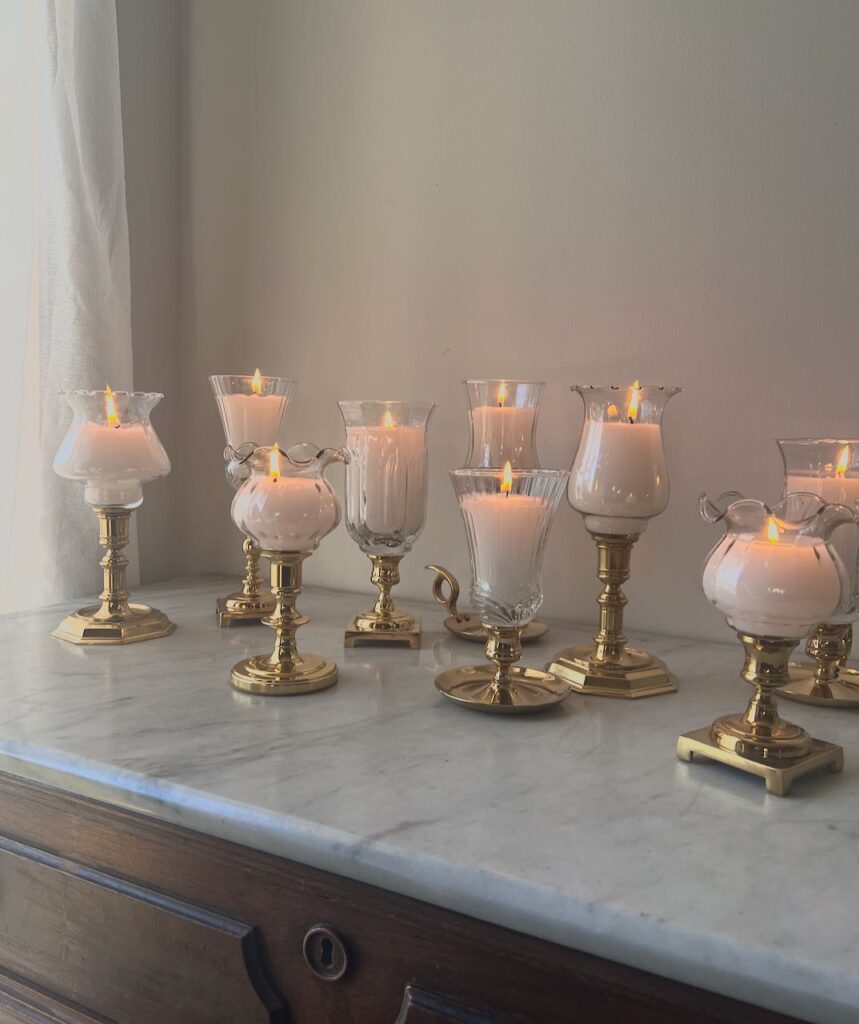
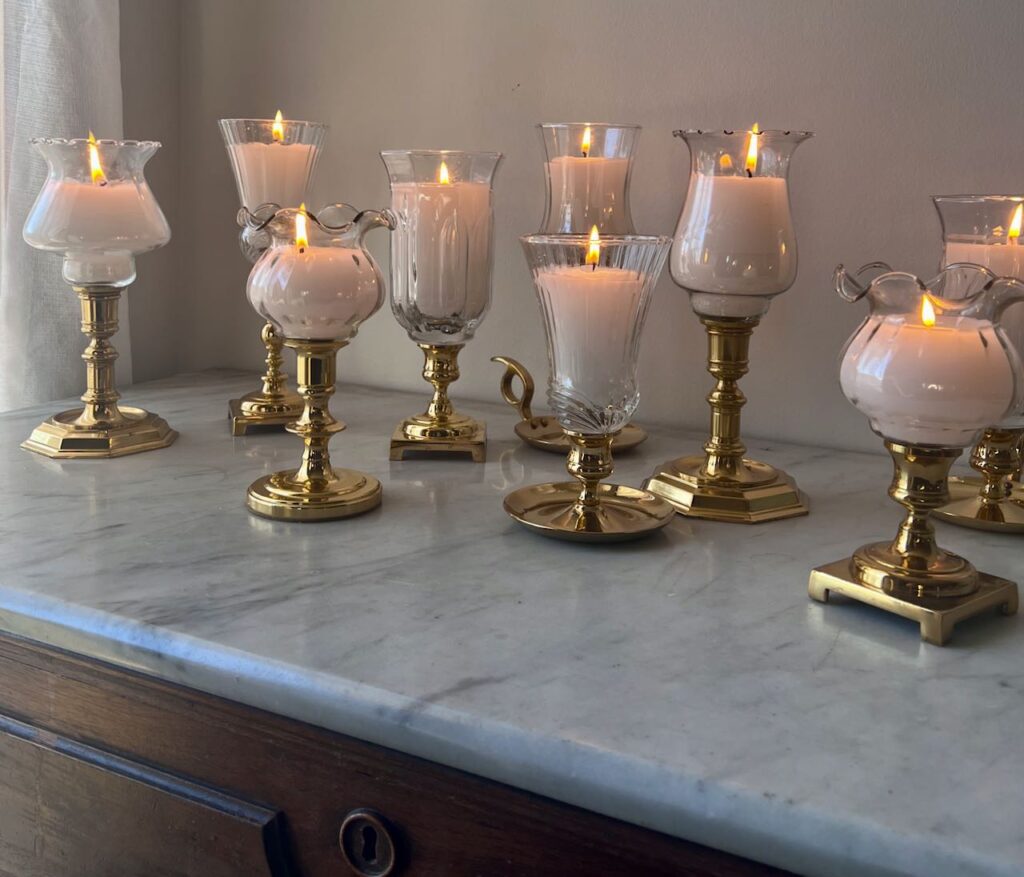
With clear glass, I much prefer the look of the hurricanes filled over votives that fit some well, and other too small much prefer the look over.
It highlights the variety of mismatched shapes, yet unifies them.
Note: some links may be affiliate links which means if you purchase something using these links, I may receive a small commission. But you pay nothing more for this service, I appreciate you usinig my links whenever possible to help compensate me for making content you enjoy.
TABLE OF CONTENTS:
Let’s Repurpose Candles & Hurricane Candle Holders
Materials and Supplies:
- Wax — newly purchase wax or old candle wax from from unused candles, from spent candles scraps and bits of remaining wax in candle jars
- Candle Wick — old wick or fresh wick
- Glass Peg Hurricane candle holders or decorative containers (see NOTE below)
- Essential Oils or candle scents, optional
- Egg carton, small cups, etc.
- Sharp knife
- Dedicated cutting board
- Disposable spoons
- Skewers, clothespins, wire — whatever works for you
- Hot glue gun and glue, optional
- Double boiler arrangement
- Oven mitt
NOTE: I collected mine over a bit of time. If you like the mismatched look, but need them quickly, they are some clear ones available here, and more clear ones here and more vintage votives here.
If you prefer a matched look, these sets are available.
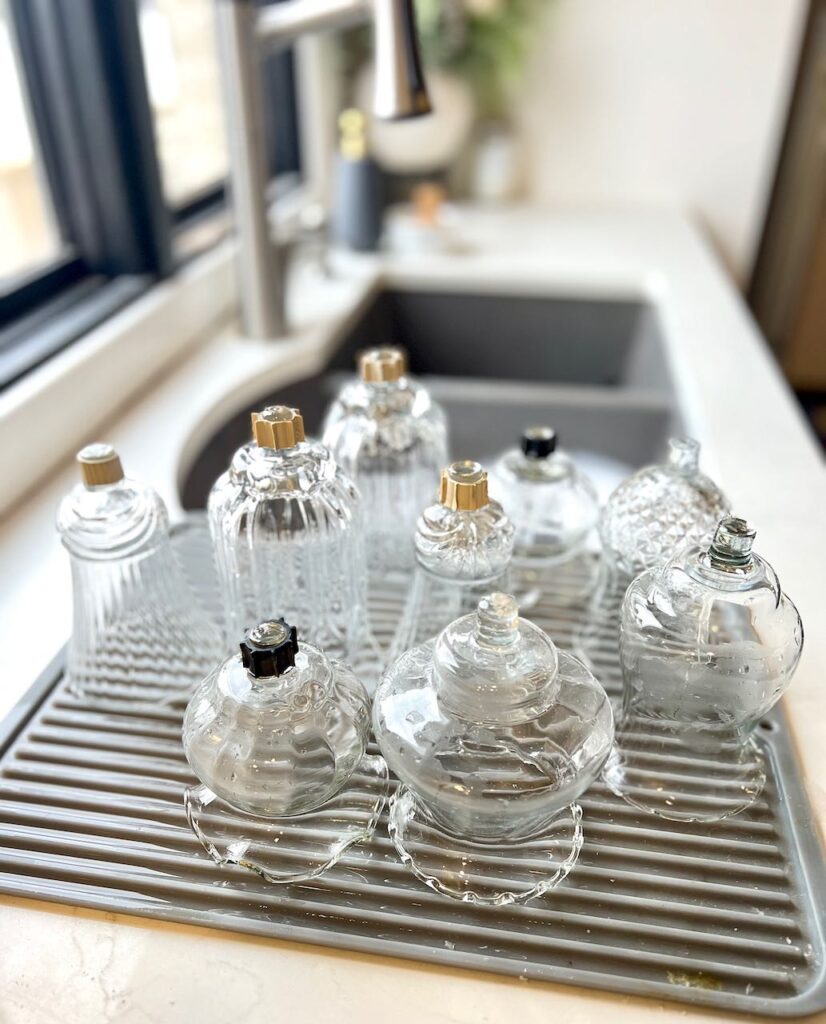
Step 1) Start by Cleaning all Your Glass Jars–
The temptation here is to use a butter knife. I get it. But honestly, it is too easy to damage the glass.
NOTE: A damaged glass jar or hurricane can break when heated with a burning candle.
Use a sturdy disposable spoon or knife if you must. Start with gently working the tip of the spoon under any remaining wax and forcing it loose.
If that doesn’t work for the larger clumps, try freezing it. The wax will contract a bit and then you will have a better shot at getting the spoon to pop it loose.
You may be tempted to microwave the jar, but be cautious with this. Often, wicks are held in place by a little metal disc. This will not make your microwave happy!!!
For ones that I could visually verify did not have a metal disc, I zapped them briefly upside down on a paper towel. No enough to melt it, just to loosen the chunks so they would come out freely.
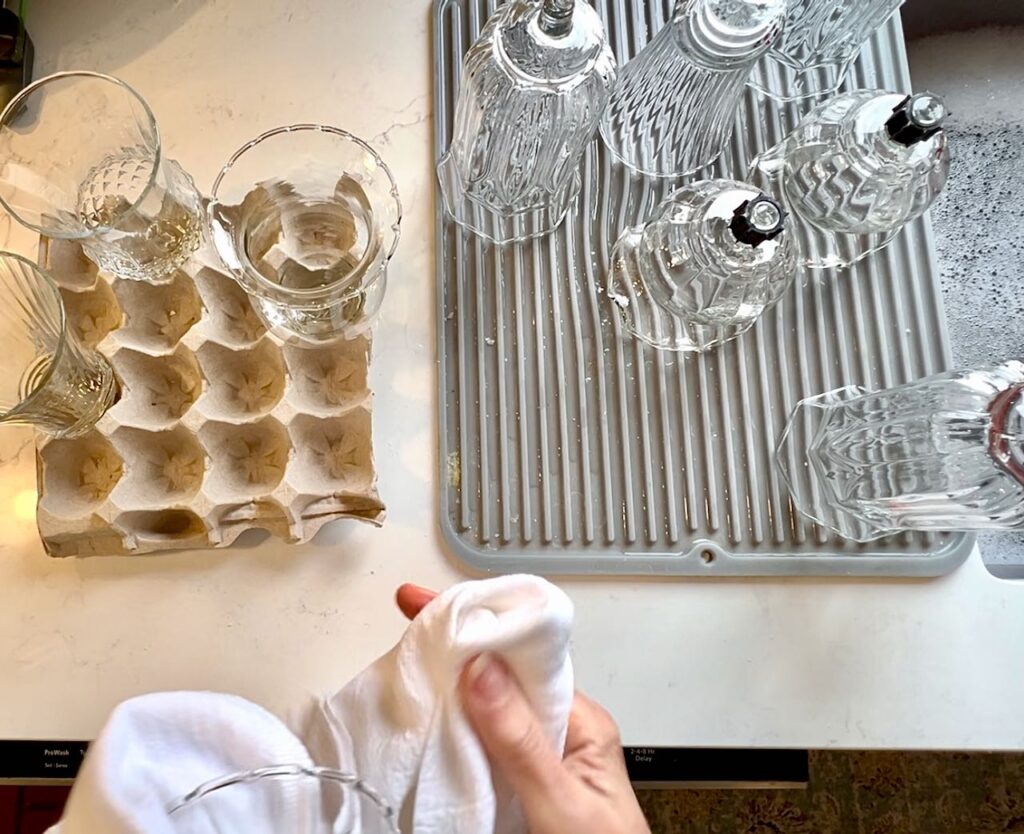
When you have just a bit of wax residue remaining. Washing it in HOT soapy water will be enough to take care of that. I like to wipe it down well with a paper towel first, so the paper towel absorbs all the melted wax. And then I give it polish with a kitchen dish towel.
Step 2) Prepare Your Hurricane Candle Holders–
UPDATE: I’ve been asked about the rubber “cuffs” that some of the hurricanes have on the peg bottoms. Some just came with those and some didn’t. They are not absolutely needed, but they can help if some are a bit wobbly in the candlesticks. You can purchase extras here.
For any glass candle holder that has a peg bottom like mine, you need to come up with a way to hold them upright and straight.
I used an egg container, which worked great for four of them. For several more, I used coffee cups (more narrow cups than say mugs). And for yet a few more, I had some little blue nesting condiment dishes in my pantry, and the smallest ones held two more of my candle holders.
Look around and I’m sure you’ll find something that works. You can always fall back on cutting one-inch lengths of paper towel tubes.
Step 3) Prepare Your Wax–
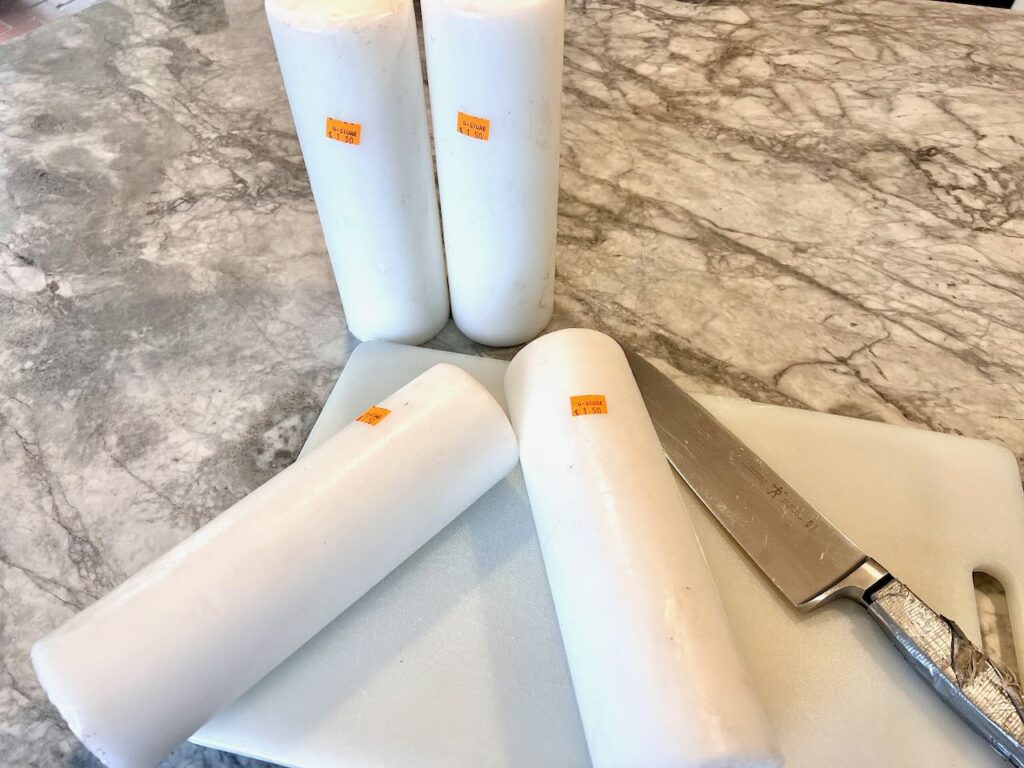
I bought four large white unscented candles at my favorite thrift store for $6 total.
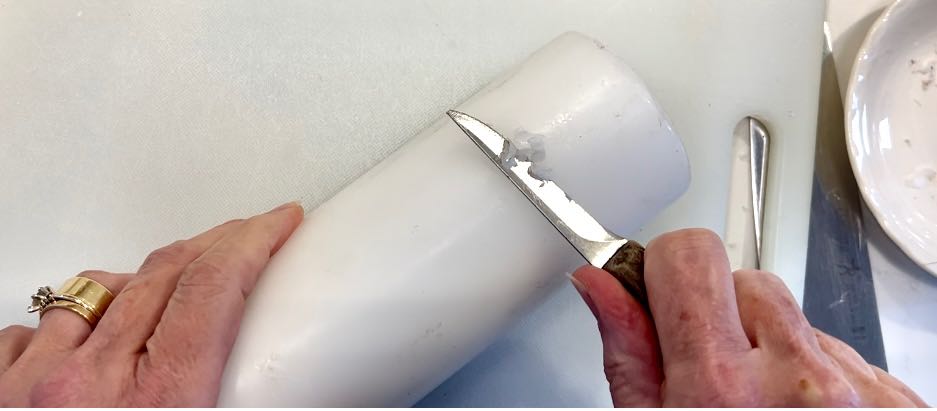
First, with a small paring knife scrape off any marks, stains, dirt, etc.

Then with a large chef’s knife I set to work cutting them into small chunks to melt.
The best way to melt wax is to use a double boiler set up — basically a smaller pan or pot over a larger pan of hot water.
I picked up the top part of a true double boiler at the thrift store. You can use a regular small pot resting inside a larger pot. You just need to make sure you can hold the small pan securely to pour the hot wax.
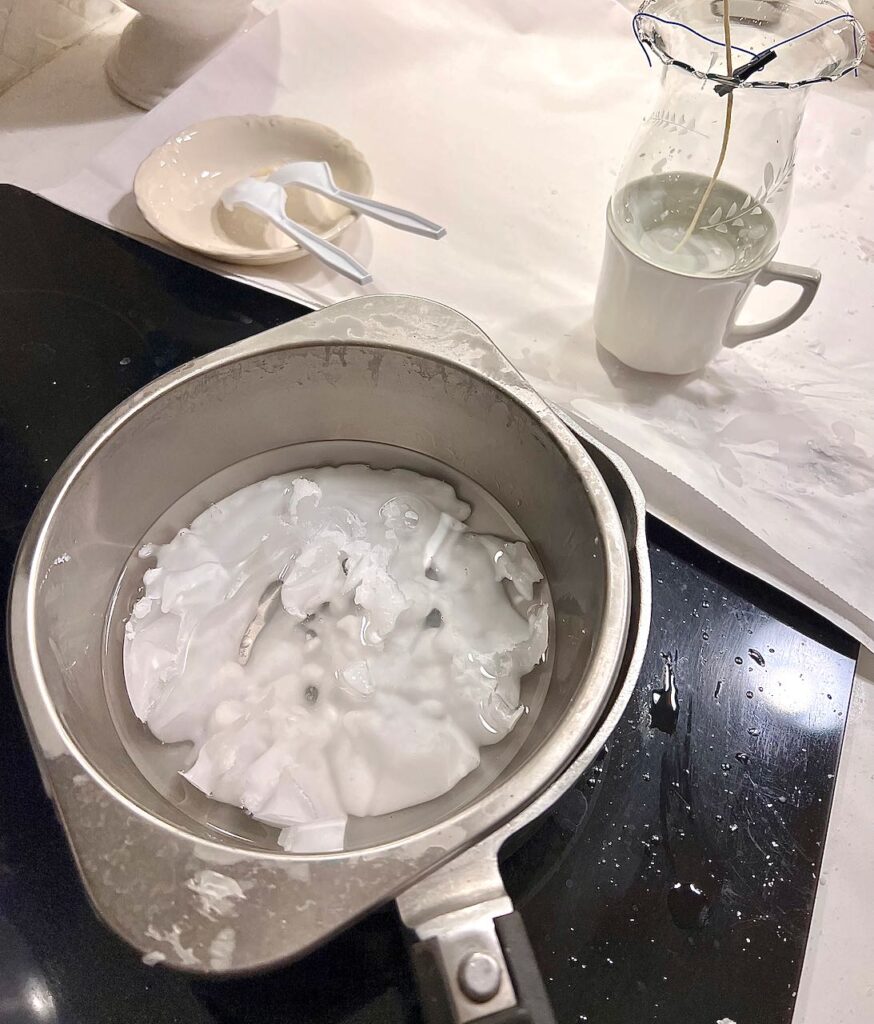
Fill the larger pot with water an inch or two deep — enough that the smaller pan with touch the water but no so much that the water will overflow.
I start by using medium heat and then lower it a bit. Candle wax typically has a rather low melting point. Keep an eye on it and stir fairly often.
As soon as it is just about all melted I remove it from the heat. Little slivers will continue to melt even as it is cooling down a bit.
PRO TIP: Do not pour wax at its hottest, that will encourage tunneling and cratering as it cools in the jar
A quick pause in the action so that I may ask if you are enjoying this post. Would you like more, How about free printables? How about exclusive offers? Please subscribe for All the things:
Thanks bunches! Now back to the candles:
Step 4) Wick Your Candle Hurricanes or Jars–

The final preparation of your hurricane candle holders or jars is to wick them. I tried a variety of ways.
I dropped one of the candles on our brick floor and it broke cleanly in half. As I picked it up, I was able to slide one half right off the wick. So I decided to save the wicks too.
I started by cutting off the base end of the candle to get to the bottom of the wick easier. Some I was able to pull out once the bottom was exposed, and some I had to chip out.
Honestly, wicking is so cheap, I probably won’t do that again, unless there is enough to save a trip to the store.
You can buy new wicks that are already prepared with metal discs to secure the bottom. However, I did not have luck with them. The wicks were fine and I used them, but they all pulled out of their discs.
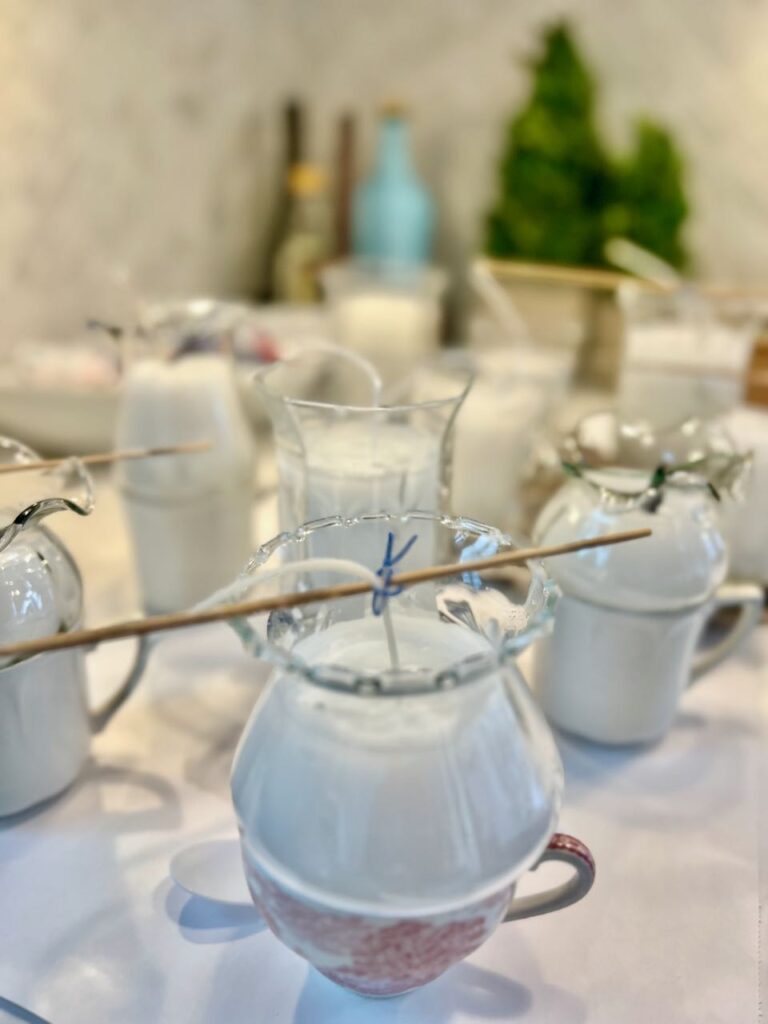
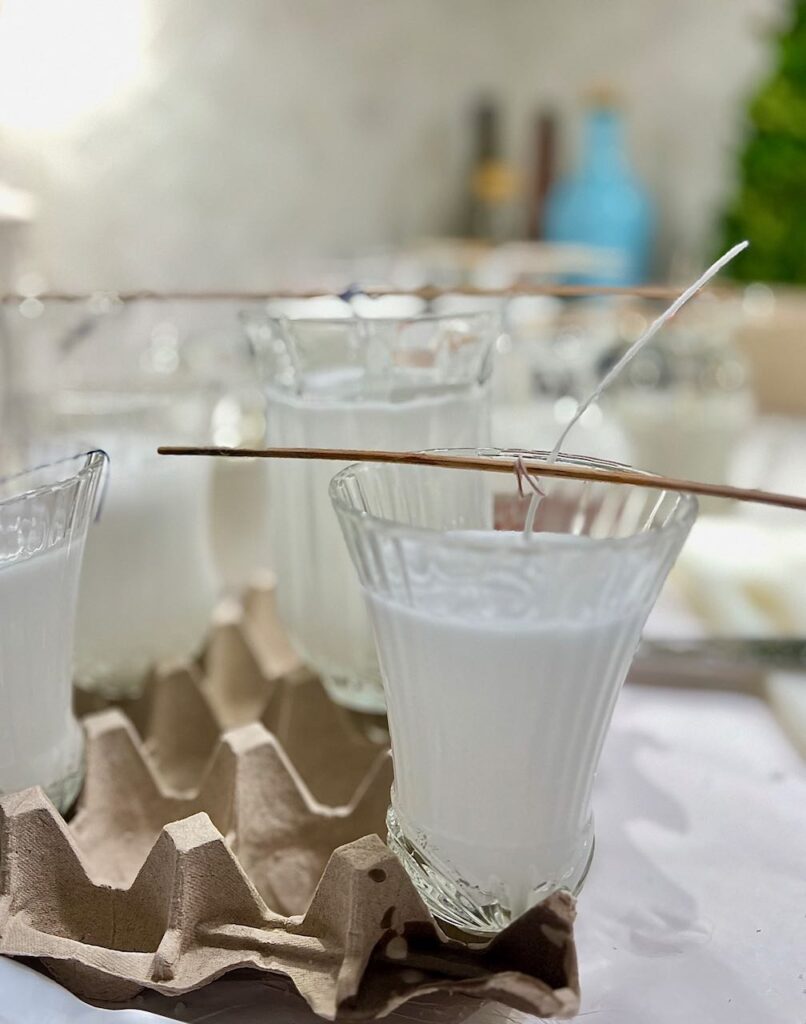
The system that worked best for me to attach the wick was
- Folded about 1/2-inch of one end of each wick at a right angle
- With a disposable spoon, I added 2 spoonfuls of hot wax in the bottom of the cup. Or you can use a couple of drops of hot glue.
- Held that little foot of the wick in the hot wax until it cooled.
- Laid a skewer across the top
- Attached the wick to the skewer with a thin piece of wire
Step 5) Pour Your New Candles–
As mentioned before, tunneling and cratering are fairly common candle-making oops.
To reduce these, I let my wax cool until it is still pourable, but not very hot. You can tell that it is cooling as it becomes more and more opaque.
PRO TIP: to speed this up a bit, you can gently stir the melted wax to release its heat and set it on a wire rack to help the bottom of the pot cool faster.
Carefully, pour the warm wax in your container stopping about a 1/4-inch below where you want the top.
As it cools, watch for the wax pulling away from the wick and forming a crater. If it does, while the wax is still “spongy”, use a skewer and poke two or three holes in the crater. Then pour more wax into the crater to fill the tunnels and any voids and top off your candle.
If you are a perfectionist and have a heat gun, after filling any craters or tunnels, you can heat the top of the candle to melt it into a smooth, flat pool. But this is totally not necessary.
Now let your candles sit undisturbed for 24 hours.
I know, it doesn’t seem like they need that much time. But leaving them to cure will help them burn longer and more steady.
Step 6) Lastly, Trim the Wick
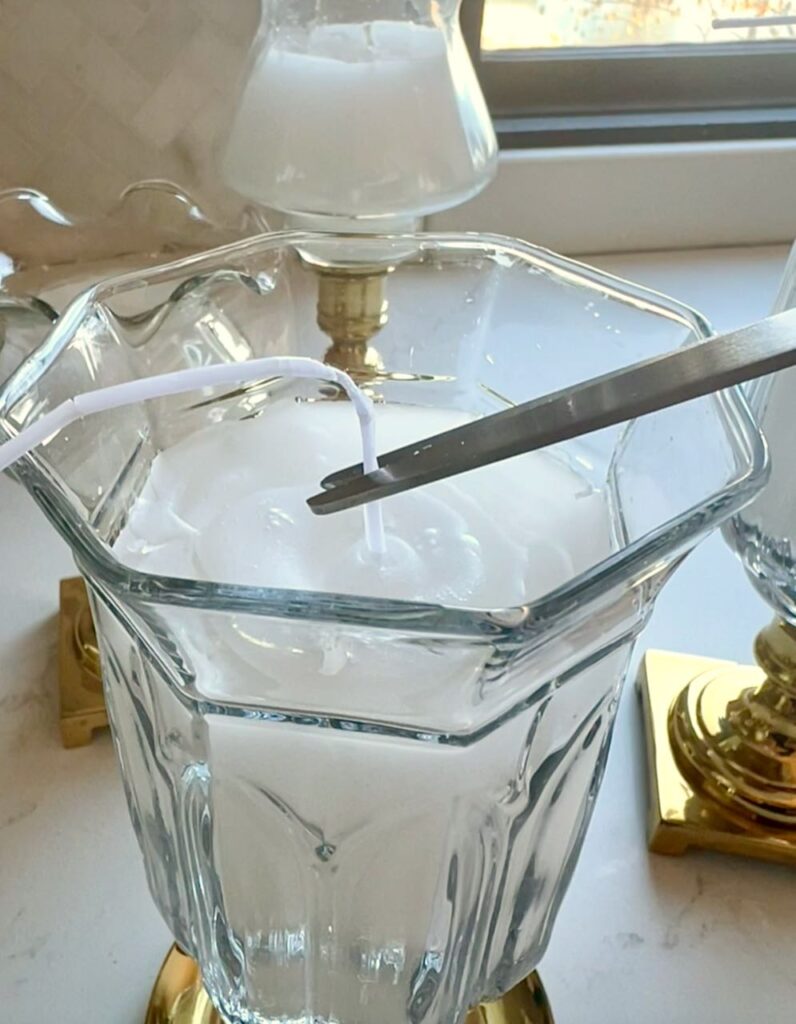
Now it’s time to trim the wick. Always cut your wick to about 1/4-inch length. You should also do this when relighting candles. Candles should always have a wick length of about 1/4-inches before you light them.
TIP: If your wick is too low in a container to reach easily with scissors, try nail clippers instead.
What I Would Do Differently!
I wish I hadn’t filled them quite so high.
I got ahead of myself thinking about how long these would burn, that I forgot one of the prettiest parts of these hurricanes are the different patterns of shadows the candlelight creates. And the hurricanes that have carving look so pretty with the flame shining through the designs.
However, I filled the hurricanes higher than I should have to maximize the effect of the pretty hurricanes. Restraint is not necessarily a strength of mine . . . . sigh!
So, I can use a heat gun to heat the top and remove some, or I can light the candles and burn them down a bit. One is more labor intensive and one is prettier. Hmmm, can you guess which I’ll do?
Creative Ideas For Using Your New Candles
There are many fun ways to use your new candles.
I made these in anticipation of a long centerpiece I want. I made this long box for a mantel display. And I have a new shorter version in white you can see I used on this buffet table and this Christmas mantel. I particularly loved them in this Spring centerpiece of Cat Grass.
When the weather gets warmer and we’re all outside so much, these will be a great addition in black iron candelabras and candle holders on the patio, the balcony and even on the front knee wall to great our guests.
With the peg bases, I like to stick them in florist foam or chicken wire and arrange flowers around them.
Aren’t they beautiful? I can’t believe how long many of those have been hanging out in my stash. Can’t wait to have them out shining their beautiful light.
Pin this (or any of the images on this post for when you find a treasure of hurricane candle holders of your own.
Please share how you’d use them. Do you ever see these hurricane candle cups when you’re out treasure hunting?

What a great idea, Diane! This would be such a great idea for a wedding! Ooh la la! Love the tip about the nail clippers…gold tip!
Thanks Missy! It sure would! Your so right — as usual!
What a beautiful gift to yourself and that is my next project thank you.
These are so pretty! I’ve been wanting to play with wax and candles for a while now. Your tips are great and will help me out when I finally get around to doing it! 😀💛
I am absolutely crazy about them. I keep making more and more! It seems no situation is free of a custom candle.
Hello ! So beautiful and perfect idea ! I was wondering what is on the bottom of the glass looks like they would screw into the candle stick bottom is that something you put on or do they come with that attached to them ?
Thank You !
Thanks for that great question Tara.
Yes, some of my hurricanes came with them and some didn’t — such is the thrifting world, right? I found some on Amazon that claims to work although I have not personally tried them. I think you can also wrap a rubber band around the peg several times for the same effect. I did update the post and added the Amazon link if that would be helpful.
Is there any concern that the glass sconces would crack from the hot wax?
Hi Donna, Good question. These hurricanes are made of pretty thick glass and were designed to have a votive candle burning in them, which I believe would put out even more heat.
Besides, remember the tip to let the wax cool just a bit before pouring into any candle container to help prevent cratering. I talk about that a bit in the post if you want to refresh yourself on that.
I honestly can’t say that I see these hurricane type globes but maybe I wasn’t looking hard enough. Regardless, I think you could also just glue some bases onto the brass candlesticks, couldn’t you? I really like this idea, will have to try it. So elegant. Thx!
Sometimes they’re hiding. My favorite thrift store has them in the lamps area, on the shelves with all the old lamp globes. This week they had five different styles on hand. I brought home four of one style ($1 ea.) because they were so unique and modern. I certainly don’t need more!
Other thrift stores, I have seen them in more the aisles of home decor accents, with the candles and all.