
Sweet Love Pillow Gift for Cancer Patients
Make this love pillow for your home or someone special, and with a simple modification they make the perfect love gifts for cancer patients.
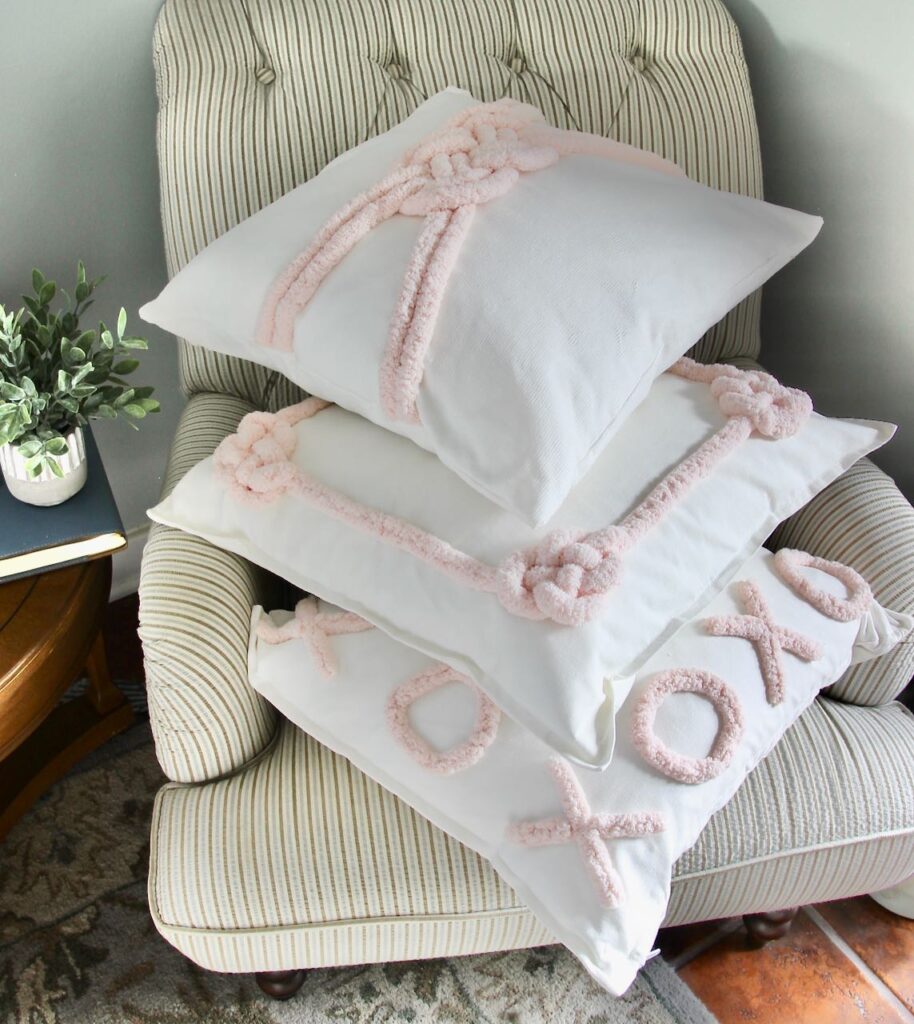
This pillow did not start out as a gift for a cancer warrior! It started out as a third Valentine pillow for my Valentine’s Day decor. Be sure and check out the two macrame-inspired companion pillows right here.
This pillow uses the same thick chunky chenille yarn from Yarn Bee at Hobby Lobby.
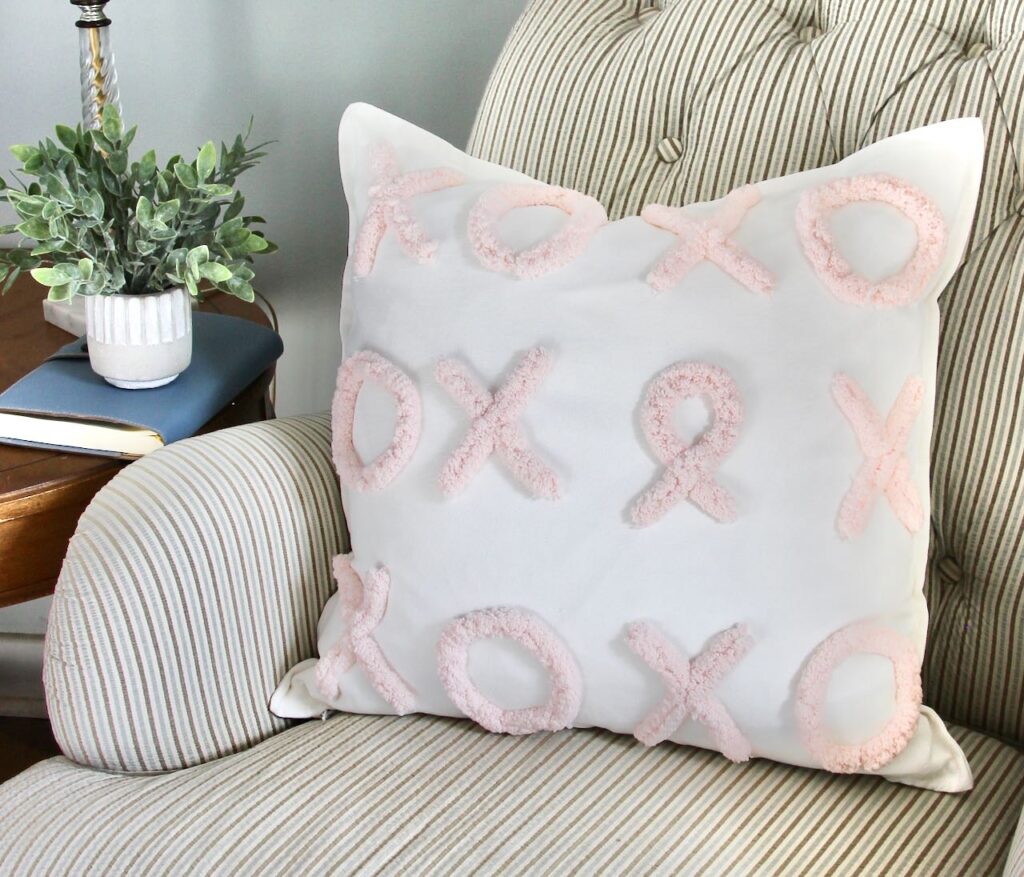
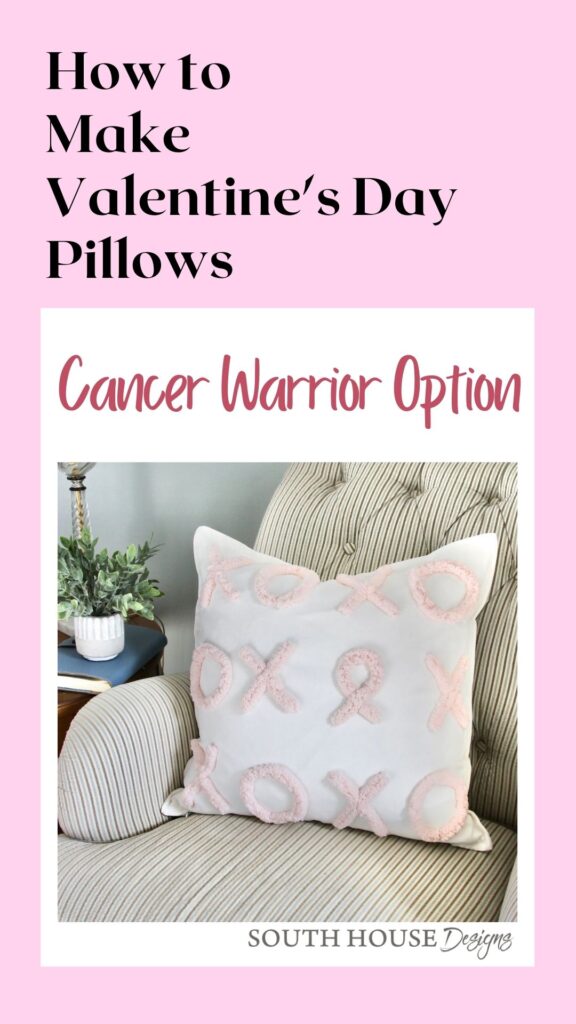
Rather than using lover’s knots for this one, I opted to go with the nostalgic X’s and O’s.
As I was laying out the cut pieces of yarn pieces, one of the O’s fell in a shape that reminded me of cancer ribbons. And the lightbulb clicked on!
Of course, if you don’t have a cancer warrior in your circle, first count yourself lucky, and then opt for the original plan of all X’s and O’s.
These are such an easy, and subtle way of bringing some Valentines Day decor into your home.
Let’s Make a Love Pillow as a Cancer Survivor Gift:
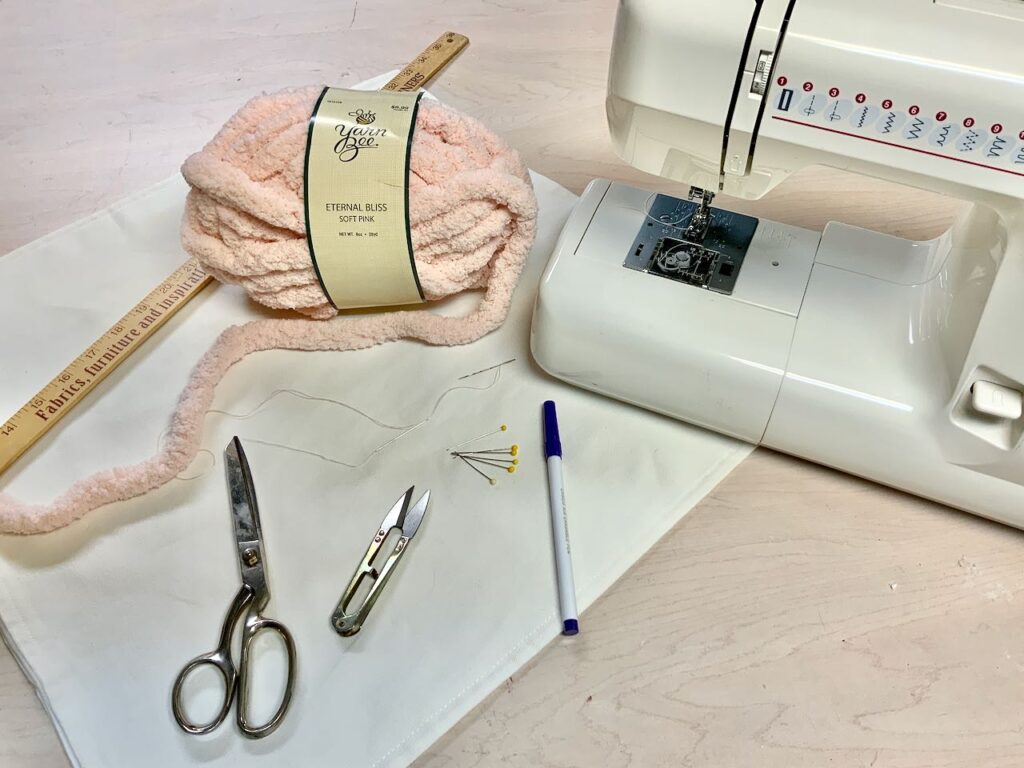
Materials and Supplies:
MATERIALS: (these are not affiliate links, just adding them to help you get a quicker start)
- Plain Pillow Cover (I use IKEA Gurli 20 x 20 Covers or Ikea Lagerpoppel 20 x 20 Covers OR
- Fabric and Zipper to Make Your Pillow Cover
- Super Thick Yarn, I used this Yarn Bee yarn from Hobby Lobby
- Painter’s Tape
SUPPLIES:
- Sewing Machine, optional (very easy to hand sew also)
- Scissors
- Thread
- Needle
- Pins
- Ruler
- Marking Pen or pencil
Step 1) Cut Fabric if You are Making Your Own Cover
I used an IKEA cover for the X’s and O’s pillow.
Step 2) Cut Your Yarn
You’ll need:
- six pieces 5-inches long
- twelve pieces 2.25 inches long
- six pieces 9.50 inches long
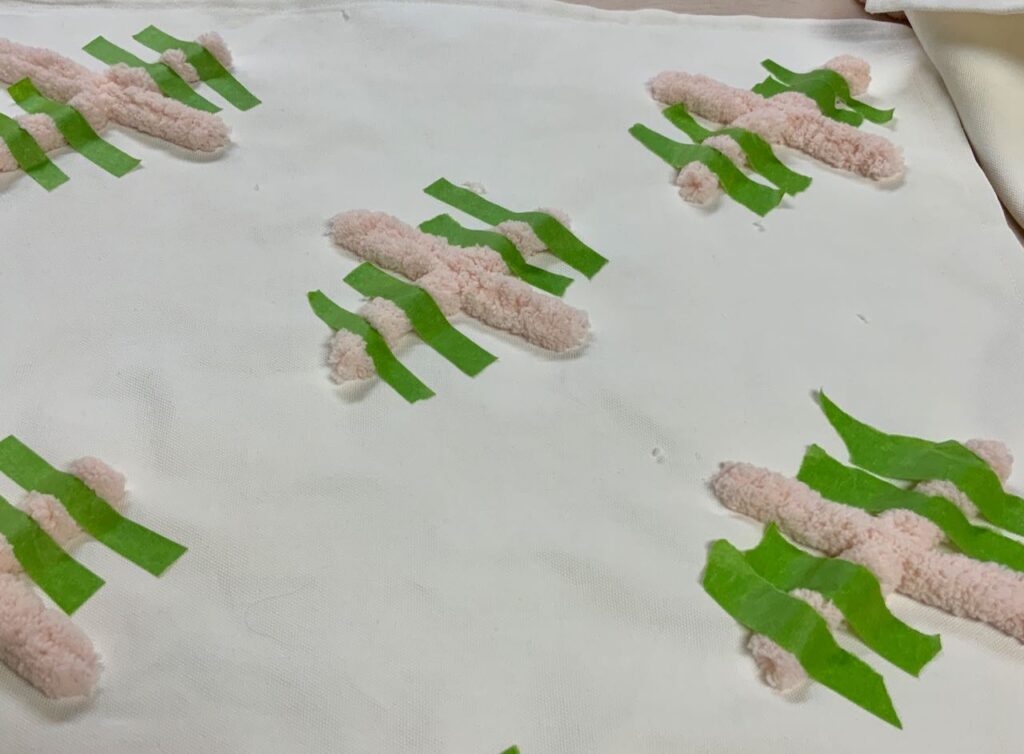
Step 3) Apply the X’s
Start by figuring where you want each X placed. And mark the center.
Be sure to allow enough space for the O on the next step.
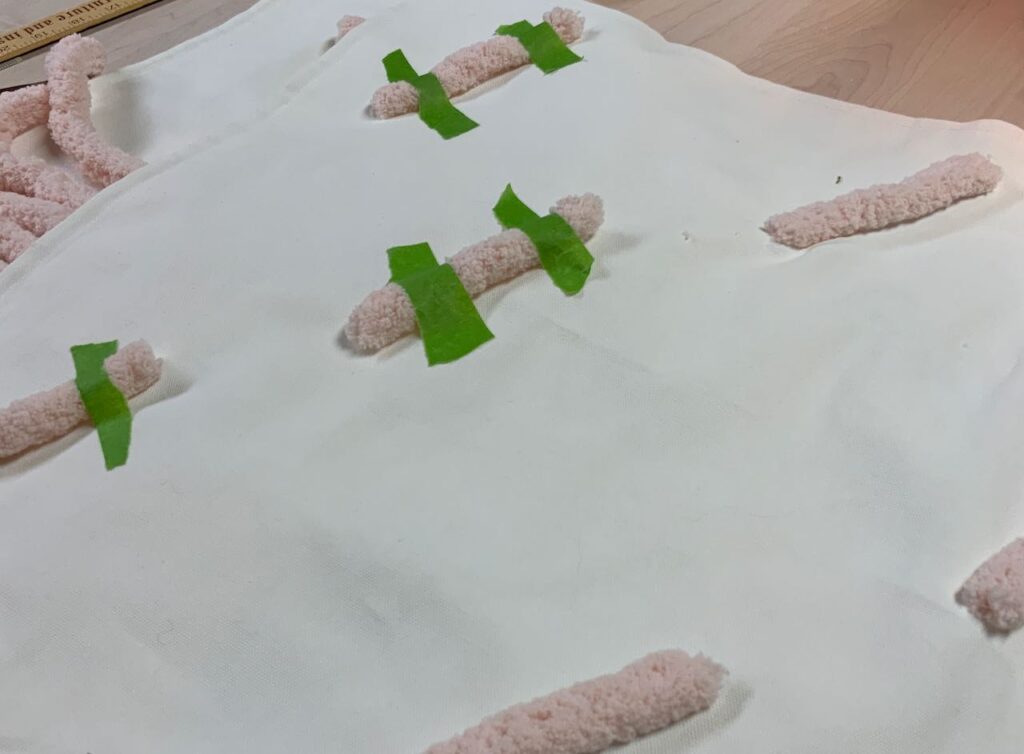
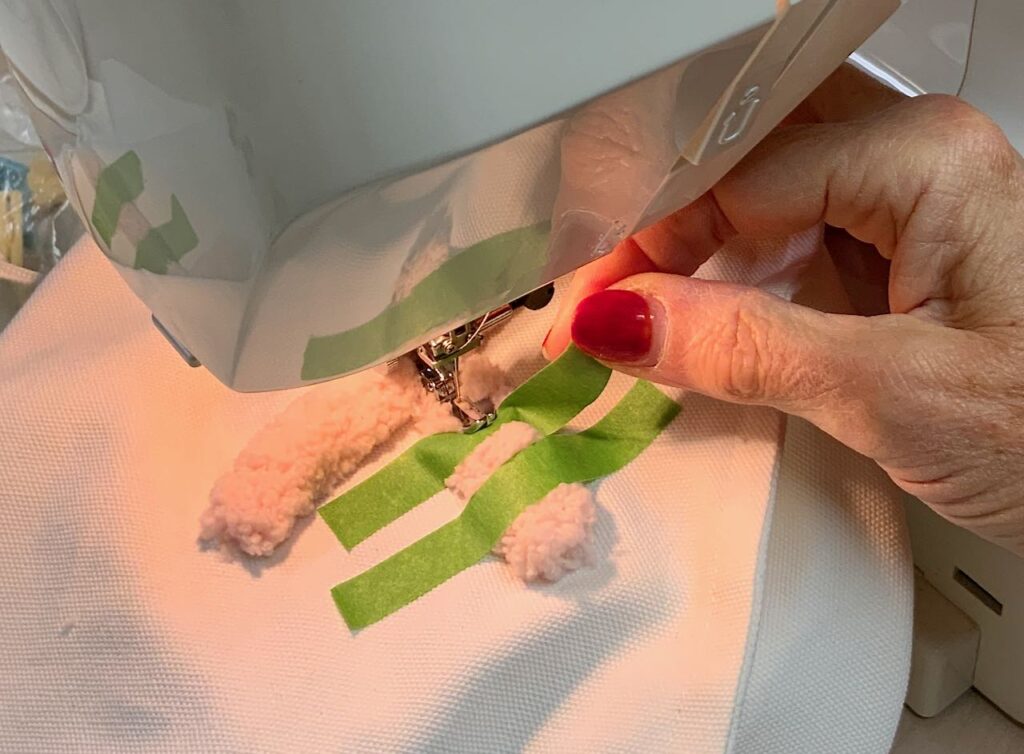
Lay the 5-inch pieces of yarn where you want your X’s, all at the same angle. Hold in place with two thin strips of Painter’s Tape.
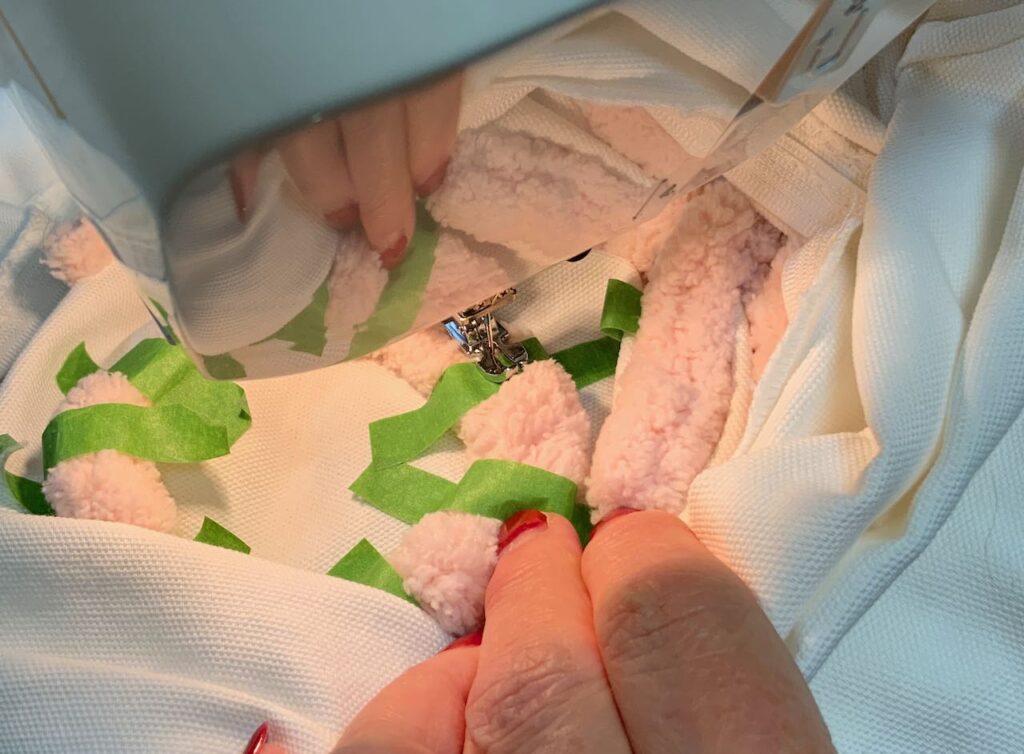
I used a machine, but this would be a very easy and forgiving project for hand sewing.
Stitch the yarn in place, being careful to only stitch through the front of the pillow cover.
HINT:
Stop the machine with the needle in the down position (like the picture on the right), through the yarn and pillow cover very close to the tape. This will hold the yarn in place while you peel up the tape.
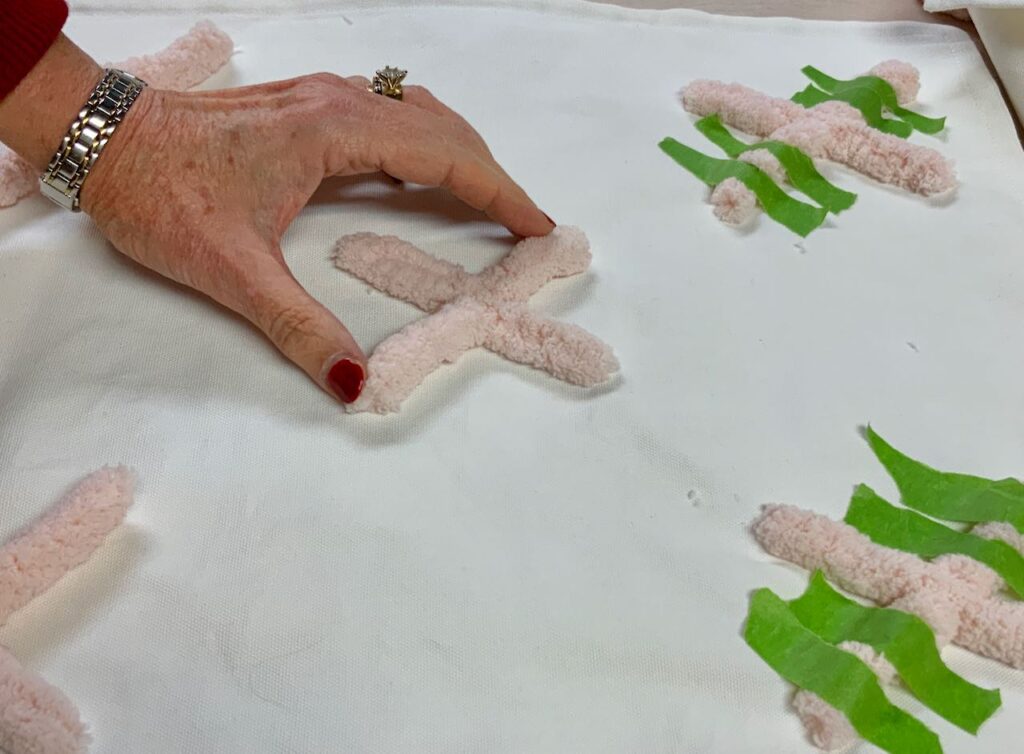
Form the X’s by placing the small pieces up tight to the original legs. Tape in place.
Stitch in place just like before.
Step 4) Apply the O’s
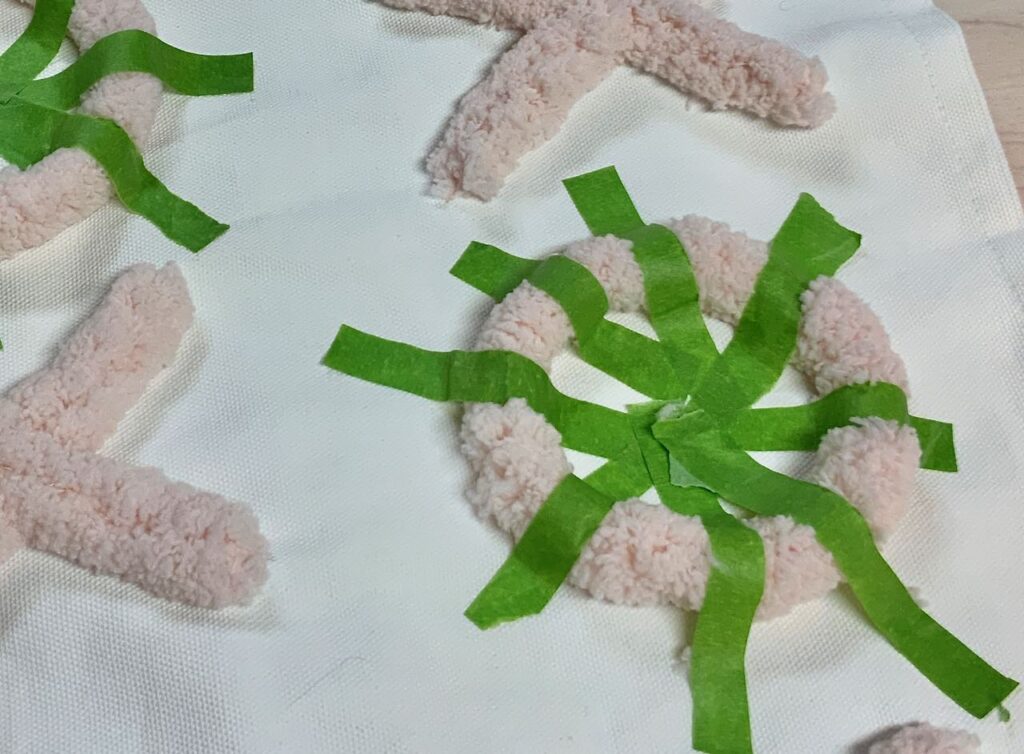
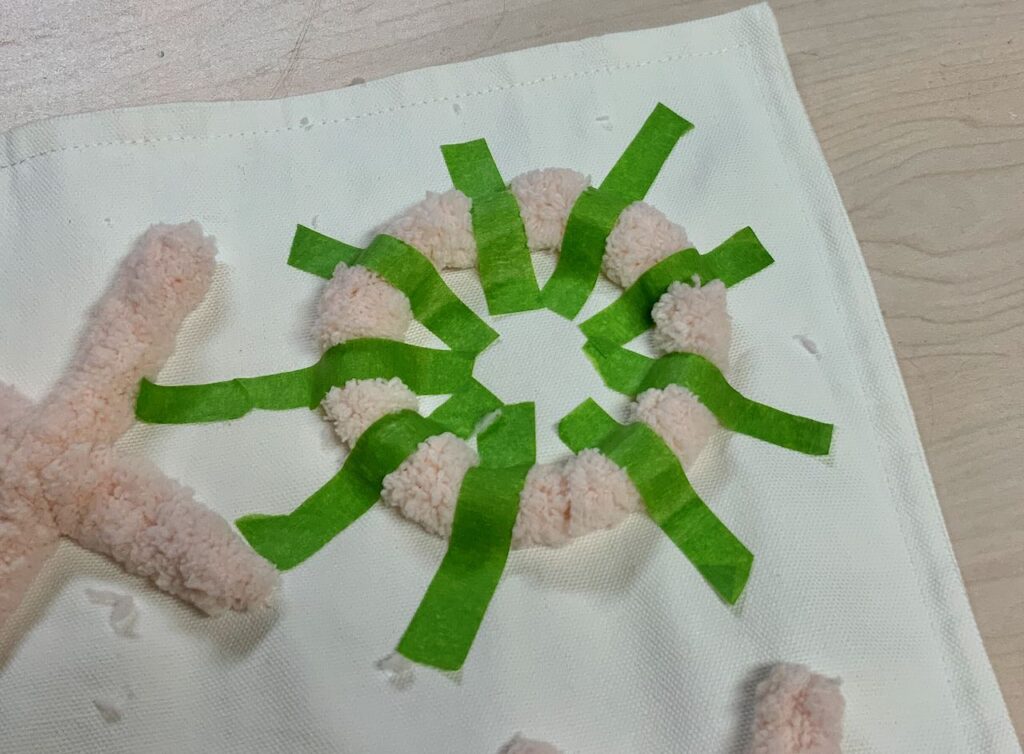
Now place your O’s where you want them. Form an O with the seam at the bottom of the cover, typically the edge that has the zipper.
Tape in place. You’ll need to cut thin strips of the Painter’s Tape. Do NOT do like pictured on the left. Do as pictured on the right so as you stitch, you can pull up each strip of tape individually without mangling your O.
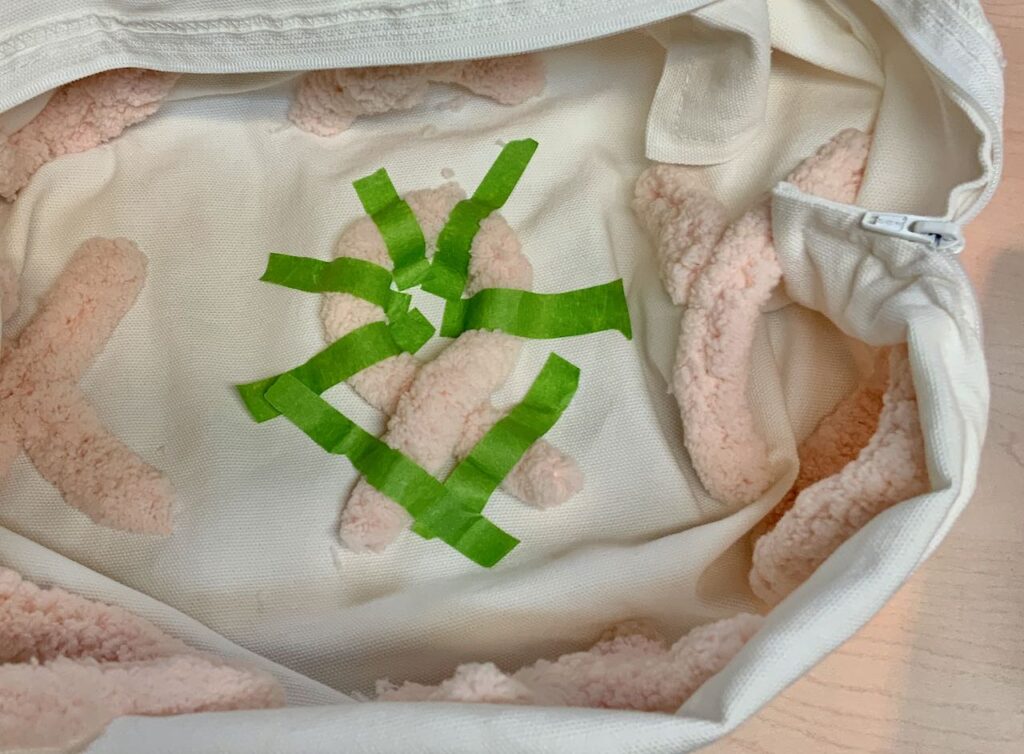
If you are machine stitching and using a purchased pillow cover rather than making your own, the O’s can be a bit unruly in the corners.
I found that I needed to reattach the wide base of the sewing machine so that I had a larger sewing surface than just the free arm portion. And then I turned the cover inside out forming a bowl. Then manipulating this “bowl” so that the O that I wanted to stitch is in the base of the bowl, made it very do-able.
Step 5) Finishing Up Your Valentine Pillows
Now that all the X’s and O’s and/or optional ribbon are in place, it’s time to either stuff and plump your pillow cover, or add a zipper and stitch your front and back together; then stuff and plump!
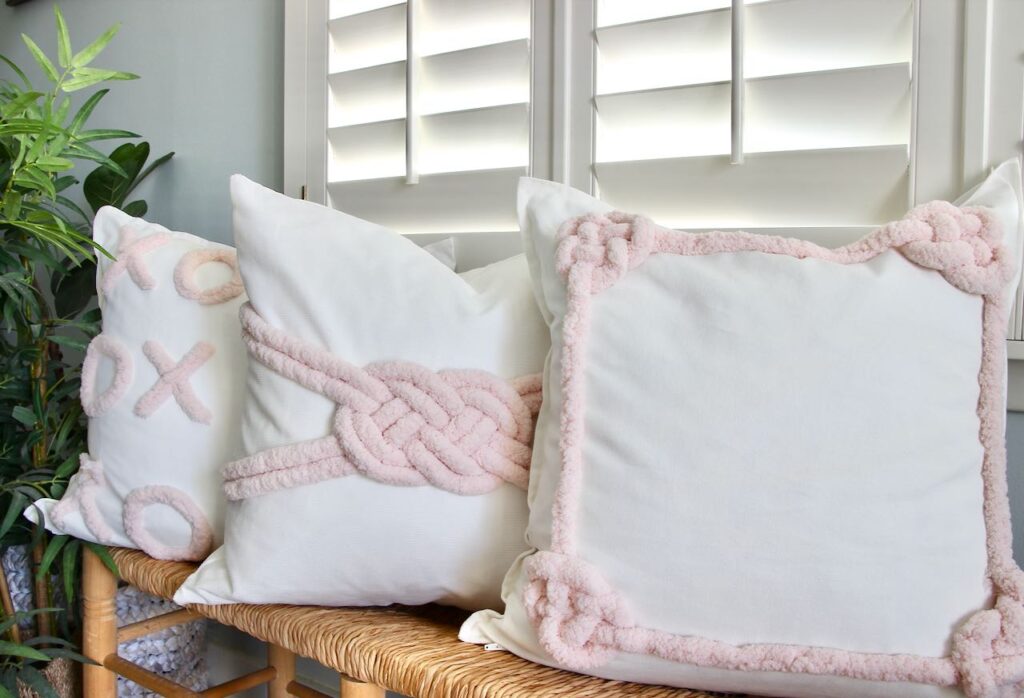
Not so “on the nose” with big red hearts and Love spelled out.
Sometimes understated is the perfect statement. Plus I can use them year round if I choose.
And this special third one? She’s heading off in the mail to a cancer warrior I know. I want her to feel the love and prayers so many of us are sending her way!
Please Consider
Pinning this to your:
Crafts Board
Your Valentine’s Board
Your Gifting Board
Your Throw Pillow Board
Your Caring For a Loved One with Cancer Board (I wish those boards didn’t have to exist)
And sharing with anyone you know who might need an idea for their cancer fighter!
Thank you one and all who found your way here. I appreciate you very much.
As always, please don’t hesitate to comment or send me a message. If you make a pillow, particularly one for a Cancer Survivor you love, send me a pic. It really makes my day.
Again, the “How-To” for the other two Valentine pillows are right here.
And you might want to check out this post for additional Valentine’s Day gift ideas and for hosting a Galentine’s gathering.

These pillows are so adorable! It’s hard to pick a favorite! However, I love how you added the cancer ribbon, that is so creative and thoughtful! A pillow like that will bring joy to a lot of women! Thanks for the inspiration, Donna
Thanks so much Donna! And they are so easy to make too — even for the non-sewer! but yes, I would hope the XOXO pillow would be seen as a token of love, support and encouragement.
This is absoutely lovely and I think I should make you!
Thanks Amanda! I think you should too!
love this creative and cute diy. XOXO
This is beautiful Diane! Question: do you stitch through the tape, then lift it or lift it before you stitch?
Hi Sara, Thanks! I lift the tape off right before I get to it. Stop your machine with the needle lowered through the fabric, then gently lift off the tape and stitch to the next tape. Rinse & Repeat. Thee needle lowered will keep the yarn in the right spot when you pull up the tape.