
How To Make Patio Signs From Thrifted Art
Make large outdoor wall art or patio signs from thrifted art. It’s easier than you might think to add a fun and friendly touch to your home.
Do you ever leave the thrift store with “treasures” you don’t really have a plan for?
Oh good, me too! I knew we’d be great friends.
What’s your first tip that this was not good? I don’t have a single picture of it in the frame. Very telling!
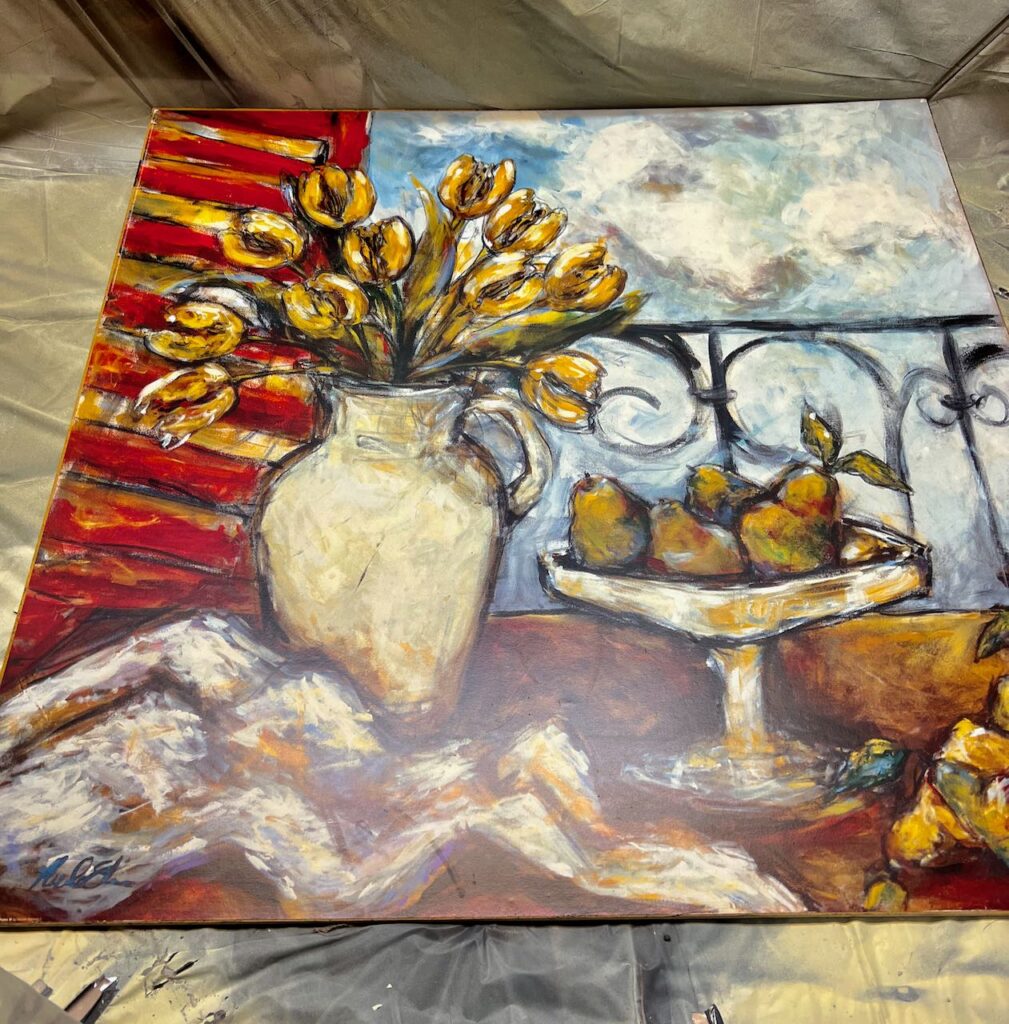
One day, somehow, this Tuscan print in its heavy metal frame made its way into my cart. What caught my eye?
I think at first, I tried really hard to convince myself that this would be good over our dinner table, because it still had my favorite blue — my happy blue — but with the addition of Fall colors. So I could use it seasonally to bring some Fall feels. Not a good plan.
I tried really hard to love it. I really did. It just kept dragging my spirit back 20 years to the faux Tuscan revolution. And my spirit didn’t want that.
From Thrifted “Art” to Patio Sign?
Why not?
- It was good size
- The frame is heavy, metal, durable
- The print was on a thin board, not paper
- The bar end of the patio needed “something”
- And I’d already spent $7 to bring it homeI
Decorate Your Outdoor Spaces Like a Room
This has always been my theory anyway.
We like to live in our outdoor spaces, so I tend to finish them like a living room. Our screen porch twenty years ago got an area rug, lamps, curtain panels, artwork, and even some upholstered furniture and a mirror.
The main difference is in the scale and materials. I use items that have weight to hold up to the wind. For wall art, I prefer fewer large pieces over a bunch of small pieces. That’s just my style. Plus it’s less to keep clean ?.
I want pieces that reflect who we are, just like inside.

In the last house, our front porch had a large blank wall adjacent to the front door. Just a wall of vinyl siding — UGH. So I took care of that with this sign I made from a huge stretched canvas painting I found at a garage sale for $3.
As you walked up the front walk and turned the corner onto the porch, Bam a big welcome sign was there! I loved it. And I loved the reaction it got.
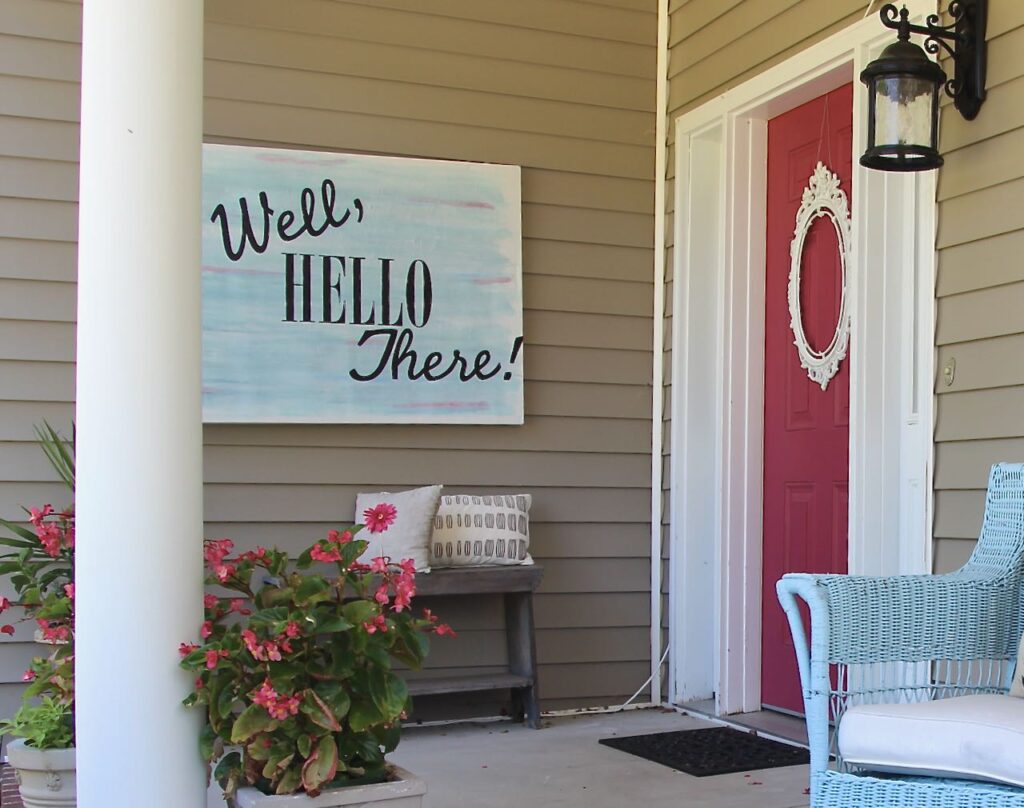
I primed the “art” with white. Then using leftover paint from the wicker chairs and a touch from the. door, I made a quick striated background for my lettering.
Then my amazing Cricut was put to task for a single-use stencil. A bit of leftover black house paint and I was done.
It hung there for the last four years we were in that house. The paint held up great, but the frame became a bit warped after about a year out in the heat, humidity and freezing of the Midwest. It still hung, just one corner was not flat to the wall.
Large Outdoor Wall Art 2.0-
We were in need of a large patio sign or large wall art on the bar side of our patio. Here you can see how I decorated the other end including how I like to hang sheer curtains outdoors.
And I had a piece of tired thrifted art that was great size, heavy and in a weather-friendly frame.
Time for a New Funny Porch Sign For Our Patio-
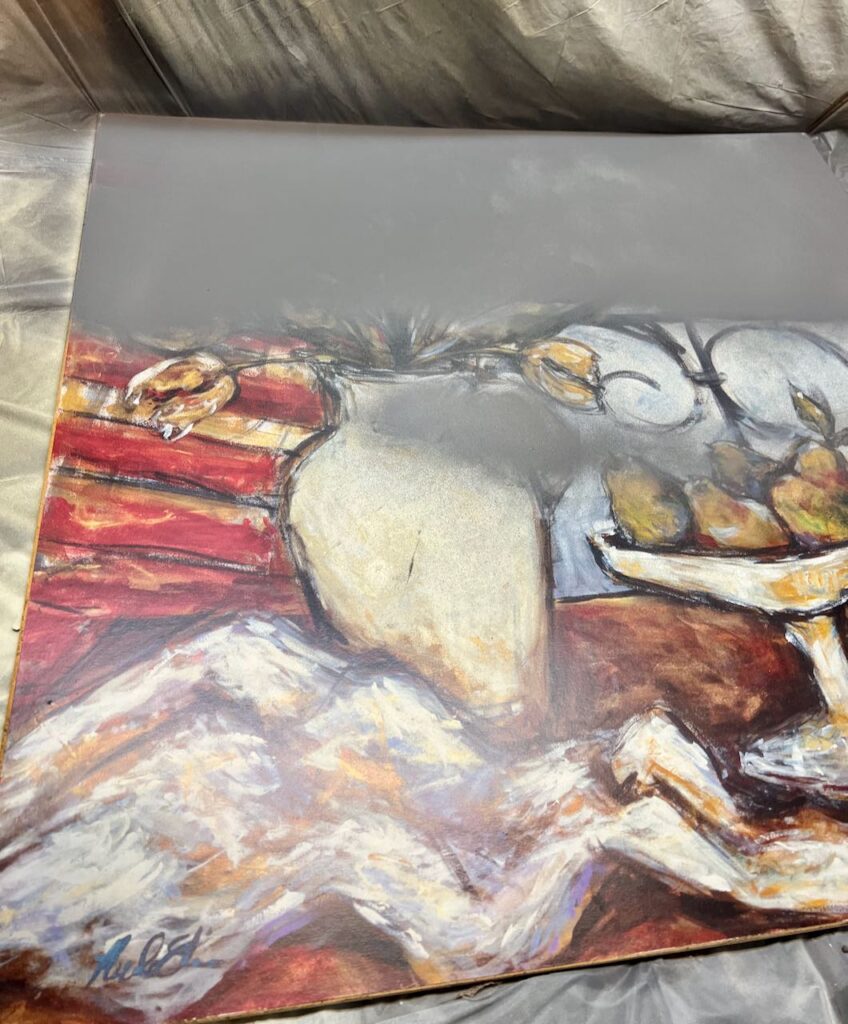
Remove the frame, then I sprayed it with a primer.
I went with this Rustoleum grey spray primer — the best primer spray in my opinion. I used the grey to be able to cover the bold colors of the print with one coat.
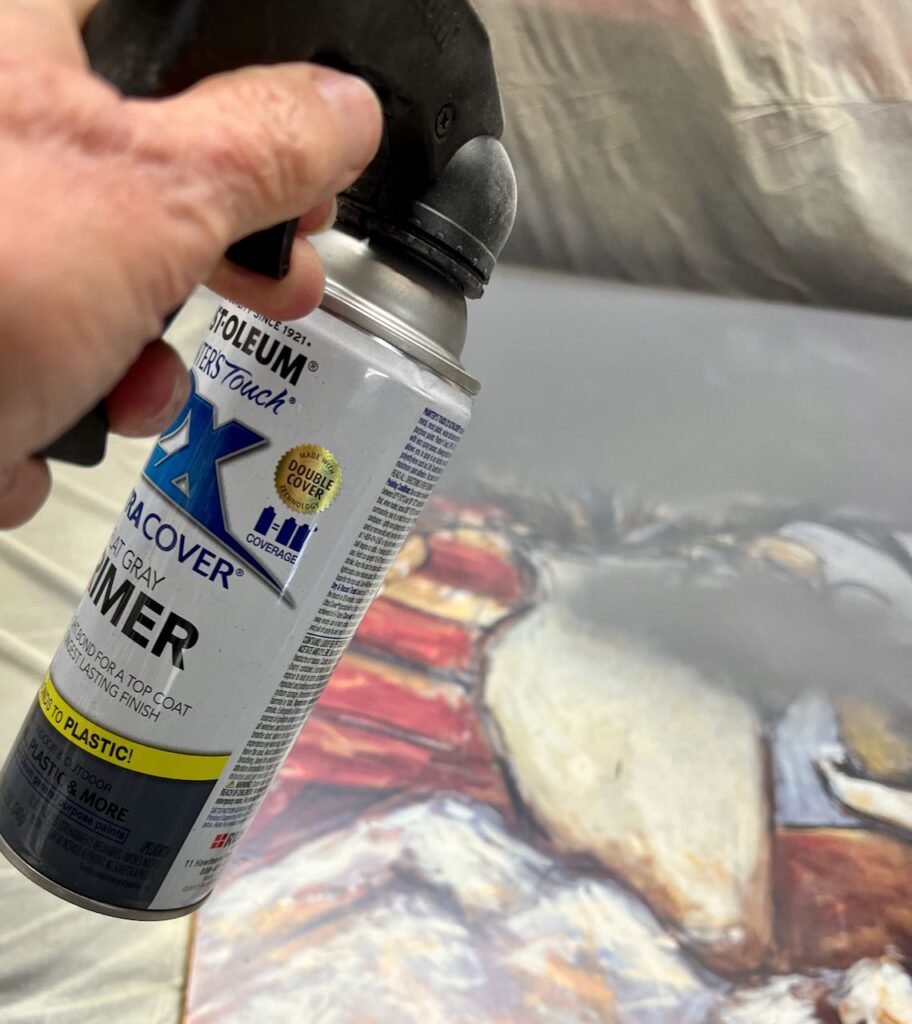
And of course, you know I’m using my favorite trigger handle for the spray can!
The links in this post may include affiliate links, which means if you purchase anything using these links, you pay no extra, but I may receive a small commission that helps keep this blog running. I truly appreciate you using affiliate links whenever possible. Please know that I will never recommend a product I do not believe in!
Like before, once the primer is dry, it’s time to add a background. Because this sign is going to be colorful, I opted to keep the background a single, flat color. I mixed this blue from some sample jars of wall paint I had on hand.
Just like the Welcome Sign on our previous front porch, I planned to use my Cricut to cut a single-use stencil. All you need is some vinyl masking film and access to a fabulous Cricut machine.
This time, I did not create the graphic myself. Instead I headed over to Etsy and purchased this one for our patio sign. And here are hundreds of options to choose from.
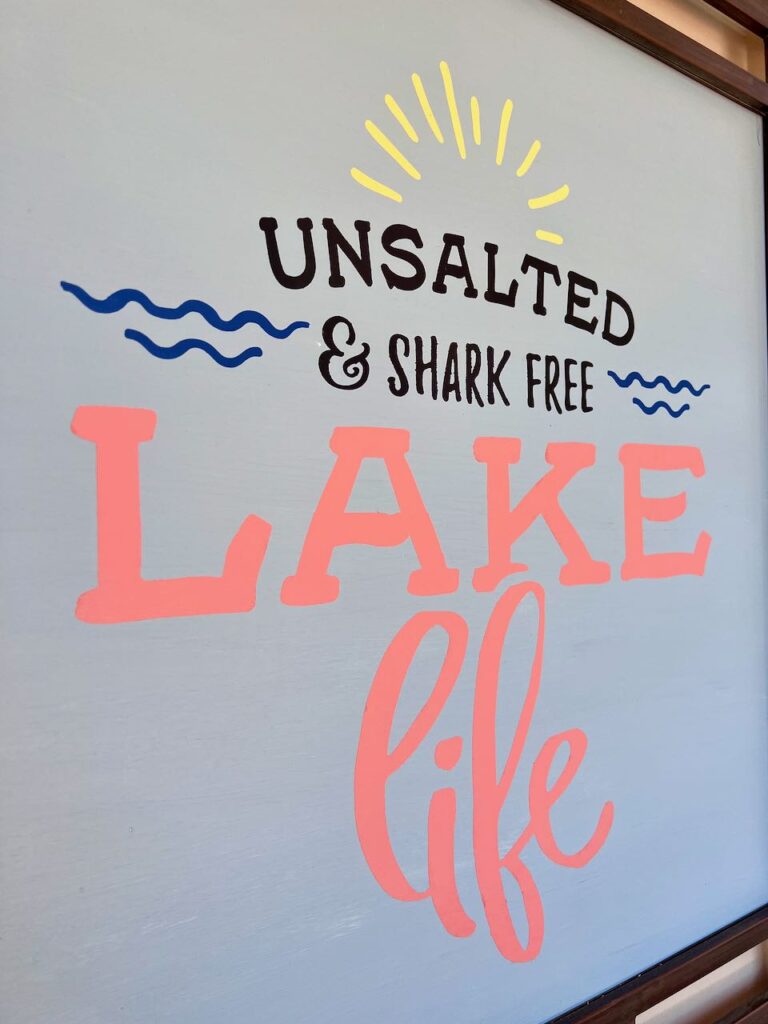
Cut your stencil with a Cricut or similar tool. Adhere it to the cured background and then pounce-paint with a fairly dry stencil brush. I raided my craft stash for all those colors.
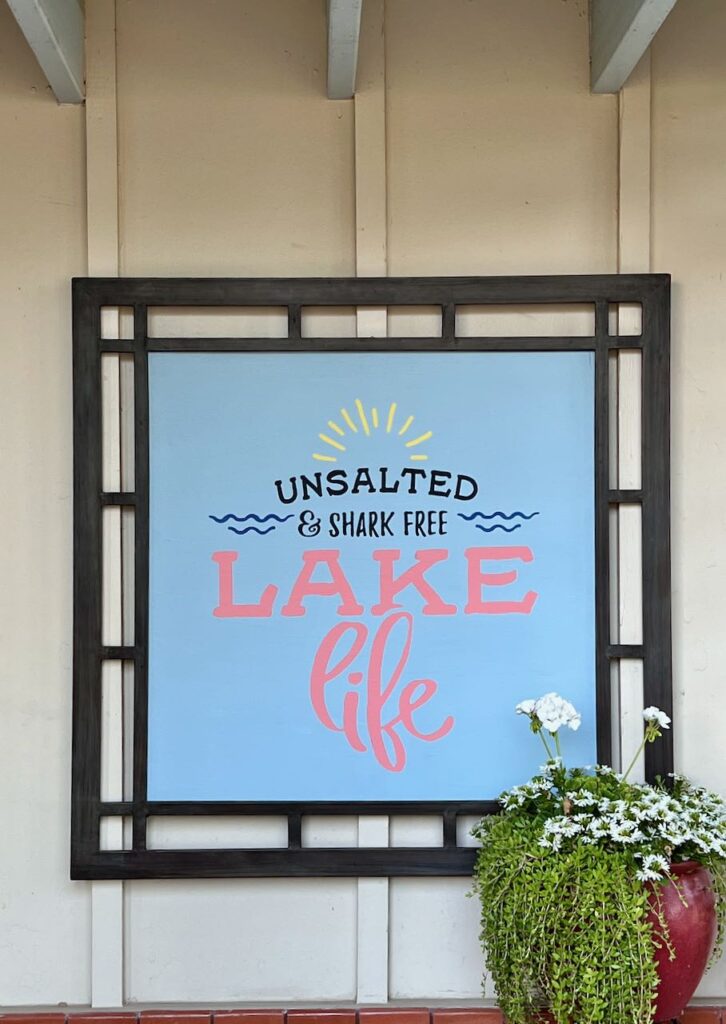
Install in the frame and hang.
Making patio signs, or porch signs, or just large outdoor wall art truly is as simple as that.

If you need any help, with Cricut or otherwise, don’t hesitate to reach out.

I raided my stash for craft paints to
.
Super cute!
So creative!! I am about to go thrifting now. I wish I had all of your ideas!
You have the best ideas, Diane!
Oh thanks so much! Just wait to see the double life i have planned for it (coming in a couple of months)
Great idea Diane! I love the new sign – makes me want to take the day off and go to the lake! 🙂
So clever Diane!
We’ve seen it…and it looks FABULOUS!!!!! Just as cute as it sounds!
Oh thanks bunches, Mickie! I appreciate that. Hope you are having a wonderful week!
It turned out so beautifully!
Thanks bunches! With a personal cutter (I use Cricut), it is sooo easy!