
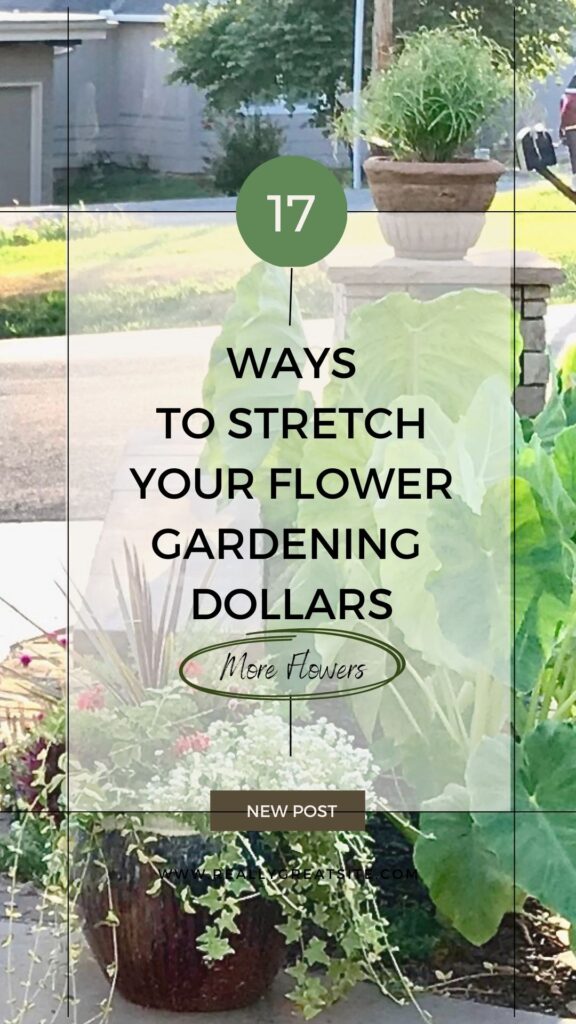
17 Best Thrifty Flower Garden Tips: More Plants, Less Money
Want to stretch your flower budget? Don’t we all!!! Those flower pots, flower boxes and flower beds add up! Here are the best thrifty flower garden tips for more flowers with less dollars.
Every Spring, do you hit the garden centers and your favorite nurseries full of excitement and anticipation of all the beautiful flower baskets and flower pots for your front porch? And beyond those, the flower beds and borders, maybe an herb garden, not to mention the new bed by the patio you’ve been dreaming of.
And then reality smacks you — it all take a lot of money!!!
Yes, it does! I totally get it!
Our quirky new-to-us home had two healthy trees and three healthy boxwoods that could be saved. Let’s face it, gardens are never “done”. But It’s amazing how far we have come with a limited budget in three years! Especially when we had to bring in the hardscape first.
This blog post is full of budget garden ideas that I have used successfully. These will stretch your gardening budget much further than you ever thought possible.
Save Money on Plants Themselves
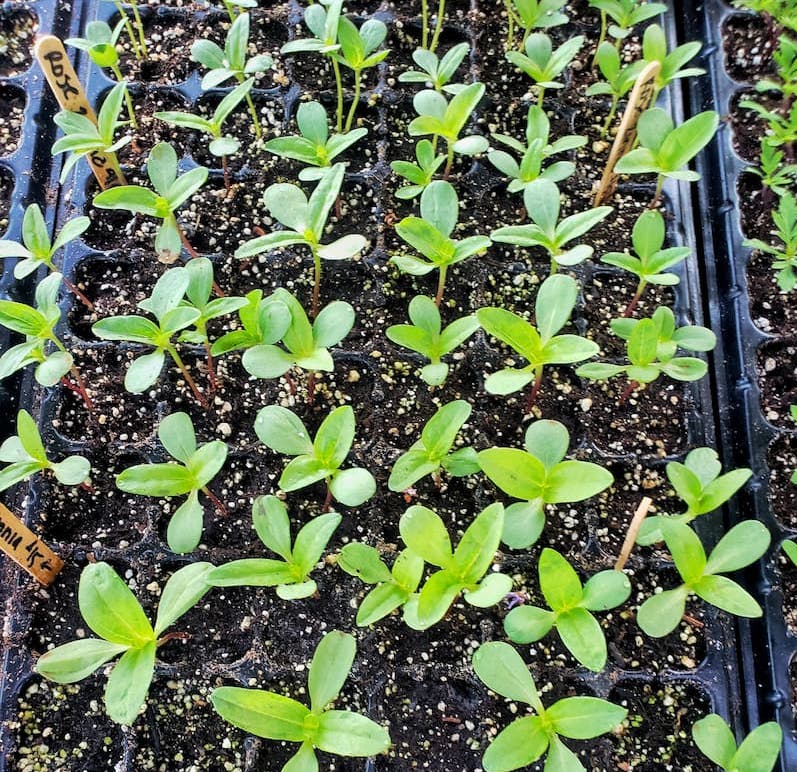
1) Seeds over nursery stock-
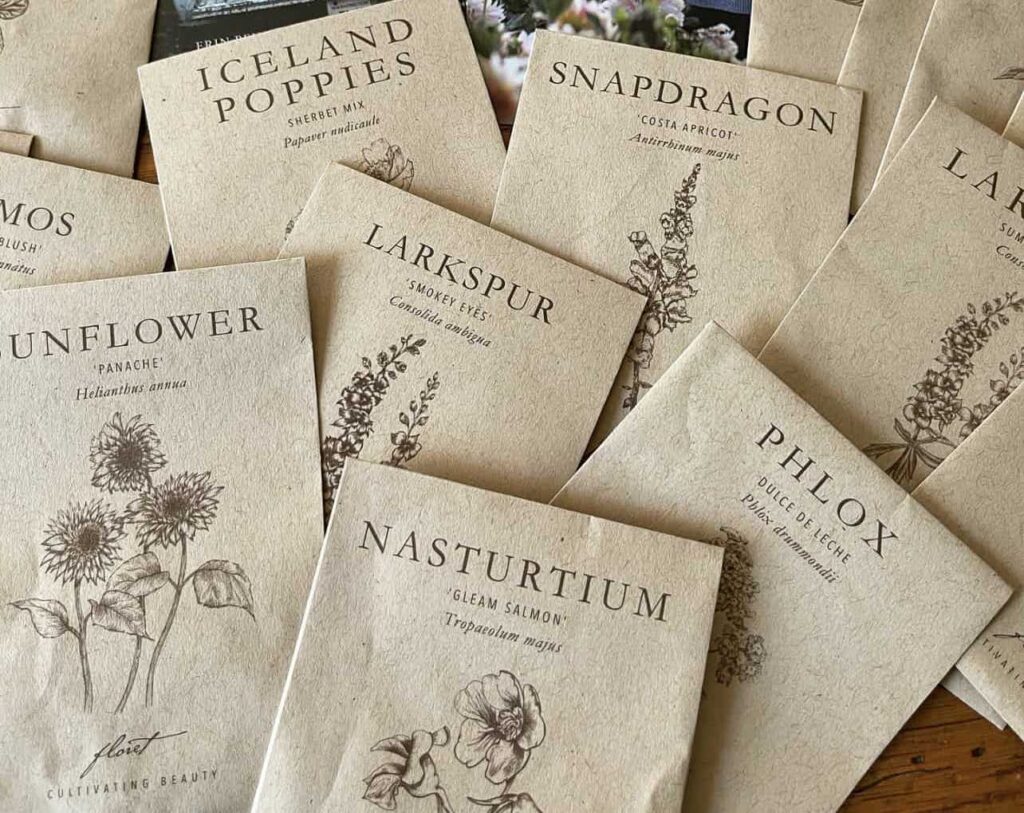
I have not done much of this as I just don’t have the room for a large seed starting station. But I do have some Zinnia and Lambs Ear seeds from wonderful neighbors. I also have some peat pots, so this year I so plan on setting up a small area. Fingers crossed.
There are loads of tutorials and advise specific to starting seeds. Kim [Shiplap and Seashells] shares about zinnias specifically and using the heat mat method.
And Stacy {Bricks ‘n Blooms] as a whole series of blog posts on how to start seeds without a greenhouse.
2) Patience: Consider smaller plants-

It is said “Patience lets your money grow”, In the garden, patience lets your money go further.
Typically, small flowers cost less than larger sizes. Small trees, a whole lot less, in annuals, a somewhat less savings that adds up due to the quantity of annuals you might be planting.
If you have a lot of pots, window boxes and beds that need Summer flowers, figure how much that 6-pack at 12.99 costs vs. the 4-pack at 6.99, vs. a flat. And if we are talking annual “fillers” for my pots, I tend to want several smaller of a same flower to fill a larger pot.
HINT: For filler plants generally more of smaller sizes will save you money and with patience get you a fuller look.
The lavender above, seemed expensive at the time because it’s a perennial. But it’s been worth every single penny. I bought the smallest available, because I wanted a long row, rather than two large clumps. They grew in and filled this narrow bed perfectly and gives beautiful blooms all season long. And who doesn’t love them cut and dried?
Be sure to watch the full gown size estimates. Lavender can vary considerably. This bed is only 10-inches deep and almost 20 feet long. I envisioned a row of lavender like you’d see in Provence or the Mediterranean. I think I nailed it, for less than $25!
3) Split pre-planted hanging baskets and large pots-
On the flip side, keep an eye on pre-planted hanging baskets and pots. Especially, if your local garden center is running a special.
Early in the season, one of my favorite nurseries had hanging baskets for $12.99. Each basket had three quart sized plants with three trailing plants and even a Draceana spike accent plant. Purchased separately, I would have paid more than $26.
Two of these filled my large window box. And I just filled in with a bit pachysandra groundcover that was replanted in the Fall (see no, 3)
TIP: This trick works best early in the season, before the roots are too established.
4) Plant perennials in pots and move to new landscape beds in the Fall-
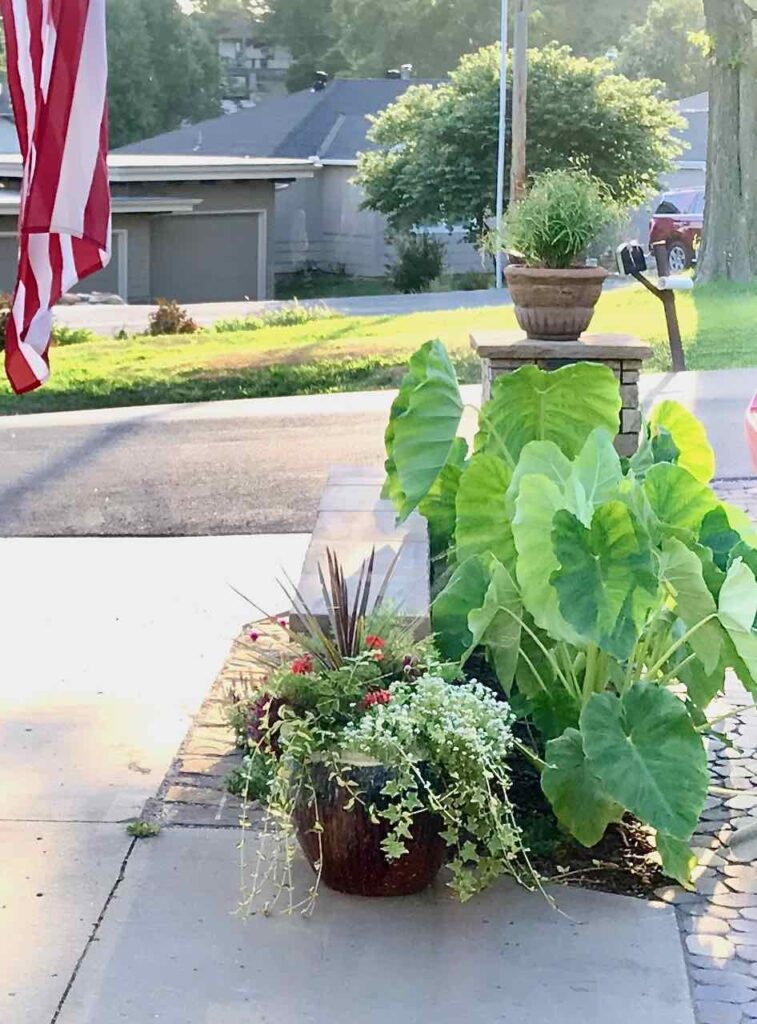
This new-to-us home requires LOTS of flowers. We have a stone courtyard in front with eight large pots and a long window box. But it’s the backside of the house that really requires the bulk of the flowers.
Because we live on a lake, the focus is all about outdoor living and entertaining with all the pots and gardens around the two patios, plus the balcony that has three planter boxes on the railing and numerous pots.
The beds are all at various stages of newly established since we moved in four years ago.
One of the best tricks I have used is to plant many of the pots with a perennial “thriller” for the Summer months and then move them to landscape beds for years of enjoyment.
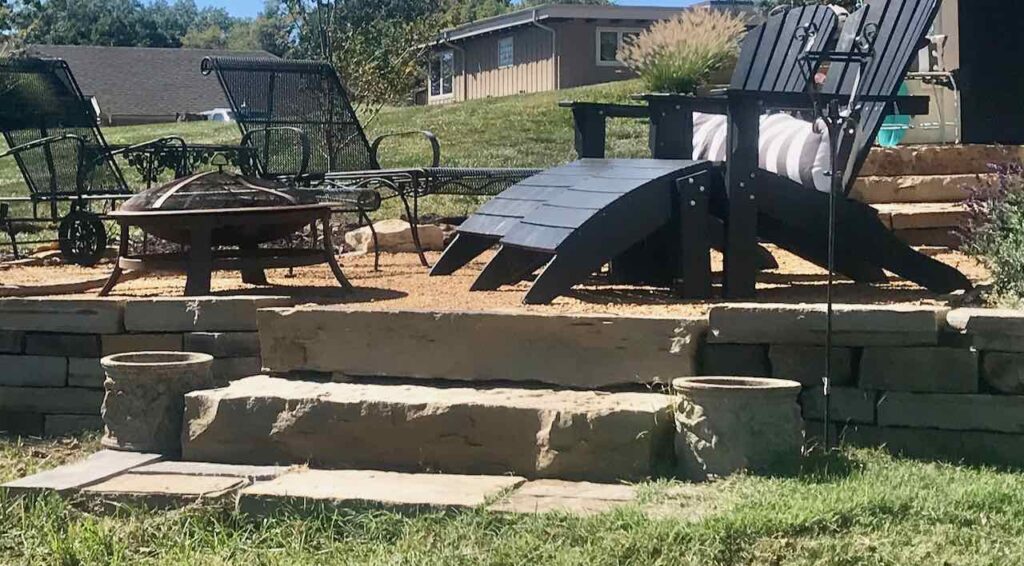
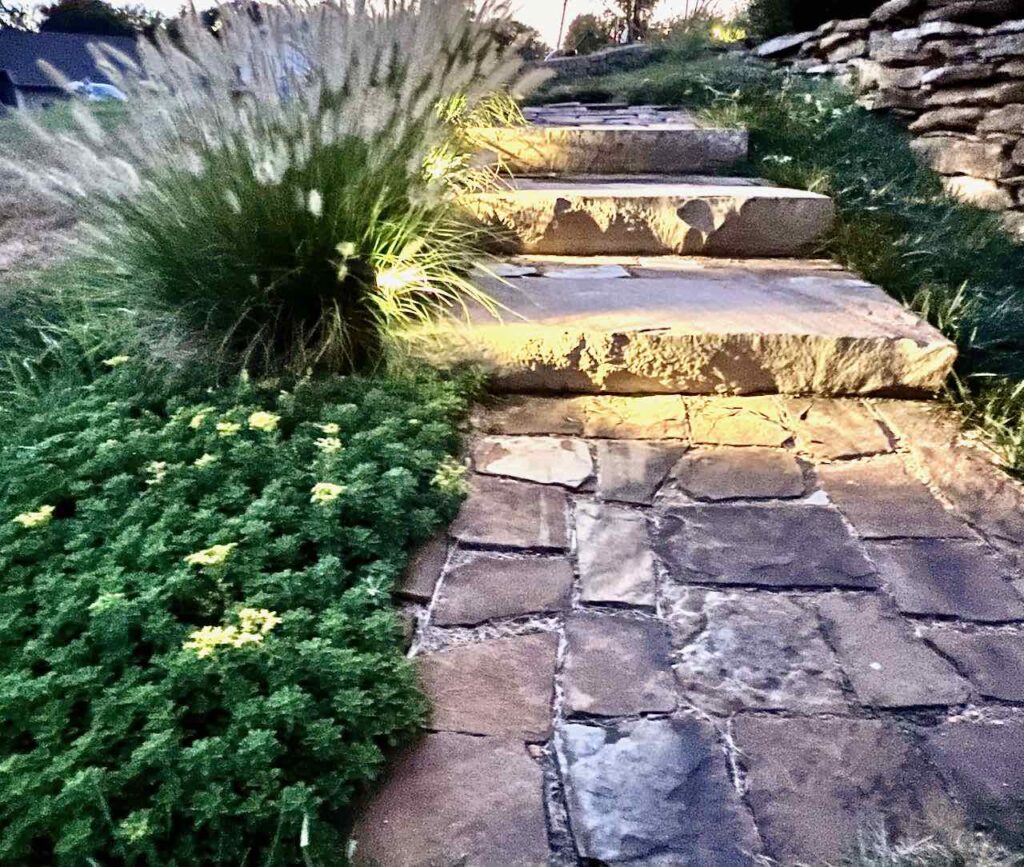
For example, two years ago, we added this DG Decomposed Granite patio. Notice there is nothing next to the steps and no pots on the patio.
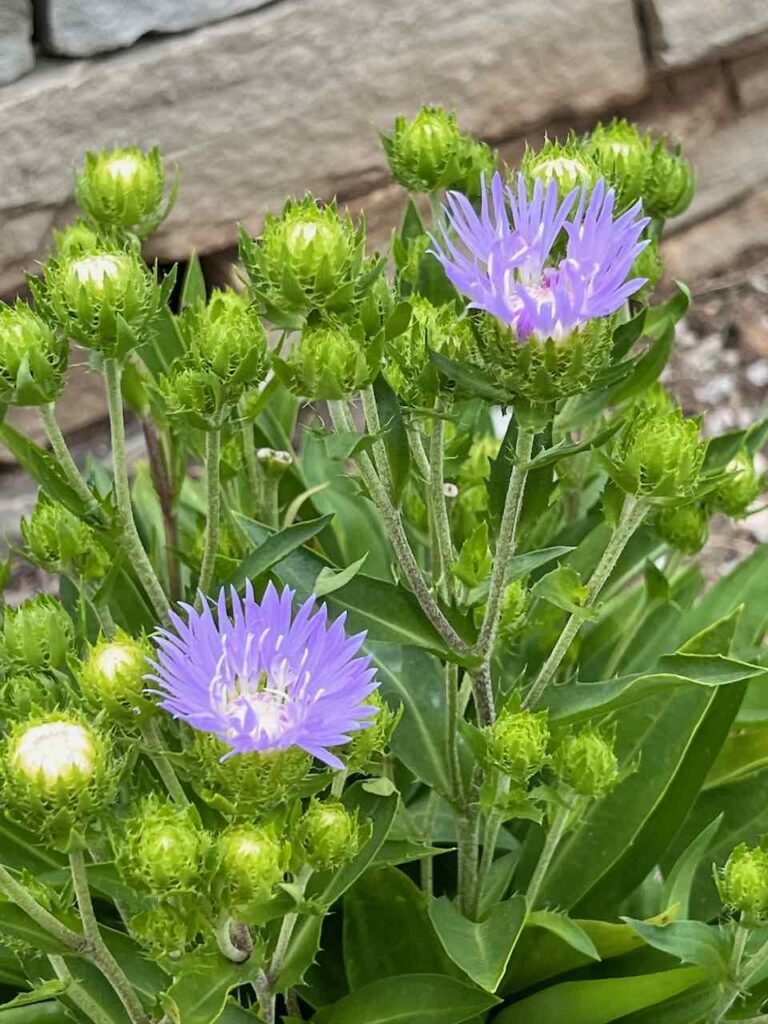
Planning ahead, I planted perennial alum and purple asters as the “thrillers” in our large pots in front while we were working on the patio in back.
Then in the Fall, they were transplanted to the new beds flanking the steps of the DG patio.
I knew I wanted to fill those same beds with pachysandra ground cover. So I also used that as some of the filler in various planters that Summer.
5) Transfer starts from perennial ground covers to pots and hanging baskets-
Conversely, rather than spending a lot of money on trailing annuals for my pots, I pull starts off some landscape bed groundcovers or other low-growing plants and use it in my pots. This works amazingly well.
The trailing vines above are from a very prolific succulent perennial that grows between our house and our delightful neighbor and gardener, Sharon. Sharon encouraged me to pull a handful of it, drop it wherever I want it to grow and then push it into the dirt with the ball of my foot. Seriously!
I did that two years ago when the hardscaping was done on the front of the house and we were finally able to plant those beds.
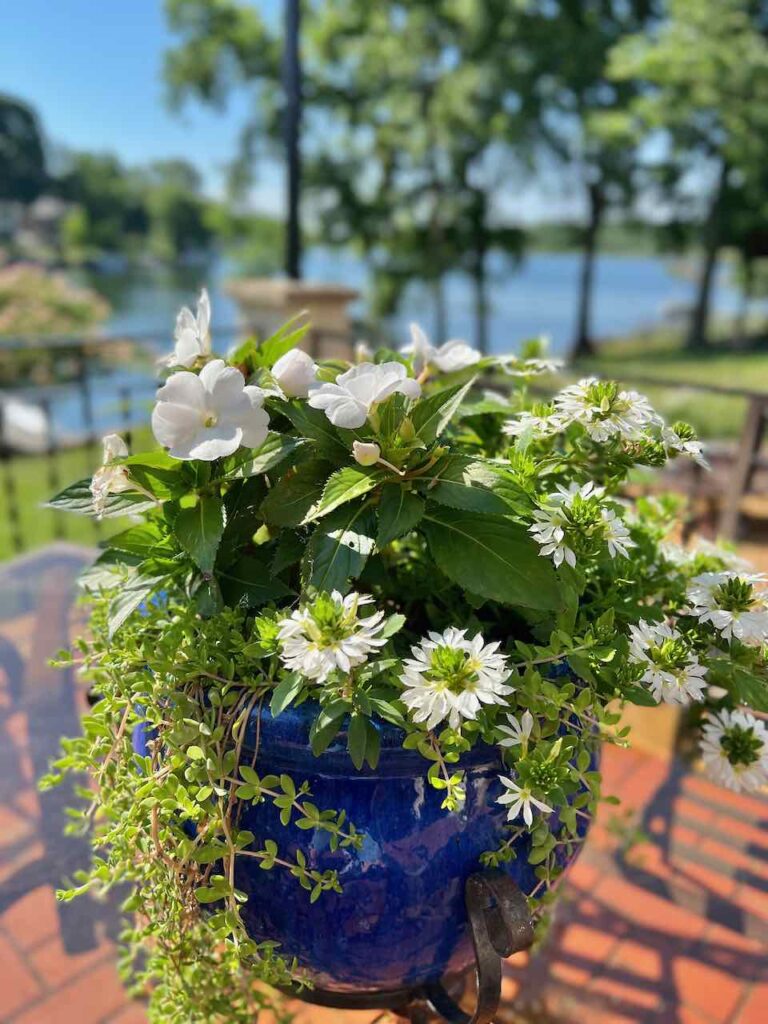
And now I am pulling from there to fill all my pots with free “spillers.” Like above and below.

Look at this pot carefully and then see how it looks in #8. That has been a hard lesson!
6) Divide mature perennials and use some as interesting foliage in your pots-
Shop your own yard! You may have great options at hand. Most perennials require periodic dividing. Often times they won’t flower their first year of being divided, but they will still have interesting foliage. Use these to add visual interest to your planters throughout your outdoor space.
Hostas are great for this. Sadly we have no hostas here due to our deer issue.
TIP: Just make sure the sun and water requirements are compatible between the perennials and annuals planted together.
All of my perennials in this house have only been in the ground two, maybe three years. So they’re not ready for splitting . . . . yet.
And then come Fall, they can be planted into another bed.
7) Shop home improvement store garden centers after Mother’s Day
Last year, I stumbled onto a great discovery at my local Home Depot.
The flower center was in shambles after a crazy Mother’s Day weekend. They had reps from their major suppliers on hand to help put it back together and they were marking everything down like crazy!
Mostly perennials. I went back three times.
Save Through Knowledge and Planning
8) Pre-plan and Make a List-
Make a list! On your phone or go old school — whatever works best for you.
I start by making a list on paper of my inventory of planters, noting full sun vs. part shade.
Then I project the quantity of plants I want for each one. If I have an idea of the kind of plant, all the better and I fill that in too.
I then combine these so I know in general what my plant needs are. For example, all 8 pots and the window box in front are full sun. I will need roughly eight qt size “thrillers”, forty-two “fillers” and twenty-eight “spillers”. Of course that is just in general. Certainly not all fillers will be the same plant and there will definitely be different colors involved too.
This prevents me from overbuying. Or as I have often done in the past, buying something I fell in love with butt had no specific idea of where it would go. So I didn’t get it in an appropriate spot before it died in it’s plastic pot. You too? So glad I’m not alone on that one. But, never again!
Are you enjoying this post and imagining how much you can save (or perhaps how much more you can buy)? Don’t miss out on more like this, consider subscribing. You decide how much is right for you:
Back to saving you money-
9) Ask neighbors about deer and rabbits-
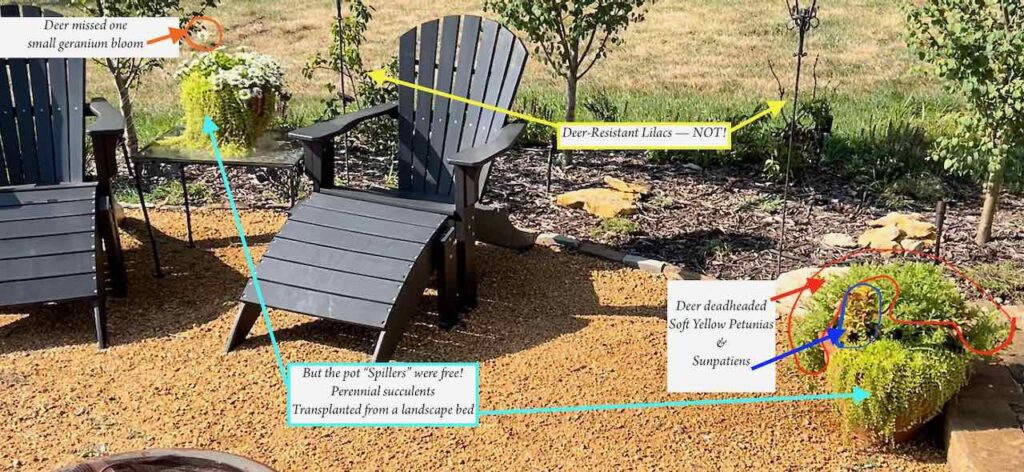
I have lost sooo many new plants to the voracious deer in our area. Plants marked Deer Resistant seemed to be a favored snack in our neighborhood.
Best to know before you invest money, time and labor into plants. And the ones who know best are my neighbors who have been battling the same deer longer than I have. I put it out on our community FB page and I very shortly have a thumbs up or down. It often breaks my heart, but better than breaking my budget too.
I keep a list handy on my phone of the plants the deer tend to leave alone. Although, if they get hungry enough . . .
Yes, I’ve tried the deer repellent sprays. Some are more effective than others. But I haven’t found any truly effective against the babies and the adolescent deer. Like human teenagers, when they’re hungry, they don’t really care what they’re eating. Proof? Microwave burritos! Need I saw more?
10) On Social media, check for a local garden club and individual gardeners to swap seeds and starts-
This is one of the best ways to land some free plants as well as find kindred spirits. I have found these groups exceedingly welcoming to new gardeners — even novice gardeners!
Remember my lovely neighbor Sharon? These Elephant Ear bulbs all came from her. This was the first year we planted them. In our zone, we dig them up each Fall and replant in the Spring.
These bulbs propagate like crazy. They are close to tripling in quantity in just three seasons.
By-the-way: It’s Sharon who enlightened me on drying fresh Lambs Ear. You can read all about it here.
Another friend on the lake has also graciously shared her bounty of garden Lambs Ear. And Karen brought me a bag full of Lambs Ear seed heads. So I am planning for their home in one of my beds.
And there’s Pete, another gardening neighbor, who not only brings us veggies from his plot at the lake’s community garden, but also shares his zinnia starts and seeds with me. Check out my post on how to prep Hollyhocks to be long-lasting cut flowers. It’s crazy, but it works!!!
And then there’s my friend of 50 years, Jennifer, who when they were moving, gave me a 12-inch diameter transplant of ground cover. Look at it now! It’s ready to be thinned into another new bed that will be going in this Spring.
Gardeners are generous, sharing people!
Save on All the Gardening Extras

11) Planters and Containers-
This is where you can upcycle great thrift store finds into great planters! It’s such an easy way to bring so much character to your garden — whether rock gardens or coastal gardens or anywhere in between.
Garage sales and yard sales are also great places to find a unique container that needs a new lease of life.
Really anything can become a planter provided it can hold soil and have some holes for drainage. It can be something with a modern, dramatic look, or a vintage look like old cream cans.
TIP: A piece off old fence with a planter attached can add visual height with a much lower cost than a tall planter.
12) Make your own liners-

For any planters that require coco liners, think about making your own liners out of burlap. Here is a full tutorial on how I made mine,
13) Make your own Potting Mix-
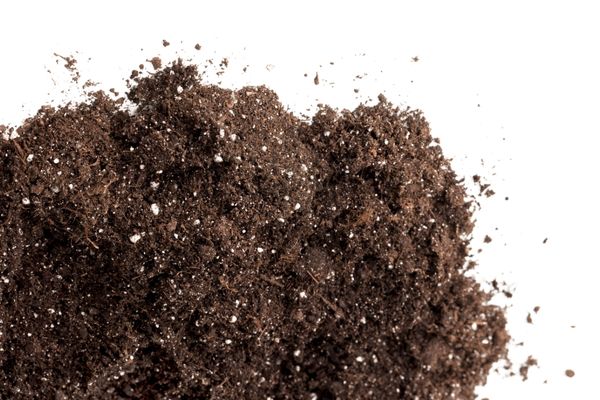
It is surprising just how much money you can save by making your own potting mix. No, it’s not difficult!
Yes, you can customize it for each planter and plant type. For instance, you want a different potting mix for succulents than your other plants. And window boxes and hanging baskets can use a lighter mix than your pots.
A typical recipe would be:
2 parts compost or manure
2 parts potting soil, peat moss or coir (I prefer and strongly recommend coir because of its sustainability)
1 part perlite
1/2 part vermiculite
Of course there are other additives you can mix in.
Here is a great blog post with many more details.
14) Use Less NEW Potting Soil-
In large pots, raised beds and boxes, use half new soil with half last years. This works great as long as the old soil had no disease issues.
Before I add the new soil, I break up the old soil with a garden fork, removing any big clumps of old roots. Then I add layer of homemade compost and lightly mix that together. Then I add the new potting mix on top.
15) Use Less Potting Soil With a Void at the Bottom-
Fill the bottom of large planters with upside down flower pots or blocks of foam so there isn’t as much space to fill with your good potting soil.
I almost didn’t add this one, because it can be a bit “controversial”. Personally I prefer the previous option of filling the very bottom of the pot with older soil.
Upside down flower pots can impede those important drainage holes. And foam blocks are made of who knows what. Chemicals, germs and otherwise — I absolutely would not use them in a pot growing any edibles.
16) Make your own Compost-
- Easy
- Huge cost savings
- Good for the environment
- Reduces food waste
You don’t need expensive equipment to get started. Start with a small manageable size in a fairly shady area of your yard.

Location will impact the success of your compost. Ideally, it should be easily accessible for adding in the kitchen scraps, but not visually in the forefront. Let’s face it compost piles are not terribly attractive and at times they can emit a bit of an odor.
In our last house, we had a great spot under the trees in the back corner of our deep yard. However, out of sight, out of mind. So it did not get turned as often as ideal. And I rarely remembered to take the kitchen scraps down there.
In this house, we have an ideal compost location. It is just below the raised walkway that wraps the back of the house. It’s at the north end of that walkway. The patios are on the south end. You can’t even see the compost from the balconies or patio. But I can just barely see it from the corner of the kitchen window — great reminder as we’re prepping dinner.
Better yet, I don’t even have to slip on shoes to drop the scraps in the compost. Out the kitchen sliders and down the raised walkway. That’s it!
Plus the tool cabana is just 40 feet away. Easy to grab the garden pitchfork and give the pile a turn once a week-ish (emphasis on the ish).
Location desirables:
- fairly shady
- easily accessible to the kitchen
- not visually front and center to your entertaining area
- but not so removed you forget about it
- close to tool storage
There are many great posts on making your own compost. Like this one from Country Living, or this one from Southern Living or this one from The Spruce. Check out these easy reads and then get ready for the season.
17) Make your own Fertilizer-
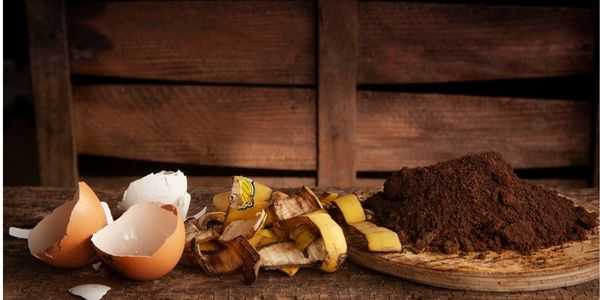
These everyday kitchen scraps make great fertilizer for your outdoor pots: Banana peels and clean, dry egg shells.
Banana peels alone are miracle makers in the garden. Here is a great post outlining 12 different ways to use them to benefit your plants. I have not tried tip #6 of planting seeds on a banana peel in your garden bed. But it sure makes sense and sounds like a fun experiment.
TIP: Don’t use the banana peel ideas on your house plants, some of these might/will attract gnats or fruit flies, but outside they can be a pest deterrent as well as a fertilizer!
Egg shells contain great calcium plants need, but they take years to decompose, so you’ll need to grind them up fairly small, or steep them in boiling water for 24 hours and then use that infused water.
TIP: Be sure to wash the egg shells thoroughly and dry so any raw egg material doesn’t start smelling bad and sprout mold.

Please consider pinning this post to your boards so it’s handy when you need it.
And yes, it helps me out too.
I truly appreciate it !
And This is Just the Beginning Budget-Friendly Garden Ideas
You probably have some ideas of your own.
Or maybe you’ve used some of these and they didn’t work out like you had hoped. Or you used one and with some additional tweaks, it was even better.
Please leave your insights and ideas in the comments so I can add them to this list.
That’s what makes this a great community:
- we enrich each other
- we empower each other
- we encourage each other
Thanks for reading all the way through! I really appreciate you and your time!!!
Now let’s go start digging.

First – it is SO nice to green plants and flowers. As I look out the window, the ground is covered in snow. So your blog post really helps me to look forward to spring. I also appreciated many of the tips you gave to stretch my gardening dollars. Holy smokes – buying plants, soil, compost, and fertilizer can really add up!! Thanks for putting together such a helpful post. Pinned.
I loved reading all of your gardening tips, Diane. It makes me so ready for spring…and reminds me that I need to get my seeds ordered!
What a great post Diane, so full of great gardening information. Thanks for sharing.
I am going to attempt some lambs ear this year.
You? The master gardener “attempt”? You will have acres of Lambs Ear in a blink!
So many great tips Diane! I love going to the thrift store to find pieces to use in the garden. ???? Pinned!
Thanks Cindy! All those thrift store finds can bring so much additional personality to a garden. And because you didn’t spend much, it’s okay if they only last a year or two.
Diane these are great tips!!! Thanks for including me! xoxo
What a fabulous post, Diane!! These are such great ideas for stretching the gardening budget! How perfect for Spring! I am excited to feature your post at this week’s Tuesday Turn About Link Party. Thank you so much for sharing!
Oh Lynne, thanks so much for your kind words and for featuring this post! I’m all about more plants, less money and hope it helps others too.
Such a good post! I especially like the tip about shopping the week after Mother’s Day. I will definitely plan for that. Not only am I pinning this post and coming back to read it again, but it will be a feature this week. #HomeMattersParty
Hi Diane, you have so many great ideas for the garden. I’m sharing this post this evening on All About Home. Thanks so much for coming by and joining in on the party!!
Thanks..I love going to the thrift store to find pieces to use in the garden. ????
This is very much appreciated. Specially your tips. Thank you for this excellent article. Keep posting.
Just finished our garden here in SoCal(but are we ever really done). I found the clearance rack at Lowes has new plants almost daily. I now do plant rescue. I can’t tell you how many deals I have gotten, tidied them up, planted them properly and within days they look brand new. I am trying to up my propagation game this year too. I just joined our local horticulture society and guess where you can send all of those pots the plants from Lowes come in… Thank you for the inspiration.
So glad too hear that you’ve jumped on the Lowe’s clearance rack bandwagon!
That’s a great tip about joining your local horticulture society! Thanks for sharing!!!