
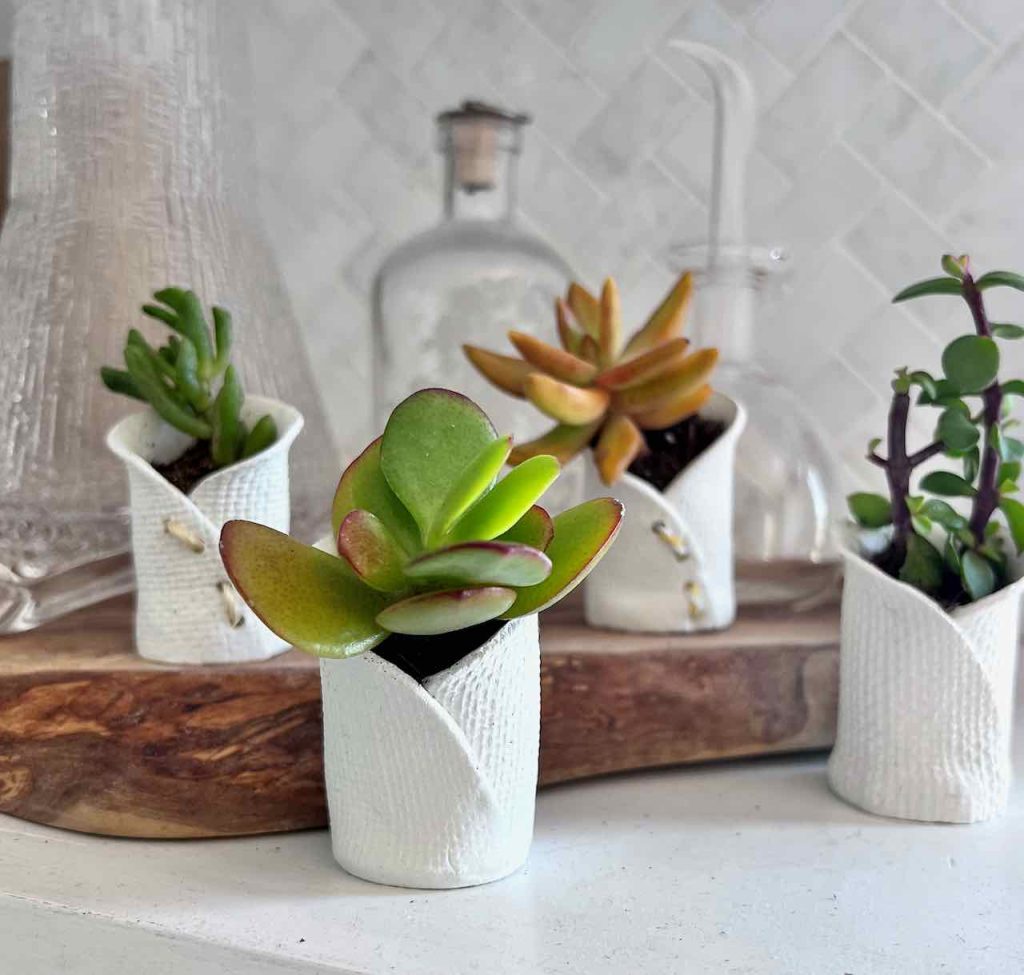
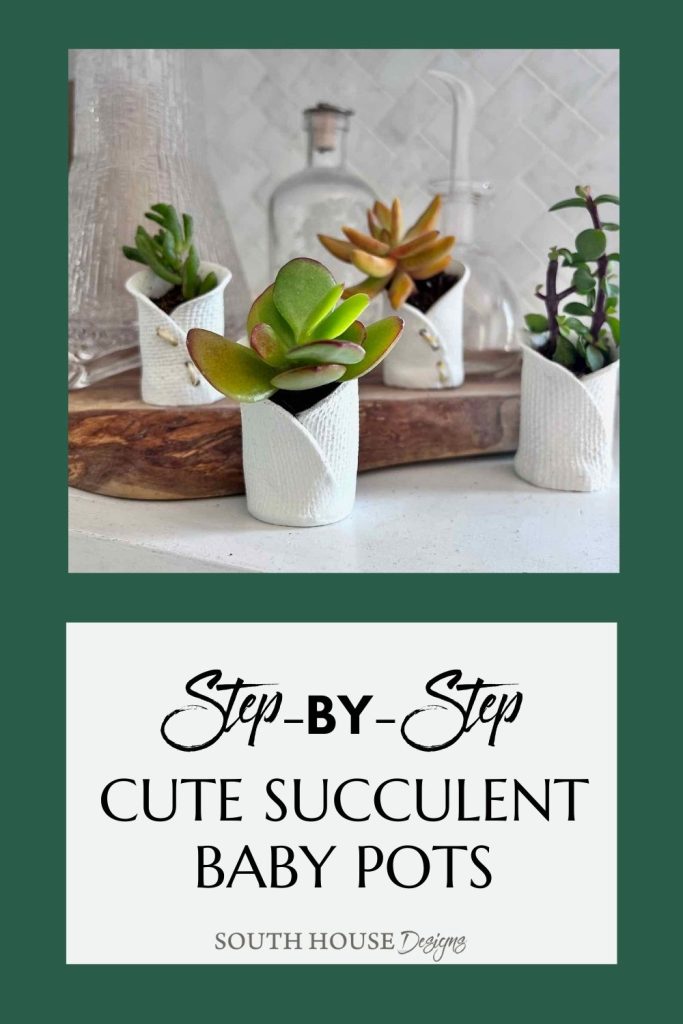
How to Make Sweet Tiny Air Dry Clay Pots for Succulents
Have you hopped on the succulent bandwagon? These fun little plant babies deserve fun little pots to snuggle in. And they are so very fun to make too!
Hello!!! Welcome! I’m so glad you’re here today as I’m sharing the fun I’ve had combining two of my obsessions that are each riding their own current wave of popularity.
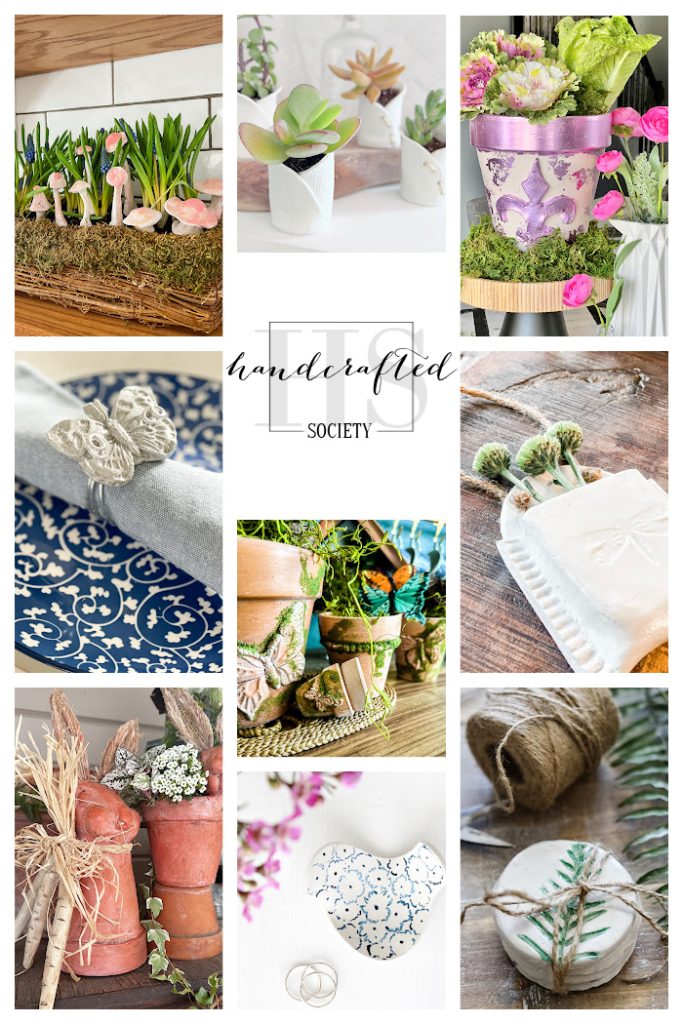
And this is just one stop on a Blog Hop of nine blogging friends all sharing air dry clay projects.
Succulents? What are succulent plants?
Succulents are a group of plants with some of the most amazing and diverse forms, colors, and blooms, but they all have thick, fleshy leaves. Because they store water in those leaves for the hot, dry climates they thrive in. Commonly known succulents include jade plant, aloe vera and snake plants. Succulents easily grow new plants and they don’t like much water.
Why are succulent plants so popular?
- They can survive is harsh climates
- They require minimal care
- Beautiful and budget-friendly
- Interesting and diverse shapes and colors
- Seasonless
- Simple to propagate
And What is it About Air Dry Clay?
As we become more tech-device and screen driven, time spent playing with, and manipulating simple, humble clay can be incredibly restorative.
Is it nostalgic reflection from our grade school days? Or is it that clay is a forgiving medium with very few absolutes?
Whatever the reasoning, I love that with air dry clay, every clay pot, every project will be unique. Every one of us can be an artist. It’s a simple craft with just one material required and tools can be as minimal as a plastic knife
Succulents and air dry clay are a perfect match — especially for propagation. Neither one likes excess water.
Table of Contents:
- Succulents? What are succulent plants?
- Why are succulent plants so popular?
- And What is it About Air Dry Clay?
- Today, Let’s Make Sweet Little Propagation Pots
- Do You Prefer Video?
- Plant Propagation Tips
- Which Succulents are the Easiest to Propagate?
- What Makes a Good Pot for Succulents?
- My Favorite Styling?
Today, Let’s Make Sweet Little Propagation Pots
Materials and Supplies:
- Required:
- Air Dry Clay (I use Das)
- Disposable (or dedicated) knife
- Smooth work surface
- Plastic wrap or bag
- Acrylic sealer or Dishwasher Safe Mod Podge
- Optional:
- Acrylic clay roller or smooth glass bottle
- Old CD or another round object to cut around
- Clay tissue blade
- Scrap of linen, burlap, lace or a rubber stamp for texturing
- Thin drinking straw or skewer
- Jute or thin twine
- Magnet and adhesive
- Misting water bottle, or small bowl of water and a paintbrush
Do You Prefer Video?
No Worries! I’ve Got You Covered
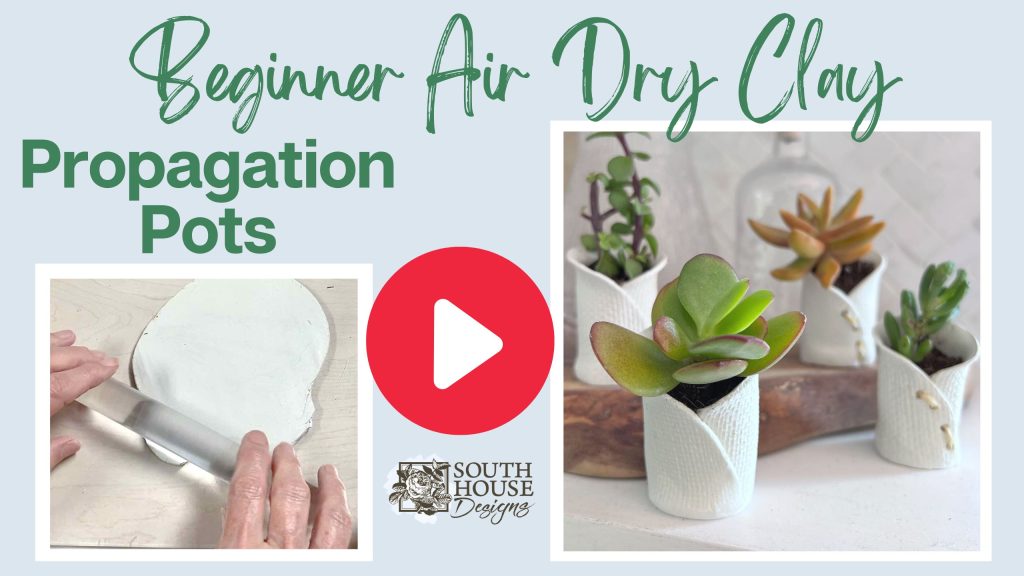
Click above for YouTube video
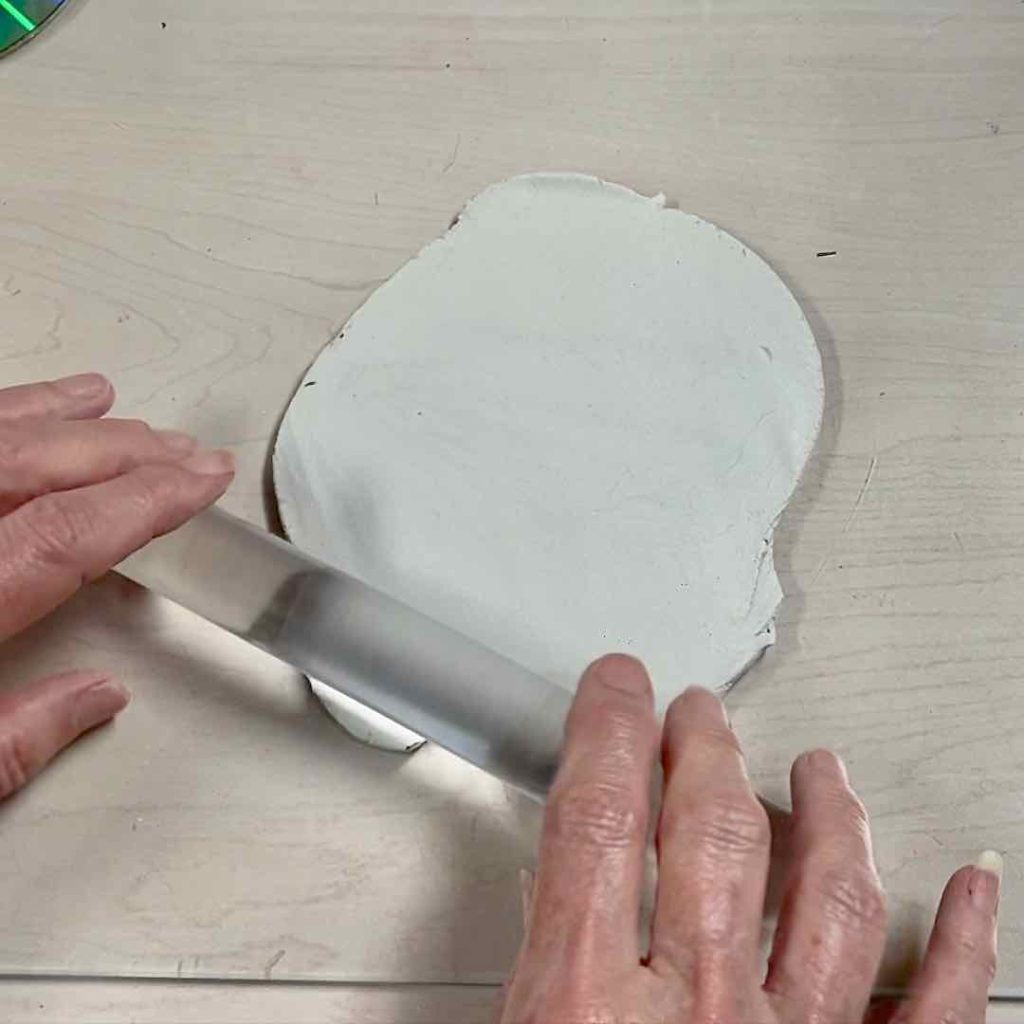
Step 1) Roll Out Your Clay-
TIP: Keep your clay covered when you are not actively working on it. It’s important that it doesn’t start drying before your pot is assembled.
Cut about an inch of clay off your clay block. Immediately seal up your remaining clay.
Knead your small block of clay in your hands for a few minutes to soften and smooth it.
With your acrylic roller or rolling pin, roll your clay on a smooth work surface. I roll mine on a thick piece of glass from an old shelf. A large smooth tile also work great.
Flip it over periodically, rolling both sides and rolling in all directions until you have thickness you like .
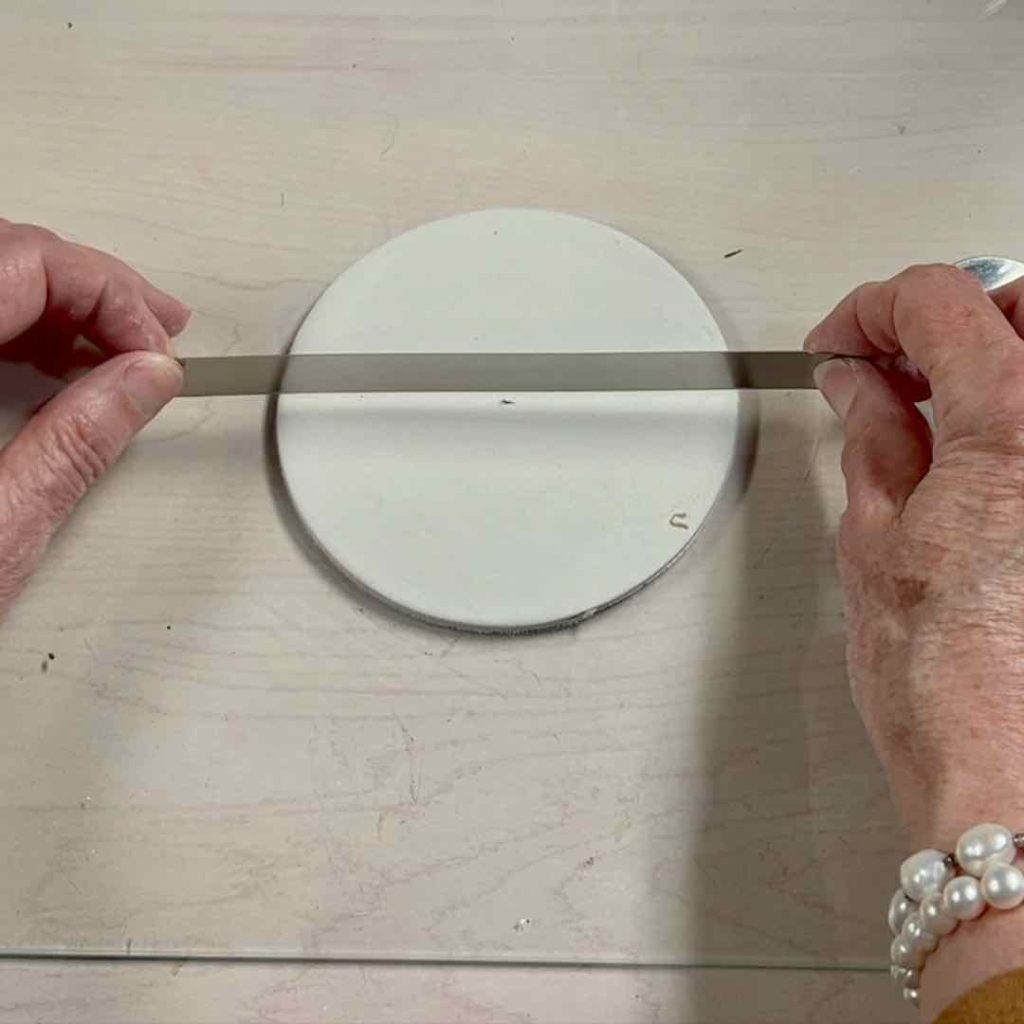
Step 2) Cut Out Your Pot-
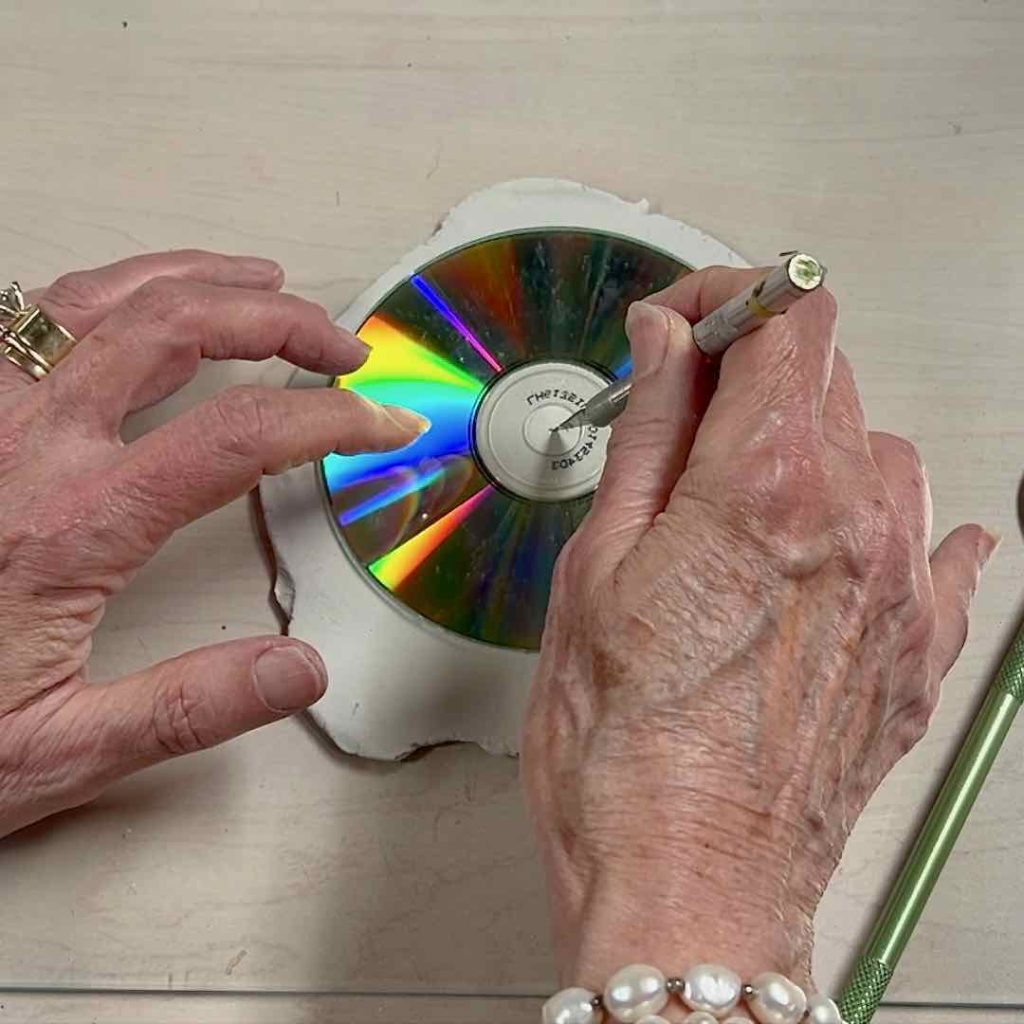
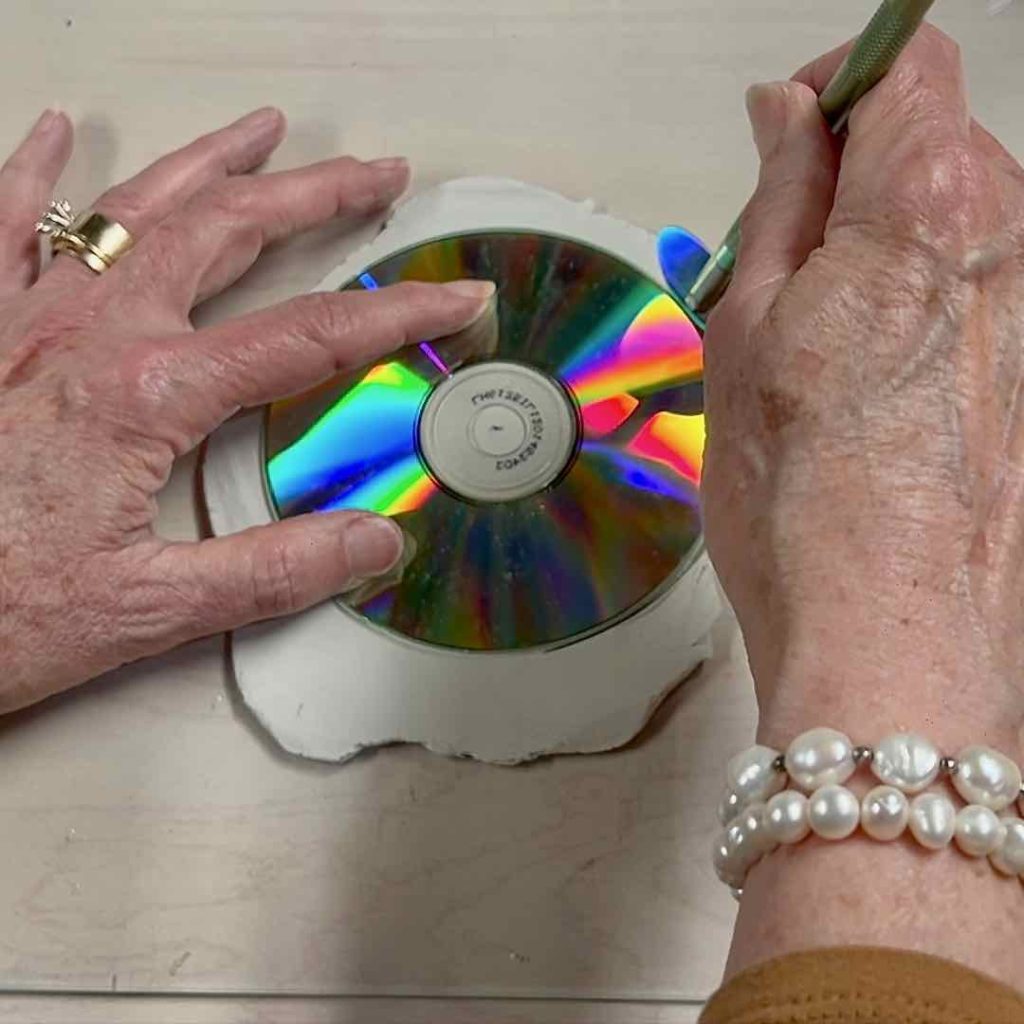
For the smallest little pot, I used an old CD as my pattern. Gently hold it in place on your clay as you note the center with a small mark (right) and cut around it (left).
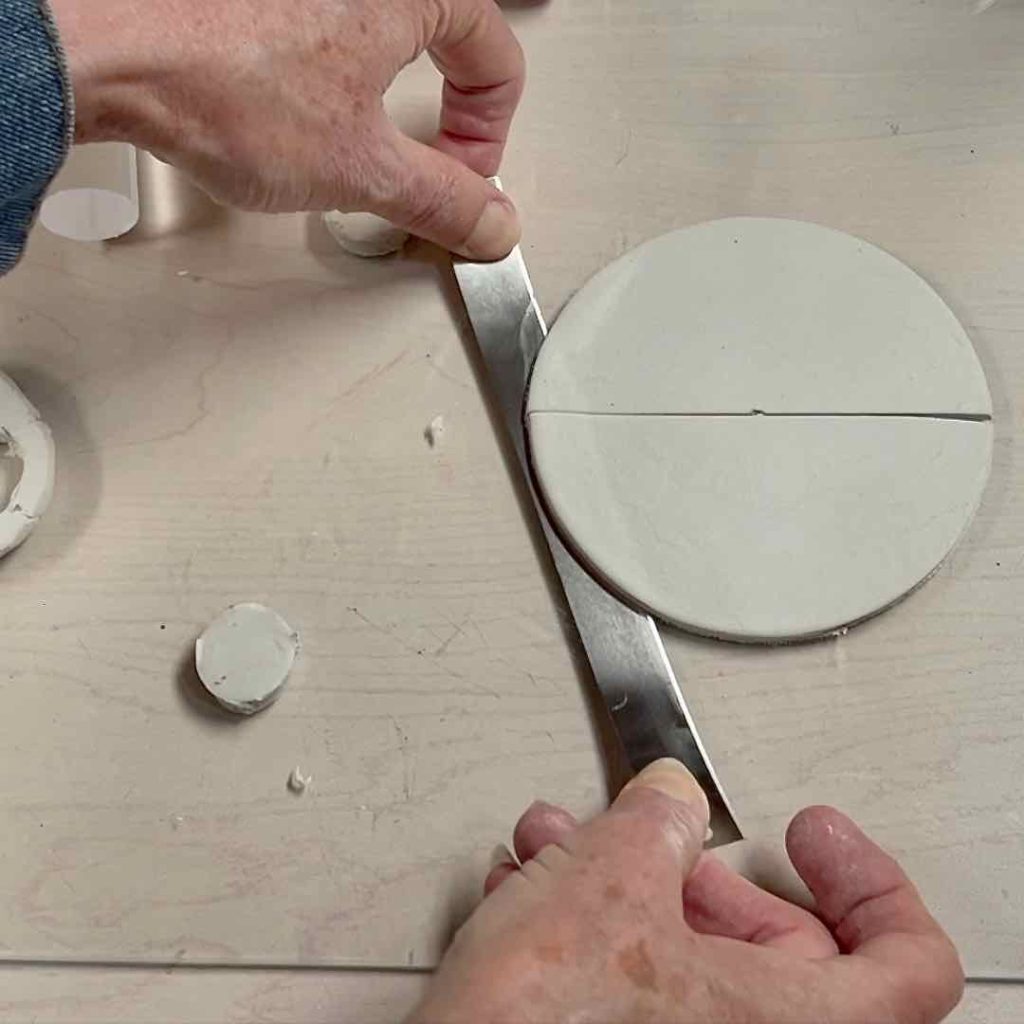
That circle is going to make two pots. Who doesn’t love a two for one special? Happy day, that’s exactly what this is.
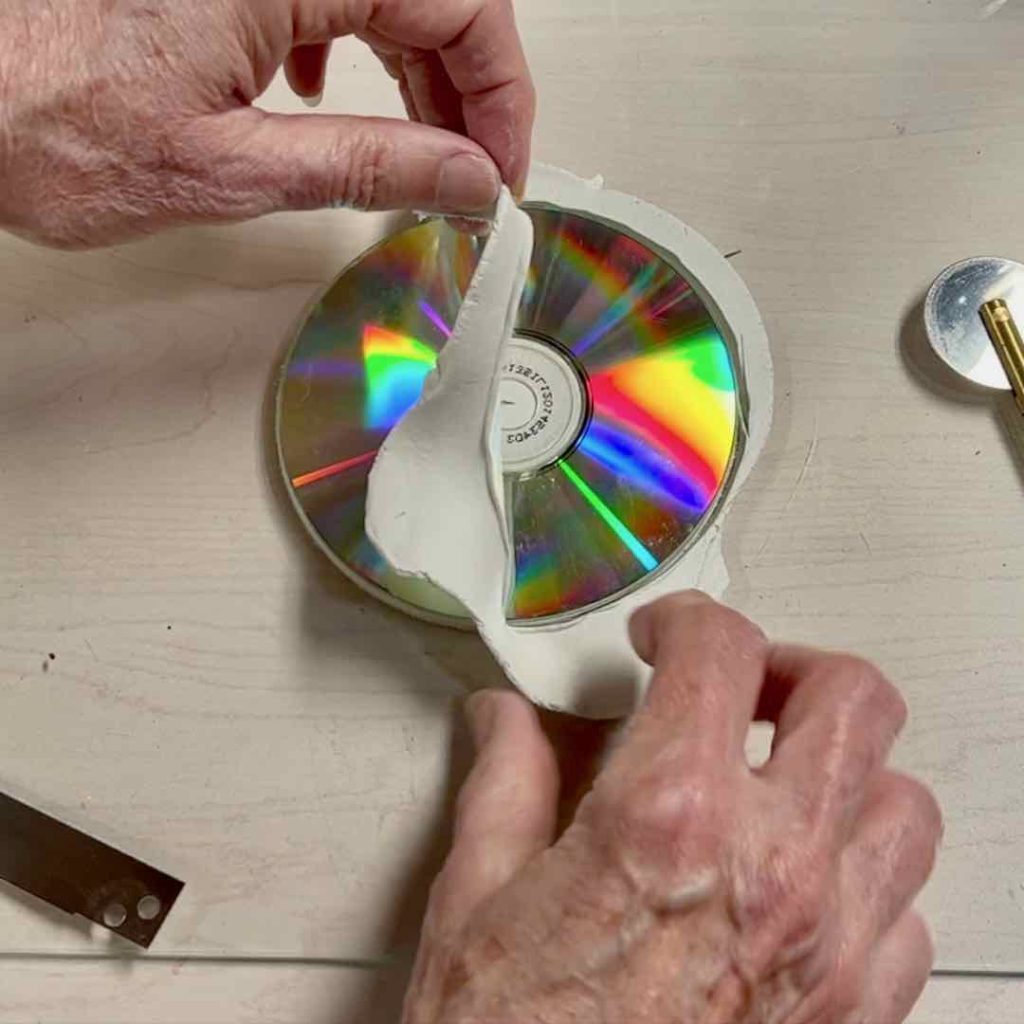
With a tissue blade, or use your disposable knife against a straight edge, cut the circle of clay in half.
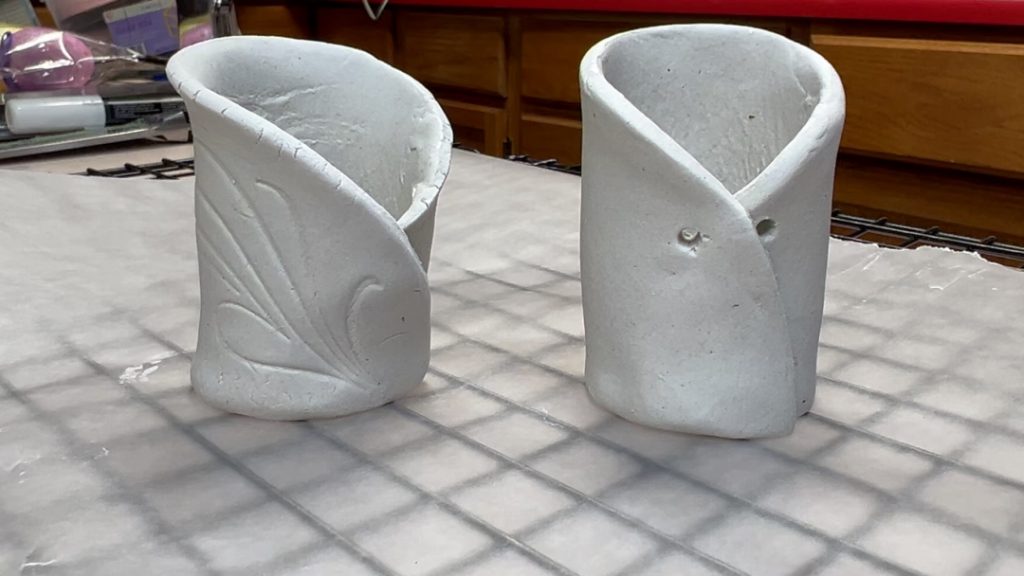
Step 3) Texturize your Pot, Optional-
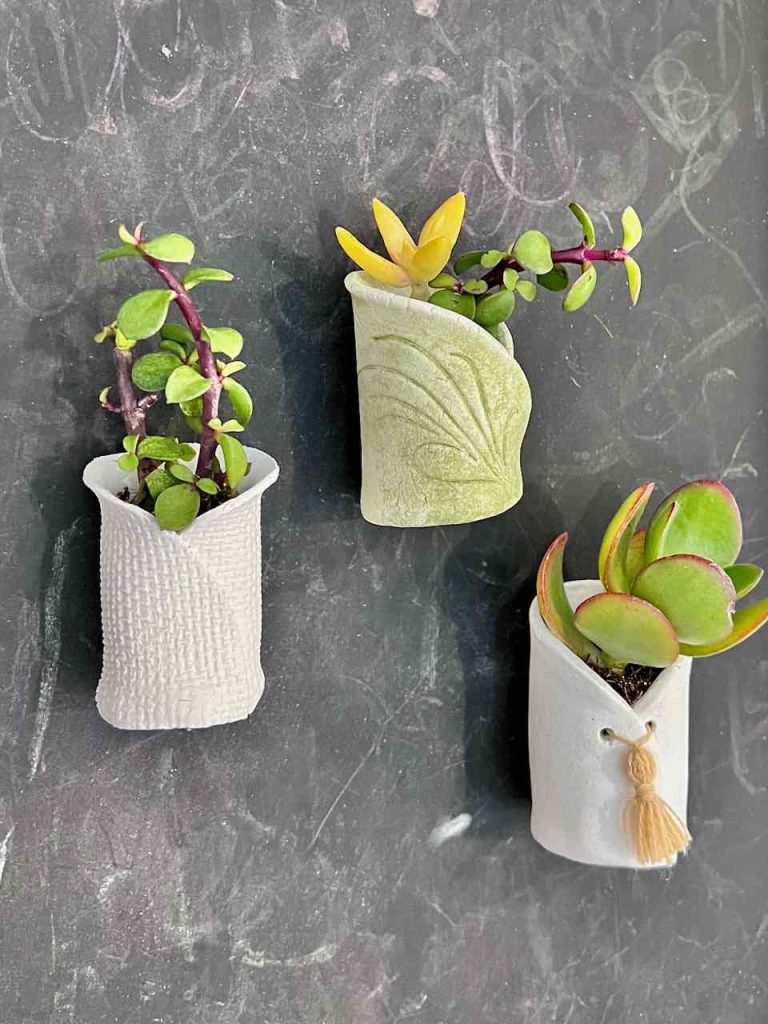
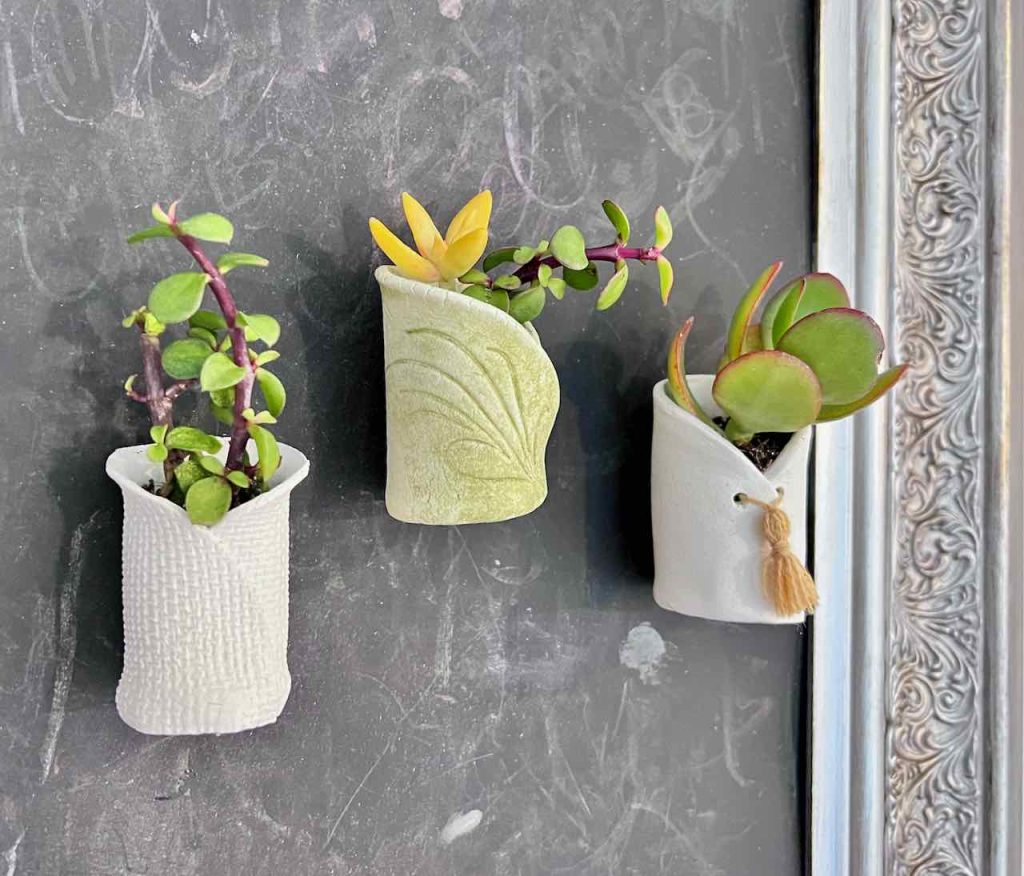
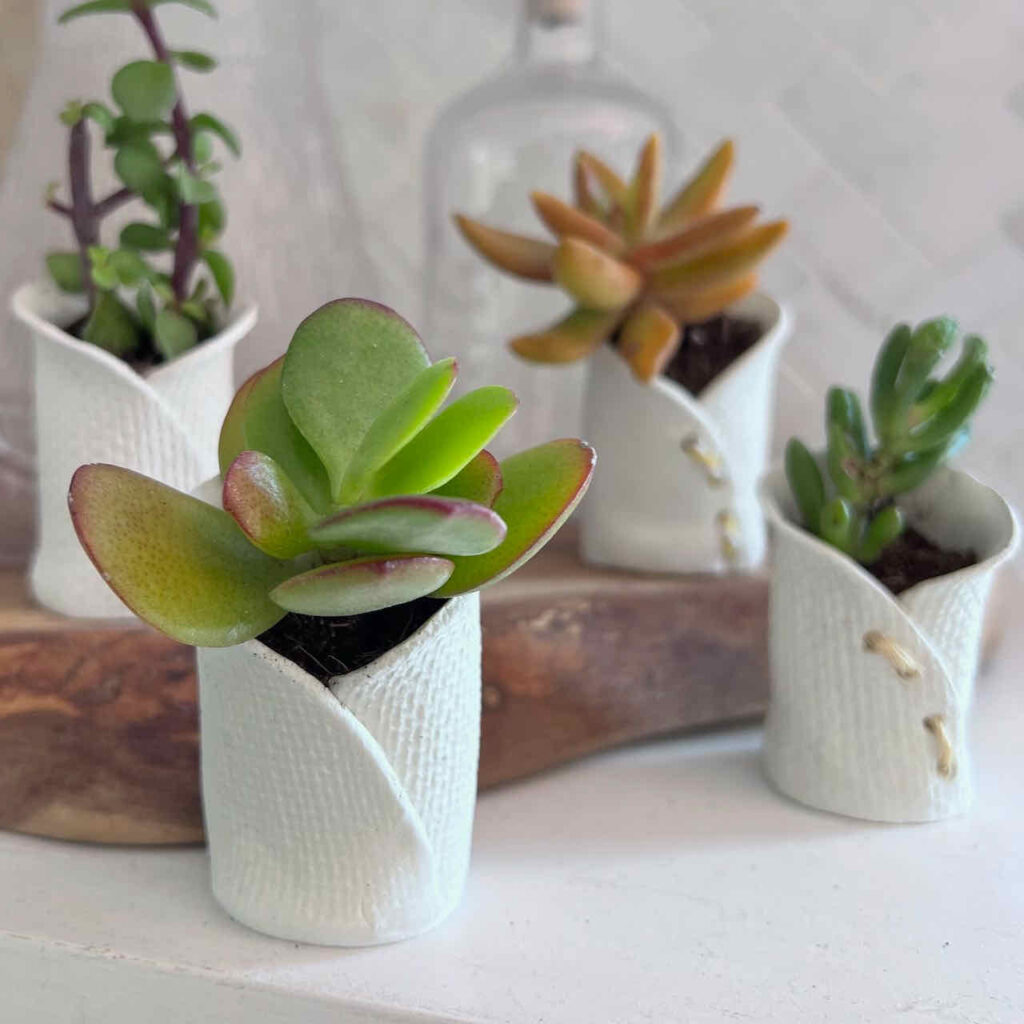
I used a tightly woven burlap and a loosely woven heavy linen to texturize four of my pots. The burlap is the more prominent one.
Really you can use almost anything for this.
Dampen the fabric, lay on top of your clay and run the acrylic roller over it rather lightly.
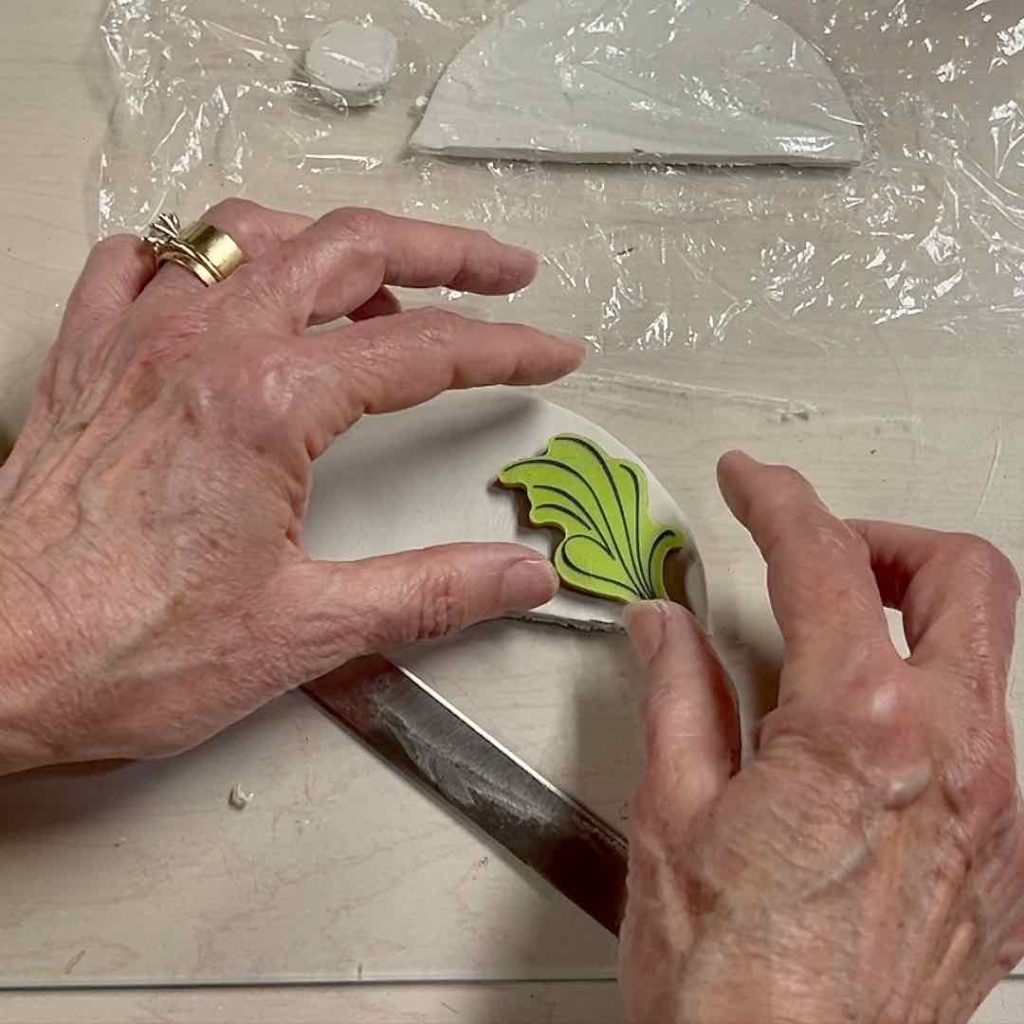
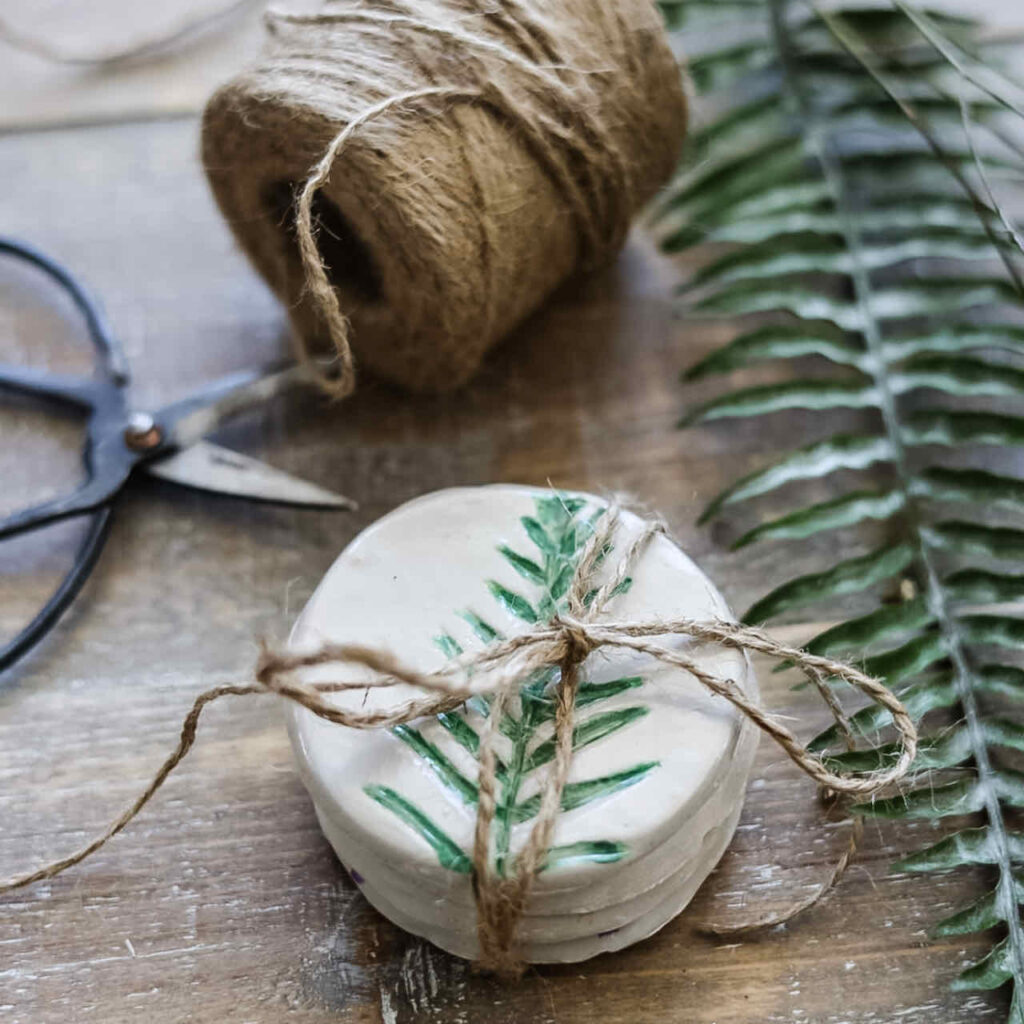
Alternatively, you might add grooves and divots with the tip of a paintbrush handle. Or even use a rubber stamp as I did for the green pot.
HINT: Be careful not to alter the shape of your circle.
If you prefer, you can texturize and then cut the circle.
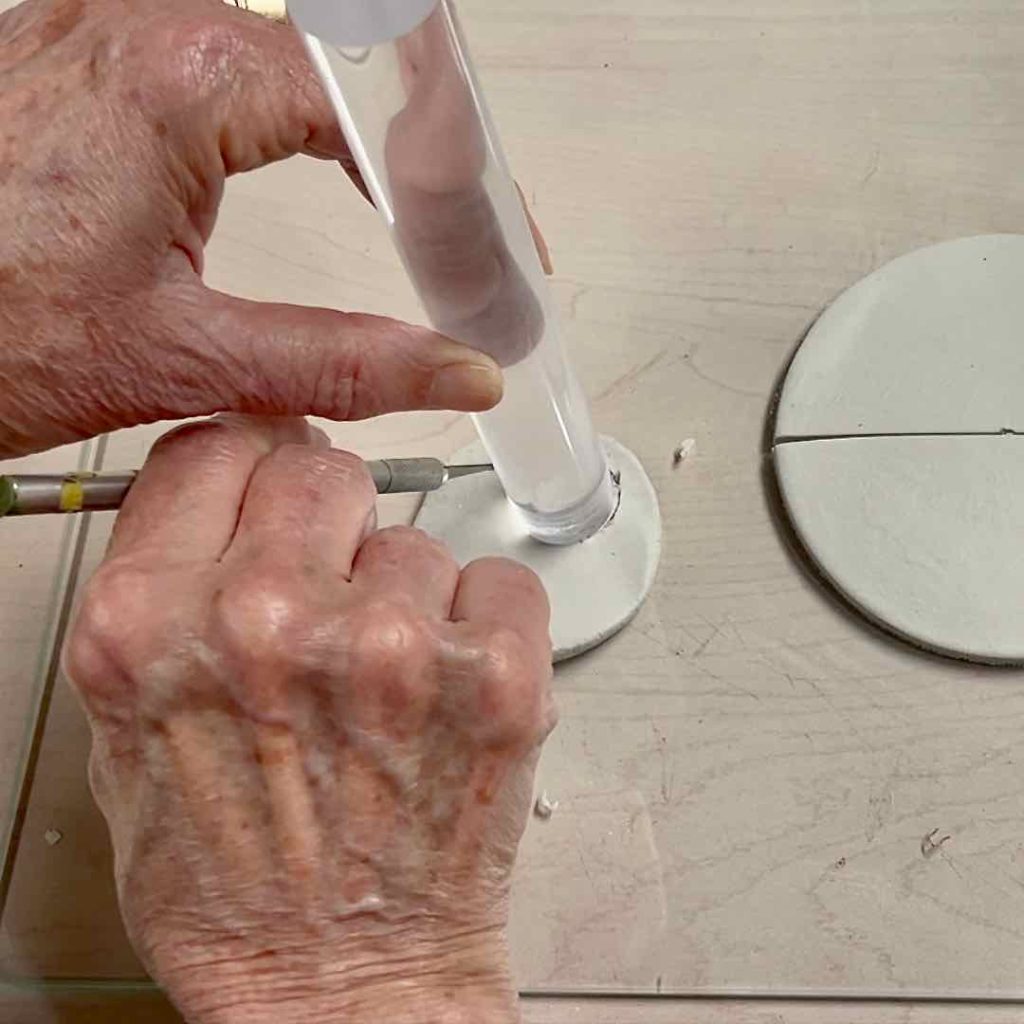
Step 4) Cut Out Your Base-
Pull up the scrap clay from around your circle. Roll it in a ball and then smash it flat, but thicker than your large circle.
Now cut a small circle. I used the end of my acrylic rod which is a 7/8-inch diameter. Find something that’s between 3/4-inch and an inch.
HINT: If you’re using a quarter, after you cut out your circle you can press down a bit with something flat to make your circle just a bit larger.
You may be wondering about a drainage hole. Don’t cut it yet!
Interested, But Not This Minute?
Totally get that!

Pin it to your Crafts Board,
Succulent Board,
I-Want-to-Try-This Board,
Clay Board,
Crafting-With-the-Grandkids Board, etc.
Step 5) Assemble Your Tiny Propagation Pot-
Clay sticks together by scoring both sides to be joined and then adding some “slip” or “slurry”.
The terms slip and slurry, for the most part are used interchangeably, so don’t get hung up of the terms. Basically, both are a very wet version of the clay that you can spread like a thick glue
With these little pots, I have found that by scoring, then dampening both sides, the effect is very similar.
To remove your clay from your work surface, slide the tissue blade side to side between them.
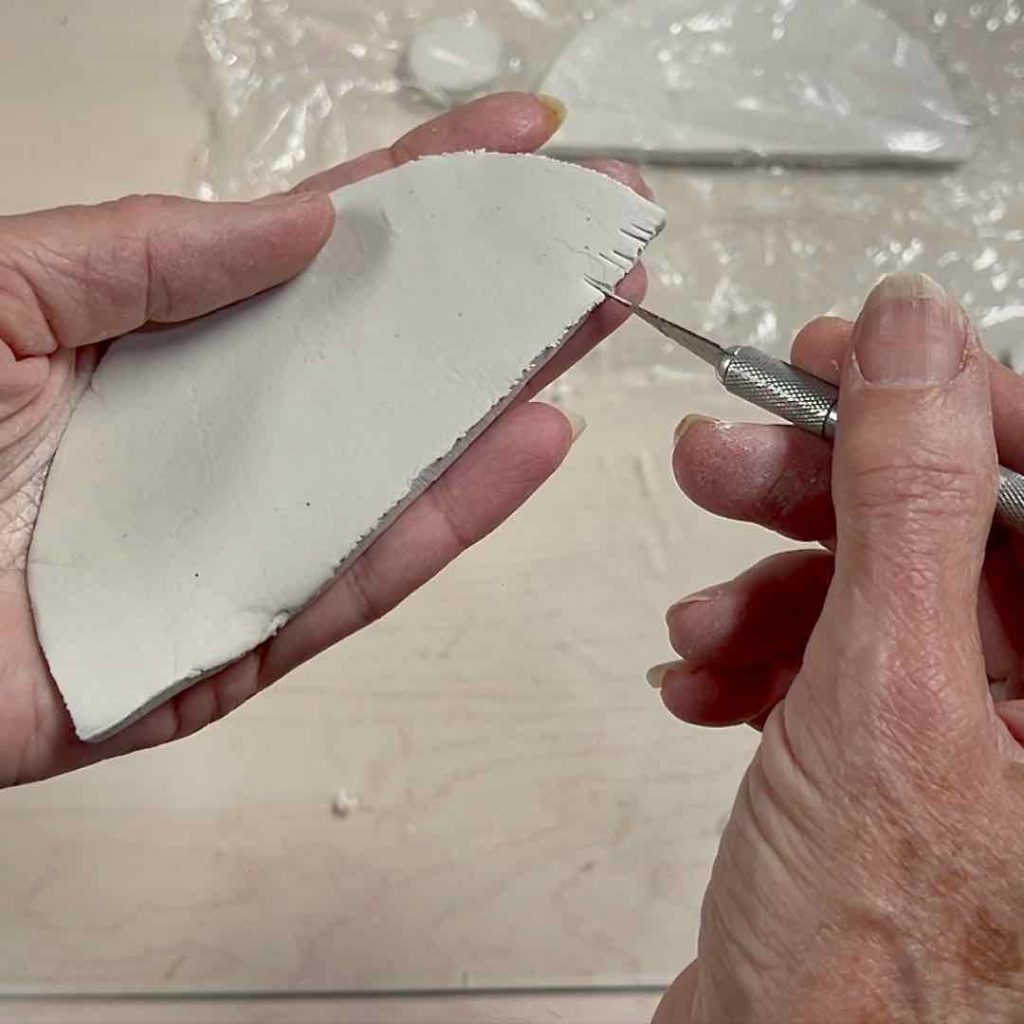
With your tissue blade, an Exacto knife, push pins, or something similar, score the backside (what will be the inside of your pot) of your large semi-circles along the straight edge. (cover the other pieces with plastic while you’re working the first one).
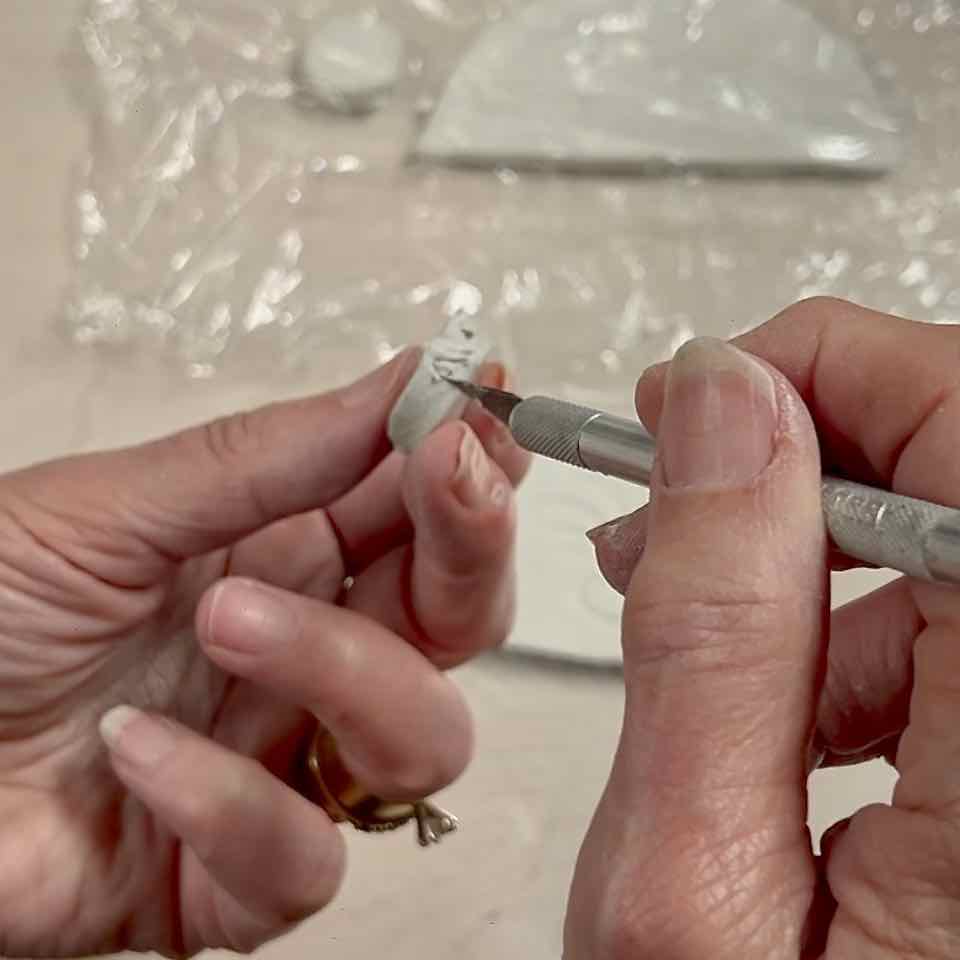
Score the vertical edge of one of the small circles.
Dampen both scored areas. I use a misting bottle, but you can do this with a paintbrush or even your finger dipped in water.
It takes just a bit of practice to get the right degree of dampness. Too damp and it will slip around, too dry the sides don’t stick together very easy.
HINT: If at first it’s too dry, give one piece another spritz. if too wet, lay a paper towel on it the absorb some of the moisture, then try again.
Gently lift your large semicircle and with the flat edge on your work surface wrap the small circle. overlapping in front.
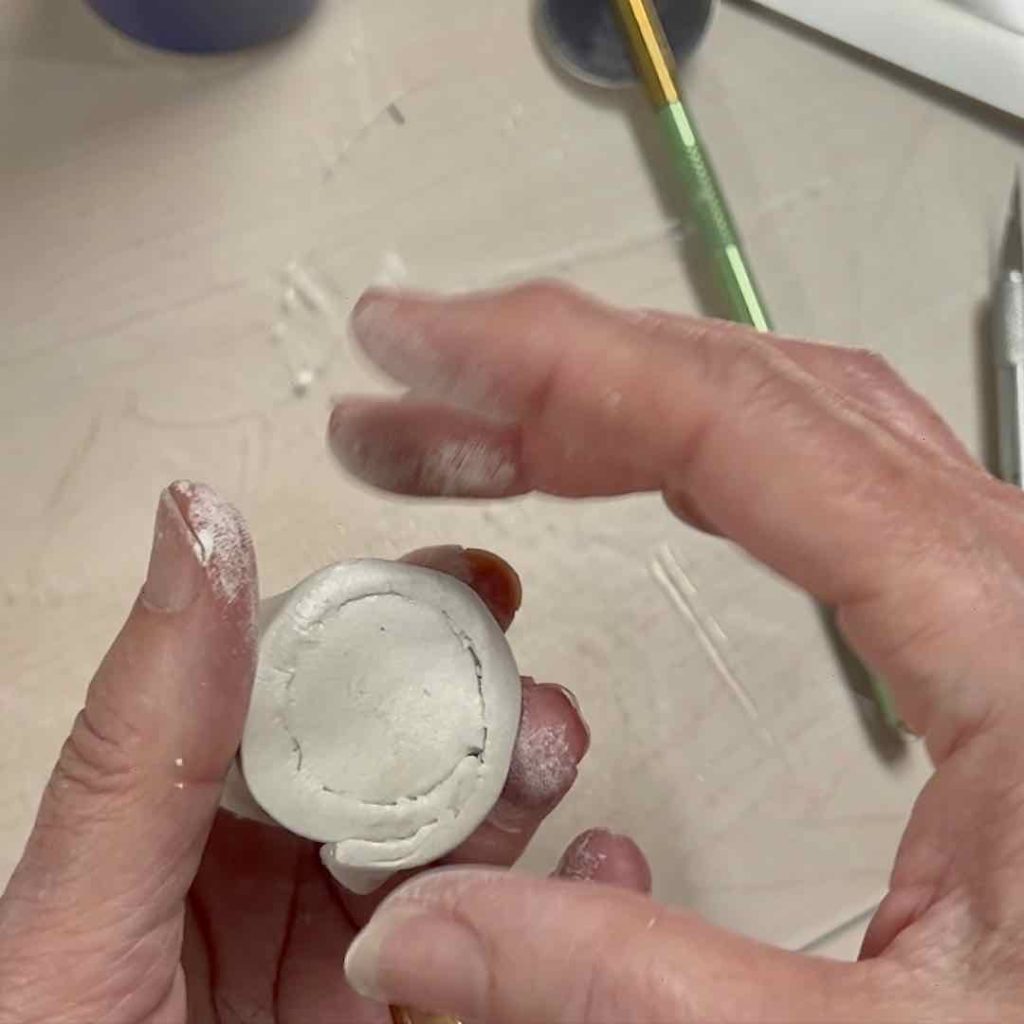
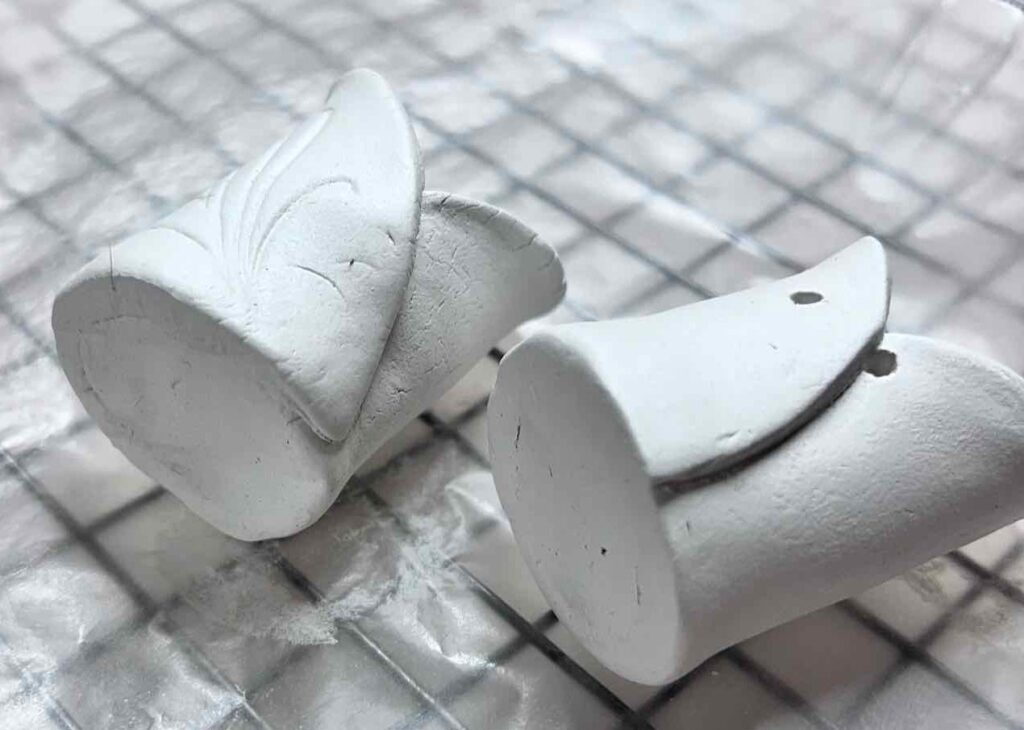
On the bottom, with your fingers and a very gentle touch, smooth and “work” this joined area. You can keep a straight edge around the bottom of your pot or choose to add a more curved edge with a damp finger.
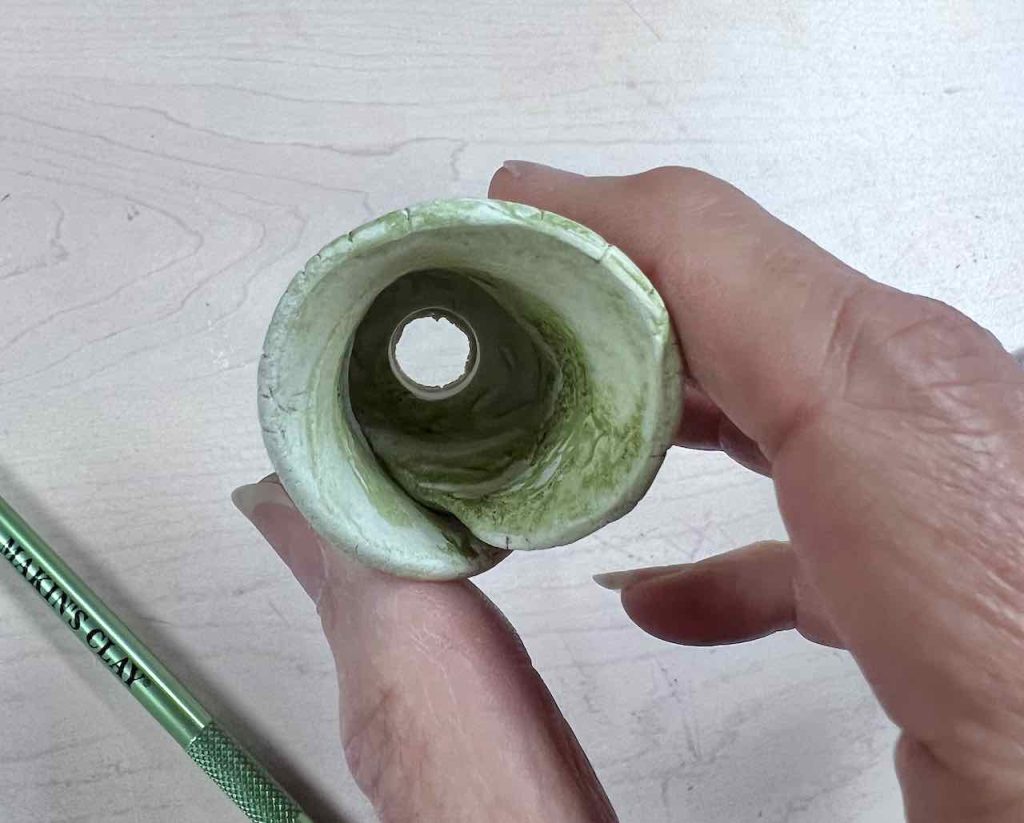
The “neck” of your pot can be splayed out a bit if you like. You can add a hole(s) through the clay for lacing or a tiny tassel if you prefer. Support the wall of the pot with a finger inside while you drill a hole with the thin straw or skewer from the outside.
NOTE: Any holes and textural designs must be done before the clay dries!
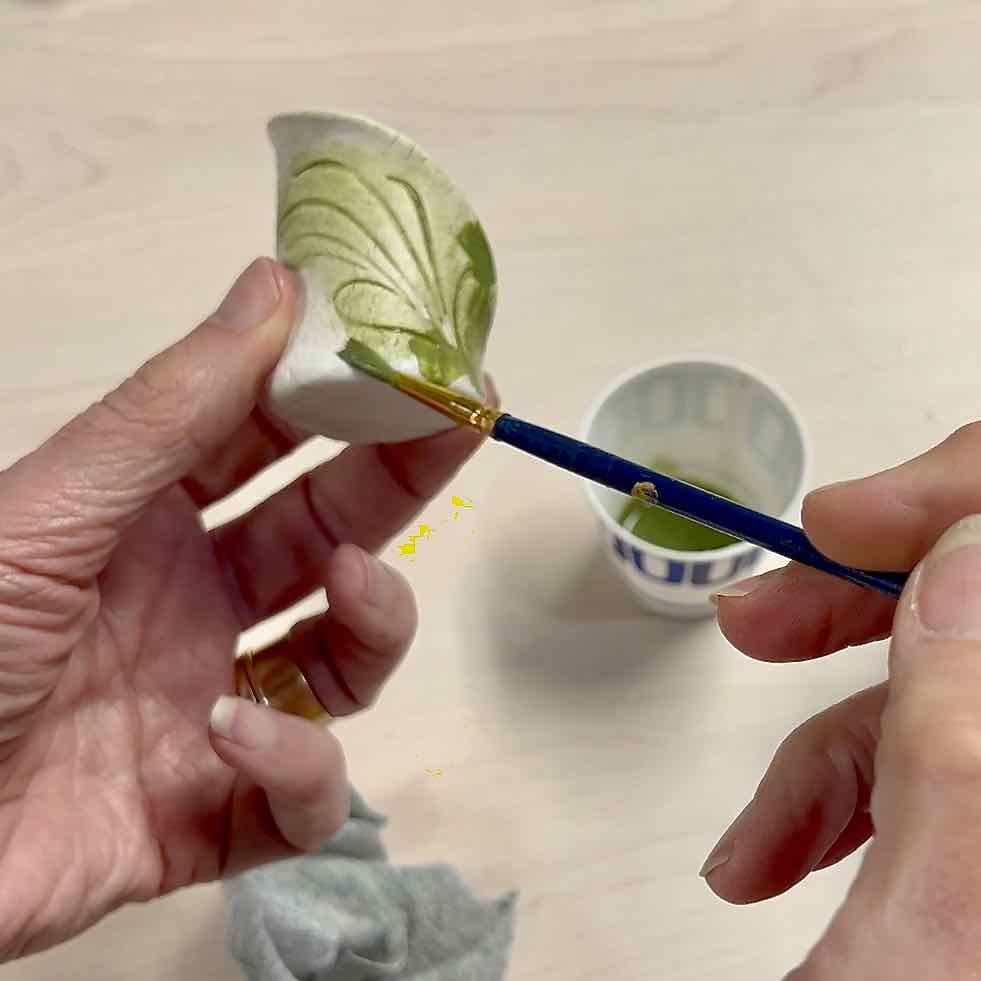
Decorative elements, such a paint treatments, lacing, etc, is usually best done after drying.
The exception to this is when you silk-screen clay as I did here.
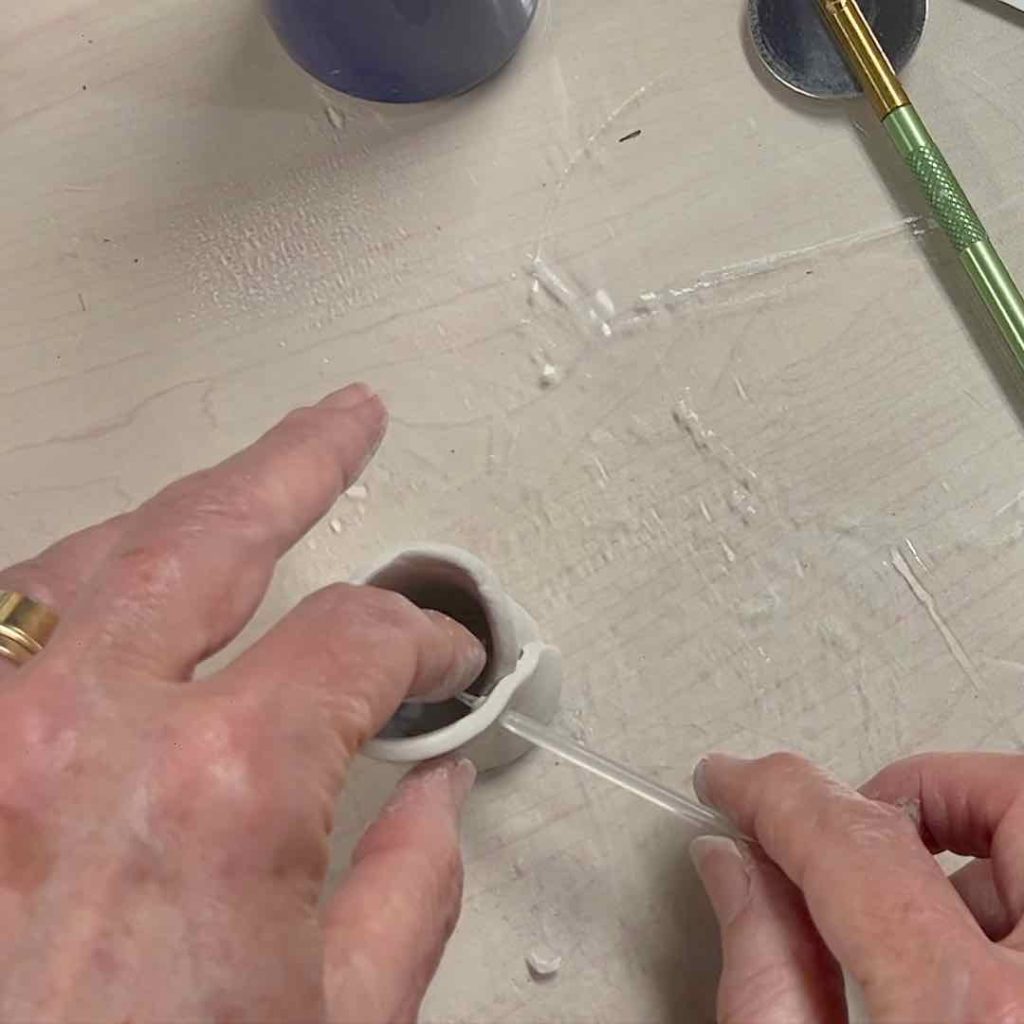
Once you have your pot assembled and it’s ready to start drying, cut a small drainage hole or two in the bottom of your pot. You know good drainage is critical for succulents!
Set it upright on your work surface. If you have a small hole cutter, use that. Otherwise use a plastic drinking straw and make one or two drainage holes in the bottom of the pot.
TIP: a small piece torn off a coffee filter is the best liner I have found — moisture flows through it, but the soil will stay put.
Step 6) Let Dry-
I prefer to stand my pots on a piece of wax paper or parchment paper on a baking cooling rack. This helps the air circulate around them to dry more evenly and quickly.
After 12 hours minimum, I lay them on their backs for the bases to be able to dry. Depending on how thick you made the walls and your environment, they should be dry in 48 hours.
Step 7) Optional Finishing Touches-
Prefer a bit more color? No problem!
- Highlight the texture with some color tinted wax
- For a subtle touch give the outside of your pot a color wash
- You can also use wood stain
- For more opaque color, any craft acrylic paint will do.
- Add a touch of glam with a bit of rub ‘n buff or other metallic options
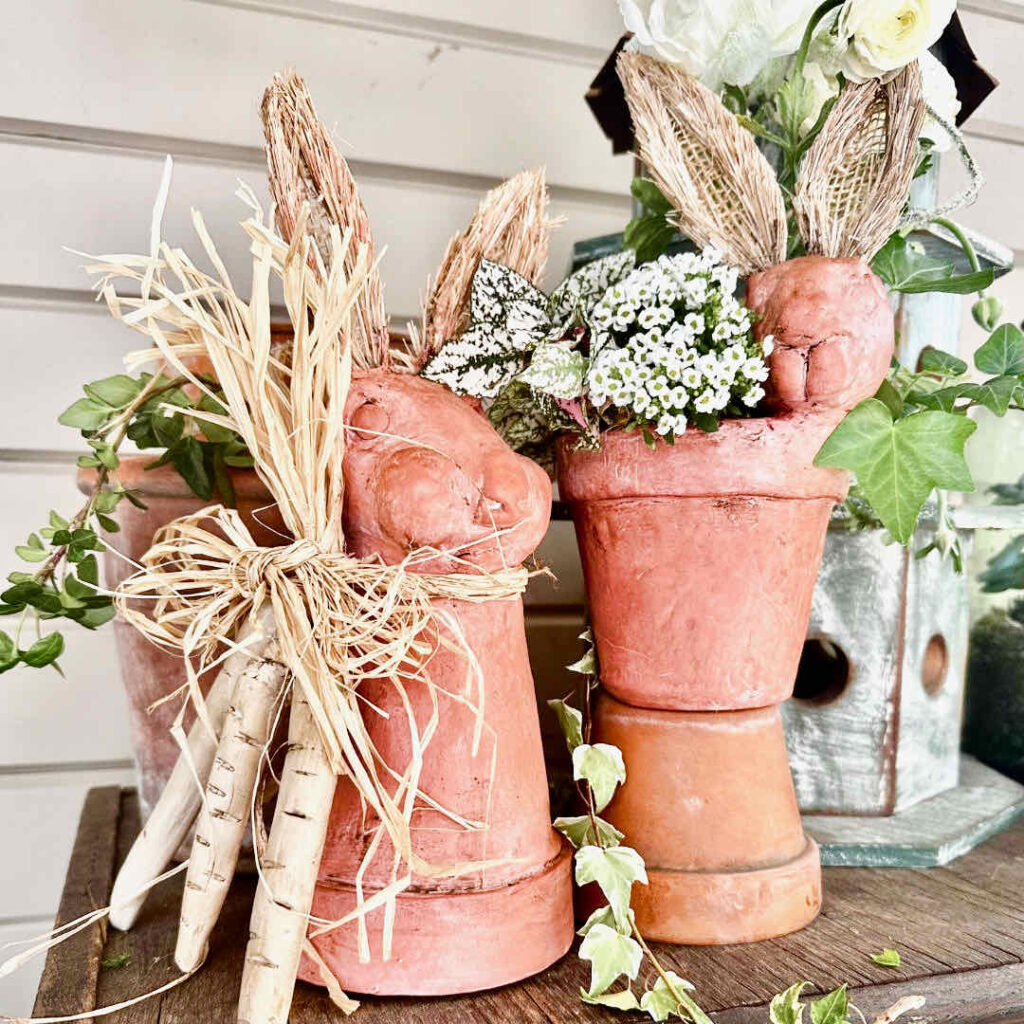
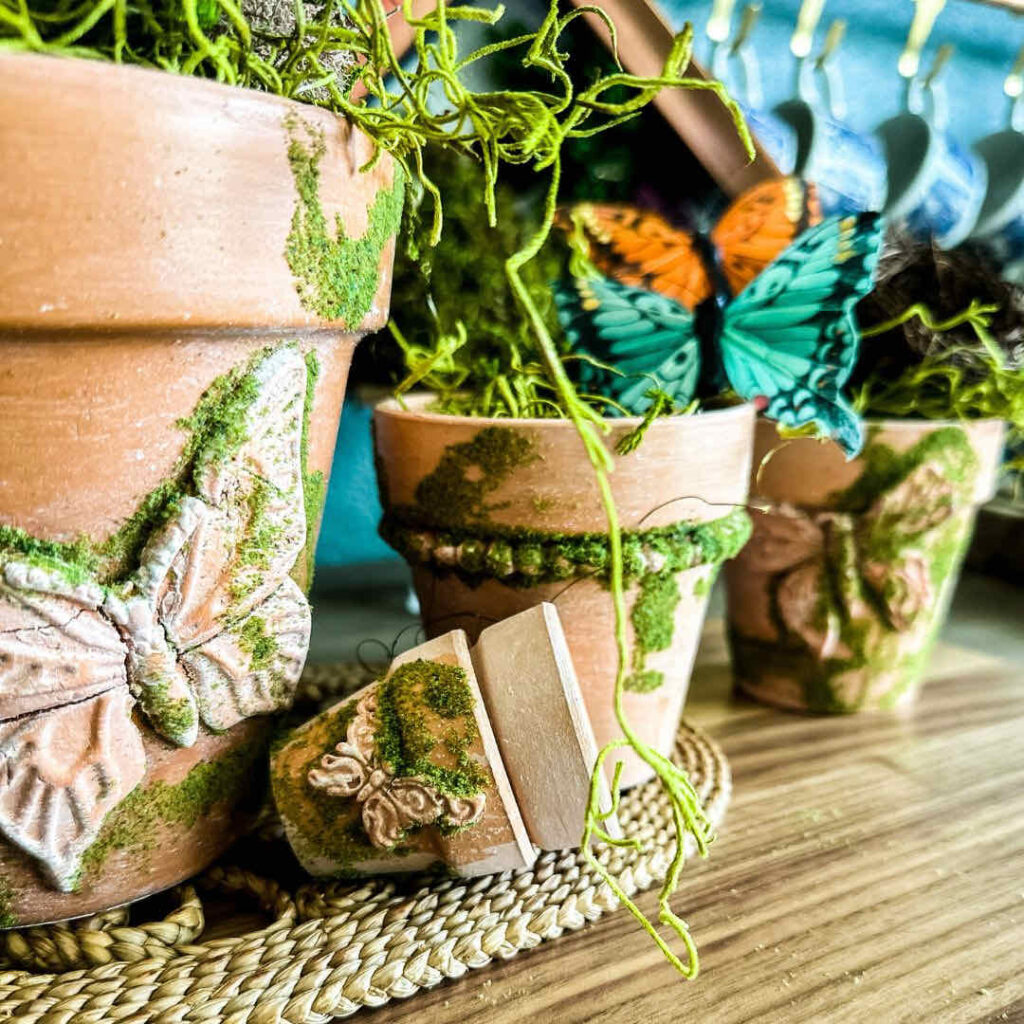
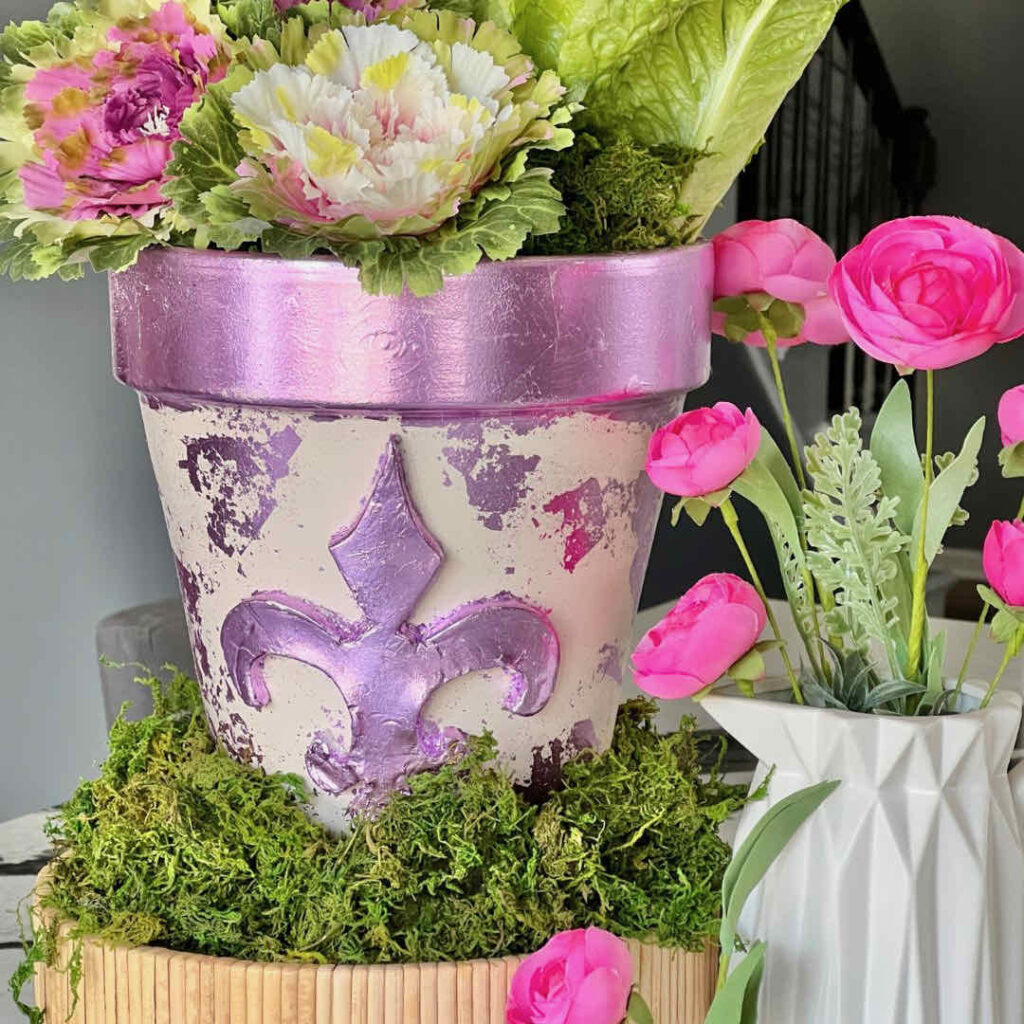
You can also give your pots a stone like finish like I did here on these hearts and here on these bunnies. Or give your pot a vintage garden statuary look with this wash treatment.
Let your imagination run with this adding as much or as little as you want. Try a dip, a pour, stripes, a single color swipe, stamps. Even a rub on decal if you keep your texture smooth.
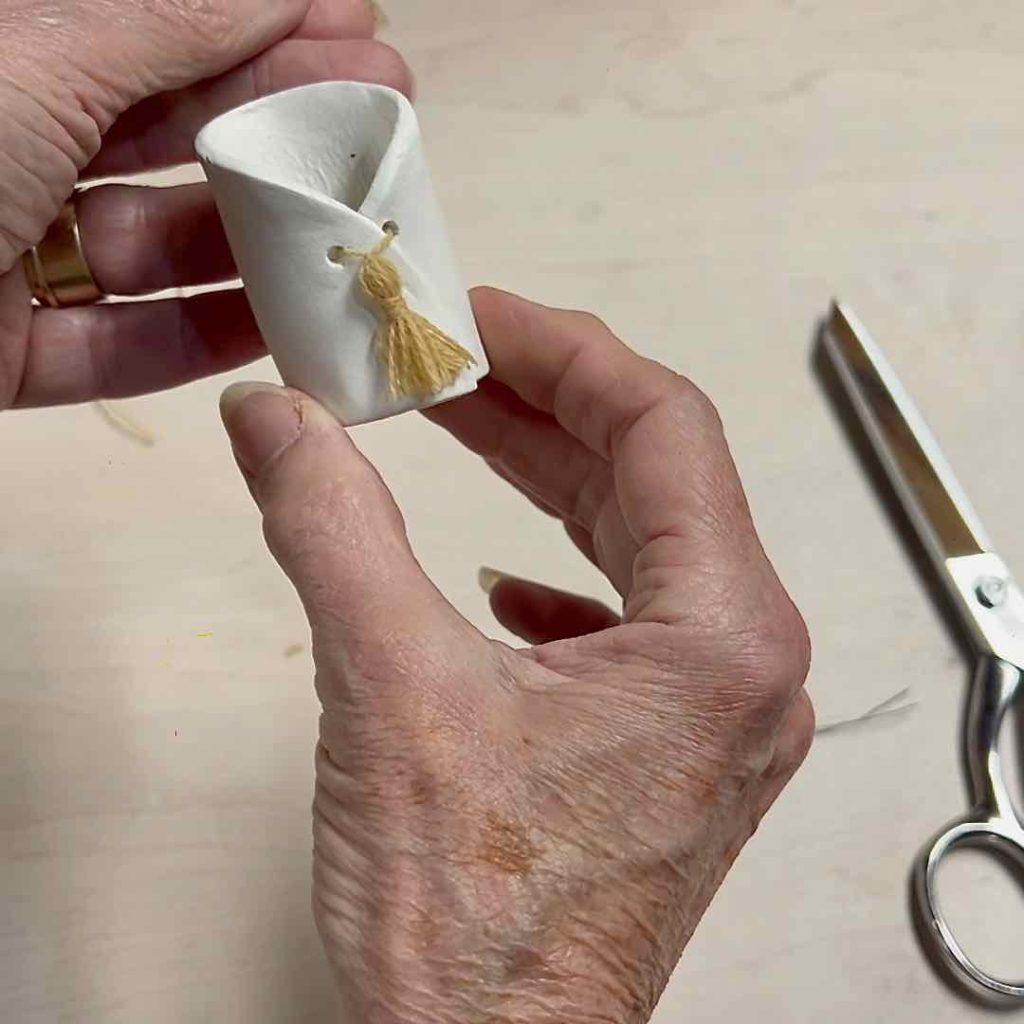
If you added holes, now is when you should add your lacing of baker’s twine, jute twine, etc. Or add a small tassel made with bakers twine, embroidery thread, string etc.
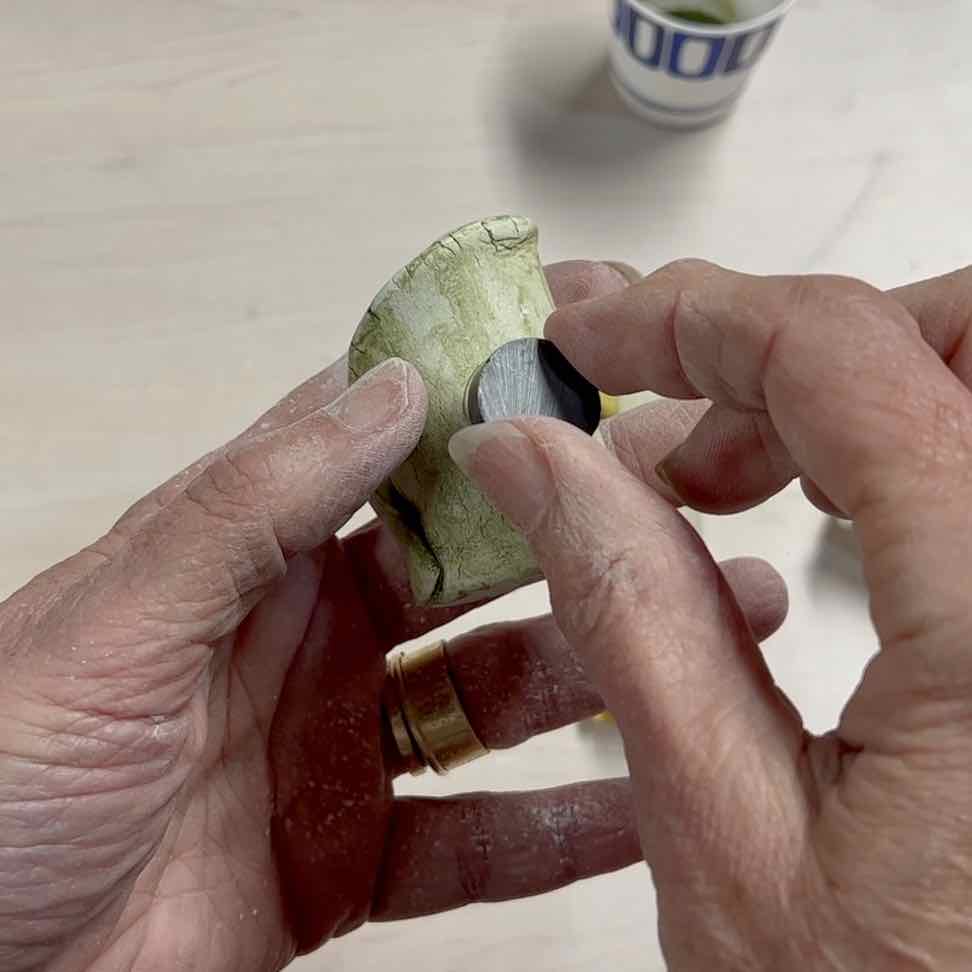
Glue a strong magnet to the back to hang your propagating babies.
Step 8) Seal Your Pots-
You cannot make air dry clay waterproof, but you can make it water resistant.
Succulents like very little water. So both your plants and your pots don’t like much moisture. It can mean rot for your plant babies and meltdown for your pots.
Use an acrylic sealer, either spray or brush on and just seal the inside. You can also use Mod Podge, especially the dishwasher safe version, to seal the inside bottom half of your sweet little pots. I say the bottom half inside because that will help protect where the base and walls meet and if the Mod Podge and/or sealers yellow, as they tend to do, it won’t show.
Now that you have the perfect pot for a new plant baby, let’s talk about the right way to propagate the smaller succulents.
Plant Propagation Tips
Because for succulents, light is the most critical element in their growth, the best time to propagate is in Spring and Summer months when it’s most abundant.
Through Leaf Cuttings-
- Choose a healthy mother plant
- Choose plump healthy succulent leaves. Gently twist and pull the leaf closest to the stem
- Allow the ends to heal or “callous” over for a minimum of two to five days
- Add root hormone, optional. Dip the tip in the hormone powder after it calluses and before you stick it in soil
- Add to succulent or cactus soil mix. Place in indirect sunlight.
- Pot the pup or plantlet. After a few weeks and the roots have established, the leaf will fall off. Replant the pup in a well draining pot filled with fresh succulent soil.
Propagate By Stem Cuttings-
Great when you have succulents with several stems or branches.
- Choose a healthy mother plant
- Cut healthy stem that is growing several leaves
- Allow the cut to callous for several days
- Remove several of the lower leaves to make it easier to plant the calloused part in soil
- Put the calloused end of the stem in a small pot with the perfect soil — succulent soil. Place in bright but not direct sunlight
- Once you see a few inches of root growth, you can repot in a larger container with more succulent soil or regular potting soil mixed with sand
NOTE: Water propagation is not a good idea for succulents. The best way is either of the methods outlined above.
Which Succulents are the Easiest to Propagate?
Succulents with stems tend to be the easiest. Plants from the jade family are perfect for beginners.
You only need enough stem length for the plant to be able anchor itself upright.
And also succulent “pups”, or Offsets are easy. These are full plants that sprout out of a mother plant. Wait until these are large enough to support themselves. You’ll know this because they will develop their own roots. Then cut them off and plant them in succulent soil.
What Makes a Good Pot for Succulents?
Your air dry clay pots are perfect for propagation, but when they are established and need a new home, keep these in mind:
1) Proper Drainage — For long term planting, this is the most critical feature!
Can’t say it enough! Succulents are very drought-tolerant plants. Too much moisture and they will develop root rot.
2) Material — preference is for terra cotta or concrete as they are both porous and will help suck any moisture out of the soil.
3) Size — Try for pots that are wider than they are tall. This helps prevent root rot as there is not so much soil to hang onto a lot of moisture. P.S. Succulents are shallow rooted. Extra soil hurts rather than helps.
My Favorite Styling?
A whole succulent garden — no one-sies or two-sies for me!
I’m in the Midwest. We have every weather extreme which includes rain and cold! It’s not a climate for an outside succulent garden, but I can still have some outdoor succulents in pots in the dry warmer months, and then bring indoors once it turns too cold and rainy for them for the winter months.
I also love, absolutely love short, wide dish gardens packed full of an interesting variety of succulents in different colors. Something like this:
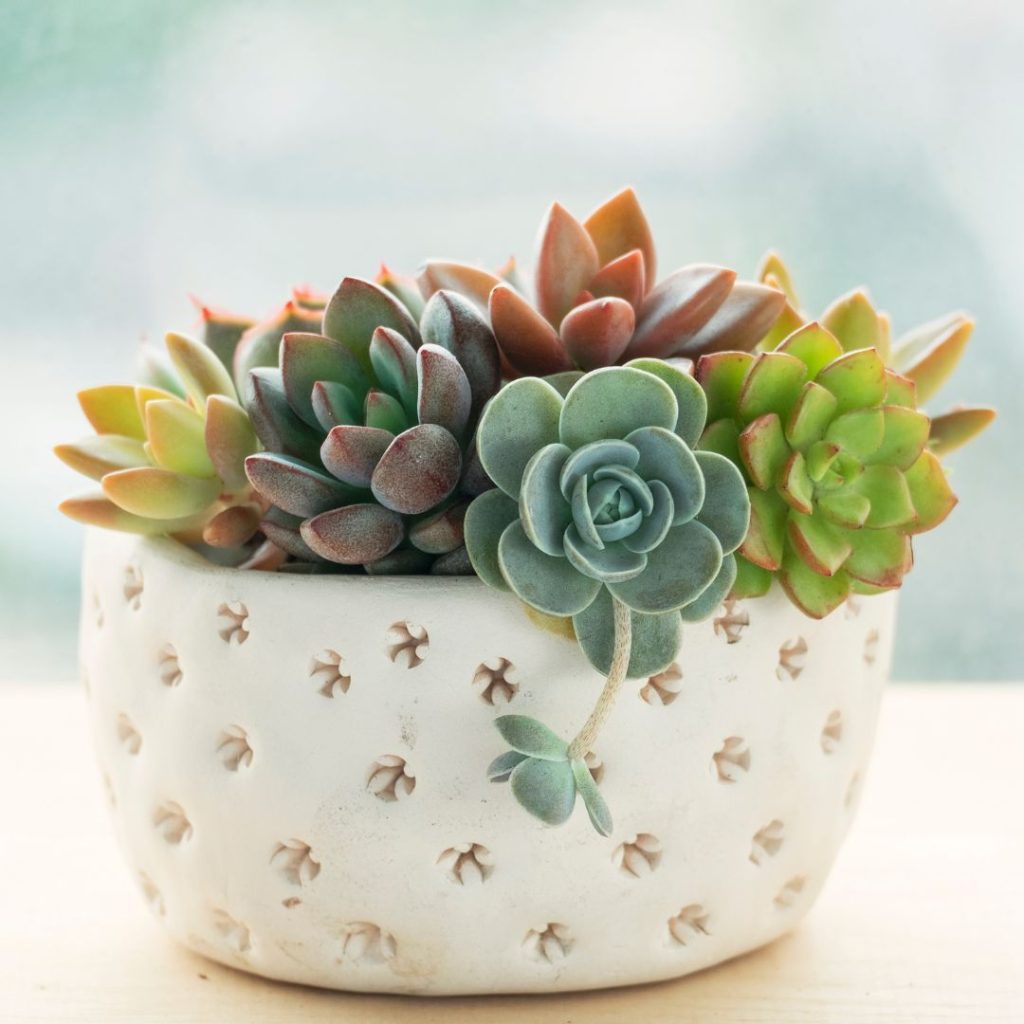
Good news for me and my black thumb, they are easy to care for!
How about you? Are you on the succulent bandwagon? I have to admit, it took a trip to California to win me over with such enthusiasm!
So my succulent enchantment fueled my air dry clay pots. Let’s see what fueled all my cohorts’ clay creativity!
There are so many awesome projects, replenish your beverage and spend some time exploring and marveling at all the talent and vision — all made with air dry clay!


Phew! This is a long post. Thanks for sticking in there with me. I hope I’ve inspired you to try air dry clay or growing succulent babies — or best of all, a combination of the two. I’d love to see pictures of your creations.
As always, please leave your thoughts below. And never hesitate with questions.

These are the cuties things I’ve ever seen! You ladies are so creative.
Thanks bunches, Lynn! I LOVE all of them. Yet they are all so different!!!
Wonderful post!!
Thanks Jeff! Really appreciate that — and you!
This is such a cute project, Diane! What a wonderful round-up!
Thanks Kim! I loved all our air dry clay projects! It’s crazy how different they all were from each other, yet all the same medium!
Your mini pots are even cuter than the succulents, and just make me want to smile! I love variety of designs you came up with Diane! Pinning!
Oh Michelle, you just made my day! Thanks so much. And I almost made a wall pocket. So glad I didn’t. Your’s is perfection (but then I’ve come to expect that from you ????)
Diane, these succulent pots are beautiful. Love the ones with the magnets on it too. So many different variations you can do with them. What perfect little gifts. These would be great for a small shower at each place setting or a gift for a garden party.
Oh Tammy, I love the idea of these as party favors at each placesetting. You’re so smart!!
What a great post!! You have a way of making me think that, even I, could do this… and I mean both the pot, and the propagation!!
Thank you so much!
These little pots are so cute Diane. Perfect for propagating your succulents. Your creativity with texturing the clay was fabulous and all of the color details you added. So glad you have joined us for the year.
And oodles of thanks for inviting me! I’m totally enjoying tthe Handcrafted Society! And your bunny flower pot is adorable.
These are amazing, Diane! I love the different textures that you created. The burlap one is my favorite! Pinned!
You’re the best Missy! Oodles of thanks and it’s such fun hopping with yoou.
Diane, these are adorable! I love the texture on the propagation pots! Perfect!
Thanks Amy! Maybe I need a bit of pulverized turf on them, too! ????
I’m so so obsessed with this! Such a beautiful idea! Pinned!
xoxo
You always have the most creative projects Diane! I love these mini pots, perfect for succulents. You are making me want to create a few myself now. Thank you so much for sharing!