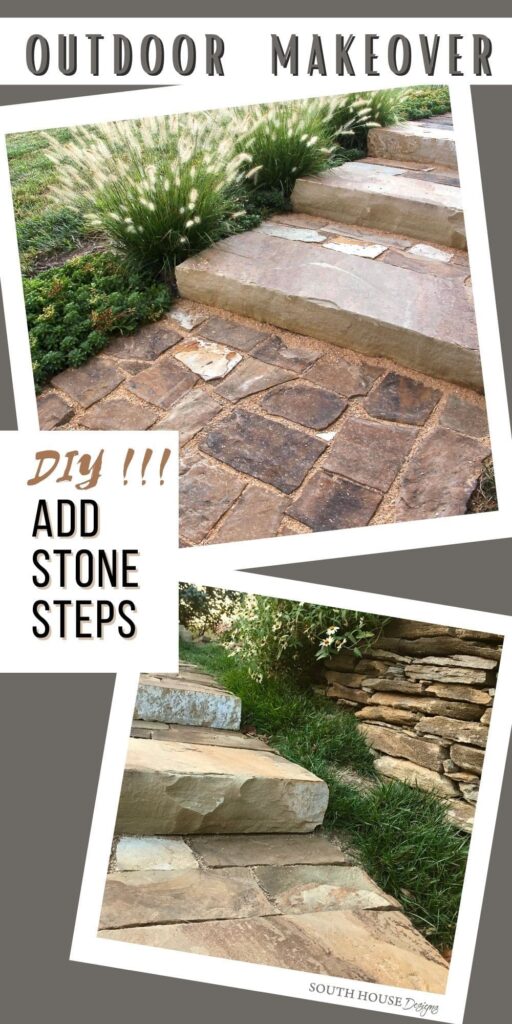
Use Flagstone Steps to Make a Hill Safe and Beautiful
Have a difficult slope? Here’s how to use flagstone steps to landscape hillside gardens,
making them safe and beautiful too!
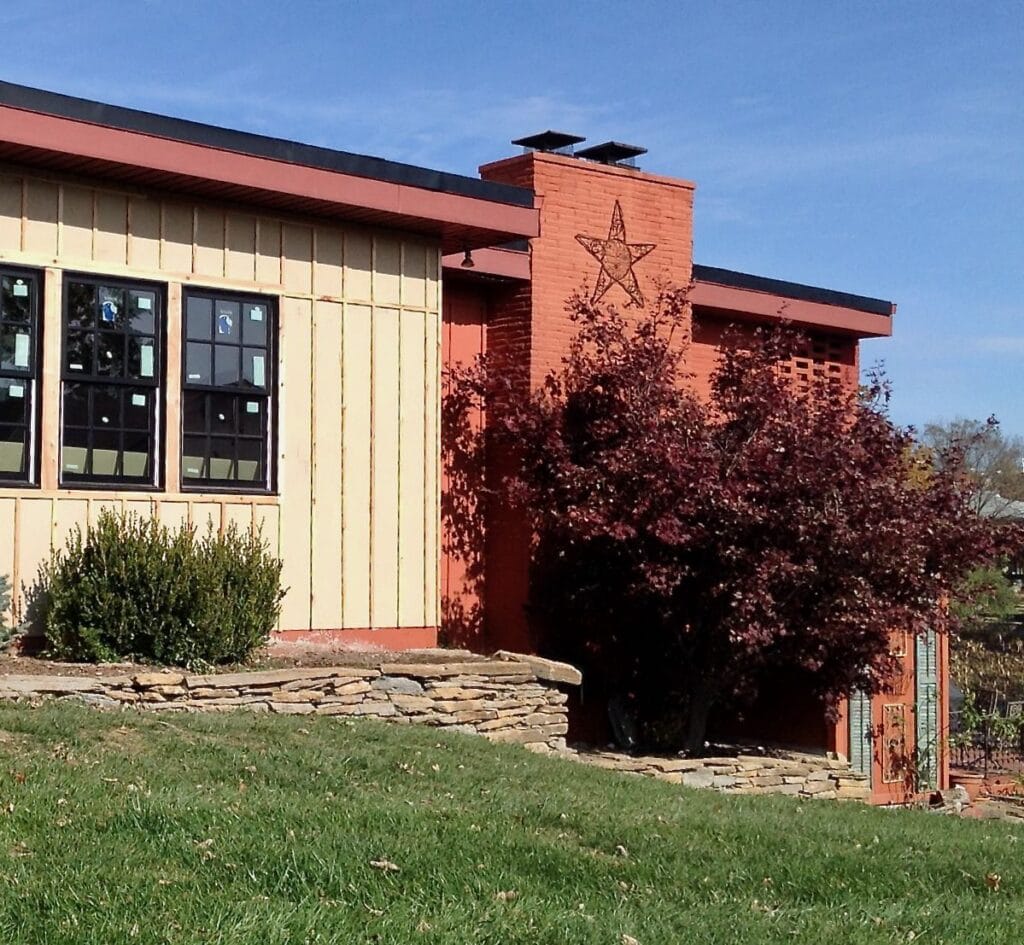
Have you been following our Blog Super Series — Our Backyard Makeover? Yes, this is technically the side yard. But it’s how we safely navigate our guests to the backyard. So I’m including it.
You can find all of them here if you want/need to catch up, jump around, refer back to something — you’re in charge:
- The Prequel: Our Problem areas and three mood boards that helped to guide our decisions
- Eps. 1: The Santa Fe Tool Casita and treacherous entry became our Tool Cabana with its own front porch
- Eps. 2: The Original Starting Point — our vintage red brick courtyard with crumbling foundation and a dated and dangerous railing
- Eps. 3: Planning & Plotting the new Gravel Patio and evaluating pea gravel vs. crushed granite
- Eps. 4: How to Build a Retaining Wall with integrated stone steps
- Eps. 5: Installing the Decomposed Granite Patio
- Eps. 6: Installing a Stone Walkway and Steps from the driveway down to the patio (you’re here right now)
- Eps. 7: How to Hang Outdoor Edison Style Cafe Lights for a warm, inviting glow
This was our starting point.
We live on a lake, so of course the yard slopes from the street down to the water. And the lake side is where everyone wants to hang out.
That’s where this Backyard Makeover has been taking place.
For many reasons, we didn’t want to add a complete sidewalk connecting all the way from the street to the patio just yet. But we did need to take care of this one stretch where the hill suddenly goes very steep and then back to a gentle slope.
Your situation is surely different than ours. You’ll need to assess if this is a good solution for you and how many steps and their placement you need.
Before we get too far into How,
if you’re busy now but you know you’ll want to refer back to this, save it to your
Landscaping board
or to your
What to Do About Hills board
or yes, your
Make the Neighbors Jealous board
Anywhere that makes sense to you.
Considerations for Hillside Gardens or Hillside Steps-

Keep in mind that sidewalks do not need to be level. They can follow the slope of the surrounding yard provided it is not too steep.
We also opted to spread the spacing between our steps, this gives you further opportunity to “swallow” some of the slope between the step risers. However, it is safest to make the tread between risers equal.
Even with just three steps, your body senses that space and is ready for the next step. Irregular steps require more attention and are more of a tripping hazard because of that.
Choose Your Materials-
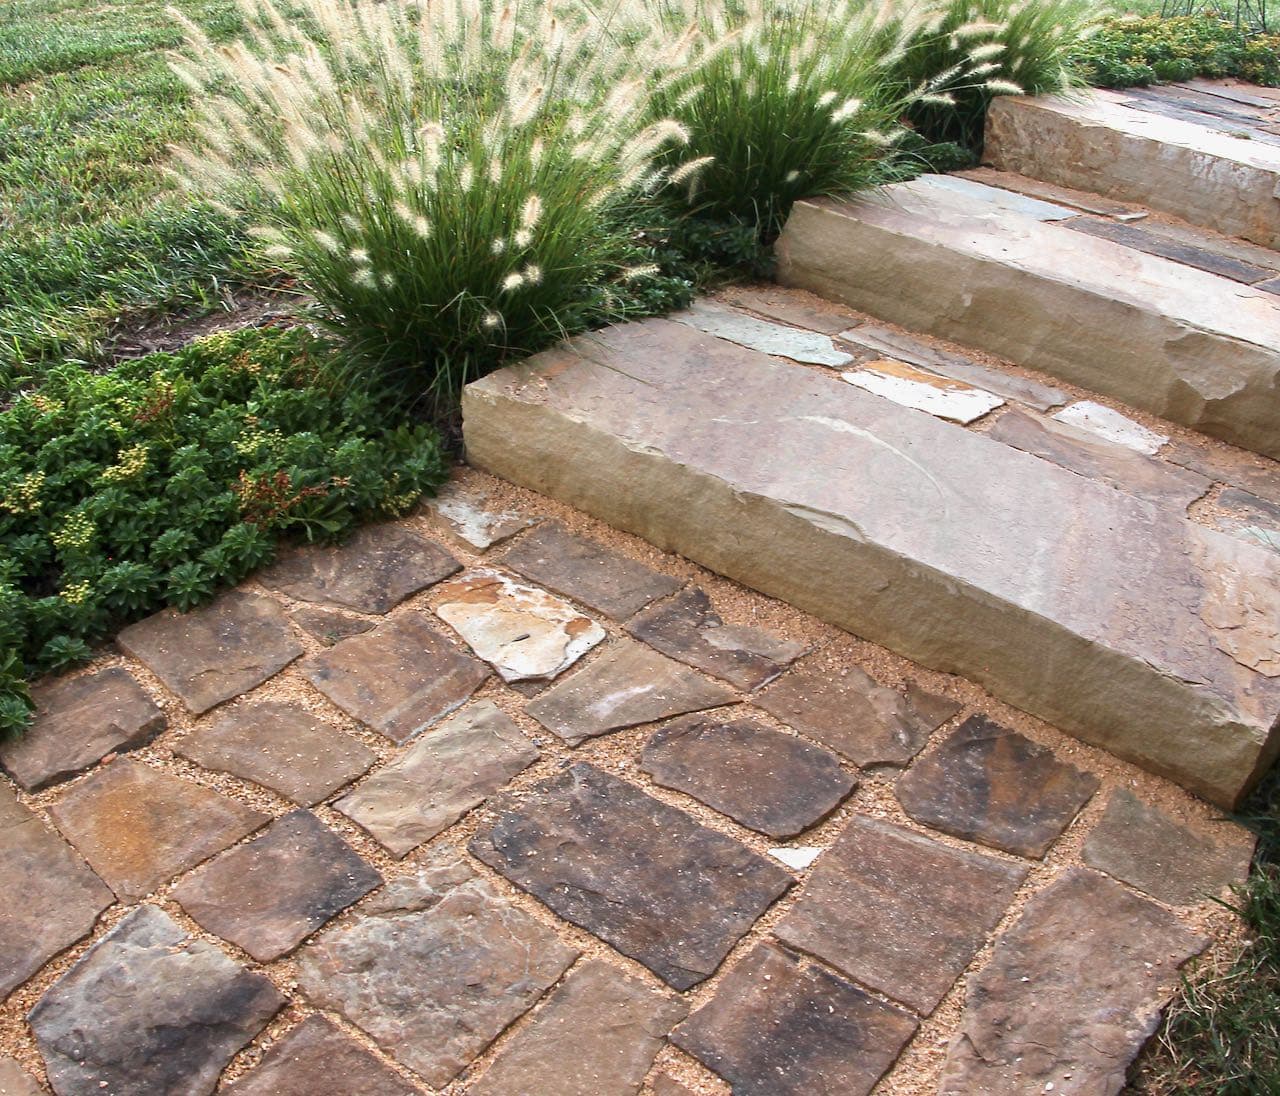
We wanted natural stone to complement the stone the previous owner had used for the stacked bed next to these steps. Flagstone steps were the answer to marry all the different materials we have going on here and throughout the rest of the Backyard Makeover.
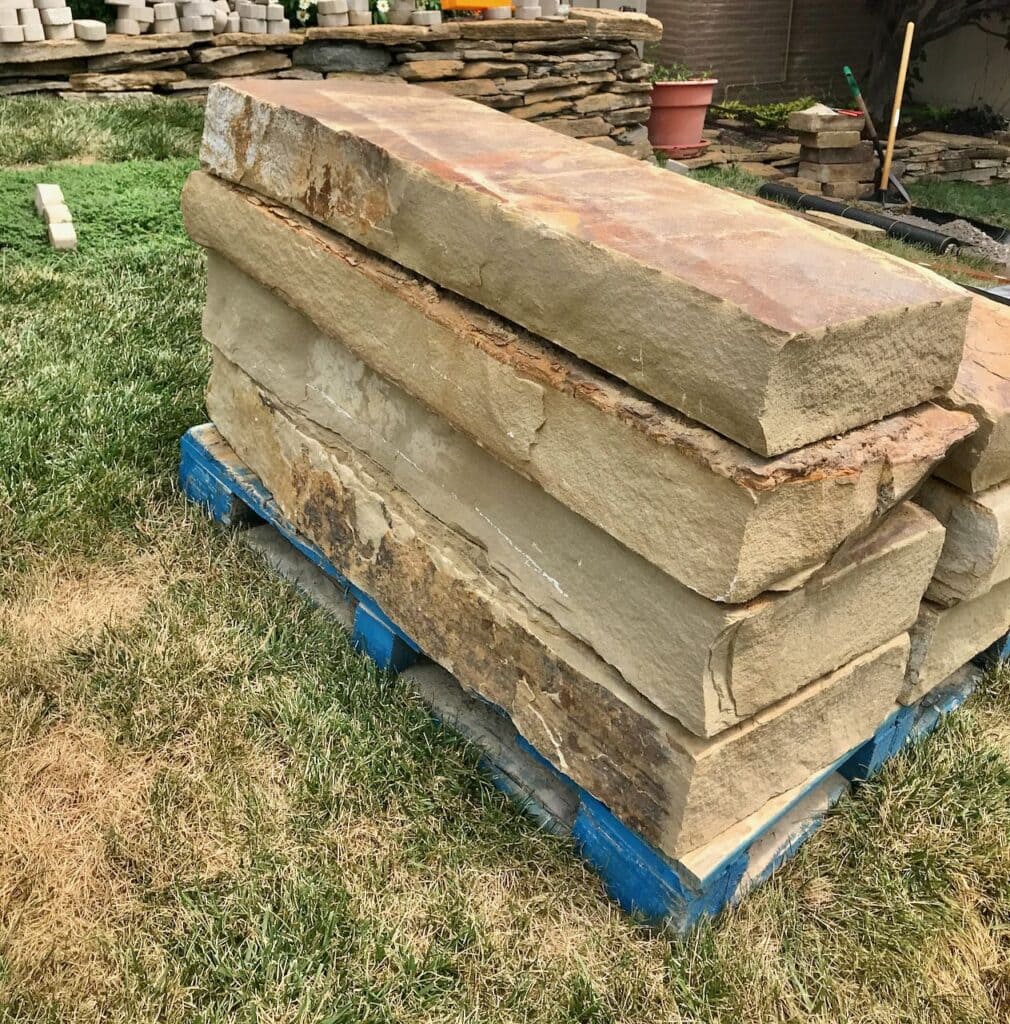
These huge chunky step stones are my preferred look and in the long run easier than building steps from smaller natural stones. There’s no stacking and building up the rise. There are so heavy, you can be sure that once you give them a solid resting place they will stay put!
Plan Your Flagstone Step Placement-
We chose a distance of 36-inches between the rises. This was comfortable for us to make in a single long step or two shorter steps if we’re carrying something.
I also knew I wanted to landscape the side with ground cover and some small shrubs or ornamental grass to mark each step and to hide a down light. Three feet between would allow for that without crowding too much.
I am also a believer in leveling the steps side to side for more safety. So we had to backfill a bit on the left side (where the ground cover is now). And the steps themselves can slope just a tiny bit forward so that any snowmelt or rainwater will tend to run off the front
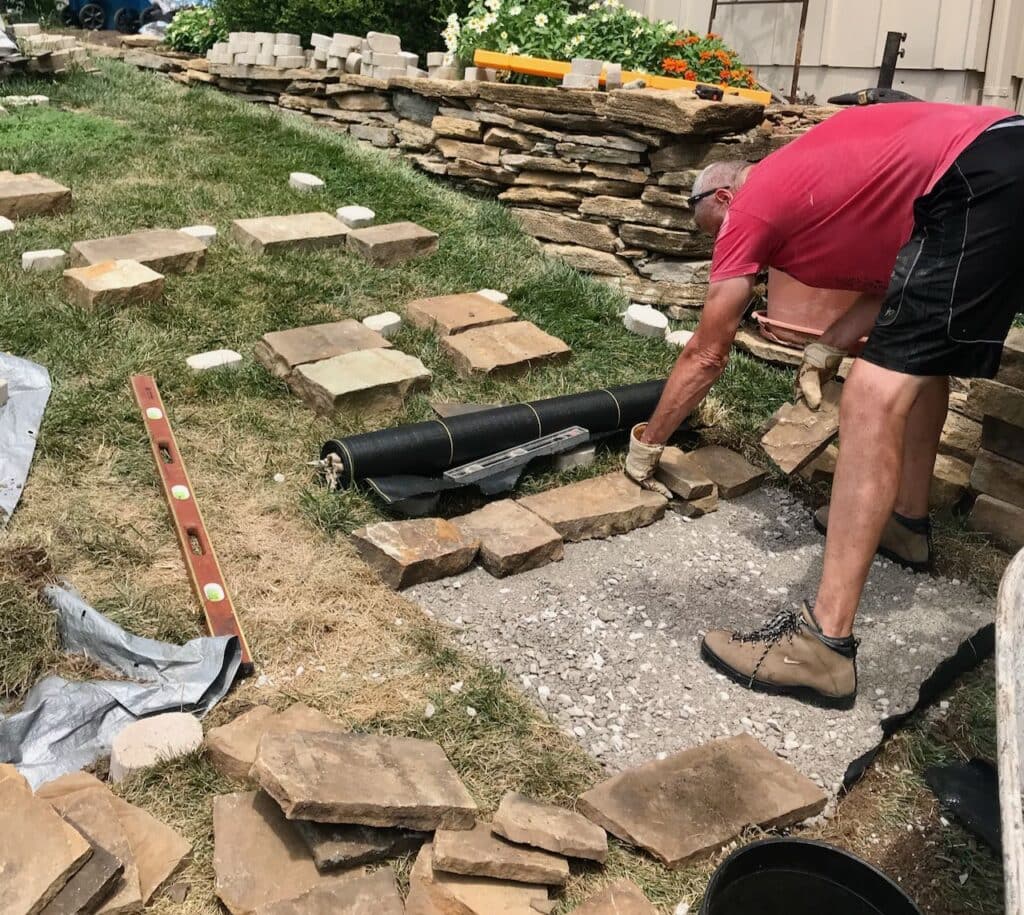
Mark Your Flagstone Step Placement-
I’m sure there are many ways to do this, but this is what worked for us:
- We marked the front of each rise with some white cobble we had handy.
- Then we chose flagstones that were of a similar height and together made a solid base for the large step.
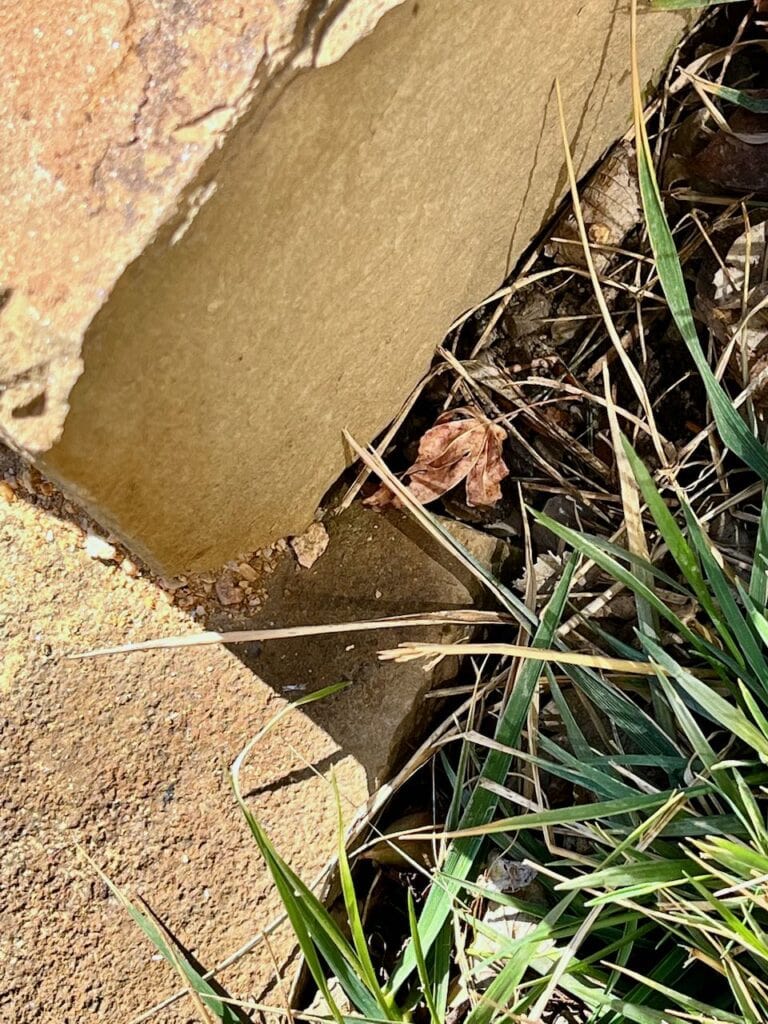
- Those selected stones were placed roughly where they will sit to support an overlapping stone step. Our chunky stone steps overlap the last row of flagstone by 2 – 3 inches (see the picture below).
Install The Lowest Landing-
- Start at the bottom landing, cut out any sod and prepare the ground
- Add a layer of landscape fabric (There are two camps on landscape fabric. I’m a believer when there is rock involved. Without the barrier, the rock is consumed by the soil in very short time)
- Add a layer of gravel
- Start laying the flagstones that will support the first stone step
- Keep a small bucket of sand handy to aid in leveling this row
- Lay another row or two of this landing to keep everything in place
Install First Stone Step & Flagstone Tread-
- Cut out any sod behind that first supporting row of to the depth needed for the stone step to sit level (the steeper the incline, the more you’ll need to dig out)
- Add enough gravel behind the flagstone to support the stone step
- Place the stone step overlapping the flagstone landing
- Dig out the sod and soil as needed behind this first step to the back of the supporting stones for the next stone step you laid out when you planned the flagstone placement
- This is where you want to have your extended tread or walkway level side to side, but you can slope it from front to back to the degree that it is still comfortable and safe
- Add the landscape fabric if using
- Add layer of gravel
- Roughly place the back row of flagstone
- Fill in the remainder of that flagstone tread adjusting as needed to fit the stones and level and secure them with some sand underneath as needed
- Refine the placement of the back row of flagstone, the supporting row for the next step
Install Next Stone Step & Flagstone Tread-
Repeat as above for as many steps as you have.
Install Top Landing-
After placing the last step, cut out sod and any soil as necessary for a landing at the top of your steps if desired. Just like with the bottom landing:
- Add a layer of landscape fabric (There are two camps on landscape fabric. I’m a believer when there is rock involved. Without the barrier, the rock is consumed by the soil in very short time)
- Add a layer of gravel
- Start laying the flagstones that will support the first stone step
- Keep a small bucket of sand handy to aid in leveling this row
- Lay another row or two of this landing
I chose to make our landings a bit more organic. Beyond a 3 – 4 foot landing we, cut out some additional spots to place a few flagstones to transition into the full landings.
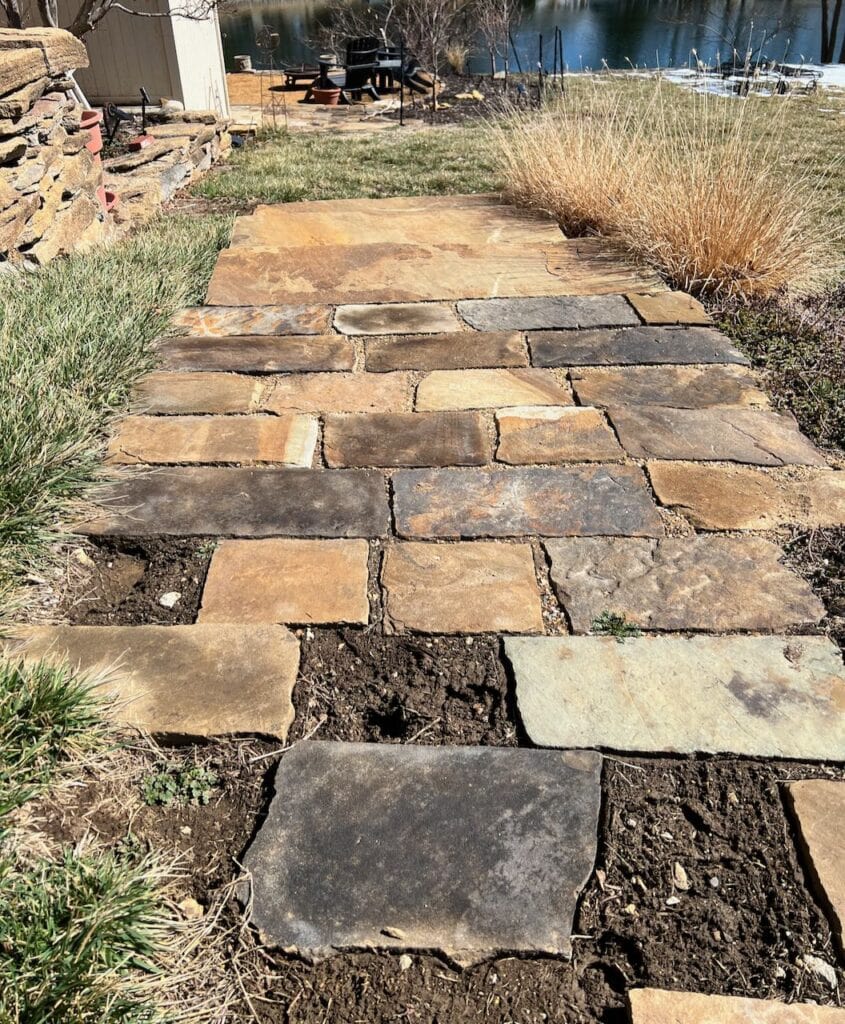
This Spring I am planning to start some thyme ground cover in these planned transition spots, This will be an easy care and sweet smelling alternative to grass between the stones. as this walk transitions into the yard at both ends.
These steps are serving us well! When the plantings are finished and everything is greened up it will be even more beautiful.
As always, don’t hesitate to fire off any questions. We have learned a lot through this process and are very happy to share.
And thanks bunches for hanging out with me for a bit today. I truly appreciate you!

Wow! It looks amazing!
You are doing a great job, Diane! Your yard will be gorgeous!
I love your stone Diane – the color is beautiful. Thanks for the great tutorial and inspiration, and Happy Friday!
Your yard is going to be stunning. I have a similar problem with a sloped area in our back yard and this just may be the solution. Thanks for sharing the ideas and tips and this post will be a feature this week. #HomeMattersParty
Diane, this is exactly what I wanted to do with our large front yard. Now that I see your lovely flagstone steps, I’m wishing I pushed ahead with the project.
You did a great job!!!
Thanks for sharing at the FWF link party 🙂
Hugs,
Rachelle
That looks wonderful! We live on a lake too and both our side yards are very steep. I’m already trying to conceptualize how this could work for us. Thanks so much for sharing. Pinned.
Isn’t lake living the best!!!
This is exactly what I’ve been working on in my garden, but I can’t find websites that specify the kind of gravel to put in between the stones. There are so many different types and nobody ever lists exactly what they used. Most websites just say gravel or dust or sand, but without any specifics or pics of what they used. Can you share exactly which bags of gravel you used in between the stones? The few sites I found that actually listed what they used, ended up being stuff that other sites say to not use. It’s just so confusing. LOL
What a fantastic idea! I love how flagstone steps can both enhance the beauty of a landscape and make it safer. Your tips on arranging the stones are so helpful. Can’t wait to try this in my own garden!
What a beautiful way to enhance a hillside! I love the idea of using flagstone steps—not only do they add safety, but they also create an inviting pathway. The design tips you shared are super helpful; I can’t wait to try this in my own garden! Thank you for the inspiration!
I wish you’d described maneuvering the large pieces of flagstone. As you note, they are very heavy. Presuming this is not a one person job.
You’re right, definitely not a one person job. The ones that were delivered fairly close to their final resting spot were, more rolled into place. We set it on four PVC pipes, rolled it a 6 – 8 inches and the pipe that was exposed in the back was placed under the front. Repeat and repeat. We had one last one that needed to be moved to the entire other side of the patio. I had a cooler of cold beer ready and all the fellas on the block showed up. Using straps they muscled it about 30 feet and into place.