So Much Amazing Inspiration For Our Backyard Makeover
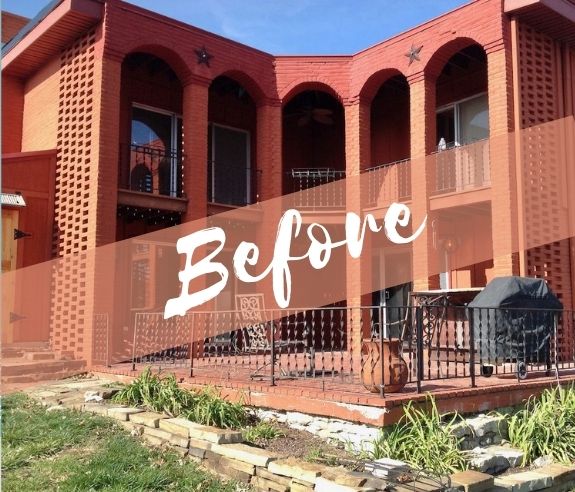
THE backyard makeover: before pictures and mood boards
full of inspiration give you plenty of hints for what’s to come.
We’re so excited!
Let’s Start at the Beginning — a Very Good Place to Start Right?
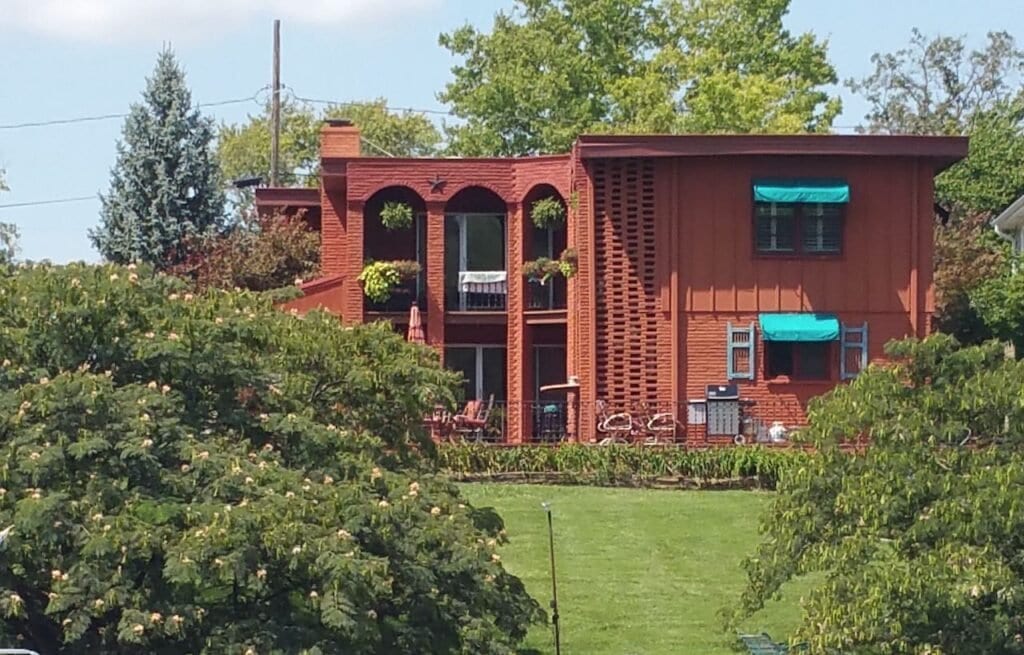
This is the house (from a boat) on the day we started negotiating on it.
So much potential, right?
I hope you see it too. Lighten the paint. Add a few trees. Clean up the landscaping. Remove the awnings — it was soooo dark inside! And then a few other things as we would get to them.
Or so we thought at the time! Du du dummmm
This is Reality – Possession Day:
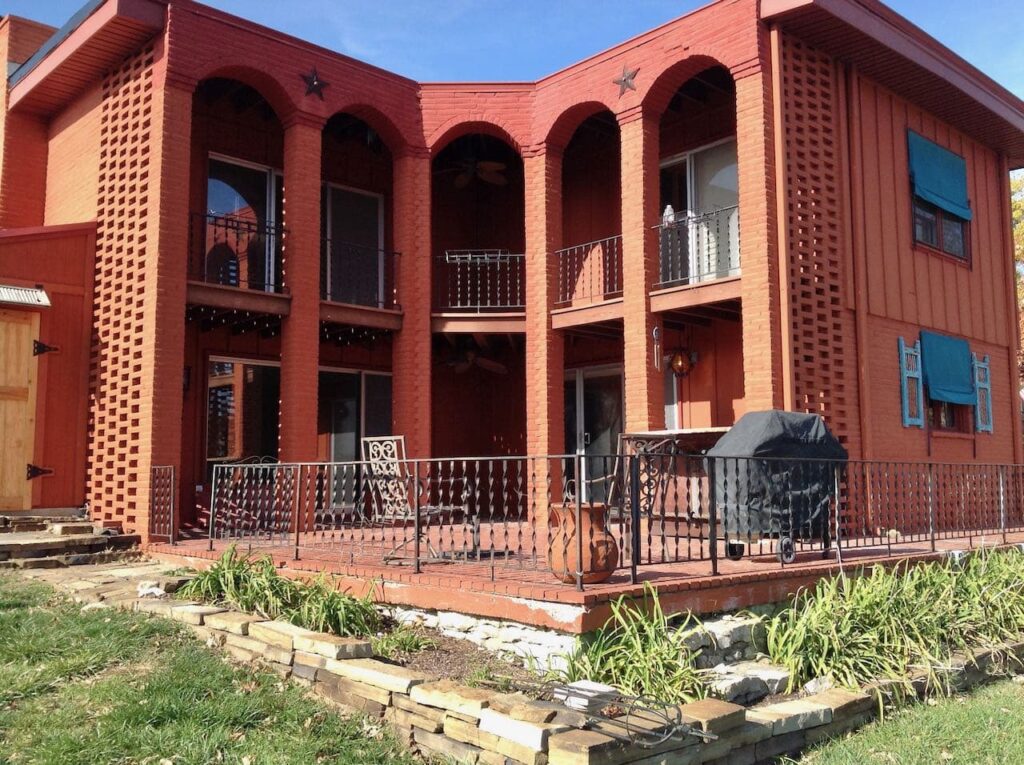
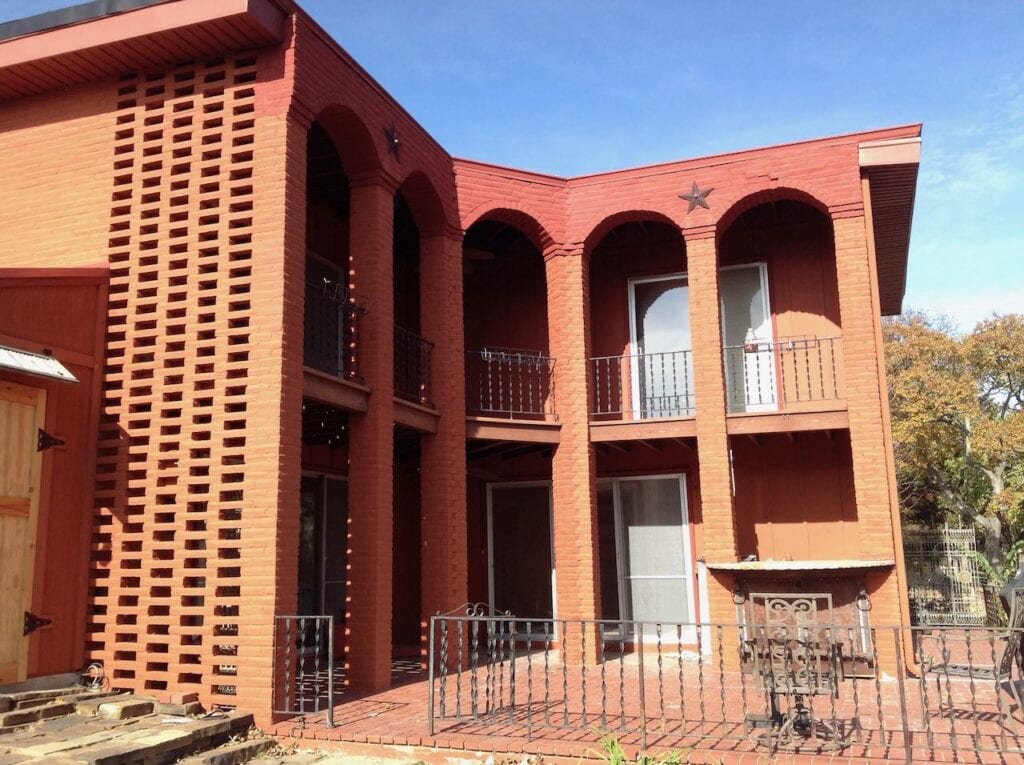
See on the corner below the brick edging. Yes, that’s the patio foundation. And it was crumbling.
And the stone foundation that supported it desperately needed some tuck-pointing.
The previous owner had a LOT of great natural stone she had collected from somewhere and built this bed all around the patio foundation.
That bed needed to be reworked, especially because it was 100% day lilies. And not the newer re-blooming variety. These only bloomed once and the deer were counting down for that day of bloom. They patiently waited and then would have a feast that night.
Not a bloom would survive to day 2!
The iron railing completely encompasses the patio, all along the lakeside, and even partway up the North side of the house. There are three gates. One of them right in this corner, the only place for the table and chairs. So a relocation and new steps are needed.
That railing!
It’s the same railing on the balcony and even around the open stairwell inside the house.
It was grandfathered. That’s the only way it met code. But particularly the balcony made me wayyy to nervous. On our six-ft sons and their friends, it hits mid thigh! This would need to be rectified.
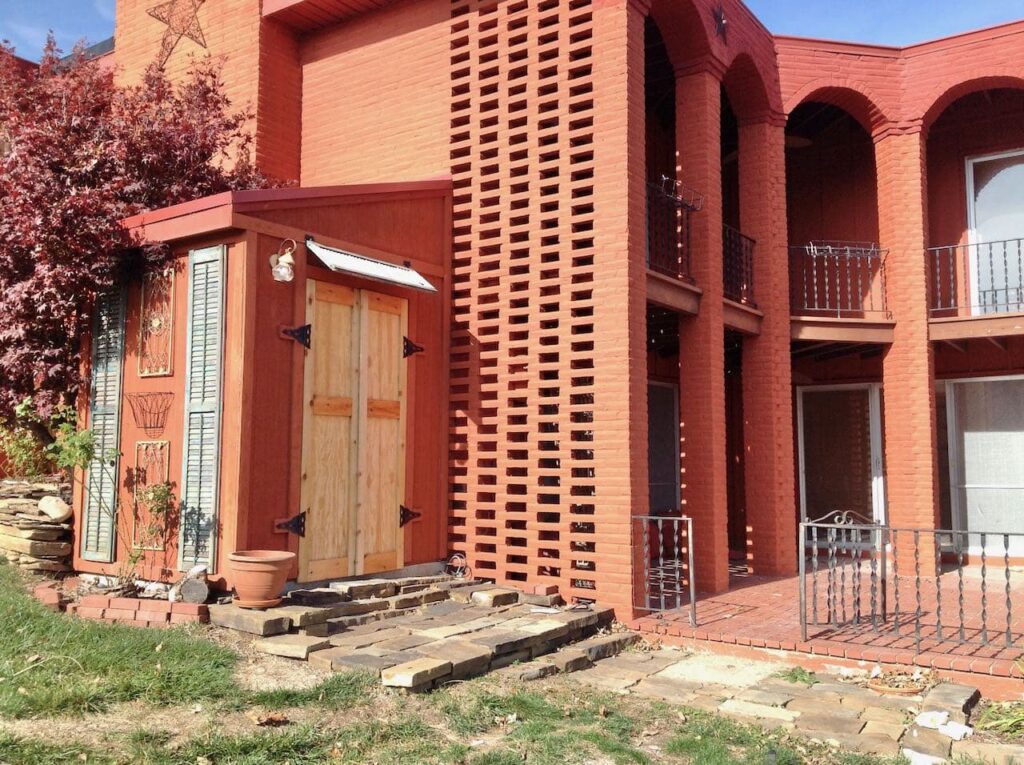
The previous owner added this tool shed. So glad because we need that storage desperately (the garage is my studio).
This is where our bikes, all our yard equipment and our lake toys reside.
It’s positioned perfectly. A few short steps from the patio. But such treacherous steps. Look carefully. That’s right, from the patio, an awkward step down, followed by even more awkward steps up.
That’s more awkward stepping than your first 7th grade dance! And all while carrying a bike or a large cooler or the barrel full of pool noodles.
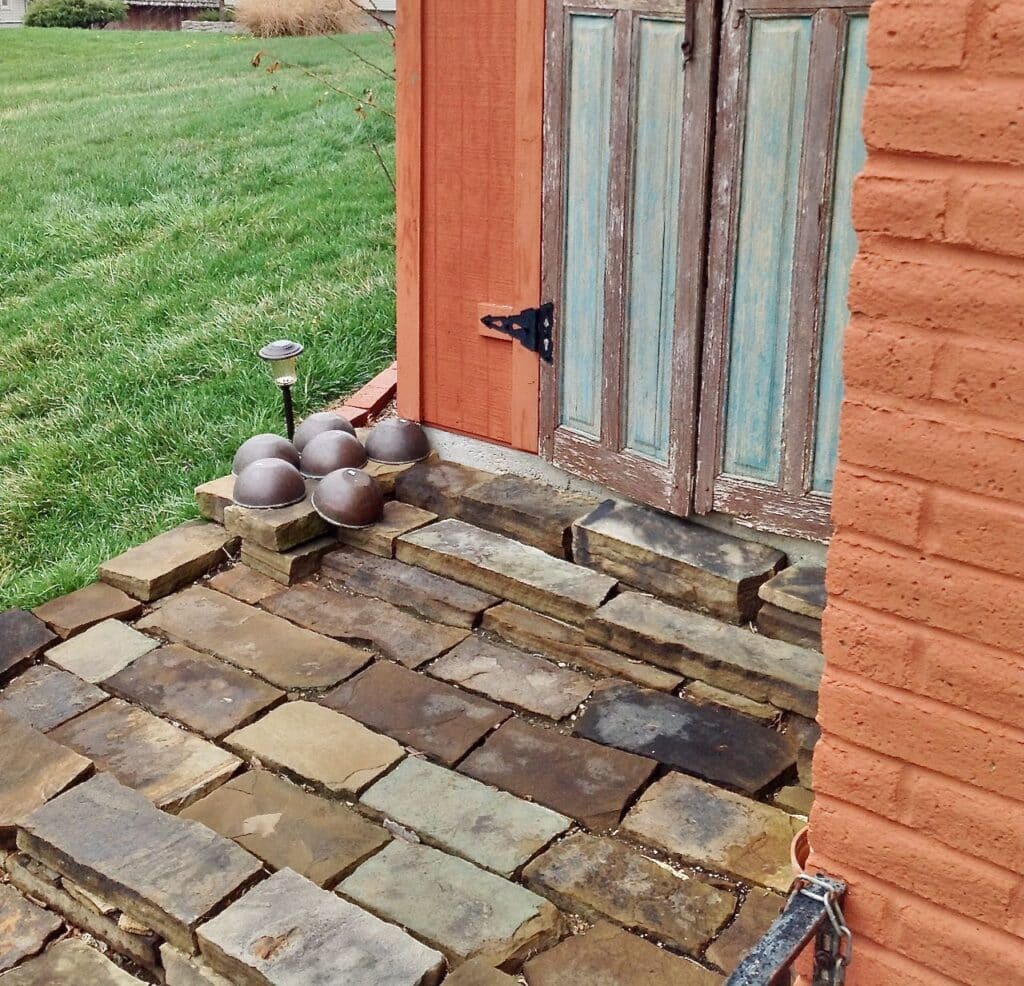
Check out those “steps”! They are just dry stacked and the ones closest to the door are only 4″ front to back and about 3-inches below the shed floor.
The Side Yard
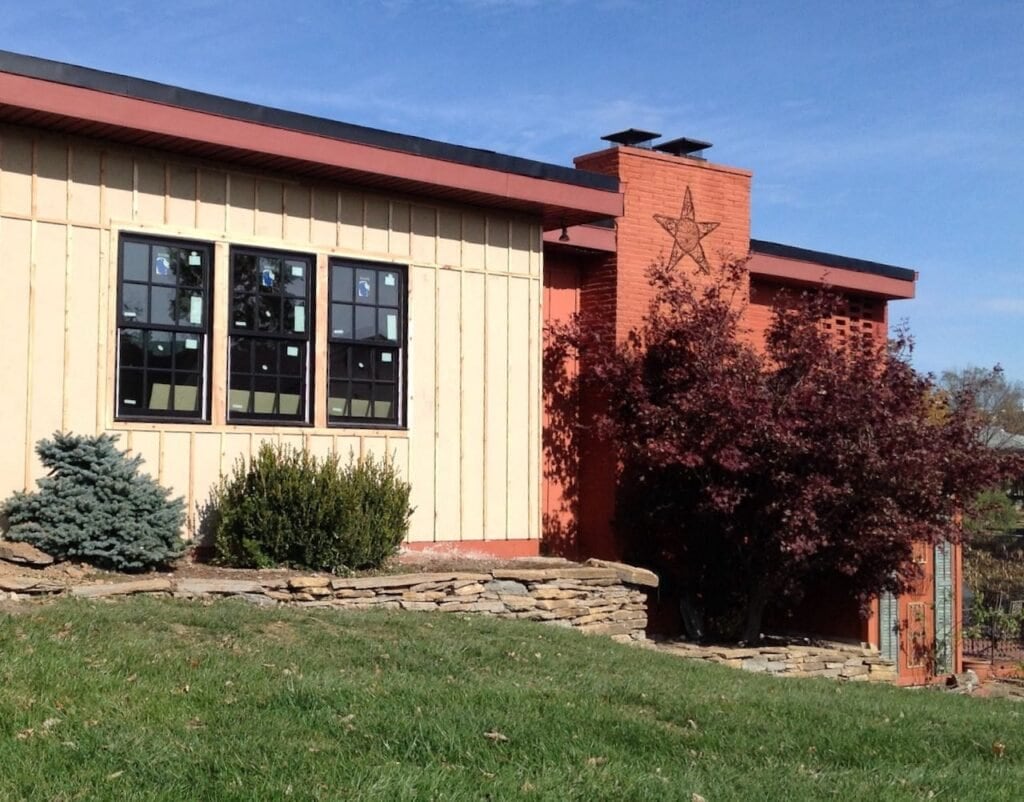
Technically, we are no longer in the backyard, but we need to do something about this slope to aid getting to the backyard.
That new construction, where we are going from open carport to enclosed climate-controlled garage, is the South House Designs studio.
I like the stacked stone wall the previous owner built. The issue is that the hill is pretty steep right there. To make access easier, steps would be a huge help.
When you are planning your next backyard makeover, large or small, you may want to refer back to this.
Please Pin this reminder to your:
Backyard Board, or your
Patio Board, or your
Let’s Make the Neighbors Jealous Board!
Wherever you’ll be able to find it when you need it.
Backyard Makeover Quick Recap:
The Have-to’s:
- Repair the patio foundation
- Rebuild and relocate the East steps
- Fix the elevation issues from patio into shed
- Address the railing that is too short
- Add some steps into the steepest run of the hillside
- Paint the house! (it’s not a safety issue, but definitely a mental health issue
- Take down the awnings over all the East and North facing windows (ditto, above)
The Want-to’s
- Expand the patio for a sitting area and the fire pit
- Add trees for some shade
- Get power out to the corner of the patio
- Give the new railing some weight, relating to the weight of the the columns
- Landscaping!
- Landscape. Lighting
- Cafe String Lights
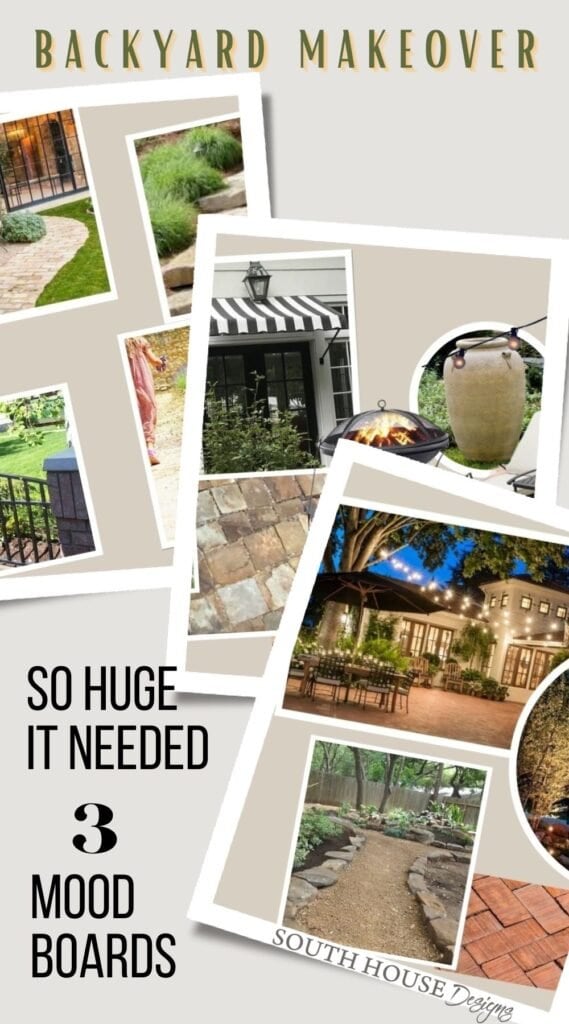
Situation Assessed, Now for the Mood Boards
Patio Inspiration:
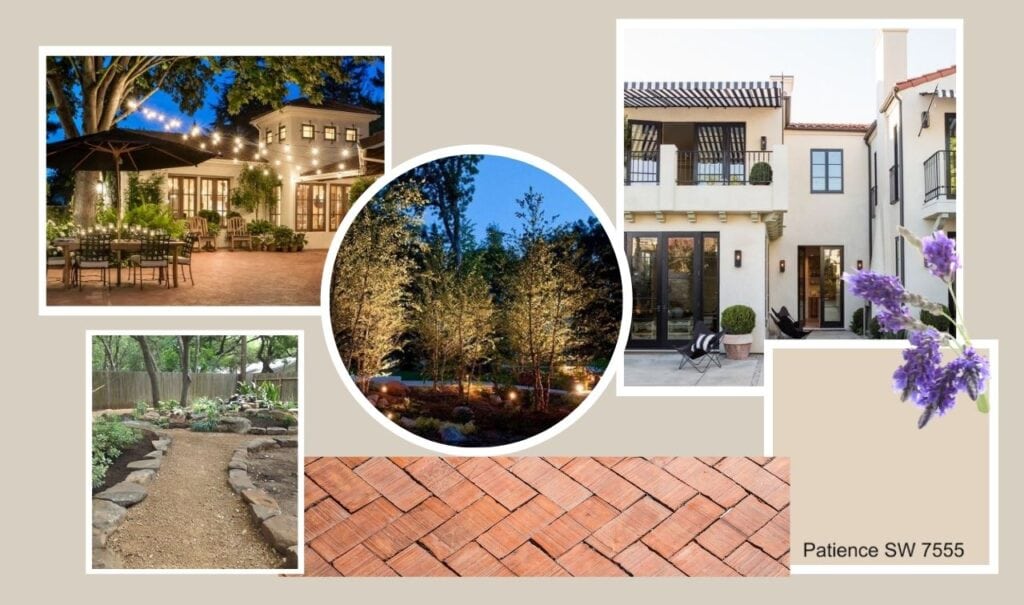
Here is the basic concept starting with the red brick of our patio and the house color, patience and an image of one of the Mediterranean style houses that inspired the color.
We want trees with uplighting and the cafe string lights are essential for the vibe we are going for.
Also the patio extension we planned is a gravel patio, or more accurately a DG (Decomposed Granite) patio edged in stone.
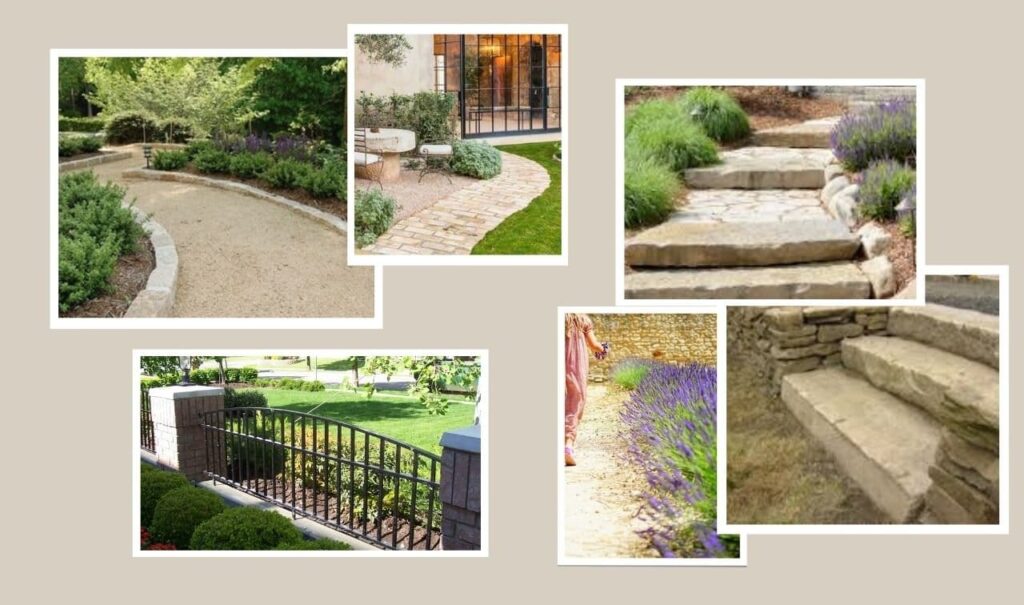
Dialing in on more details, we love the big thick chunky stone steps. Those should handle tthe hillside as well as the transition into the shed!
This is the idea for the patio railing. We’ll install railing panels between brick pillars that mimic the large brick columns and arches.
I am crazy about the gravel patios of European parks and courtyards.
They aren’t really gravel, depending on location, they may be crushed shale. Here in the Midwest, the best to option is Decomposed Granite (DG), sometimes called Pulverized Granite (PG). There will be a lot to come on this shortly!
And for landscaping, I envision lavender, baby’s breath and other perennials spilling over the edging bringing a soft, casual attitude.
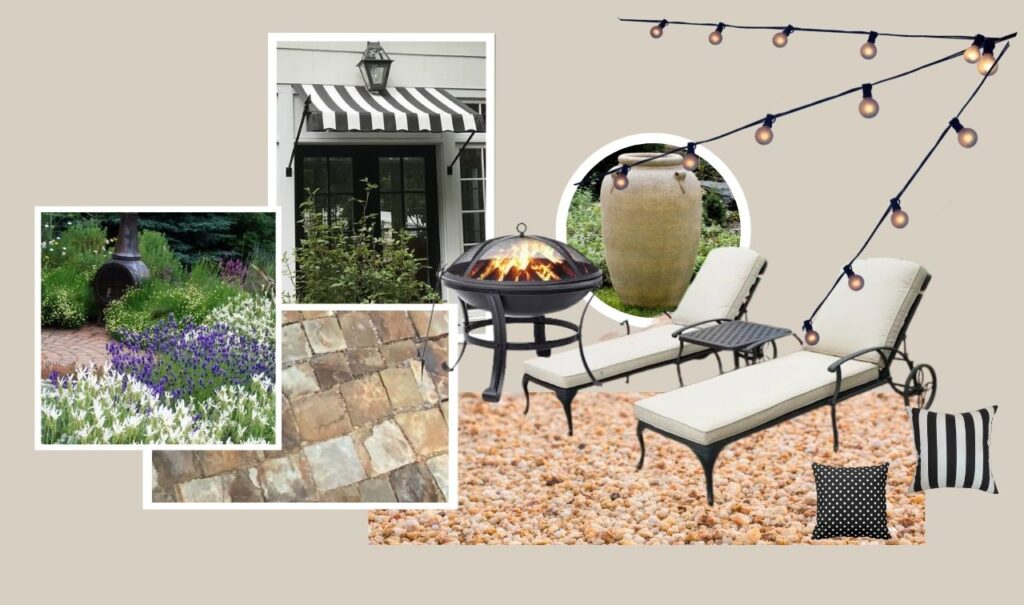
And here’s one more board where we dug a bit deeper into the furnishing and accents.
Large urns, a fire pit, DG, bordered with a natural stone. Of course cafe lights. And the shed will become a tool cabana complete with stripe awning and black doors.
Patio Restyling is Also Part of this Package-
One of the first things I did was hang sheer curtains at each side of the balcony. I came up with a foolproof way of hanging them, withOUT expensive, expansive rods with the bonus that they stay put even in the wind! Check them out here.
And I have restyled the corner right behind that brick screen next to the shed. You won’t believe that little piece of patio makeover, including the light fixture.
Here is how I transformed a pair of huge pots for the patio.
I can’t wait to show you how our backyard makeover has evolved!
With snippets of Spring showing up, it really has me in the mood for all things outdoor. How about you?
Oh good! it’s always fun to have company with shared plans, goals, and endeavors.
I will be sharing how we have been working to make all of this happen.
We have learned so much through this process . And I am happy to share all the “first attempts” also. So that your first attempt will be successful and all that’s necessary.
UPDATE: This Backyard Makeover has grown into a Super Series-
- The Prequel: Our Problem (this post) areas and three mood boards that helped to guide our decisions
- Eps. 1: The Santa Fe Tool Casita and treacherous entry became our Tool Cabana with its own front porch
- Eps. 2: The Original Starting Point — our vintage red brick courtyard with crumbling foundation and a dated and dangerous railing
- Eps. 3: Gravel Patio — planning and plotting the installation plus pea gravel vs. crushed granite
- Eps. 4: How to Build a Retaining Wall and steps with natural stone
- Eps. 5: Installing the Decomposed Granite Patio
- Eps. 6: Installing a Stone Walkway and Steps from the driveway down to the patio
- Eps. 7: How to Hang Outdoor Edison Style Cafe Lights for a warm, inviting glow
Fire away with any questions you may have.

The work has really paid off. Your vision was right on target! Plus, I added some new words to my vocabulary (my mom wouldn’t have approved) as we learned the ins and outs of these projects!
We sure did! You’re the best learning partner.
It’s hard to believe we have crossed everything off that list with two exceptions that we have to wait for the pros on.
Wow! This will be a great transformation. I can’t wait to see the reveal.
I can’t wait to see the finished product! So much potential
What a beautiful home to begin with; I bet your improvements will be fantastic.
Thanks for your faith Joanne! I will confess we are LOVING it!
Glad you saw the potential in this house. Your plans all sound amazing. Keep up the good work!
Wow, what an incredible backyard makeover! The transformation is truly impressive, and the attention to detail in the design and landscaping is evident. From the cozy seating area to the beautiful plant selections, this article is a great source of inspiration for anyone looking to transform their own outdoor space. Well done!
Thanks for sharing, appreciate it.