The Frugal Way to Add Rich Gold Decor Accents
Here’s how easy it is to bring in rich gold decor accents withOUT spending a ton of money, but looking like you did! It’s thrifty elevation.
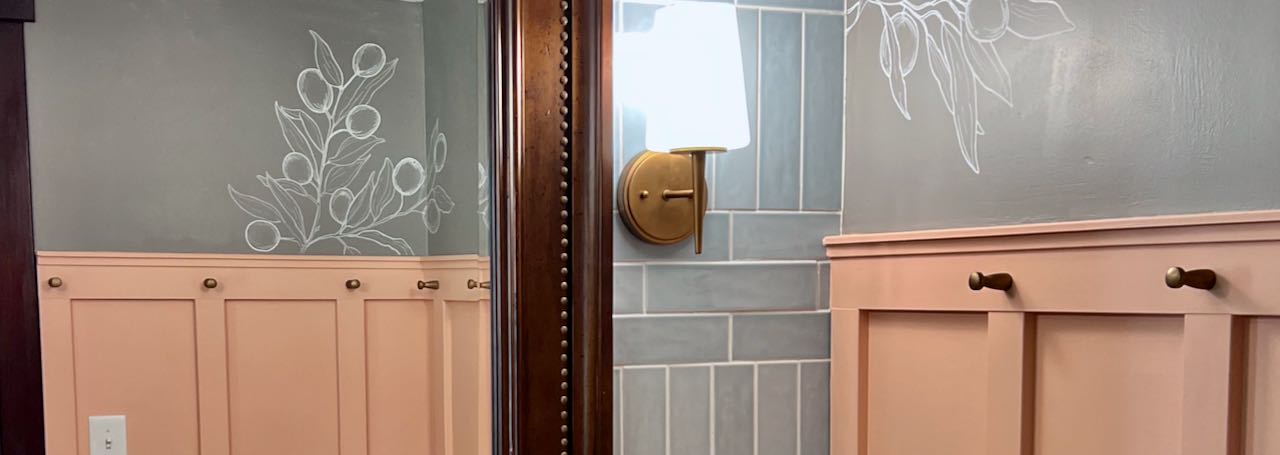
When we began the remodel of our powder room, my inspiration for the entire room started with the details on a mirror I had been specifically saving for this makeover. It was the scale and the old gold nailhead trim that had me. I needed a way to reference that detail with gold decor accents throughout the room.
But I didn’t have a massive budget to spend. So how could I add the gold decor accents I wanted?
With one of my go-to products!!!
But First, a Bit of Background-
We remodeled our Powder Room for our first One room Challenge.
- Here is the before and the our inspiration board.
- Here is a post about all the decisions that need to be made before starting a wood accent wall.
- Here are tips to help when choosing the “right” paint color.
- The reveal is here.
- How we built the open shelf vanity and countertop is here.
- Then how I finished and sealed the vanity is here.
- Here are all the tricks I learned tiling for the first time.
- Here is the line art wall mural I added for a modern take on an old Mediterranean fresco.
- And here is my answer to the large, modern rustic urns and vases I have been coveting lately — on my budget.
Now you’re all caught up!
Even in a small room, such as our Powder Room, the small details can make or break the room. Actually, the details might be even more important in a small room.
If you want to reference this again:
I truly appreciate every time you pin, share or leave a comment.
You’ll never know how much that helps!
My Go-To For Almost Any Metallic Shine-
Yes, Rub n’ Buff!
Don’t scoff! Have you ever tried it?
It’s magic in a tiny tube!
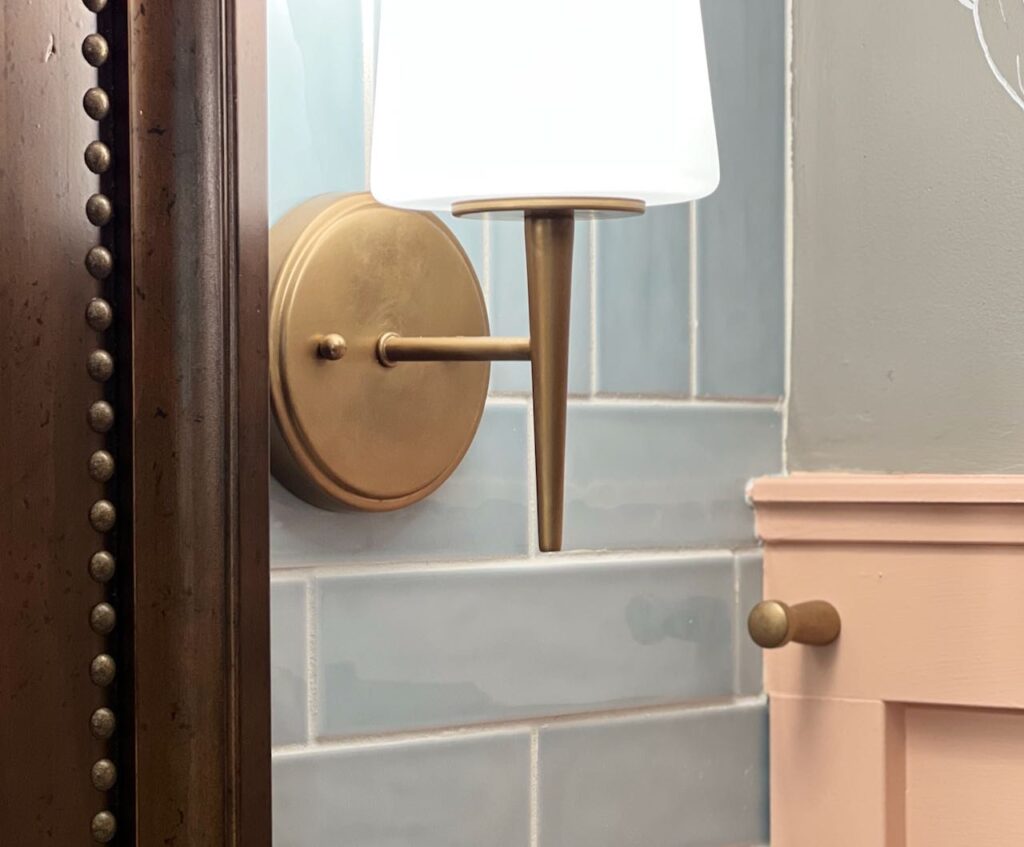
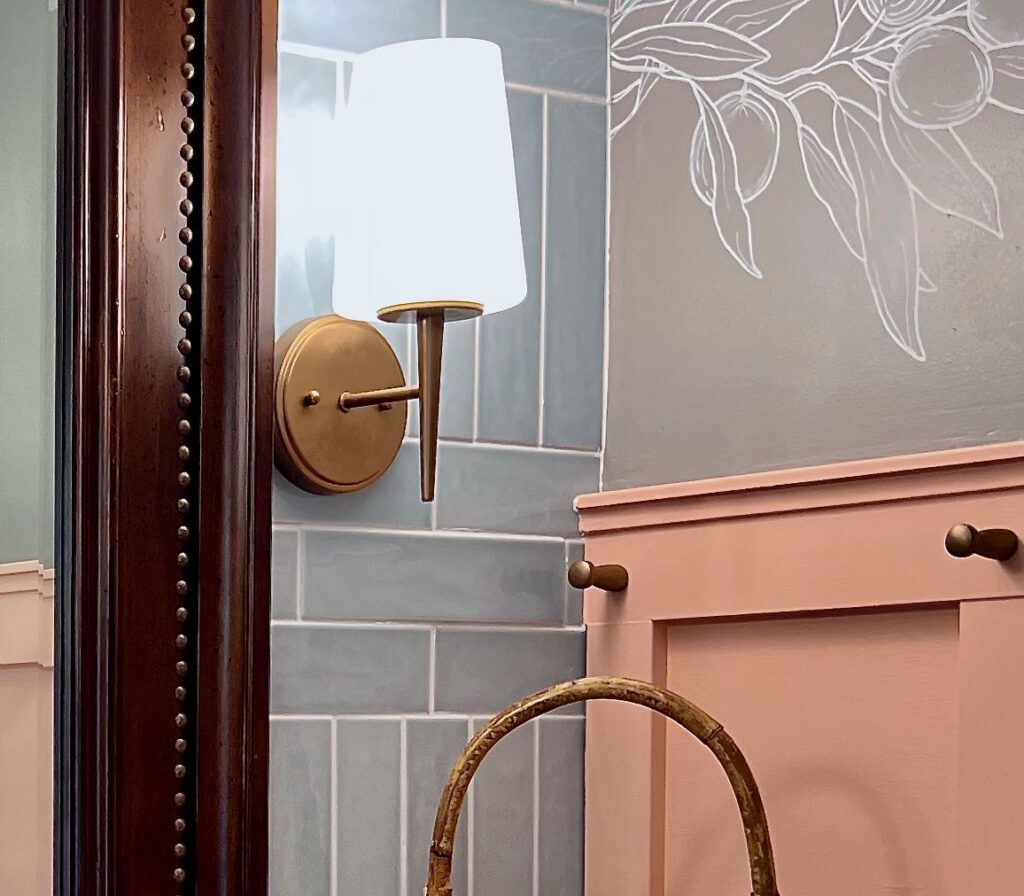
See those nailheads on the mirror. Well the lights in their original finish, looked okay with them, but just okay!
But when the faucet arrived, I knew the light fixtures needed some help.
I had actually ordered these lights for the kitchen sink window, but we didn’t like the finish when it was time to install and it was too late to return them. So I hung onto them in anticipation of the powder room. But once again, the finish was just off. Too shiny, too fake and almost copper, but not. More orange tinted.
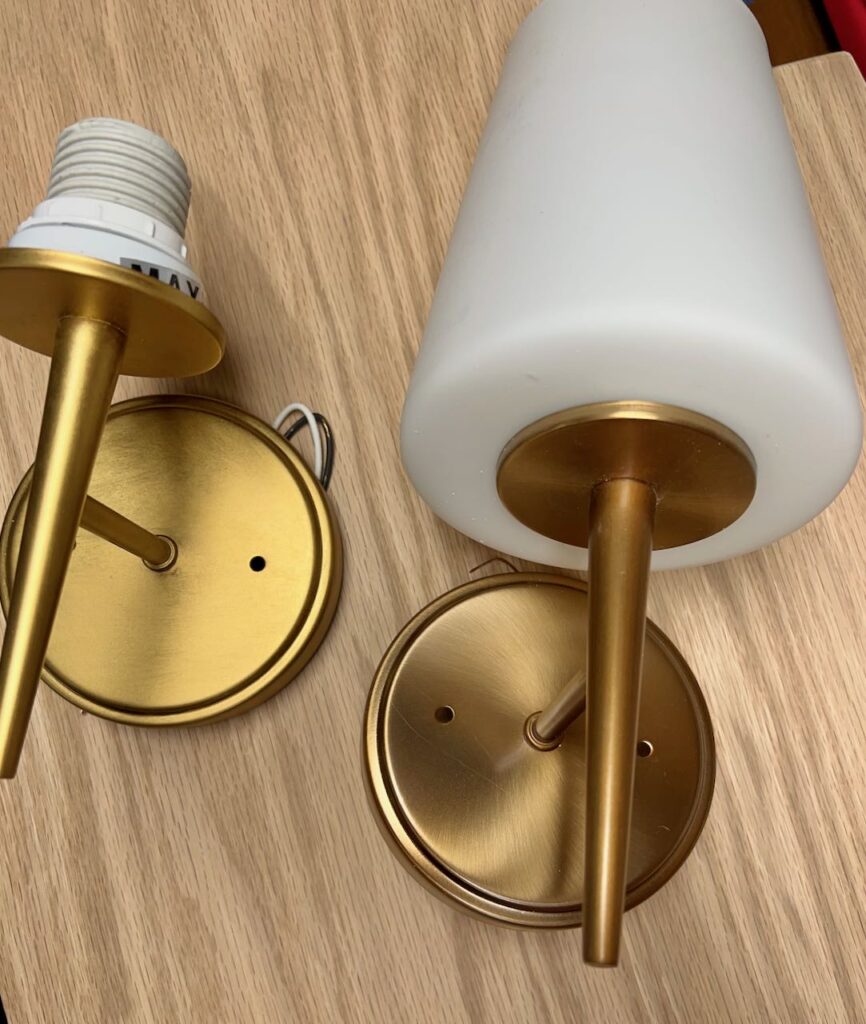
I started with the tube of Gold Leaf Rub’n Buff that I had on hand.
Yikes, not good at all for this room (the one on the left) — too bright and brassy.
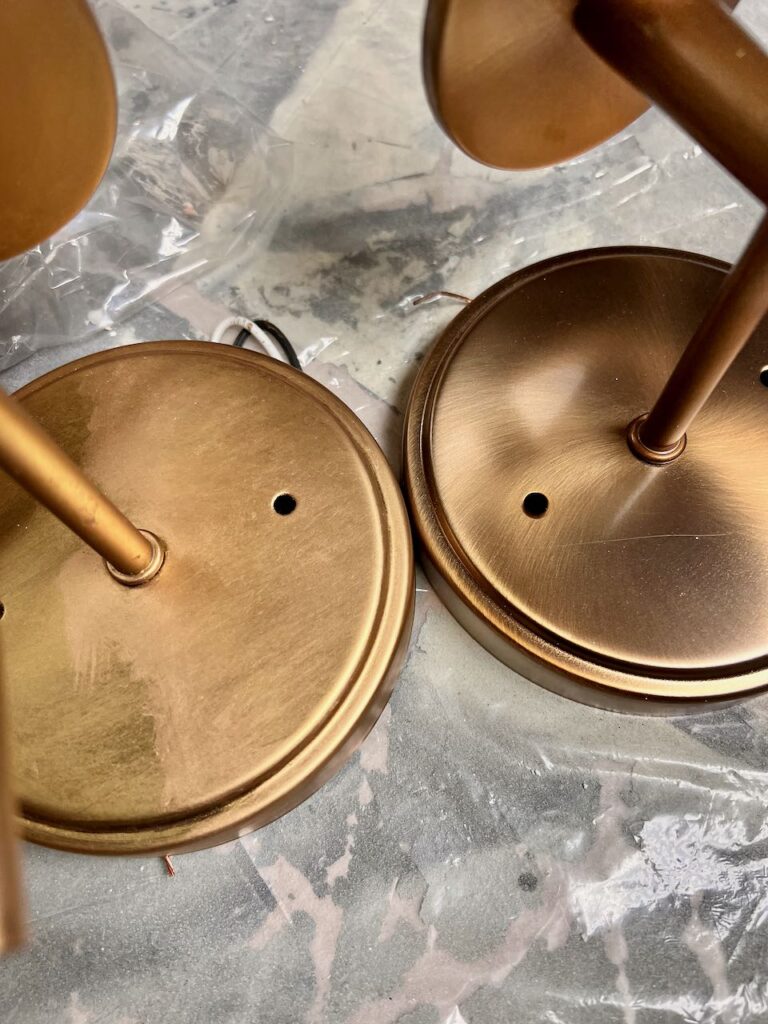
Then I went over that with the newest Rub ‘n Buff, European Gold. (on the right side of the left fixture). And that brought us to the old world look I was going for. A blend between the gold faucet and the gold nailheads.
Not everything matches exactly. Which I prefer. I like the acquired-over-time look, but I did want them all to reference each other, play nicely together, but not be all matchy-matchy.
Next, I wanted hooks on our board and batten wall. We live on a lake and this also serves as the changing room for guests who come spend the day on the water. They need a place to hang their wet towels and suits while they are changing, a place to hang their tote bags, sometimes a place to hang their “city clothes” while they play.
I chose these wood pegs because the shape references the shape of the nailheads and isn’t as farmhouse as long, quaker style pegs.
Rather than wood finish, I wanted them to be gold. Hello Rub ‘n Buff!
Basic How-To Rub ‘n Buff-
These are the pegs I ordered on Amazon. They are very well made, and had a quality sealer on them. It took a bit of sandy to remove that finish. I tried to bypass that step.
TIP: Learn from my mistake — you must get all the shine off before you Rub ‘n Buff!!!
Once you have the shine gone, they it’s so easy!
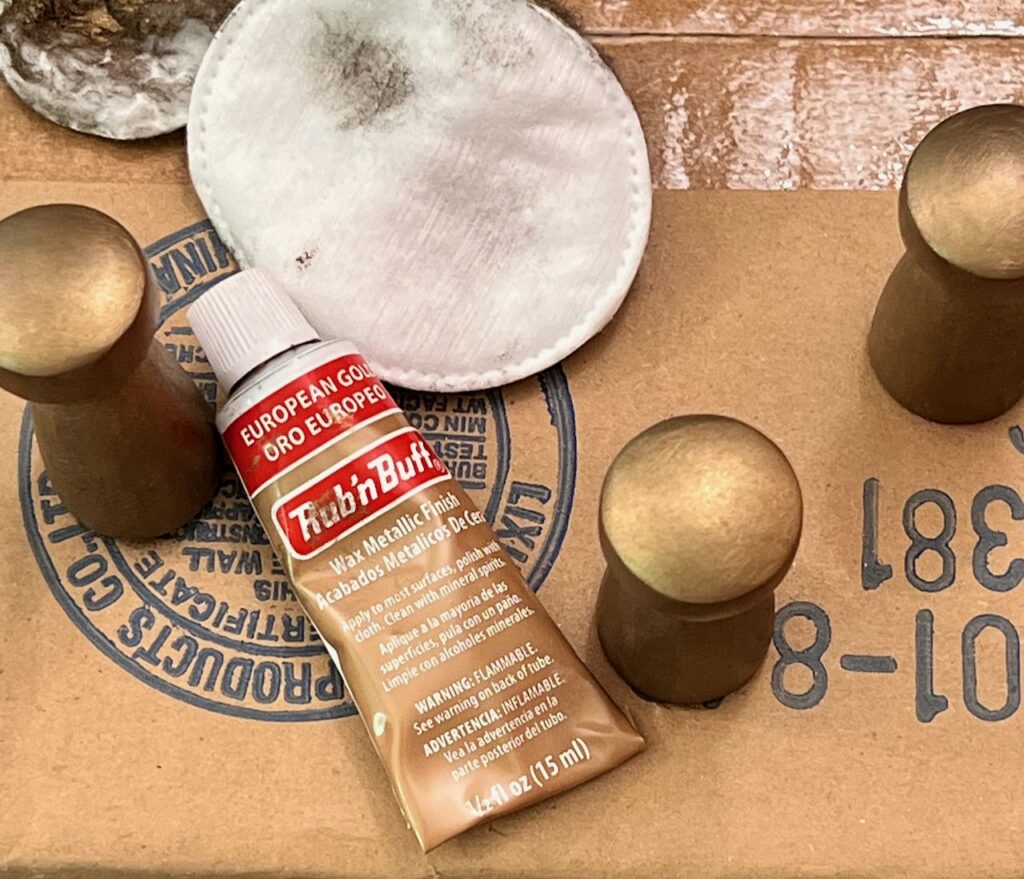
Squirt a small bit of Rub ‘n Buff on a soft cloth. I used lint-free facial pads. Wipe it on the peg, wait about 5 – 10 minutes and buff it with the same pad.
Then I stuck the screw end into a cardboard box and let them sit overnight before we installed them around the room.
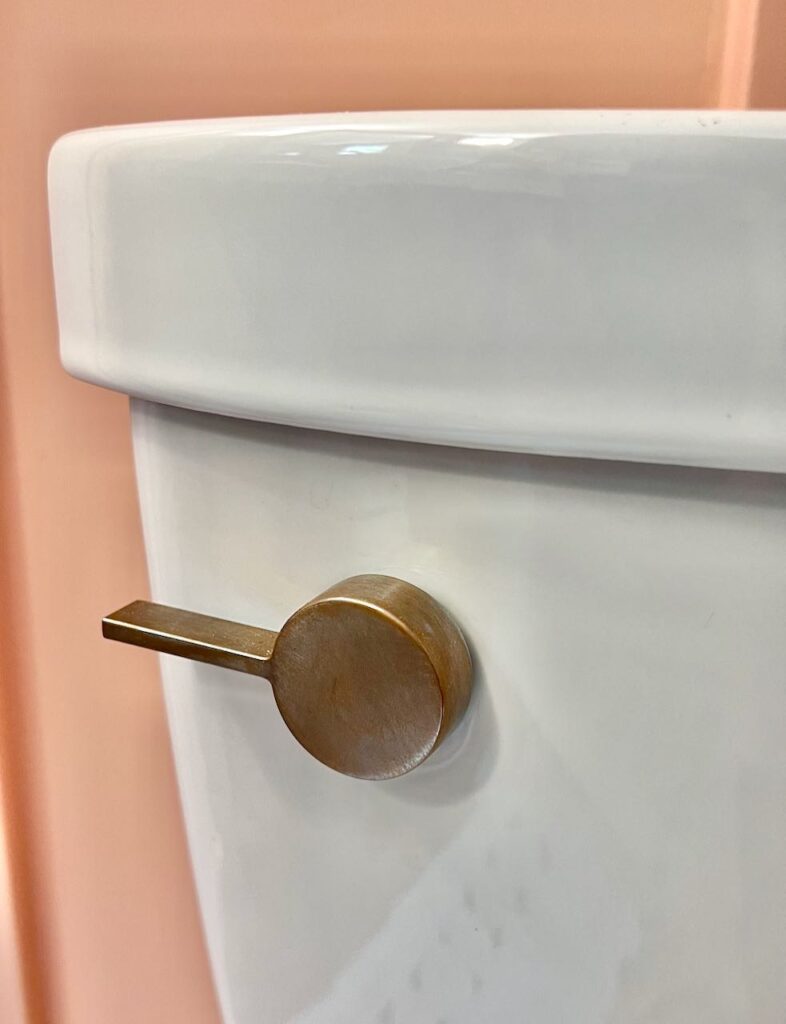
One smidgeon of shiny chrome left in the room and it really jumped out at me. Yes, the flusher handle. Now if you want, here and here are some great replacement handles you can order to replace any old, dated flushers you might have. It would be $ well spent in my book, but since I already had my little tube of gold magic, I thought why not give it a try and see what happens.
I learned from the pegs, so I sanded down the handle aiming to get rid of all the shine, giving the Rub ‘n Buff a good surface to grab ahold of.
This is really very easy. Open the tank and loosen the plastic (in my case) nut that holds the flapper and handle tightly together. I just loosened it, did not remove.
Then I placed painters tape all around between the tank and the handle. Sanded and then did the same rub and then buff with my lint-free facial pads. It worked great. It’s only been a few weeks so far, so I cannot attest to how well it holds up.
Check back in with me. As always, I’ll give you an honest answer!
I did your product testing for you. ? Now I’ll do your shopping too! ? Please consider using these links.
The links in this post may include affiliate links, which means if you purchase anything using these links, you pay no extra, but I may receive a small commission that helps keep this blog running. I truly appreciate you using affiliate links whenever possible. Please know that I will never recommend a product I do not believe in!
The European Gold, riding solo
Bundle of all three golds — great price!
Great quality. Love the shape!
My favorite sanding tool! Saves your hands and fingertips!
Our sink – in multiple bathrooms!
Gorgeous!!!! And works great too.
Any will do – as long as they are lint free.
You want gloves!!!
It’s all these little details that make the room feel so pulled together. And they were all inspired by one piece and all accomplished with one small little tube of magic.
If you haven’t tried Rub ‘n Buff yet, get some NOW!
And if you have used it, please share your favorite facelift so far, or maybe your most unusual facelift or any tips you have. I’d love to share them with this community.



I love Rub N Buff. I have been using it for years. It’s amazing how a tiny bit goes a long way.
Isn’t it the best! I used maybe half of my $9 tube and that did two light fixtures, eleven pegs and the flusher handle! It’s crazy!
Terrific post, Diane!! These accents turned out so beautifully! I would love to share this in my roundup post this week!
Thanks bunches Kim! I appreciate the share!!! Have a wonderful week.
Rub n Buff is the best! I love the flusher handle makeover 😉 Brilliant!!
The gold decor accents in your bathroom look amazing! Can you believe I have never used Rub n Buff?? I’m pinning this now because I plan to makeover a dresser later this summer! Sounds like the perfect product to use on the handles! Thanks, Donna
I always keep a tube of Rub – N – Bluff in my craft stash. It never disappoints in the way it updates the littles details. This is such a great post and it will be a feature this week. #HomeMattersParty